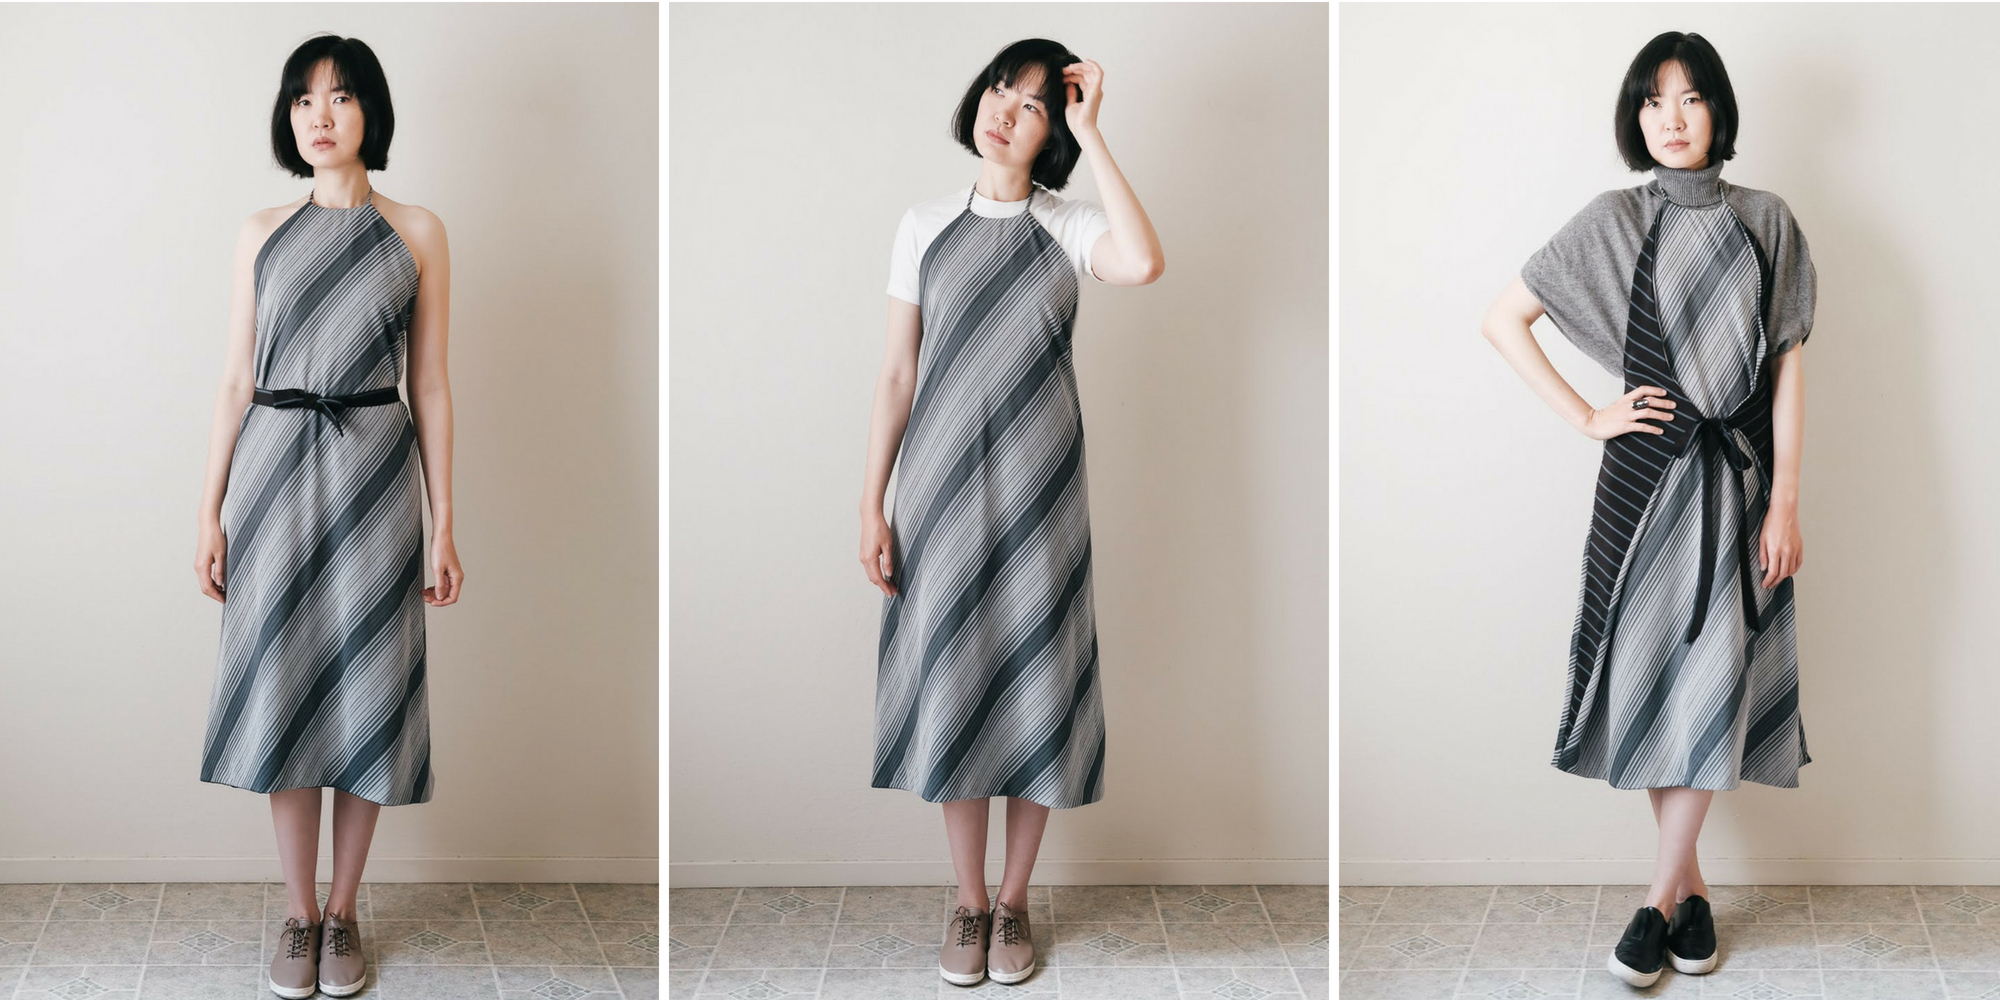
DIY Three-Way Apron Dress
This three-way apron dress is made with a diagonal striped knit fabric and striped lining that also doubles as accent. It’s versatile and easy to wear in all seasons.

This three-way apron dress is made with a diagonal striped knit fabric and striped lining that also doubles as accent. It’s versatile and easy to wear in all seasons.
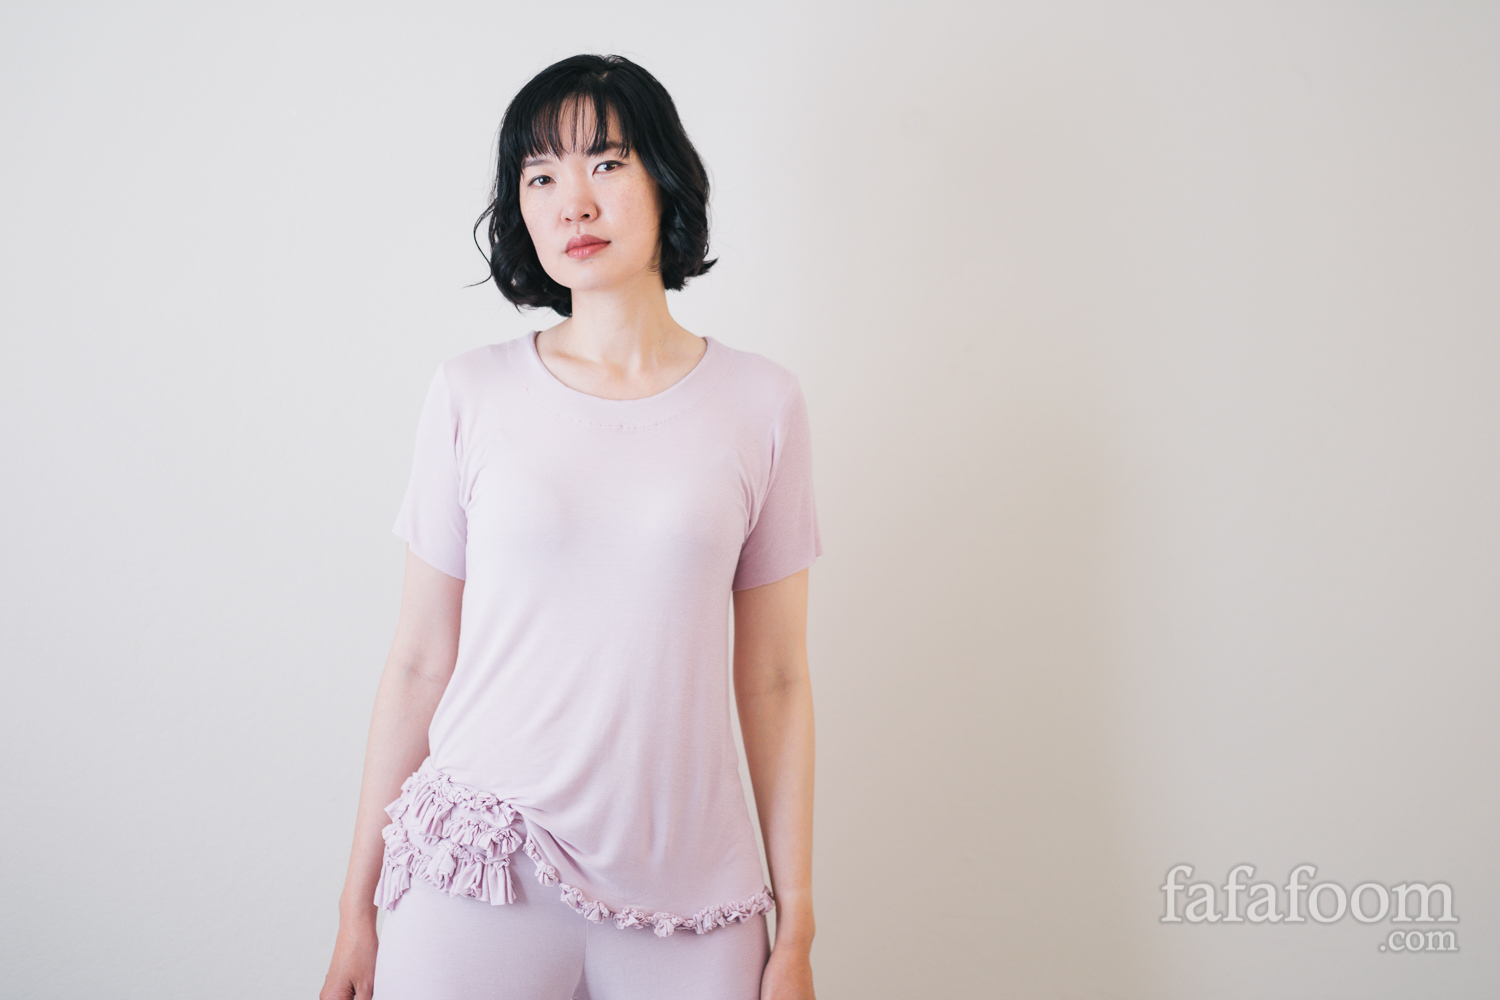
Pieces of pink knit fabric remnants are transformed to a sleepwear set. Smaller scraps are turned into ruffle details on the shirt and shorts. In the end, 99% of the initial remnant are used for this project!
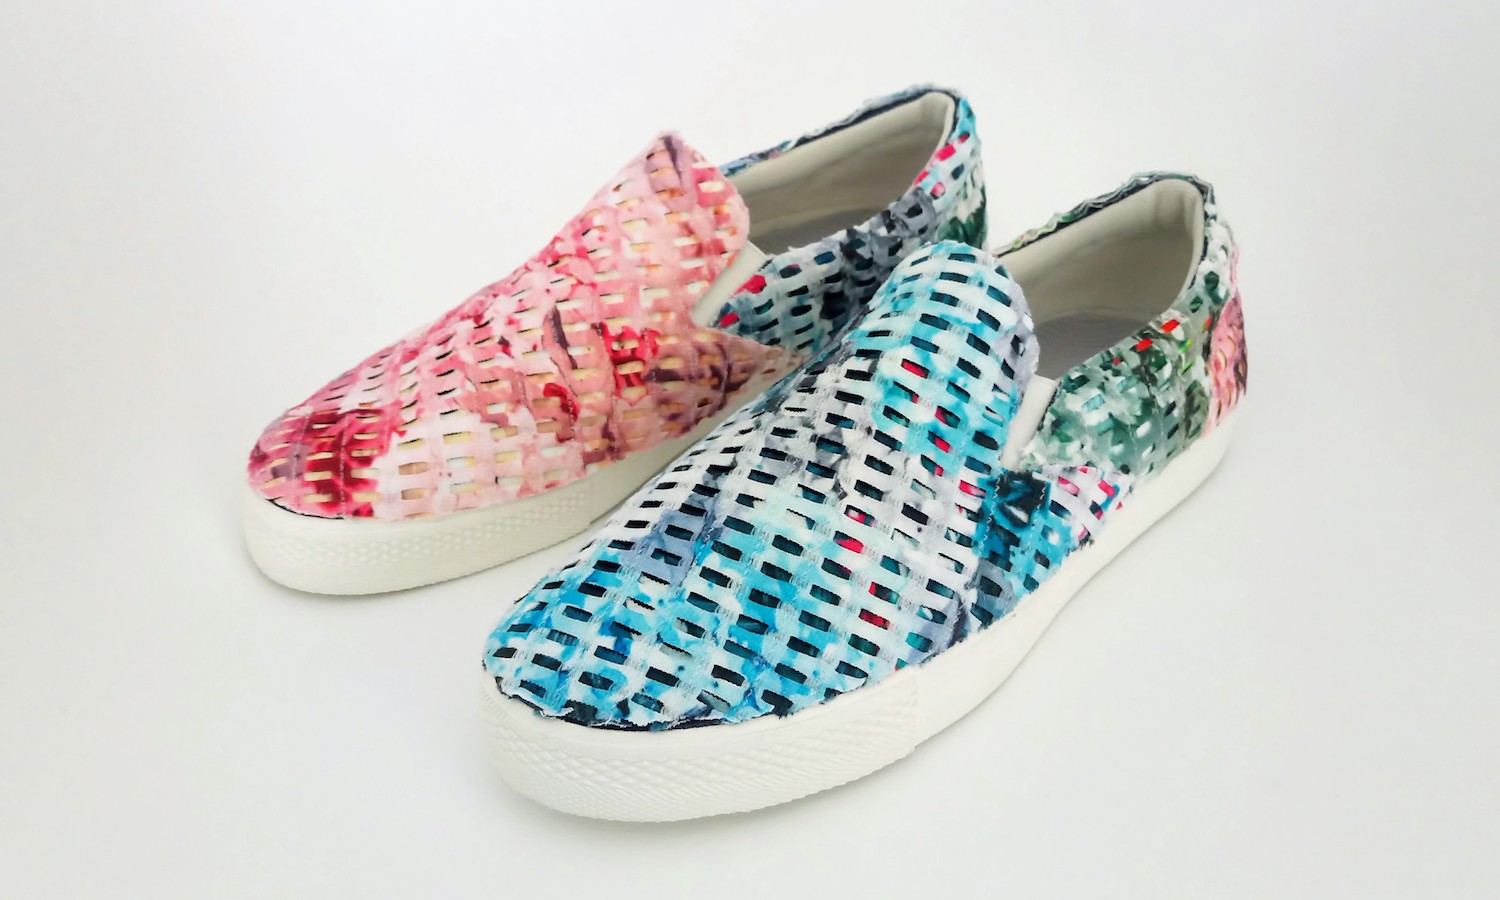
This pair of fabric collage shoes look fresh, stylish, and so comfortable to wear. The fabric collage covers were made with 6 pieces of perforated, printed synthetic fabric samples. They left bloody trails of destruction during its construction, but it’s all worth it for shoes this good-looking!

An already upcycled halter top is once again transformed into embellished halter top with fringe, lace, and sequin trim details. This top is perfect for social gatherings and dance parties!

Time to catch up with another long overdue DIY project! I had lots of fun upcycling this white shirt with lace ribbons on the bib area. The result is a more refined, yet still minimalist shirt. I LOVE IT!
I love upcycling textile waste and pre-owned materials into custom apparels and home decor. Based in San Francisco Bay Area. Creative adventurer since 2007. Find me on Instagram!