
Inspired by Rei Kawakubo’s take on cage dress trend during Comme des Garçons AW 2008-9 collection, I wanted to create a similar look, albeit with a few twists: delicate lingerie look and color combos inspired by a Alexander McQueen SS 2018 dress. The result is an enchanting cage dress that’s somewhat fragile yet bold, and I styled it with 80s influence of pearls and fingerless gloves.
I am so DELIGHTED to be part of The Refashioners 2018! Portia Lawrie of Makery graciously invited me to be part of this year’s refashioning movement, which she started in 2011.
The Refashioners aim to “challenge the global sewing community to look again at old and unwanted clothes. To look beyond the flaws and fugliness, and harness their creativity and sewing skills to bring out potential and breathe new life into old clothes.”
This year’s theme is “inspired by.” We started with an inspiration image (in my case, two or three) from fashion, film pop, or cultural icon as reference. We then try to recreate that look using unwanted garments – thrifted, second-hand, already owned or self made. Only 20% of the final garment can be added from new fabrics or notions.
Throughout September, sewing bloggers all around the world are posting their “inspired by” refashion projects, and there are community challenge with fabulous prizes you can participate in until the end of October!
Check out any Refashioners 2018 posts on Makery for more details. I’m really honored to be in the company of super talented sewing bloggers in The Refashioners 2018. Do check out their creations; you will definitely be inspired!
Of course, I hope to also encourage your refashioning mojo with my “inspired by” garment. So let’s dive into it!
Subscribe to my newsletter
My Inspiration(s)
It’s nice to have freedom for inspirations, so I was really happy to have several of them.
My main inspiration is a cage dress from Comme des Garçons Autumn/Winter 2008-9 “Good Taste / Bad Taste” collection. This dress has been on my mind since I went to see Rei Kawakubo’s Met exhibition in New York. The dress is awesome – its bottom half simply captivated me. For a while now, I wanted to see if I can recreate it.

My second inspiration is related more to colors and styling. It’s a Alexander McQueen Spring/Summer 2018 cage-like dress that I saw on Vogue, March 2018. The 80s styling, as well as the pink colors look fun.

Last but not least, I was also inspired by Cyd Charisse in 1957 movie “Silk Stockings.” She was sheer perfection, with her poetic limbs and delicate crinoline lingerie wear. Gorgeous!
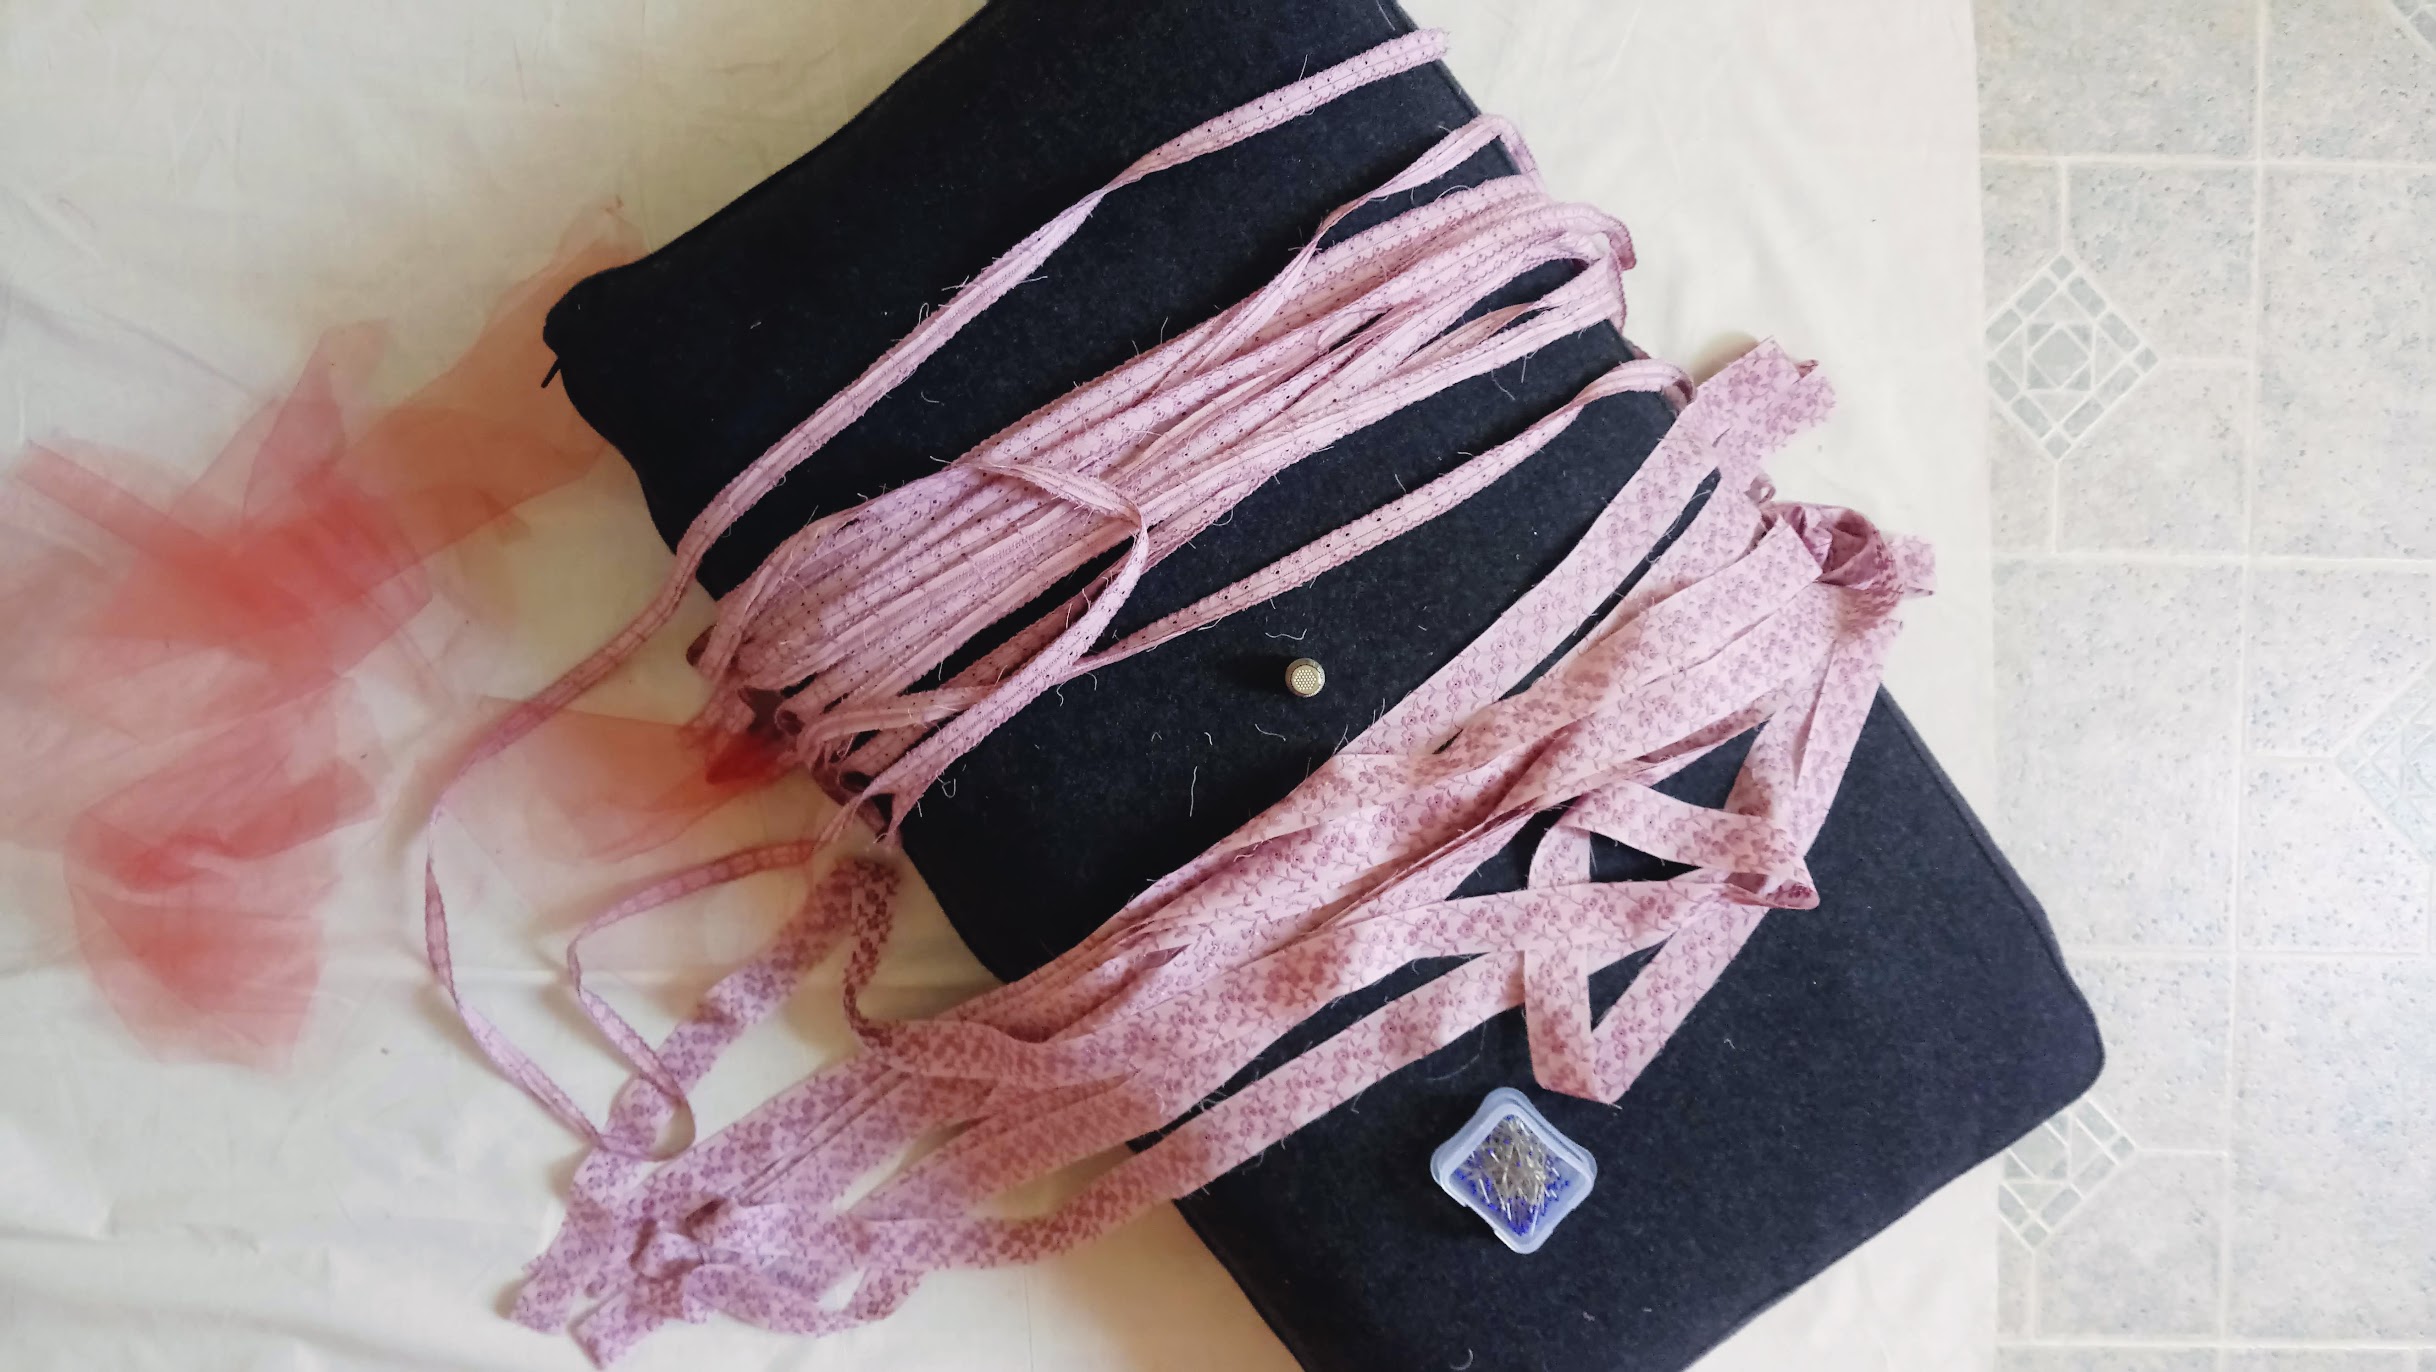
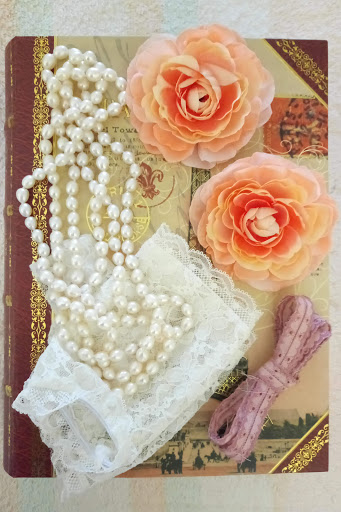
Materials for Bubblegum Dreaming Cage Dress
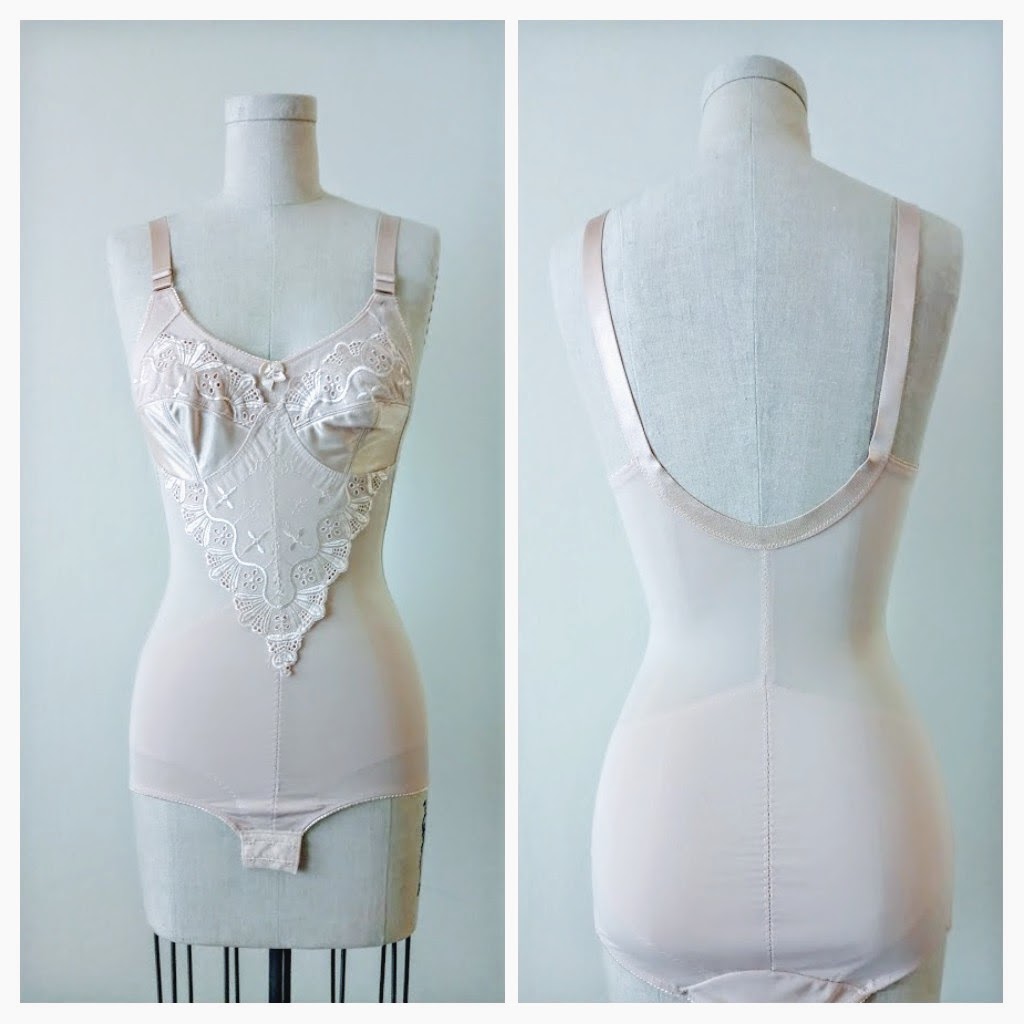
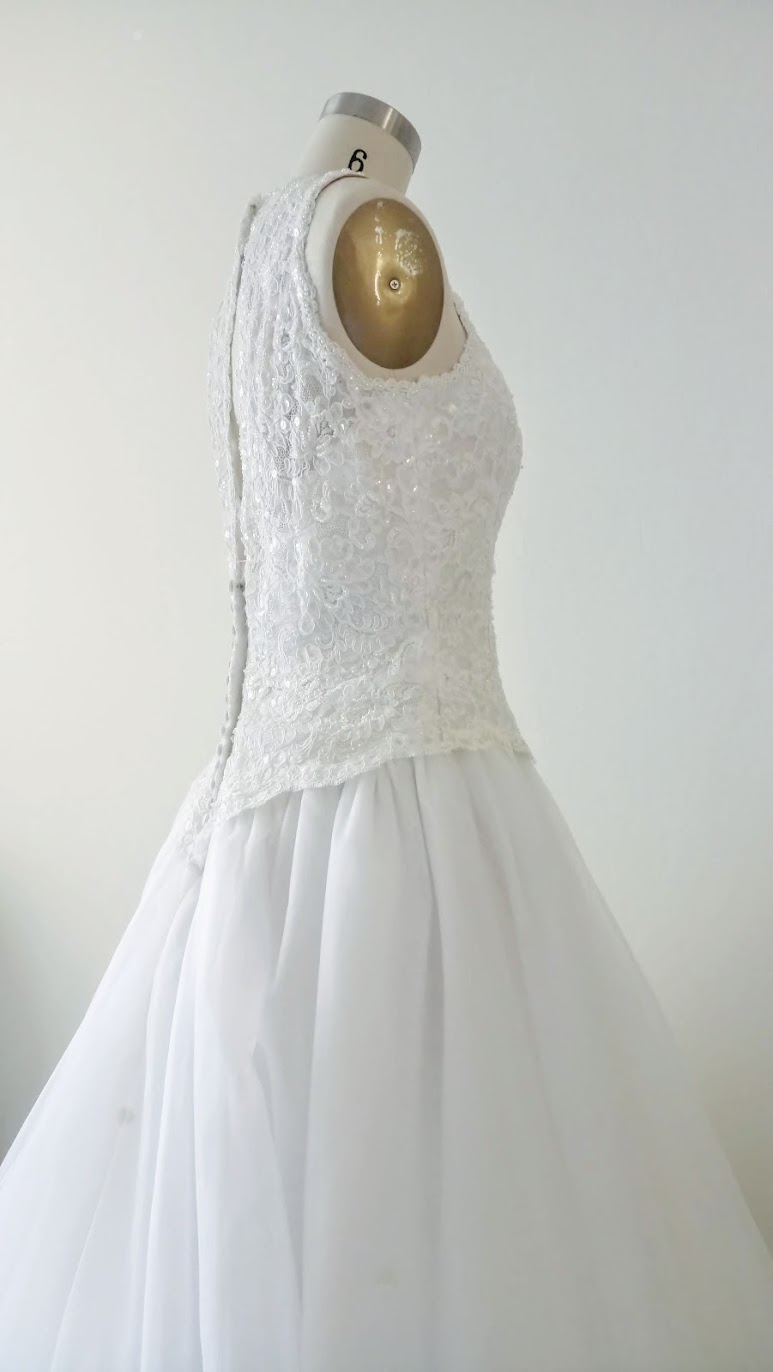
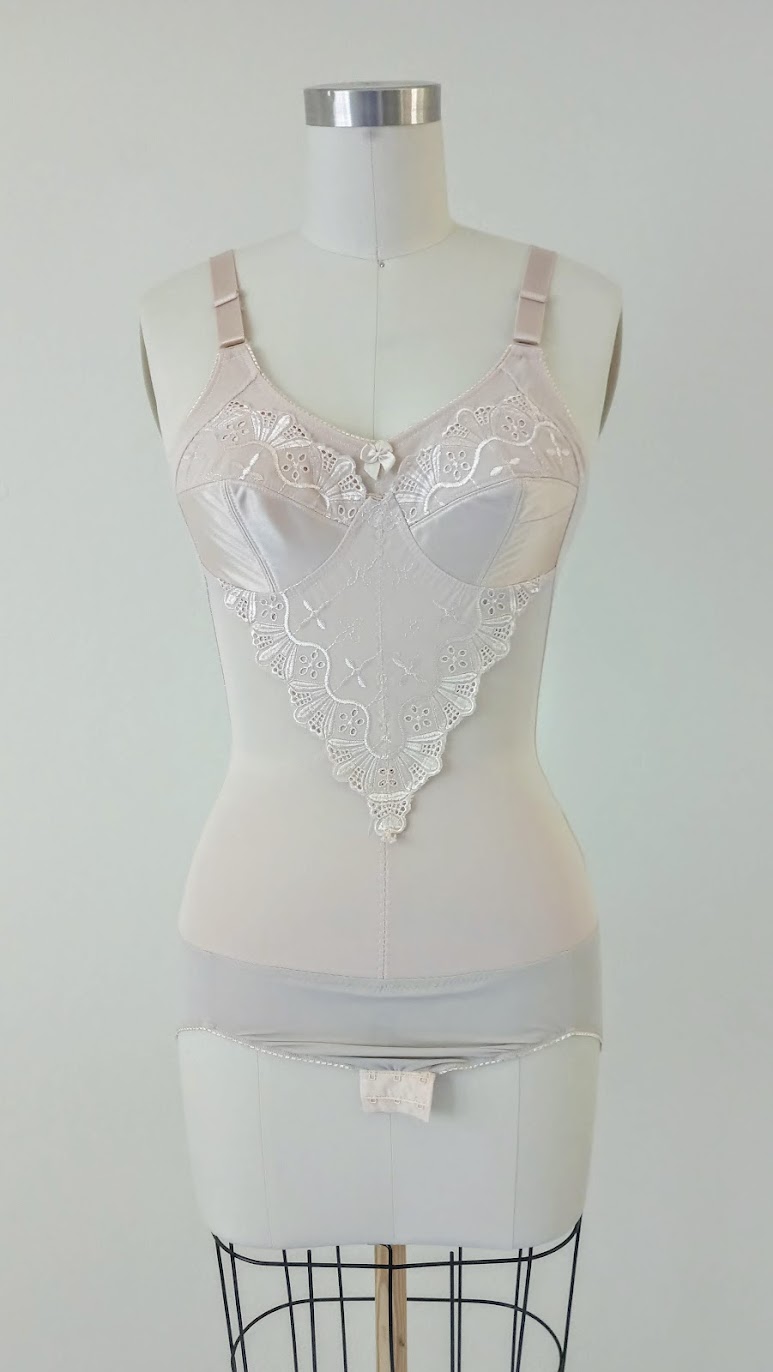
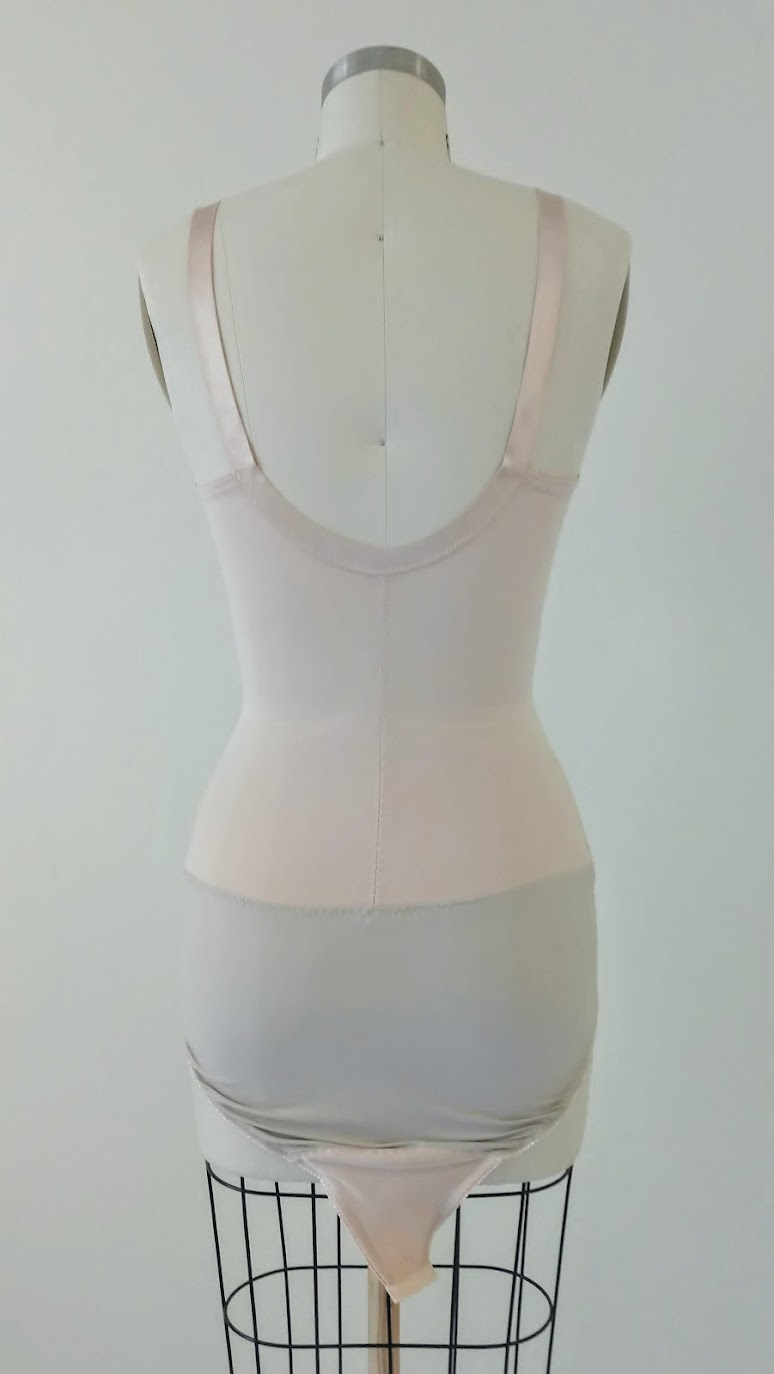
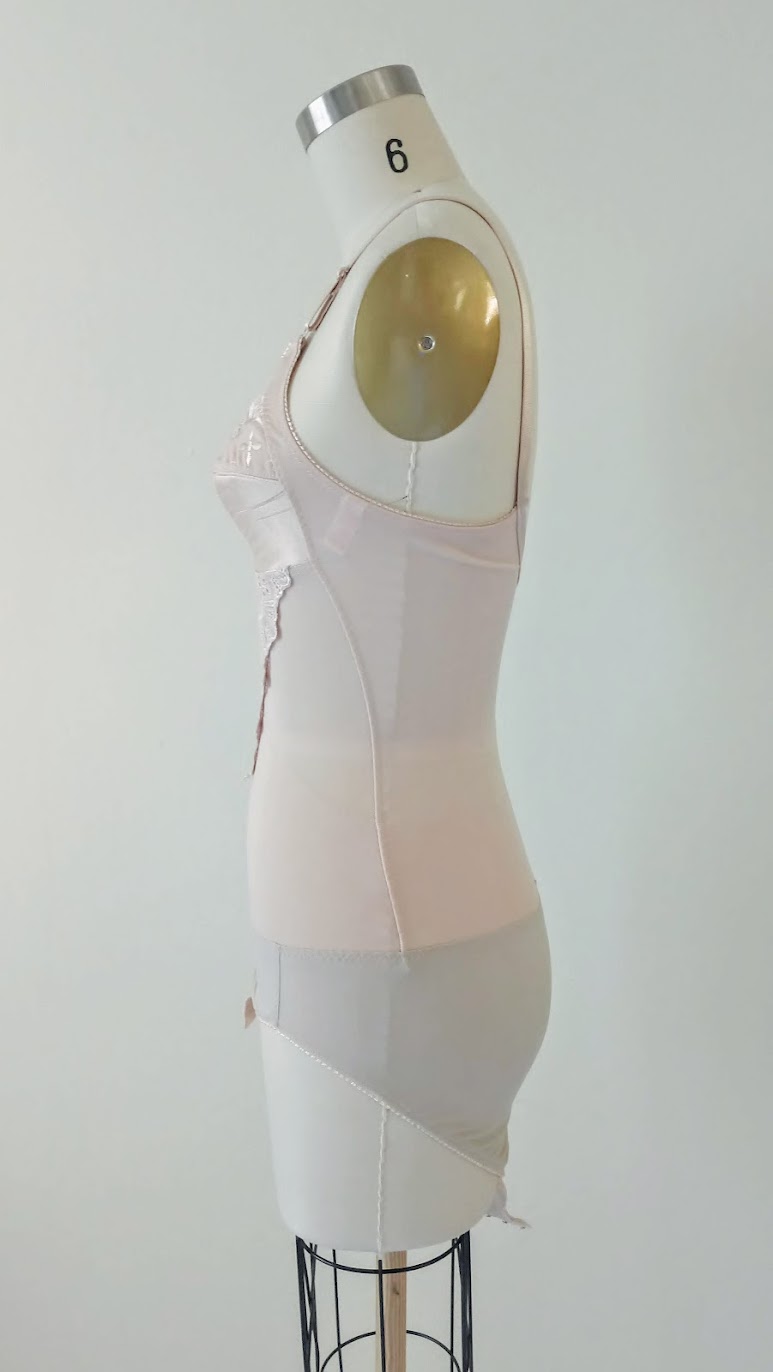
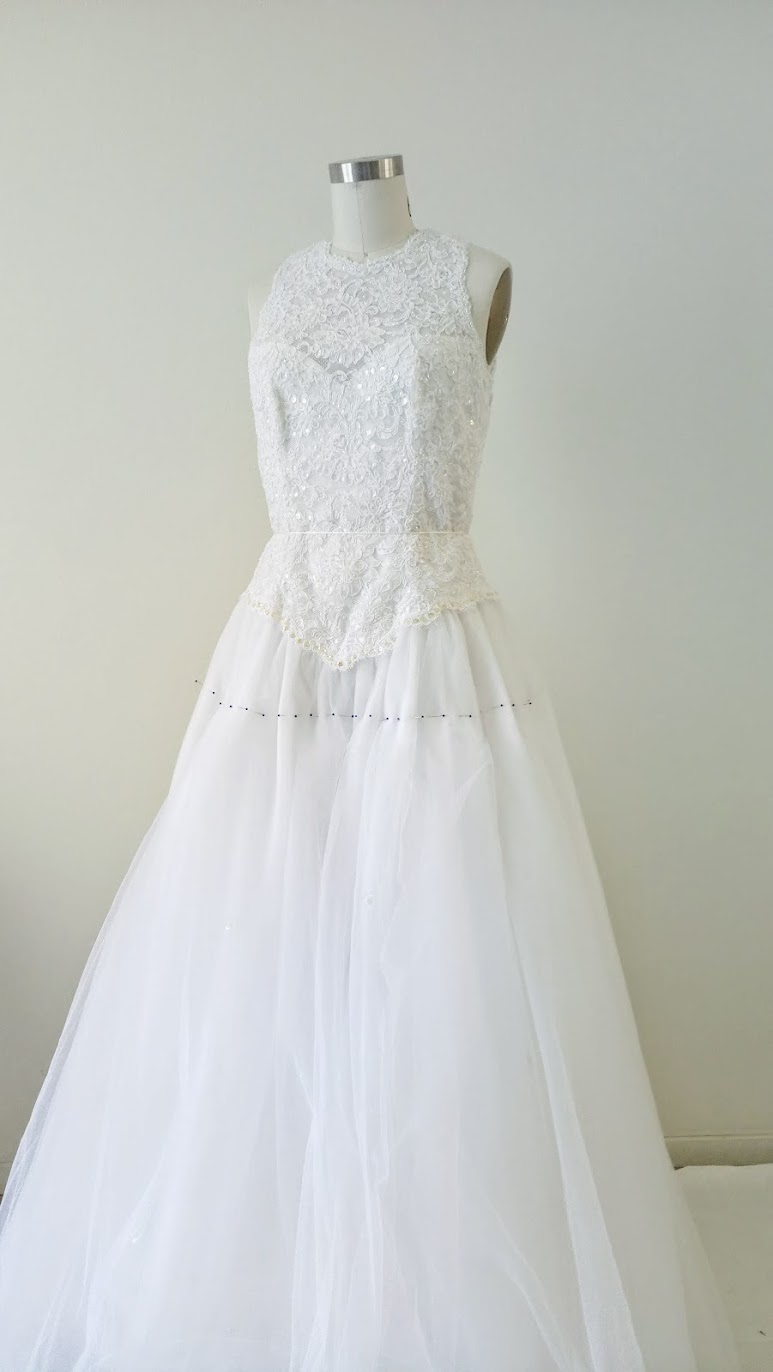
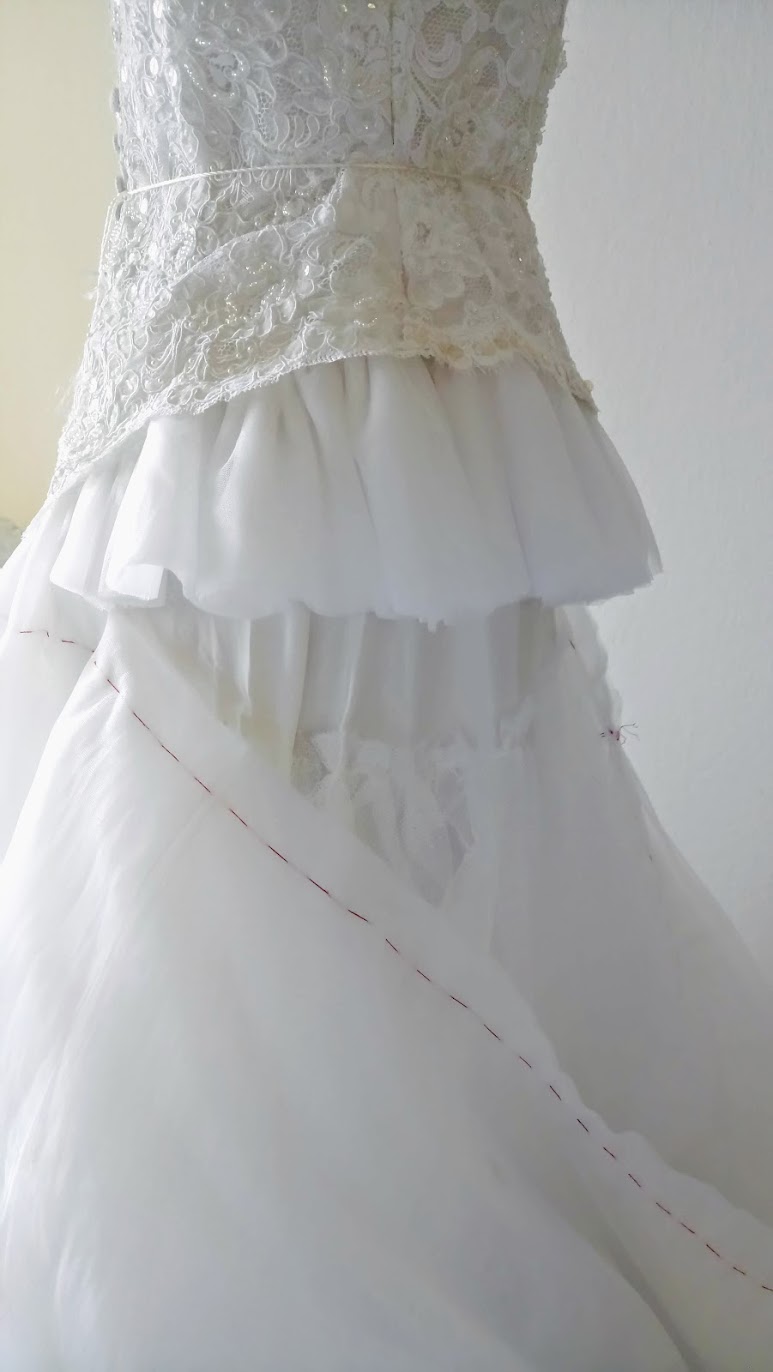
A. Old garments – thrifted / owned: body suit, old panty, wedding dress (pictured right)
The body suit is vintage JC Penney, and it’s a bit too short for me as-is.
The wedding dress seemed like a knock-off of House of Bianchi. Why knock-off? Well… the inside construction looked rather sloppy, not befitting of the once legendary bridal house. But that’s good, otherwise I’d feel so very guilty to cut up a gorgeous wedding dress.
B. Reclaimed textiles: 2” cotton eyelet ribbon (approx. 10 yards) and 6” nylon tulle strip (20 yards)
I rescued these notions from a fashion designer friend, who first saved it from a fashion school. As a DIY Fashion maker and sewist, I find it astounding how many unused notions are available for free or very cheap in my local area. I seldom need to purchase new materials!
For this Refashioners 2018 project, I used my trusty Brother CS6000i model sewing machine, Schmetz Microtex Needle Size 80/12, as well as reclaimed threads and hand sewing needles I got from estate / garage sales.
Process Overview
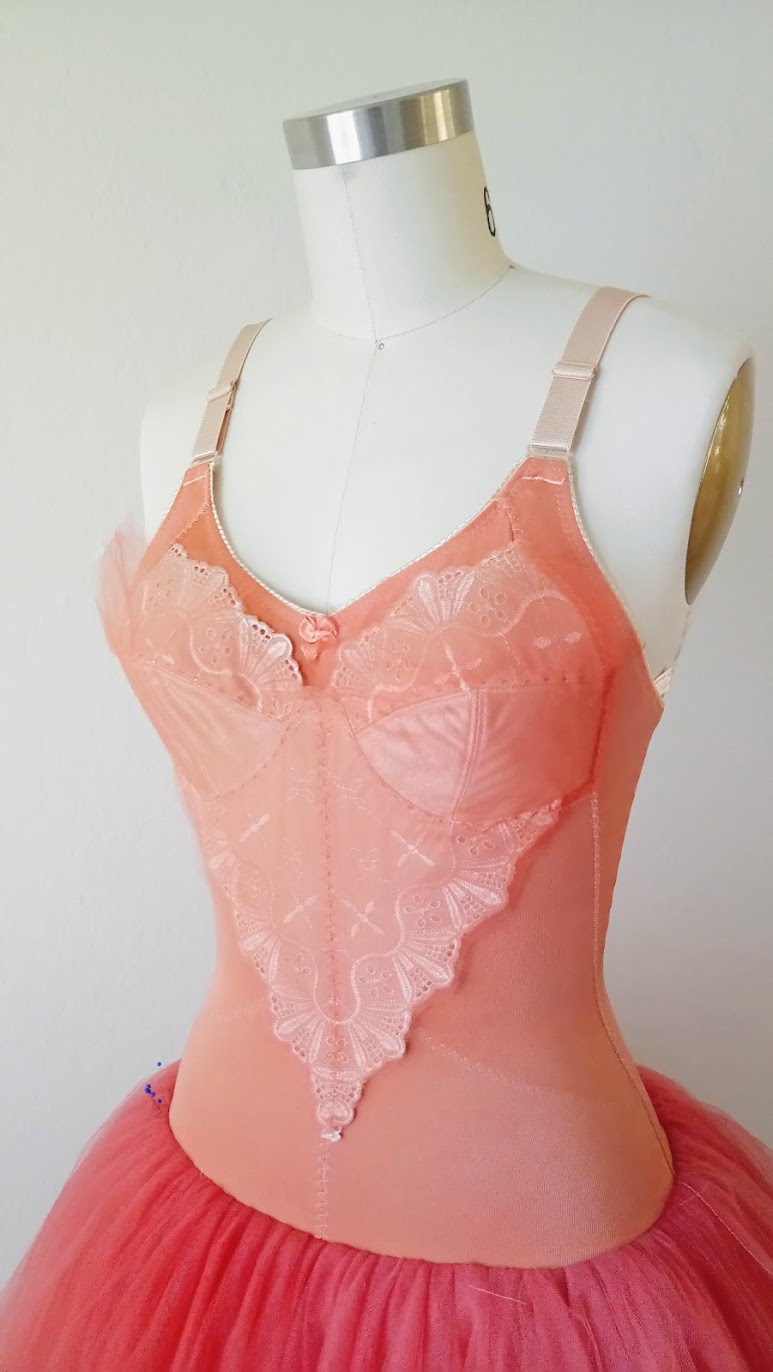
1. Fix the bodysuit
The first thing I did was elongating the bodysuit. I used an old panty to add the extra length. The process was quite straightforward – cut the bottom of the bodysuit, attach the panty, and refinish the edges.
Color matching was not so much an issue. The most important thing was to make sure the seam line way at least 0.5-1 inch below the seam line where the wedding dress’ skirt is going to be attached.
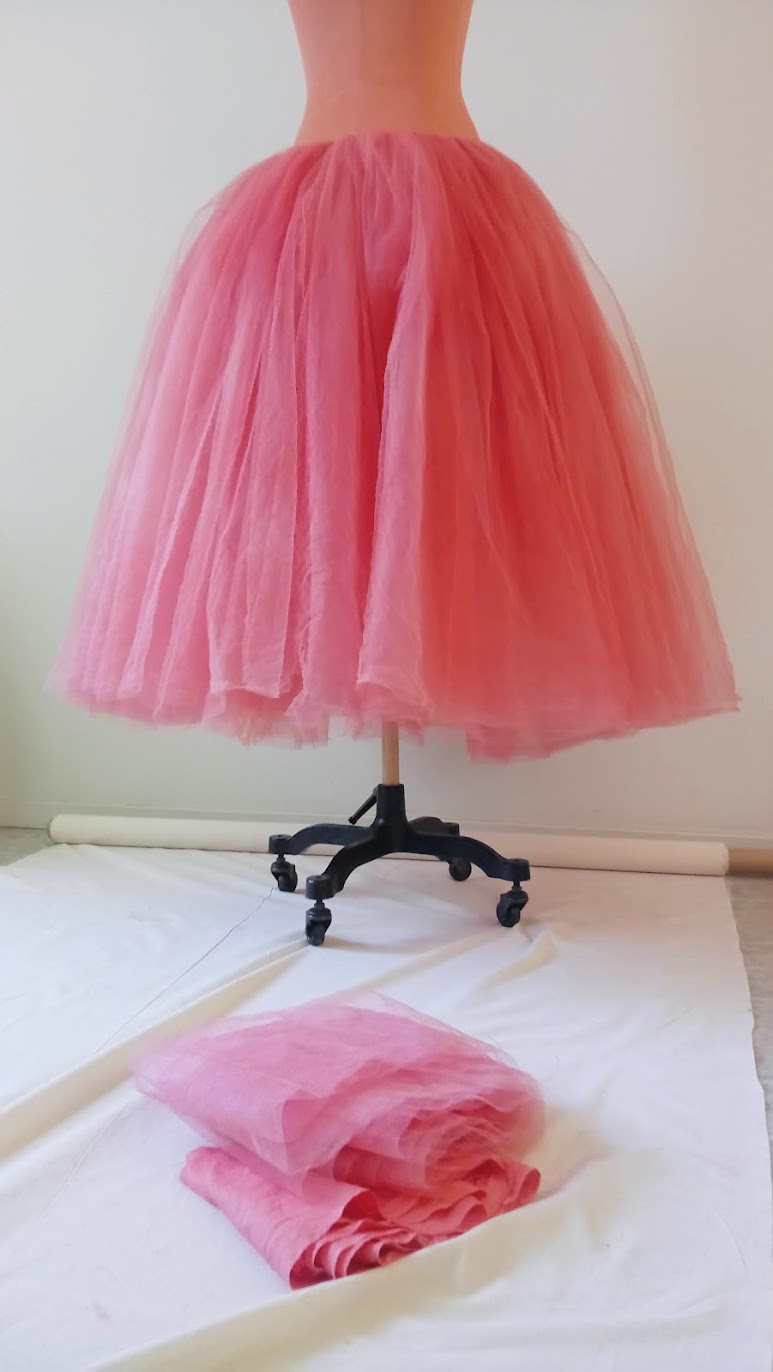
2. Cut and dye the tulle skirt out of the wedding dress
Working on the wedding dress was next. After measuring the length I needed, I slowly leveled the wedding dress’s hem line, and cut the massive skirt (all 8 layers of them, plus crinoline).

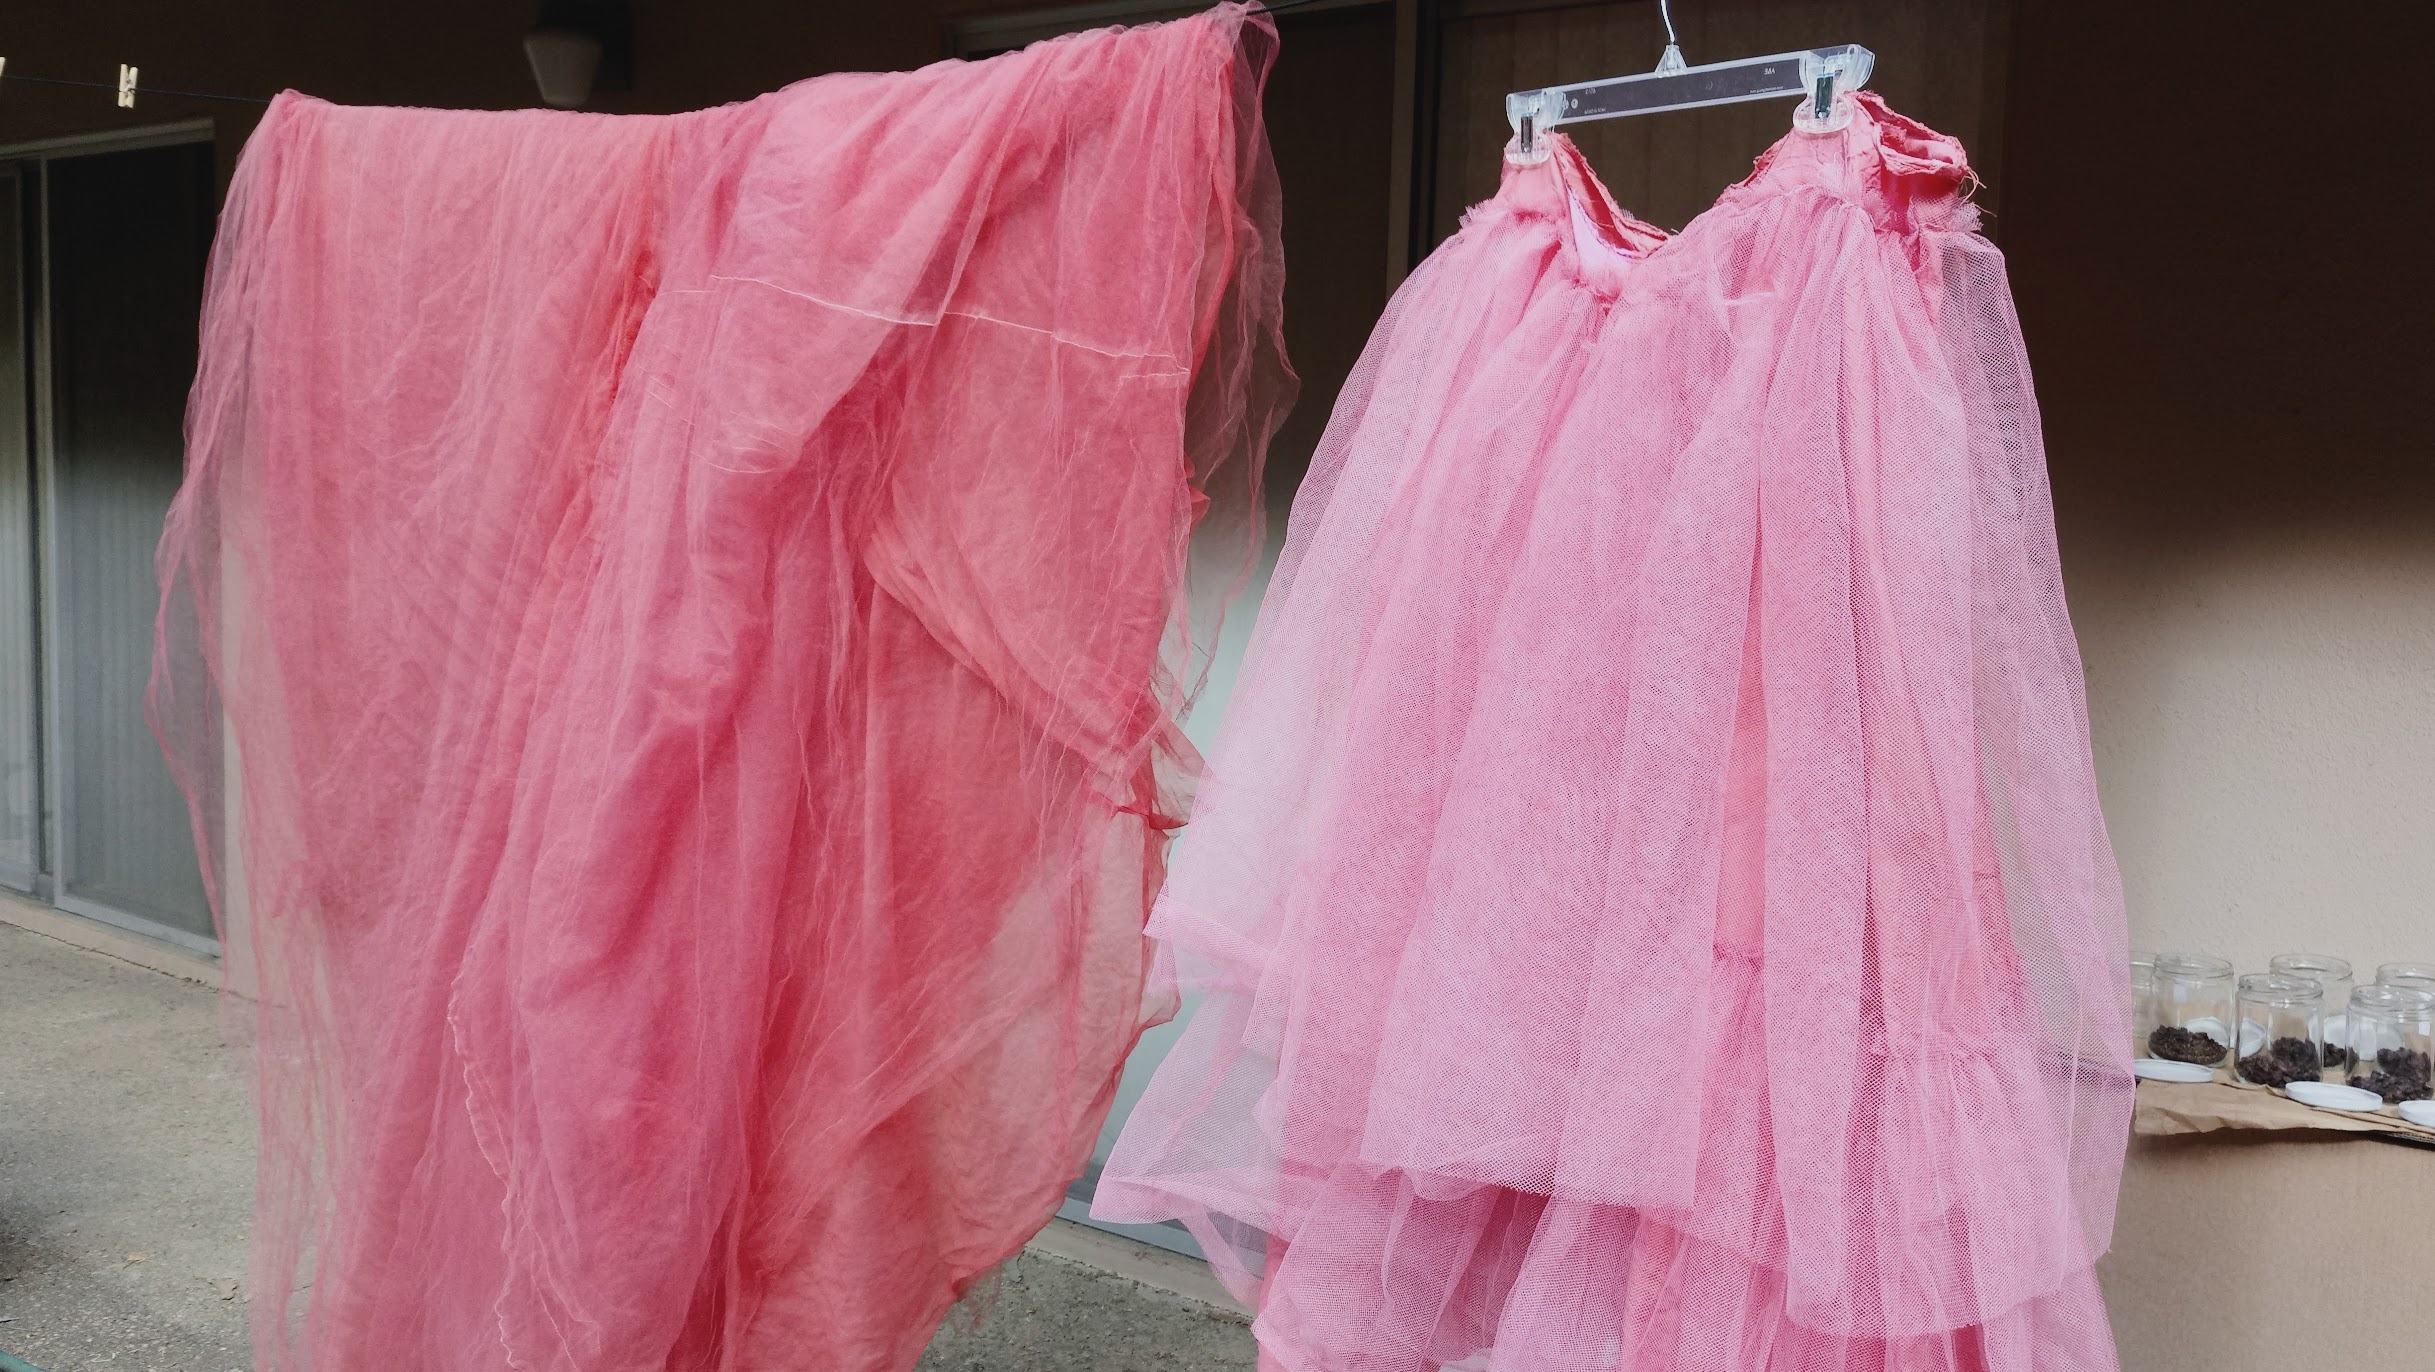
From here, there’s a whole struggle about dyeing the white skirt (7 tulle layers and crinoline) and bodysuit the color I wanted – light pink, like the Alexander McQueen dress. There were some mishaps and valuable lessons learned, but that’s a story for another day.
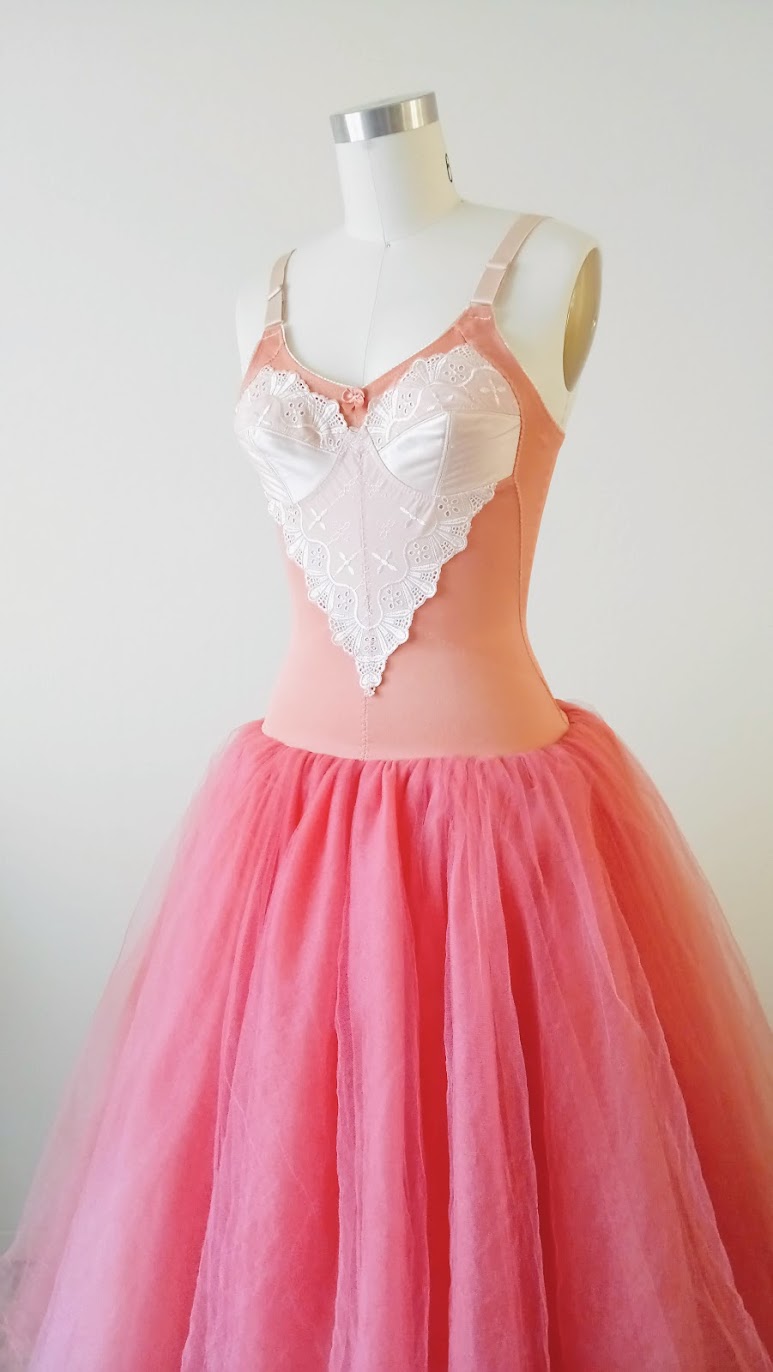
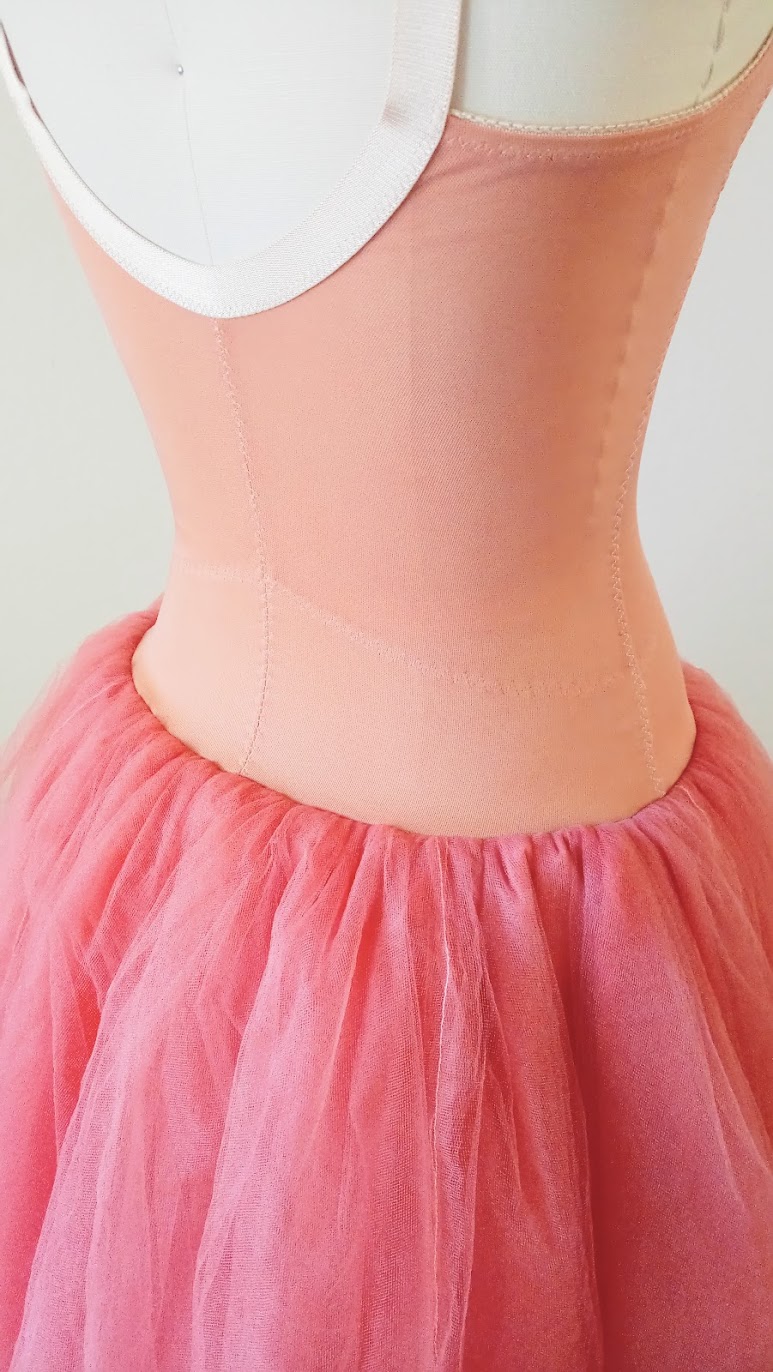
Fast forward to the point when I got my bodysuit dyed apricot orange, crinoline bubblegum pink, and the tulle skirt layers flamingo red.
3. Attach crinoline and tulle layers to bodysuit
Next, I attached the crinoline to the bodysuit.
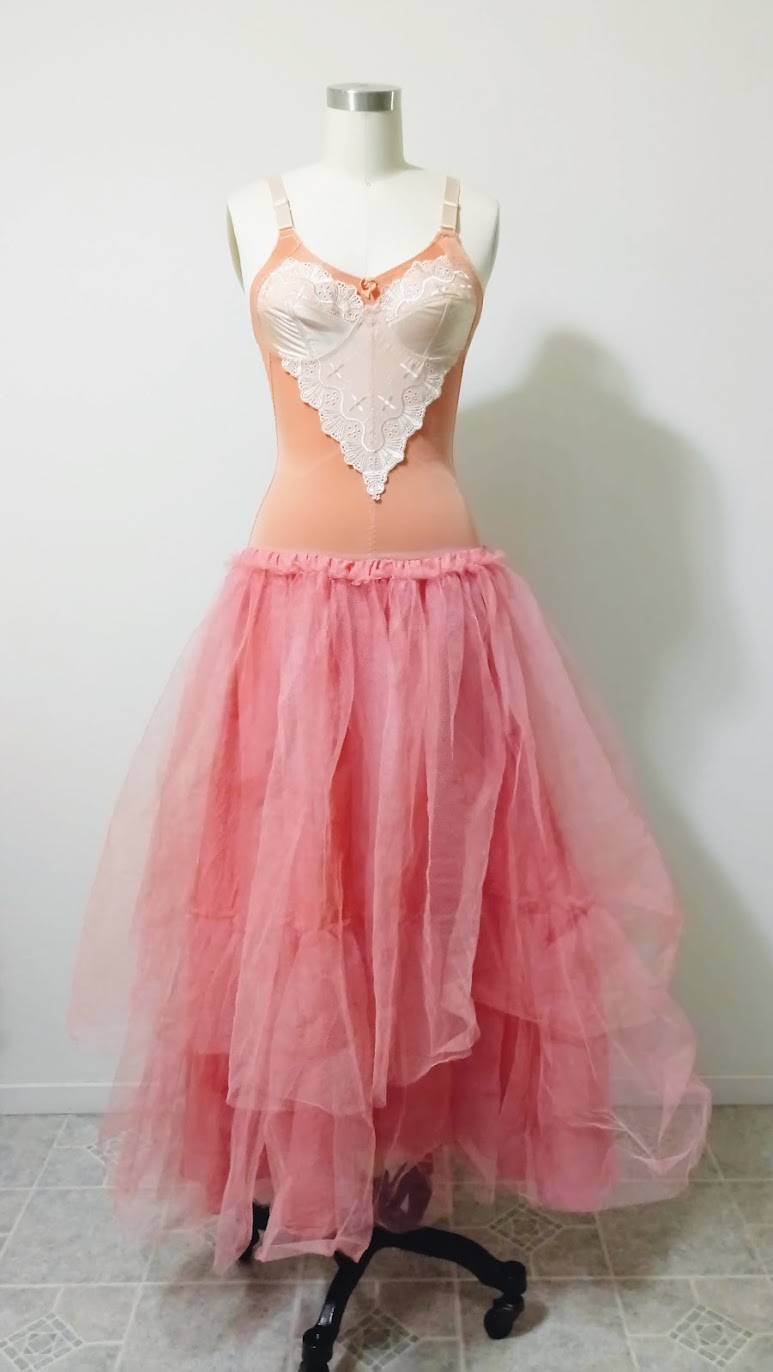
The next step was the most daunting step of all… attaching the tulle skirt layers to the bodysuit. During this step, I did the setup and sewing very slowly. I could barely see my sewing machine when I did this.
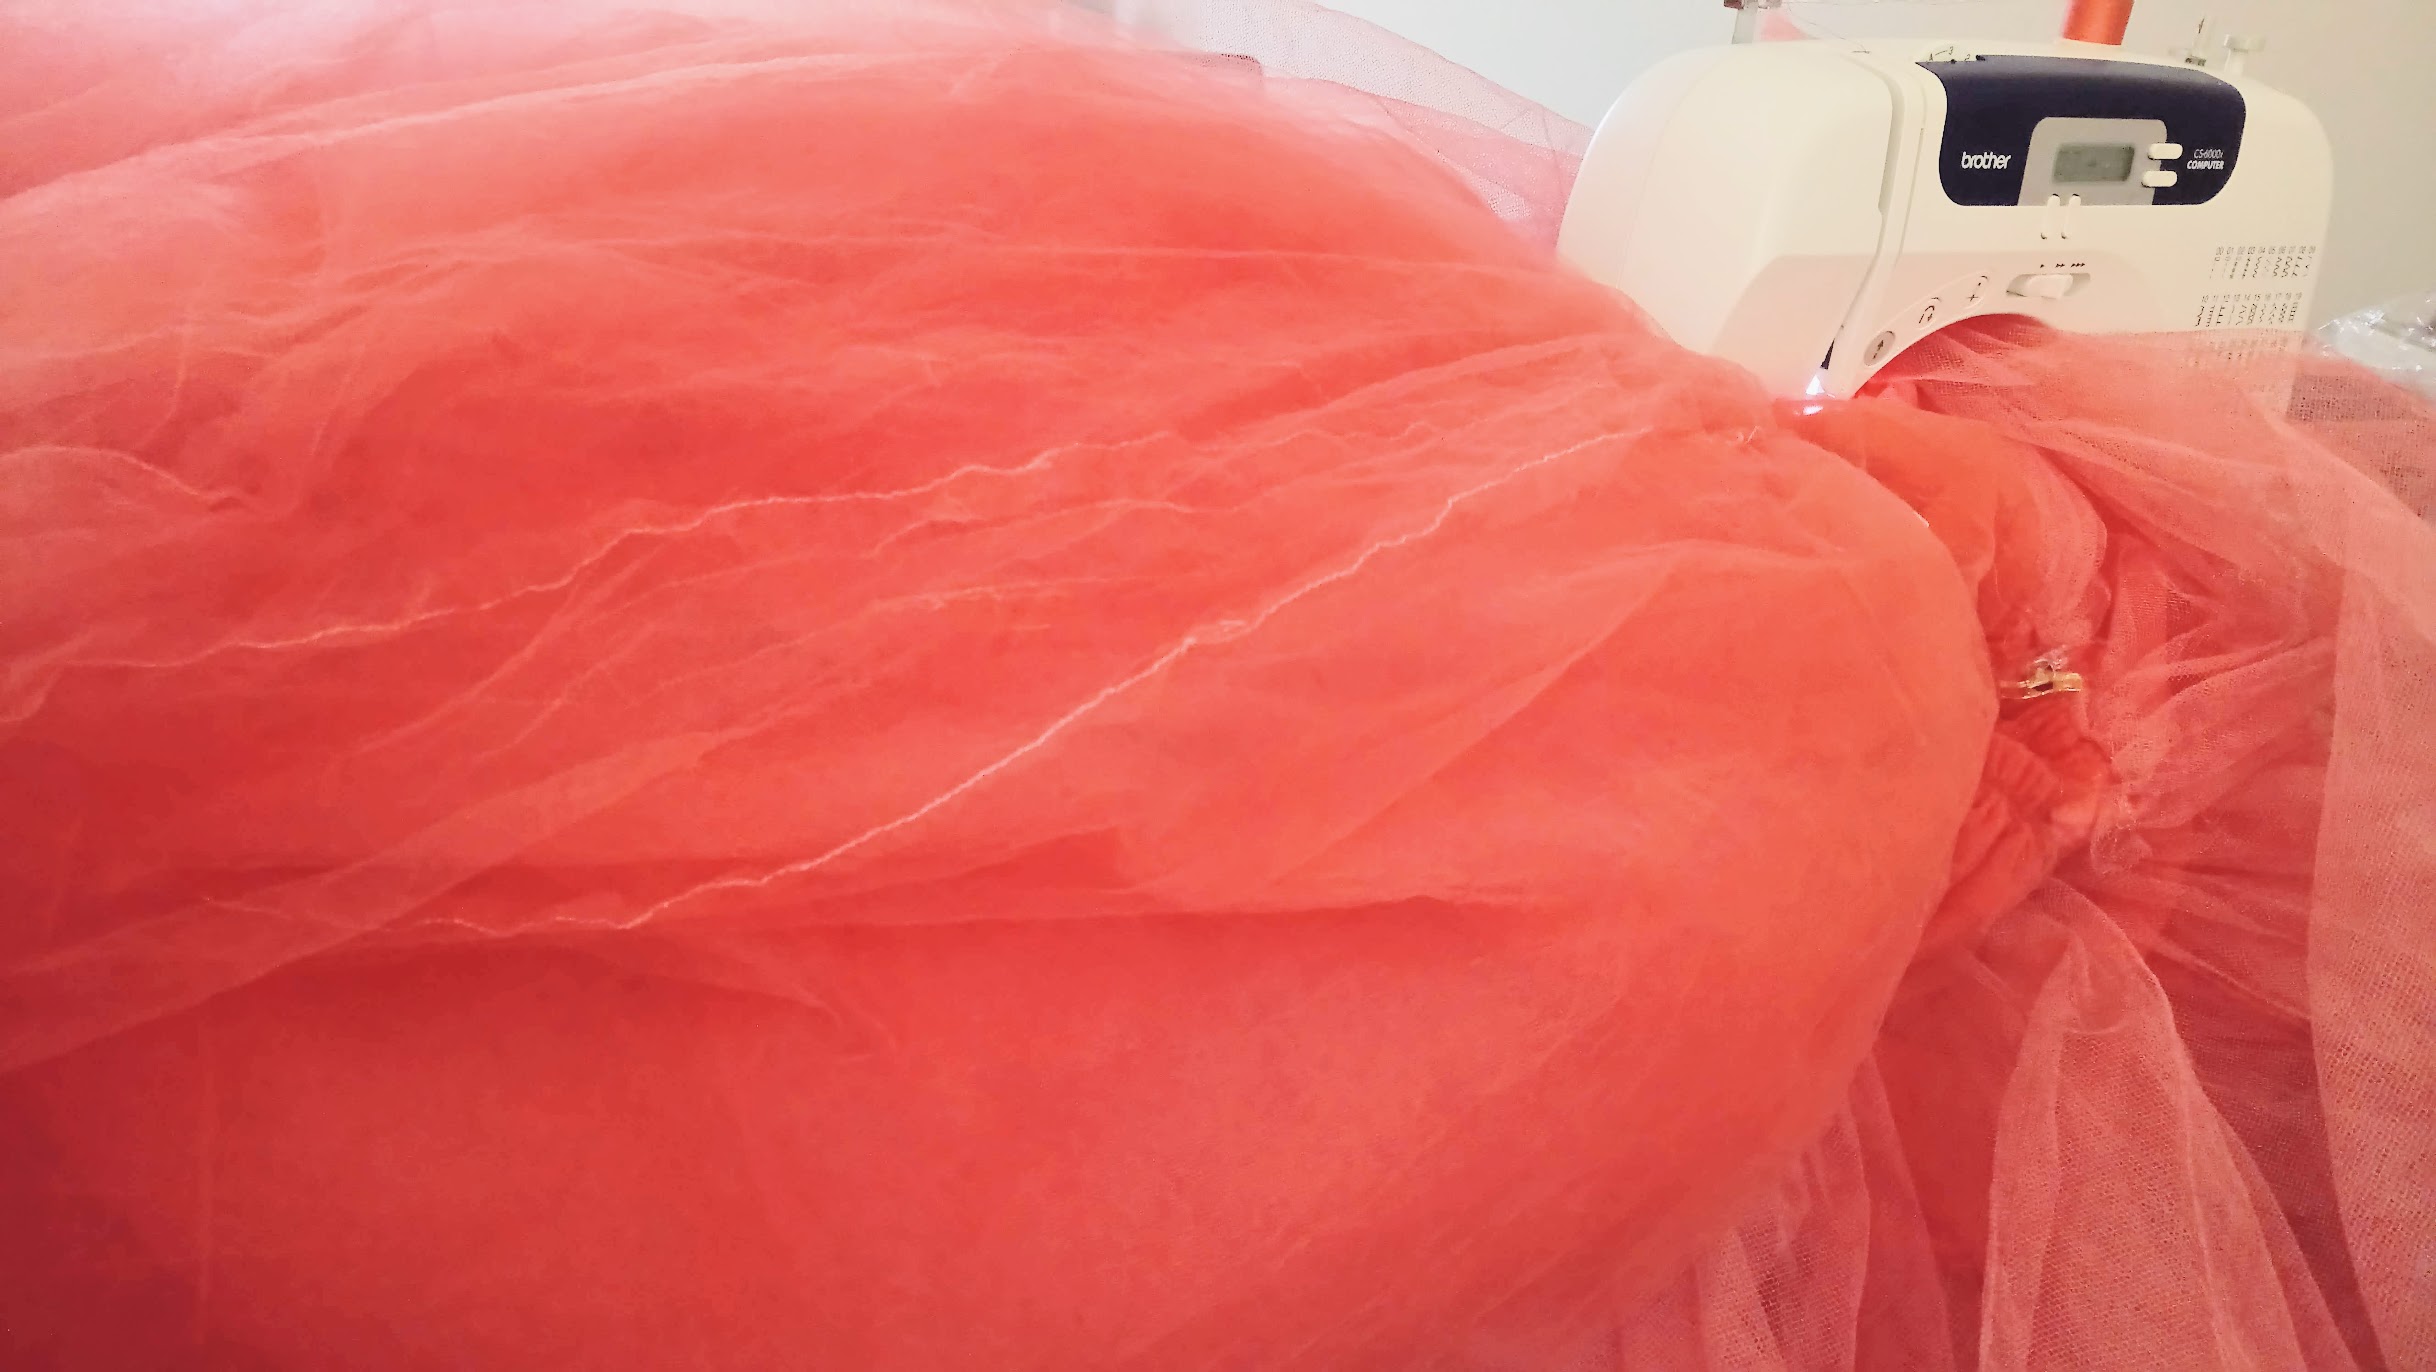
Thankfully, my patience paid off and the tulle skirt layers were successfully attached neatly to the bodysuit. Wooo!!!
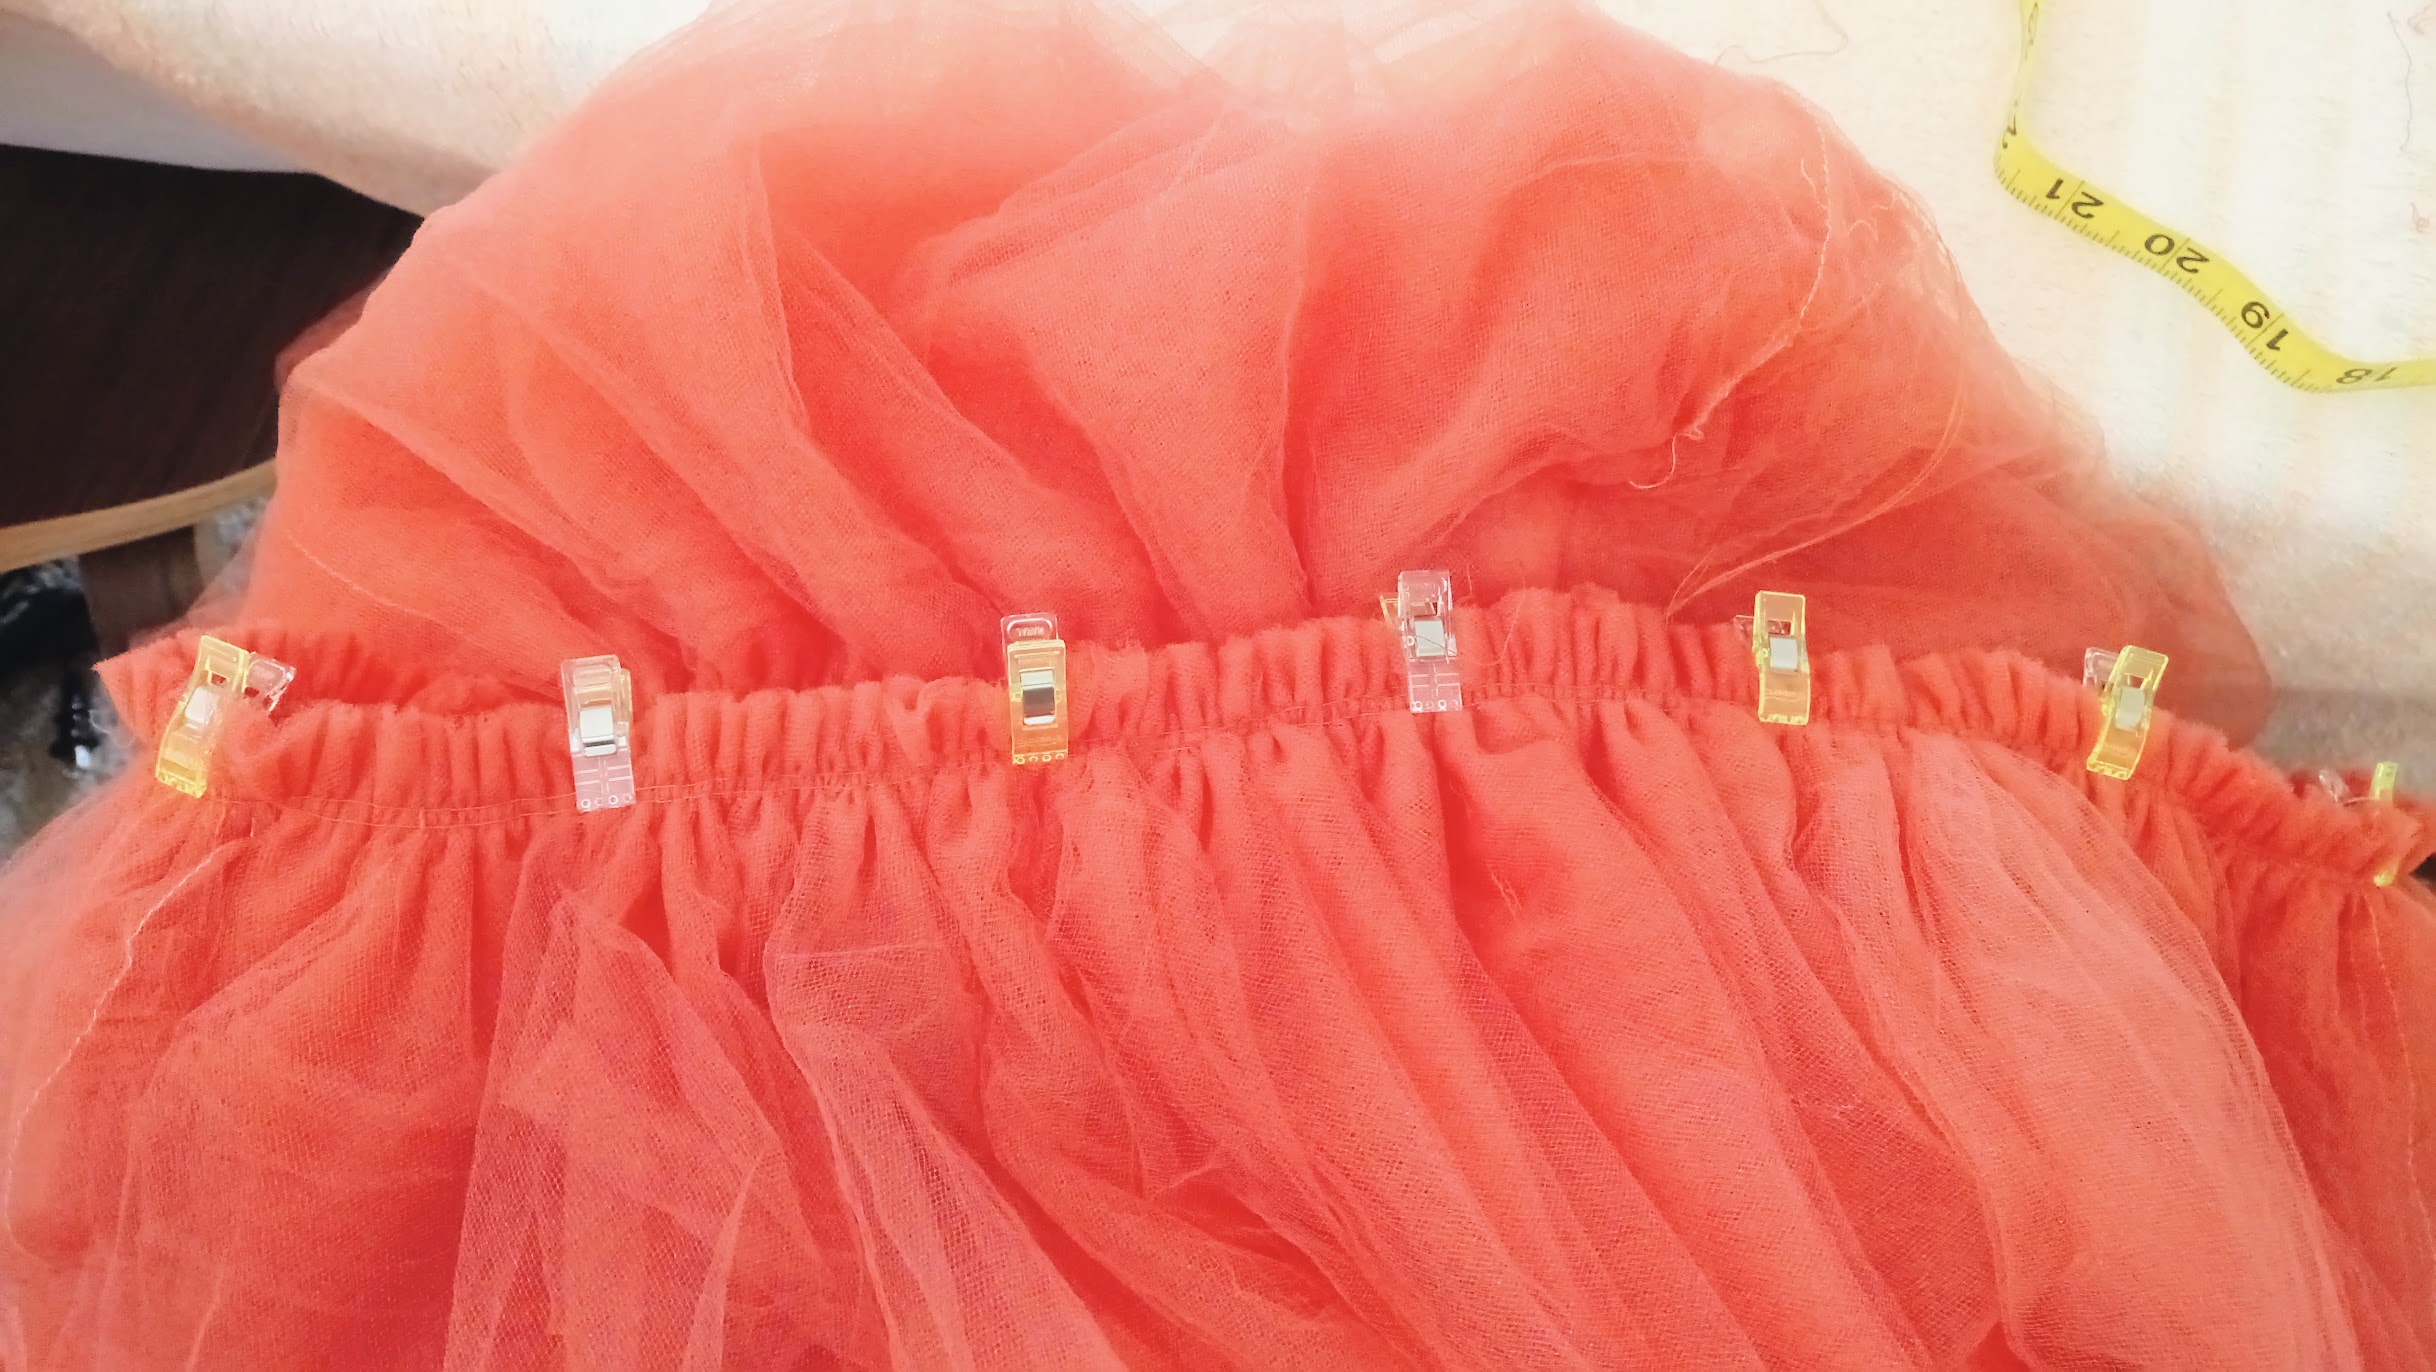
The crinoline needed additional paddings near my thighs. So I pulled an all nighter adding a the nylon tulle strips all around the crinoline.
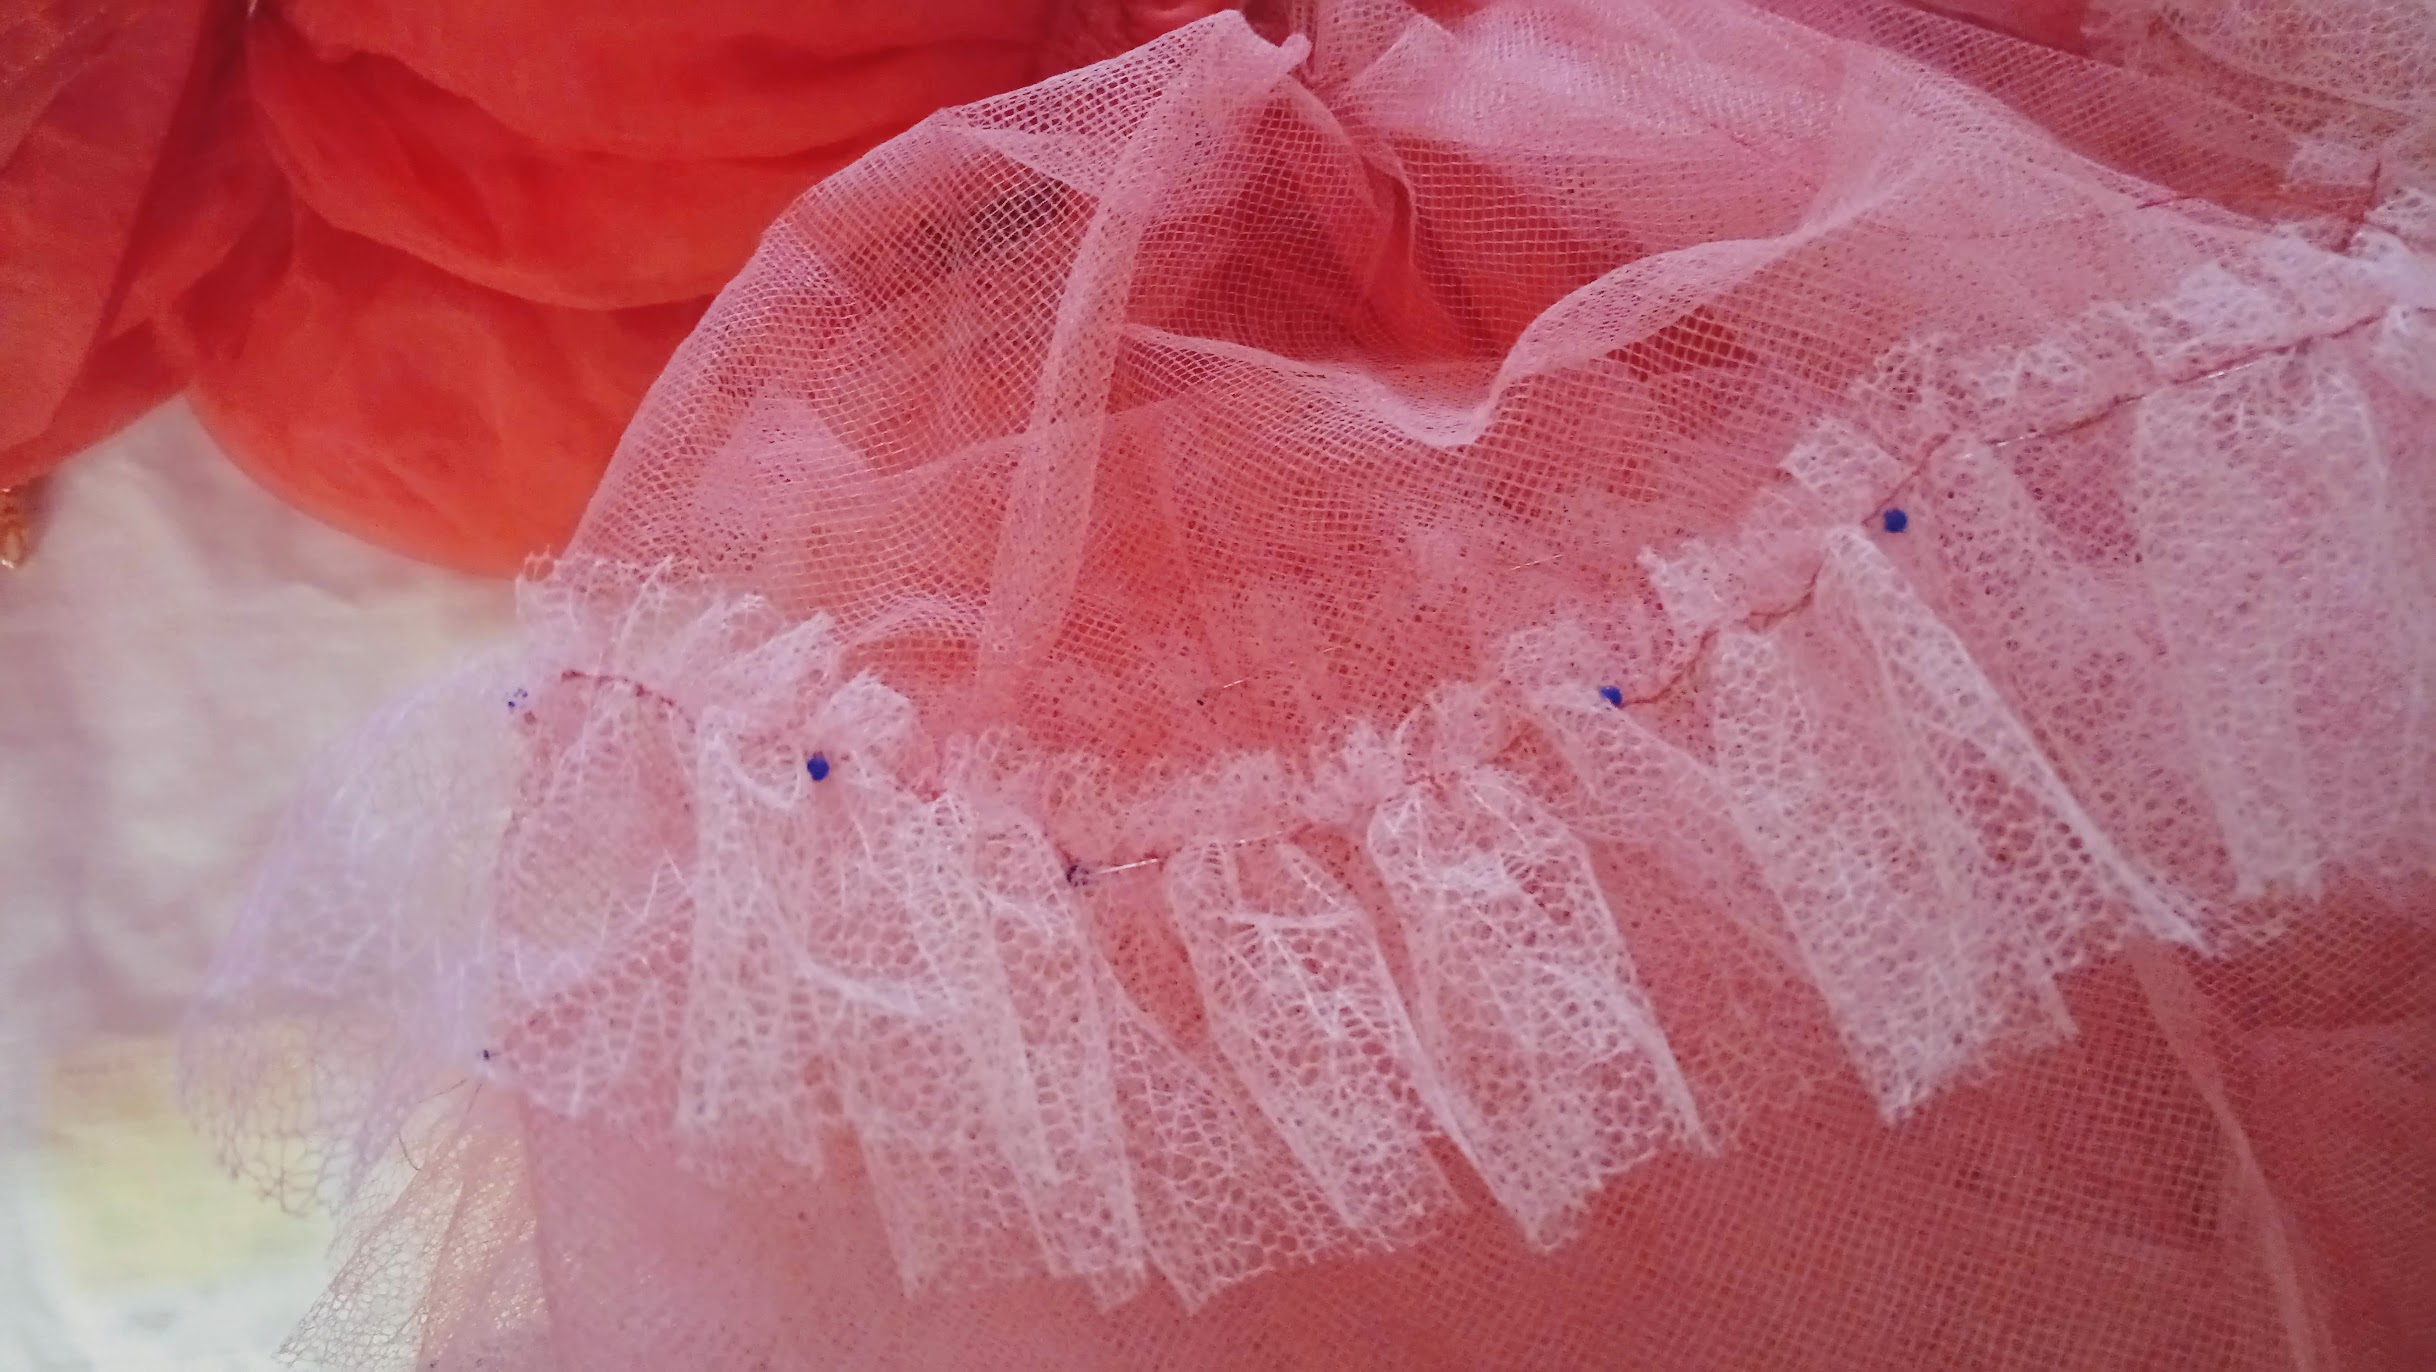

Once that’s done, I made additional ruffles from the excess tulle layers. Then I sewed them on top of the previously added nylon ruffles.

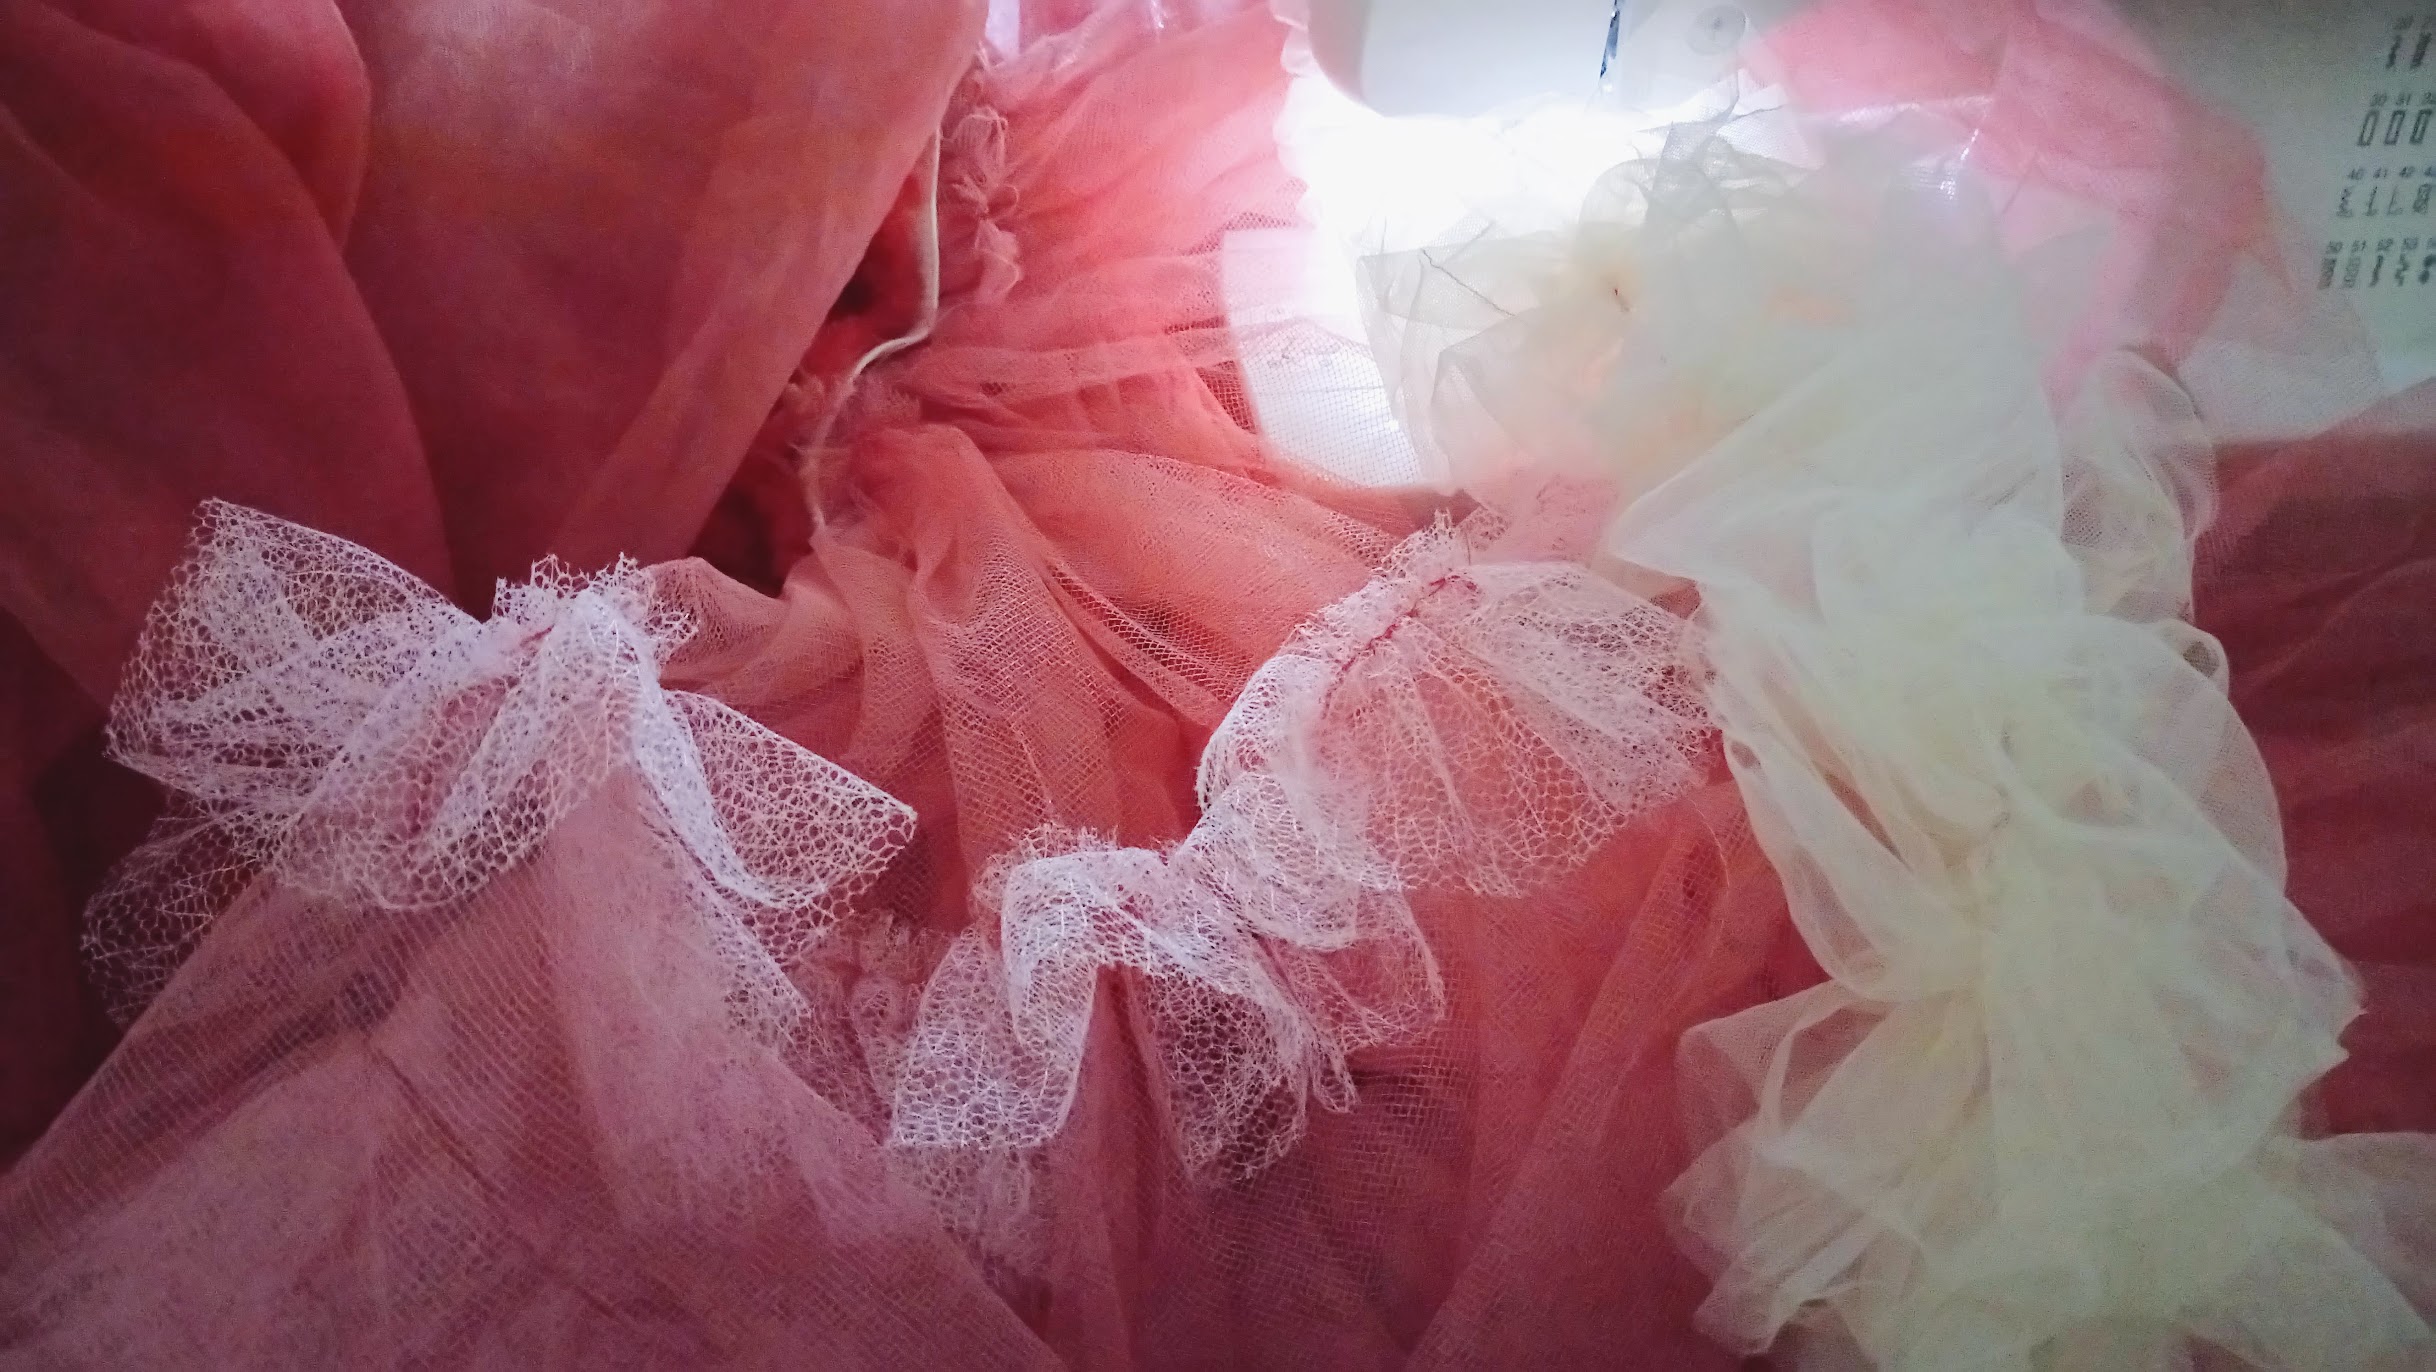
Once all that were done, the skirt is definitely more pouffed up and ready to be “molded” into a cage dress! The buffs on the crinoline raised the hemline of the dress a little bit. So I took this chance to even out the hemline more with a pair of fabric scissors.
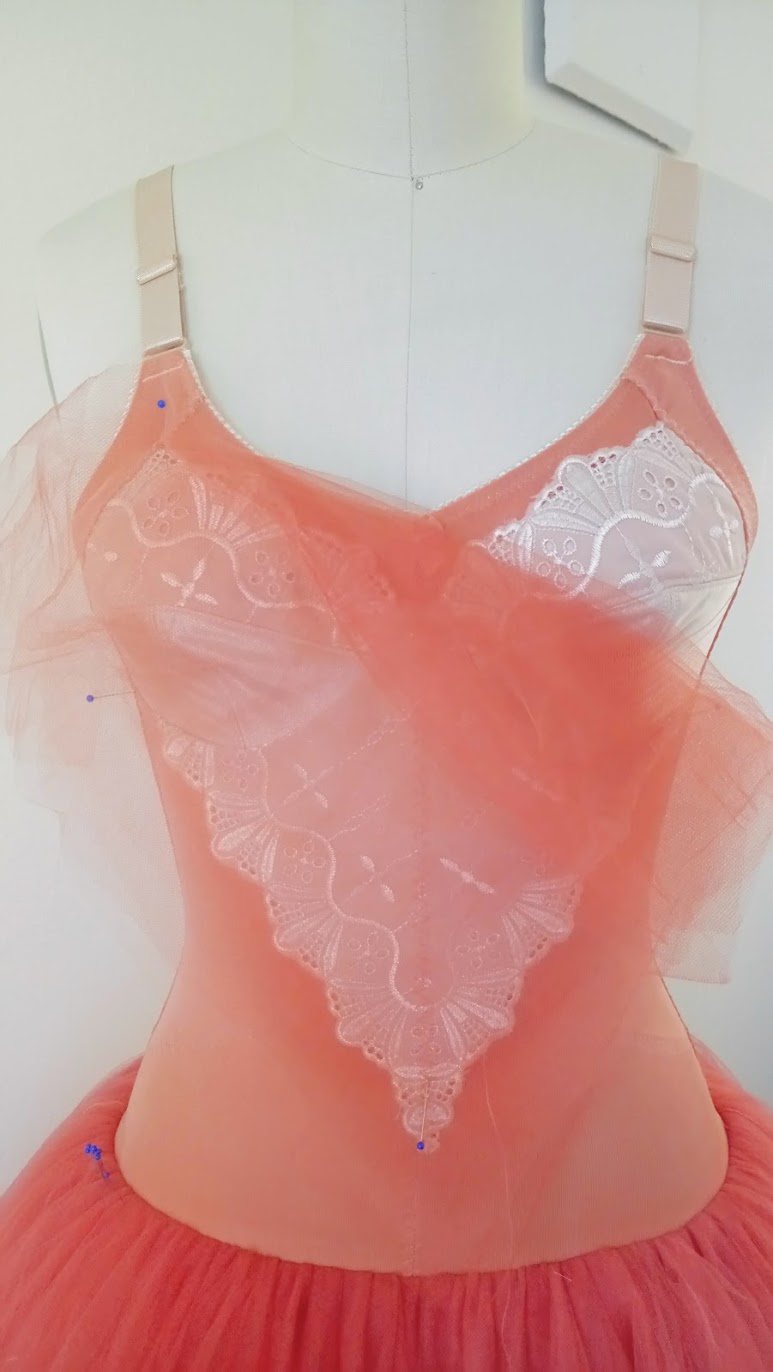
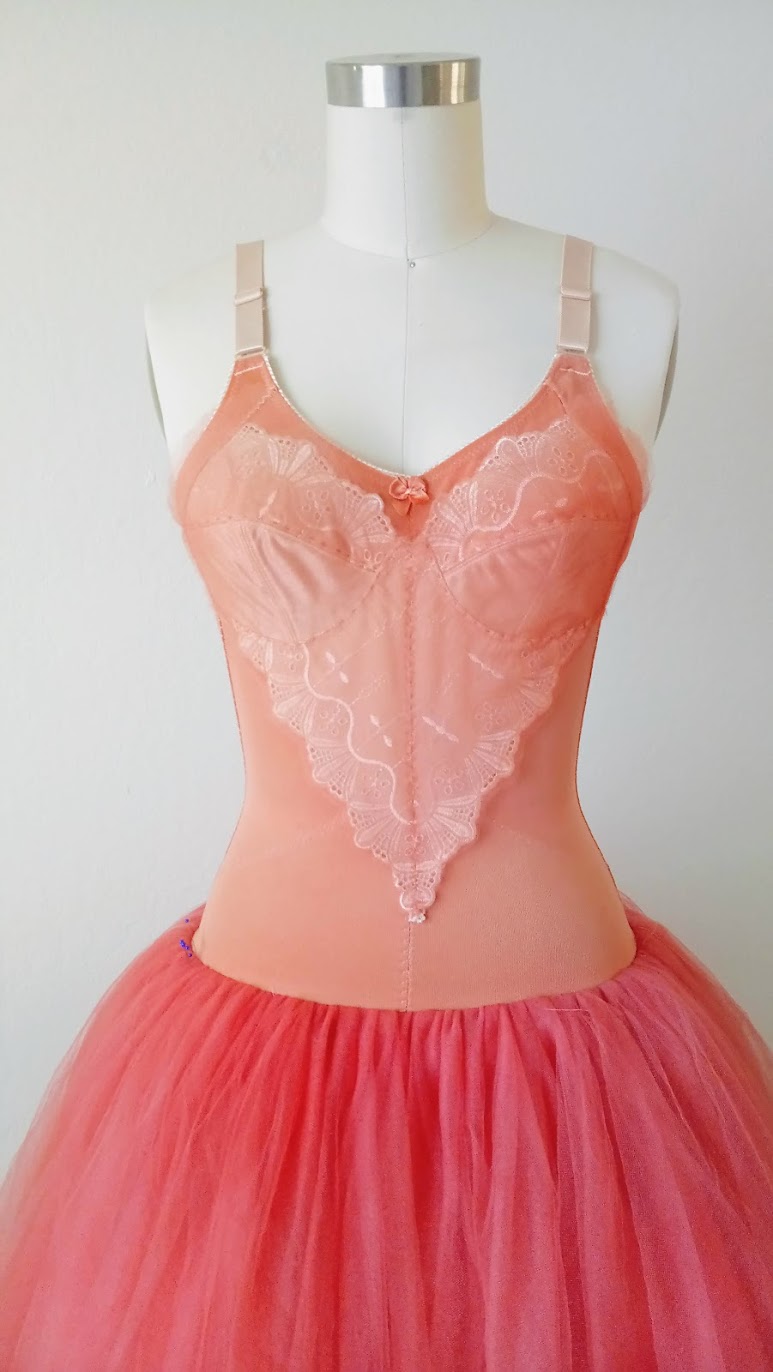
4. Fix overall colors of bodysuit’s front side
The front of the bodysuit was 100% resistant to dyeing and its lighter color stood out too much. So I hand stitched 5 extra tulle layers to it so the color matched better. It worked well!
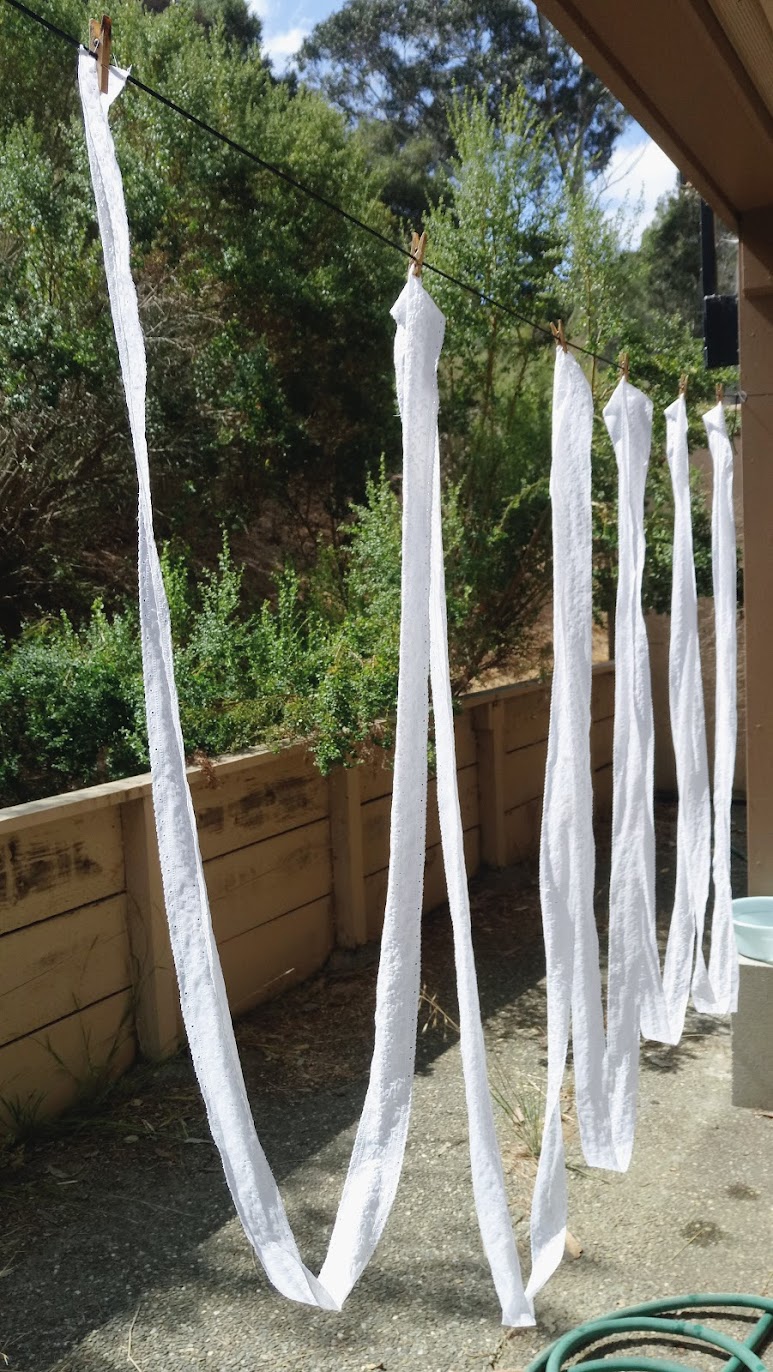
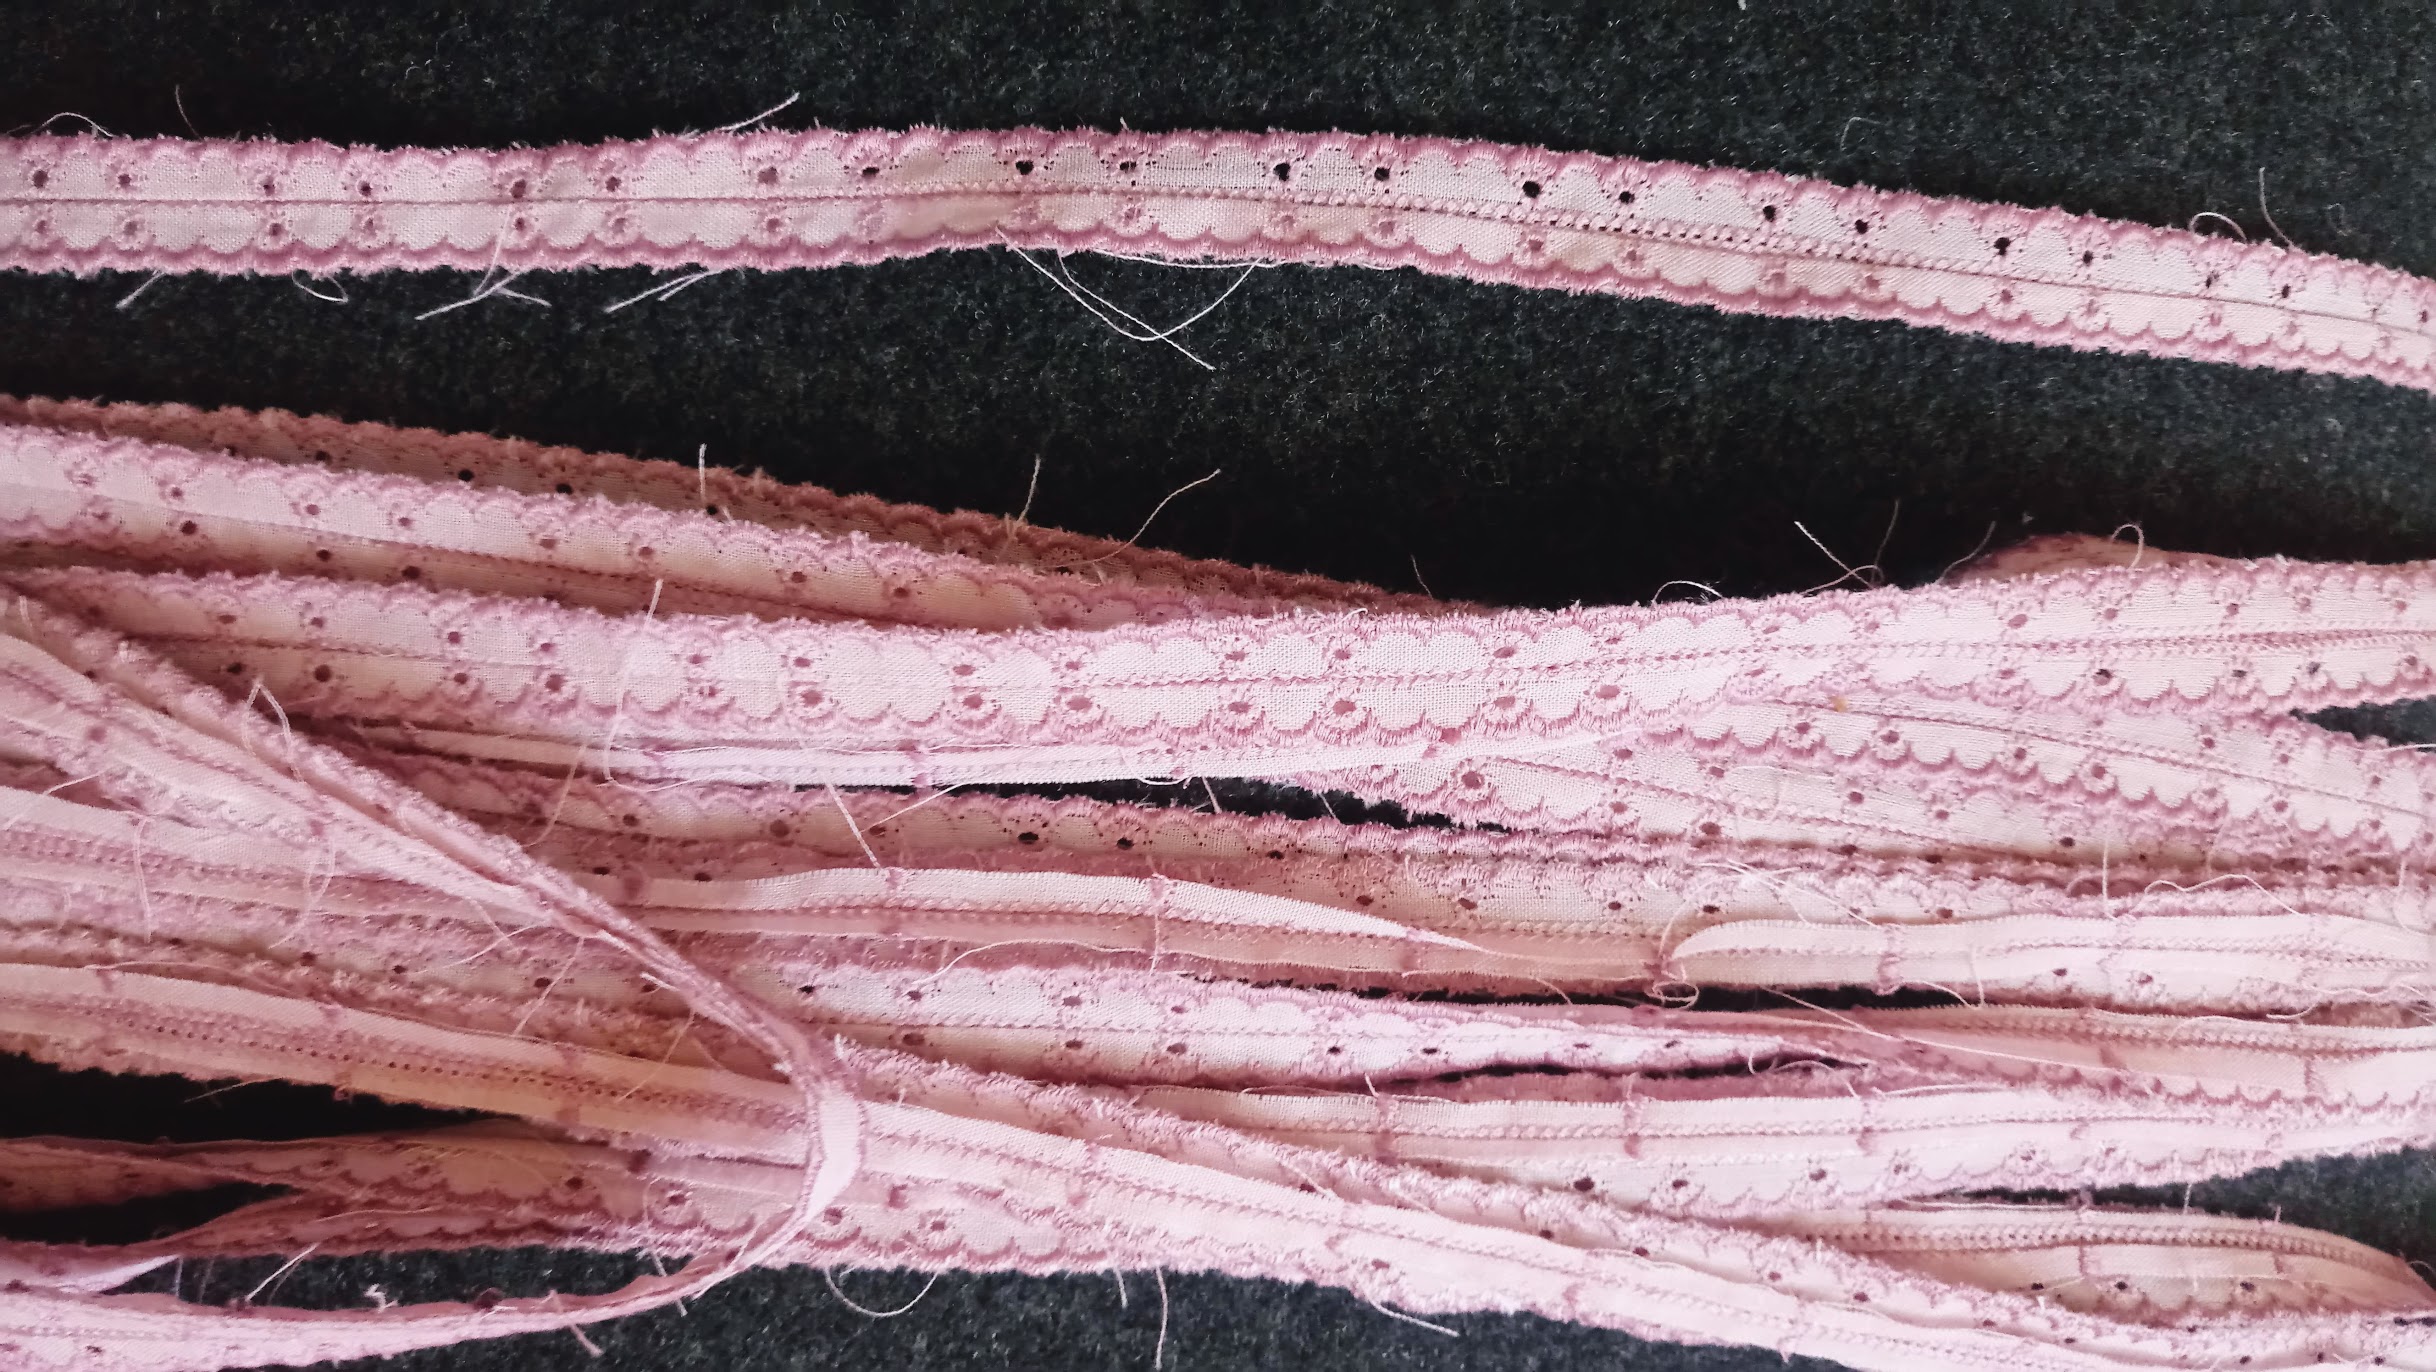
5. Dye and attach eyelet ribbons to dress
The last mile of this project was adding the eyelet ribbons to the skirt to complete the dress’ transformation as a cage dress.
However, I couldn’t just add the white eyelet ribbon as is. So after a quick test, I dipped them in a 3-week-old brown Rit dye bath for about 2 minutes. The resulting pink color looks so pretty and thankfully matches wonderfully with the apricot orange and flamingo red the dress already has.
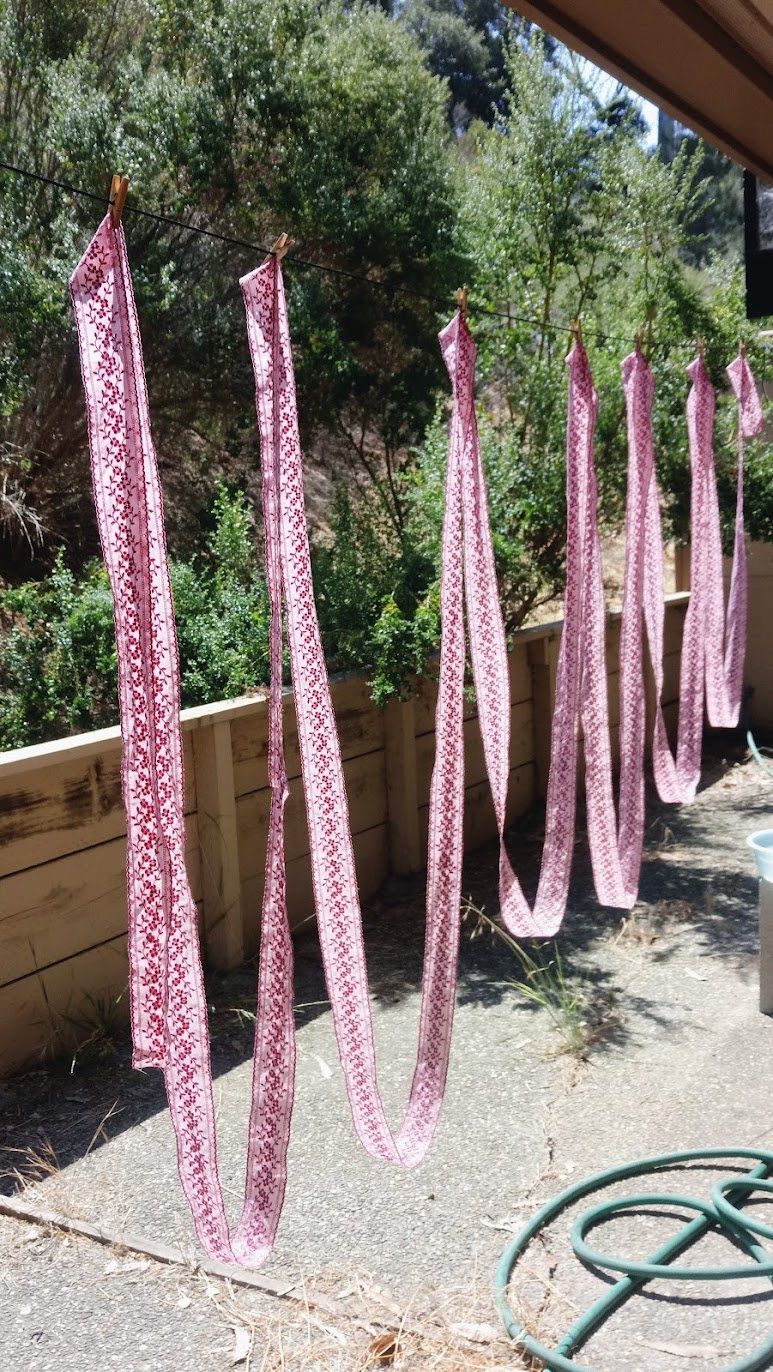
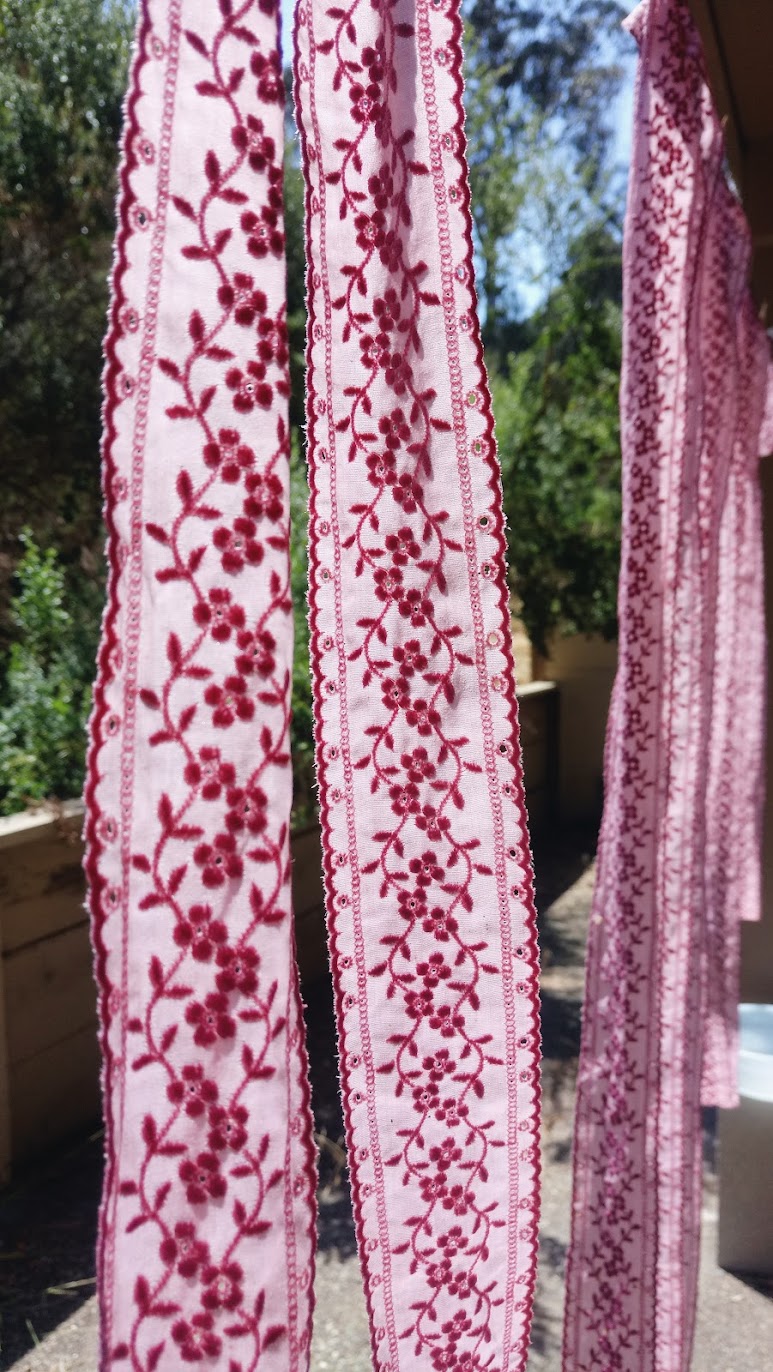
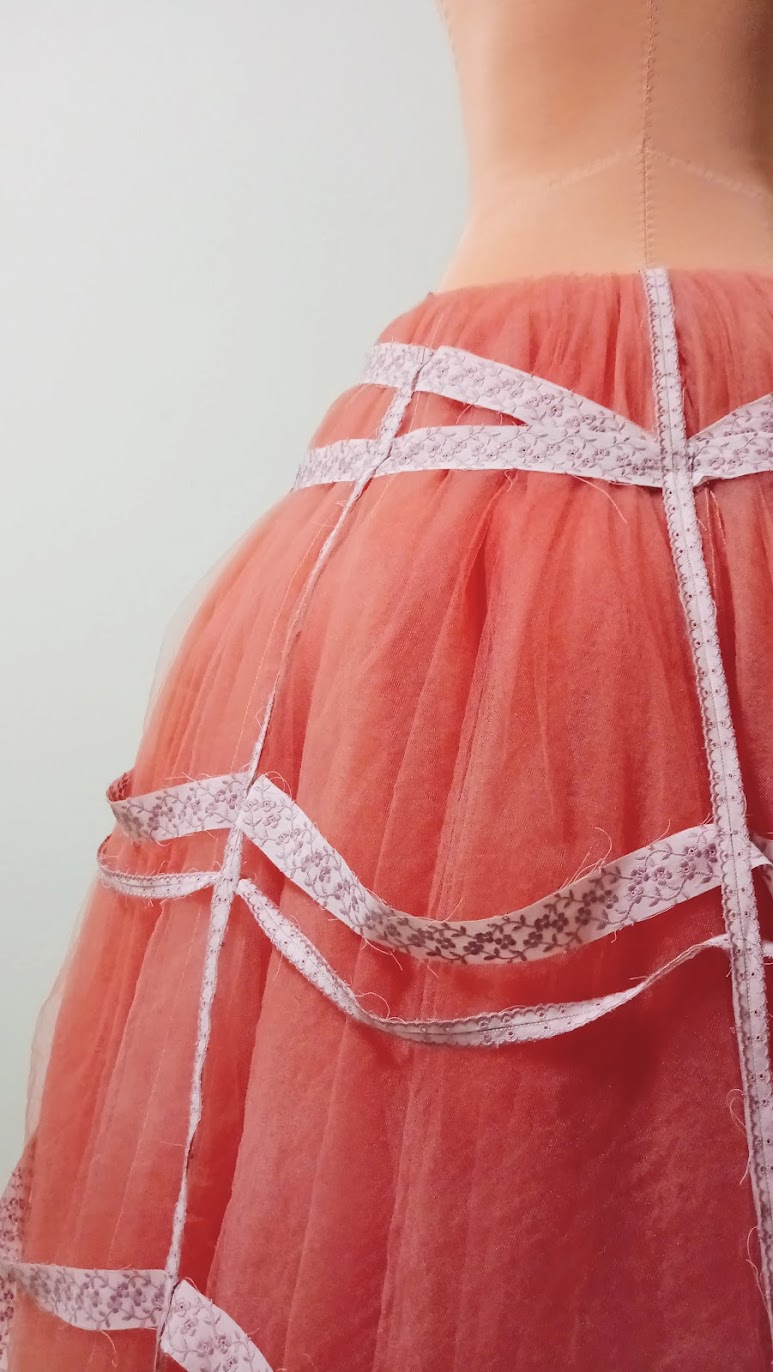
The eyelet ribbon was too wide the way it was, so I took out the edges and sewed them together. So in the end, I had about 10 yards of two sets of ribbon: the wider one with flower and vines embroideries for the horizontal circles, and the thinner one with eyelet details for the vertical lines.
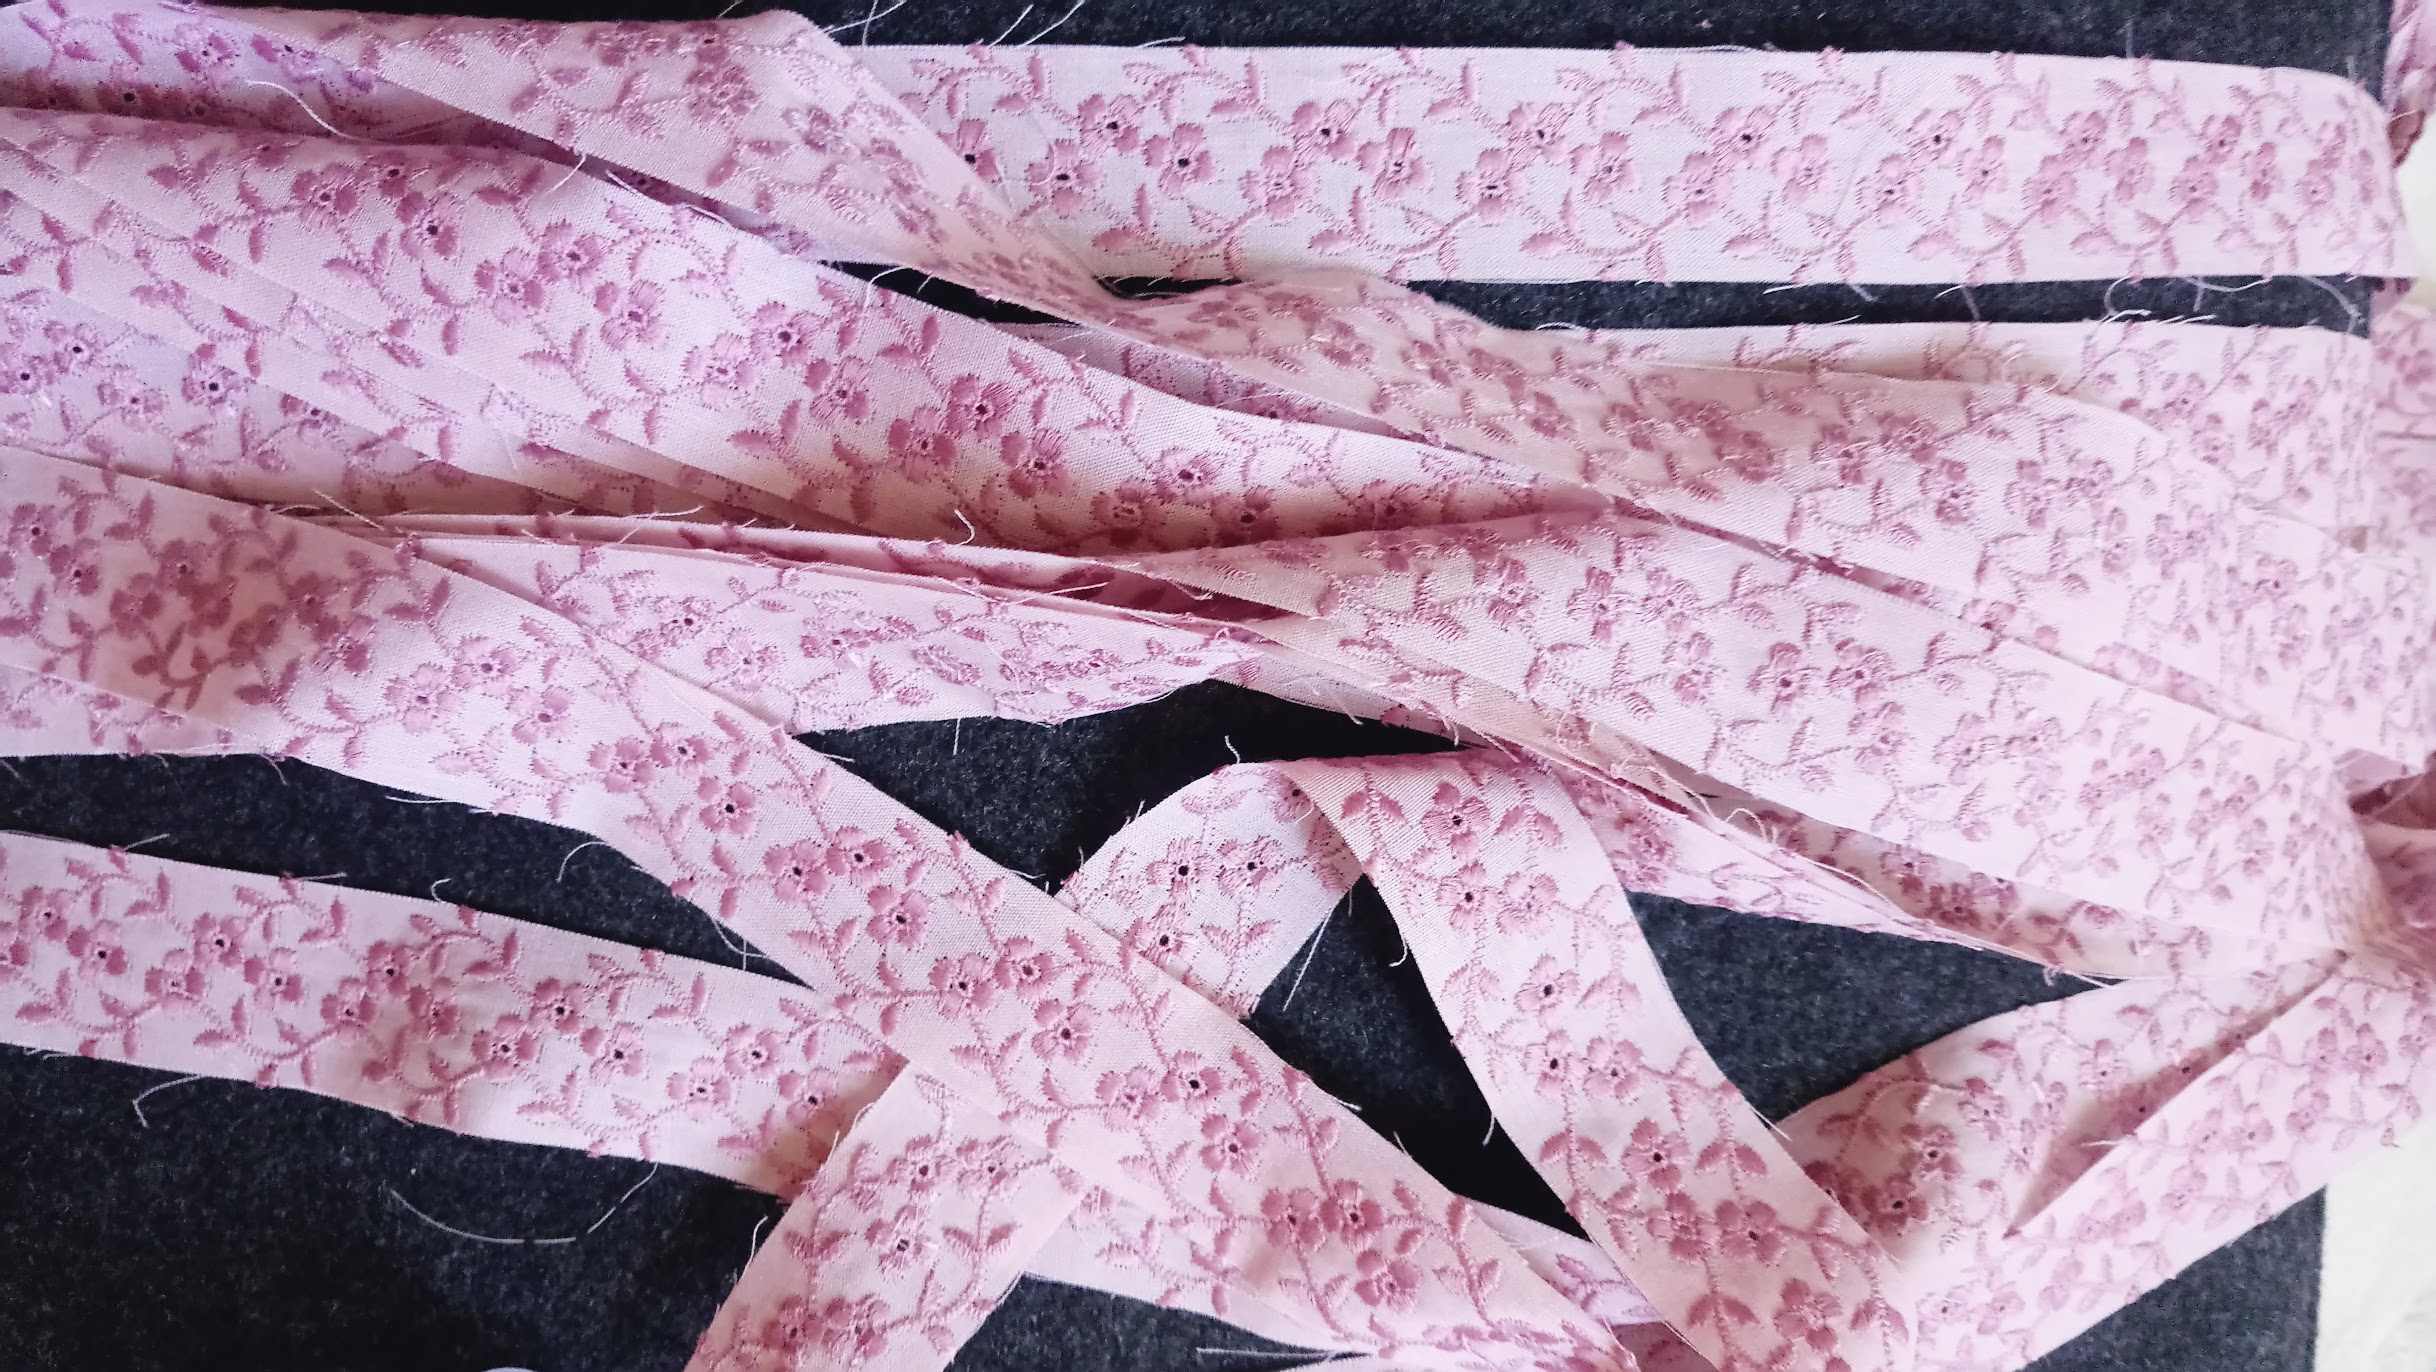
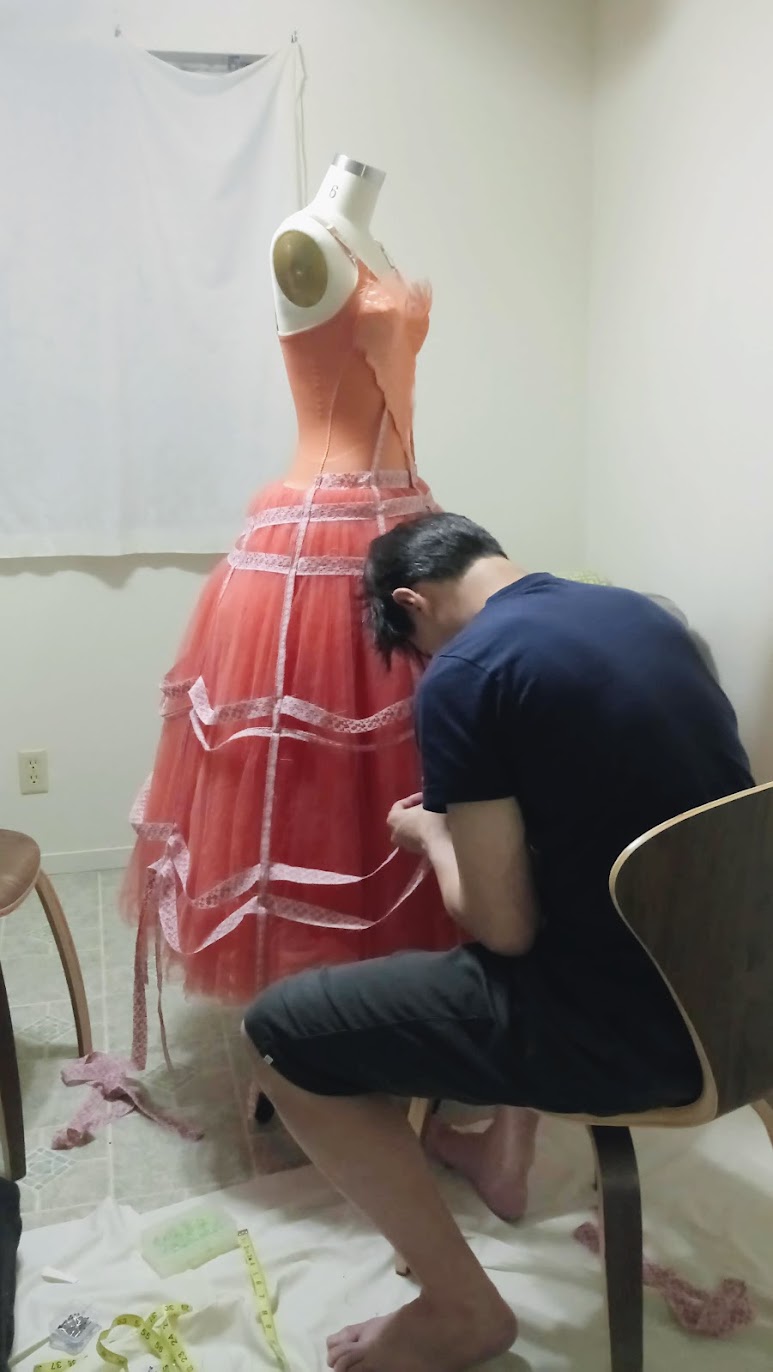
Figuring out the ribbon alignments and how to attach them to the dress was fun, yet time consuming. There were several failed tries, but I made sure to work with the garment and not force anything.
Even my husband helped me out with hand stitching some ribbon junctions at night!
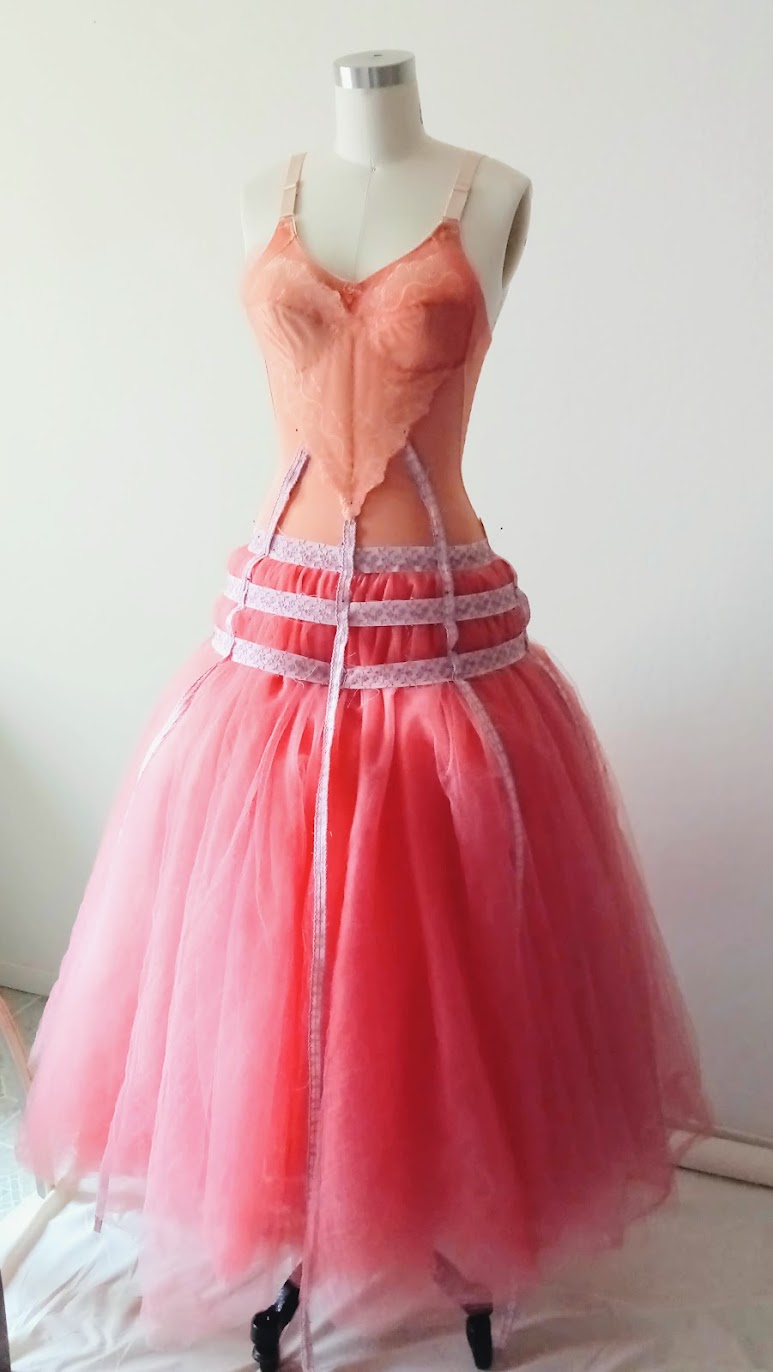

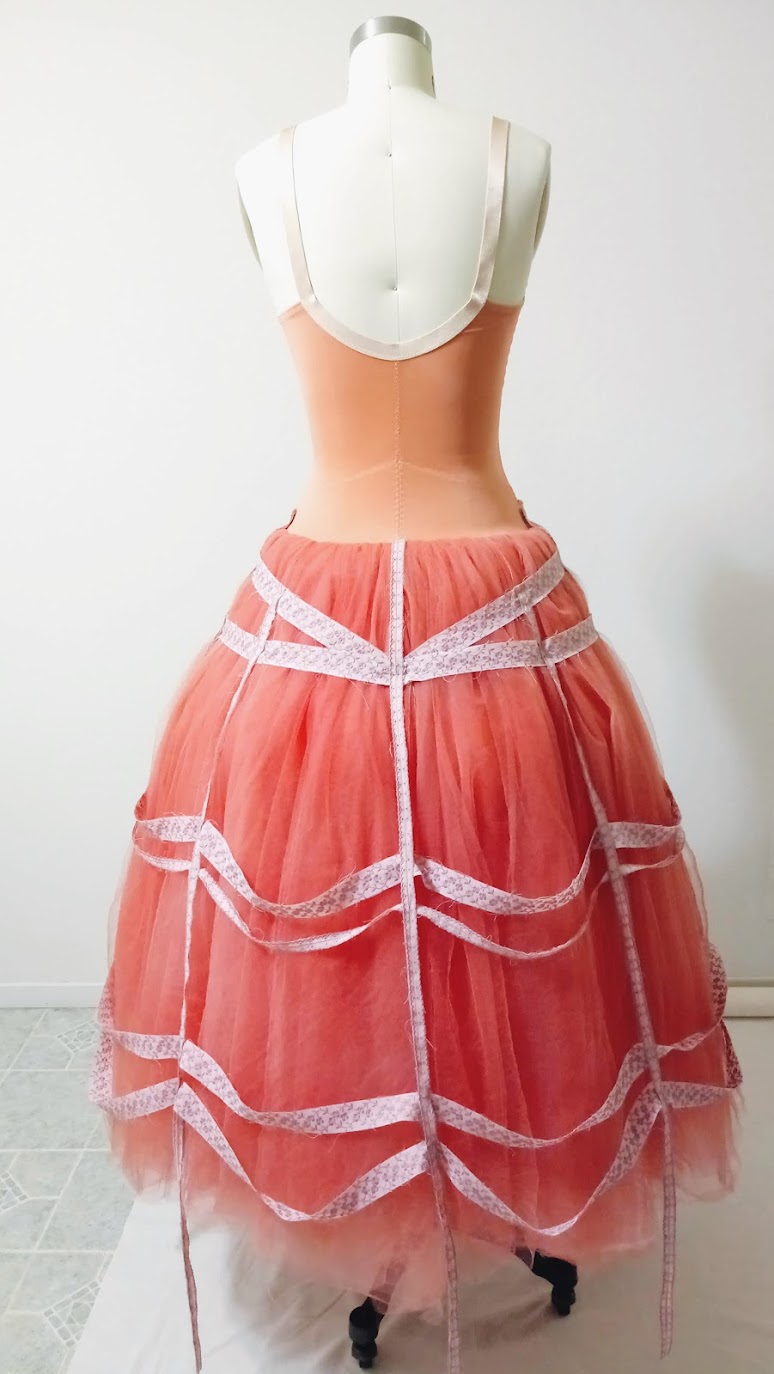
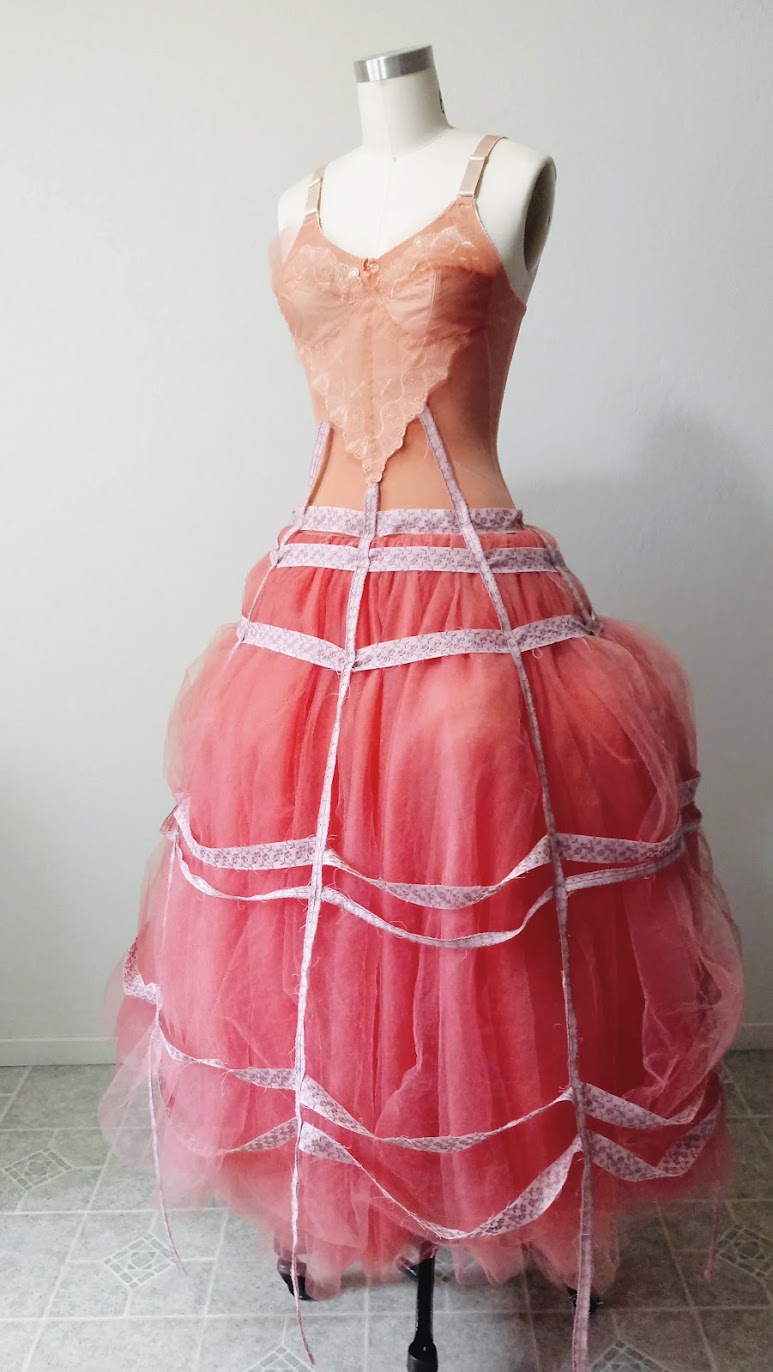
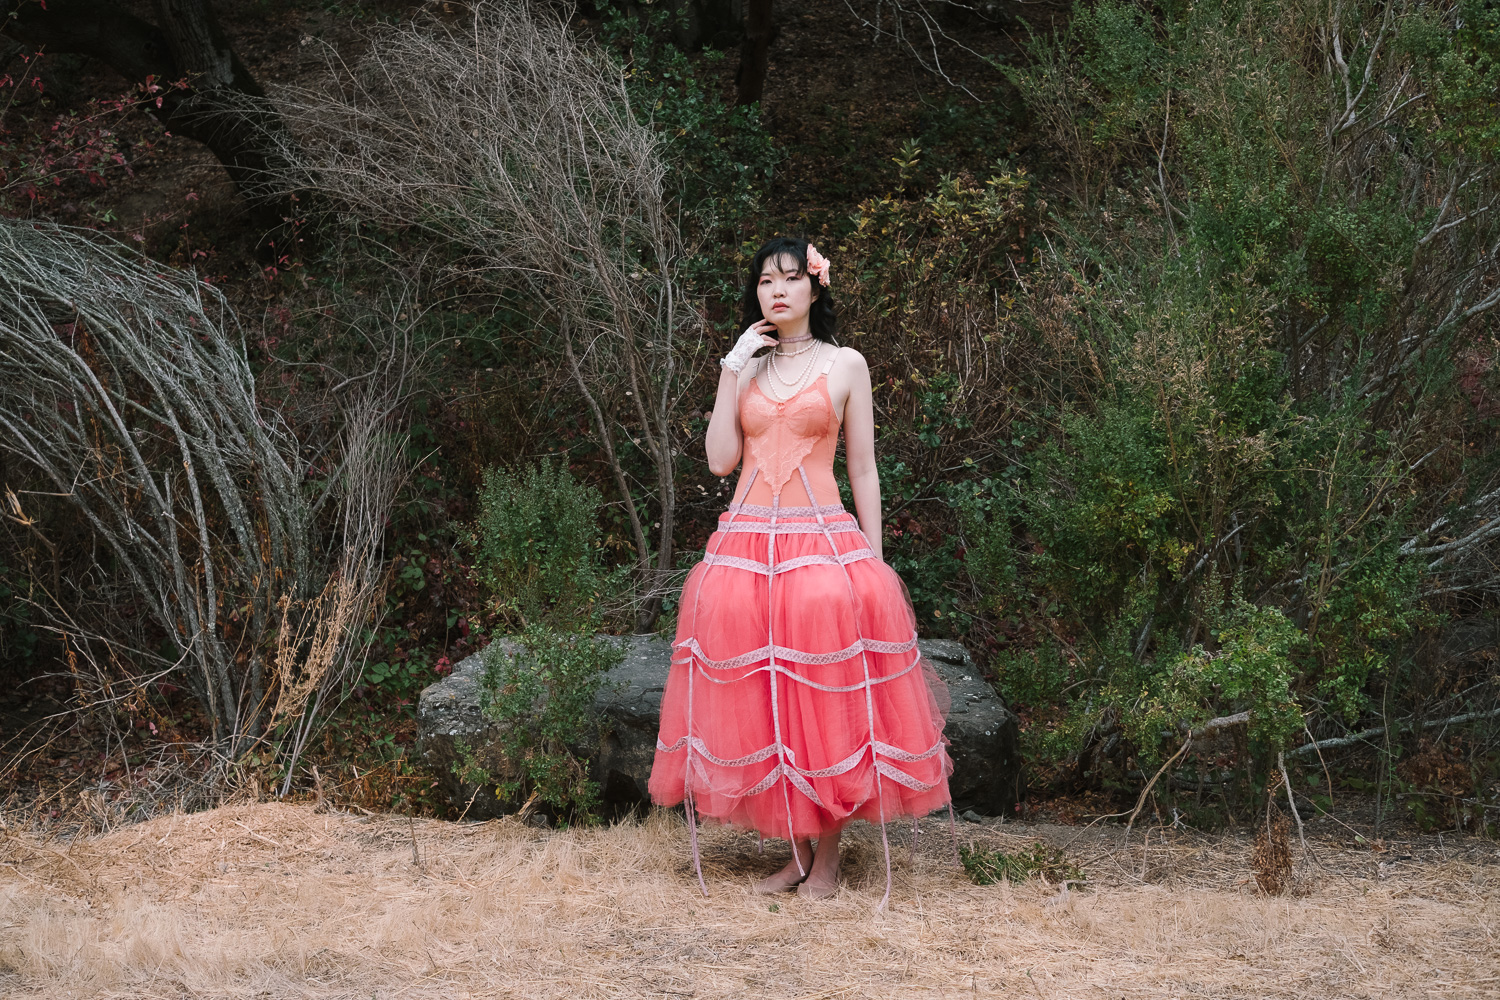
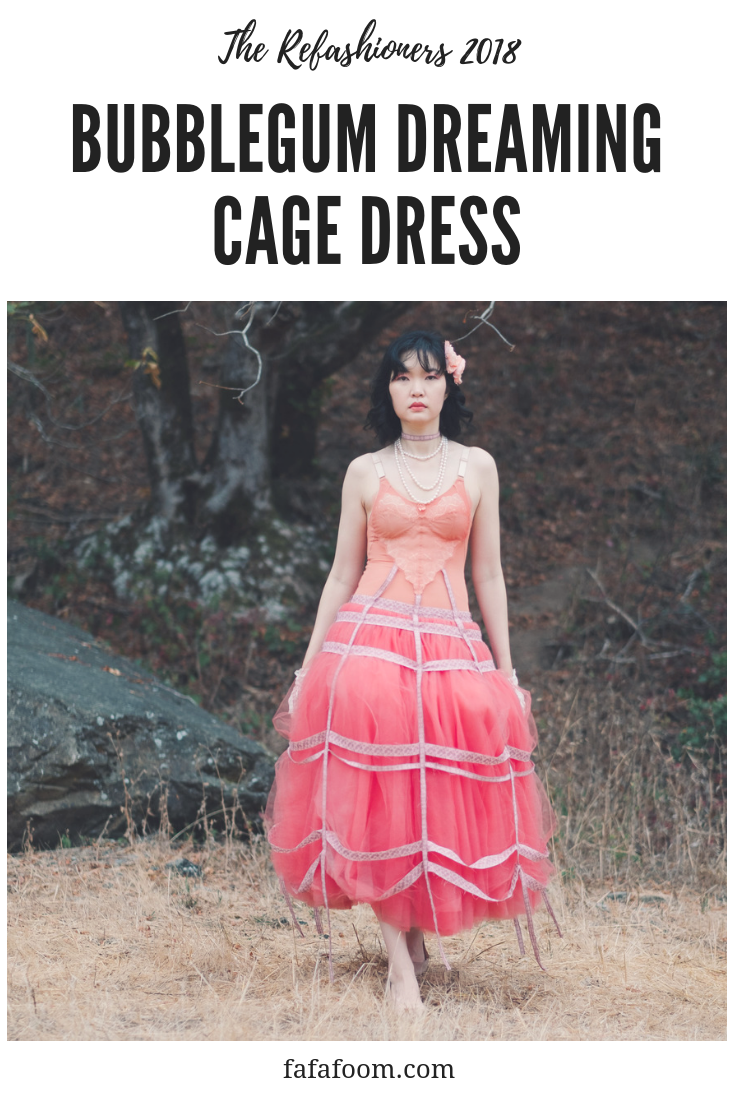
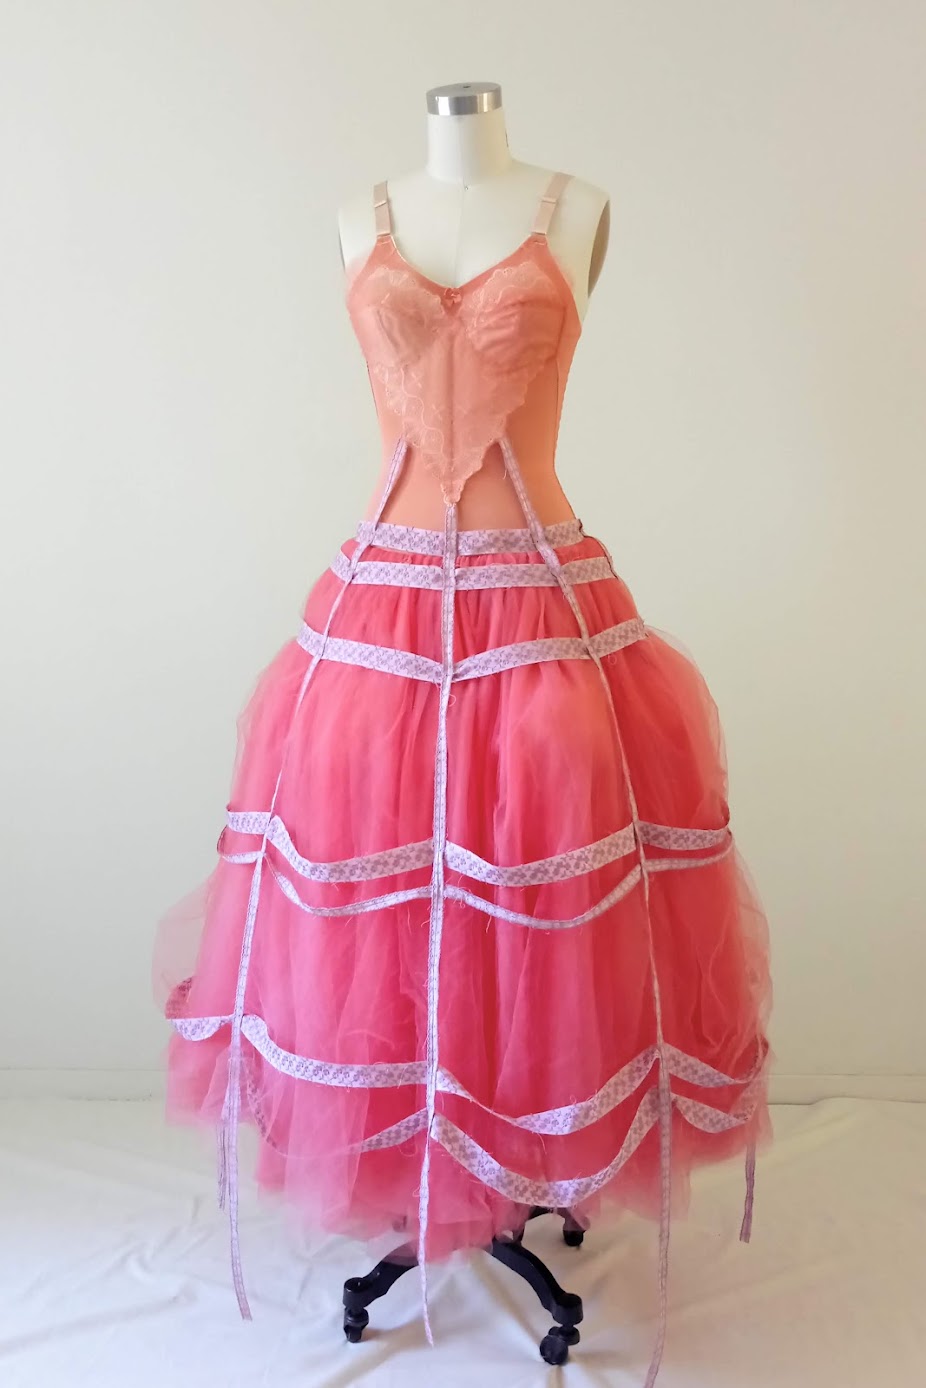
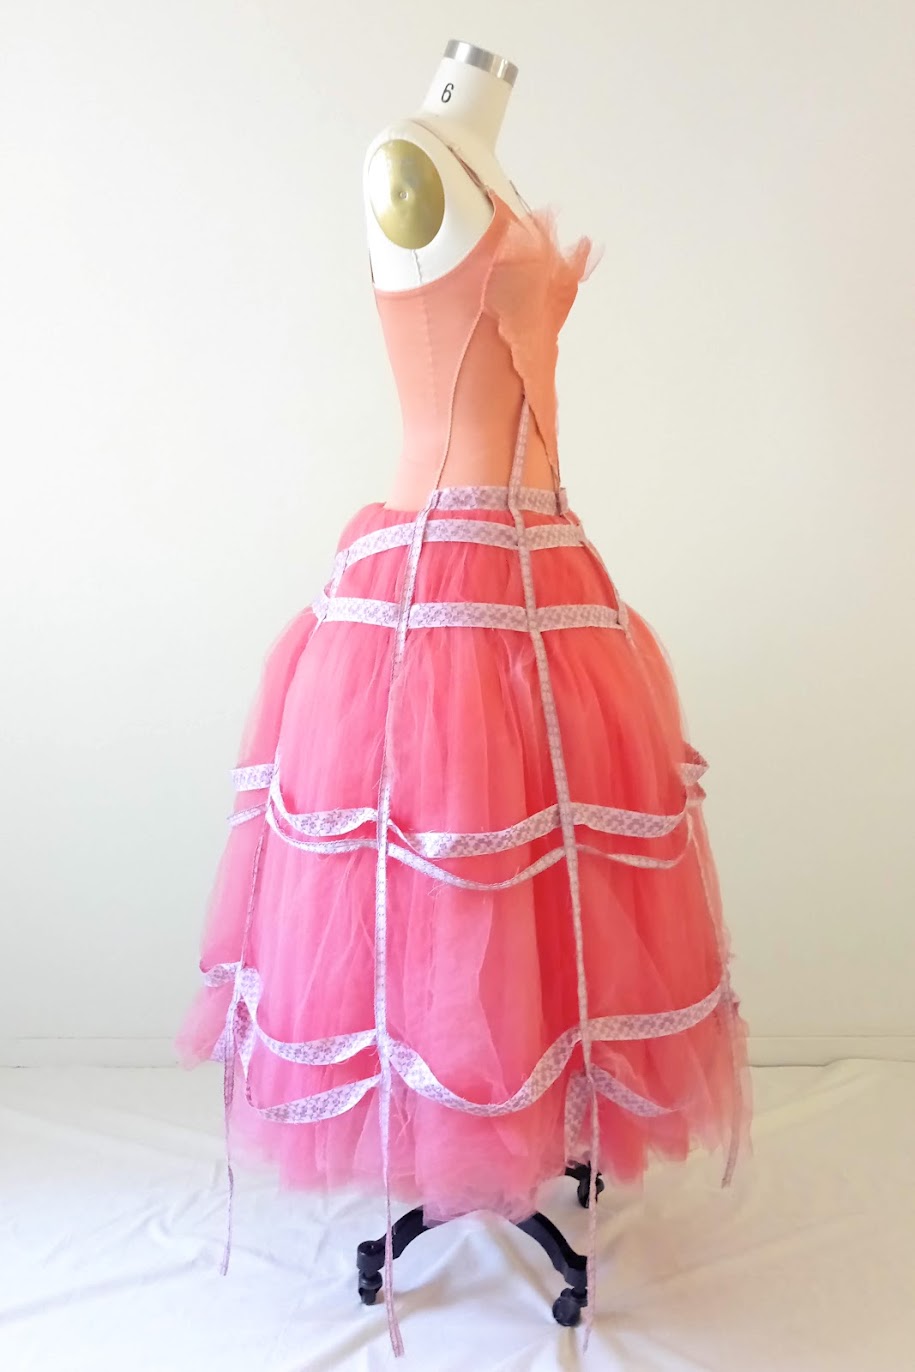
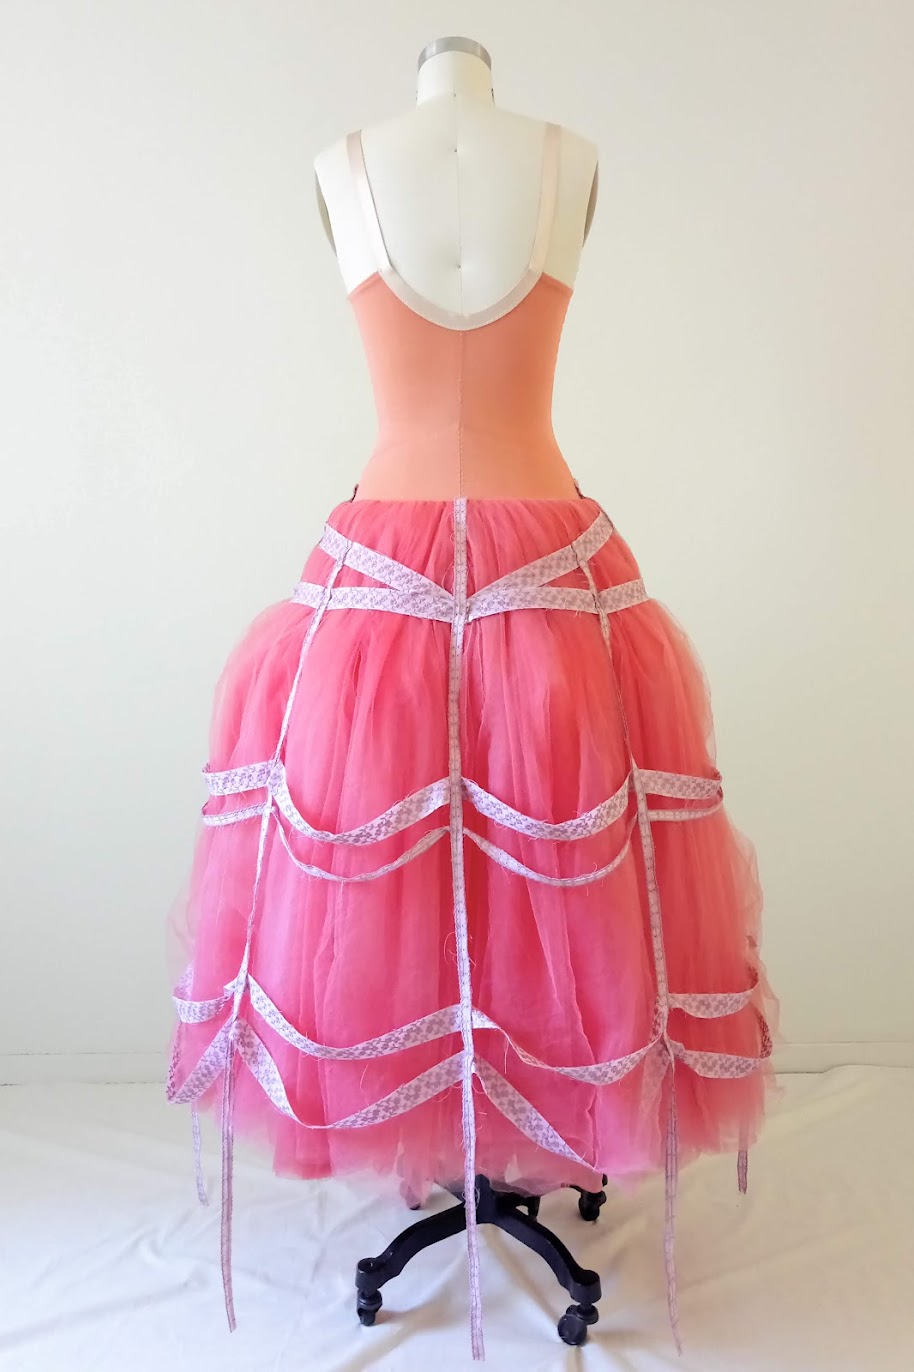
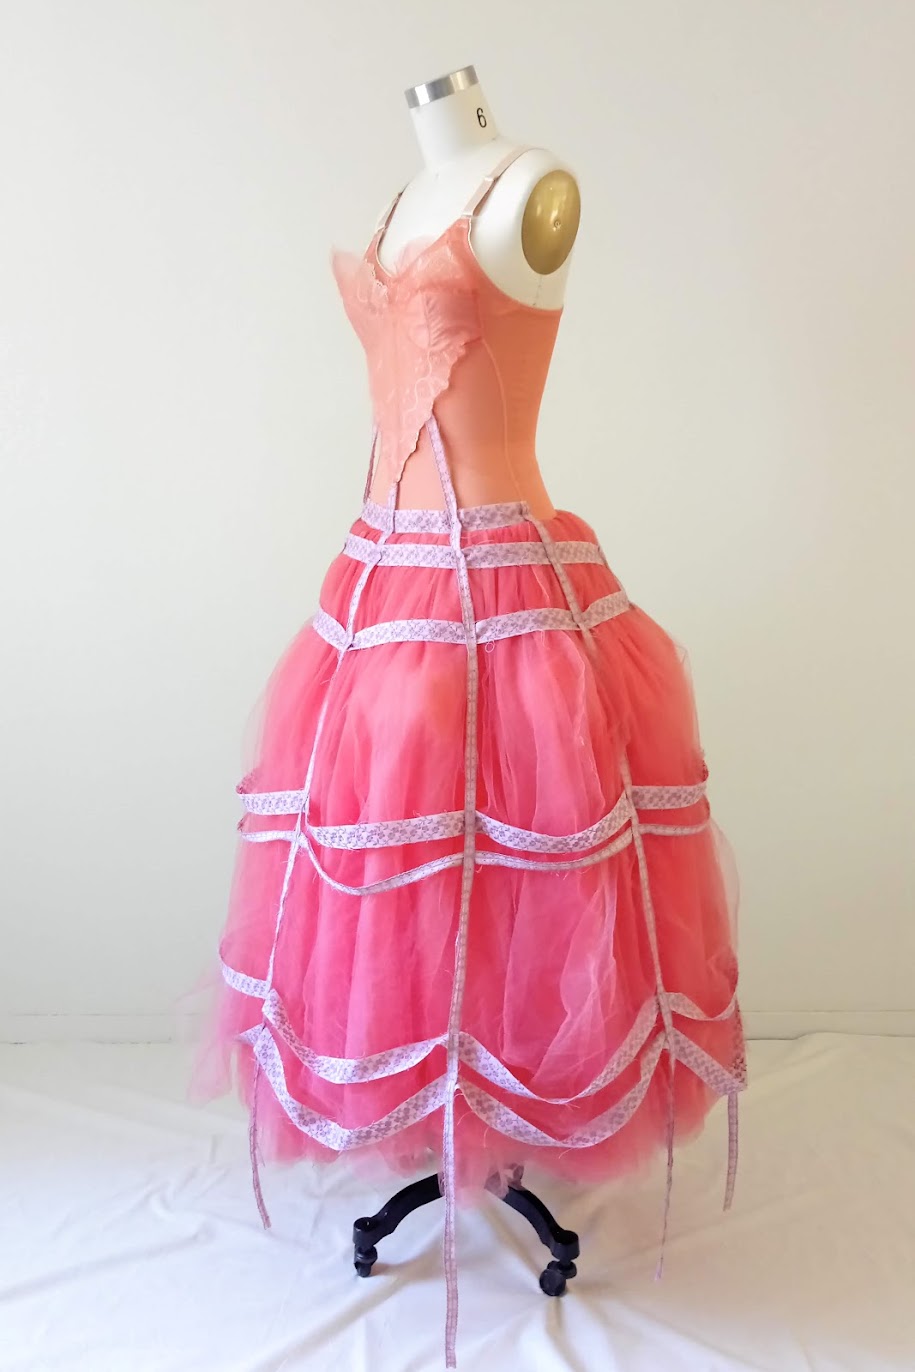
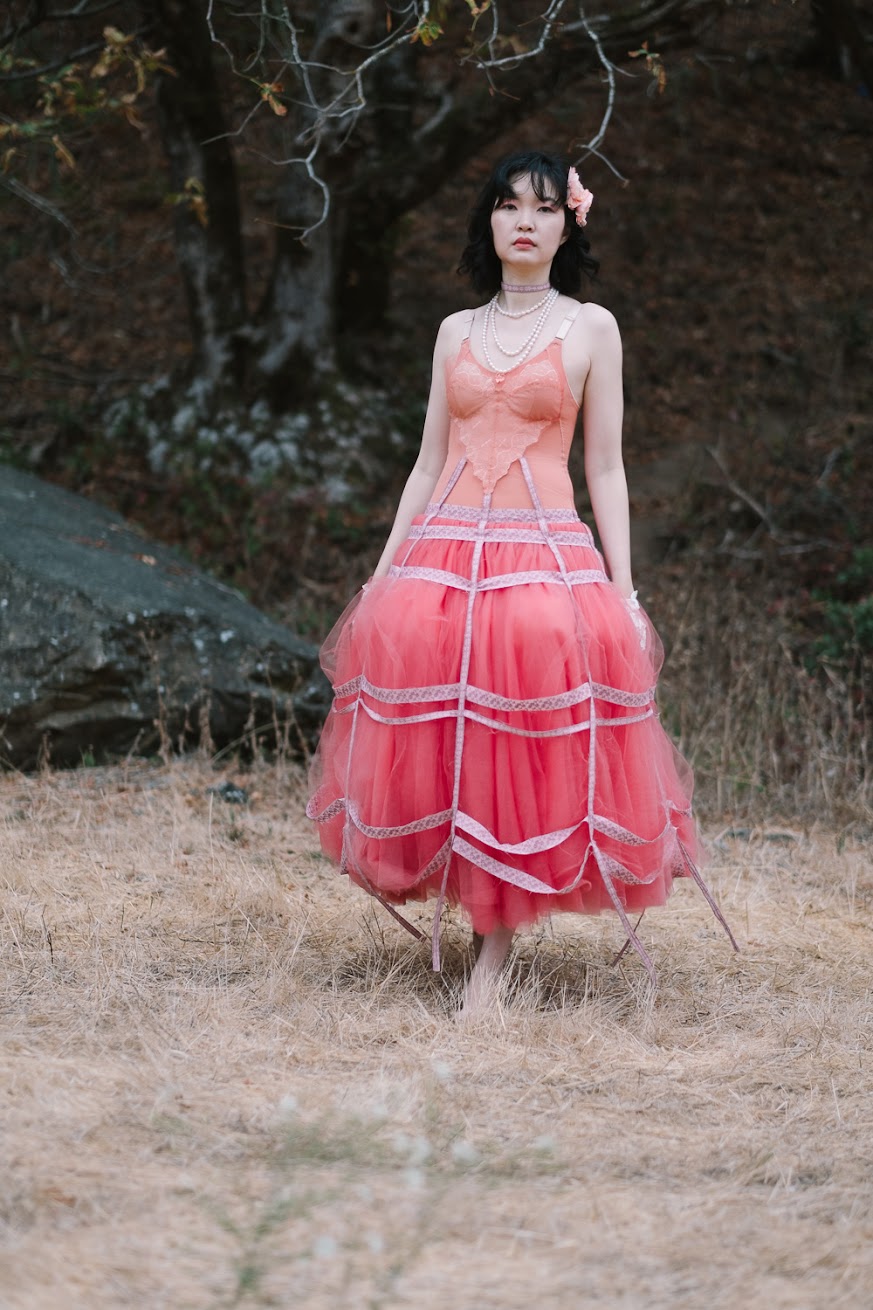
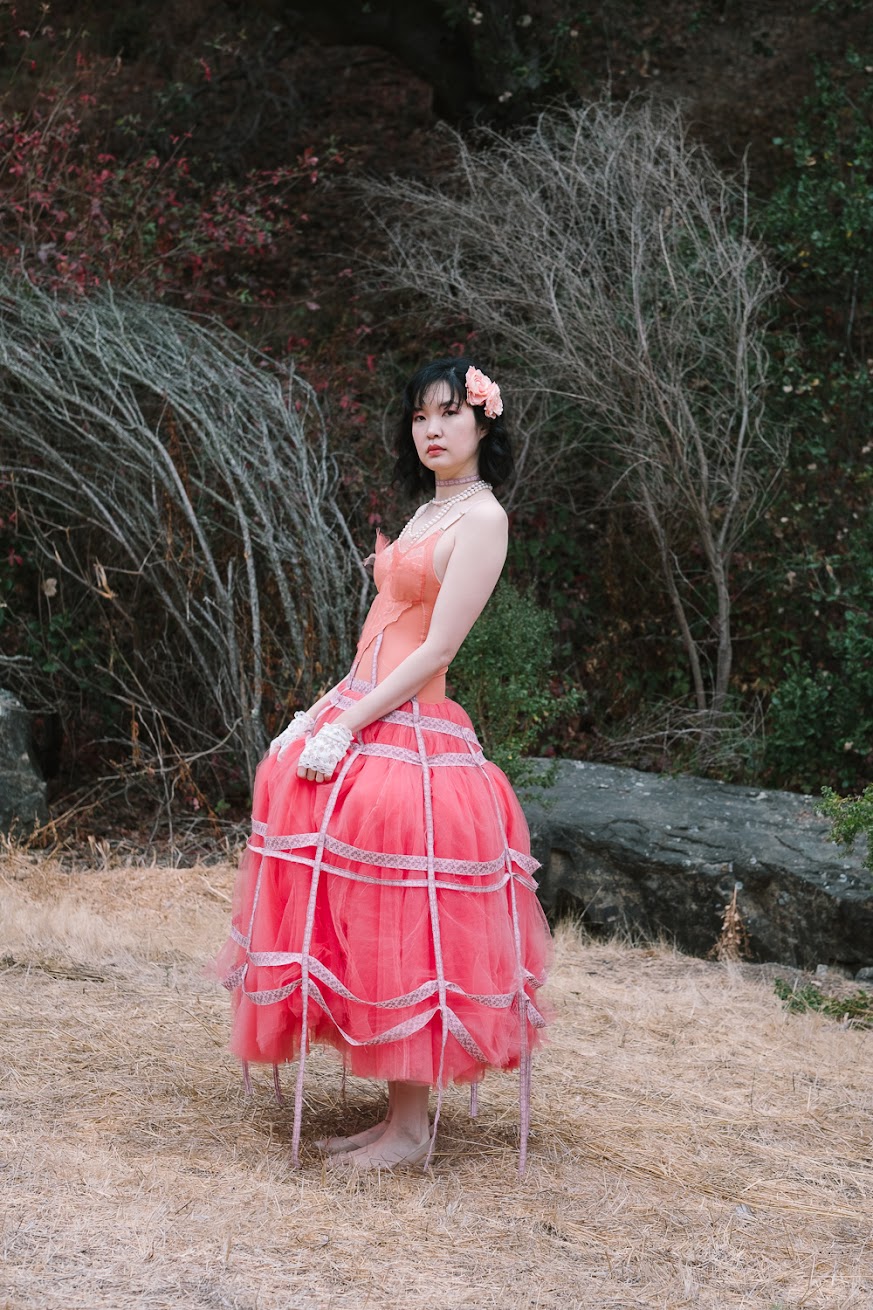
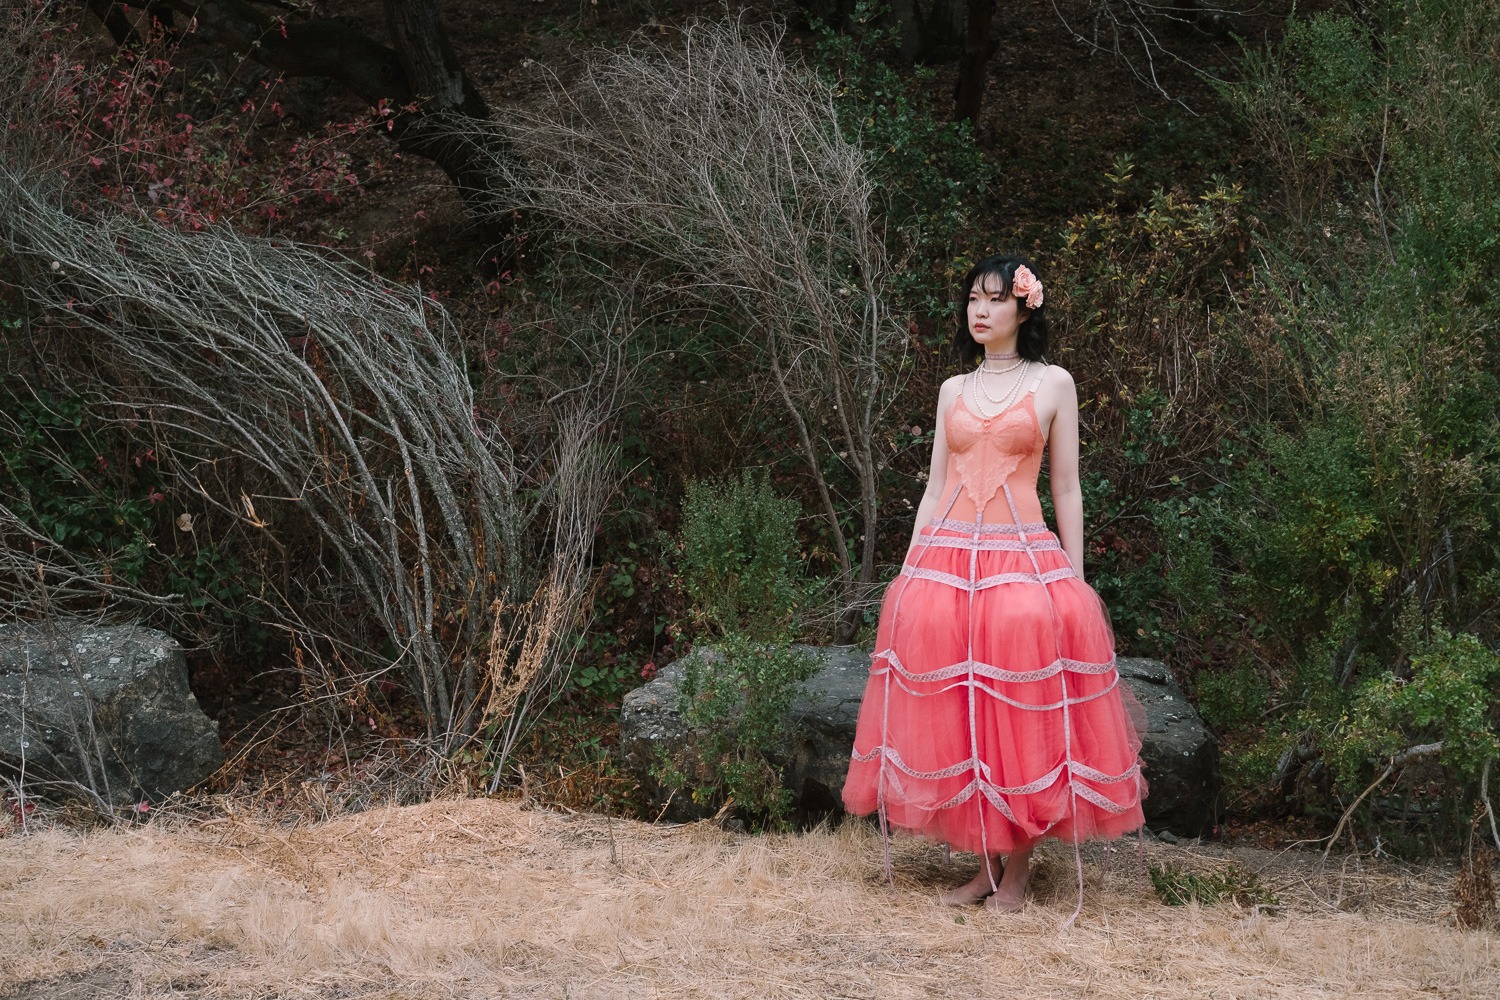
Result: DIY Cage Dress “Bubblegum Dreaming”
And that’s it!!!! Oh la la ~
Here’s what the cage dress looked like after the last knot was done.
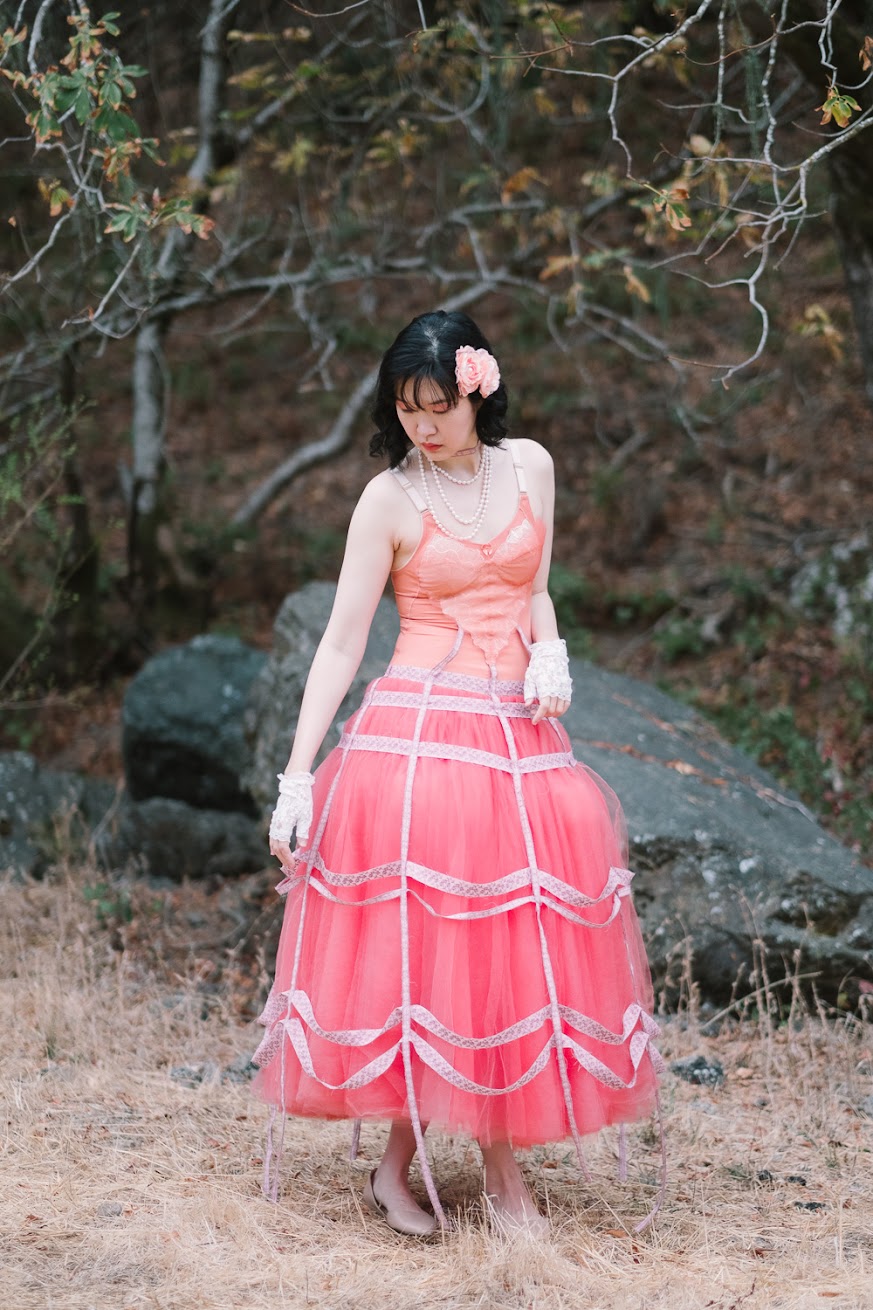
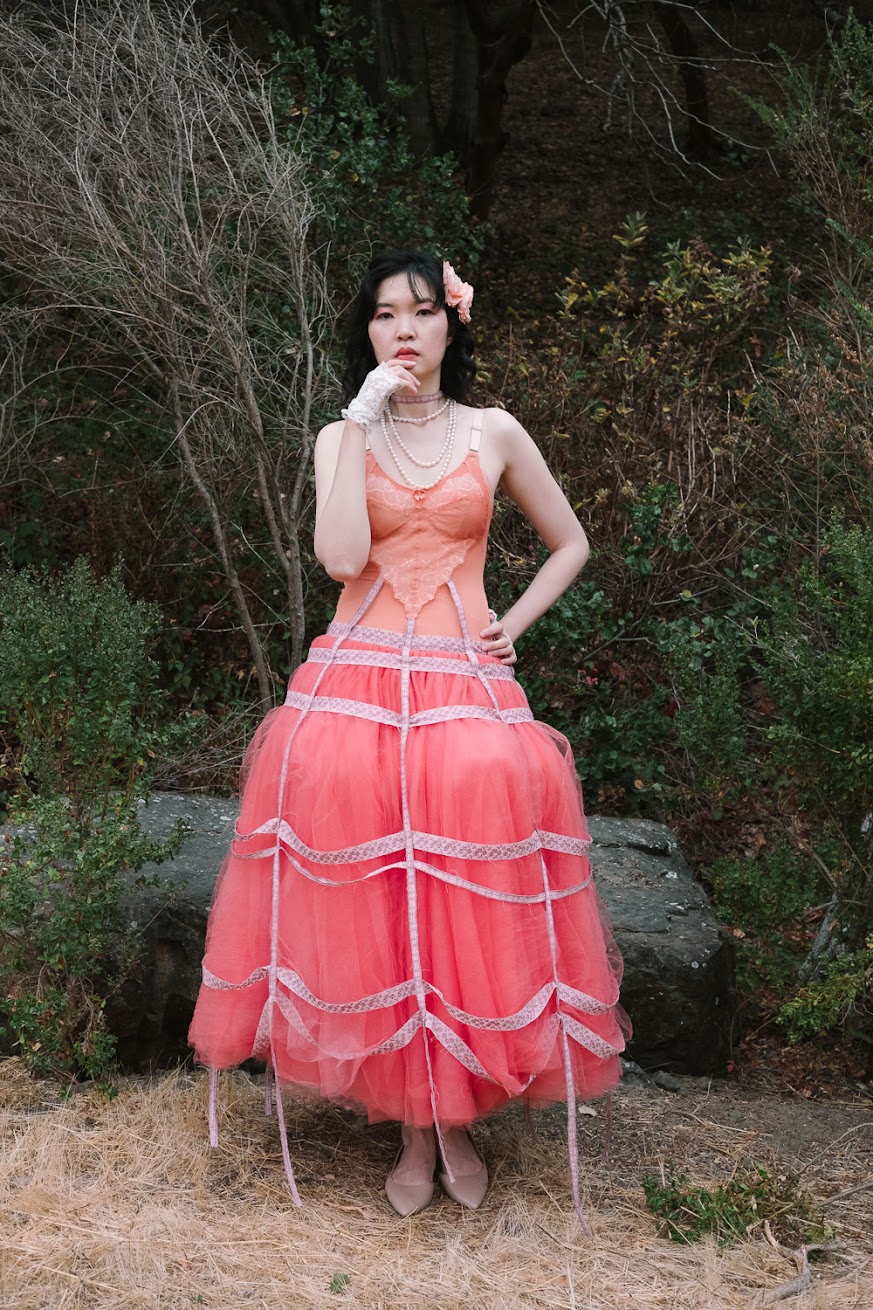
Styling: DIY Cage Dress “Bubblegum Dreaming”
The morning after, I decided to call it “Bubblegum Dreaming” due to its pretty color combinations and delicate nature. And like the Alexander McQueen styling in Vogue, I styled it with some 80s influence with pearl necklace and fingerless gloves.
As you can see from the photo above, I completed my styling with flower pins I quickly made with excess spring fabric flower decorations and a pair of nude flats. A nearby hiking trail served as the background.


So what do you think? For me, I can hardly believe I did this dress. Honestly, if not for Refashioners, I wouldn’t have attempted making this Comme-des-Garçons-inspired dress this early.
This opportunity gave me the boost to challenge myself to create something I would otherwise don’t feel confident about. And I’m really pleased to see the result after putting all the efforts.
Thanks for reading; until next time,
Musank
Disclaimer: I may earn a small commission for my endorsement, recommendation, testimonial, and/or link to any products or services from this website. Thank you for your support!
Never Miss a Post
Enter your email below to receive the latest Fafafoom Studio post in your inbox.
Browse more posts
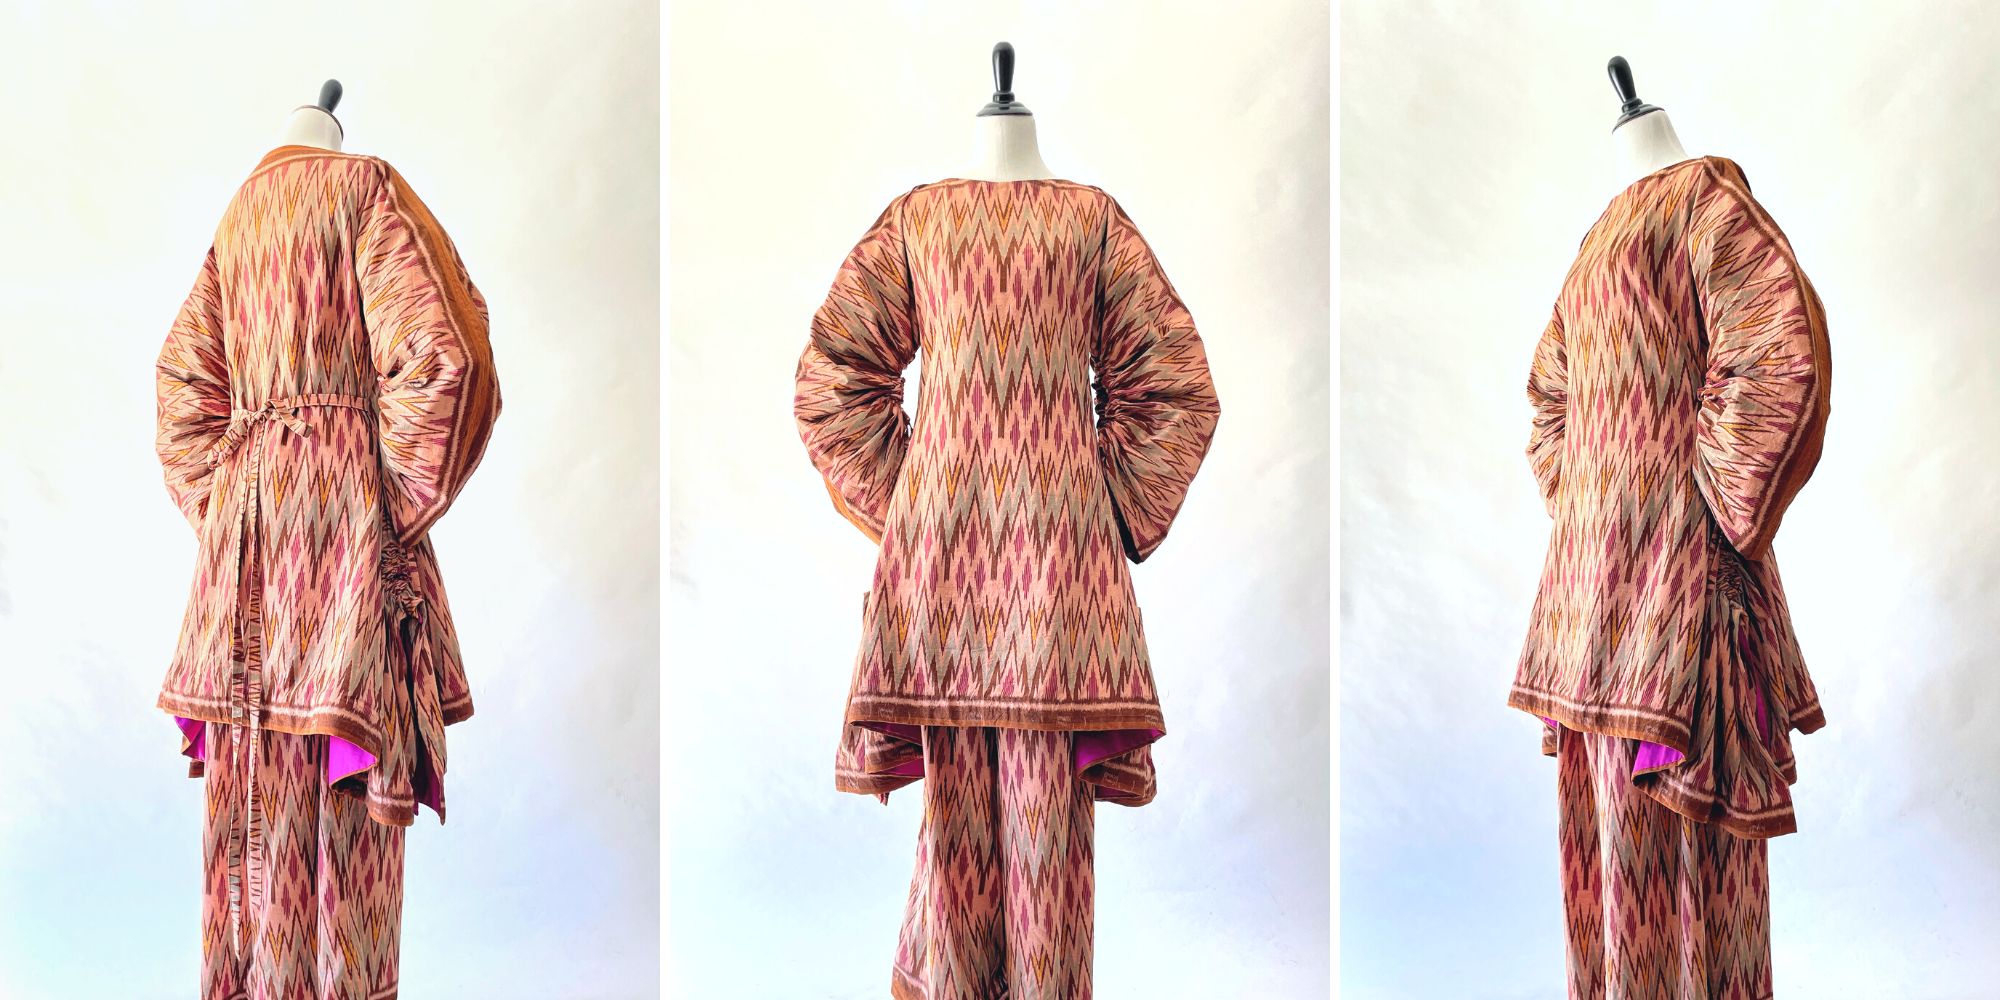
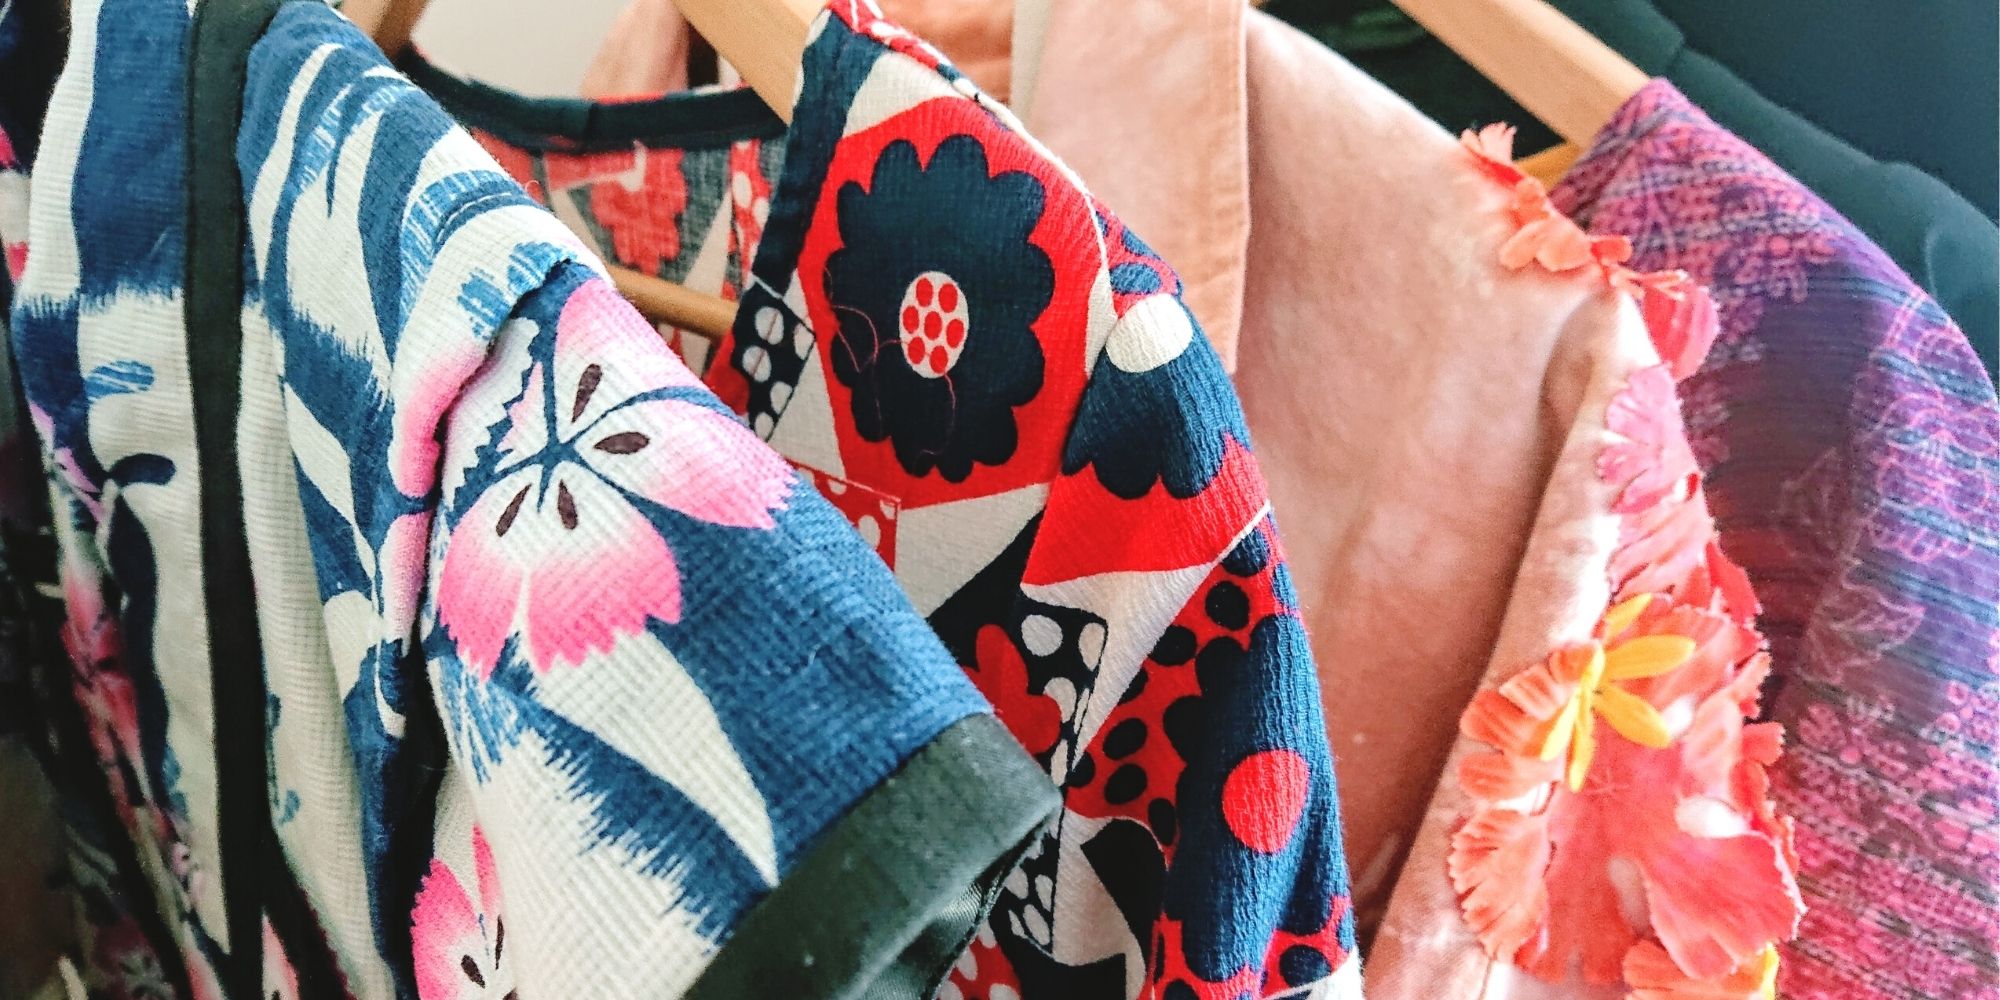
Interpreting Kebaya, Making a Modern Ethnic Ensemble
Modern Ethnic outfit is my interpretation of kebaya dressing. They are made using vintage ikat textile and inspired by several free minimal-waste patterns. Only on fafafoom.com.
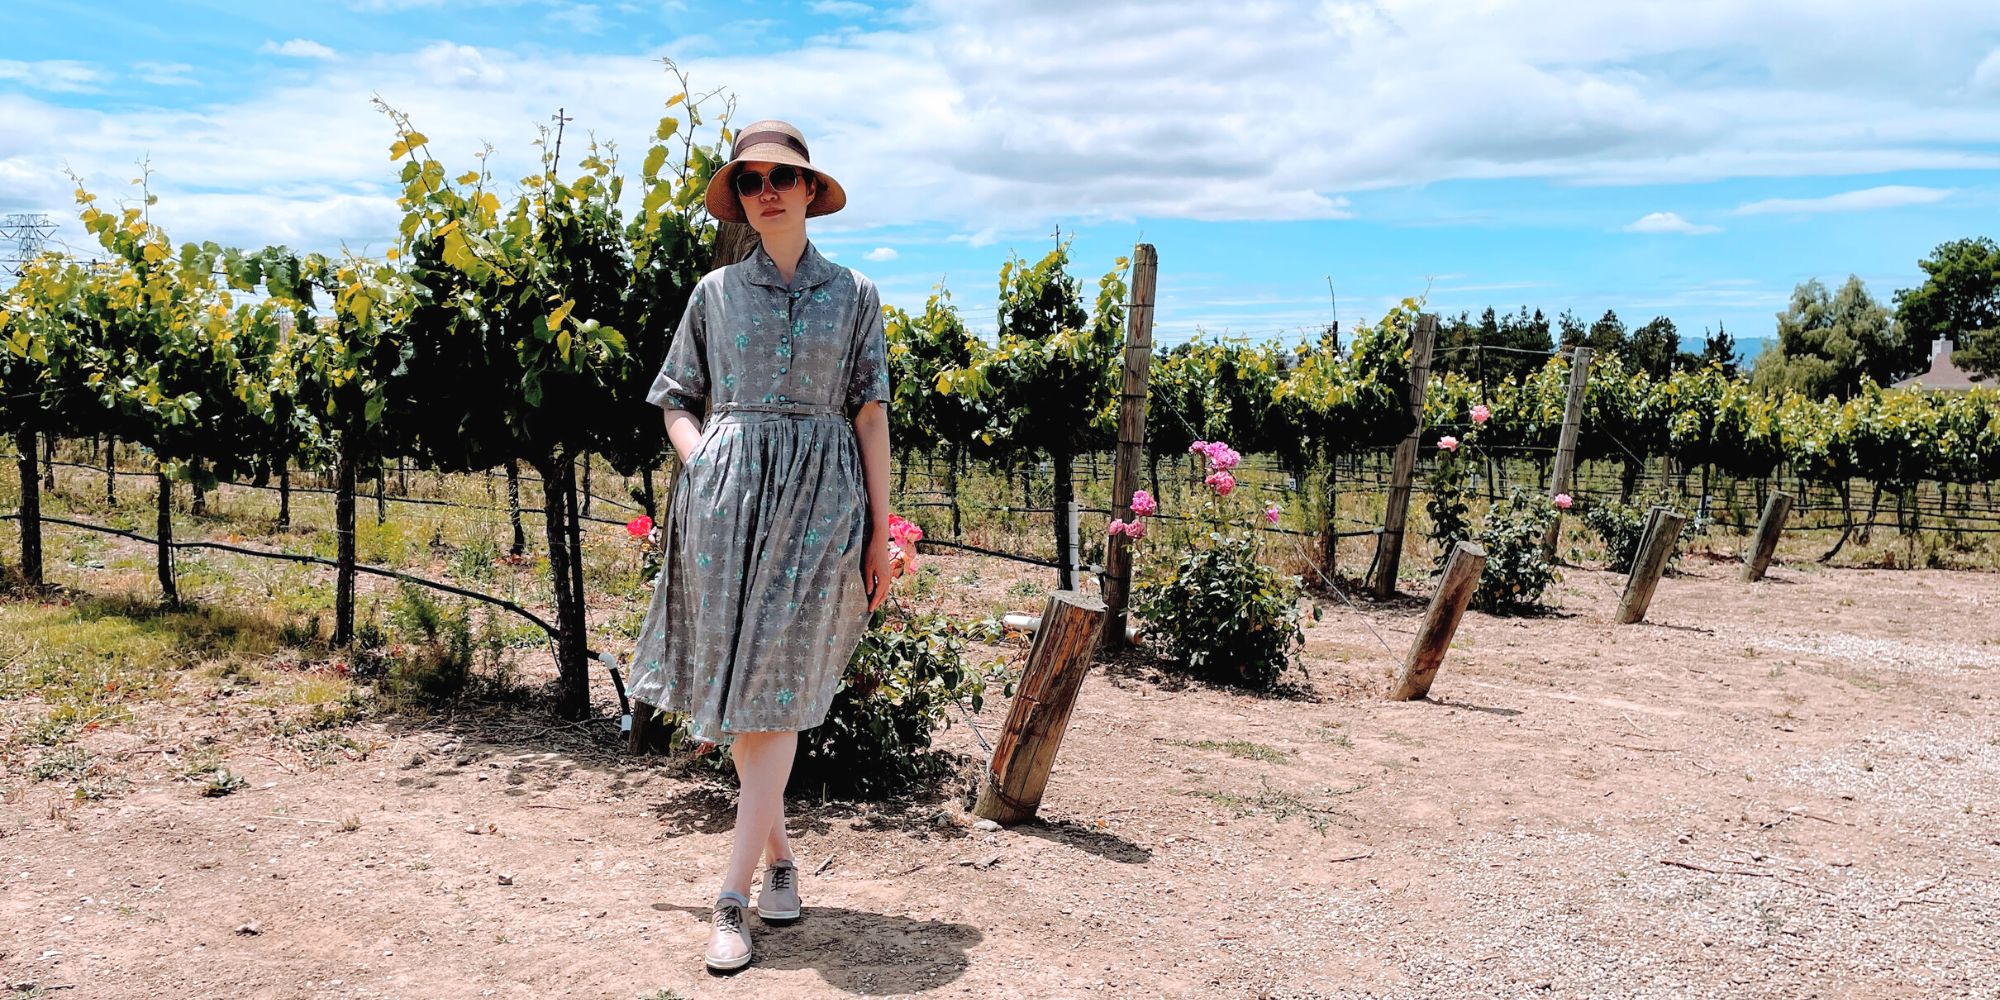
Restoring a 1950s Atomic Age Dress
Restoring and repairing a beautiful 1950s Dress for my summer 2022 wardrobe. Smart alterations include lining and inseam pockets. Only on fafafoom.com.
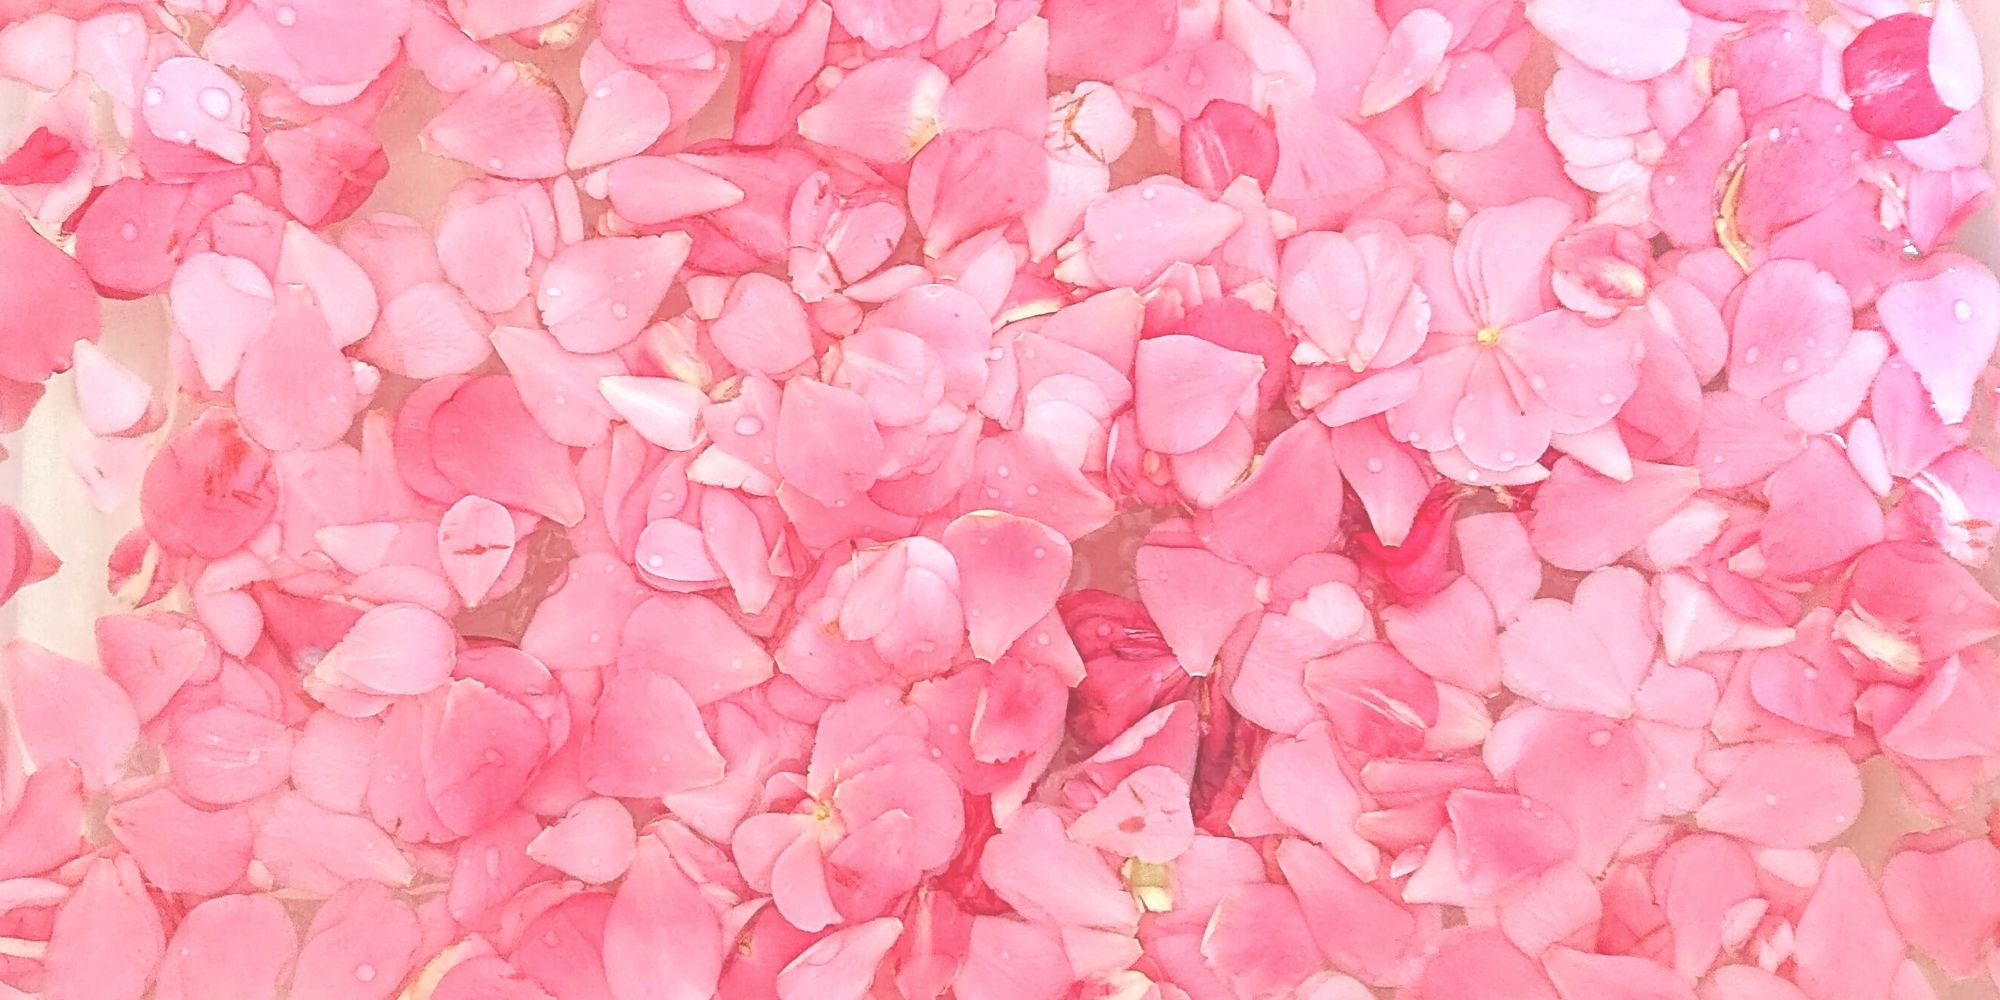
Pink Delight! Natural Dyeing with Camellia Flowers
My next experiment is dyeing with camellia flowers. Amongst all natural dyeing projects I have done so far, this is my favorite. Check out the pink delights! From fafafoom.com.
5 Slow Fashion Tips for a More Sustainable Wardrobe
Five slow fashion tips to help you transform your sustainable wardrobe for a cleaner, greener future. A guest feature from Reese Jones for Fafafoom.com.
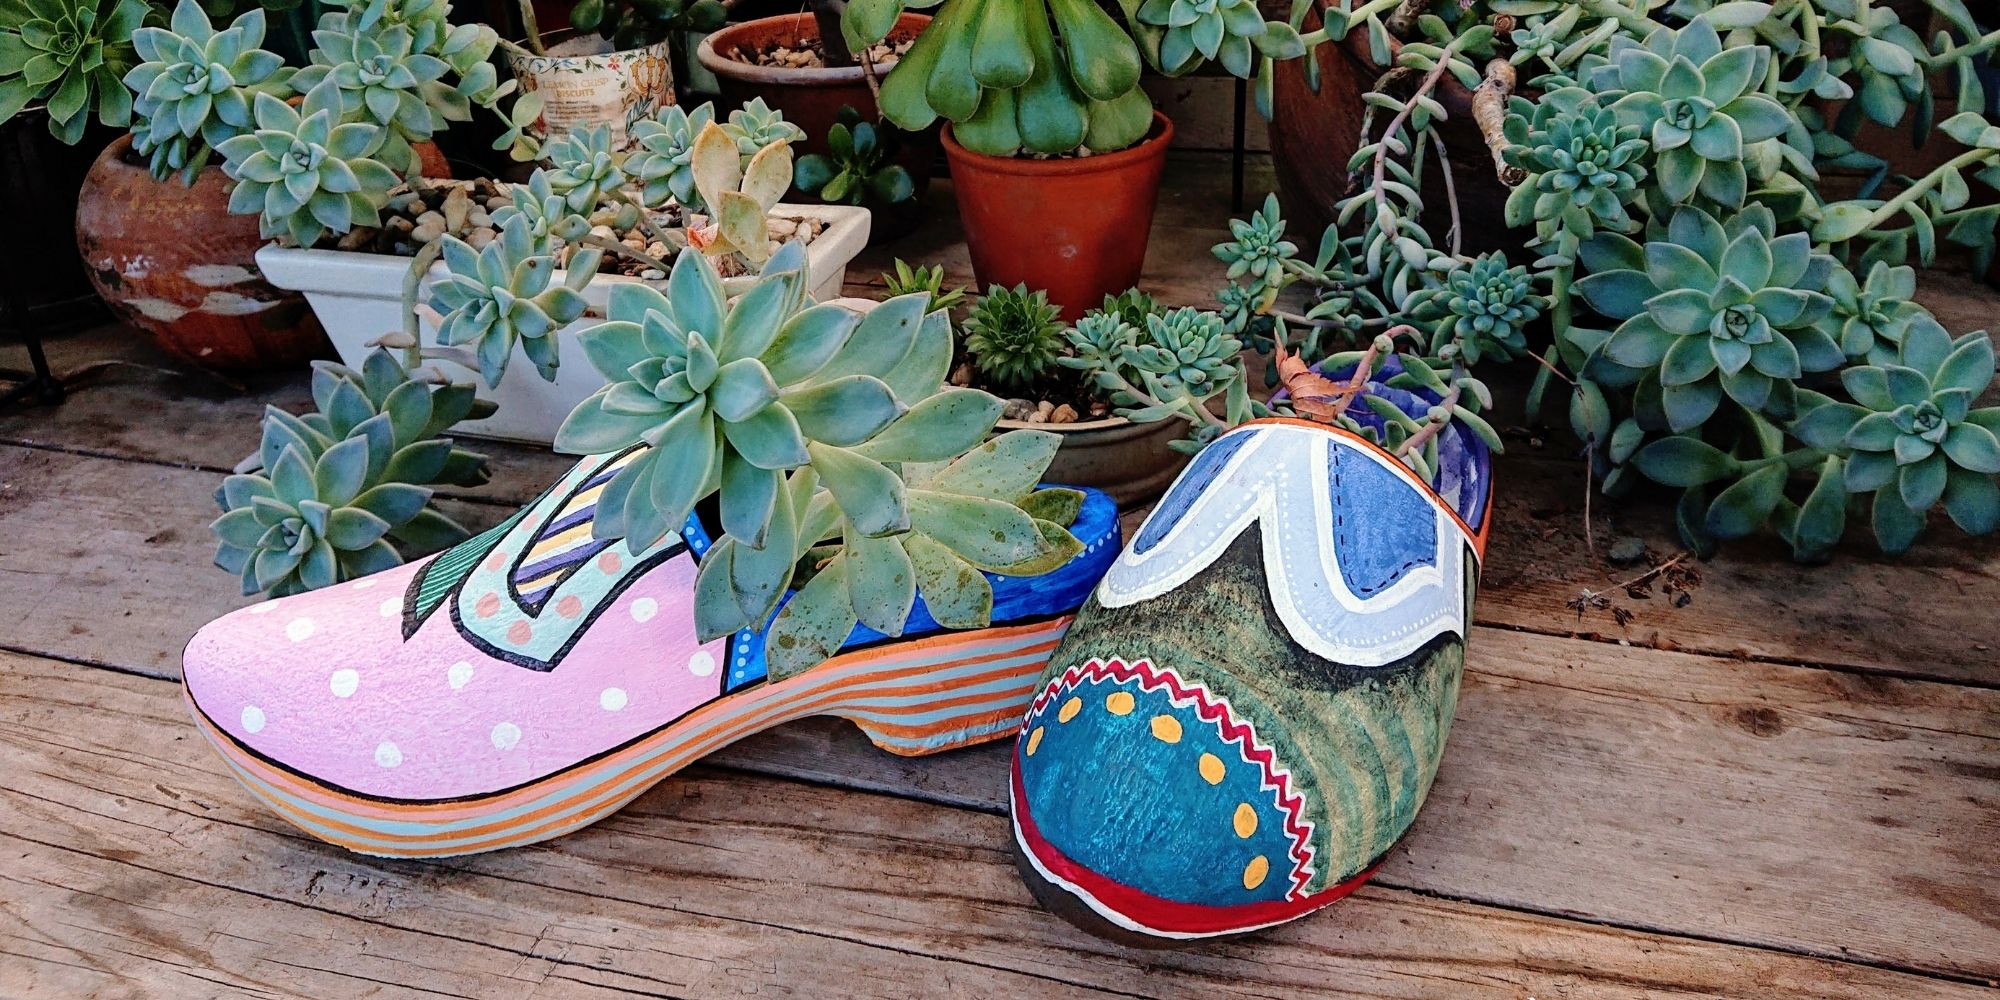
Upcycling and Repairing Ideas for Garden Decor
The garden has become a special place, especially during Covid-19 pandemic. During shelter-in-place period, I made garden decors by upcycling locally sourced items.
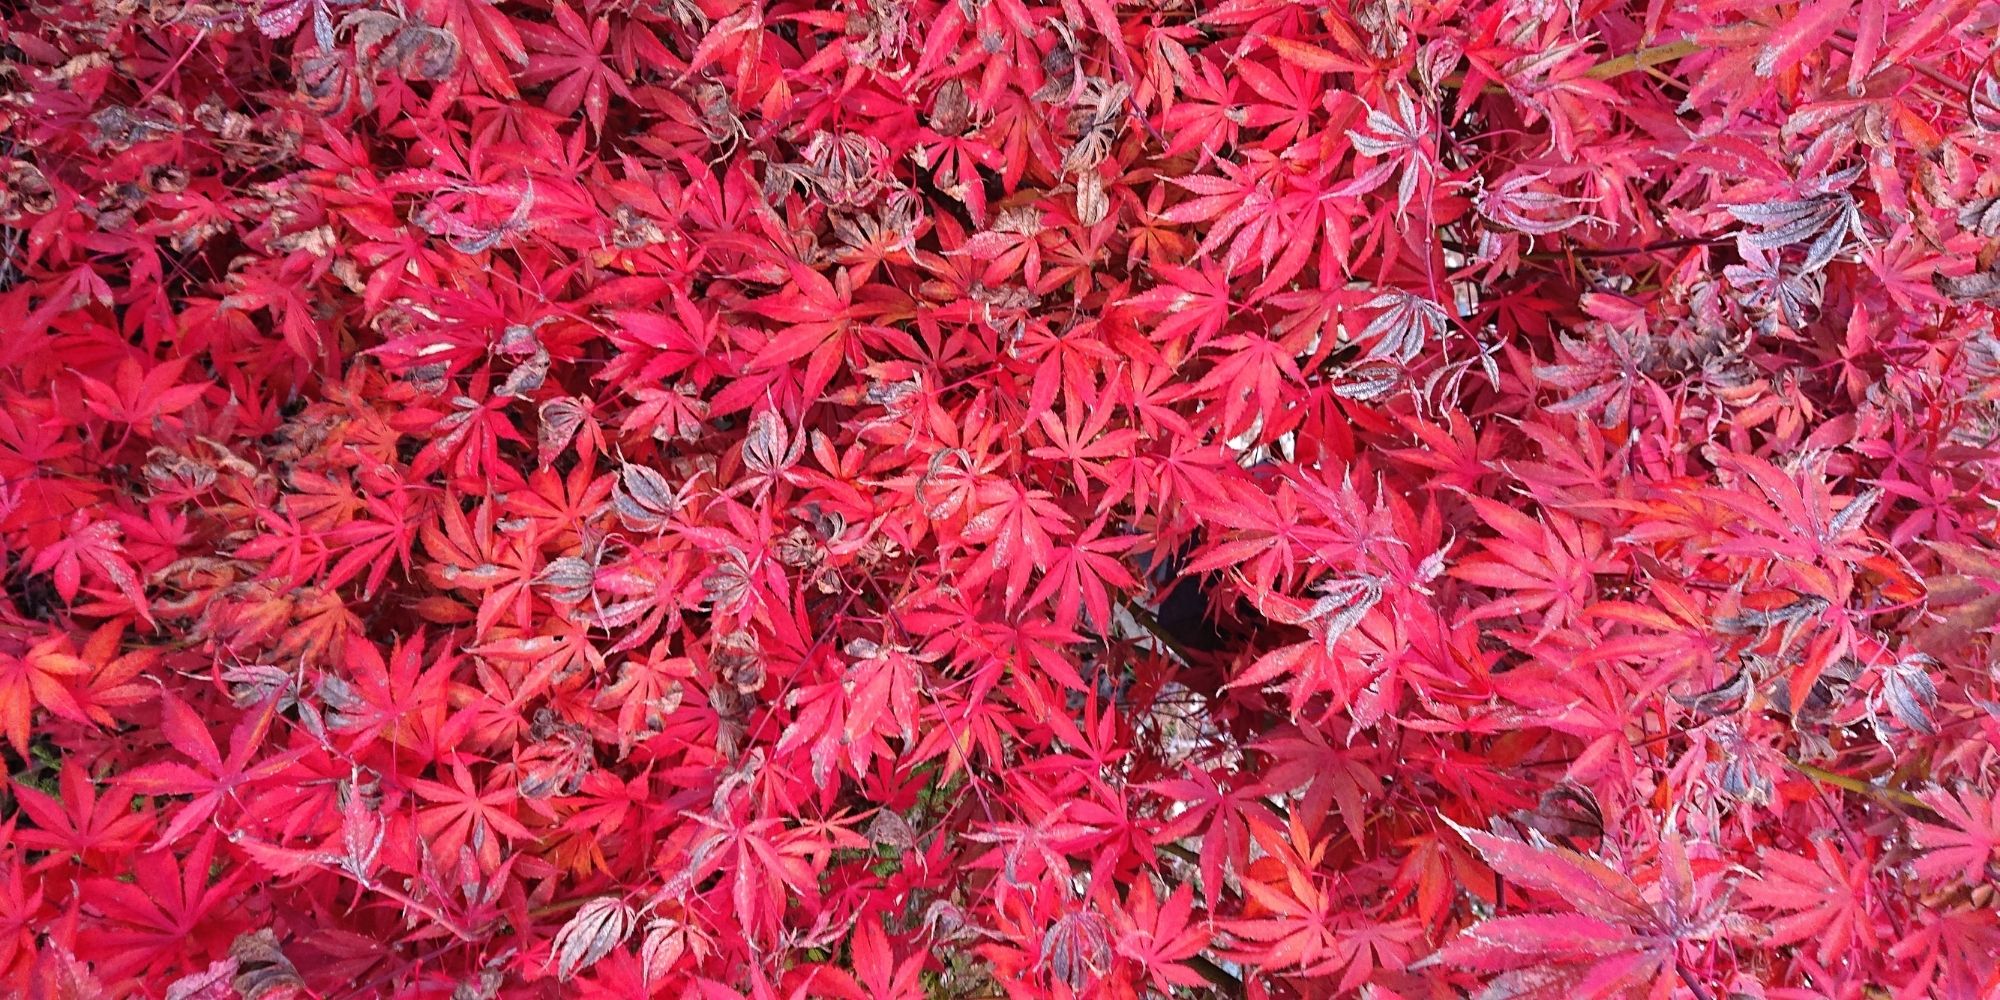
Natural Dyeing with Japanese Maple Leaves: Notes from a First-timer
Notes from my first natural dyeing experiment with Japanese maple leaves in fall season. Three batches of dyeing using fallen leaves sourced from two different trees in the garden. So much to learn and enjoy afterwards.