
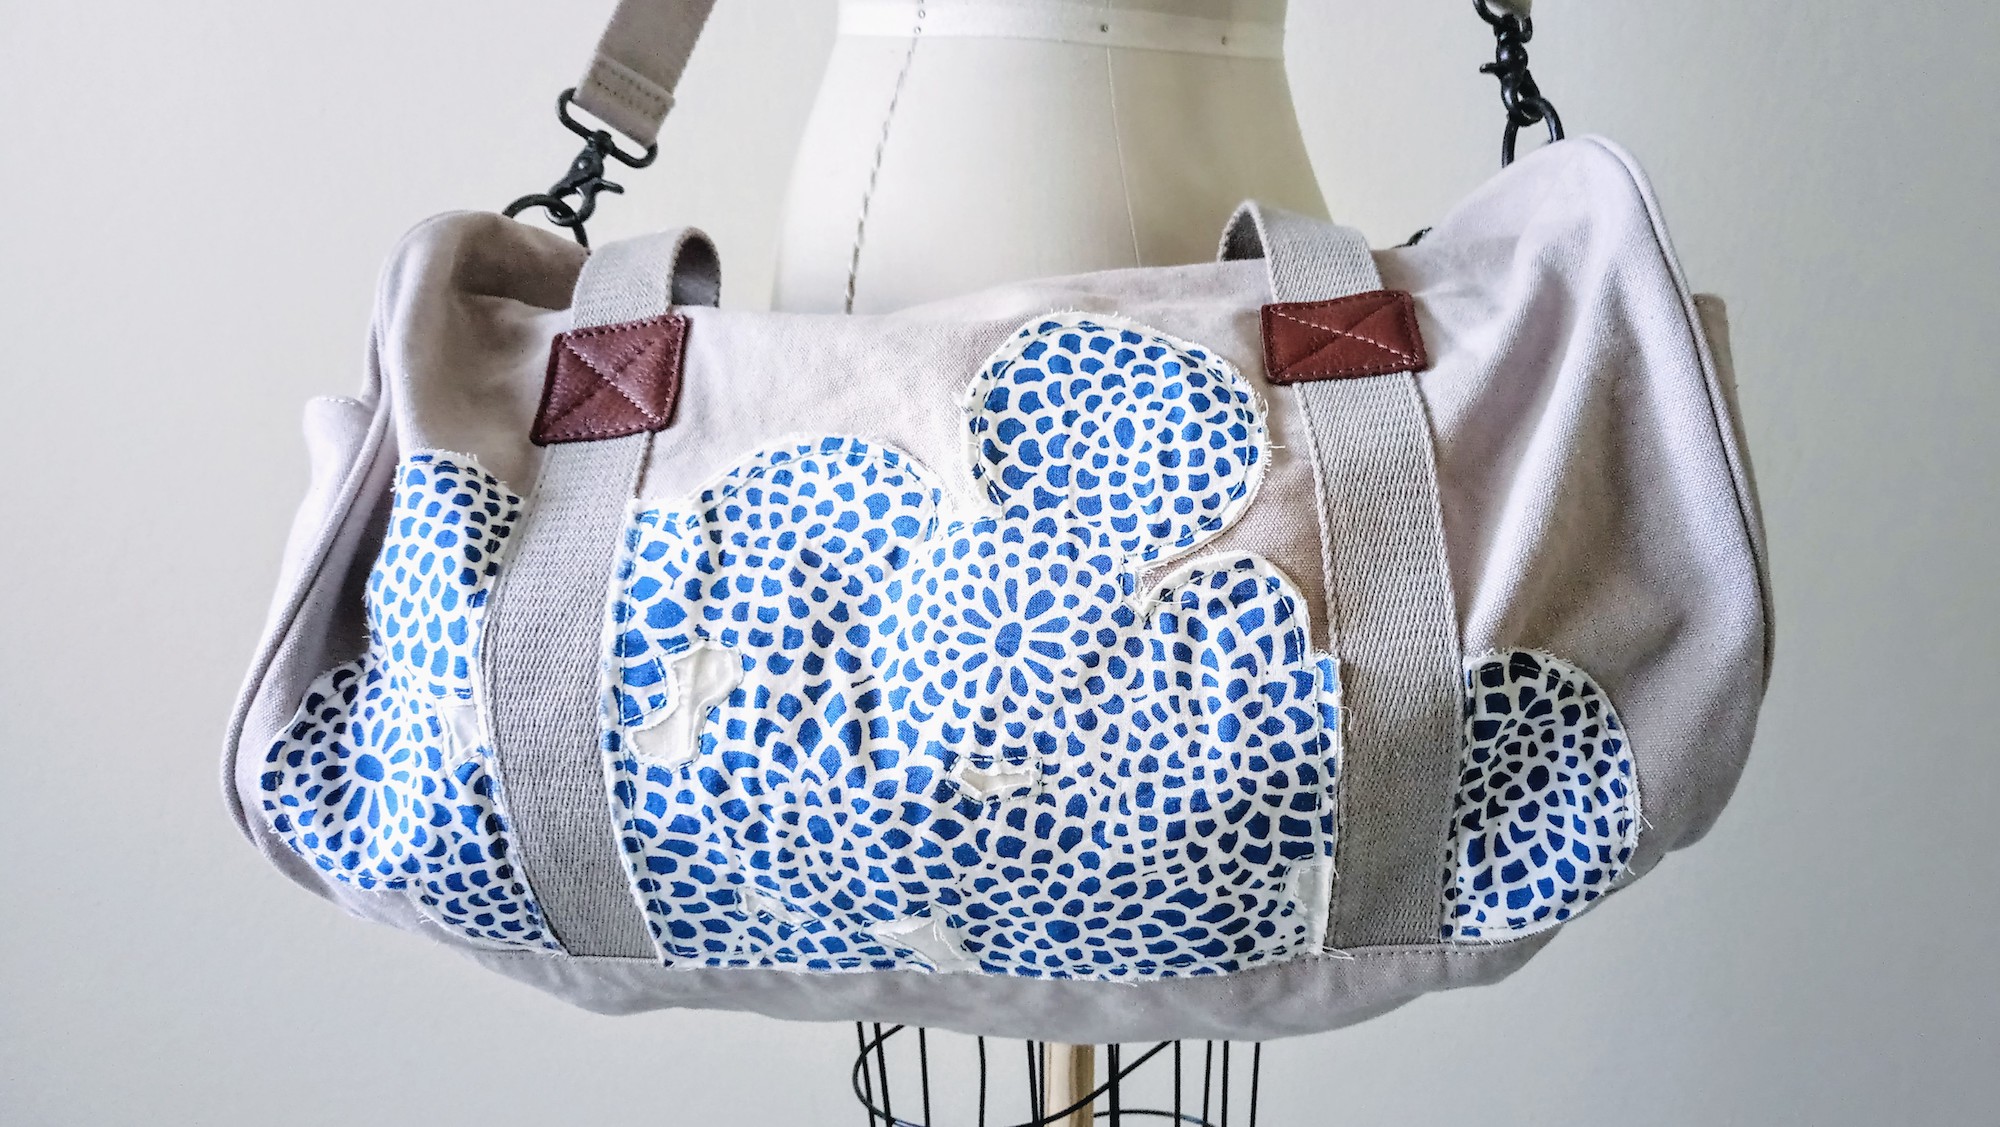
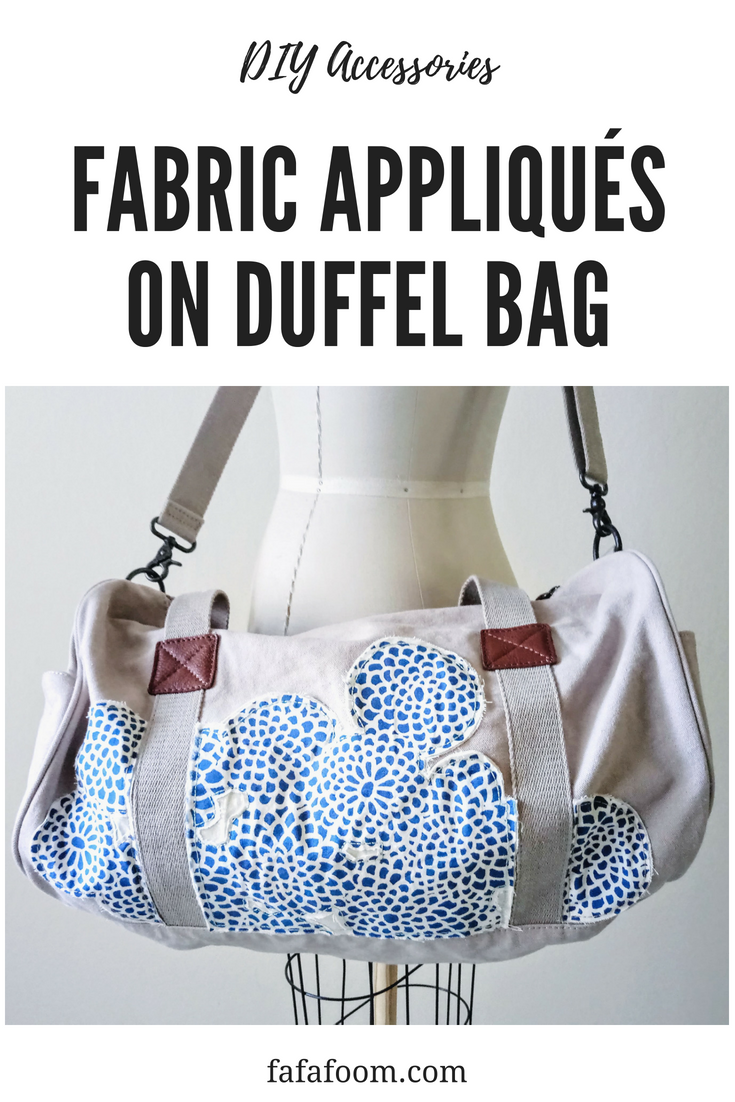
A duffel bag got personalized with appliqué pieces made from fabric remnants. The chrysanthemum motifs really pop against the neutral canvas background!
Having worked in tech industry in San Francisco Bay Area, it’s very common for employees to get company swags – from t-shirts, bags to electronic gadgets bearing company logos. At some point, people move on to other companies or some alternative career choices.
But the company swags remain. Instead of donating them (I see so many start-up company t-shirts in my neighborhood charity / thrift stores), I highly suggest personalizing them.
This post is just one of many examples of personalization. Of course, you don’t need to wait until you have company swags to personalize any item. It just happens that the item I chose to work on is a duffel bag I got from a company I moved on from.
As I usually do, I used fabric remnants and scraps to personalize the bag. With some cutting and hand sewing, the fabric appliqué pieces are placed on top of the sections with company logos. I aimed to infuse the right amount of customization. One that makes the duffel bag feels more personal, yet not deviate much from its practical function.
Subscribe to my newsletter
Materials for DIY Fabric Appliqués:
Aside from the duffel bag, my materials are as follows:
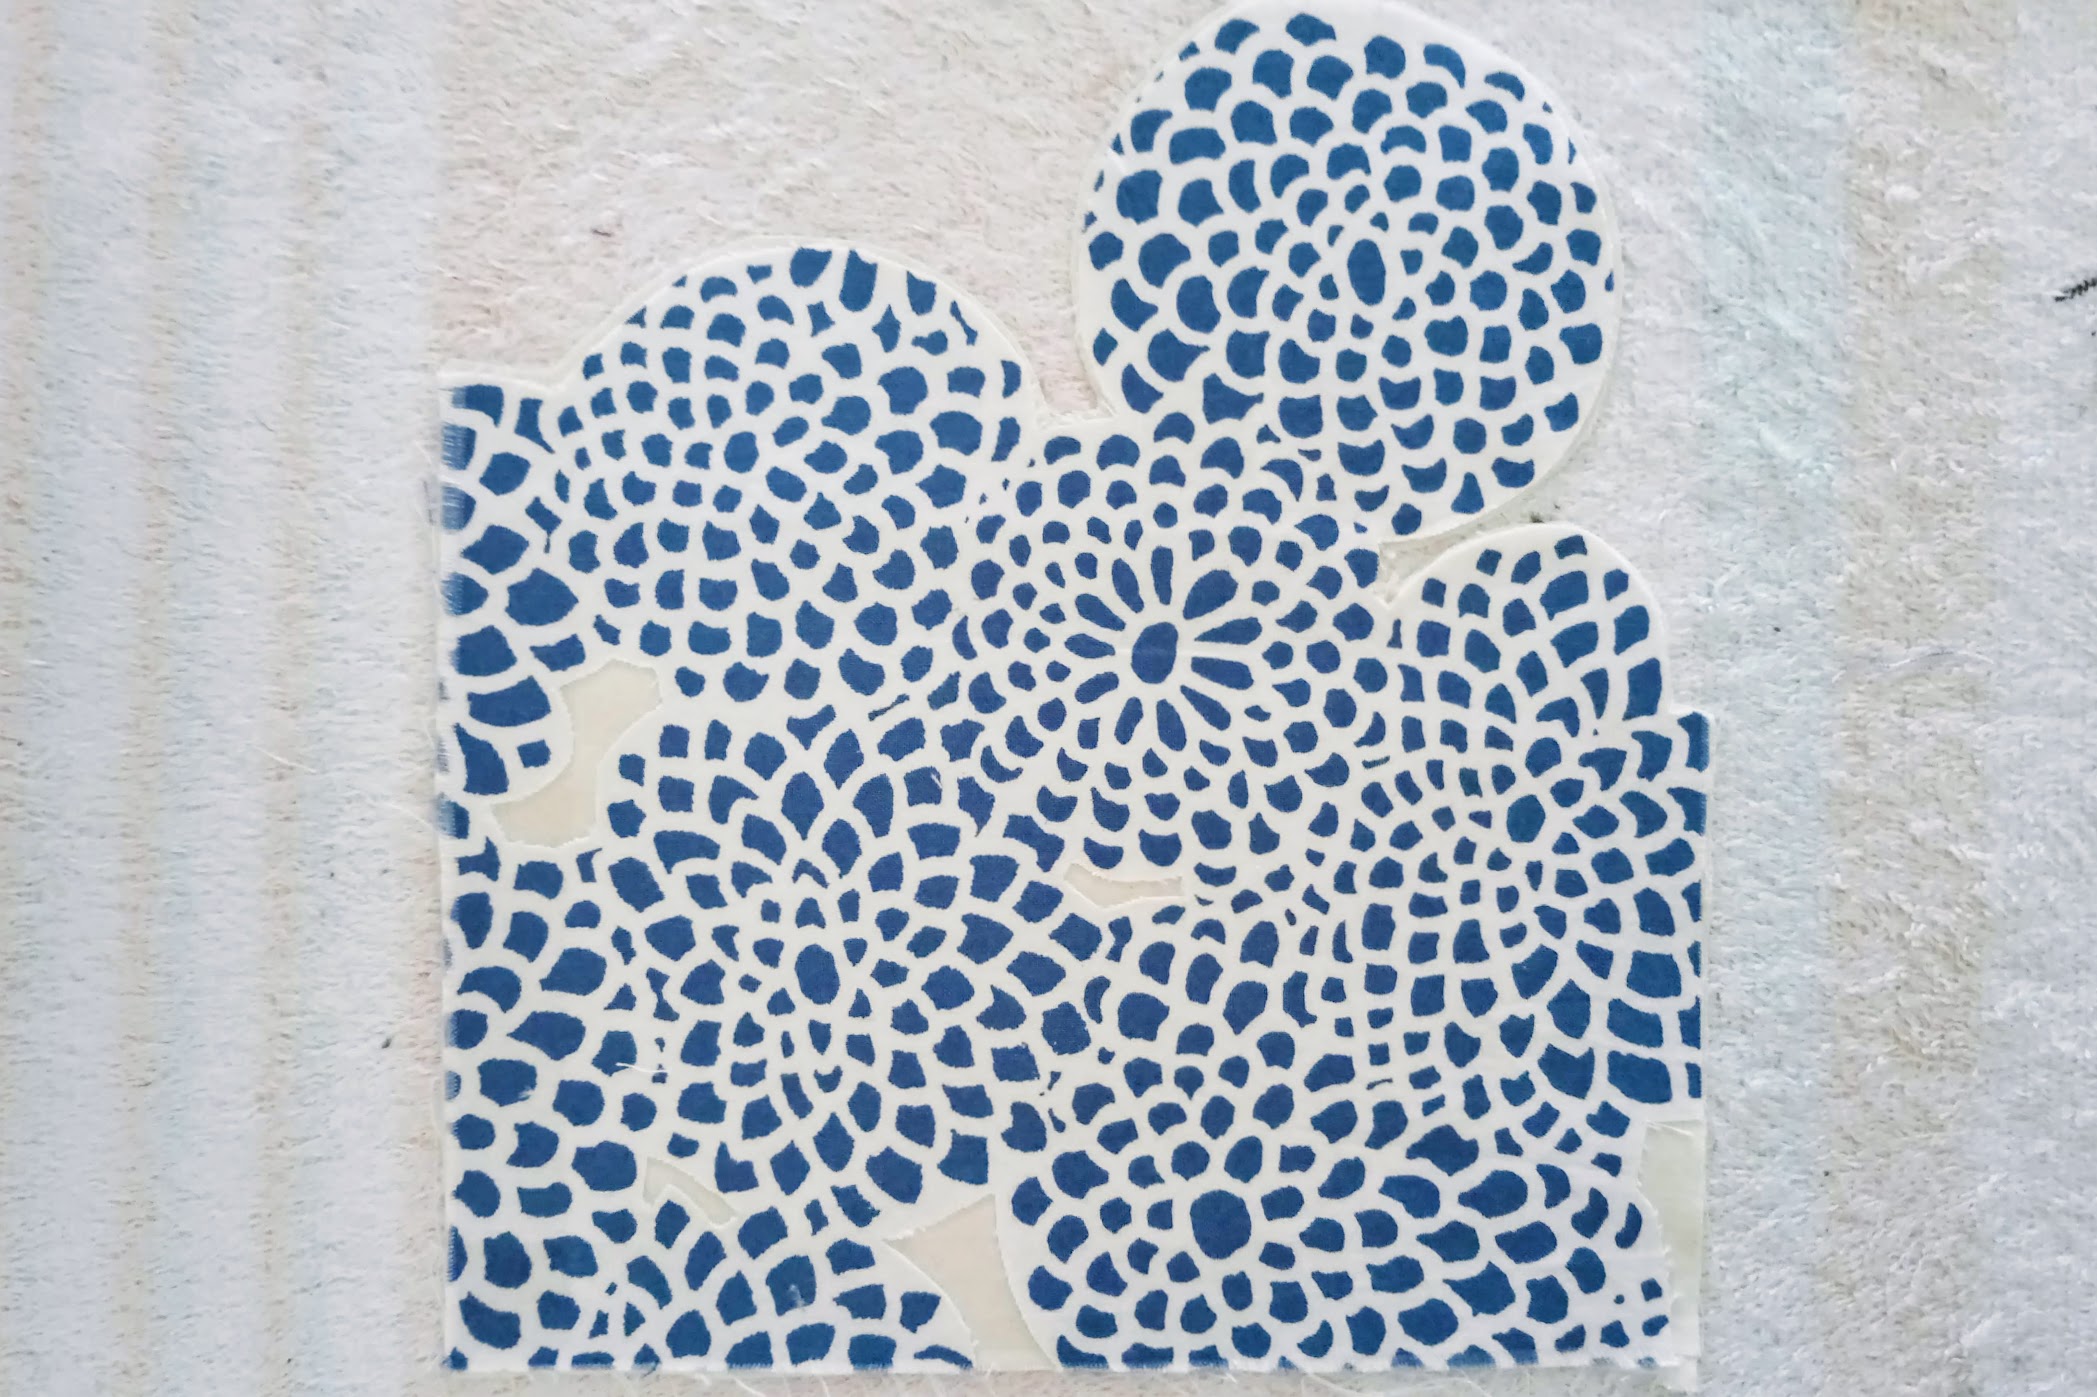
- 10” x 10” cotton print remnant (mine is a piece of white Sou Sou cotton print remnant with blue chrysanthemum motifs)
- muslin fabric remnants
- Fabri-tac permanent adhesive
- Aleene’s Stop Fraying
- Fabric scissors
- Needle and thread for hand sewing
- Thimble to protect my fingers (piercing through several layers of thick canvas can be tough!)
- (optional) Embroidery needle and floss

Process Overview
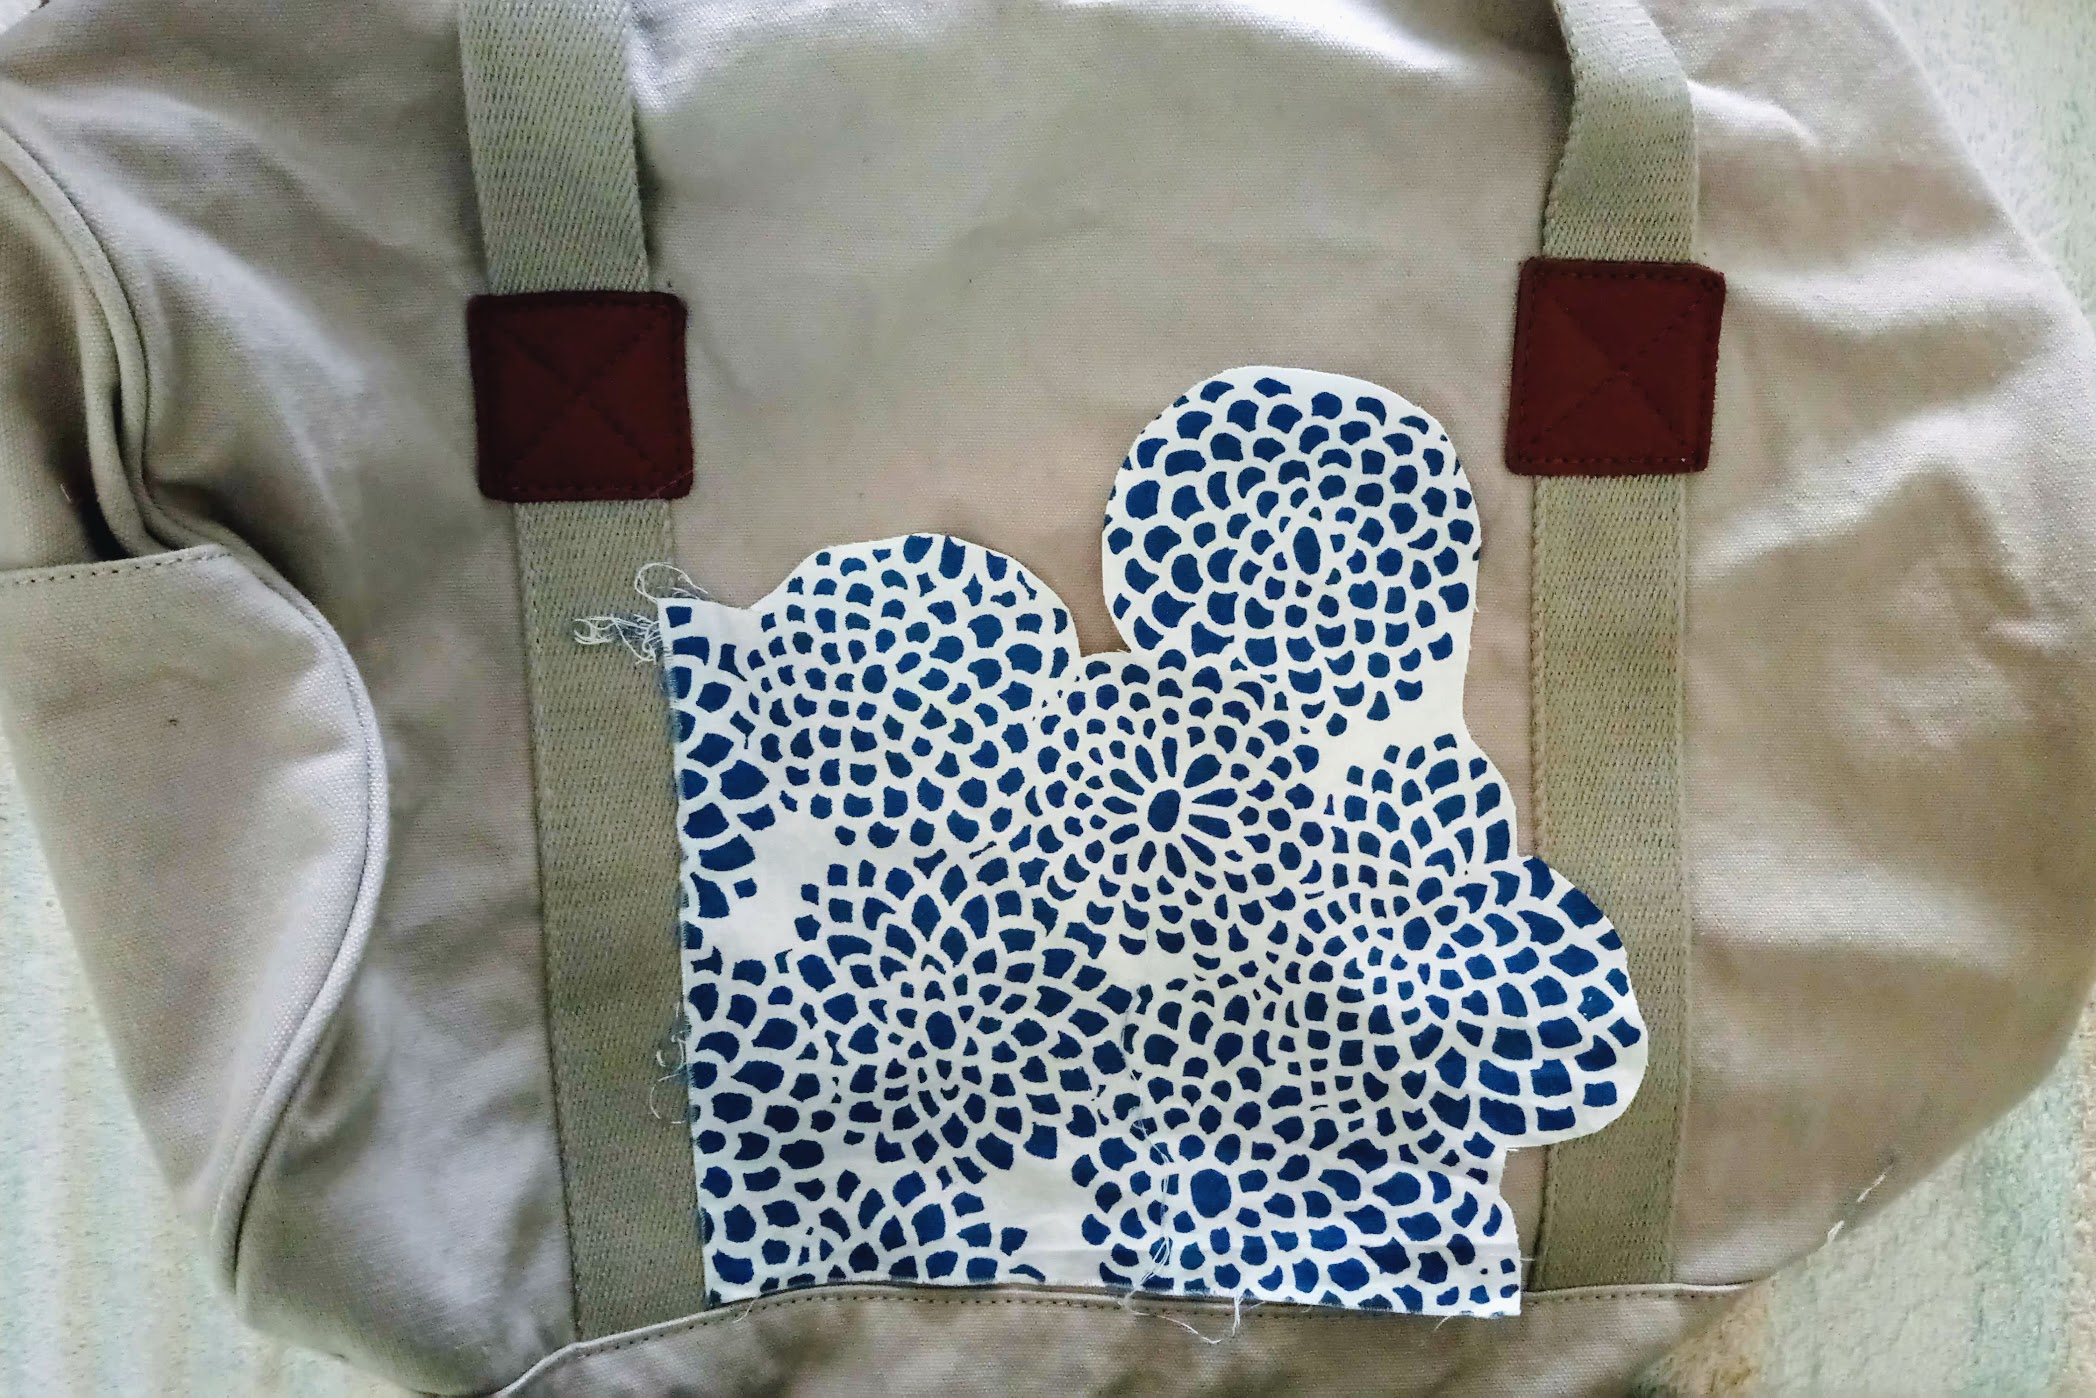
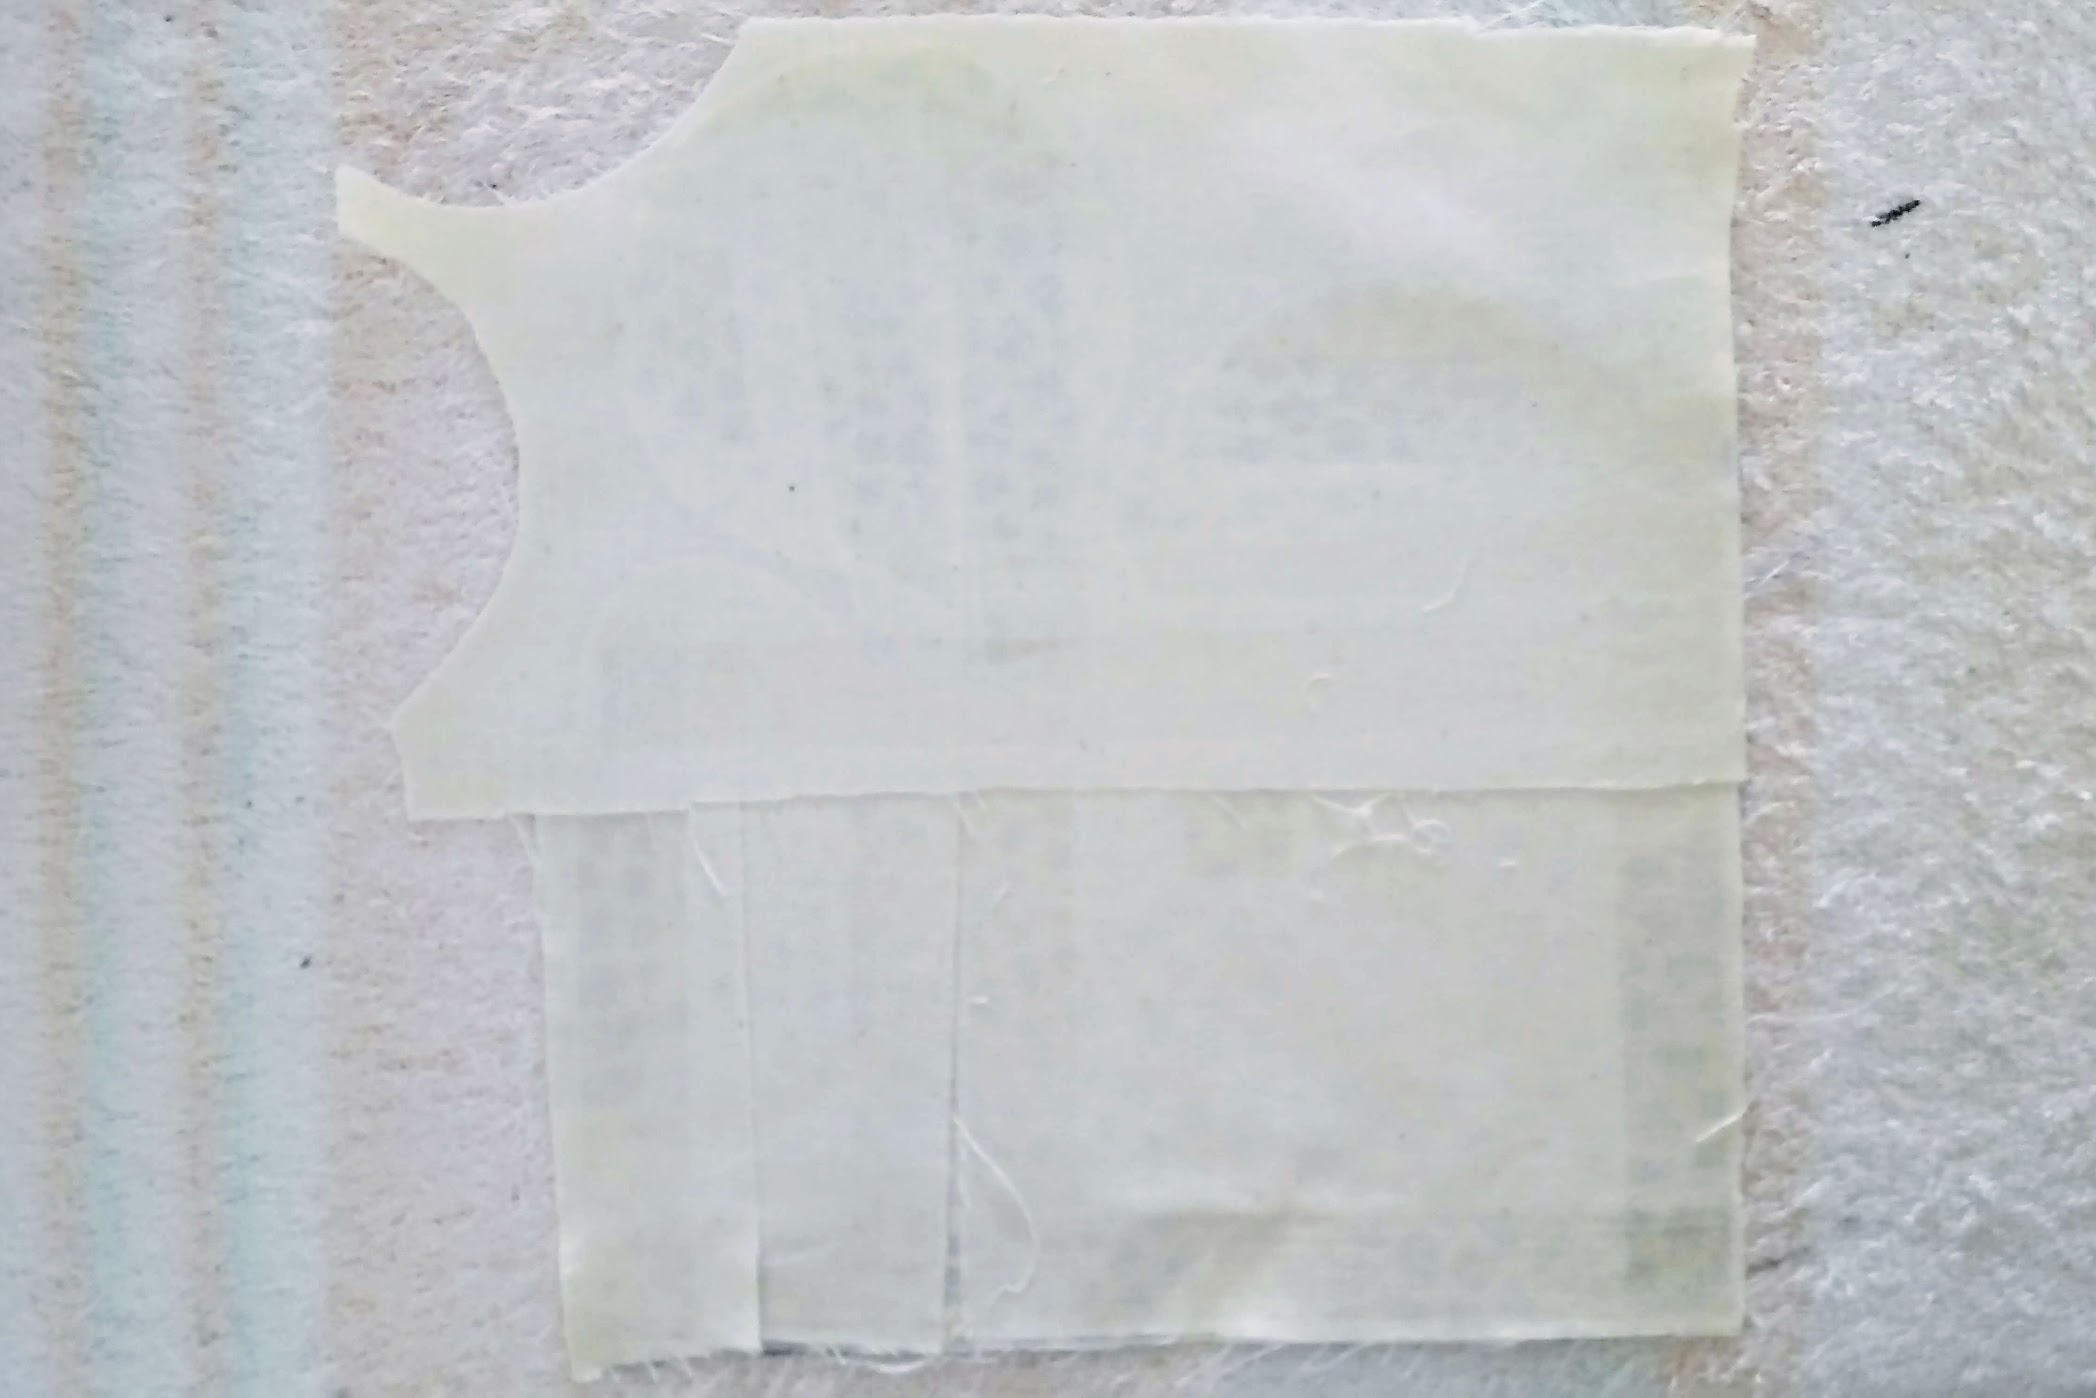
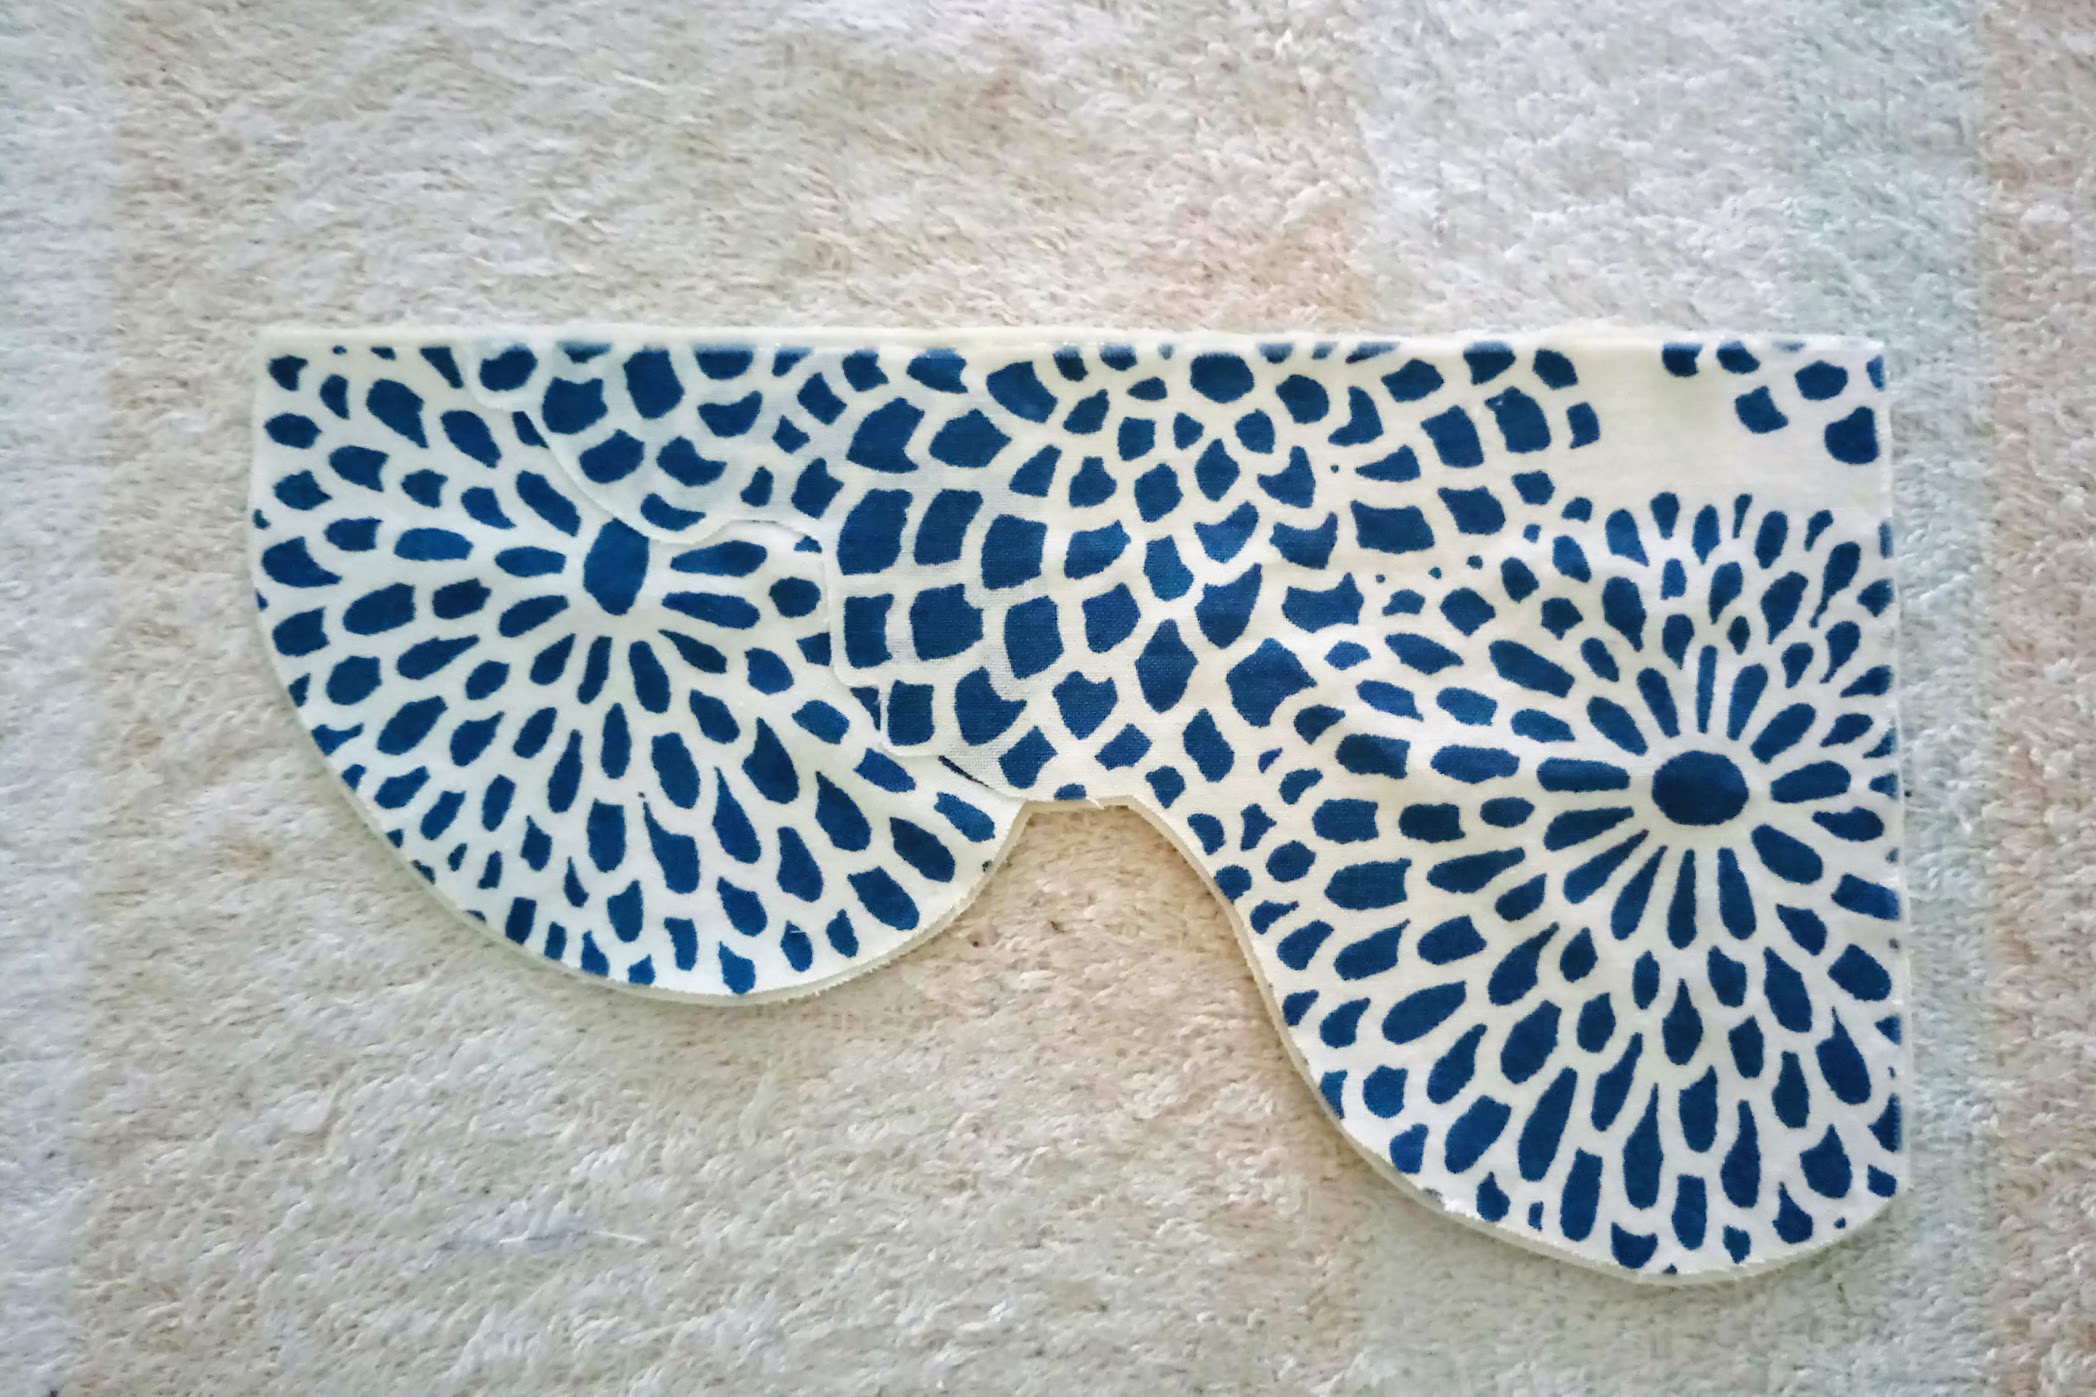
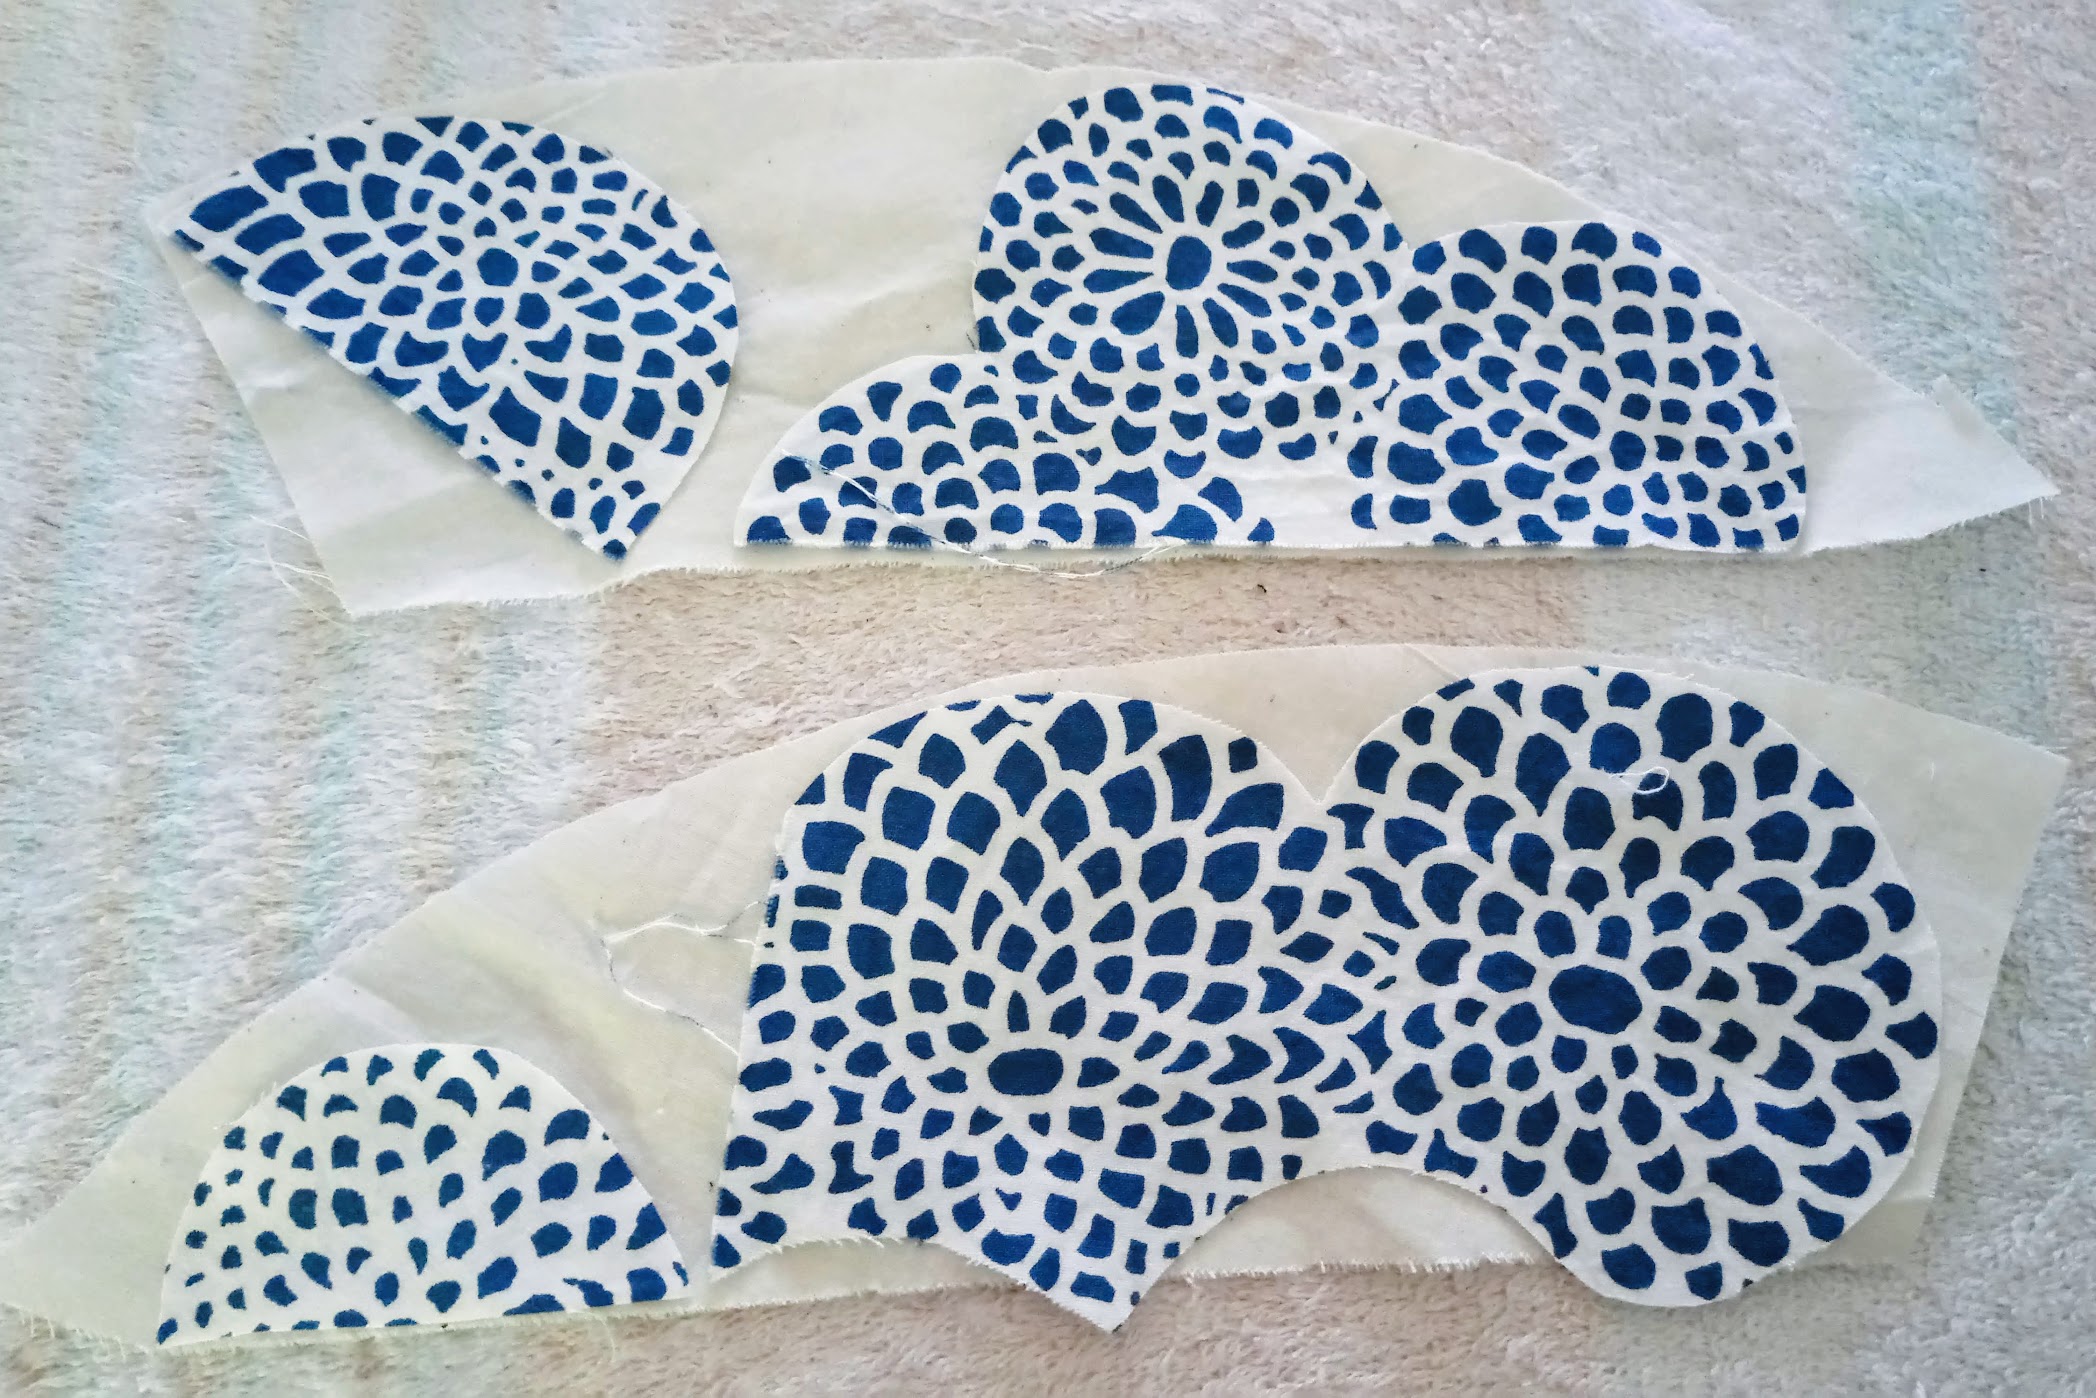
The duffel bag embellishment process was organic and relatively straightforward. I began with measuring the areas I wanted to cover with fabric appliqués, and then I cut the cotton fabrics according to the rough measurements.
The fabric cut-outs are curvy and circular, and that’s due to the chrysanthemum motifs that I wanted to preserve as much as possible.
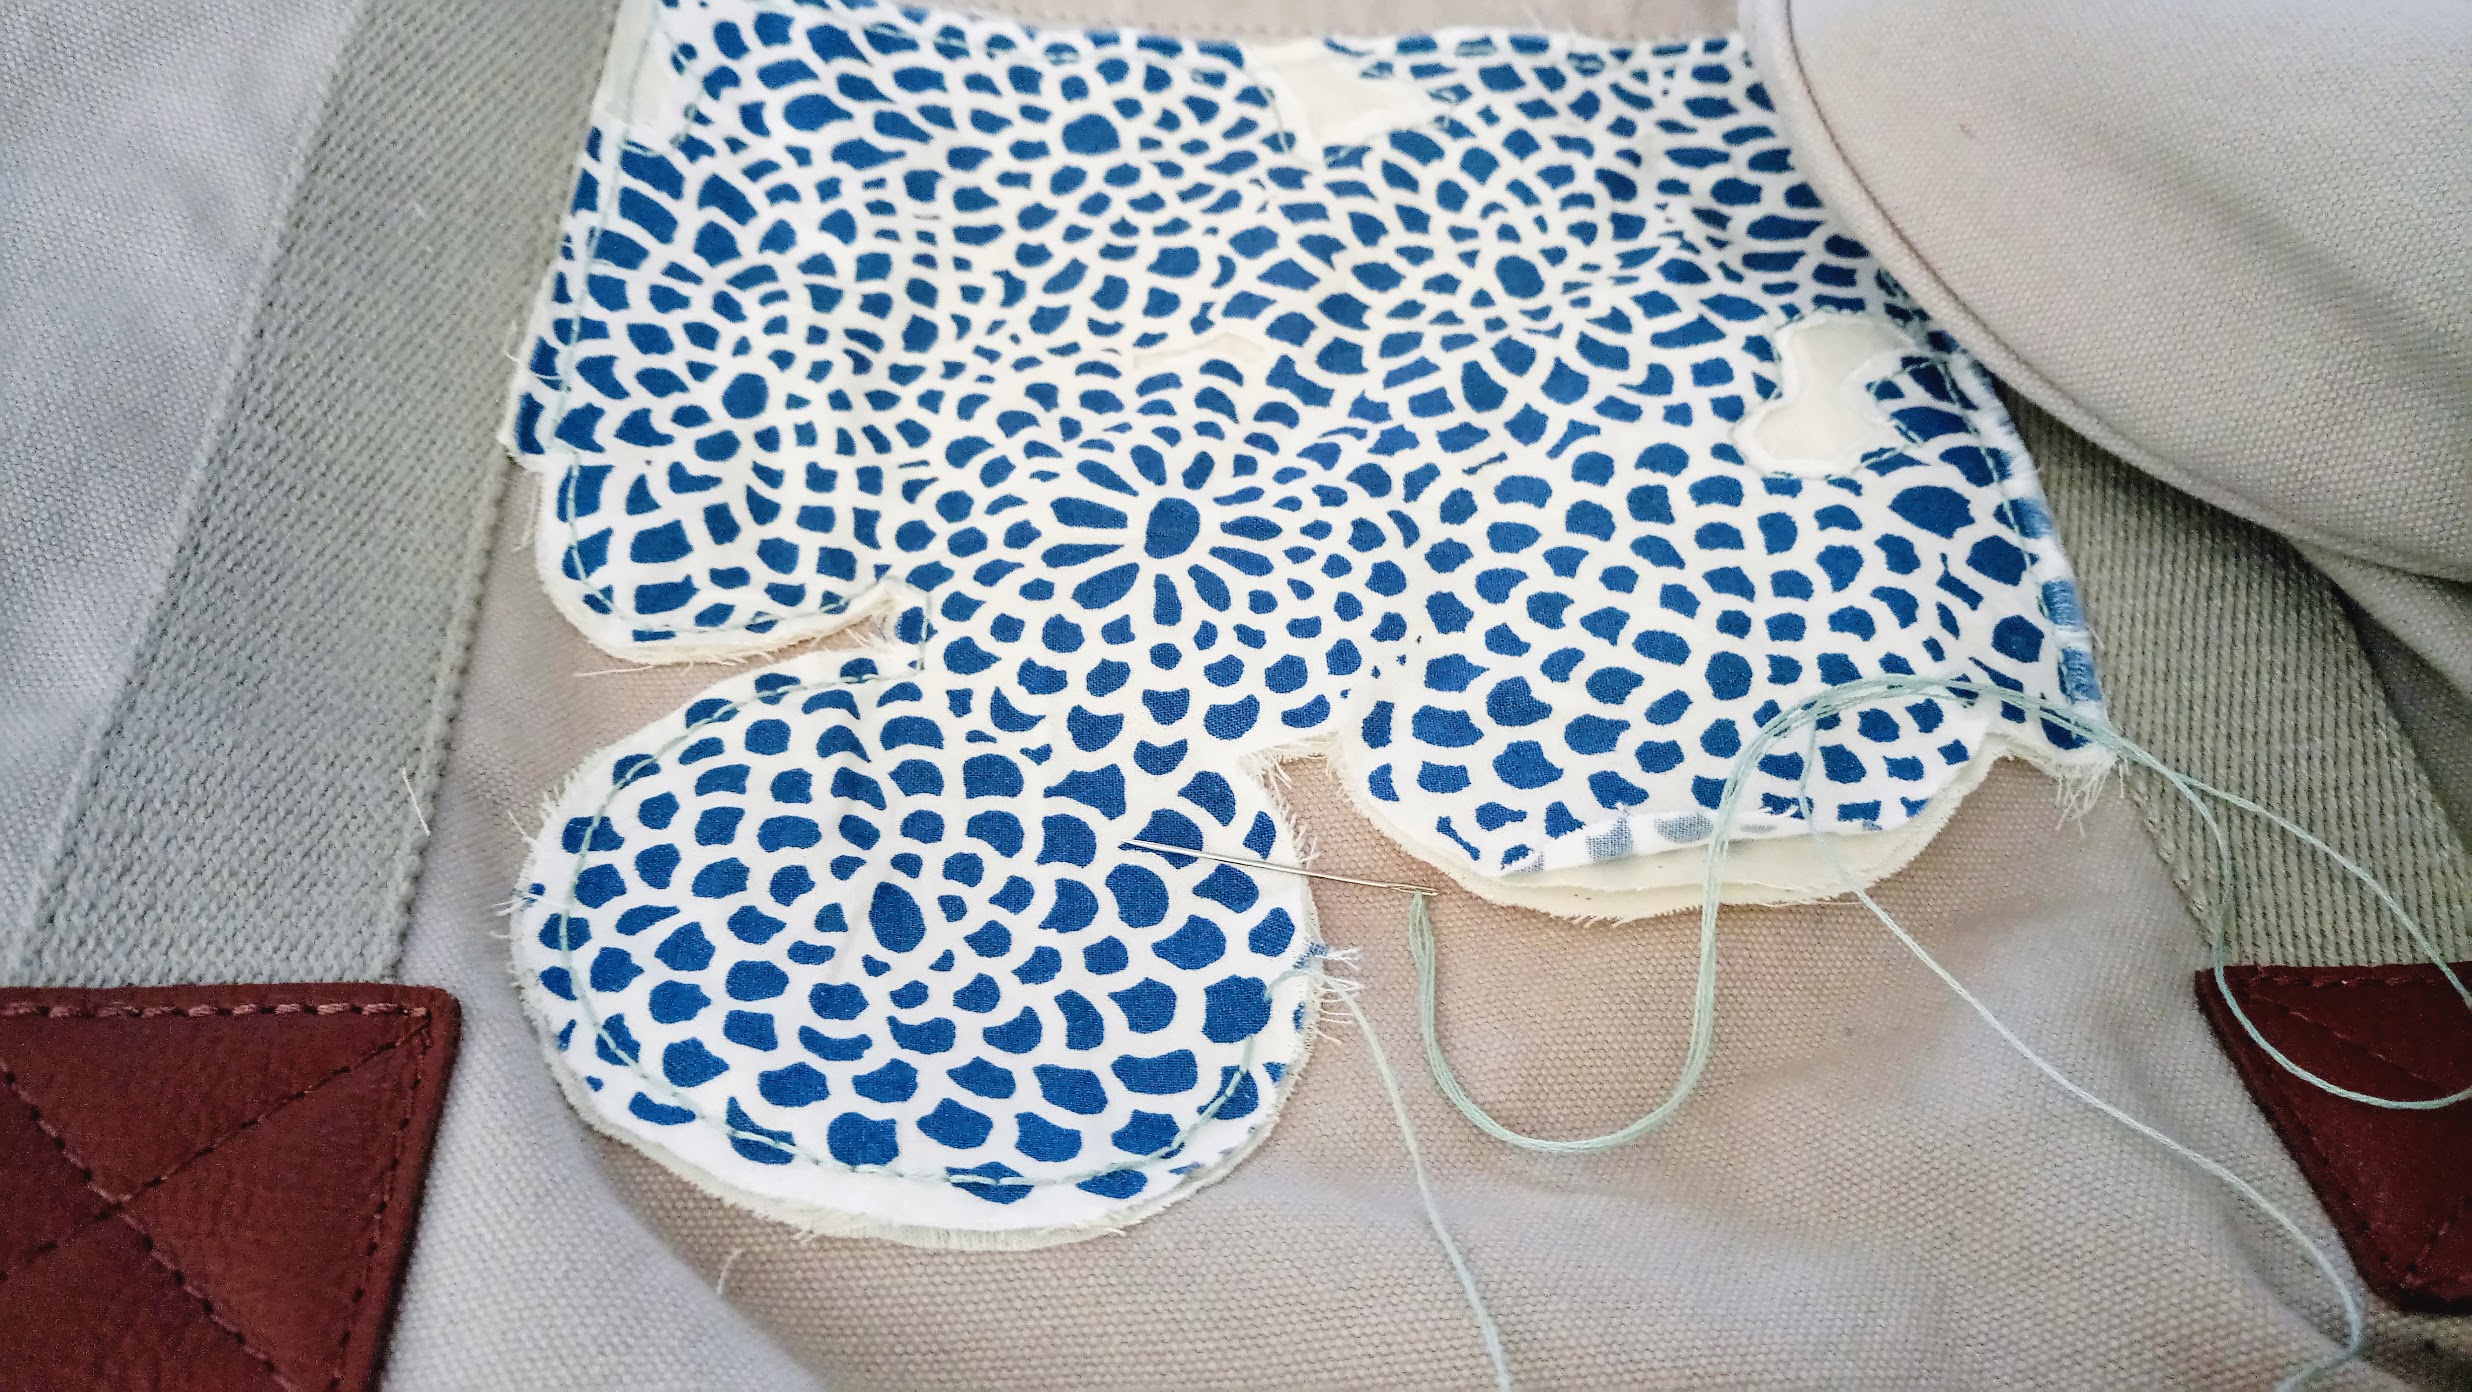
Once I was set with the cotton print cut-outs, I cut out the negative space in-between the chrysanthemums. Then I layered several pieces of muslin scraps underneath it, glueing them with Fabri-tac sparingly.

After cutting the muslin edges to fit the fabric appliqué silhouette, I applied Stop Fraying on the edges so it doesn’t…uh, fray. The white-ish liquid dried out in minutes.
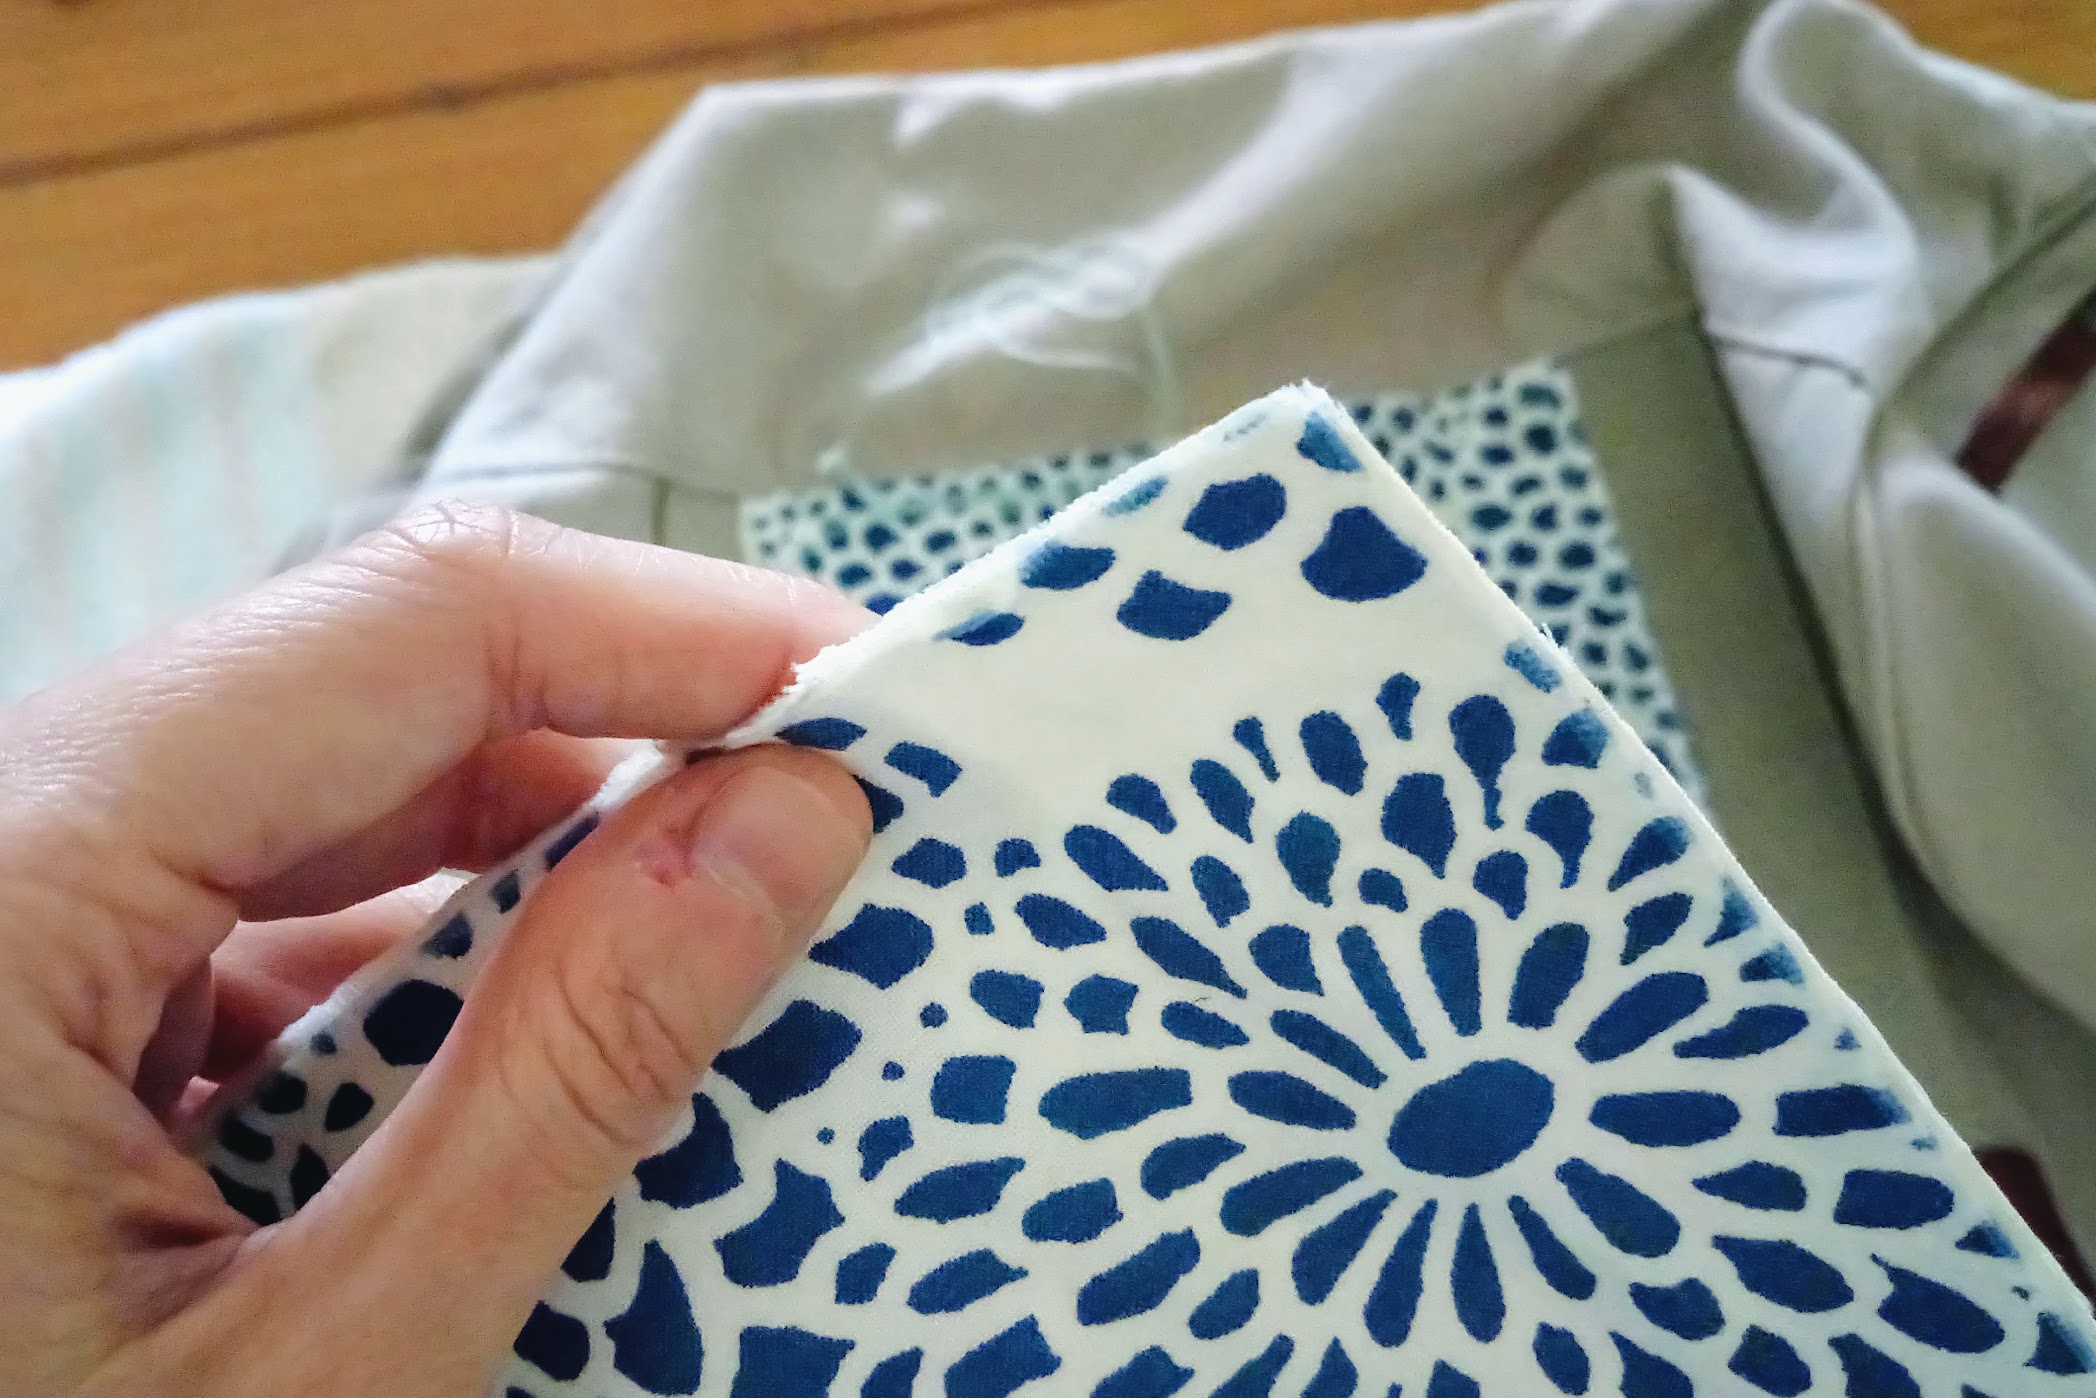
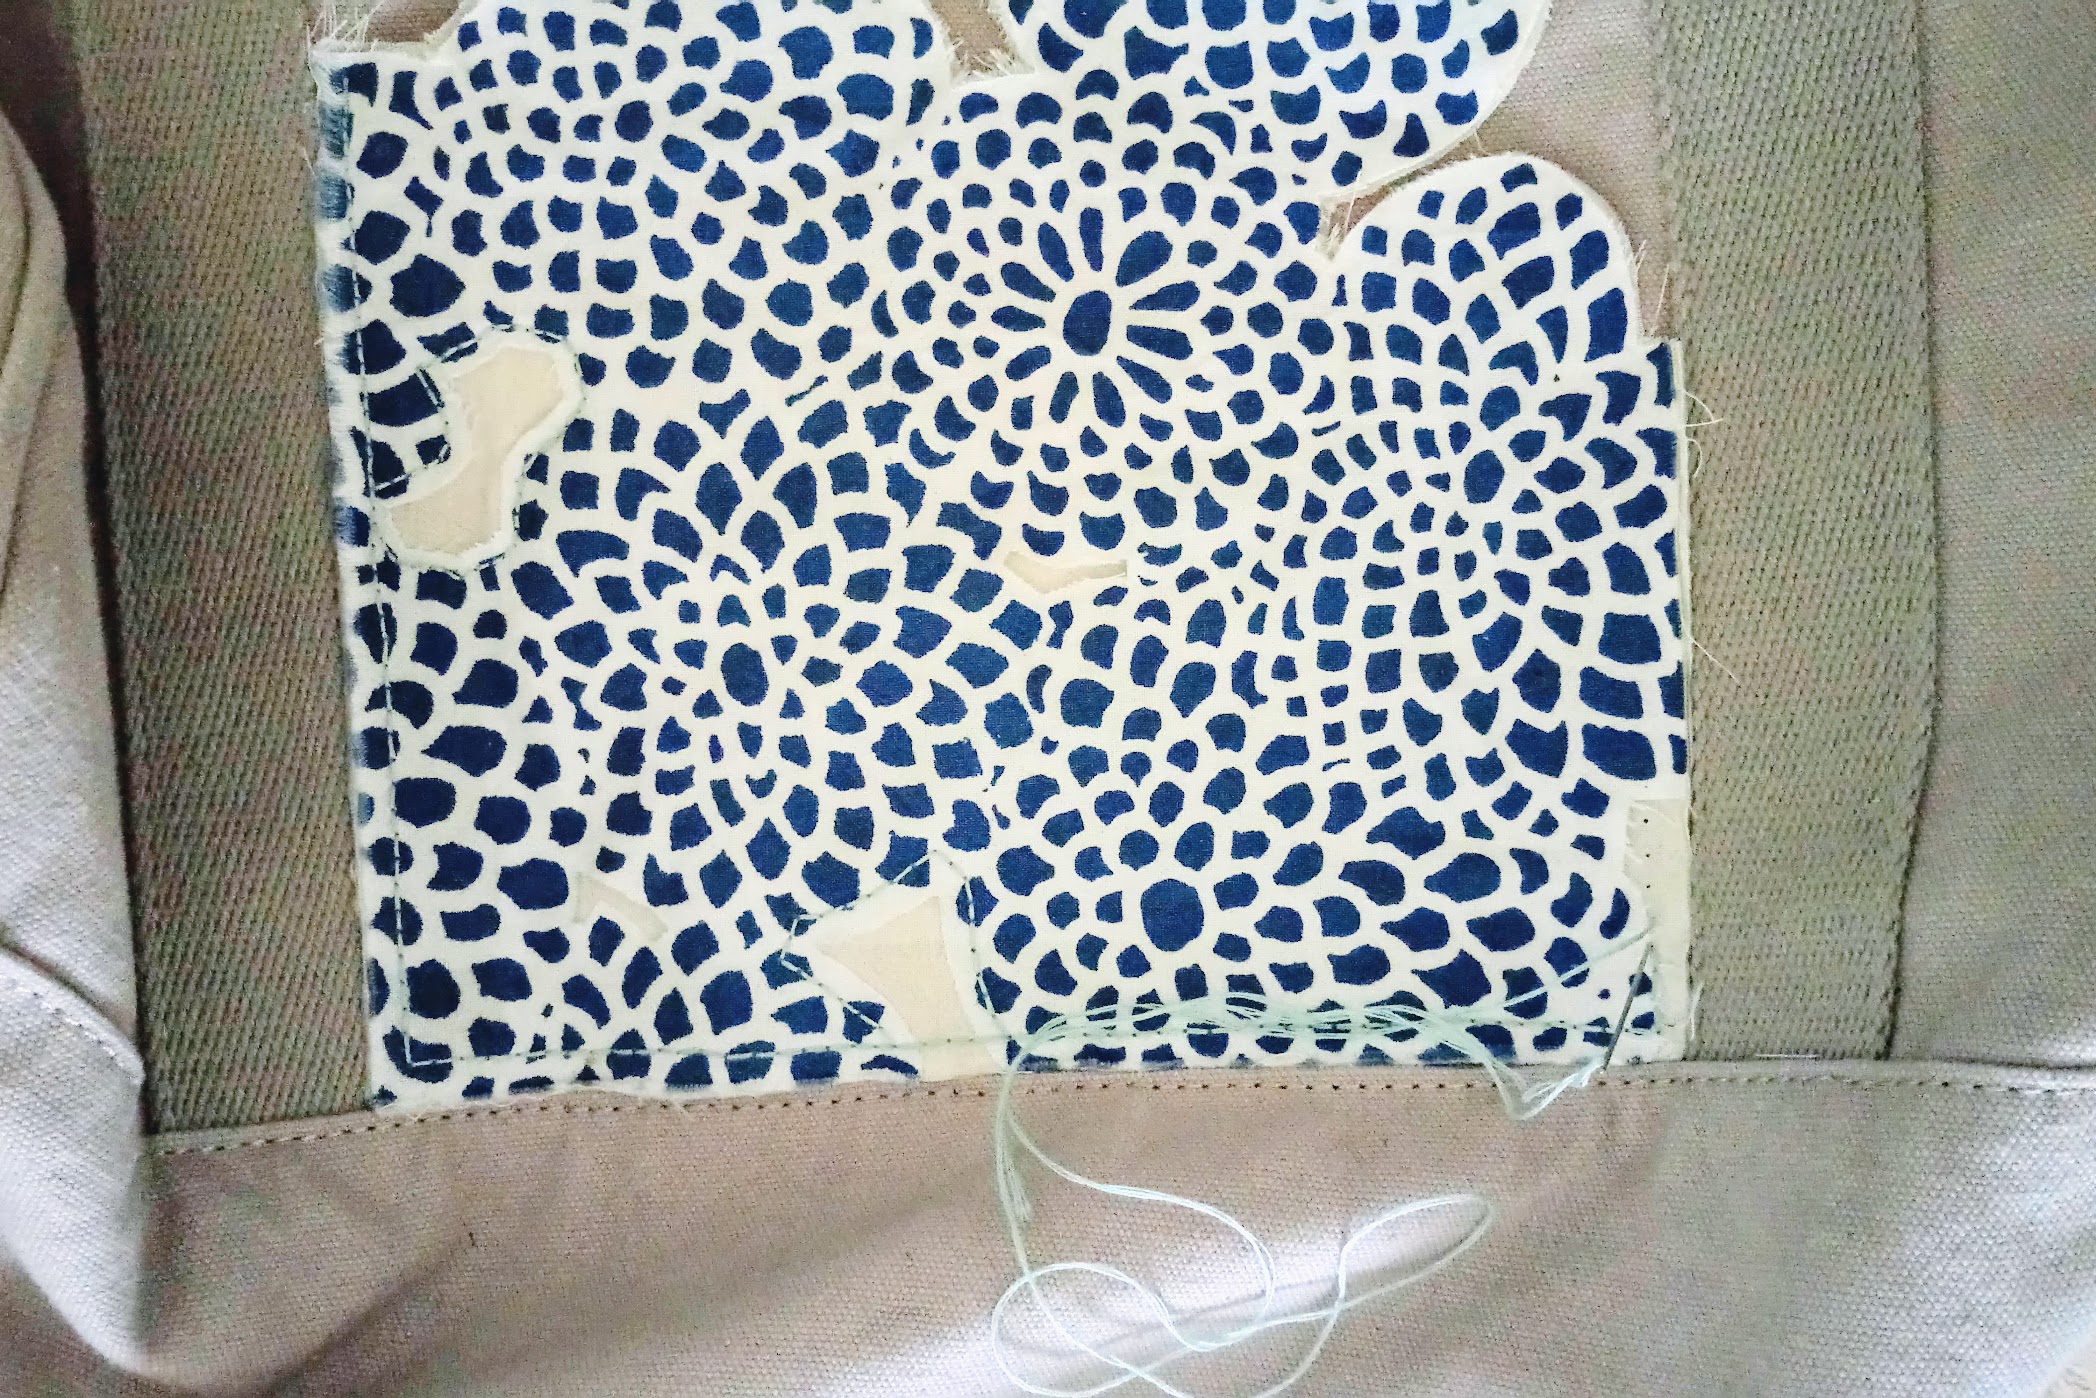
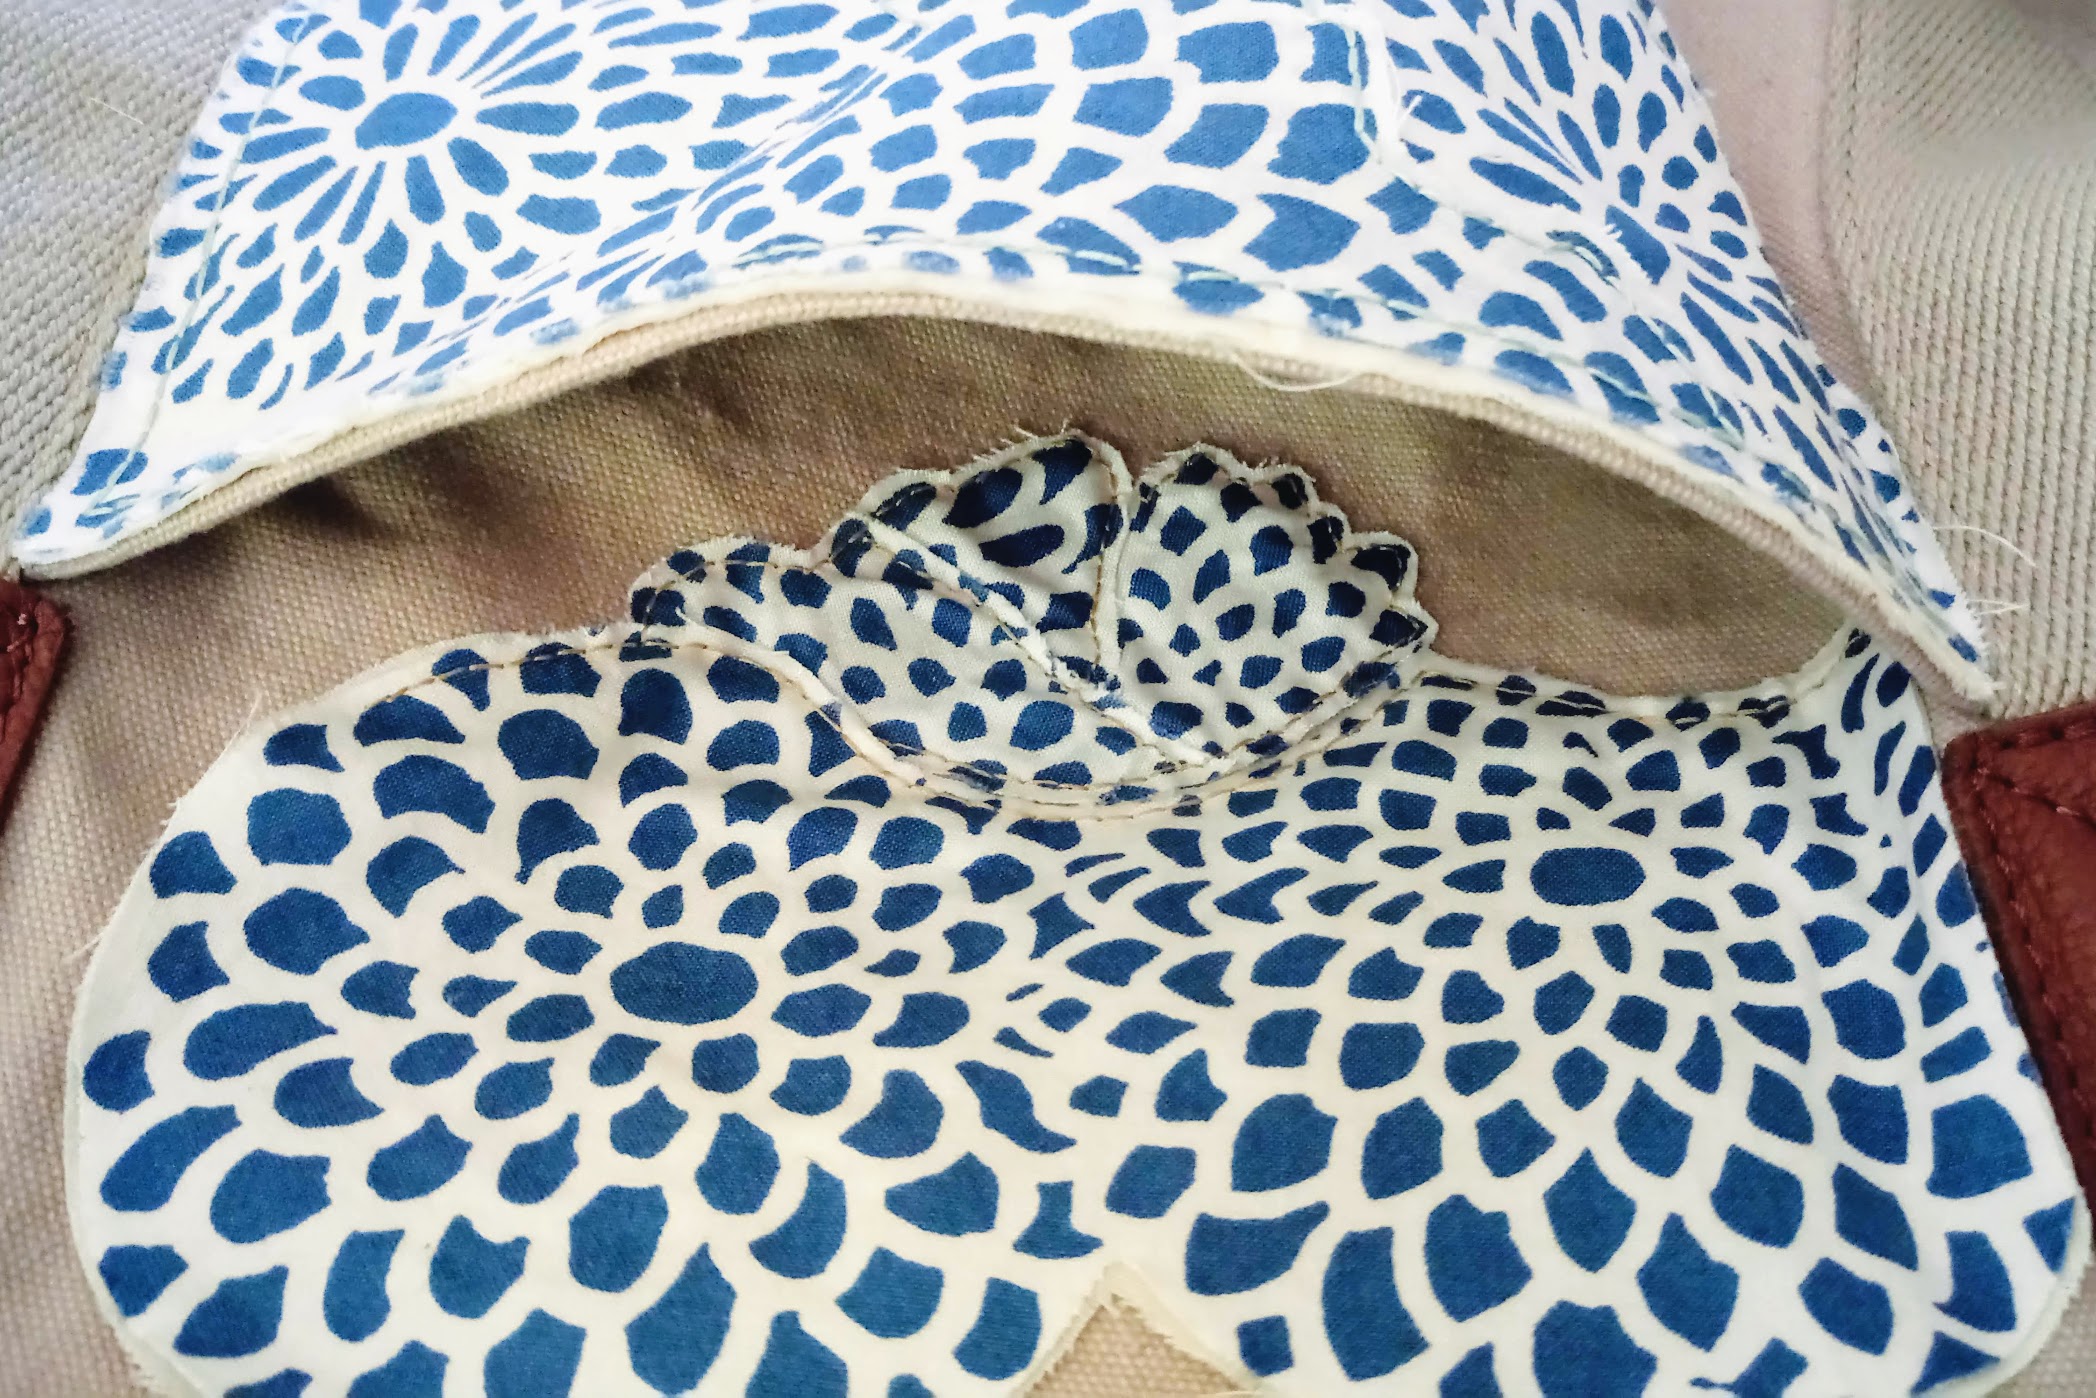
So after it’s dry, I started hand stitching the fabric appliqué to the duffel bag! I could’ve used regular needle and thread, but I chose to use several strands of retro light blue colored embroidery floss and embroidery needle.
I backstitched the fabric appliqué piece onto the bag, about 1/4” away from the edge. I went around the overall silhouette, as well as around the cut-out areas in-between chrysanthemums.
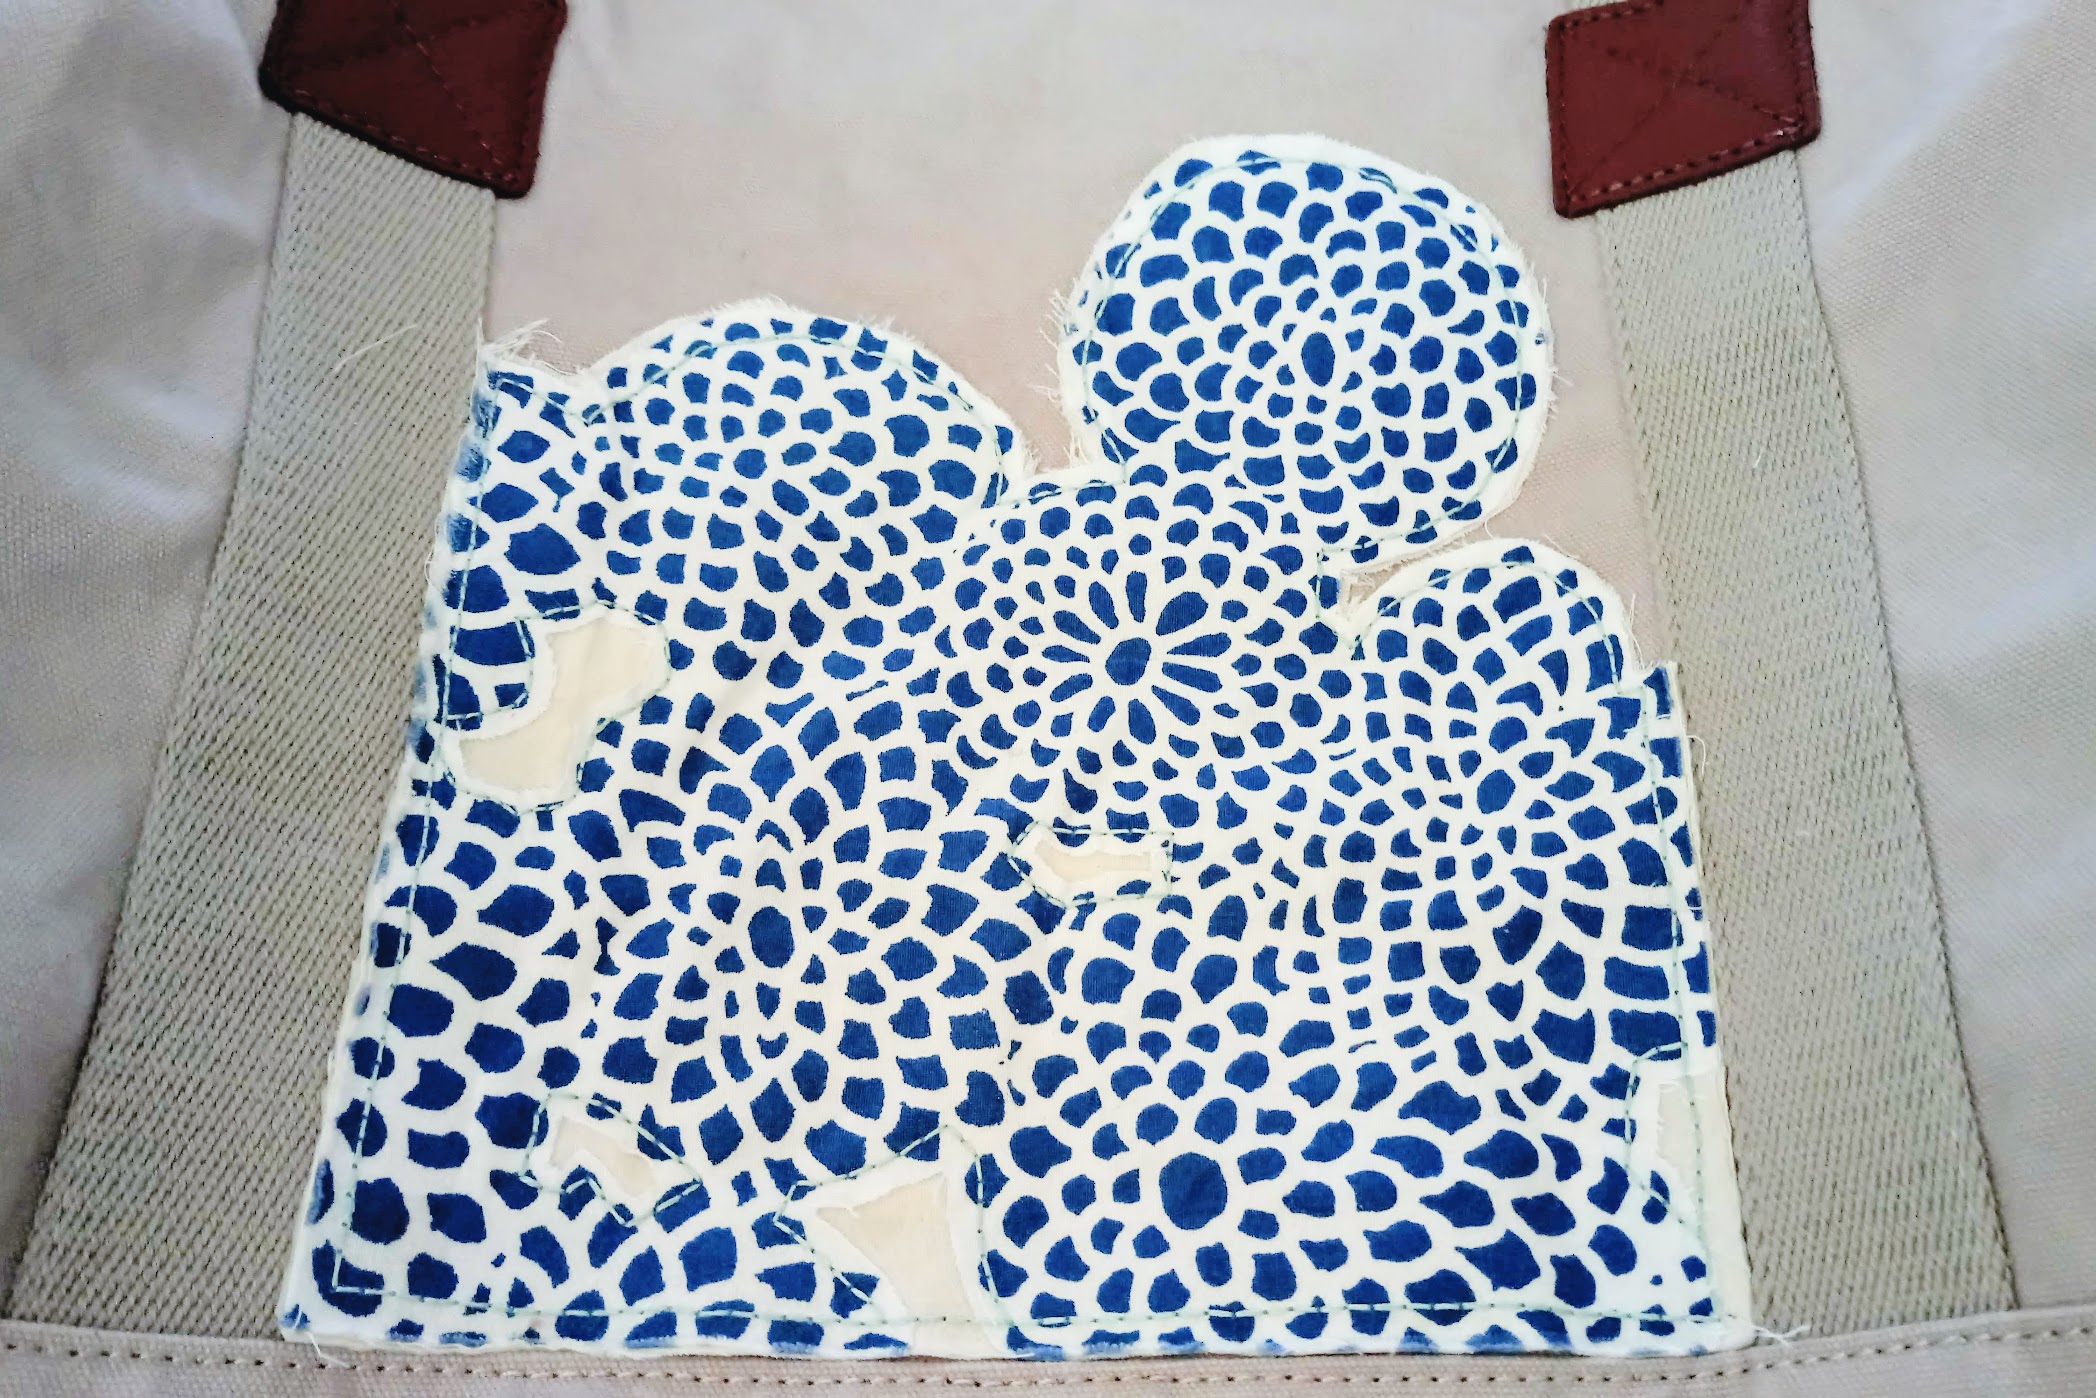
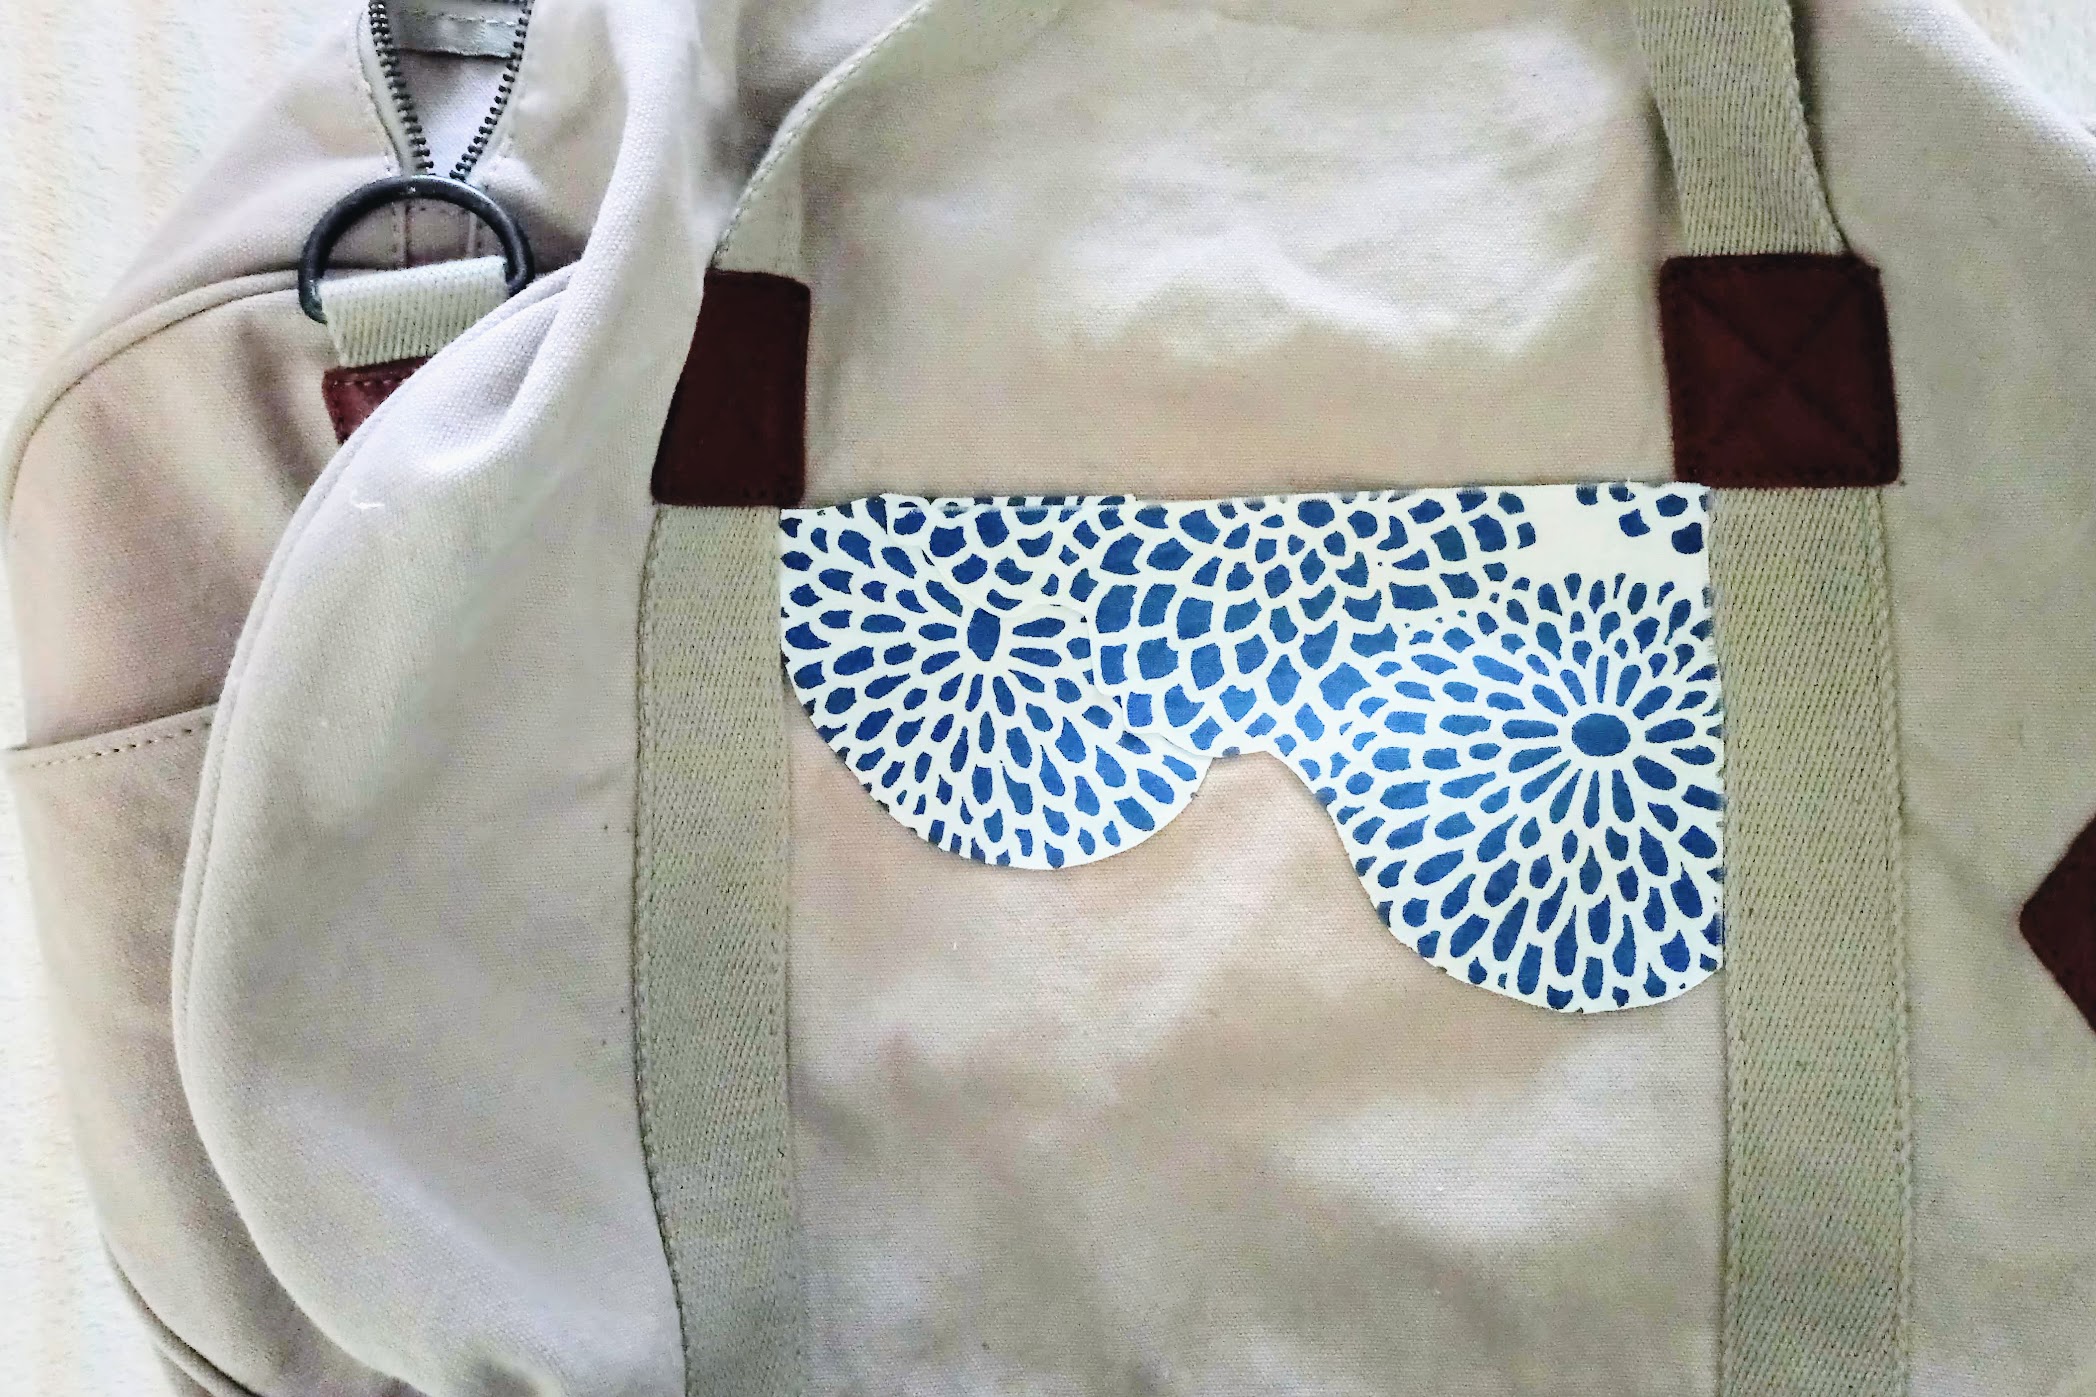
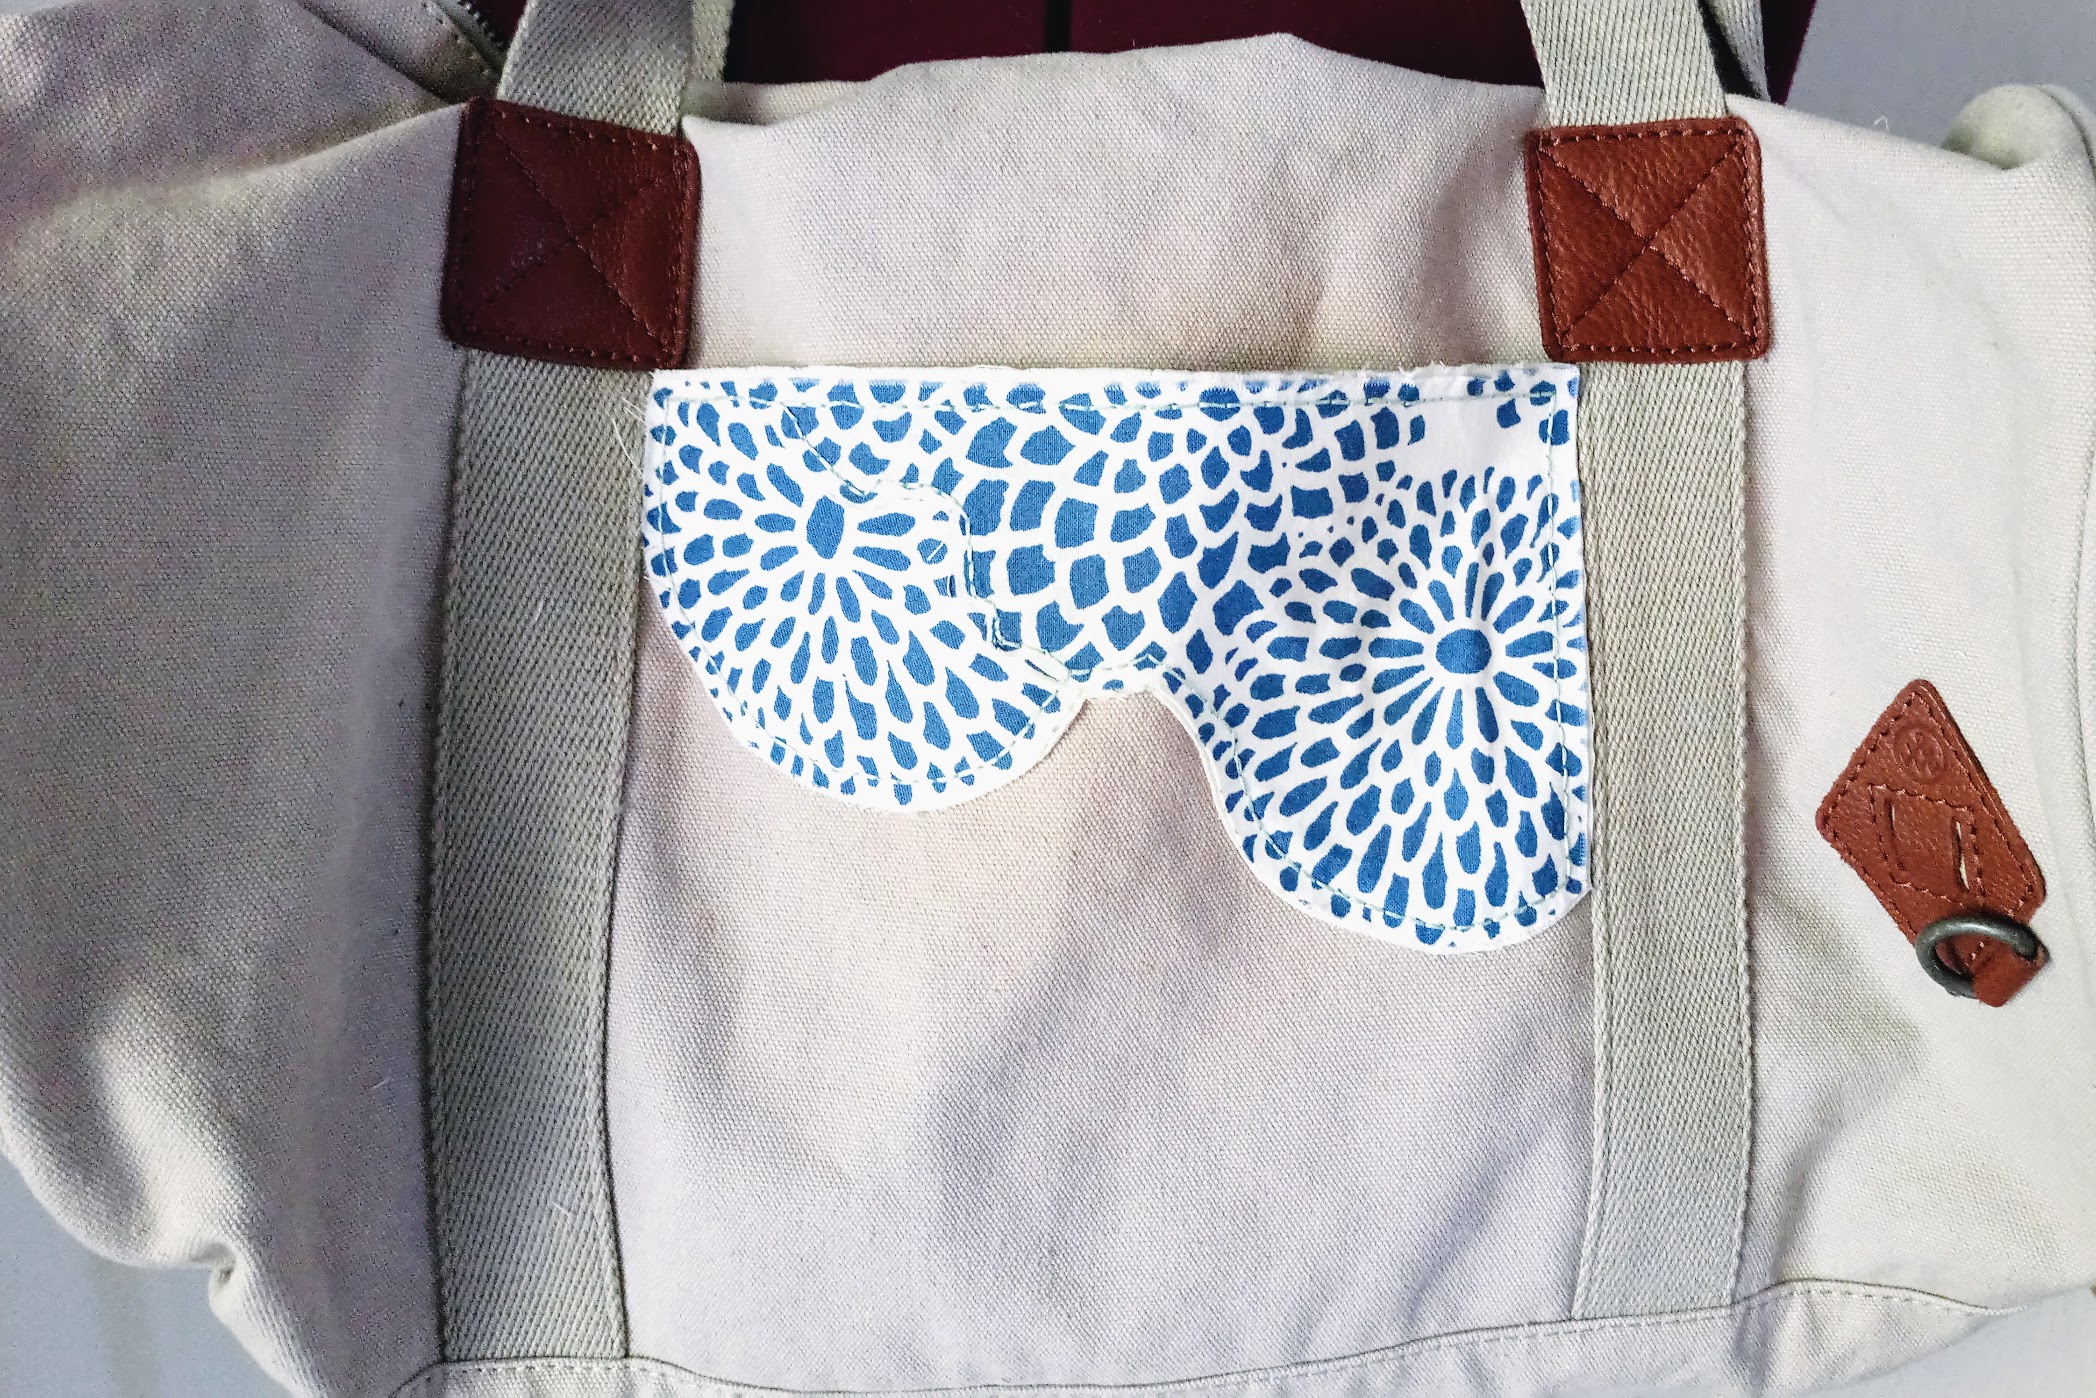
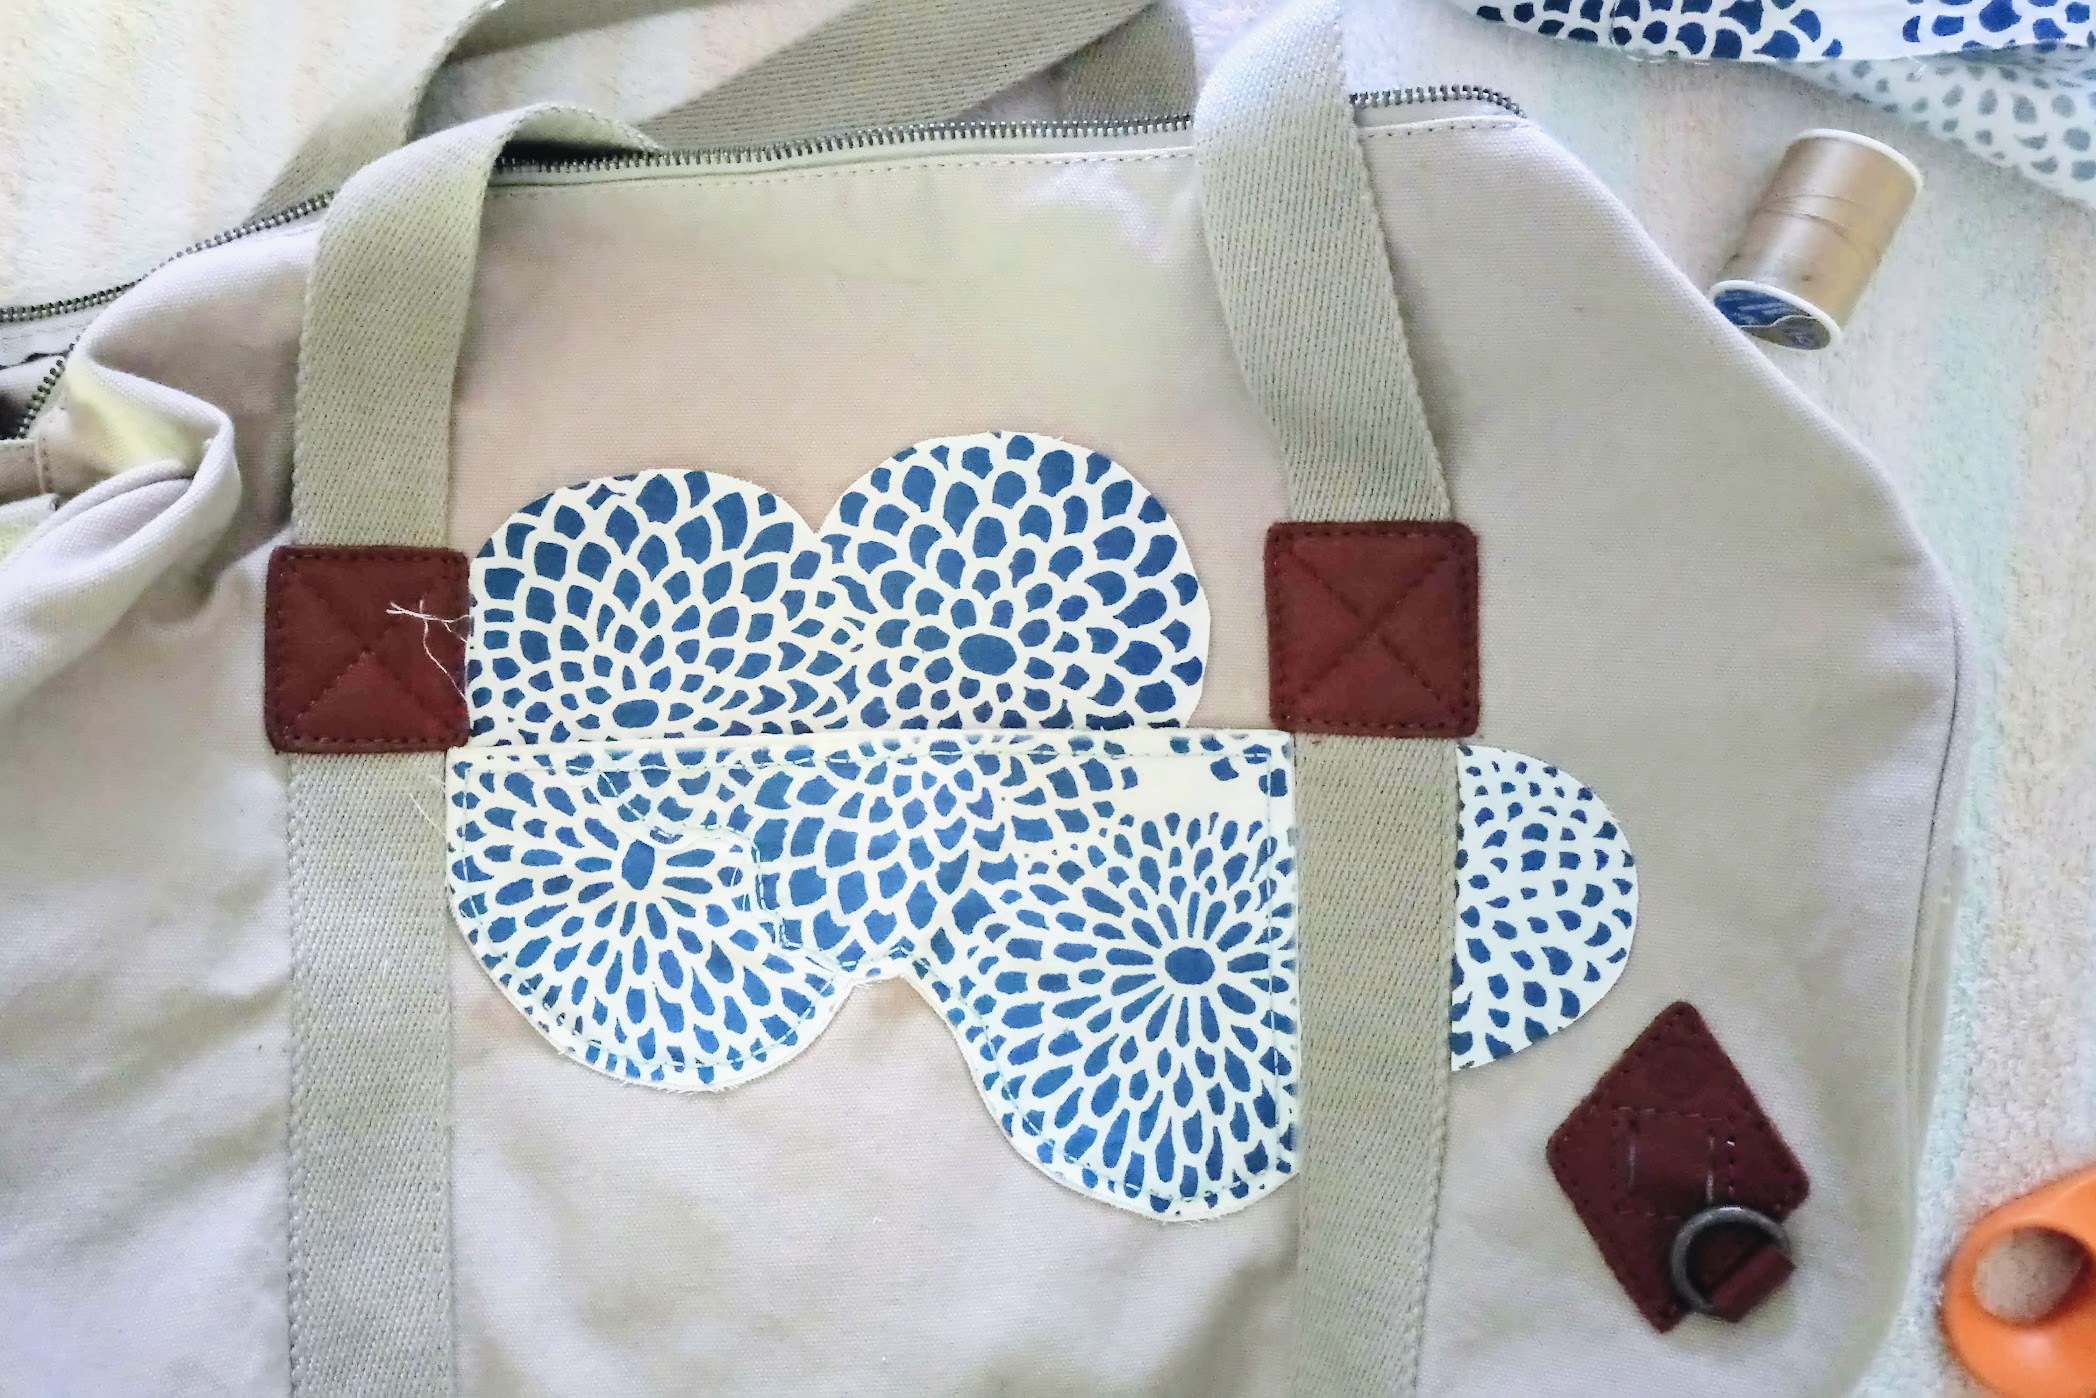
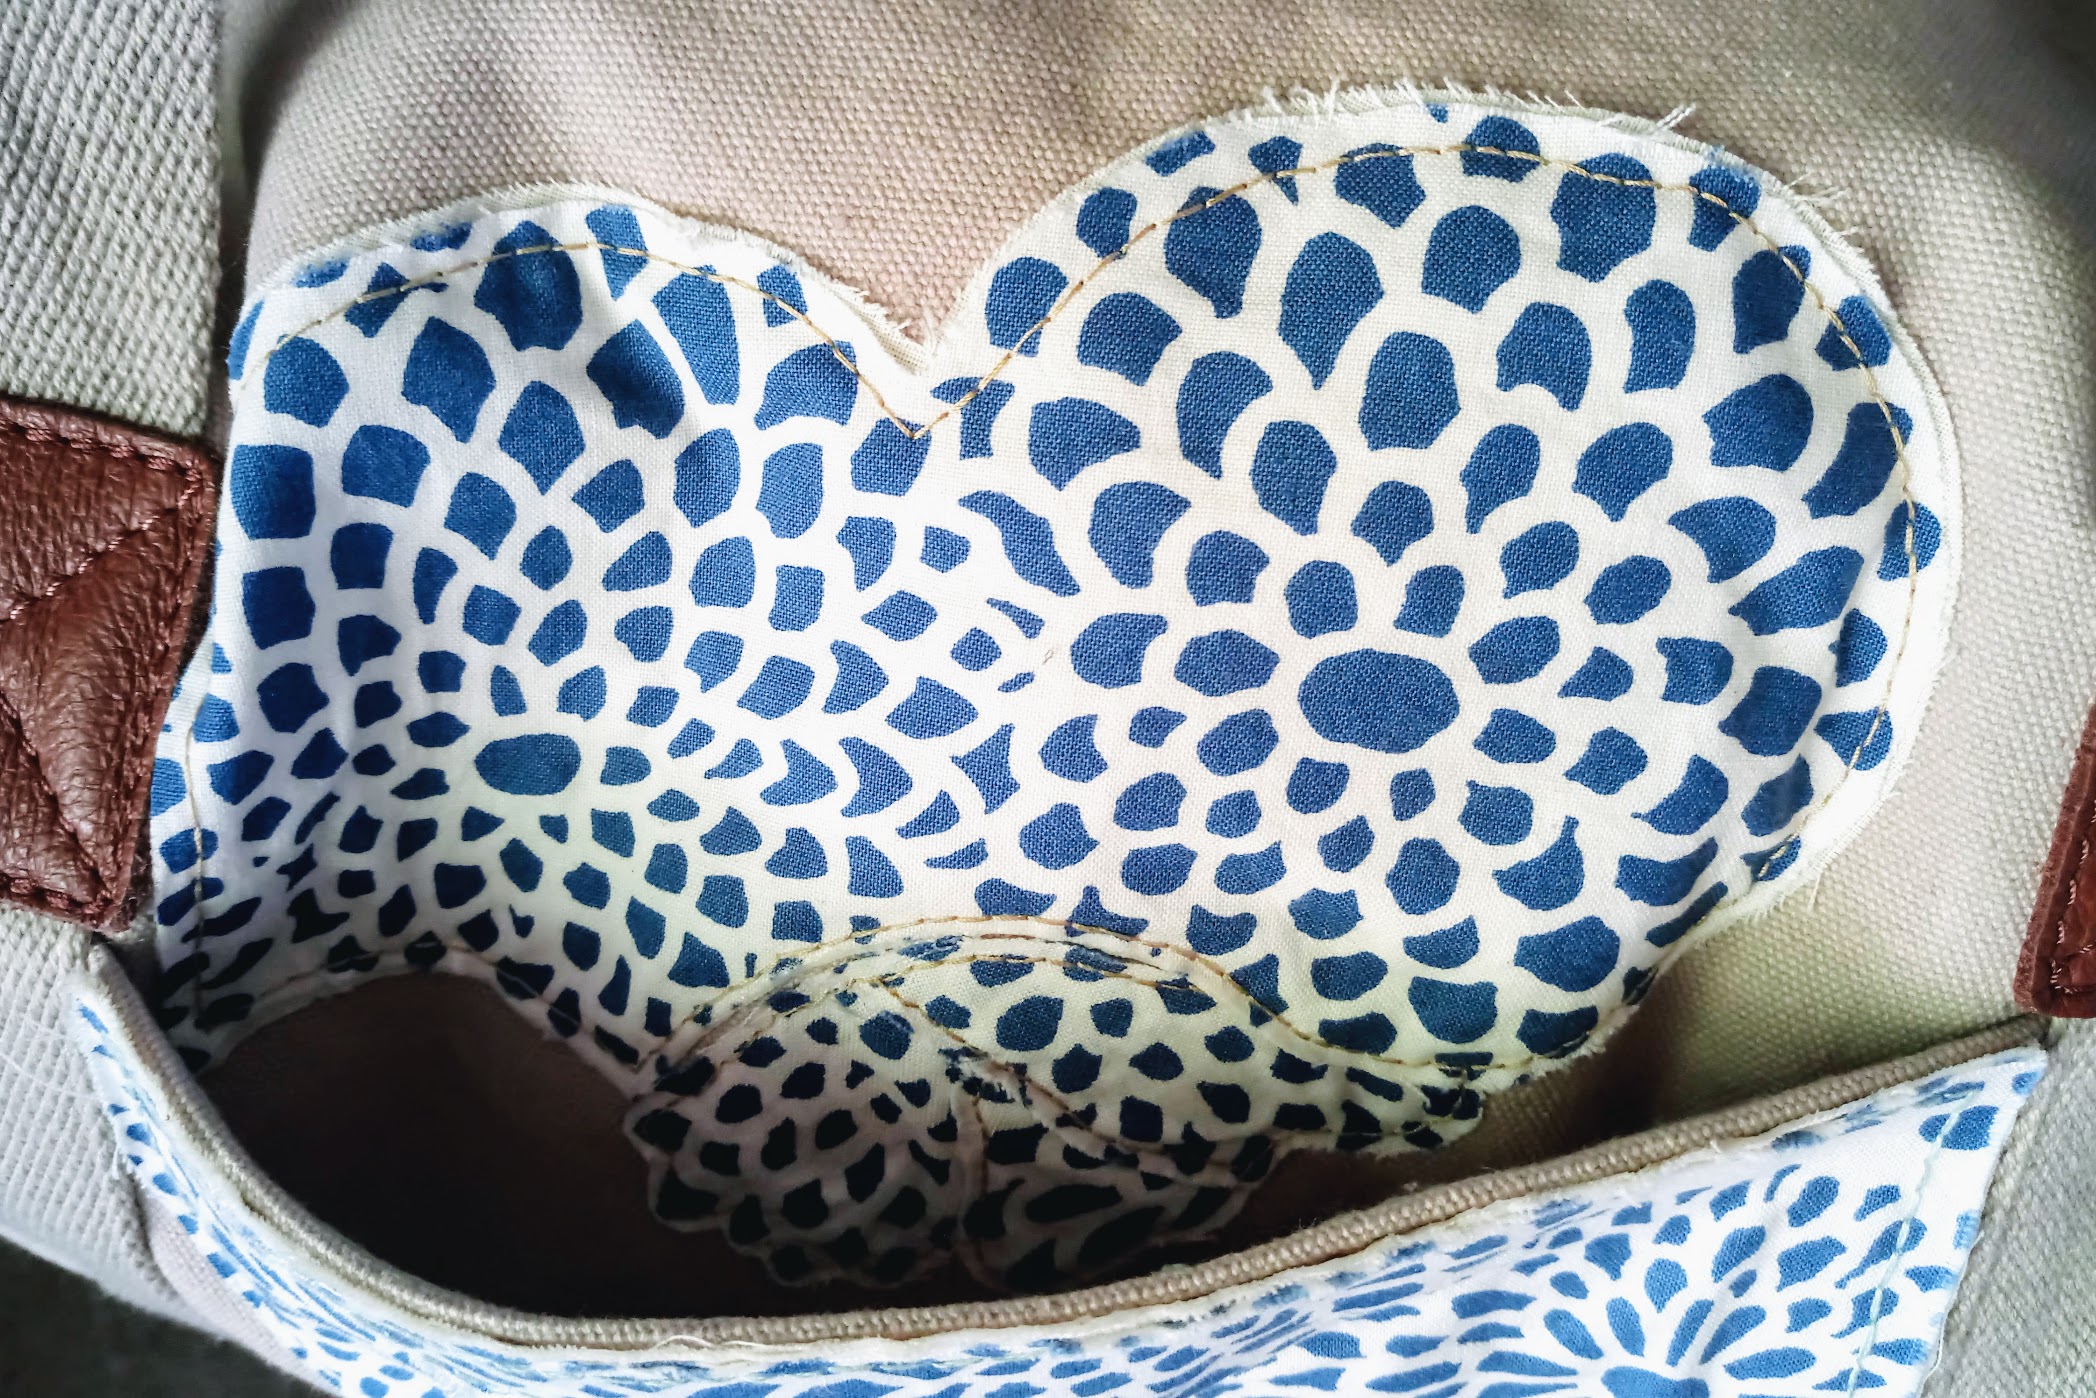
The second fabric appliqué piece is to be placed on top of an external pocket, on the other side of the first one.
So I pieced together two partial chrysanthemum motifs before layering them with muslin scraps. Then I repeated what I did on the first one.
While the process was straightforward, this was the time for my thimble to shine. The upper edge of the pocket has double layers of canvas. Piercing it was so tough, I had to take a break several times to rest my sore fingers!

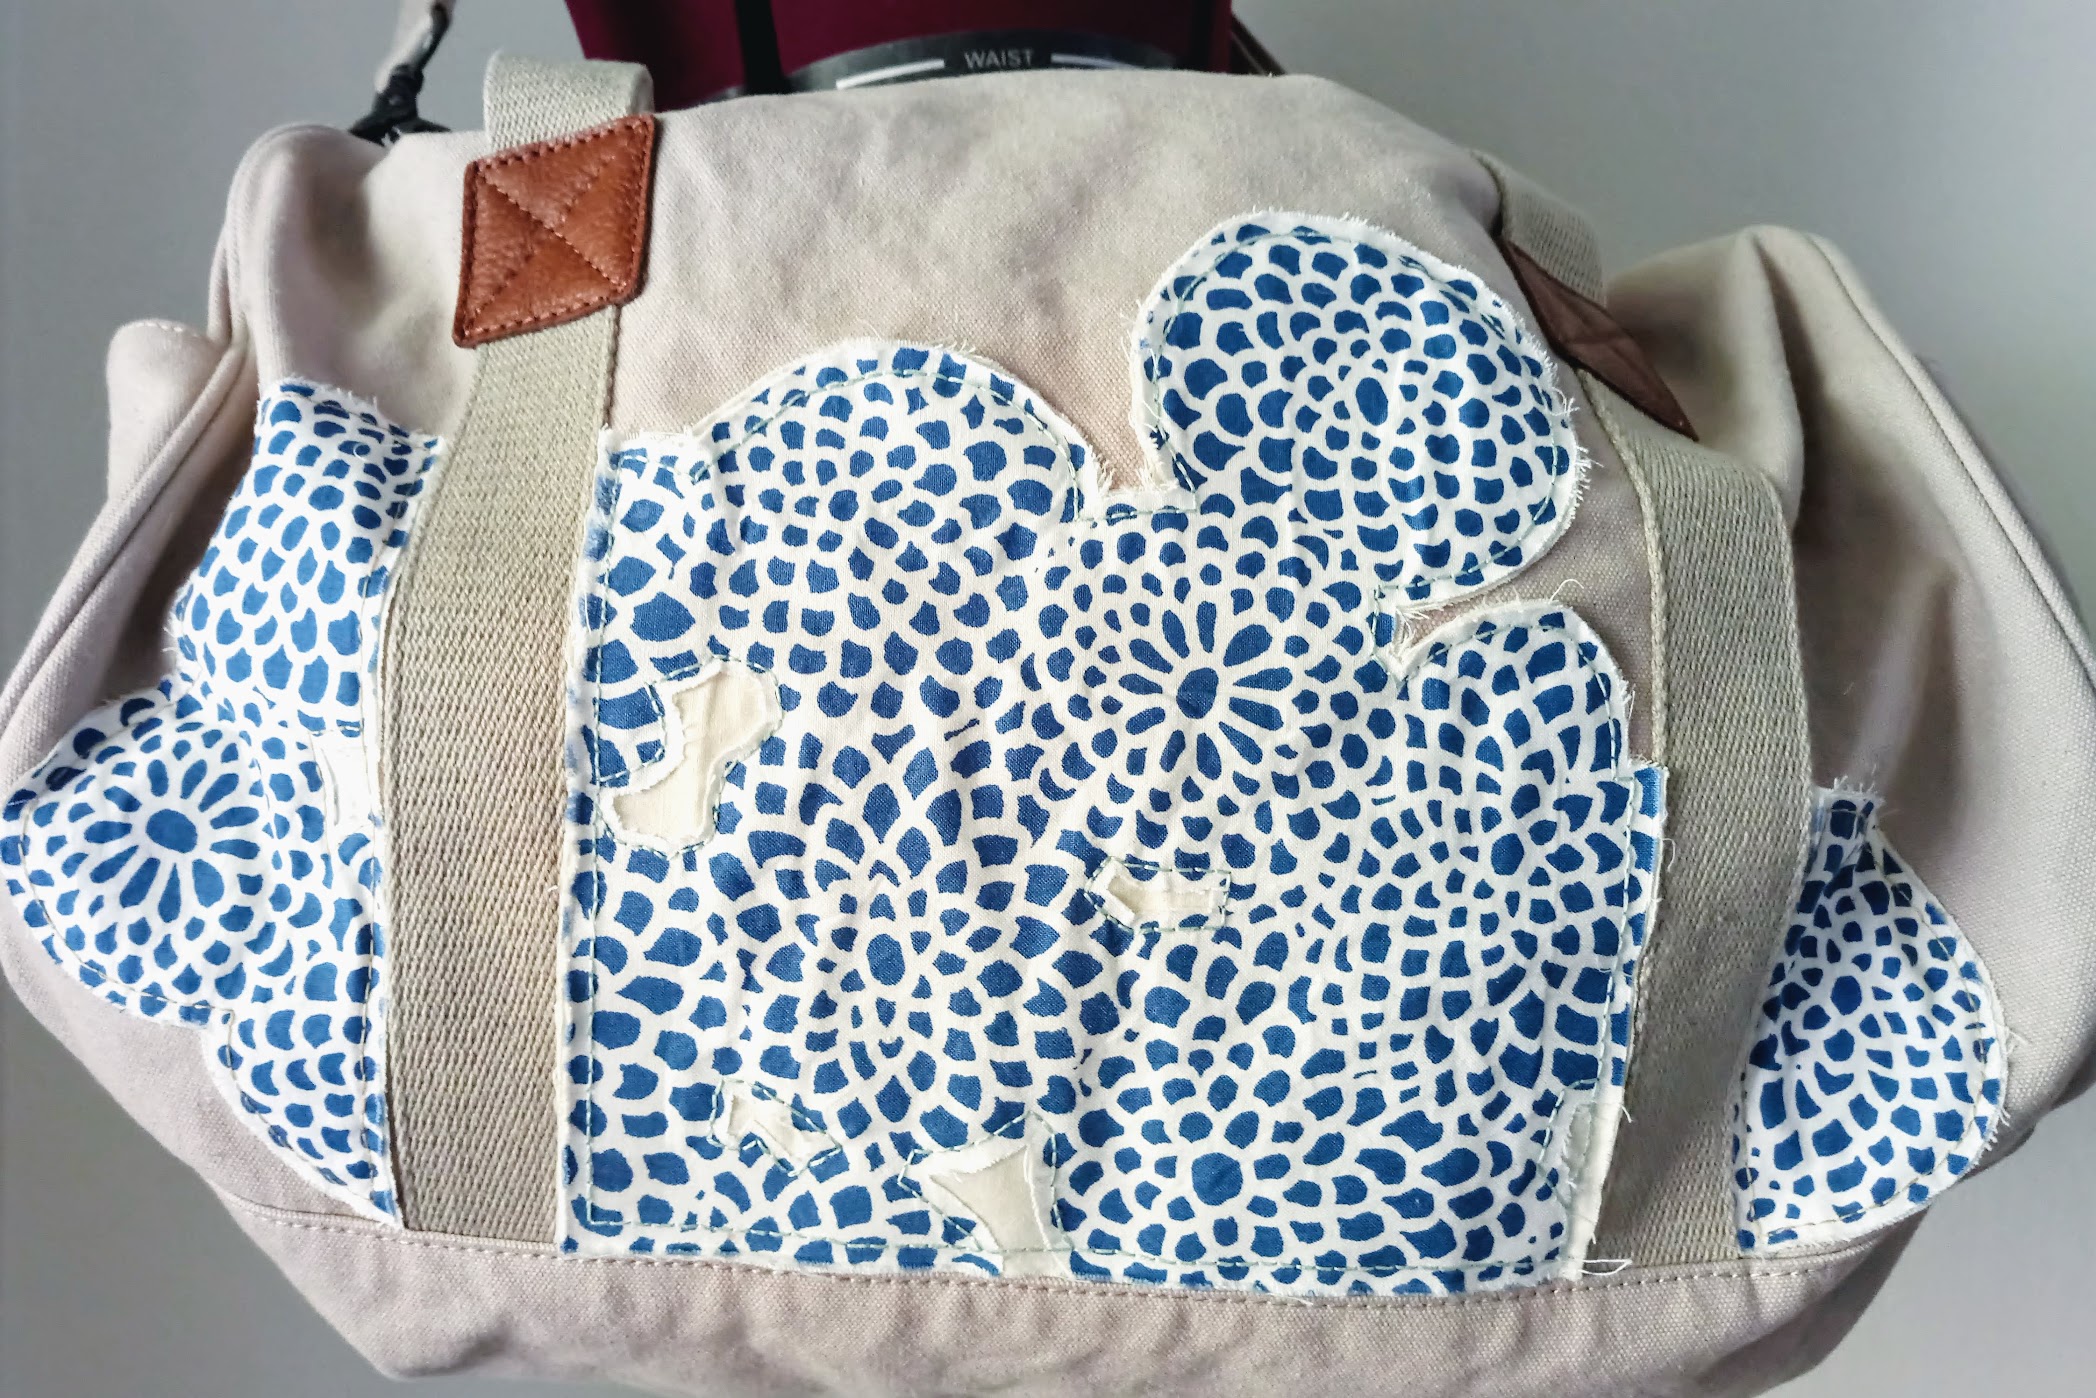
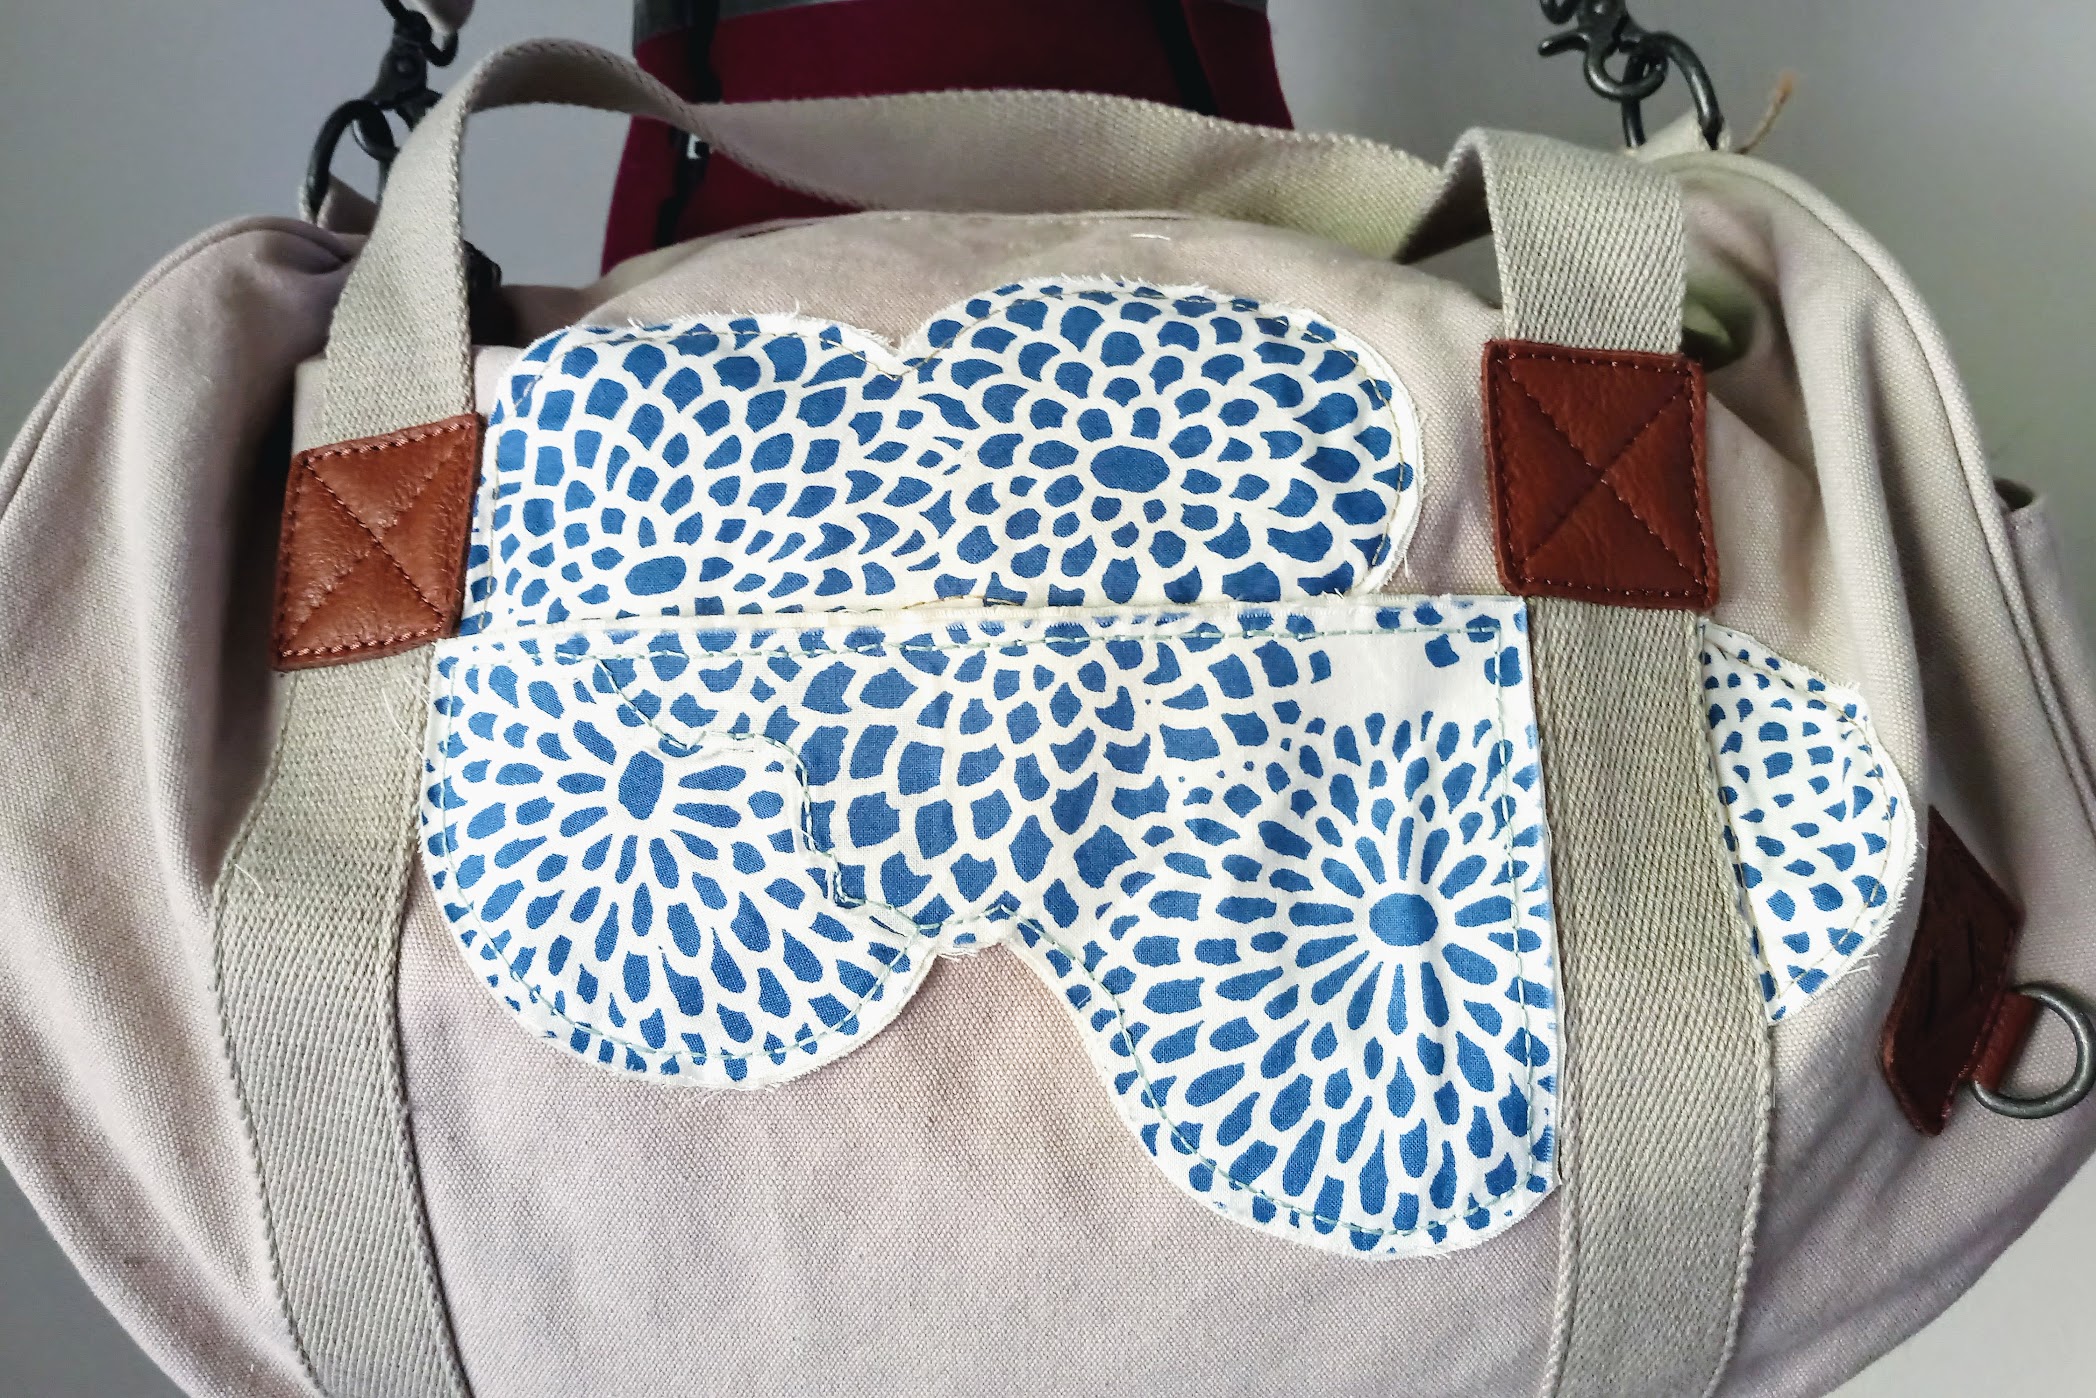
But at the end of the day, it’s worth it. This is what the bag looked like after both sides were done.
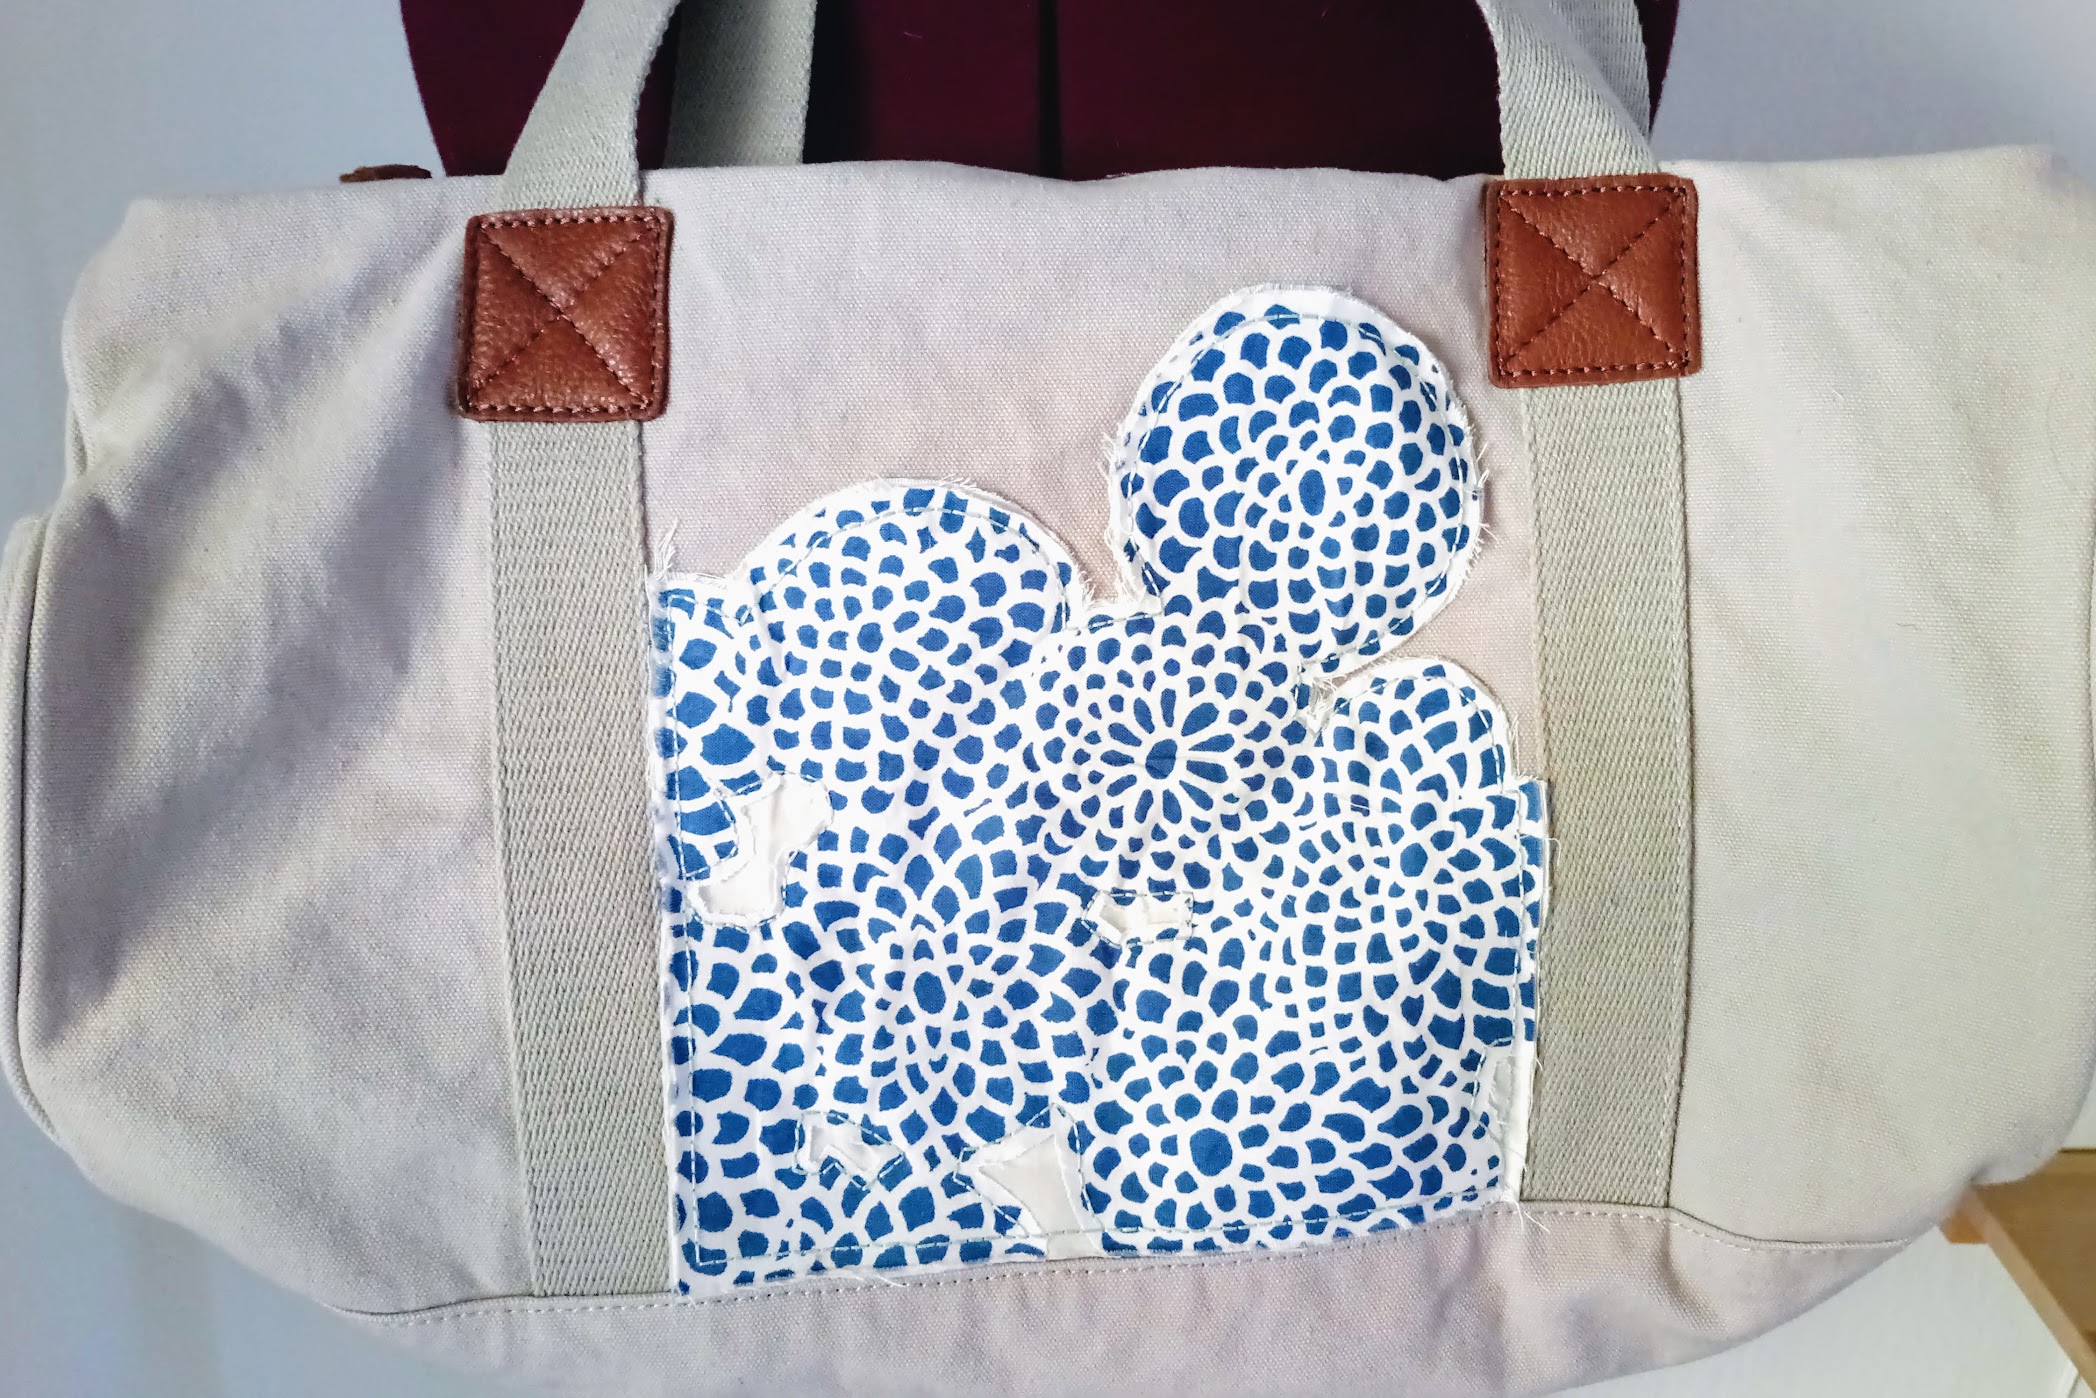
I was supposed to be done at this point, except that I wasn’t. The fabric appliqué pieces on the middle sections are pretty, but their surroundings were… bare.
The bag seemed oddly unbalanced, so I decided to add some fabric appliqué pieces to balance the composition.
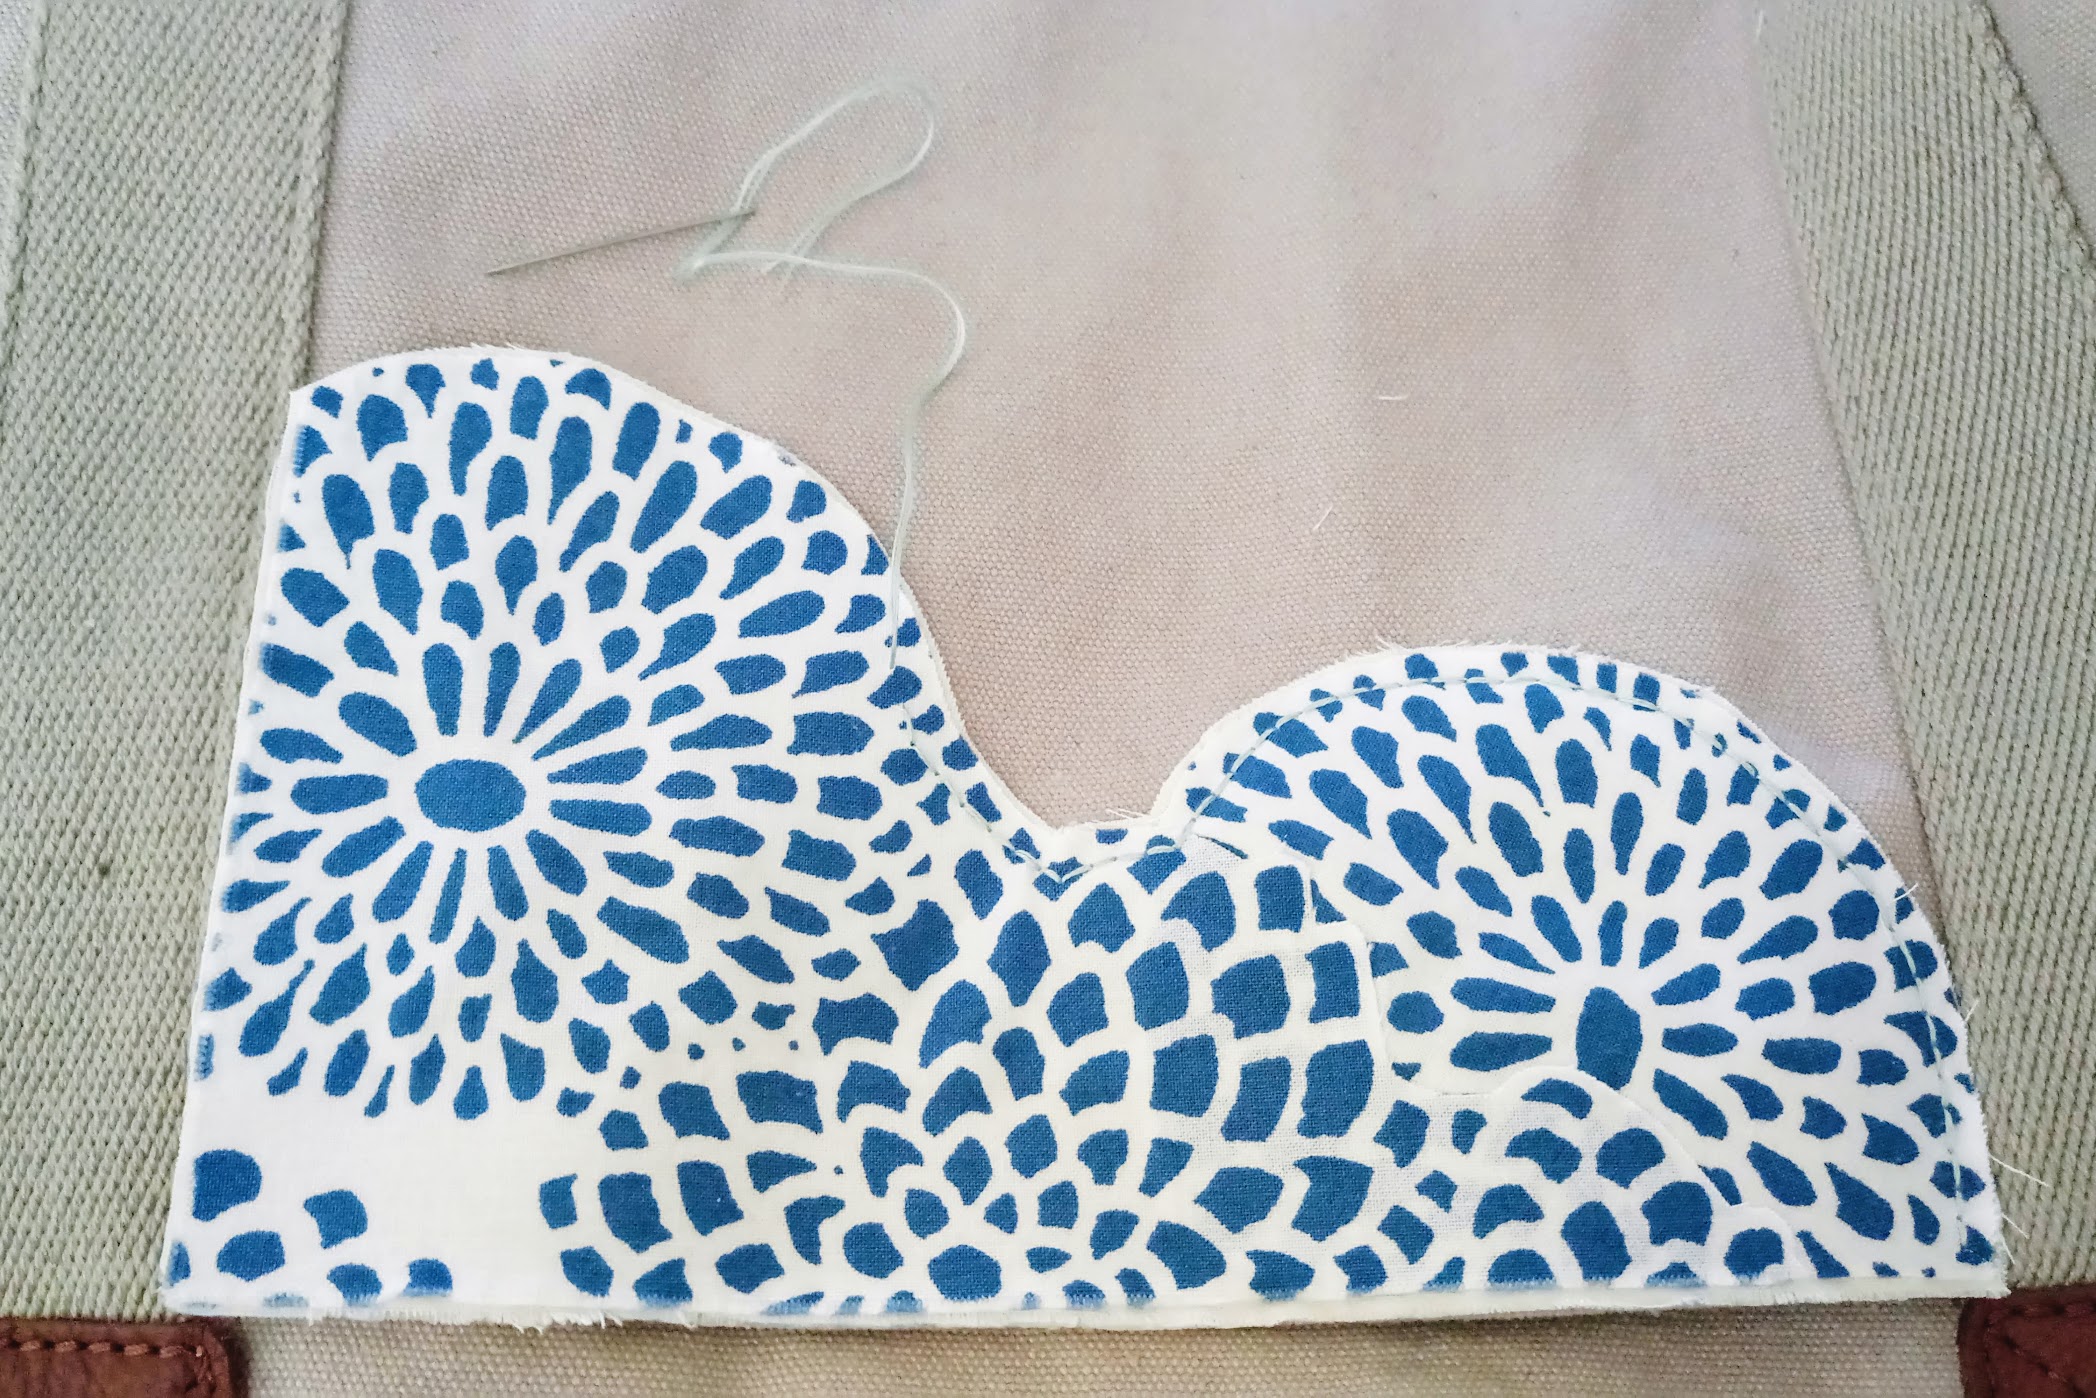
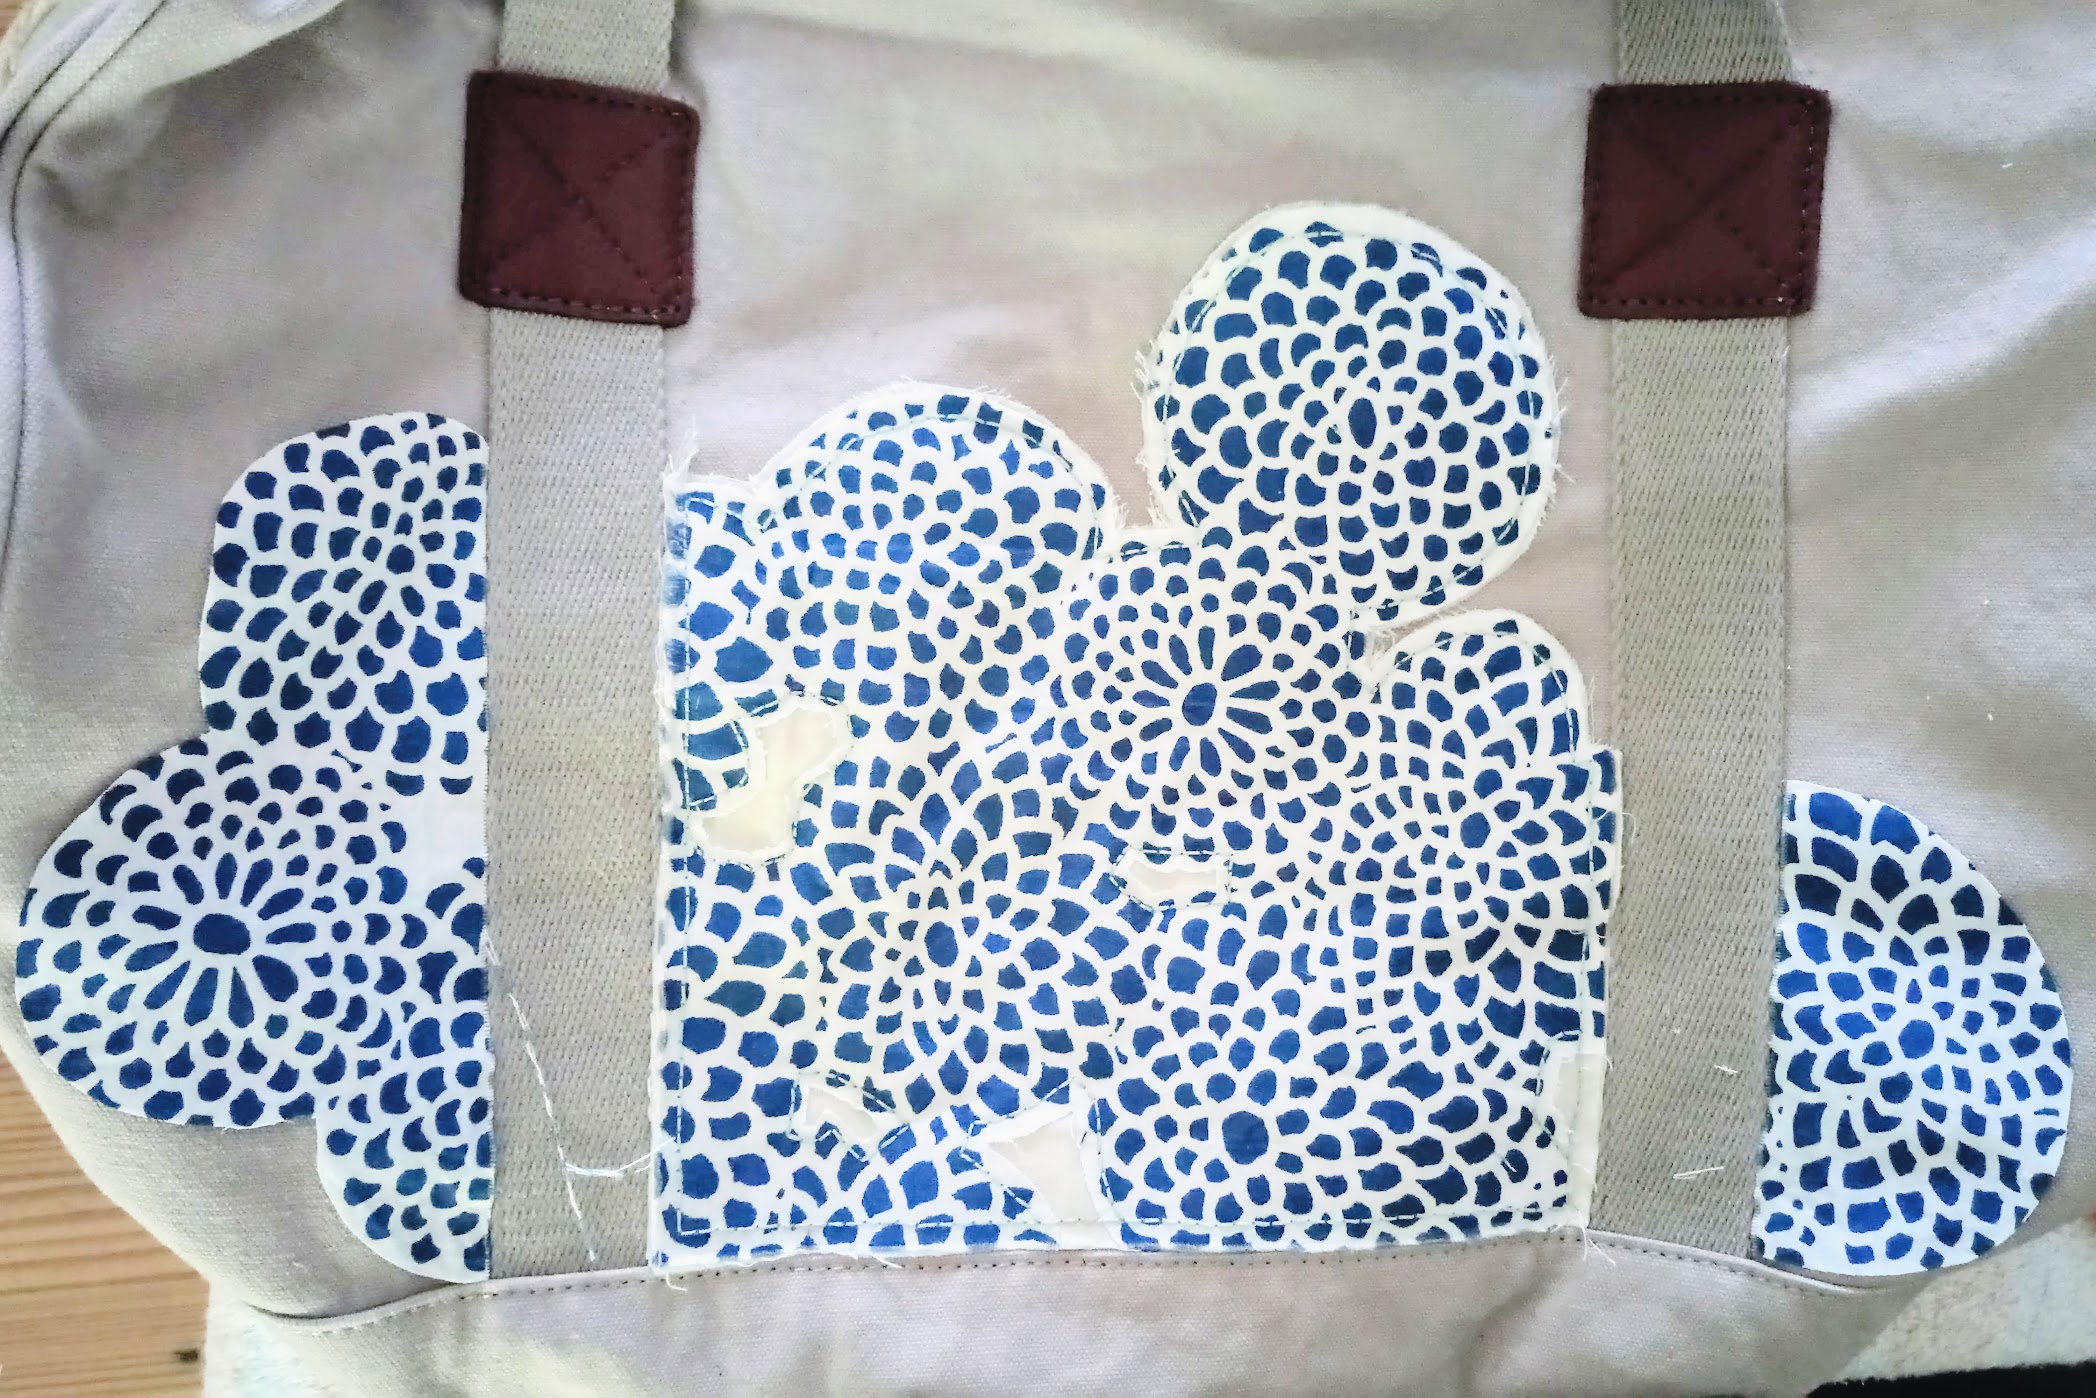
On the non-pocket side that has the big appliqué piece, I added a couple of pieces on its right and left sides. This time, I used regular needle and thread to backstitch the pieces into place.
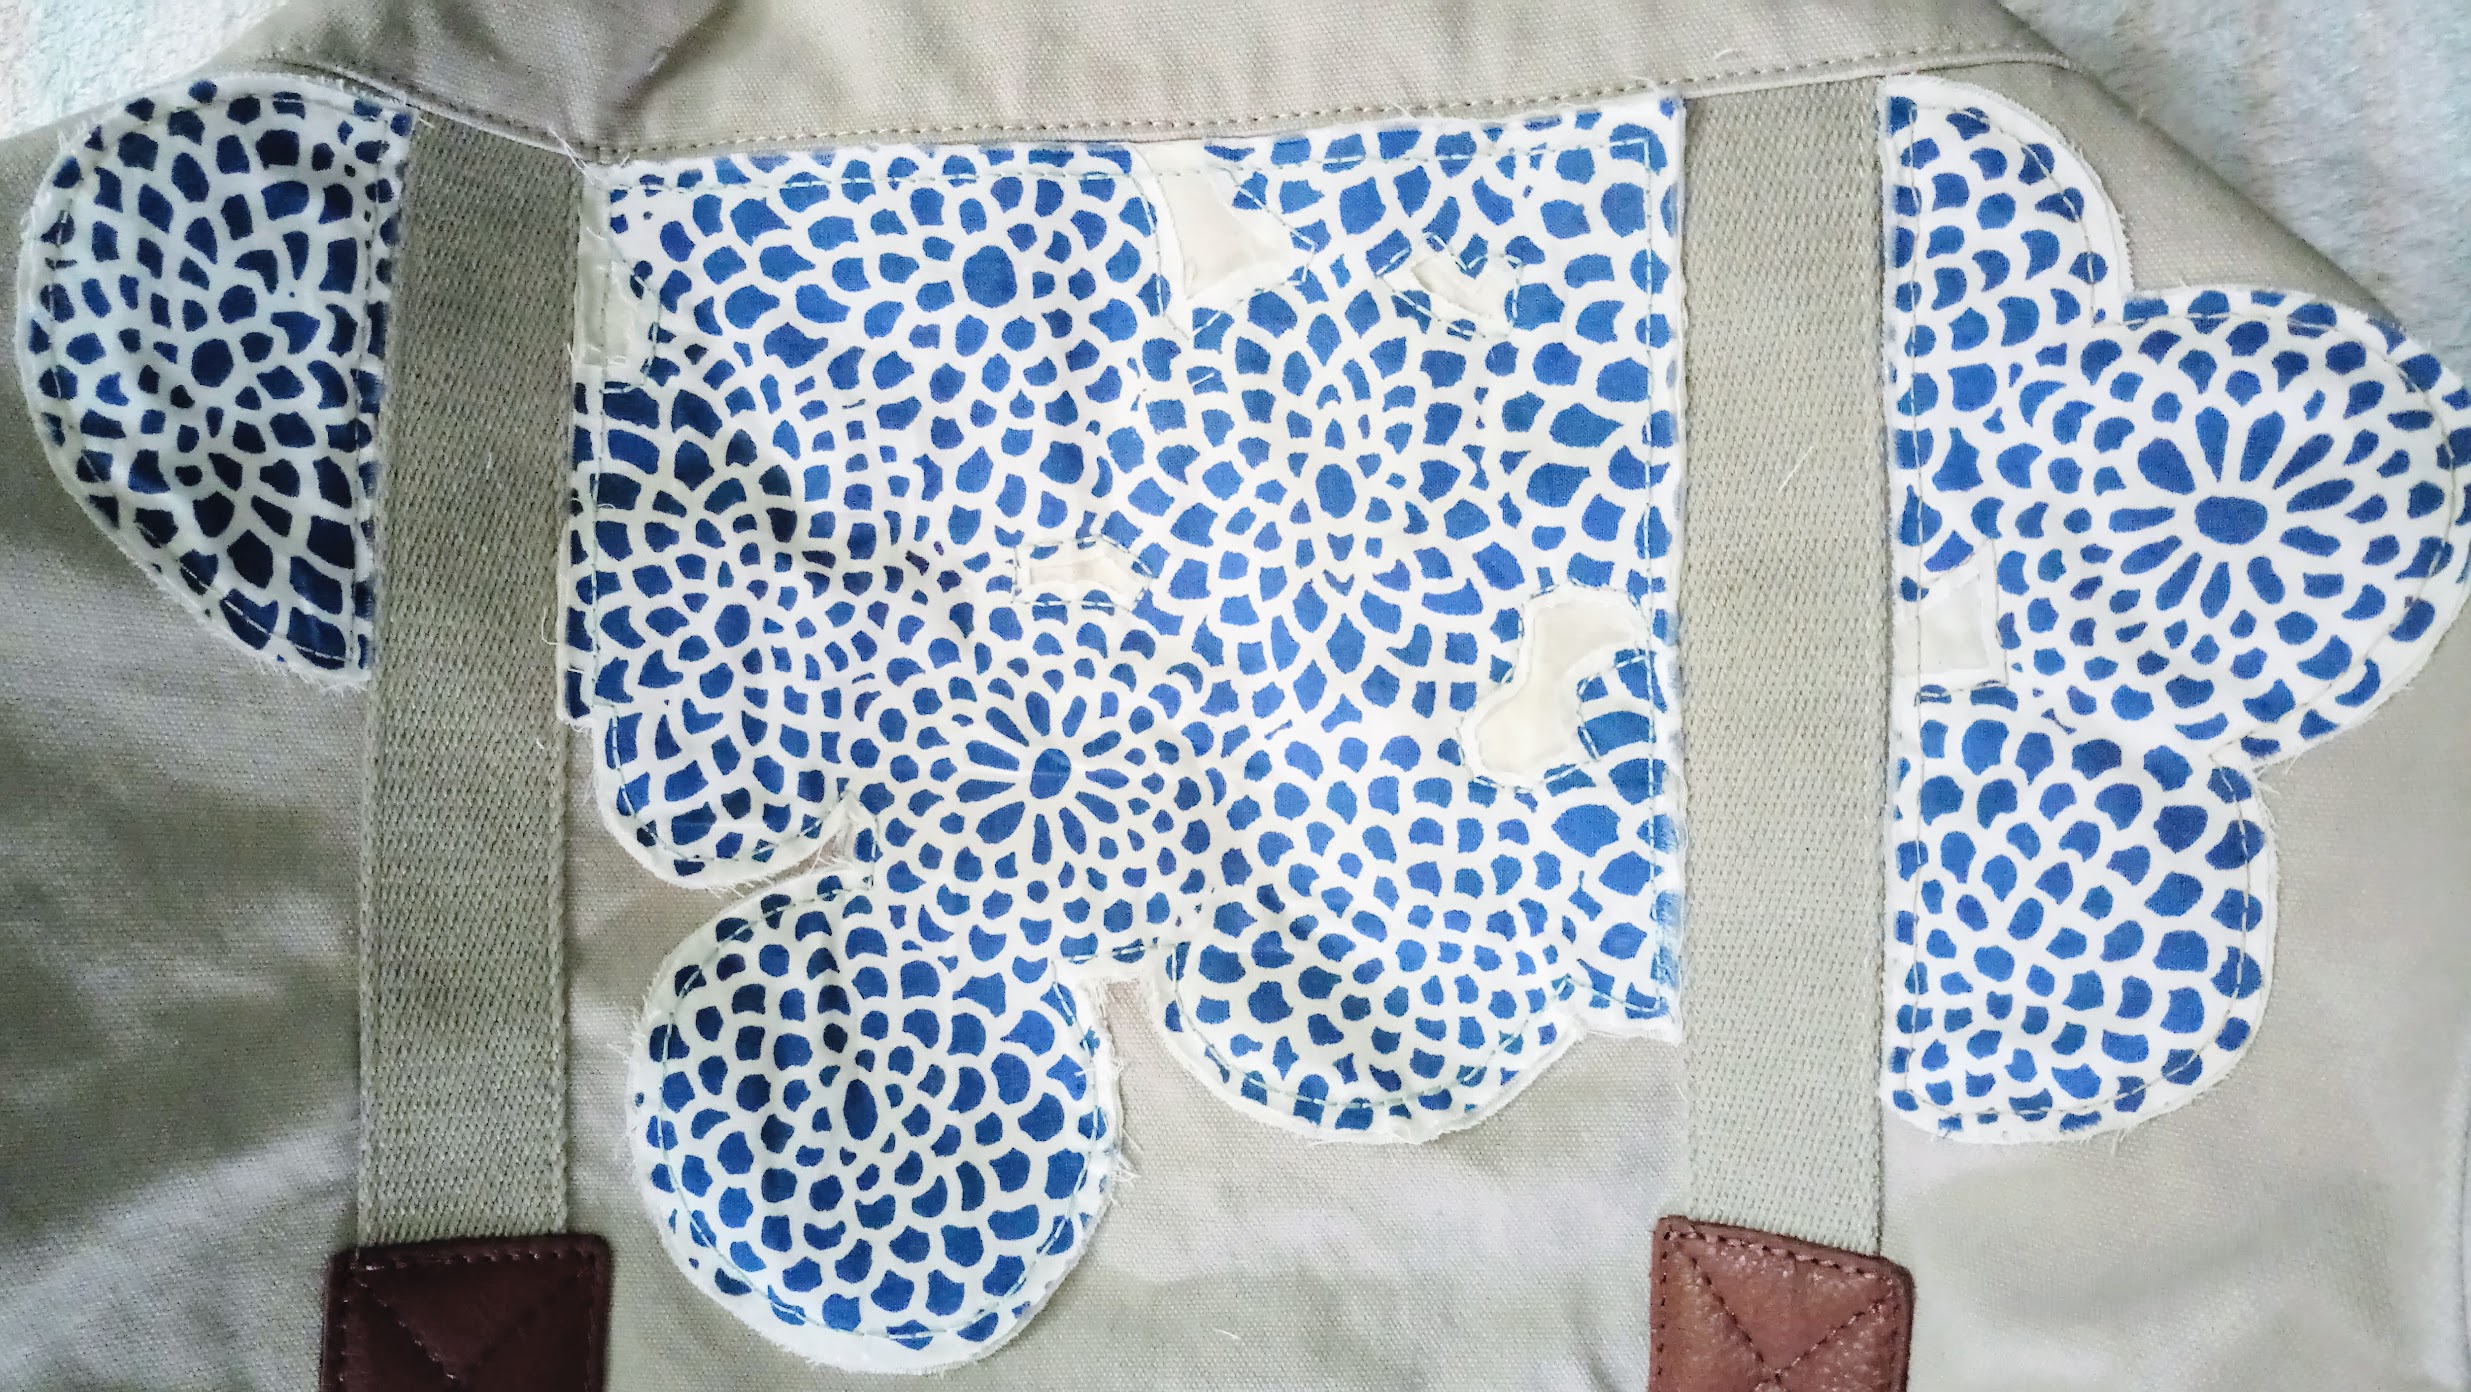
On the pocket side, I added several pieces inside the pocket for continuity sake, as well as one fabric appliqué piece on its right for balance.
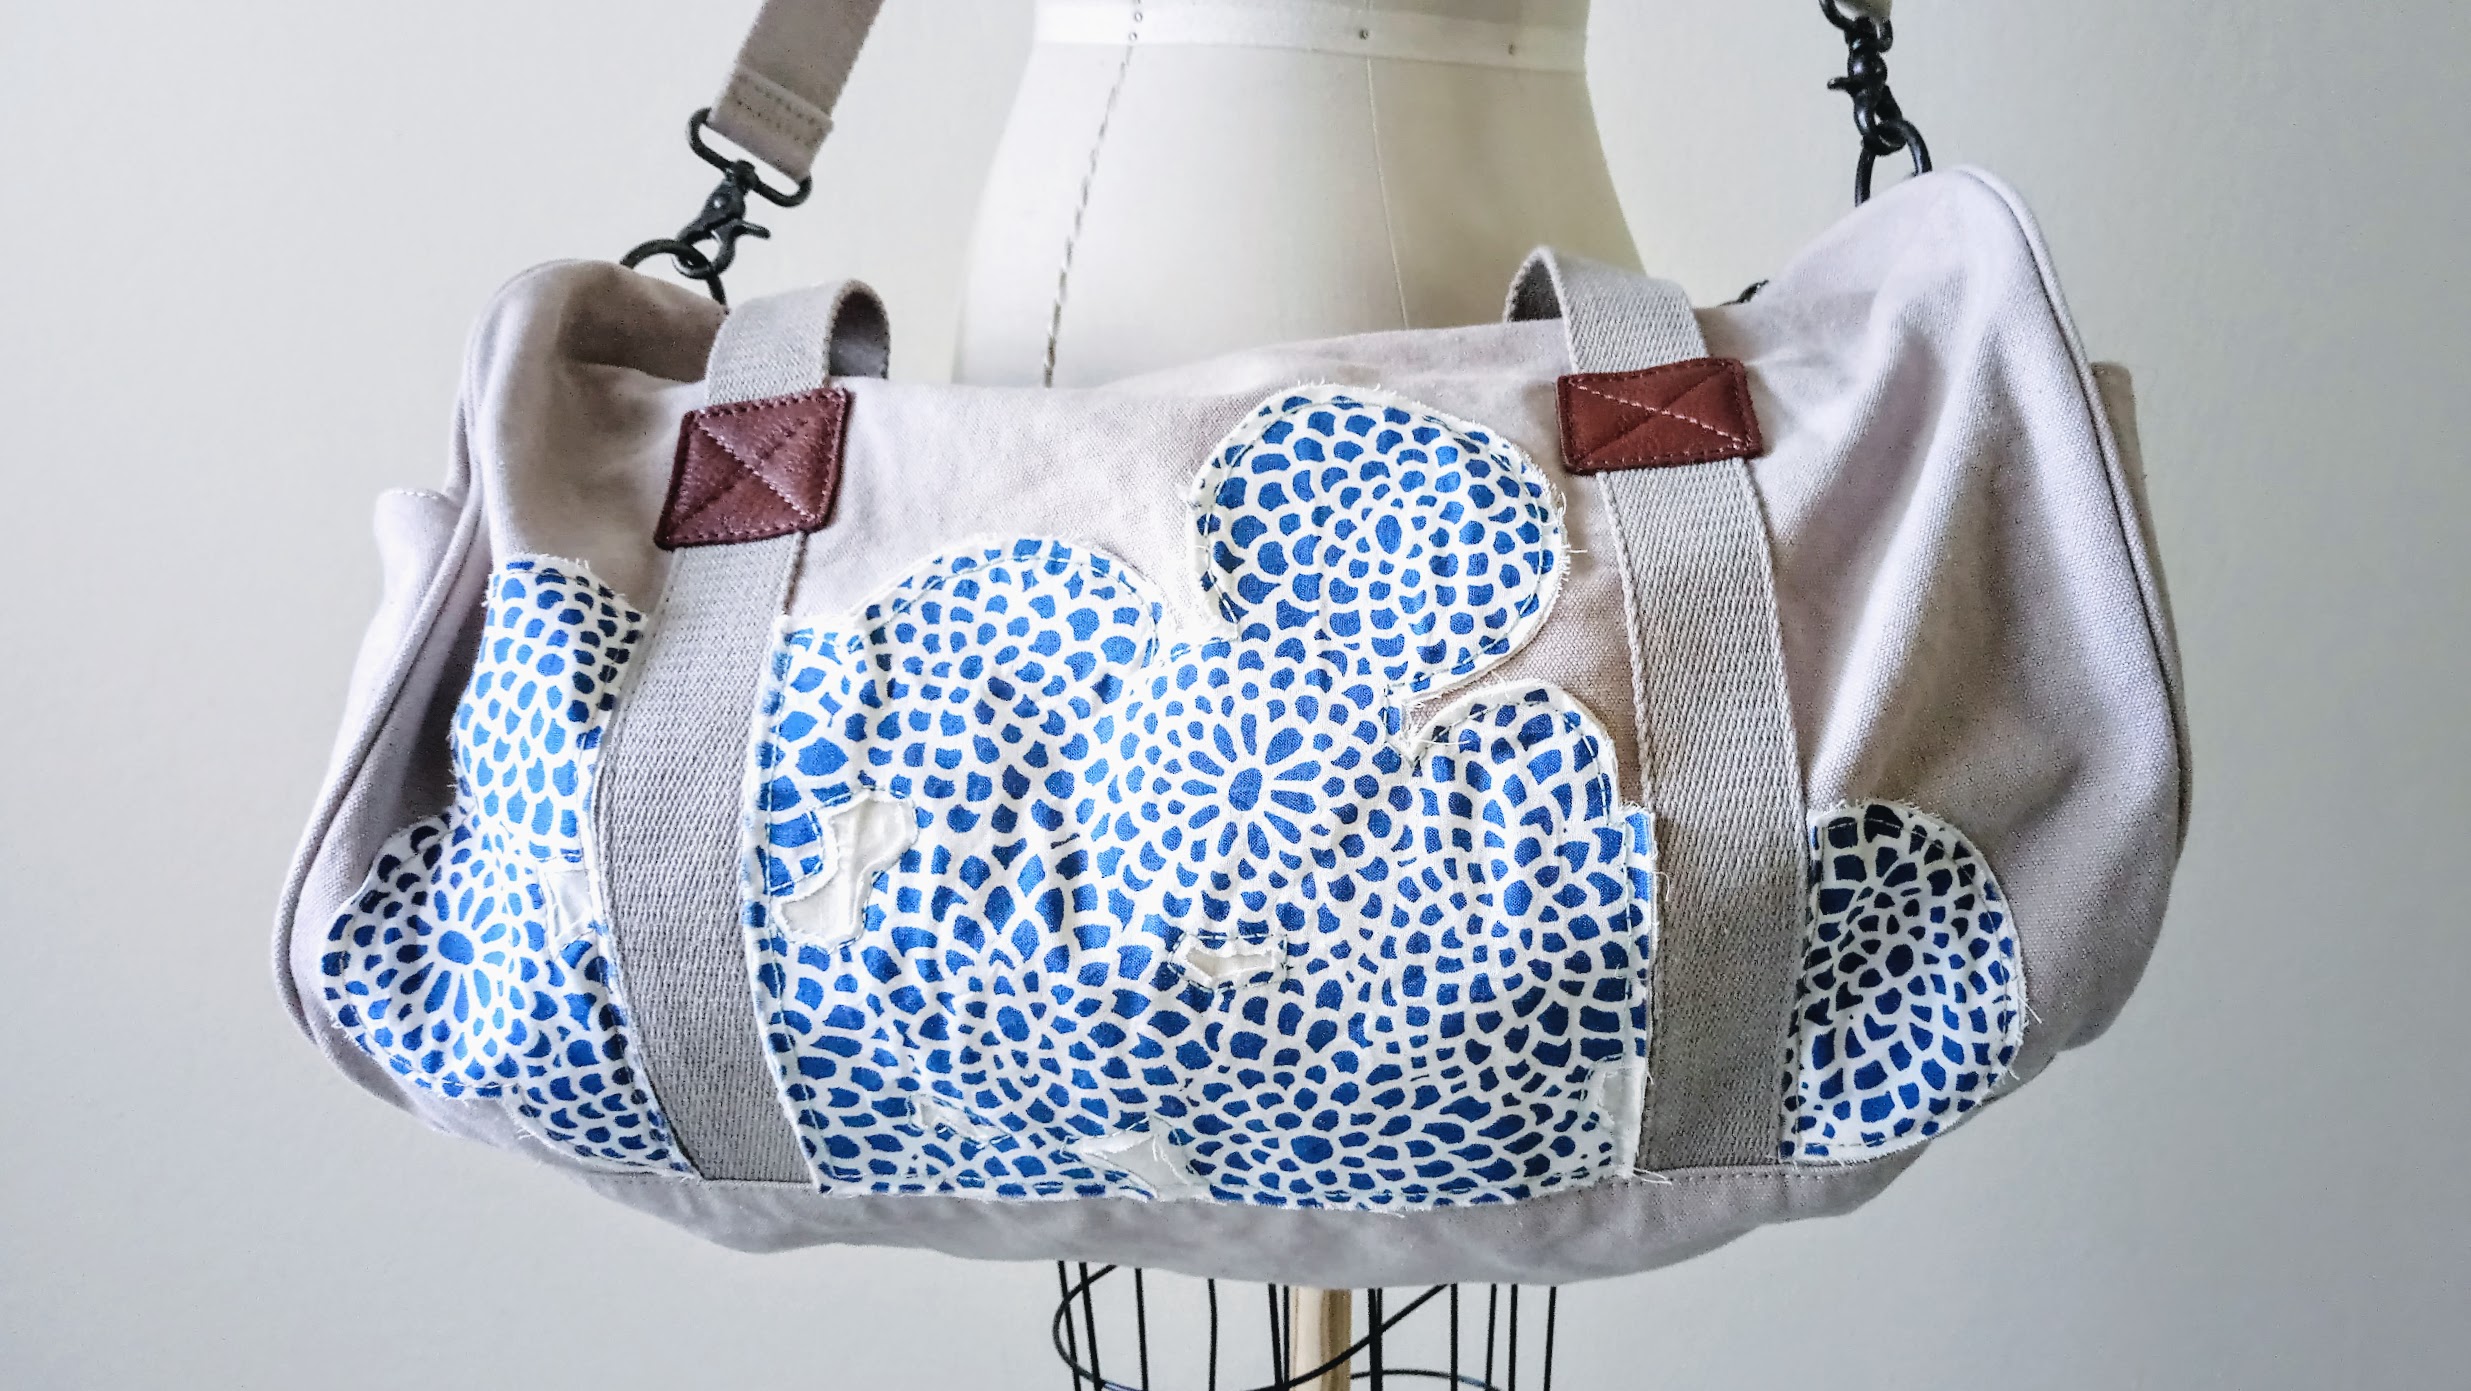
Result: Duffel Bag with DIY Fabric Appliqués
And with that, the duffel bag went through quite a stylish transformation with these hand sewn fabric appliqués! Here’s what the bag looks like from both sides.

Chris and I took them to Yellowstone National Park trip. We stuffed our freeze dried meals and tools inside. For almost a week, we had our lunches and most dinners at the back of our rental car.
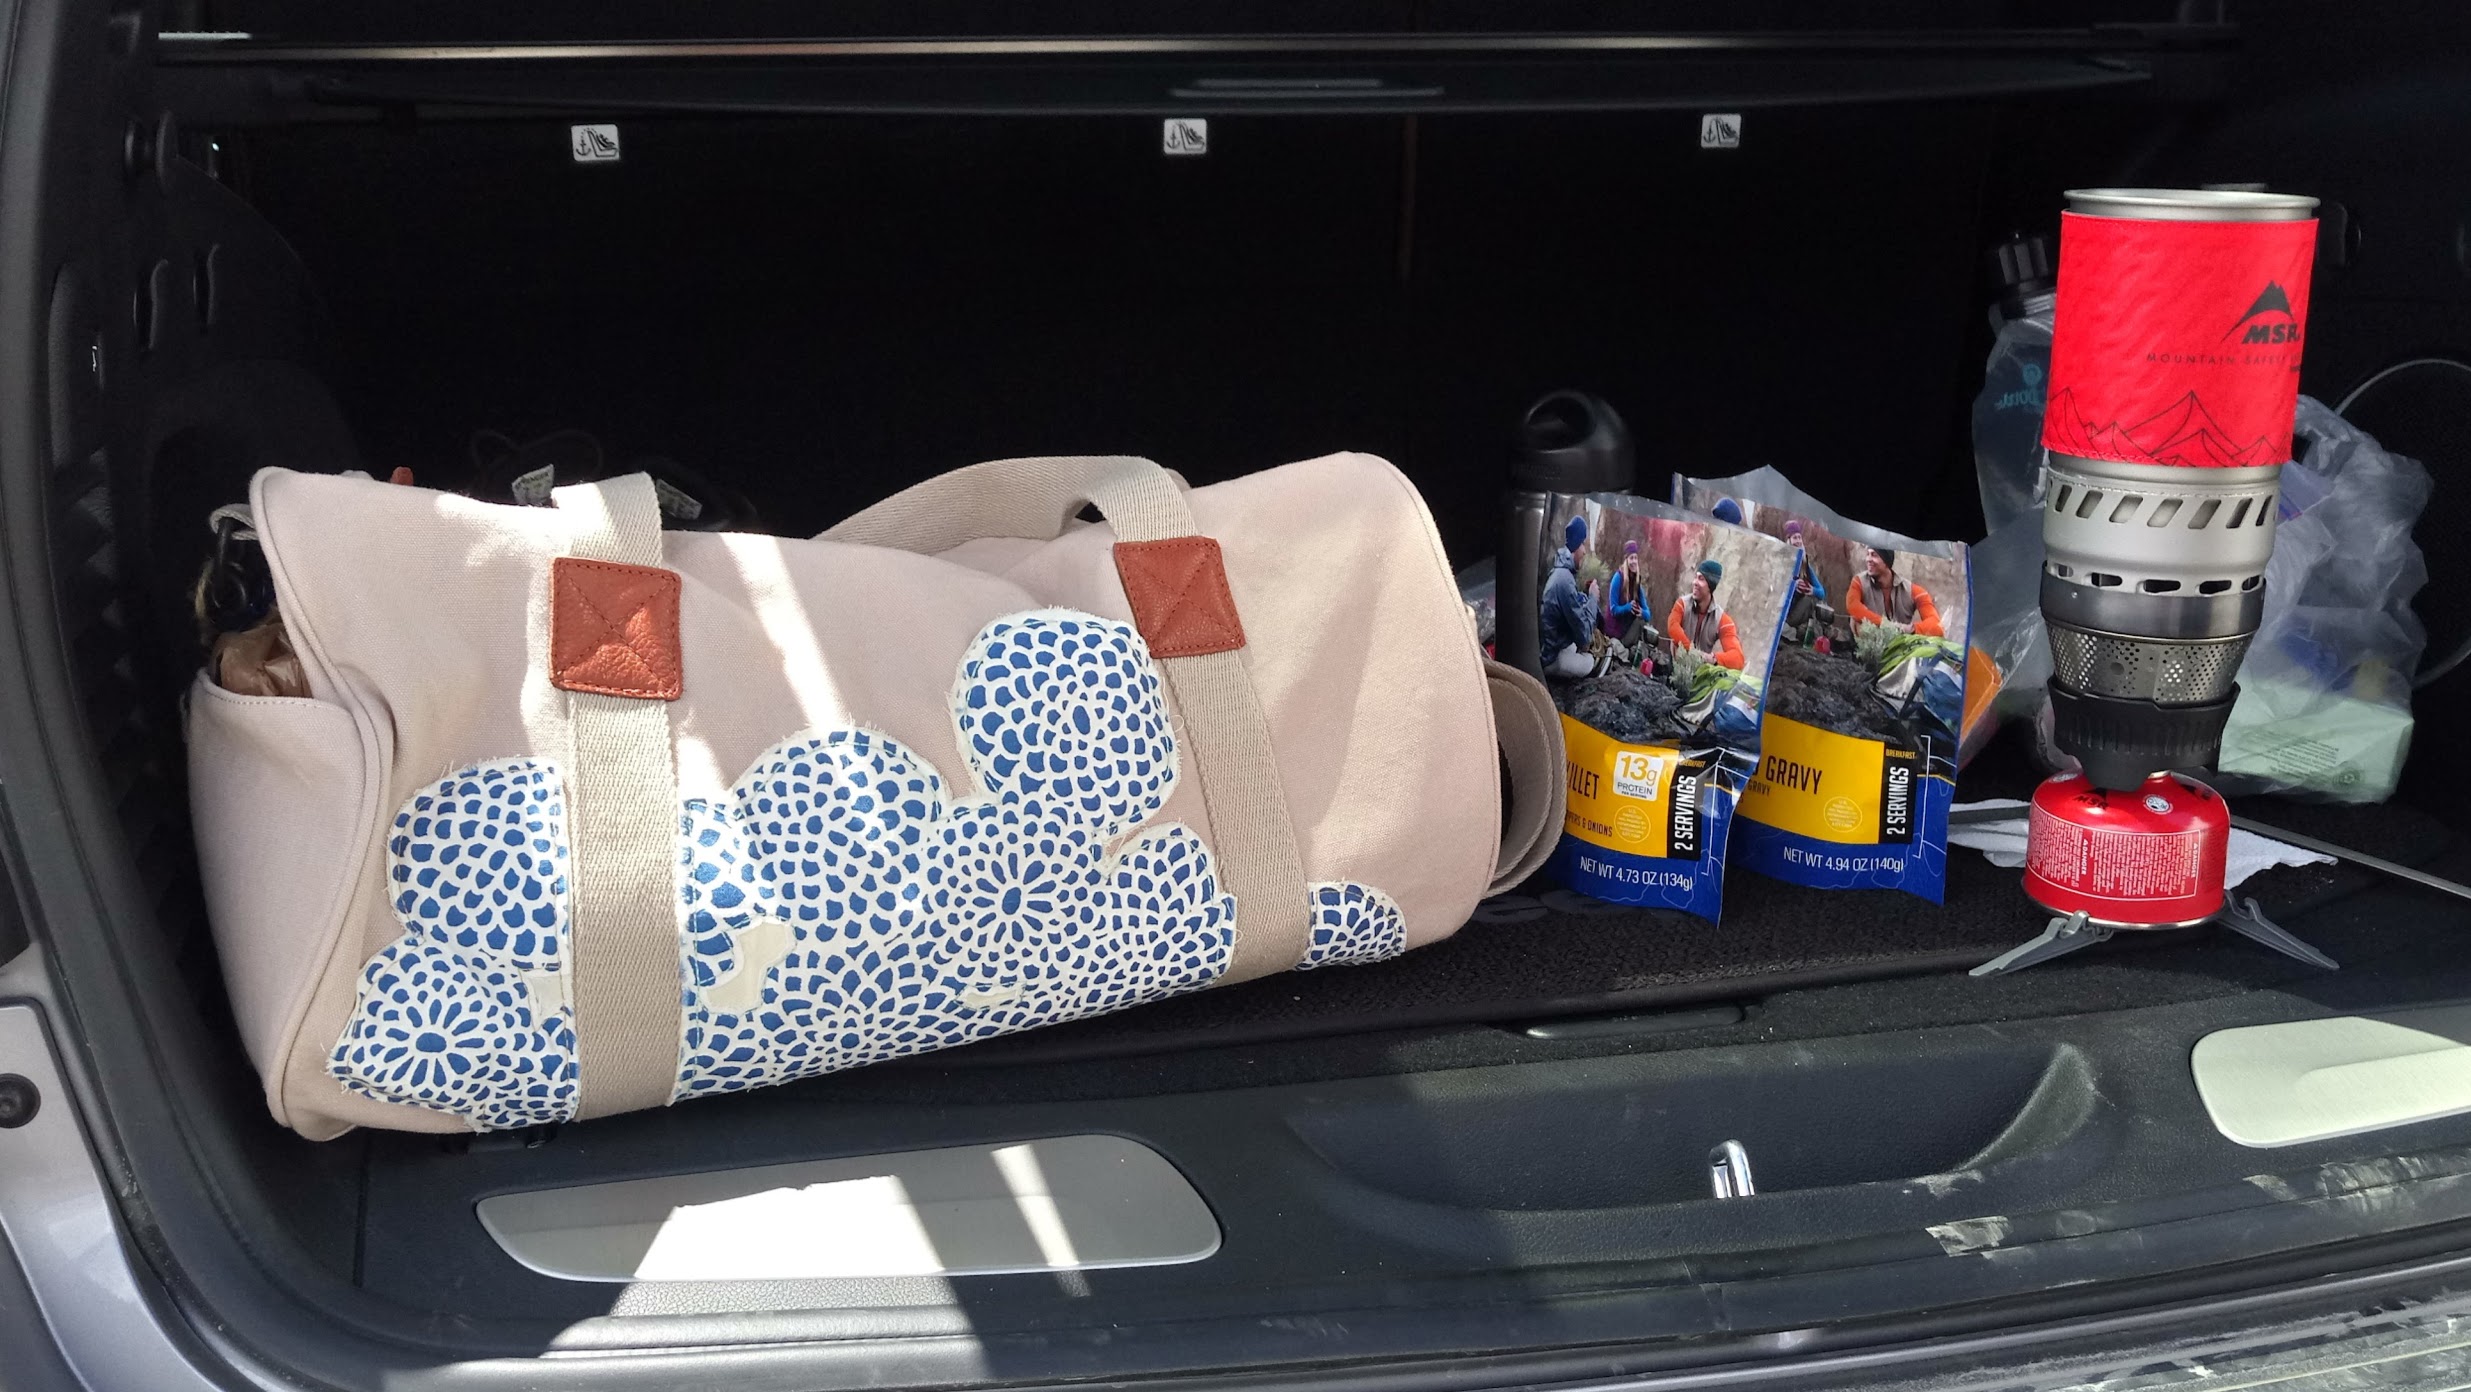
While we were enjoying our lunches and dinners, sitting on the open trunk, we were really happy. These are some of the views we’re blessed with when we had our meals.


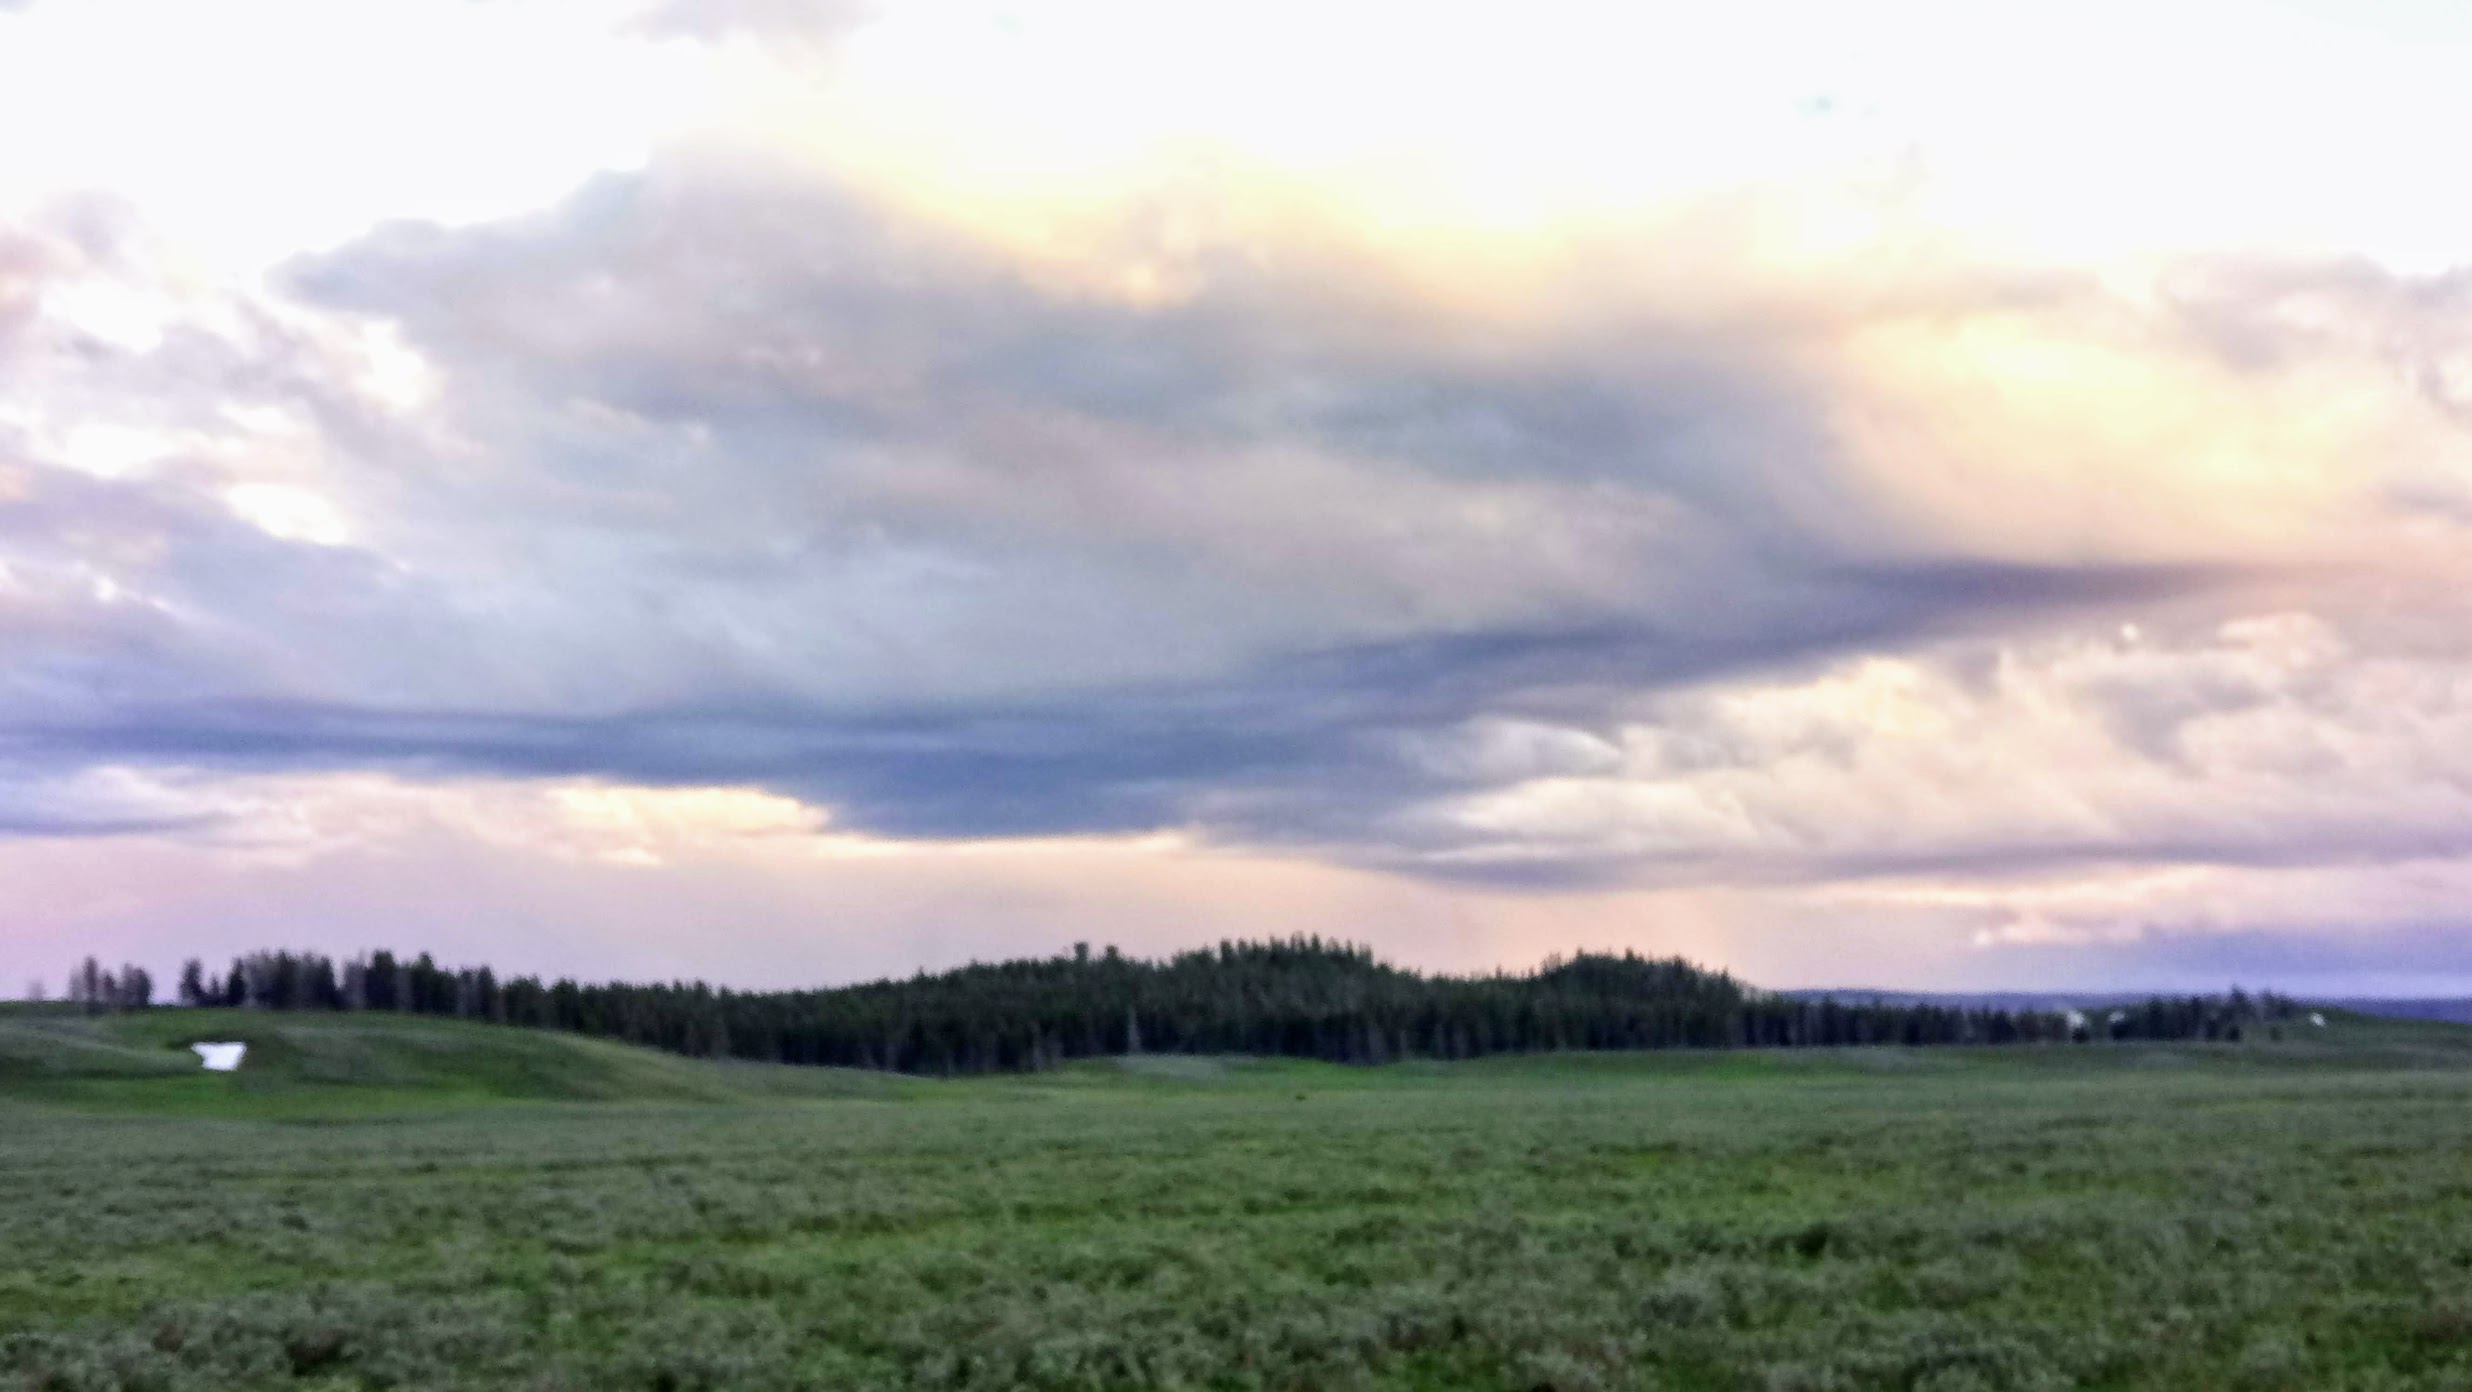
Gorgeous, aren’t they? And the duffel bag doesn’t look shabby, either. I really love how the customized duffel bag looks, and how it represents some part of my personality.
What do you think? Have you customized any item with fabric appliqués?
Thanks for reading; until next time,
Musank
Disclaimer: I may earn a small commission for my endorsement, recommendation, testimonial, and/or link to any products or services from this website. Thank you for your support!
Never Miss a Post
Enter your email below to receive the latest Fafafoom Studio post in your inbox.
Browse more posts
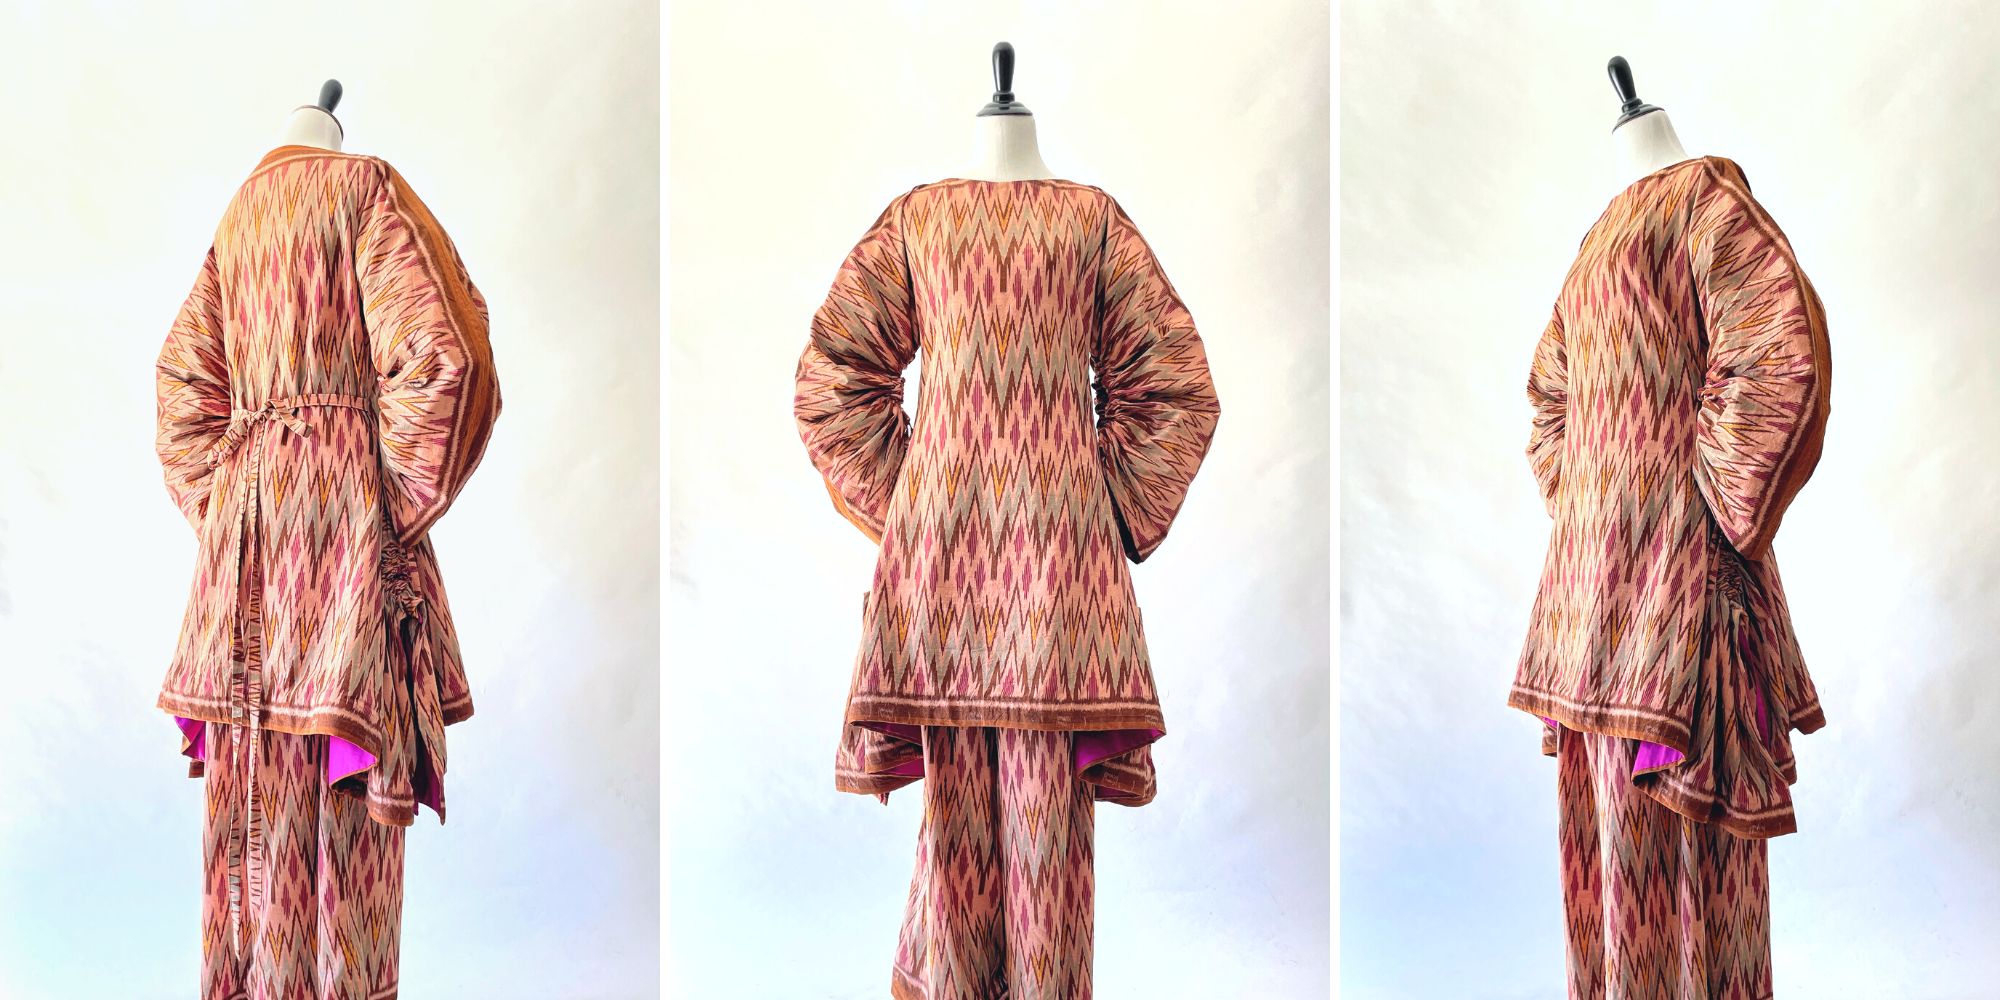
Interpreting Kebaya, Making a Modern Ethnic Ensemble
Modern Ethnic outfit is my interpretation of kebaya dressing. They are made using vintage ikat textile and inspired by several free minimal-waste patterns. Only on fafafoom.com.
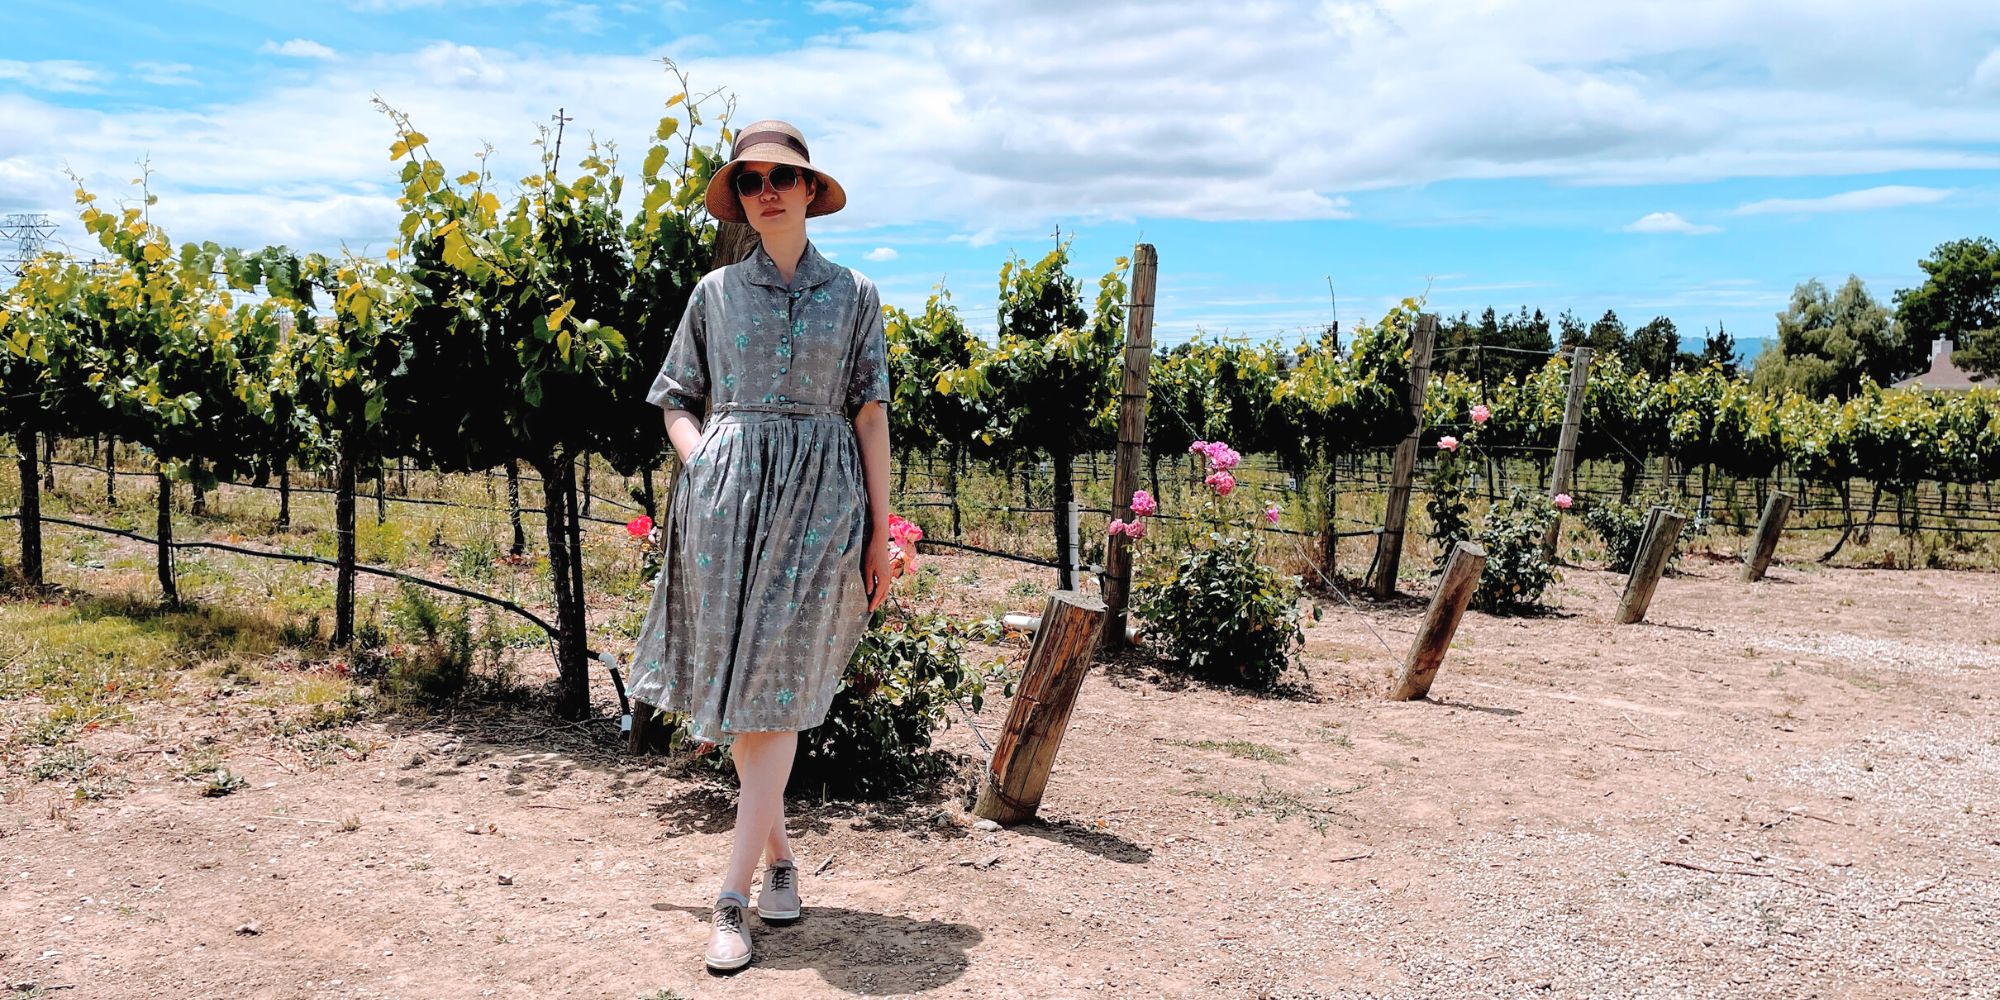
Restoring a 1950s Atomic Age Dress
Restoring and repairing a beautiful 1950s Dress for my summer 2022 wardrobe. Smart alterations include lining and inseam pockets. Only on fafafoom.com.
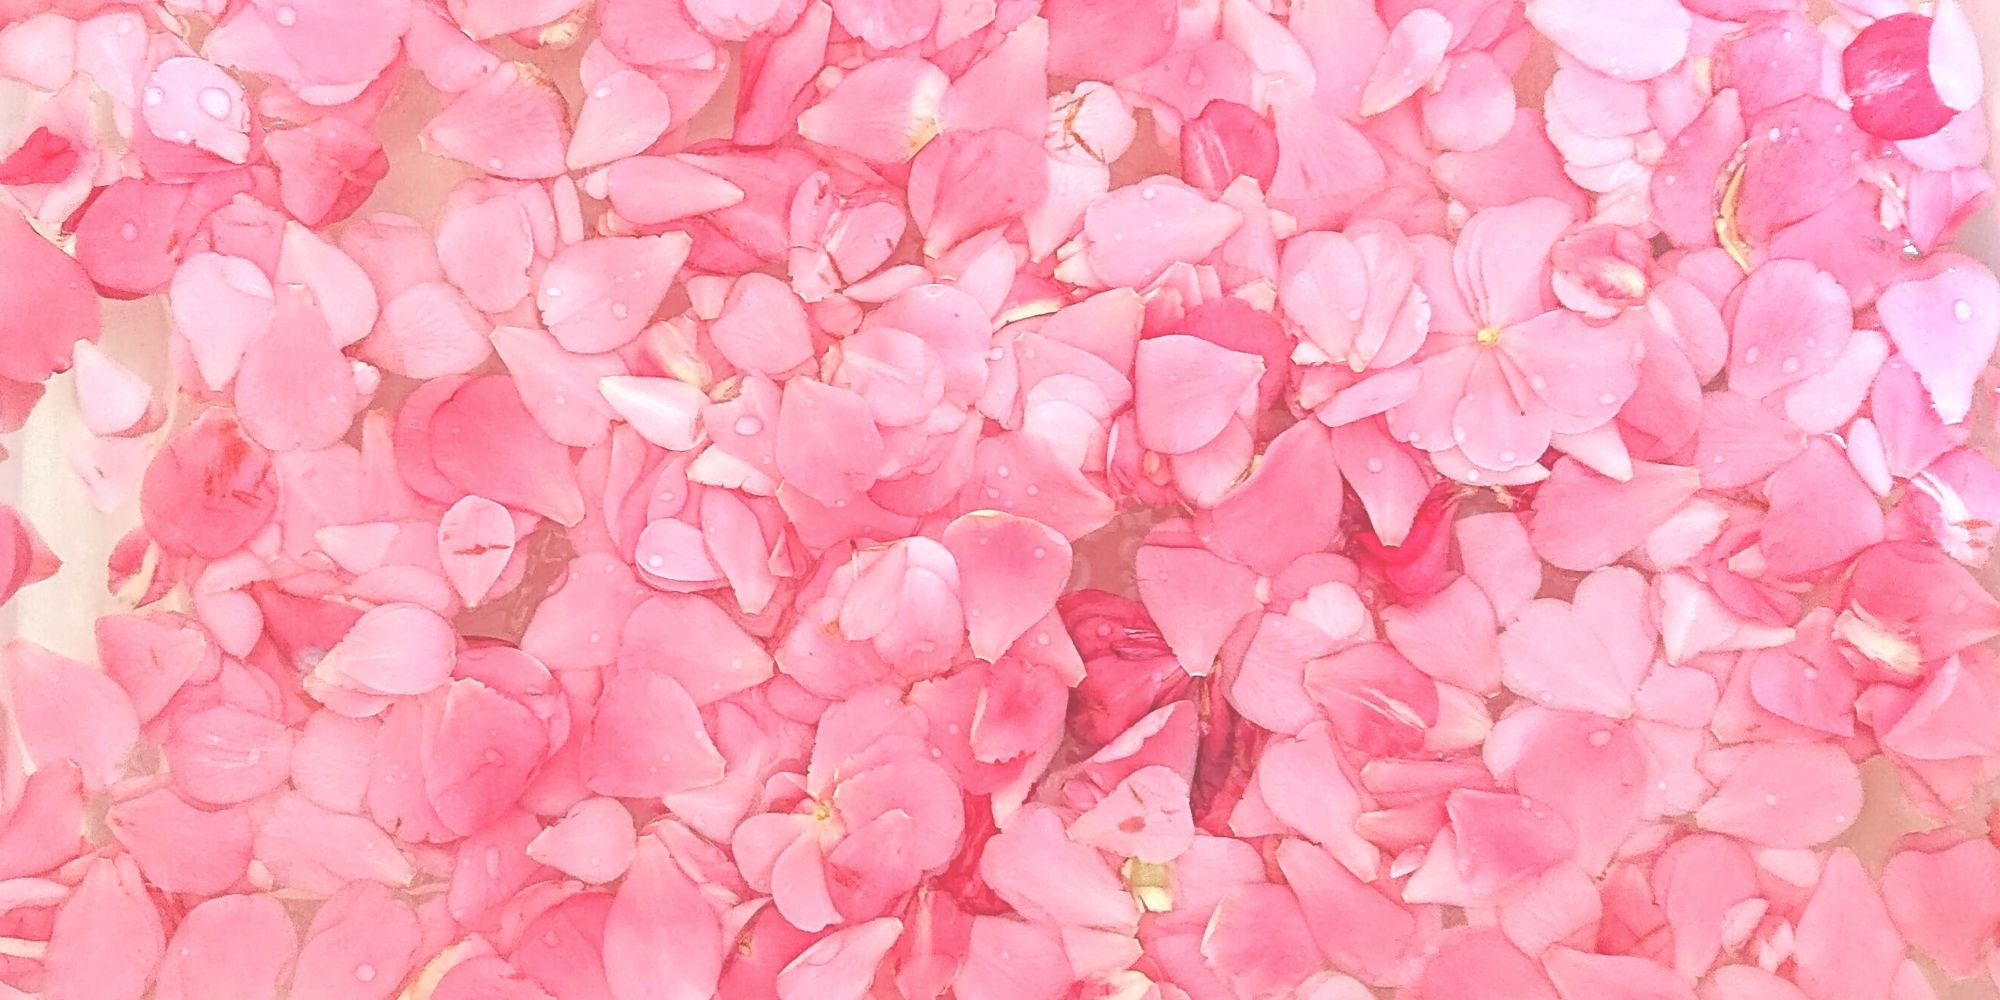
Pink Delight! Natural Dyeing with Camellia Flowers
My next experiment is dyeing with camellia flowers. Amongst all natural dyeing projects I have done so far, this is my favorite. Check out the pink delights! From fafafoom.com.
5 Slow Fashion Tips for a More Sustainable Wardrobe
Five slow fashion tips to help you transform your sustainable wardrobe for a cleaner, greener future. A guest feature from Reese Jones for Fafafoom.com.
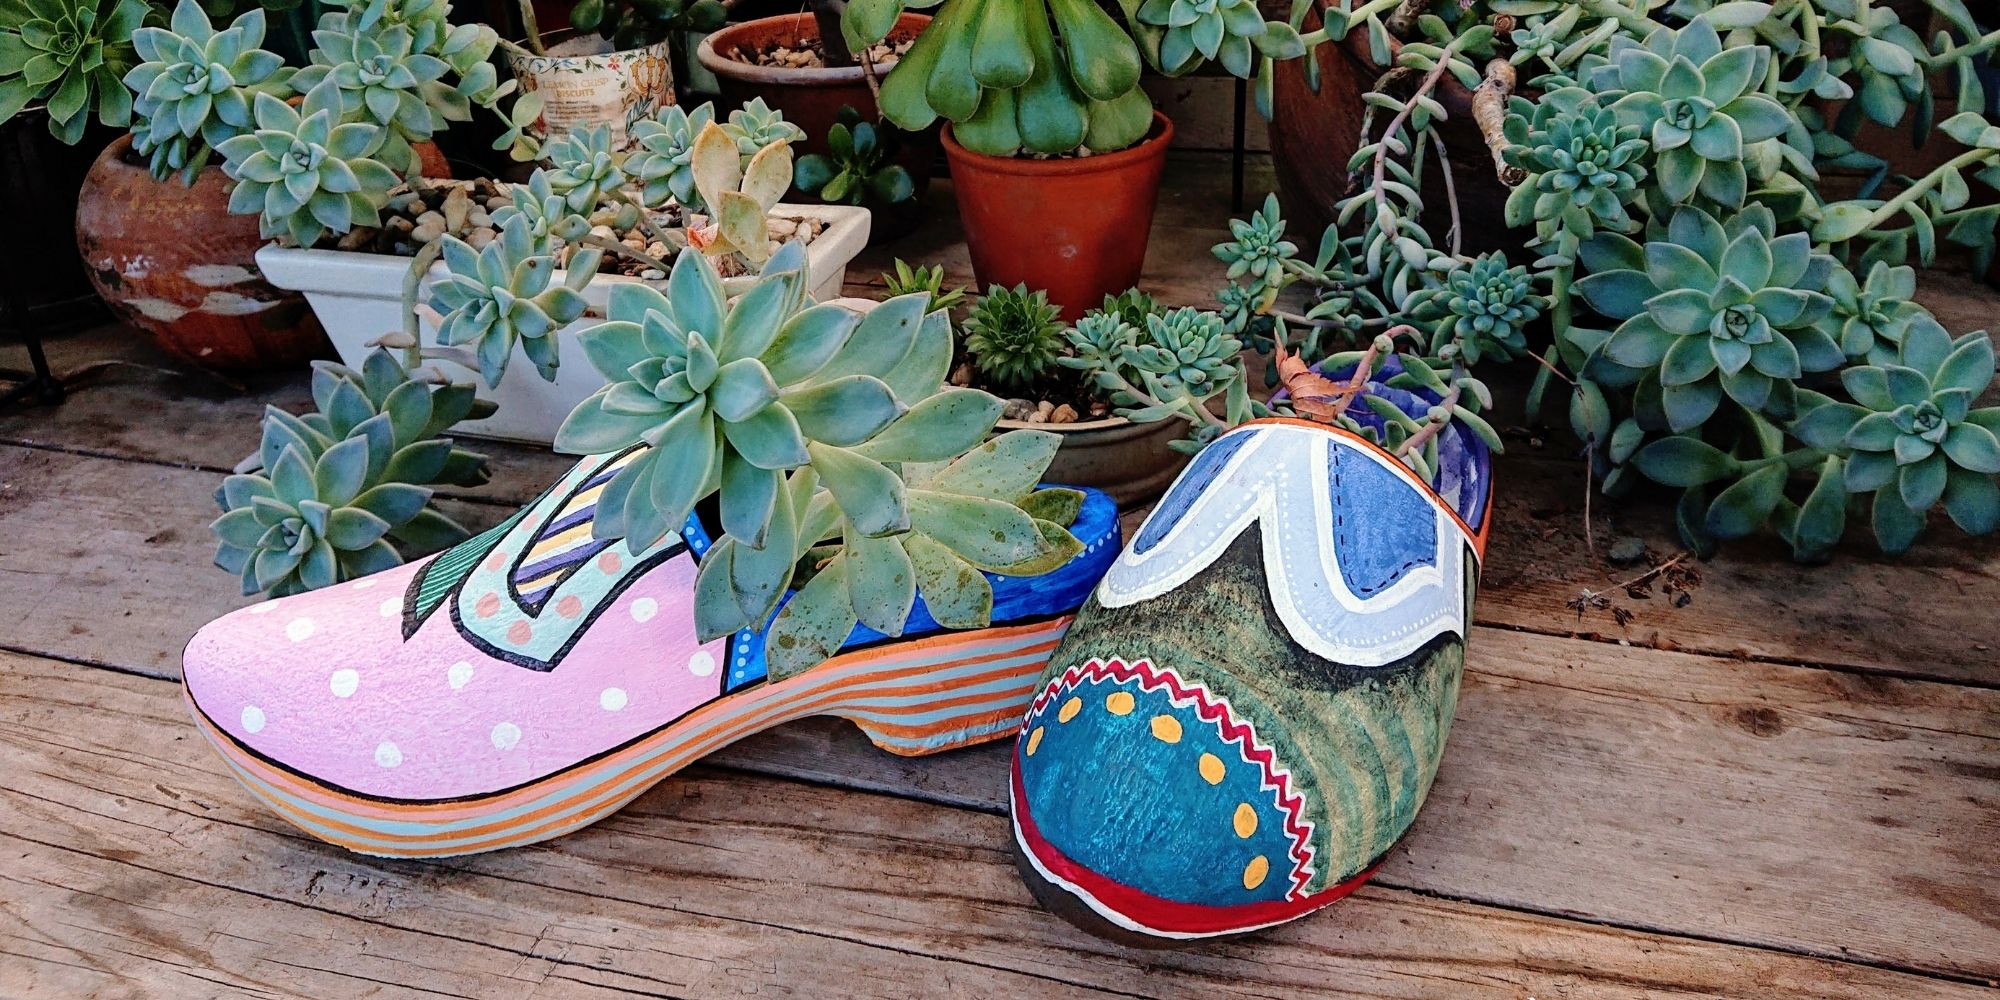
Upcycling and Repairing Ideas for Garden Decor
The garden has become a special place, especially during Covid-19 pandemic. During shelter-in-place period, I made garden decors by upcycling locally sourced items.
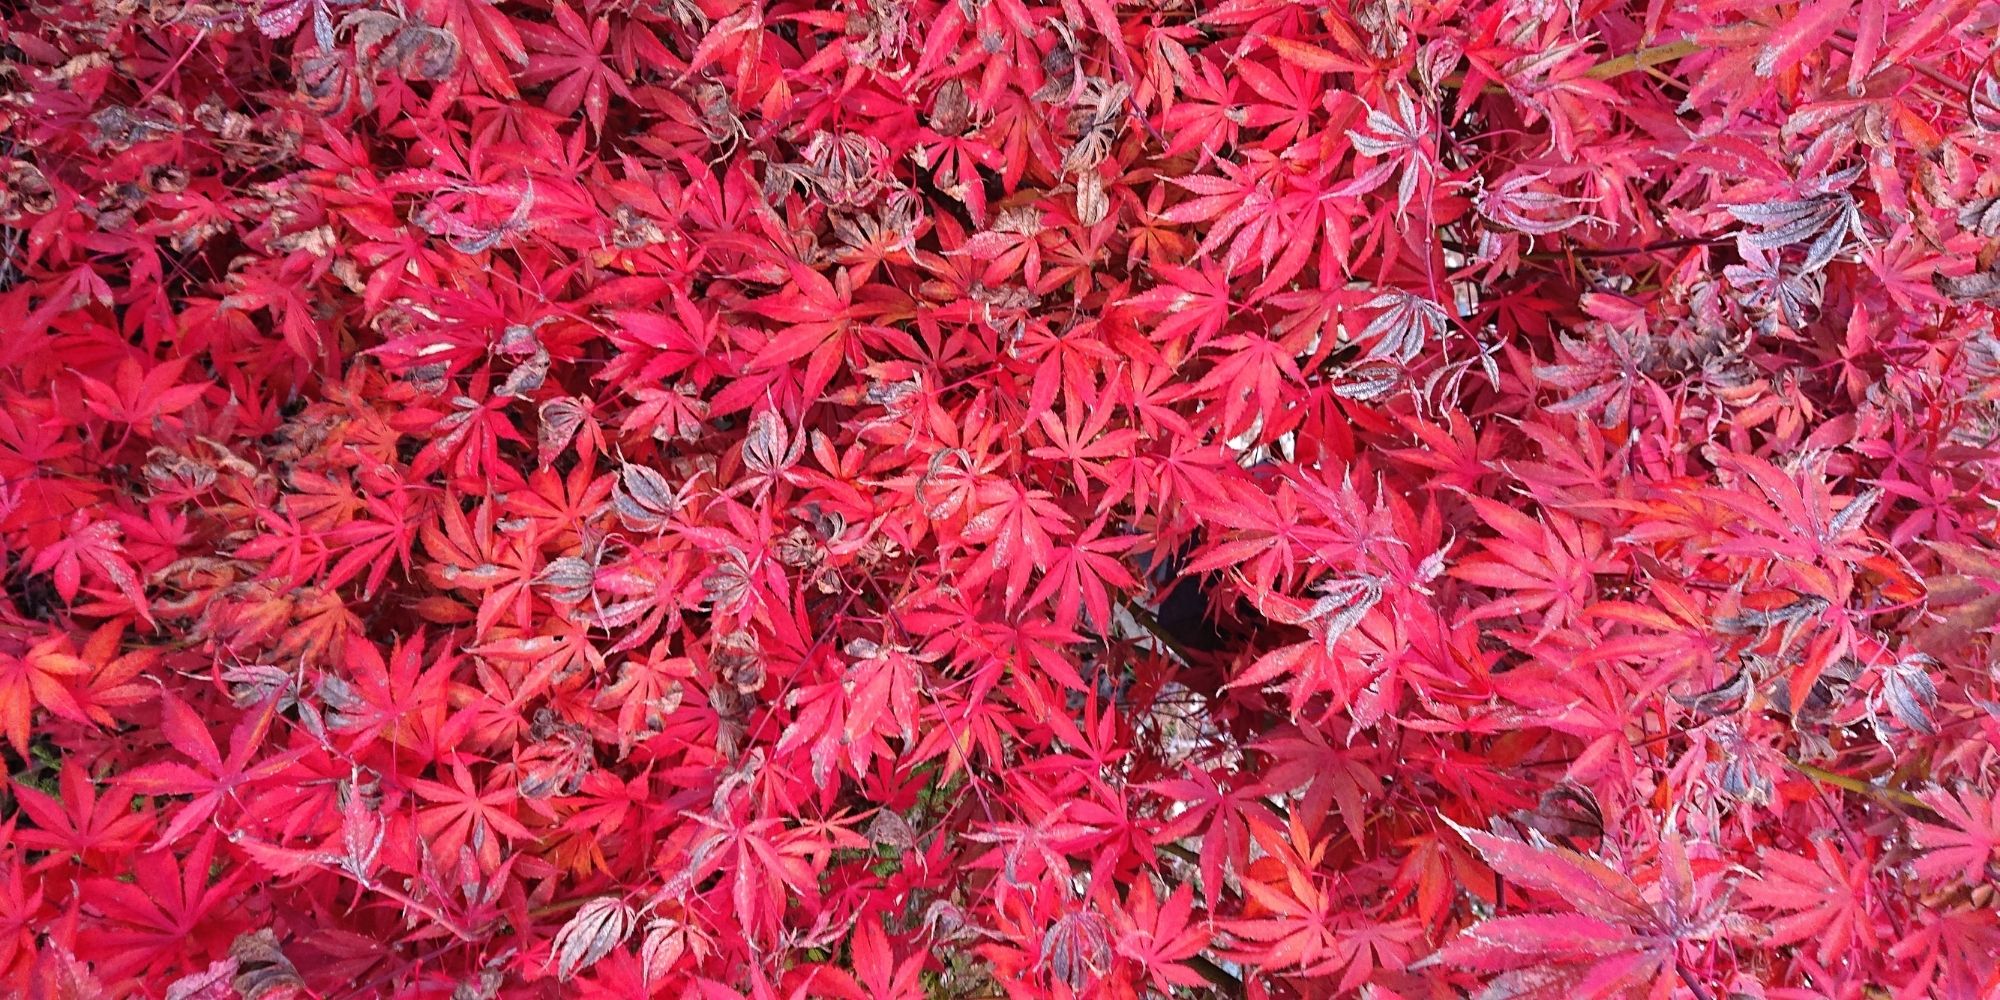
Natural Dyeing with Japanese Maple Leaves: Notes from a First-timer
Notes from my first natural dyeing experiment with Japanese maple leaves in fall season. Three batches of dyeing using fallen leaves sourced from two different trees in the garden. So much to learn and enjoy afterwards.
Trackbacks/Pingbacks