
Frankly, 2012 has gone too fast and we’re apparently in store for a crazy Holiday 2012 season. Well, if you want to do a head-start for a good holiday season diy, I highly recommend doing glitter shoes DIY. Not only it’s fairly easy and fun to do, it has great rewards in store for you (I got so much compliments!).
This blog post from Pixie in Pumps started it all. I followed the instructions (including the nail file and all), and I bought $10 Target shoes on clearance for the experiment. After I was done, I couldn’t be more pleased with the results.
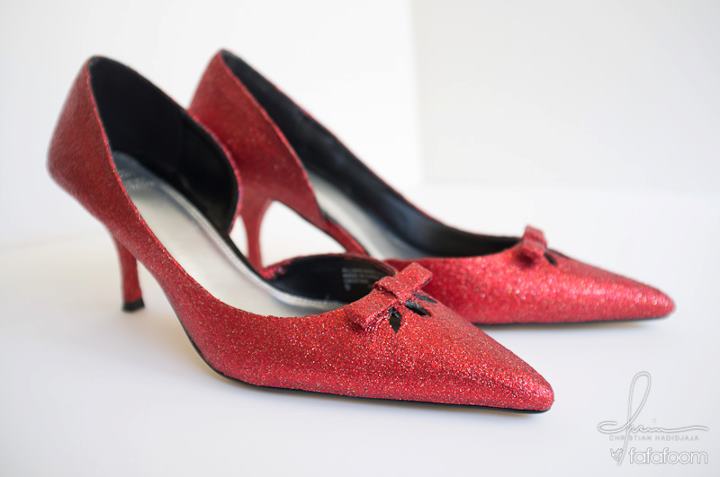
“Results”? Why yes, I enjoyed this glitter shoes DIY so much, I ended up making two pairs. One is red glittered pair (perfect for Christmas) and the other is off-white / champagne glittered pair with bow detail at the back ($5 hair clip from Forever 21).
Here are two in-progress pictures. I should’ve taken more pictures documenting the process, however I got so engrossed in my work (plus this DIY requires you to do several coats of glitter for best quality) that I forgot the camera (read: iPhone) completely. So yeah, the first picture was taken when I first set things up, and the second one was when I was finished with the 2nd coat….I think. I ended up doing 4-5 coats to make sure no black color is visible.
[shashin type=”photo” id=”4035,4034″ size=”medium” columns=”max” order=”user” position=”center”]
And here are the results for those two pairs!! I think they’re so photogenic and pretty :) And FYI, for the off-white / champagne pair, I just did two coats since the original pair’s color was white. So it’s more of an enhancement rather than a cover up (i.e.: change the color completely, like the first pair).
[shashin type=”photo” id=”3985,3986,3987,3988″ size=”medium” columns=”max” order=”user” position=”center”]
I love them both, and now I’m a firm believer of Mod-Podge. Hallelujah!
Thanks for reading and hope you’ll have glittered holiday season!
Musank
Very cute! How long was the drying time?
Hmm, it was about 10 – 20 minutes each coat. I tried to do the coats in thin layers to control the “bulkiness” of the glitters :)
It was fun, you should try it!