
I recently created this DIY flower petals headband as part of my “warming up” process of making something just a tiny bit more elaborate (I’m not going to reveal what it is yet). So as my first warm-up, I took some leftover gold shiny polyester satin fabric, some ivory tulle for texture, ivory ribbon, and elastic lace and create this gold and girly headband.
I got these 12 gold fabric “leaves” from a friend several years ago and I did not know what to do with it. The shiny gold color threw me off, and for me it’s rather difficult to do anything with shiny gold color without making it look cheap. However, this makes this fabric leaves the perfect experiment material for warm-up.
So I took them out of my storage box and trim them so they resembled little squares with rounded corners. I also took out some ivory tulle and cut out enough pieces so I could form a petal, which was one gold square sandwiched between two tulle squares. Then I just pinched the three pieces together and run a couple of stitches from the center of the petal to an ivory ribbon with a needle and ivory thread.
[shashin type=”photo” id=”7251,7252,7253″ size=”small” columns=”max” order=”user” position=”center”]
This is how it looked like after I built up 4 petals and attached them to the ribbon. I made sure to keep them clustered but not too crowded and slightly off-centered.
[shashin type=”photo” id=”7254″ size=”500″ columns=”max” order=”user” position=”center”]
Naturally you could shape your petals however you like. This is the shape I ended up with after I was finished with all petals.
[shashin type=”photo” id=”7255″ size=”500″ columns=”max” order=”user” position=”center”]
At this point, I originally thought that I would just use the ivory ribbon the petals are attached to and some white elastics as the headband. Therefore, the ivory ribbon was already cut according to the circumference of my head. However, I grew disenchanted with that idea. It’s like being half-ass romantic, which never work in my book.
Therefore, I cut the ivory ribbon a short distance from the portion that’s stitched to the petals and I ended up with two relatively short (roughly 8.5″ in length) ivory ribbons pieces. From there, I stitched the petals to an ivory elastic lace wrap. Since the lace is already elastic, I just measured my whole head’s circumference and then stitched the lace wrap’s ends together.
Next, I created two small rosettes with some fabric glue. The tutorials from daisyclub23 or sewcrafty1 are great for reference.
[shashin type=”photo” id=”7256″ size=”500″ columns=”max” order=”user” position=”center”]
From there, I experimented with when several rosettes placements in between the petals and settled down with the two placements I liked the most.
[shashin type=”photo” id=”7257,7258,7259″ size=”small” columns=”max” order=”user” position=”center”]
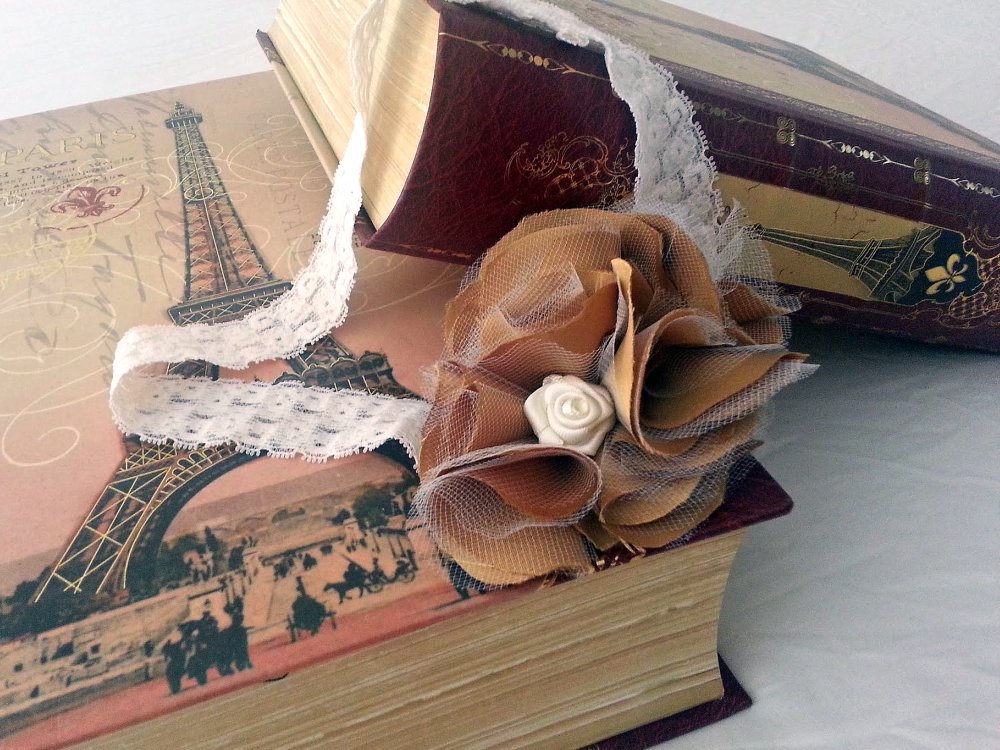
So I stitched them both in place, adding a bit more tulle squares as needed around the rosette that’s placed at the end of the petal clusters. Et voila! So gold, girly, and pretty.
[shashin type=”photo” id=”7323,7324,7325″ size=”500″ columns=”max” order=”user” position=”center”]
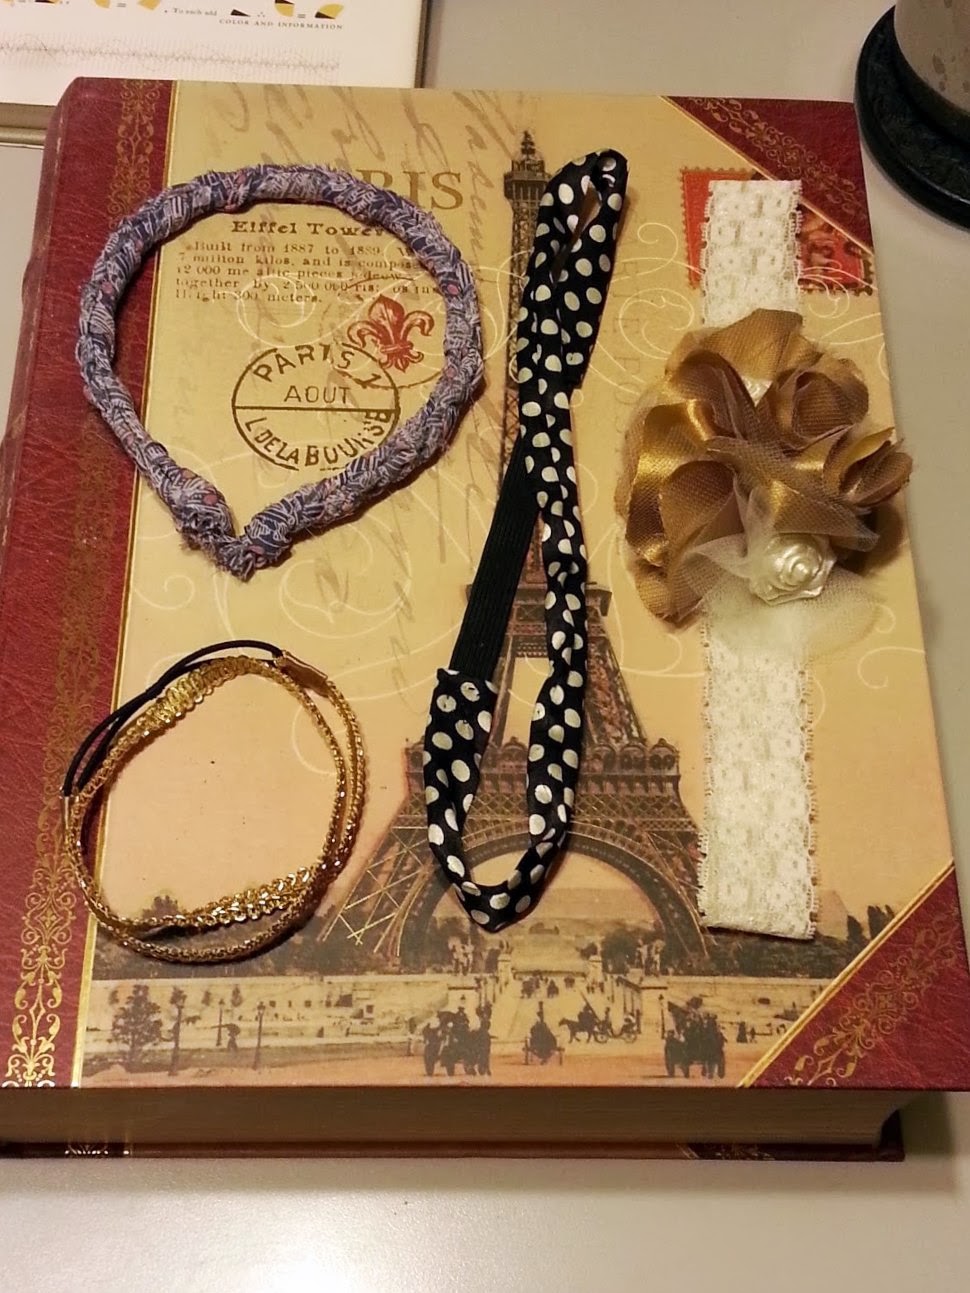 That day, it was my most elaborate warm-up. In addition to this DIY flower petals headband, I created three more simpler headbands. My favorite is the polka dot headband :)
Oh, and for those who wants to know where they can get those Paris book box, they’re made by Punch Studio. I got the complete set as a Christmas present and I absolutely LOVE them. They keep all of my DIY accessories project materials neat, organized, and portable.
I’m pretty happy with the result, I think the super girly Harajuku style is really rubbing off on me. I’m honestly not sure when I can wear this, but perhaps I can wear it as a wrist corsage at a wedding somewhere. If you love it, please let me know! I might just send this flower petals headband to you.
(Update 10/20: I’m so happy to say that one of my nieces chose this headband in the box of flower headband goodies I brought home! I saw her wearing it, and it looks sooooo cute on her!)
Thanks for reading and have a great weekend,
Musank
Trackbacks/Pingbacks