
Spread the love of holiday gift wrapping to your own books and notebooks. Making DIY Paper Book Covers is a great project to gift yourself!
Have old books with peeling covers, notebooks with unflattering covers you grab from the doctor’s office, or simply notebooks with boring, generic covers? Check.
Have extra wrapping papers with cute / cool patterns that are not big enough to wrap the remaining holiday gifts but perhaps big enough to wrap books with? Or…if you’re a regular Fabmo (a fabric rescue organization) or thrift store visitor like me, have wallpaper samples with cool textures you’re so excited to make stuff with? Check.
For those of us who love reading books, writing and sketching in notebooks, making DIY paper book covers before the year’s end is a great way to be productive this holiday season. For me personally, I have a bunch of perfectly fine notebooks with pretty ugly covers. They have either unflattering logos in various colors, marketing messages you don’t particularly care about, or just simply embarrassing or confusing text. They’re bad enough that I end up keeping those notebooks hoping I’ll use them someday…but every time I’m about to use them, I remember my “objections” in the first place.
Thanks to one of my trips to Fabmo, I got several rolls and sheets of pretty wallpaper samples that I ended up using as both gift wrappers and notebook covers (for now). I am super excited about those wallpaper samples; they have amazing textures and patterns, and many of them are sturdy enough to make many paper crafts with. Beyond gift wrapping and book cover making, I plan to make note cards, fancy envelopes, goodie bags, simple paper appliques, and many more! But let’s not get ahead of myself, let’s focus on sharing this DIY Paper Book Covers, yes?
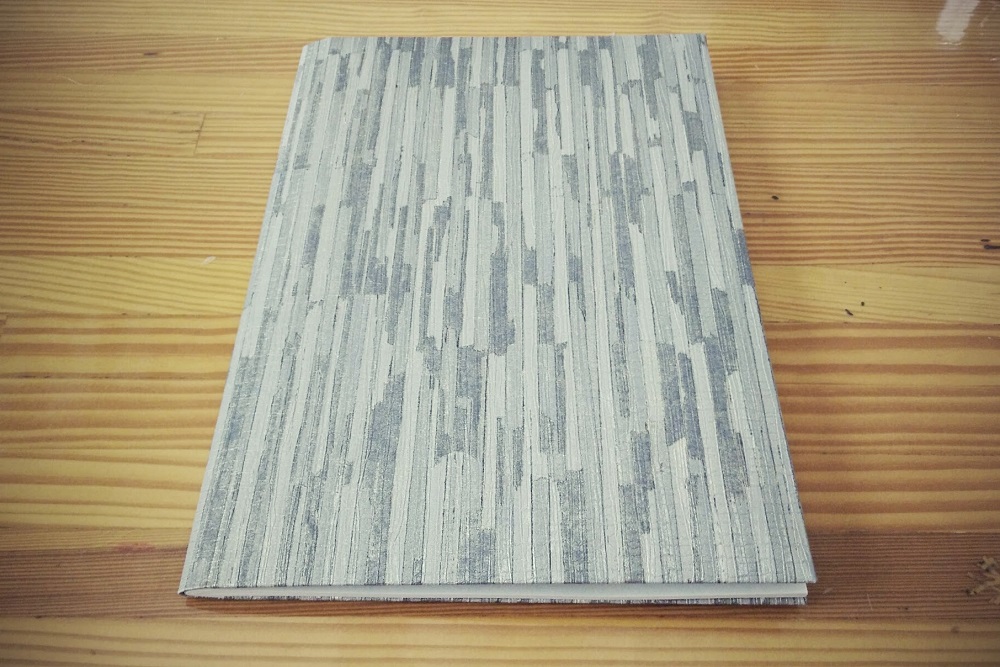
[shashin type=”photo” id=”19058″ size=”xlarge” columns=”max” order=”user” position=”center”]
Growing up, my mom taught me how to make simple book covers using thin brown papers to cover our notebooks. In my country, it was obligatory to cover the notebooks with the same brown paper so every notebooks from all students look the same. So thank you mom, and let me share two ways of making DIY paper book covers. I hope you enjoy it!
For hard cover notebook with ring spine
I have this really nice notebook with a company name I don’t particularly care for embossed on. When I saw that, I was like….WHYYY!!!! Anyway, this notebook needs some wrapping. For this particular notebook, I worked with the back cover first, and then the front. Don’t ask, I myself was quite unsure why I did it that way. But here is the “before” picture with the original notebook and my two sheets of wallpaper samples.
[shashin type=”photo” id=”19030″ size=”xlarge” columns=”max” order=”user” position=”center”]
After gently taking both covers out from the ring spine, I started with outlining the wallpaper sample pieces with a pencil, giving 0.5 cm margin to the side with rectangular holes and 1 cm margin on other sides. Outlining the rectangular holes was pretty straightforward to do, but I had to be precise when cutting those rectangles out.
[shashin type=”photo” id=”19031,19032,19033″ size=”xlarge” columns=”max” order=”user” position=”center”]
Once it’s done, what’s left was just gluing the wallpaper piece to the original back cover, with the margins glued carefully to create nice unbroken edges around the back cover. Here are the before and after pictures for the gluing process.
[shashin type=”photo” id=”19034,19035″ size=”xlarge” columns=”max” order=”user” position=”center”]
With that, the back cover is done. After checking the holes alignment, adding bits of glue to any gaping places with a toothpick, I attached the back cover to the ring spine.
[shashin type=”photo” id=”19036,19037″ size=”xlarge” columns=”max” order=”user” position=”center”]
Then I repeated the process with the front cover. The whole process took me about 30 minutes. The result is “pretty neat,” Chris said as he examined my handy work :) His opinion aside, what do you think?
[shashin type=”photo” id=”19038,19039,19040,19041,19042″ size=”xlarge” columns=”max” order=”user” position=”center”]
For soft cover notebooks
This was the other notebook that I wanted to cover up. Look at the text if you can…”for all sensuous people”? WTH?
[shashin type=”photo” id=”19043″ size=”xlarge” columns=”max” order=”user” position=”center”]
Anyway, this was where my childhood book cover making skills came into play. First, I cut out the uneven edges of the wallpaper sample and folded it on the center vertically. Like on the previous example, I made sure there were ample margins on all sides of the book. Then I made sure the notebook is centered in this spine while cutting the wallpaper sample near the notebook spine, ensuring the wallpaper sample will be able to wrap around the notebook eventually.
[shashin type=”photo” id=”19044,19045″ size=”xlarge” columns=”max” order=”user” position=”center”]
With the center trapezoid-shape cuts surrounding the top and bottom of the book spine taken care of, I folded the excess margins on the top and bottom of the notebook.
[shashin type=”photo” id=”19046,19047″ size=”xlarge” columns=”max” order=”user” position=”center”]
This is how I made the side closure. It involved folding the excess side margin to the inside of the notebook, a triangle fold, and inserting the “hook” part of the triangle fold inside the space between the book cover and the wallpaper sample. I wish I can explain it better, but pictures speak a thousand words…they said.
[shashin type=”photo” id=”19048,19049,19050,19051,19052″ size=”xlarge” columns=”max” order=”user” position=”center”]
With little bits of scotch tape, the “sensuous people” notebook is now prettily wrapped with a wallpaper sample!
[shashin type=”photo” id=”19054,19053,19055″ size=”xlarge” columns=”max” order=”user” position=”center”]
Aftermath: covers for one vintage book and smaller notebooks
As expected, I could not stop with just two notebooks, so I ended up making new covers for one vintage book I got a while back and a couple of small notebooks. You wouldn’t know I got one of them from a dentist office now that they are all prettily wrapped up.
[shashin type=”photo” id=”19056″ size=”xlarge” columns=”max” order=”user” position=”center”]
So…voila! What do you think? Making these relatively simple DIY notebook covers not only elevate those notebooks with pretty covers with awesome textures, but also make me want to write / sketch in them soon! On a related note, I might want to add an elastic closure for one or two of them. Ah, the never-ending excitement of a DIYer :)
[shashin type=”photo” id=”19058″ size=”xlarge” columns=”max” order=”user” position=”center”]
Thank you for reading; until next time and HAPPY HOLIDAYS!
Musank
Trackbacks/Pingbacks