
It’s great to wear a wrap dress, but the gap on the front is always problematic. It’s time to fix it and keep the girls safely tucked in!
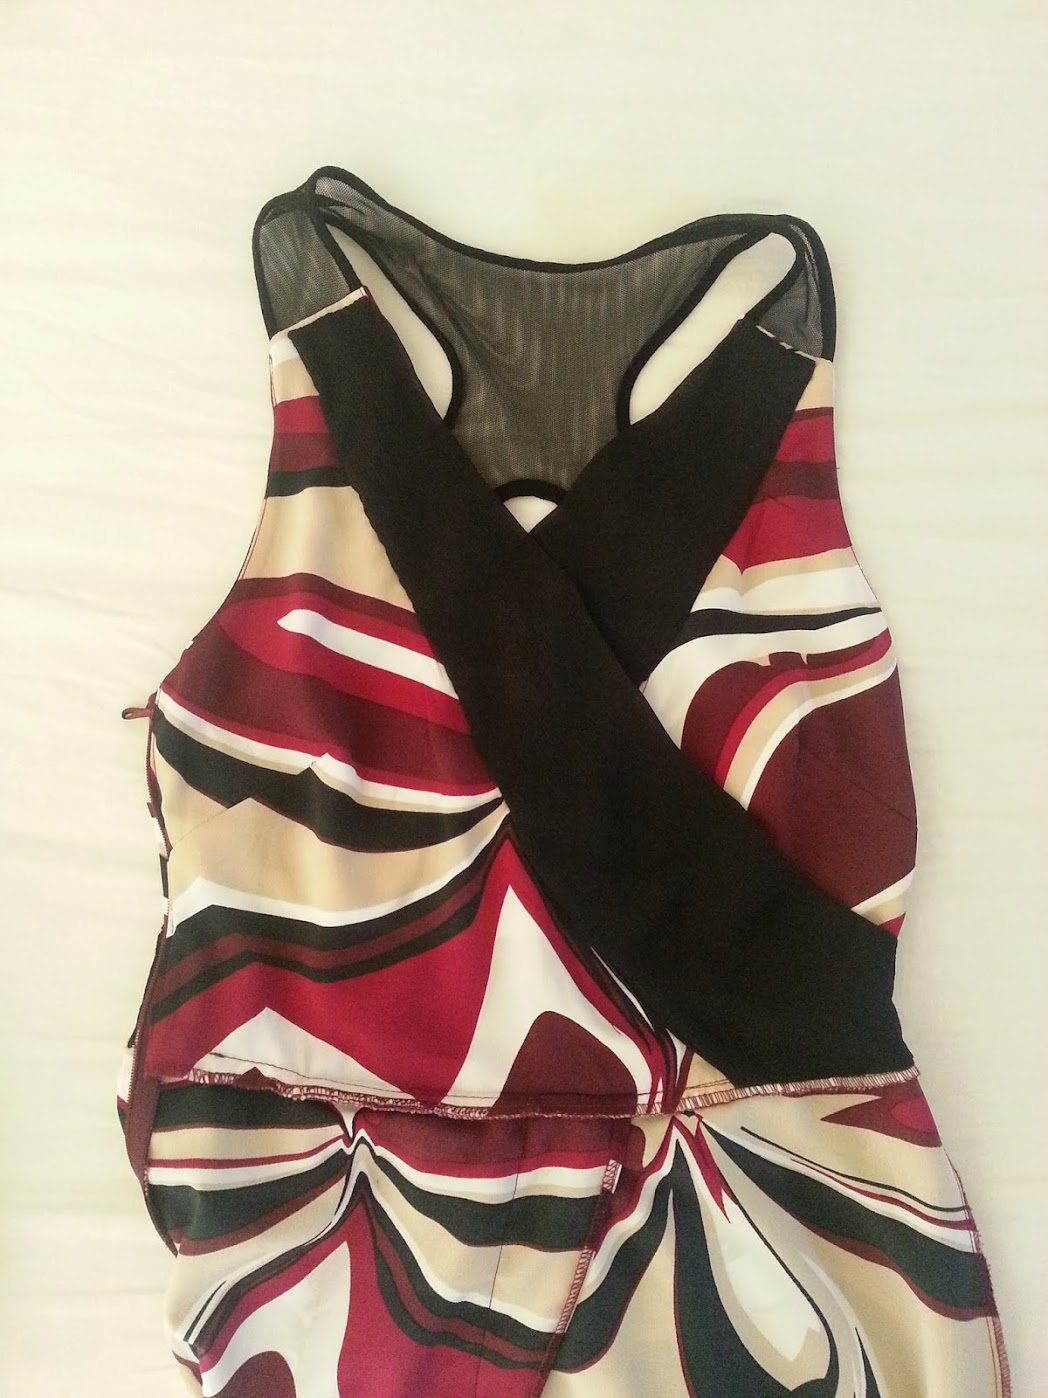
The next DIY project catch-ups during this holiday season was fixing this maxi wrap dress, a Sarah Parrott (from Fashion Star Season 1) maxi dress that I bought at H&M. It’s a great versatile maxi dress with a mesh racer back details that I love, yet there were two serious problems I had with it:
1. The skirt portion opened up all the way to the waist in case a strong wind blows past.
2. The chest area was open way too low and I could not wear this dress without a safety pin’s aid to keep the front decently closed.
Subscribe to my newsletter
The first problem was easy to fix; a straight stitch with my sewing machine fixed the problem immediately.
The second problem was more tricky. Relying on a safety pin every time I want to wear the dress will only make the dress rip one of these days; not to mention that the safety pin did not really help much if I so much as slightly bend over.
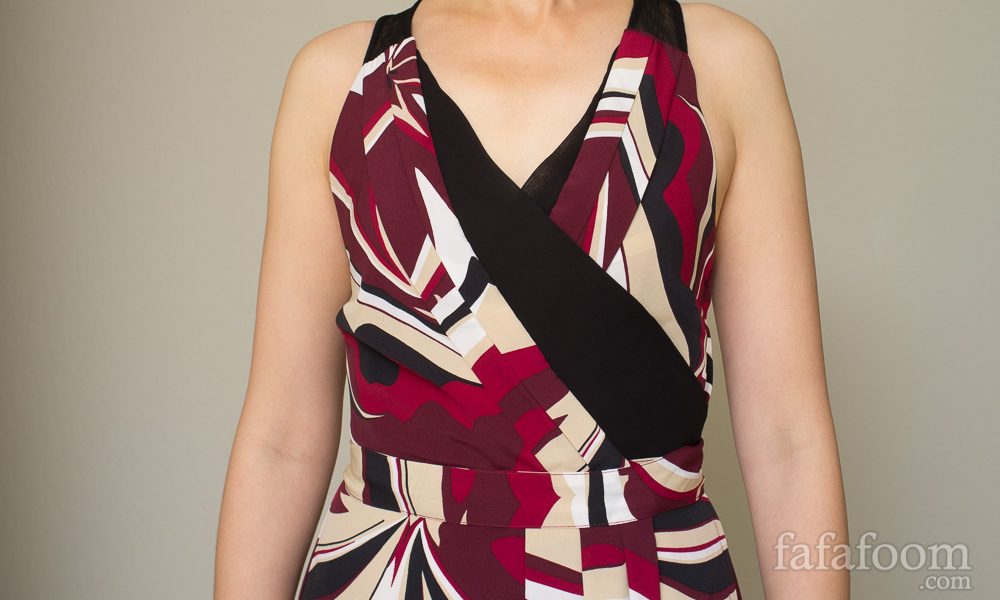
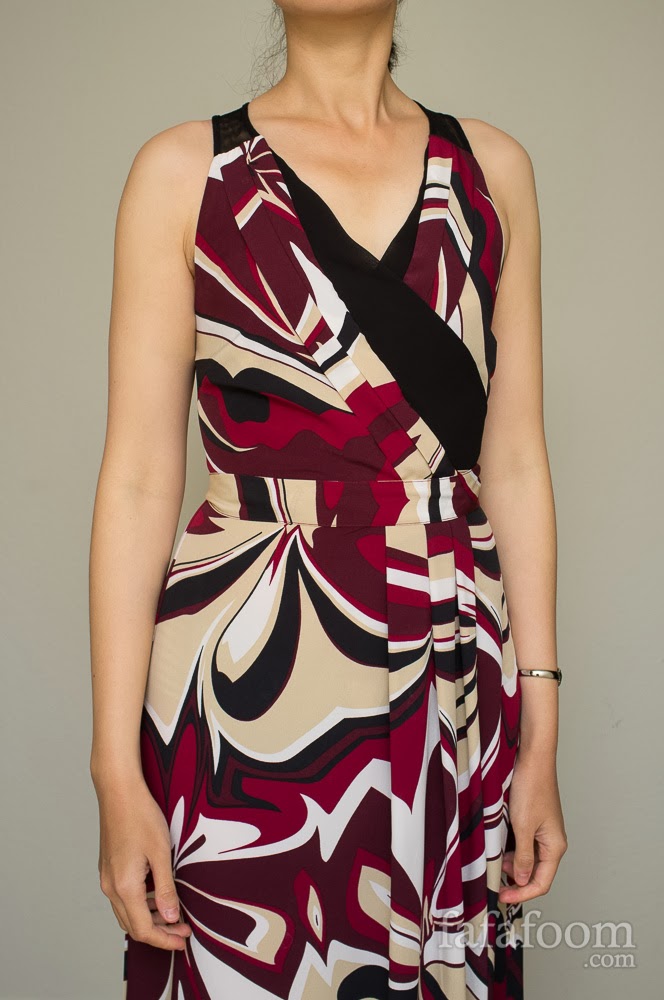
This wrap dress is in dire need of a neckline fix.
Fortunately, I had a chiffon halter top (also from H&M) that has an attached black scarf. I have a separate plan for the halter top, but the scarf portion was perfect to help me fix this maxi wrap dress’ neckline.
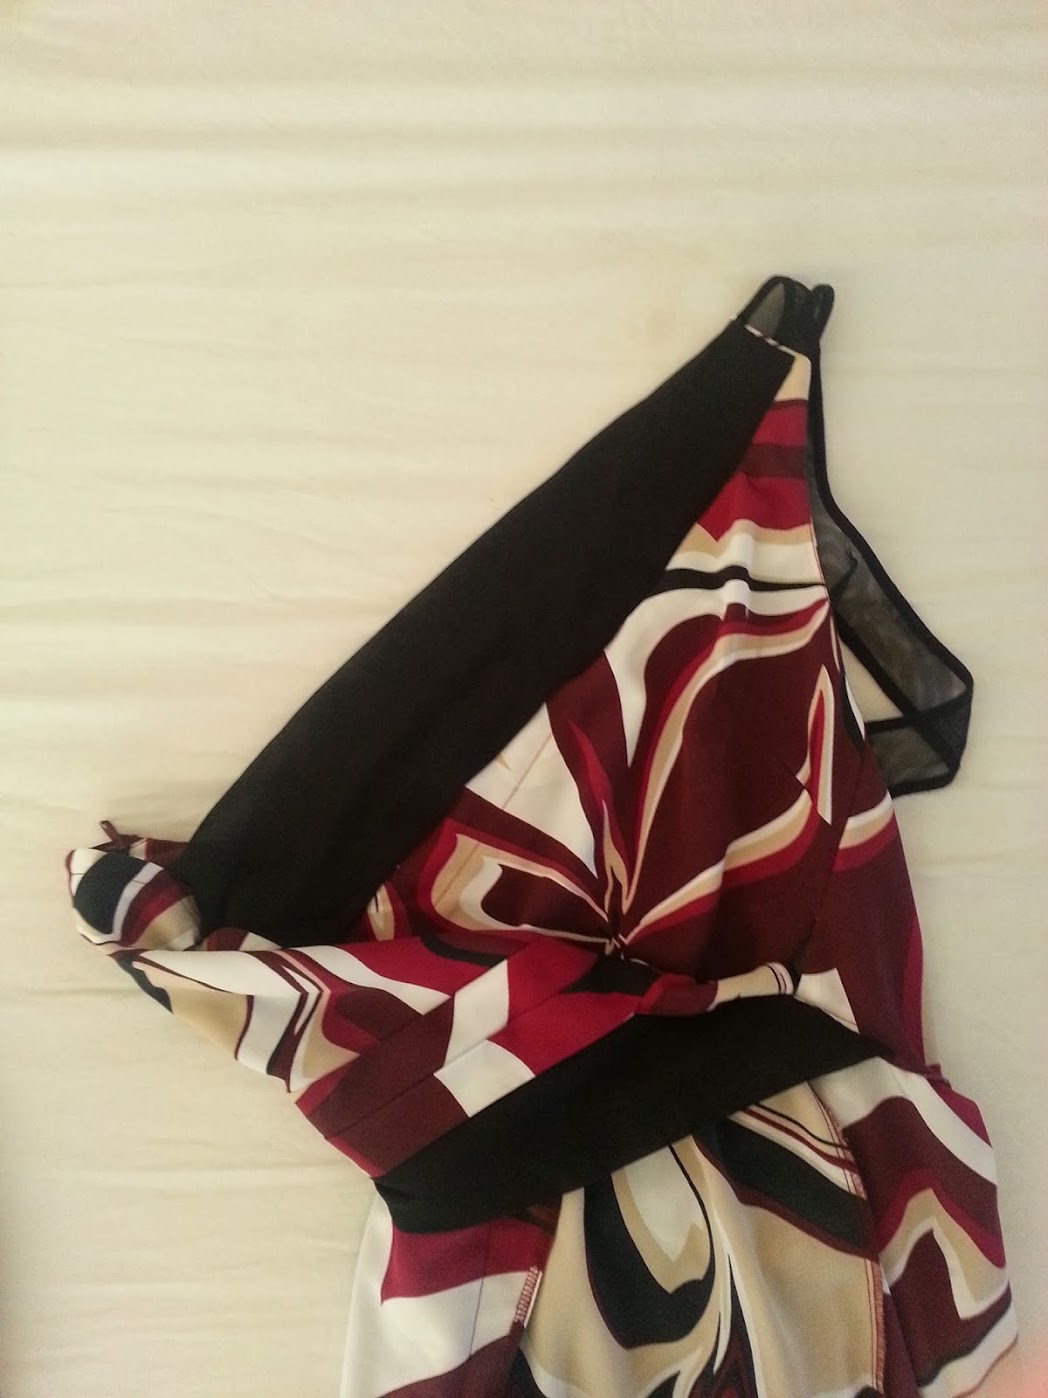
So I cut the scarf in two, and use one part each to add some coverage to the right and left wrap panels. I gave more attention to the front since that’s the most visible, and I hand stitched the panels to keep the attachments invisible.
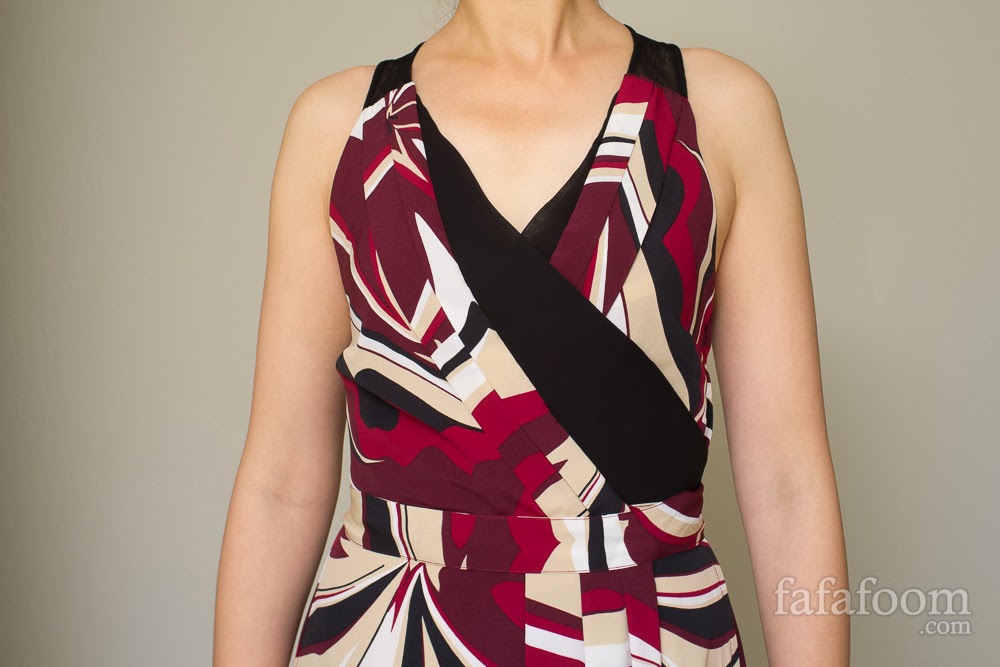
It took me about 1.5 hour to do the hand stitching, after some pinning and slight adjustments. Here’s how the front of the dress and the left front panel looked like (inside out) after all the hand stitching job was done.
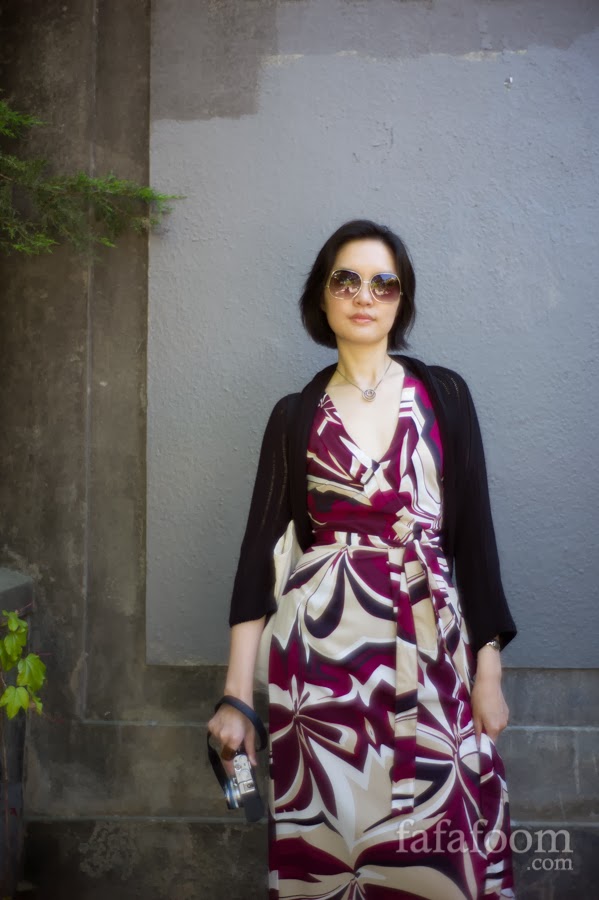
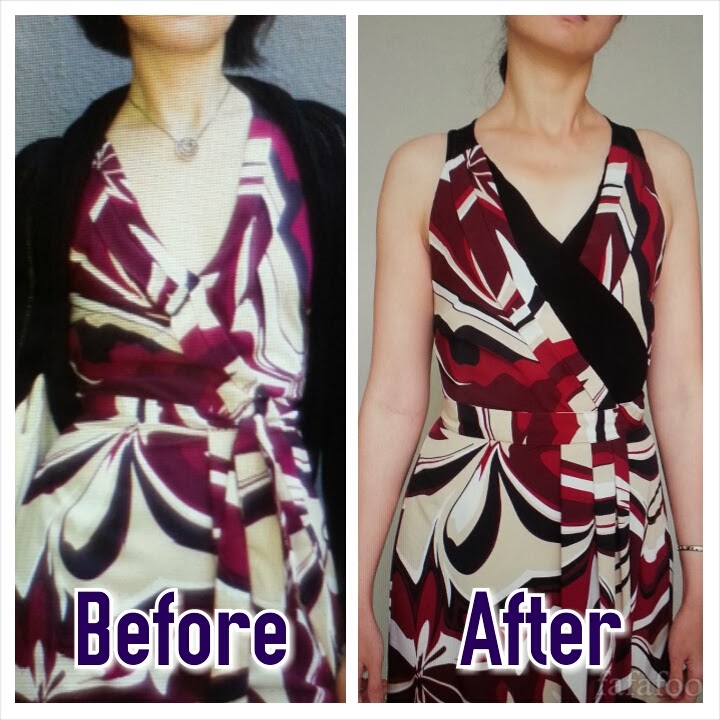
And this is how it looks like when I wore it. I apparently stitched the left panel more slanted than I thought, however I welcome the asymmetrical neckline. After all, the goal was met: the girls are safely tucked in even when I bend over. Bye bye safety pin!
One more look of the before and after of the wrap dress’ neckline fix:
Thanks for reading; until next time,
Musank
Disclaimer: I may earn a small commission for my endorsement, recommendation, testimonial, and/or link to any products or services from this website. Thank you for your support!
Never Miss a Post
Enter your email below to receive the latest Fafafoom Studio post in your inbox.
Browse more posts
Interpreting Kebaya, Making a Modern Ethnic Ensemble
Modern Ethnic outfit is my interpretation of kebaya dressing. They are made using vintage ikat textile and inspired by several free minimal-waste patterns. Only on fafafoom.com.
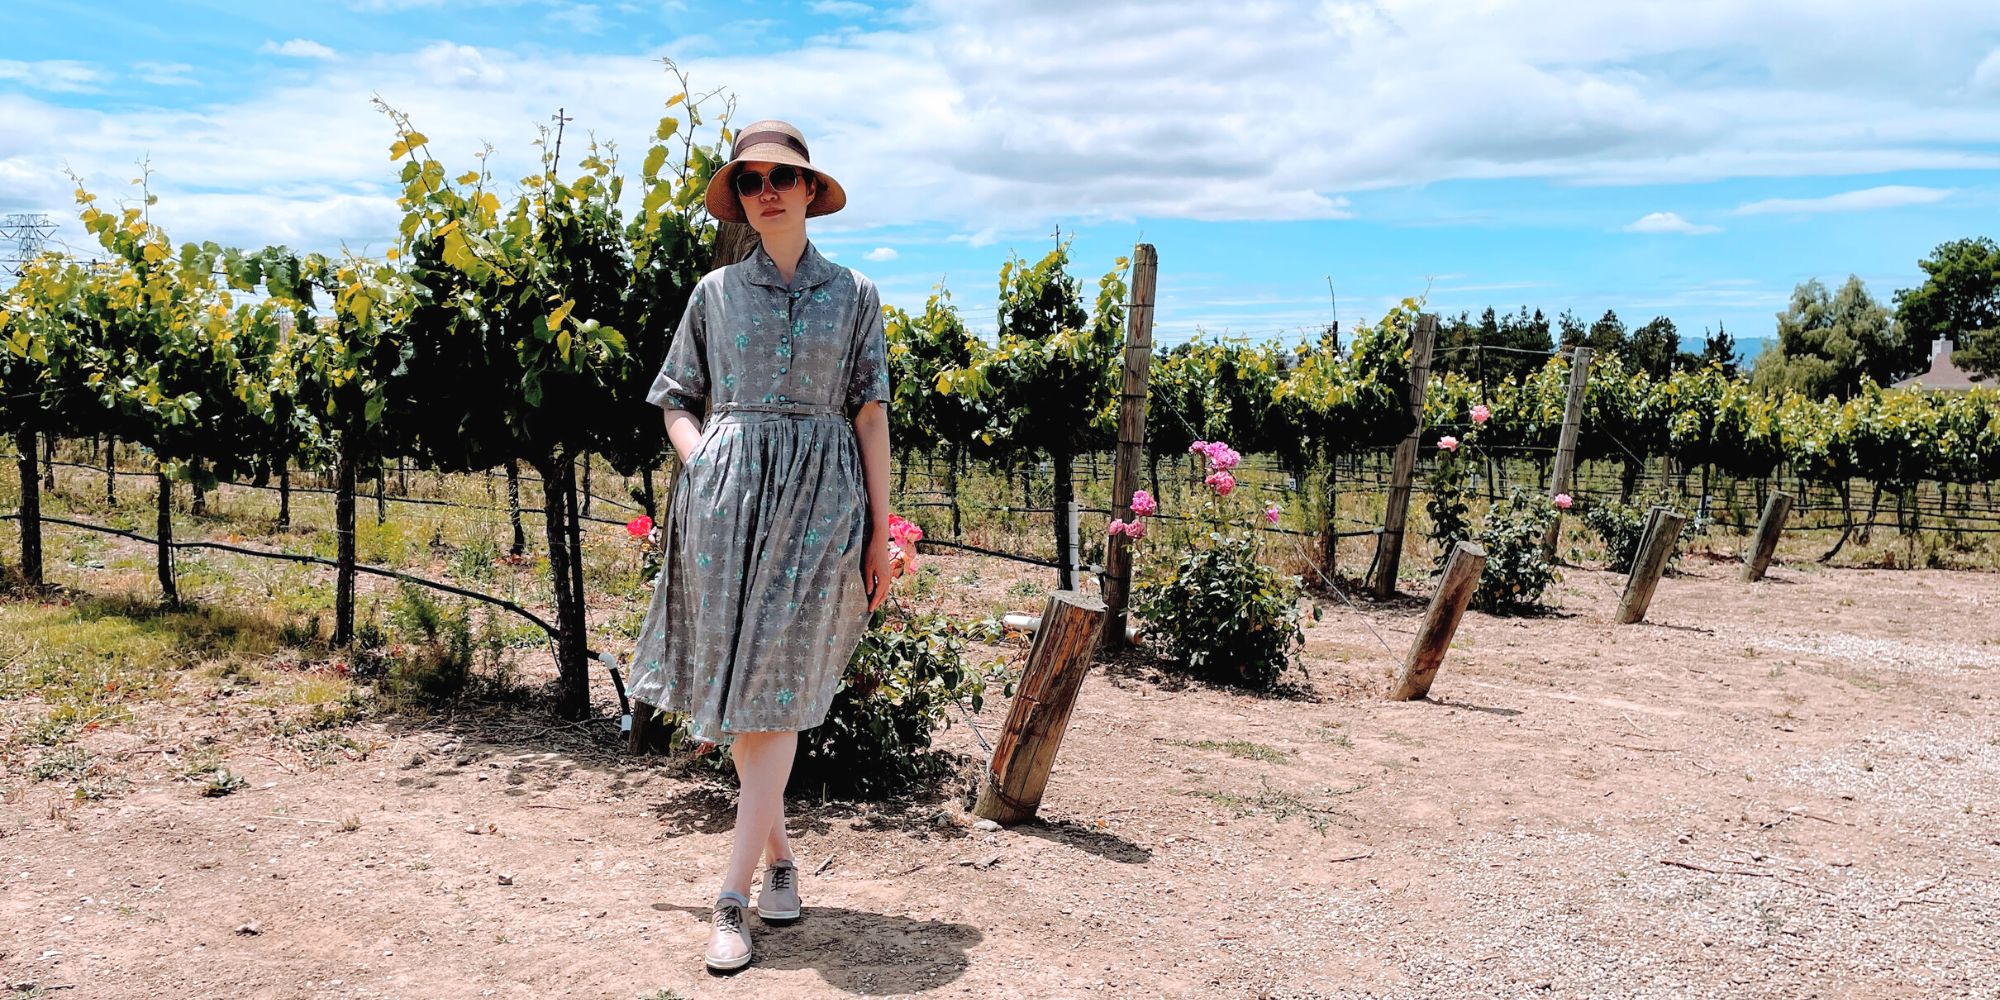
Restoring a 1950s Atomic Age Dress
Restoring and repairing a beautiful 1950s Dress for my summer 2022 wardrobe. Smart alterations include lining and inseam pockets. Only on fafafoom.com.
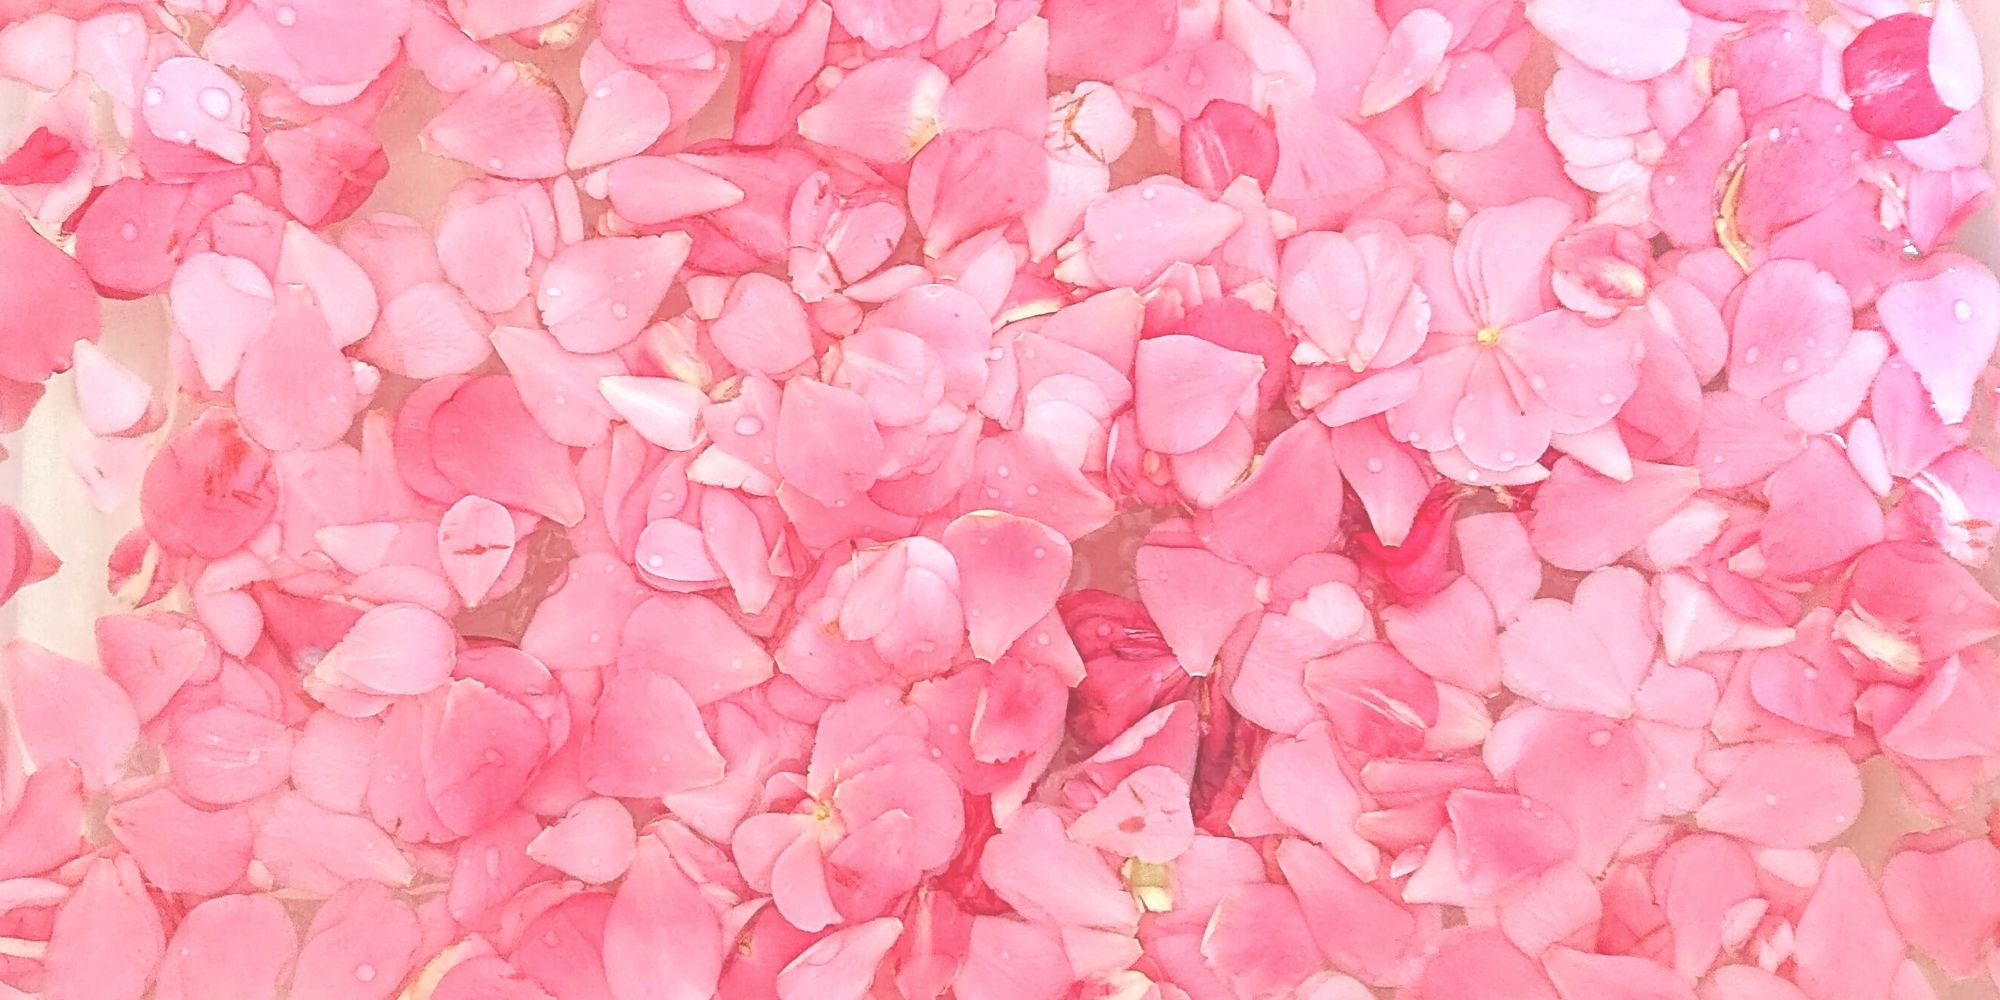
Pink Delight! Natural Dyeing with Camellia Flowers
My next experiment is dyeing with camellia flowers. Amongst all natural dyeing projects I have done so far, this is my favorite. Check out the pink delights! From fafafoom.com.
5 Slow Fashion Tips for a More Sustainable Wardrobe
Five slow fashion tips to help you transform your sustainable wardrobe for a cleaner, greener future. A guest feature from Reese Jones for Fafafoom.com.
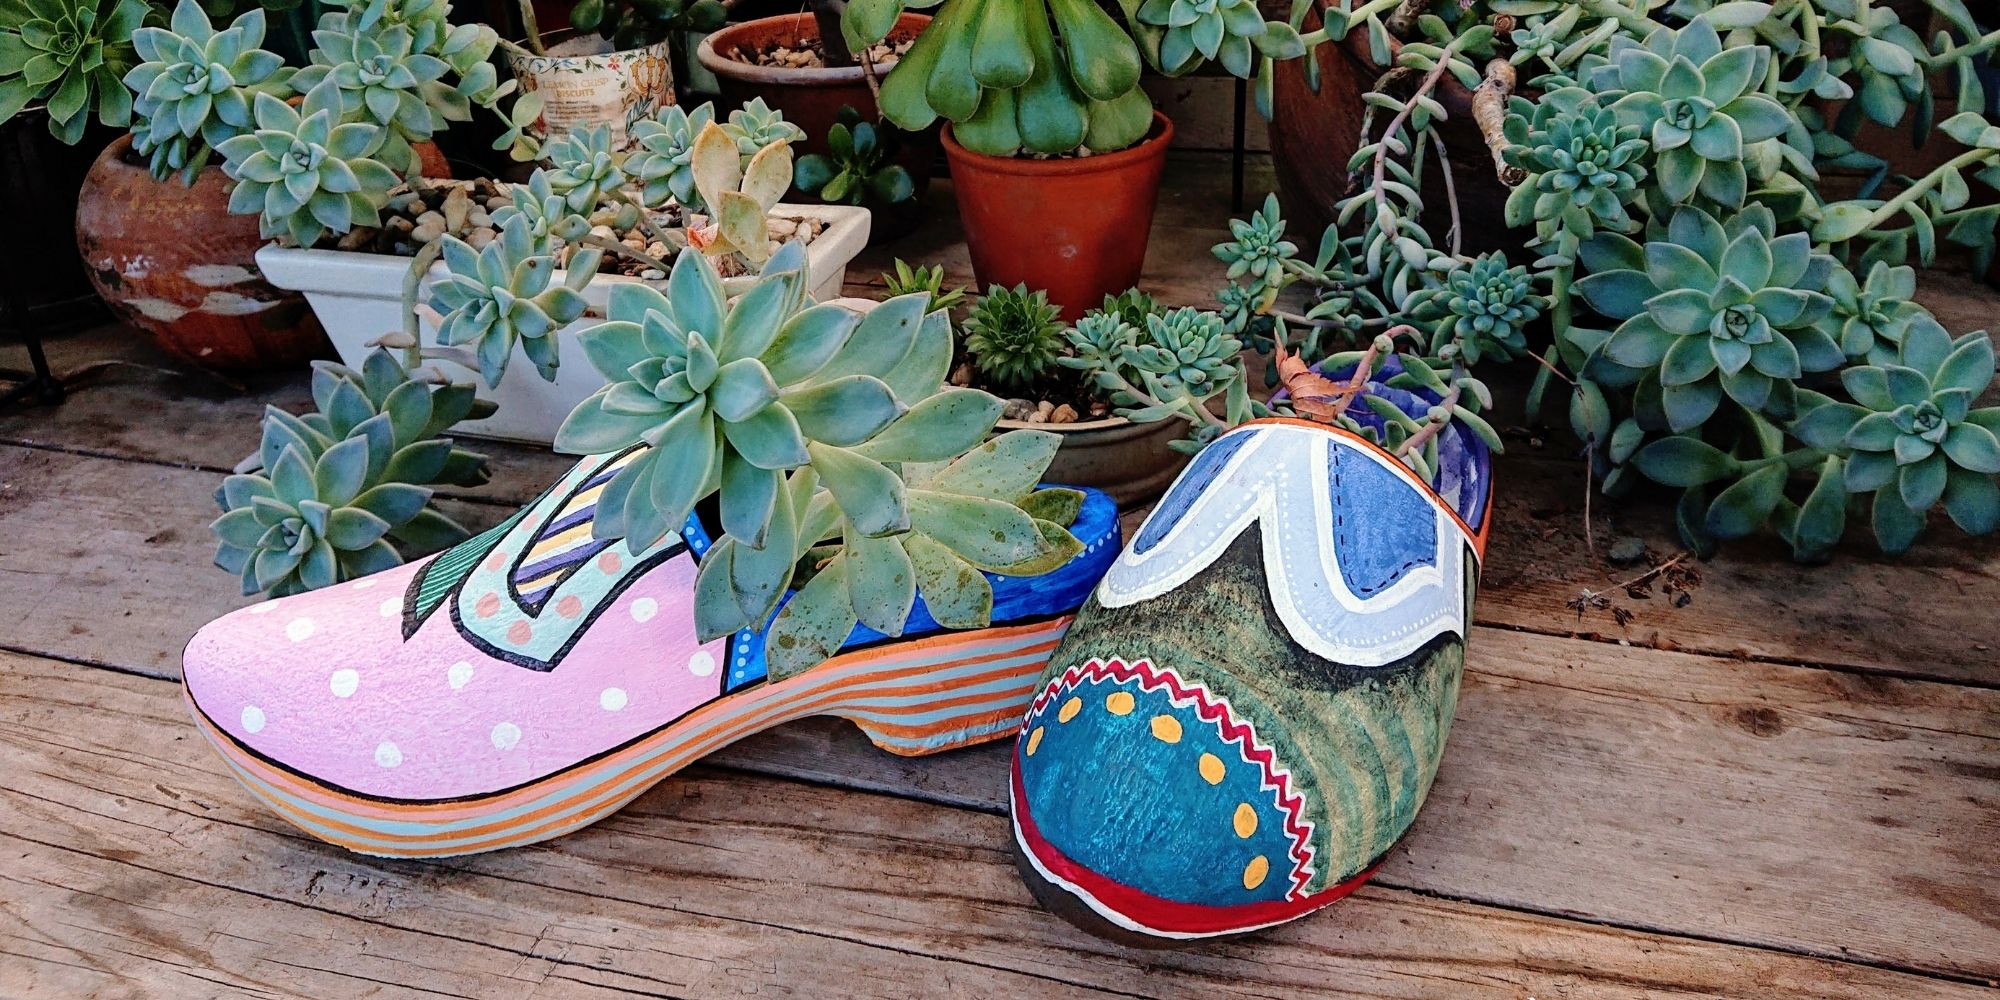
Upcycling and Repairing Ideas for Garden Decor
The garden has become a special place, especially during Covid-19 pandemic. During shelter-in-place period, I made garden decors by upcycling locally sourced items.
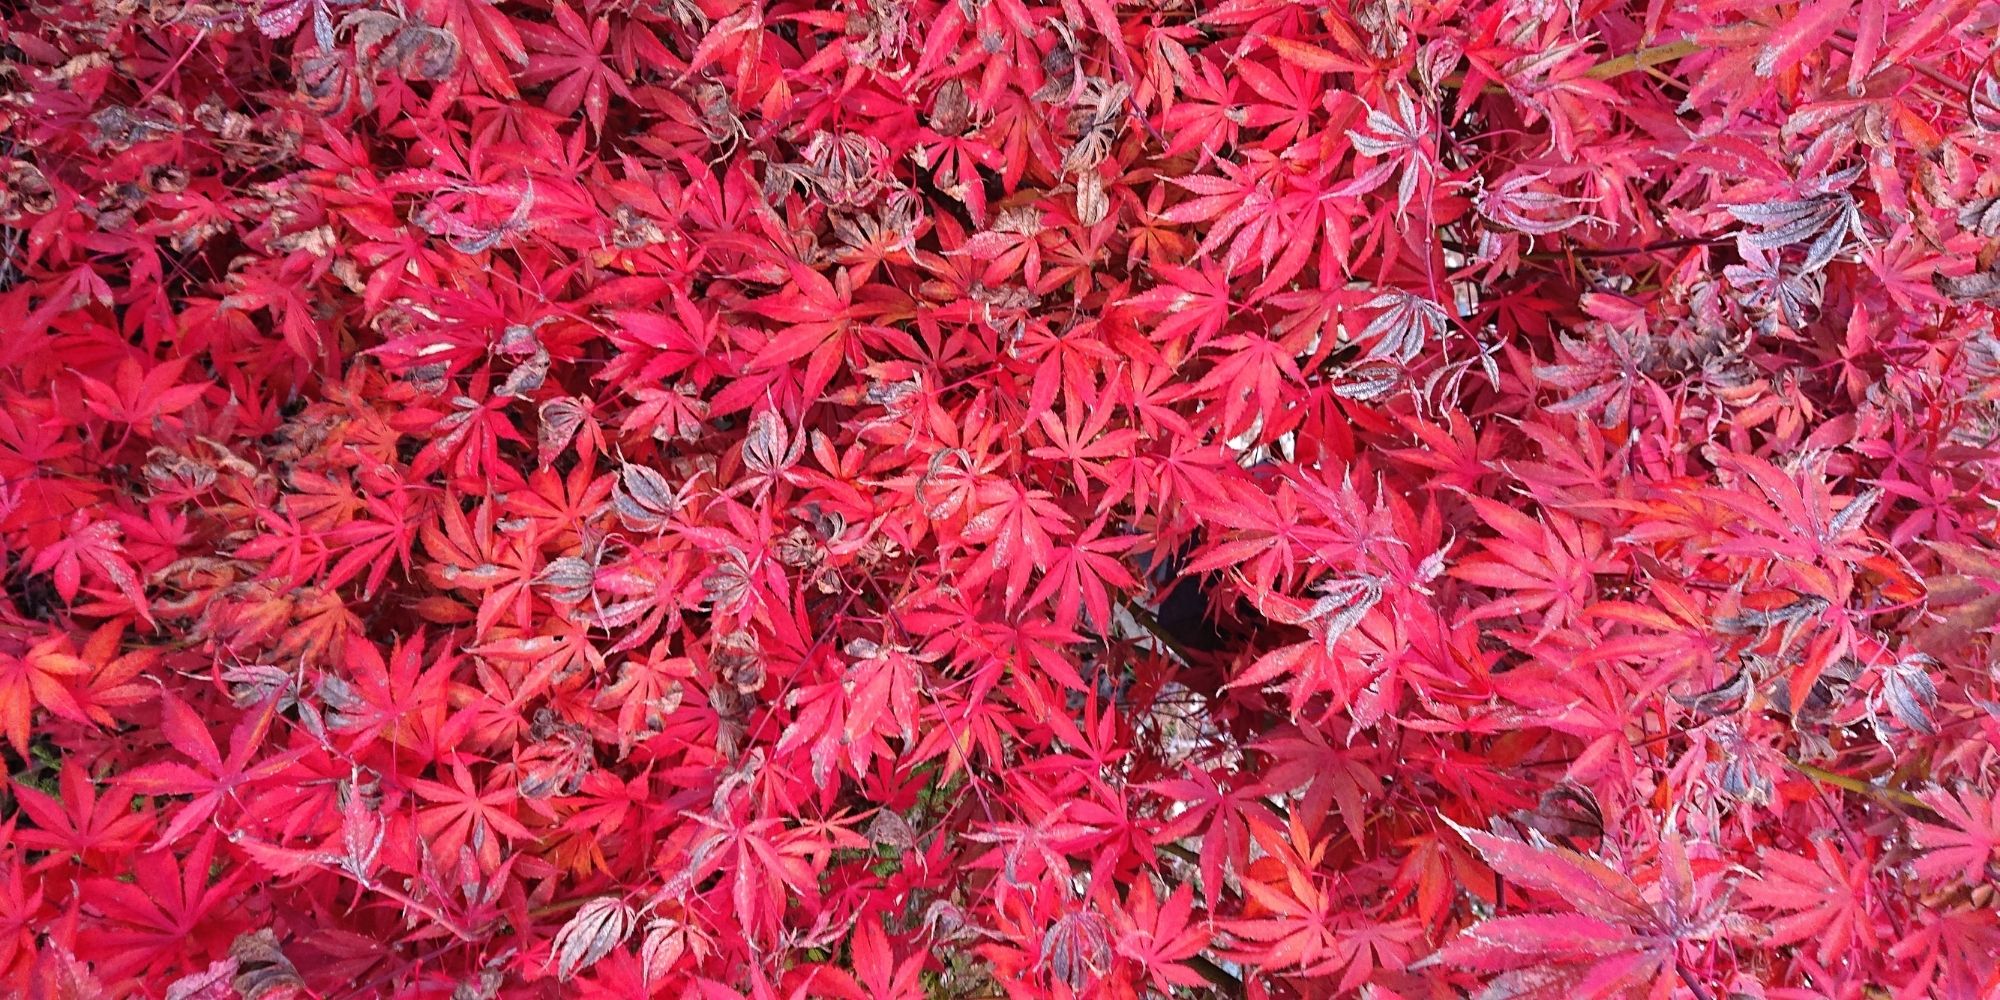
Natural Dyeing with Japanese Maple Leaves: Notes from a First-timer
Notes from my first natural dyeing experiment with Japanese maple leaves in fall season. Three batches of dyeing using fallen leaves sourced from two different trees in the garden. So much to learn and enjoy afterwards.
That’s a lovely refashion! Abd you’ve been so patient, stitching by hand those shiny strips… Now I want a sequined top me too!
I bet nobody can tell it’s a boy-friend sweater <3
Now following you everywhere, I'm so happy you joined our +A Refashion Obsession+ G+ Community!
We have a similar Pinterest Board, would you like to pin with us?
Let me know!
MammaNene @ SergerPepper.com
Thank you MammaNene! Yes, it’s a pleasure joining A Refashion Obsession G+ Community. And why not, I’d love to pin with you!
Thank you again for the lovely comment,
Musank