
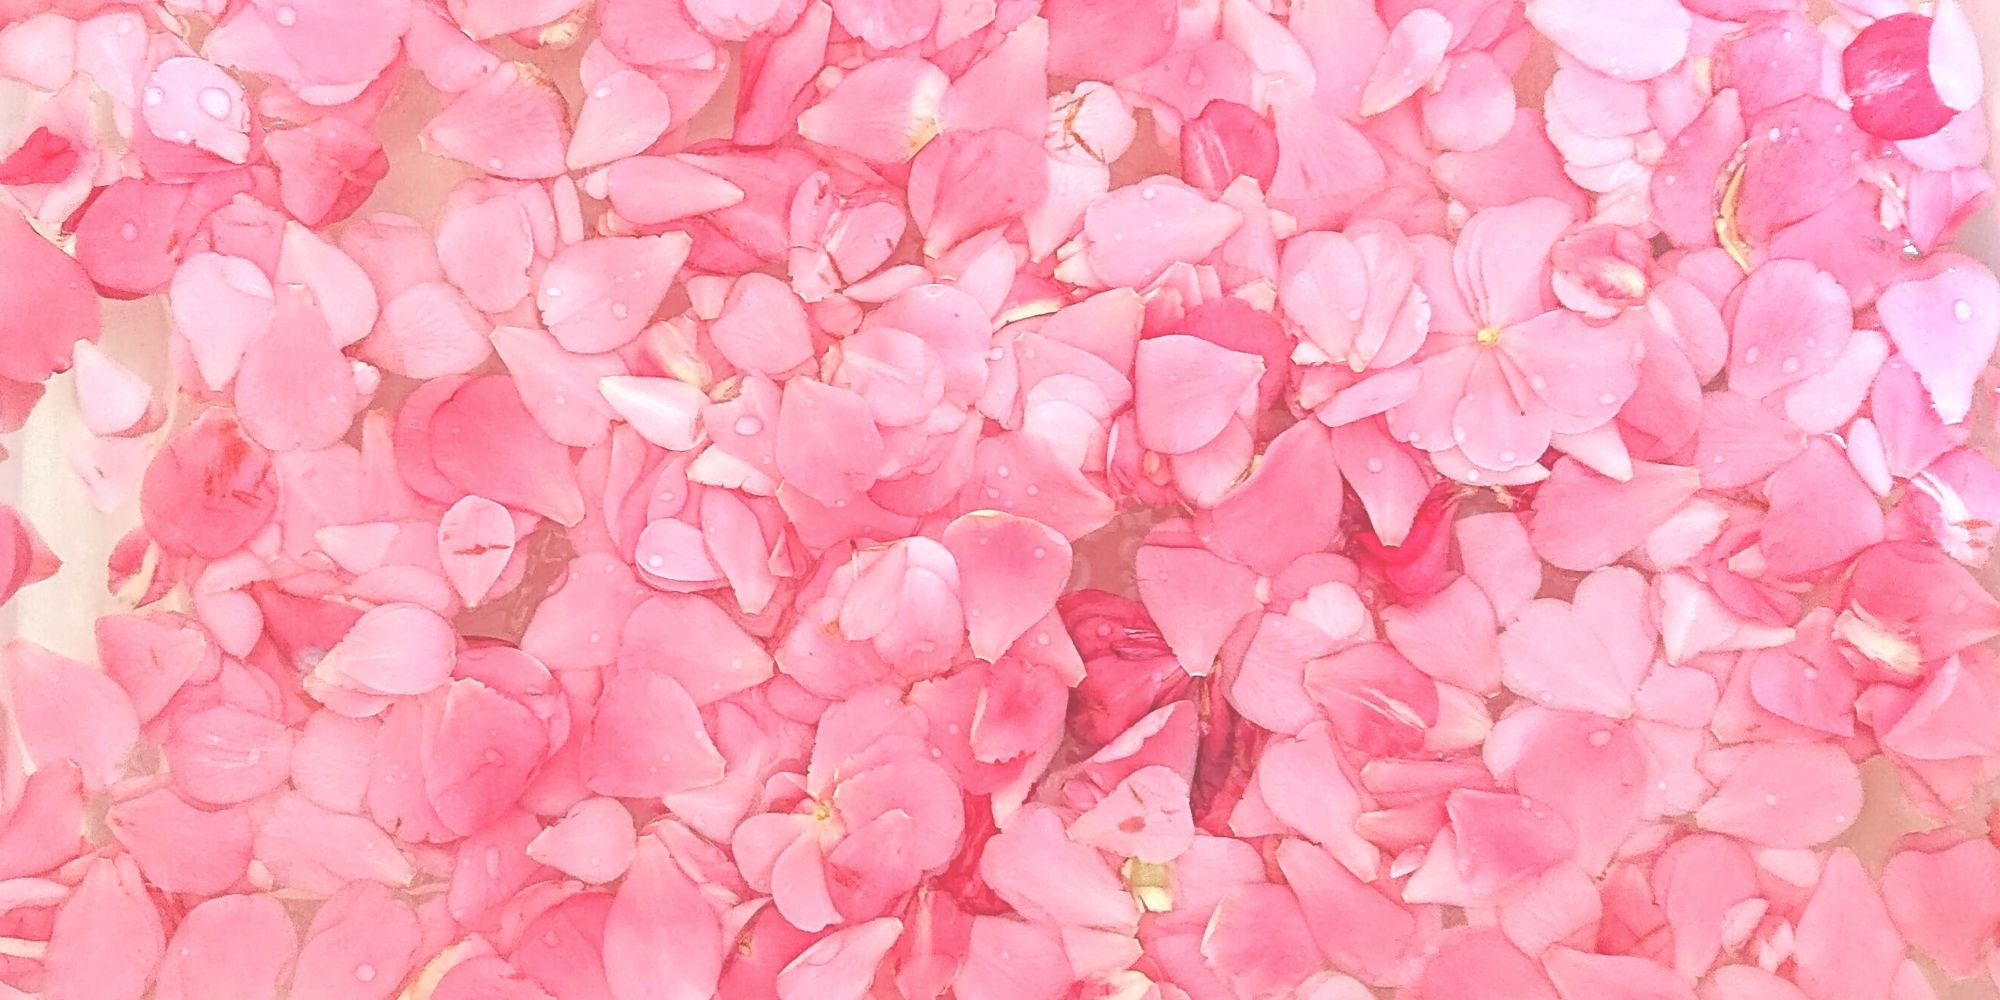
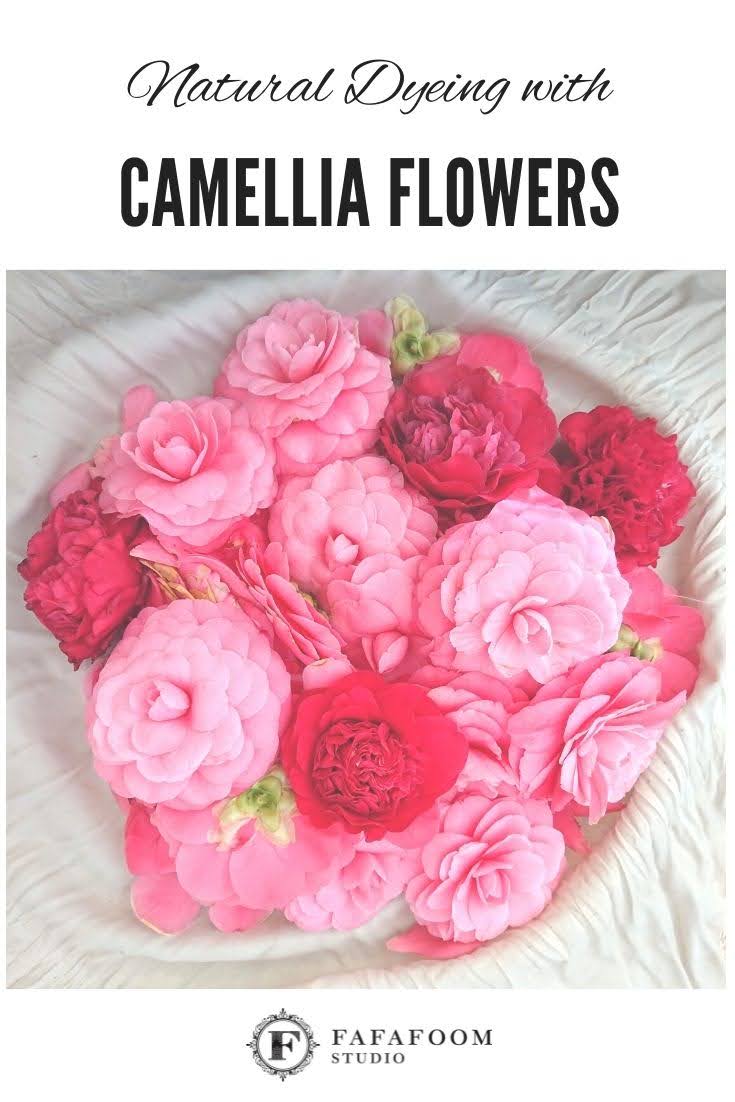
My next experiment is dyeing with camellia flowers. Amongst all natural dyeing projects I have done so far, this is my favorite! The pink quality of camellia flowers are just so elegant yet vibrant. The hues are also adjustable by mixing different colors. Read more to discover natural dyeing results from 3 separate camellia flower baths.
I have become really fond of natural dyeing projects. With a natural dye bath brewing on the stovetop, not only does it smell earthly and nice (nothing like the awful smell synthetic dye bath emits), I can cook something on the burner right next to the dye pot with no problem.
On the other hand, it requires collecting a relatively large amount of dyestuff compared to synthetic dyeing solutions like RitDye (which requires only a few concentrated drops of liquid), however it’s much safer to handle around the stove range and kitchen in general. I didn’t have to be paranoid about dripping anything on nearby food or cooking ingredients.
With these camellia baths, I let the dyed materials stay in the dye bath, sometimes for days. This allows longer color adoption, as well as staggered planning for gray water use. This is my go-to method now, and I’m thrilled for these tremendous learning opportunities. Just see the results below, they are all quite stunning.
That said, I’m very aware of how much water dyeing projects require. One dye pot alone requires at least 5 gallons of water. The amount of water used for scouring and rinsing is at least 10 gallons, if not more. So I do my best to use gray water from the shower for scouring and rinsing.
I also limit how many dyeing projects I do in a year, depending on availability of dye stuff from my garden (or what I can gather seasonally from neighbors) and whether there are suitable projects for dyeing. Camellia flowers are late winter / early spring bloomers, so it’s perfect timing to experiment with them in February.

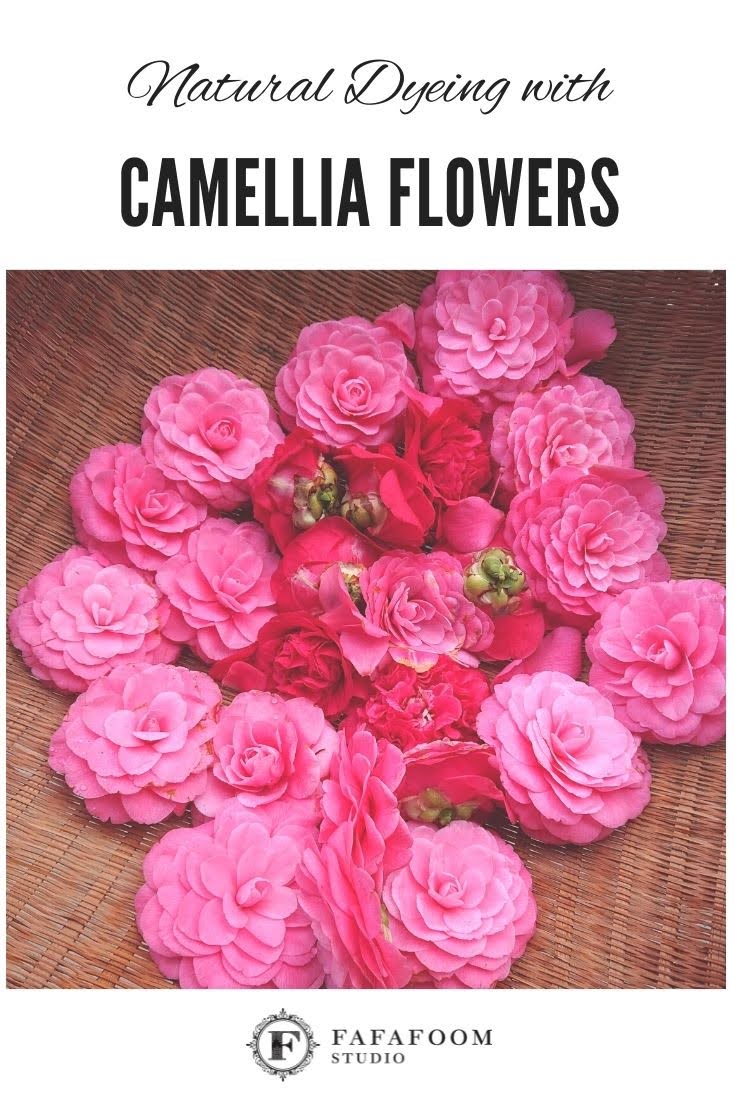
Japanese Camellia Flower

Kramer’s Supreme Camellia Flower
Valentine’s Day notwithstanding, the pink colors they generate are beautiful all year round. I have a pink Japanese camellia tree and a red Kramer’s Supreme tree growing in the backyard. All three natural dyeing baths used flowers from these two, and I’m forever grateful for them.
Subscribe to my newsletter
Camellia Dye Baths
I made three dye bath variations by mixing the number of red and pink flowers. My scouring and mordanting methods are quite similar to what I did during the Dyeing with Japanese Maple Leaves, so please refer to that post. For this article, I just put a light overview of what I did for each bath below.
Bath #1
| Materials to dye: |
|
| Scouring: | hand washed with Synthrapol and soda ash, left submerged for 2 hours |
| Mordanting: |
|
| Dye stuff: | 23 red (Kramer’s Supreme camellia) + 5 pink (Japanese camellia) flower petals |
Dye bath preparation (same for all three baths):
- First, I separated petals from each camellia flower and rinsed them in cold water. They were then gathered and wrapped in a rectangular polyester fabric scrap.
- At the same time, I started heating up about 6 gallons of tap water, enough to submerge all of the fabrics.
- When the bath was starting to get warm, the wrapped petals were dropped into the water. The pot was then covered and left alone for another 30 minutes, when it started to simmer.
- The to-be-dyed materials were kept damp until they were added into the dye bath.

Separating and cleaning camellia petals in bath tub

After cleaning, the camellia petals wrapped in fabric scrap

Slowly simmering water turned pink thanks to wrapped camellia petals
Dyeing process:
For Material A:
- The special occasion fabric is quite large, so it’s added into the simmering dye bath while it’s simmering on the stovetop.
- After 1 hour, the heat was turned off. Later when the pot was cool enough to touch, I relocated the dye pot (so the range could be used for real cooking).
- The fabric was left in for 6 days. The fabric was stirred several times throughout the day, every day. The pot lid was only lifted during stirring, and returned to cover the pot after.
- The fabric was then rinsed simply with cold water and vinegar (4 : 1 ratio) and hung dry.
Here’s what the fabric looked like; before the bath, it already had a light yellow tint from the Japanese maple dyeing. After, the background becomes light pink, contrasting prettily with the foreground details. A much improved look, I must say! I hope to design something special for this fabric in the future.

Left: Before Camellia Dyeing, Right: After Camellia Dyeing
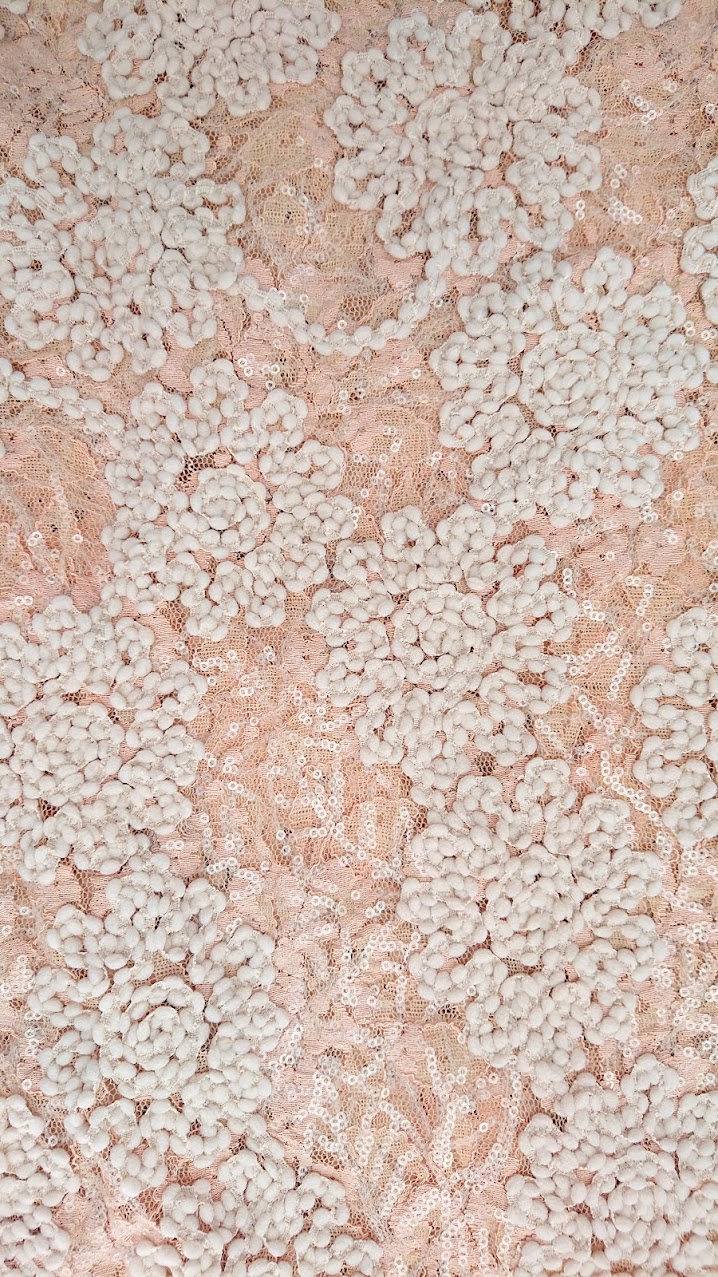
A closer look of the synthetic blend, special occasion fabric post-dye.
For Material B:
- The pineapple leather purse was added to the dye bath much later than material A. After the dye bath had cooled down for 3 days, the scoured leather purse was put in.
- Pink dye bath water was poured repeatedly onto the purse, and it took the pink color almost immediately.
- After 8 hours, it was taken out of the bath and air dried.

Scouring pineapple purse pre-dye bath

Pineapple leather purse after taken out of camellia dye bath
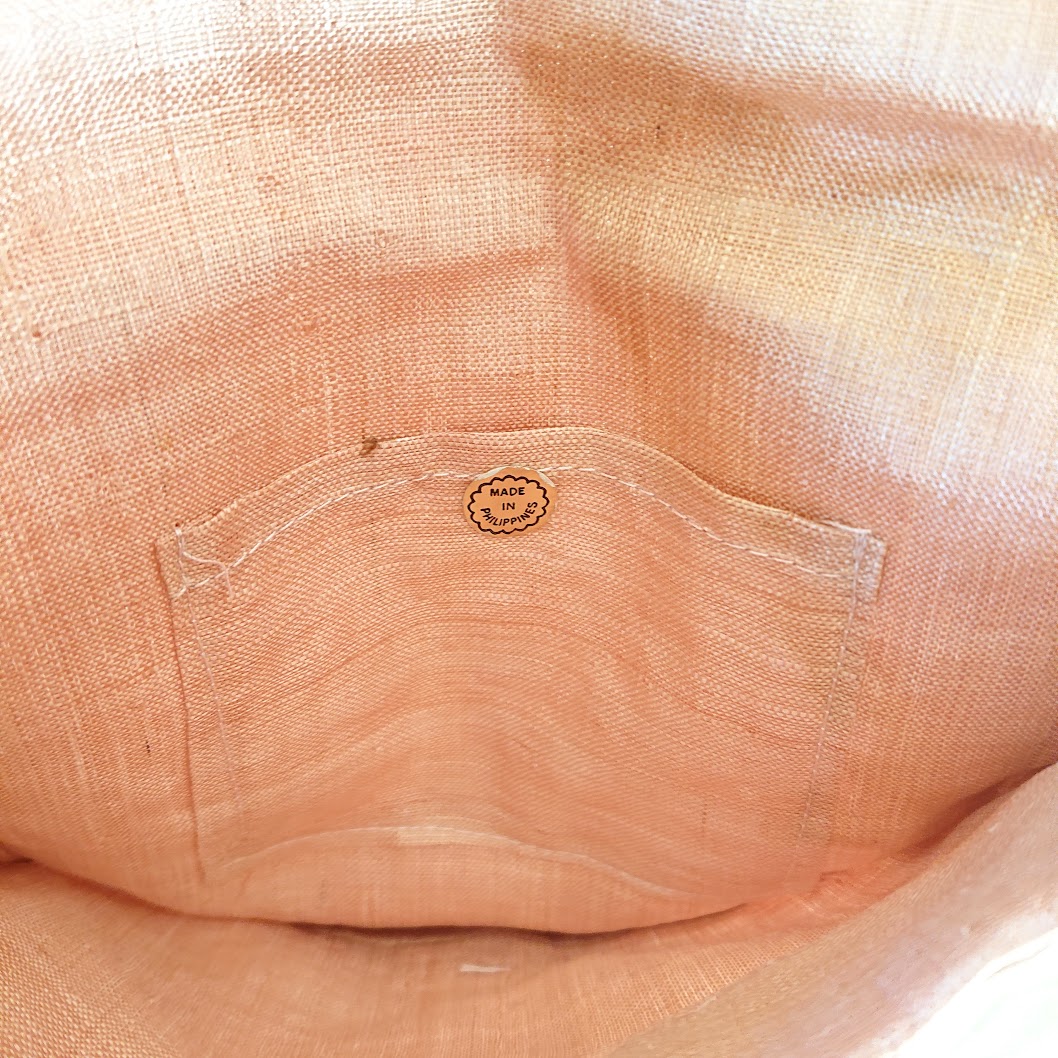
Here’s what the purse looks like now. The embroidered leafy details on the flap stand out more compared to before dyeing. I see the brownish discoloration on the back and inside as marks of history that need to be remembered. After all, it’s a beloved piece of a family heirloom that survived at least 2 generations, traveling from the Philippines to the United States. It’s not bound to be perfect.
Special thanks to my neighbor who gifted this beautiful purse to me before she moved away. It’s such a pleasure to include this purse in this experiment of natural dyeing with camellia flowers. I will make sure to take good care of if!

Front view

Back view

Inside flap
Inner pocket and weave closeup
Bath #2
| Materials to dye: |
|
| Scouring: | hand washed with Synthrapol and soda ash, left submerged for 2 hours |
| Mordanting: | reusing used dye water from bath #1; no additional mordant agent added |
| Dye stuff: | 15 red + 10 pink flower petals |
Dyeing process:
- The slip was added 1 hour after dye stuff was added into simmering water.
- The silk bed jacket was put into the dye bath 2.5 hours after it’s taken off heat.
- Both garments were taken out of the dye bath 3 days later.
- They were rinsed with cold vinegar water and hung dry.

Lingerie garments to be dyed in camellia dye bath #2
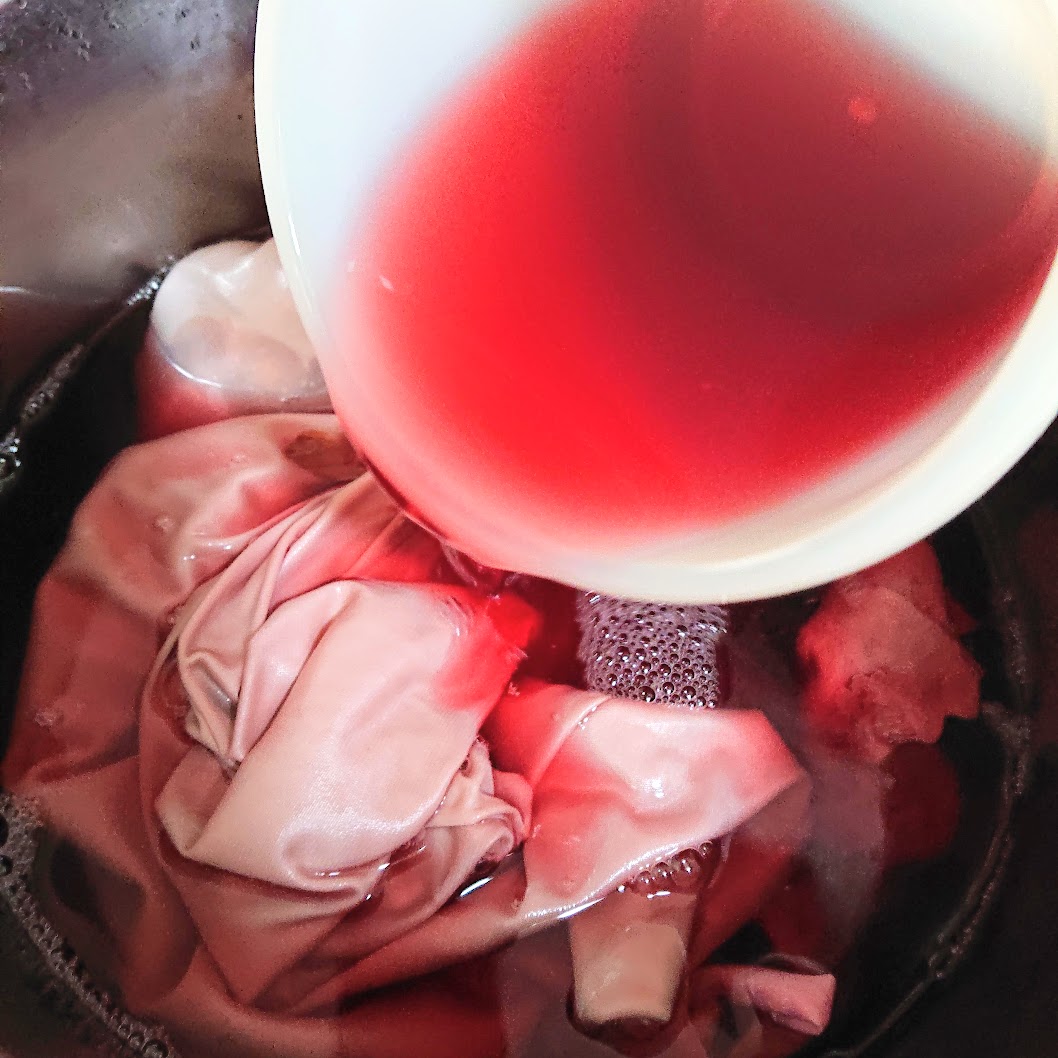
Pink dye bath water poured repeatedly on garments for uniform color adoption
The vintage slip came out really delightful. The pink color got absorbed uniformly, except for the abstract flower and leaf detail on the front, which gives them a pop!

Front view of vintage half slip after camellia dye bath

Close-up of front detail
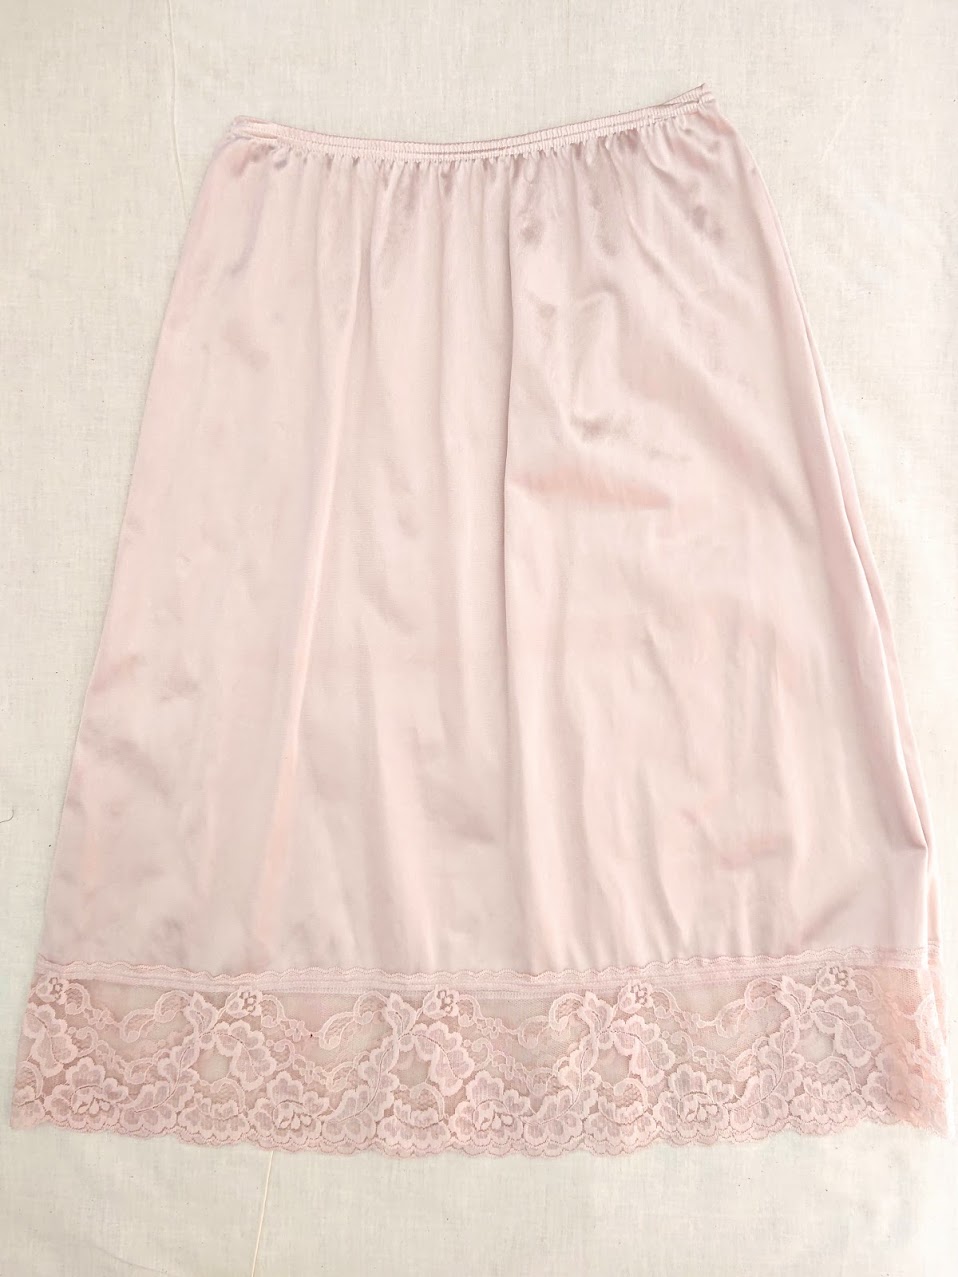
Back view
The bed jacket is made of silk, so I expected it to absorb the pink color exceptionally well. And I wasn’t disappointed – it looks absolutely divine now. Just look at it, the most pink saturation out of all results.

Evgenia bed jacket after camellia dye bath
Some of you might be asking, how about that corset? Did it get dyed? Um, yes and no. Honestly, I was too enthusiastic and didn’t do proper planning for the corset before dyeing. So here’s how it looked now. The uneven pink streaks and oxidized parts speak volumes. That said, I’m sure I could work on this corset and give it justice. Just not now.

Vintage corse after camellia dye bath
Bath #3
| Material to dye: | a refashioned 100% cotton shirt with ivory synthetic fringe attached |
| Scouring: | hand washed with Synthrapol and soda ash, left submerged for 2 hours |
| Mordanting: |
|
| Dye stuff: | 30 starting-to-wilt pink camellia petals |
Dyeing process:
- The shirt was added one hour after dye stuff was added into the simmering water.
- 1.5 hours later, heat was turned off. Dye pot was relocated when it’s cool enough to touch.
- Shirt was taken out of the dye bath 2 nights later.
- After rinsing with cold vinegar water and hung dry, shirt is pressed, hung, and stored.
This shirt is part of a currently on-hold collab collection due to the pandemic. That said, I tried to do little work here and there, a slow pace towards the collection’s finish line. I was skeptical at first about whether the synthetic fringe would adopt the pink color, however results of Bath #2 experiments were encouraging and I took a chance.
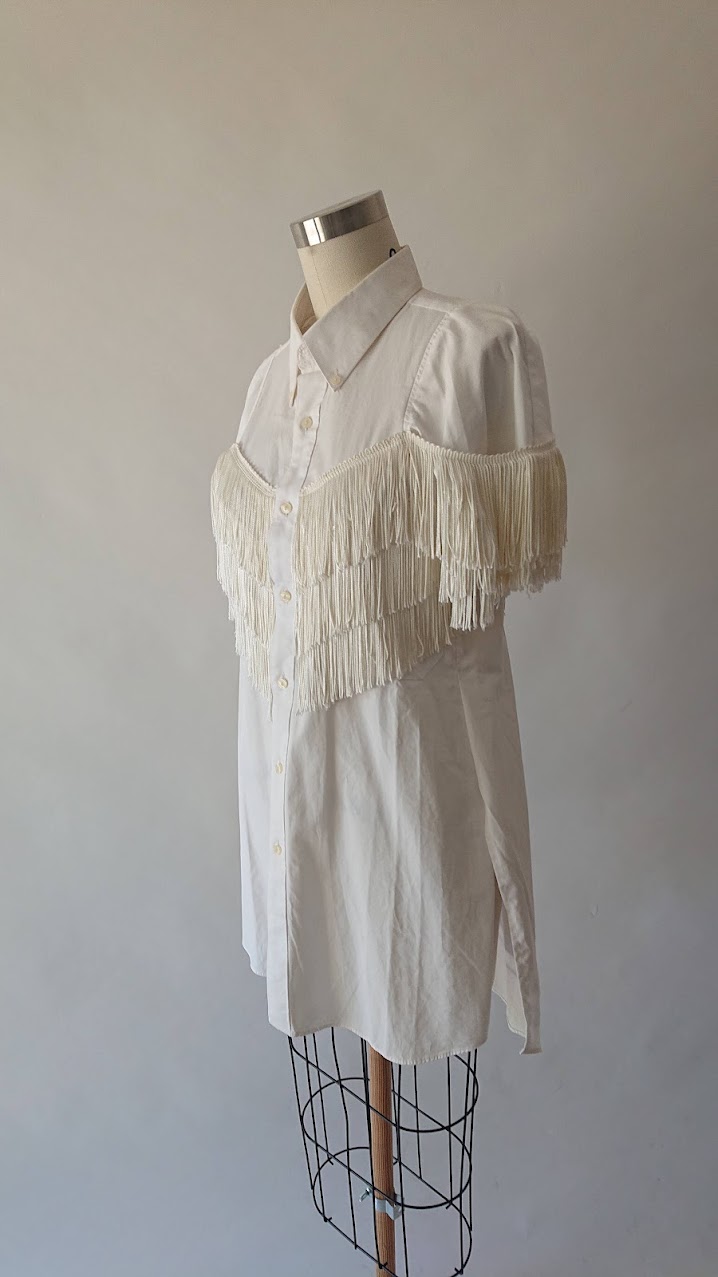
Cotton white shirt with synthetic fringe pre-dyeing
This is the only bath that only used pink camellia flowers (wilting ones, in contrast to the fresh blooms of the previous two baths), and it looks so gorgeously soft. I’m so glad I took this chance! I’m so pleased with the result and look forward to continuing my work on this shirt. You’d see this shirt again another time :)

Shirt with fringe after pink camellia dye bath

Comparison of shirt color – before and after pink camellia dye bath
Bonus: More Results of Dyeing with Camellia Flowers
Bath #1 and #2 actually had quite a few more fabrics I experimented with. These additional results allowed me to see the nuances of color change based on mordants used, material’s fiber content, and whether they were previously dyed or not.
From left to right:
- vintage silk remnant that’s previously yellow from Japanese maple leaves dyeing
- 100% cotton fabric that’s never dyed before, previously white
- 100% cotton fabric – same fabric as its left neighbor, but this one was previously dyed with Japanese maple leaves
- silk chemise that’s previously dyed with Japanese maple leaves and undergoes two camellia flowers dye baths (one free floating and one half stuffed with flowers and bound to a flexible hose)

More camellia dyeing results from Bath #1 and #2
Key Observations
These natural dyeing experiments were fun to do. With each iteration, I became more efficient and also more capable of predicting the final results. That said, here are a few observations that are important but sometimes forgotten. I believe they would help natural dyers of all levels:
- Protect your dye stuff: do not pour hot water directly into your dye stuff. I have made this mistake several times, it always ruined my dye bath and I had to start over. If you poured hot water directly on camellia petals, the dye bath would be yellow and cloudy. It’s much better to let your dye bath simmer gently from cold temperature, and then add the dye stuff when it’s about to get warm.
- About dyeing previously dyed materials and/or adding lemons to dye bath: either factor makes the dye result to have a peachy pink color. However, in my case it’s necessary to do the latter to lower the water pH. Our tap water is more pH neutral, and I found dyeing with camellia flowers more successful with slightly more acidic water.
- Alum powder is a great mordant to use: it makes the dye bath instantly brighter / clearer. It’s also easy to use – just drop them in the simmering dye bath. That said, they can irritate our eyes and skin easily. A safer substitute is aluminum acetate powder, however the powder is even finer so handle with care. Treat your hands with lotion afterwards!
- Don’t forget about waste disposal and cleaning: a dyeing experiment isn’t fully finished before we properly dispose of dyestuff bits left afterwards. No matter what kind of dyestuff (flowers, fruit pits or skins), I make sure to put them either in the compost pile at the garden or the green bin. The bits and pieces can be bothersome to collect, that’s why I prefer to wrap dyestuff materials in a polyester scrap. After dyeing, I could just pick it up from the pot, unwrap it, let the dyestuff dry, and dispose of the spent dyestuff. The fabric scrap and pot can then be washed and dried, and stored away for later use.
Additional Resources
-
- How to Mordant Cellulose Fibers
- Mordanting with Alum and Cream of Tartar
- Bundling and Dyeing with Plants
- Dharma Trading – where I got textile detergents, soda ash, and mordants
So there you have it. I hope my notes can be helpful for someone out there, doing a natural dyeing experiment with camellia flowers. Happy dyeing!
Thank you for reading, until next time,
Musank
Disclaimer: I may earn a small commission for my endorsement, recommendation, testimonial, and/or link to any products or services from this website. Thank you for your support!
Subscribe to my newsletter
Browse more posts
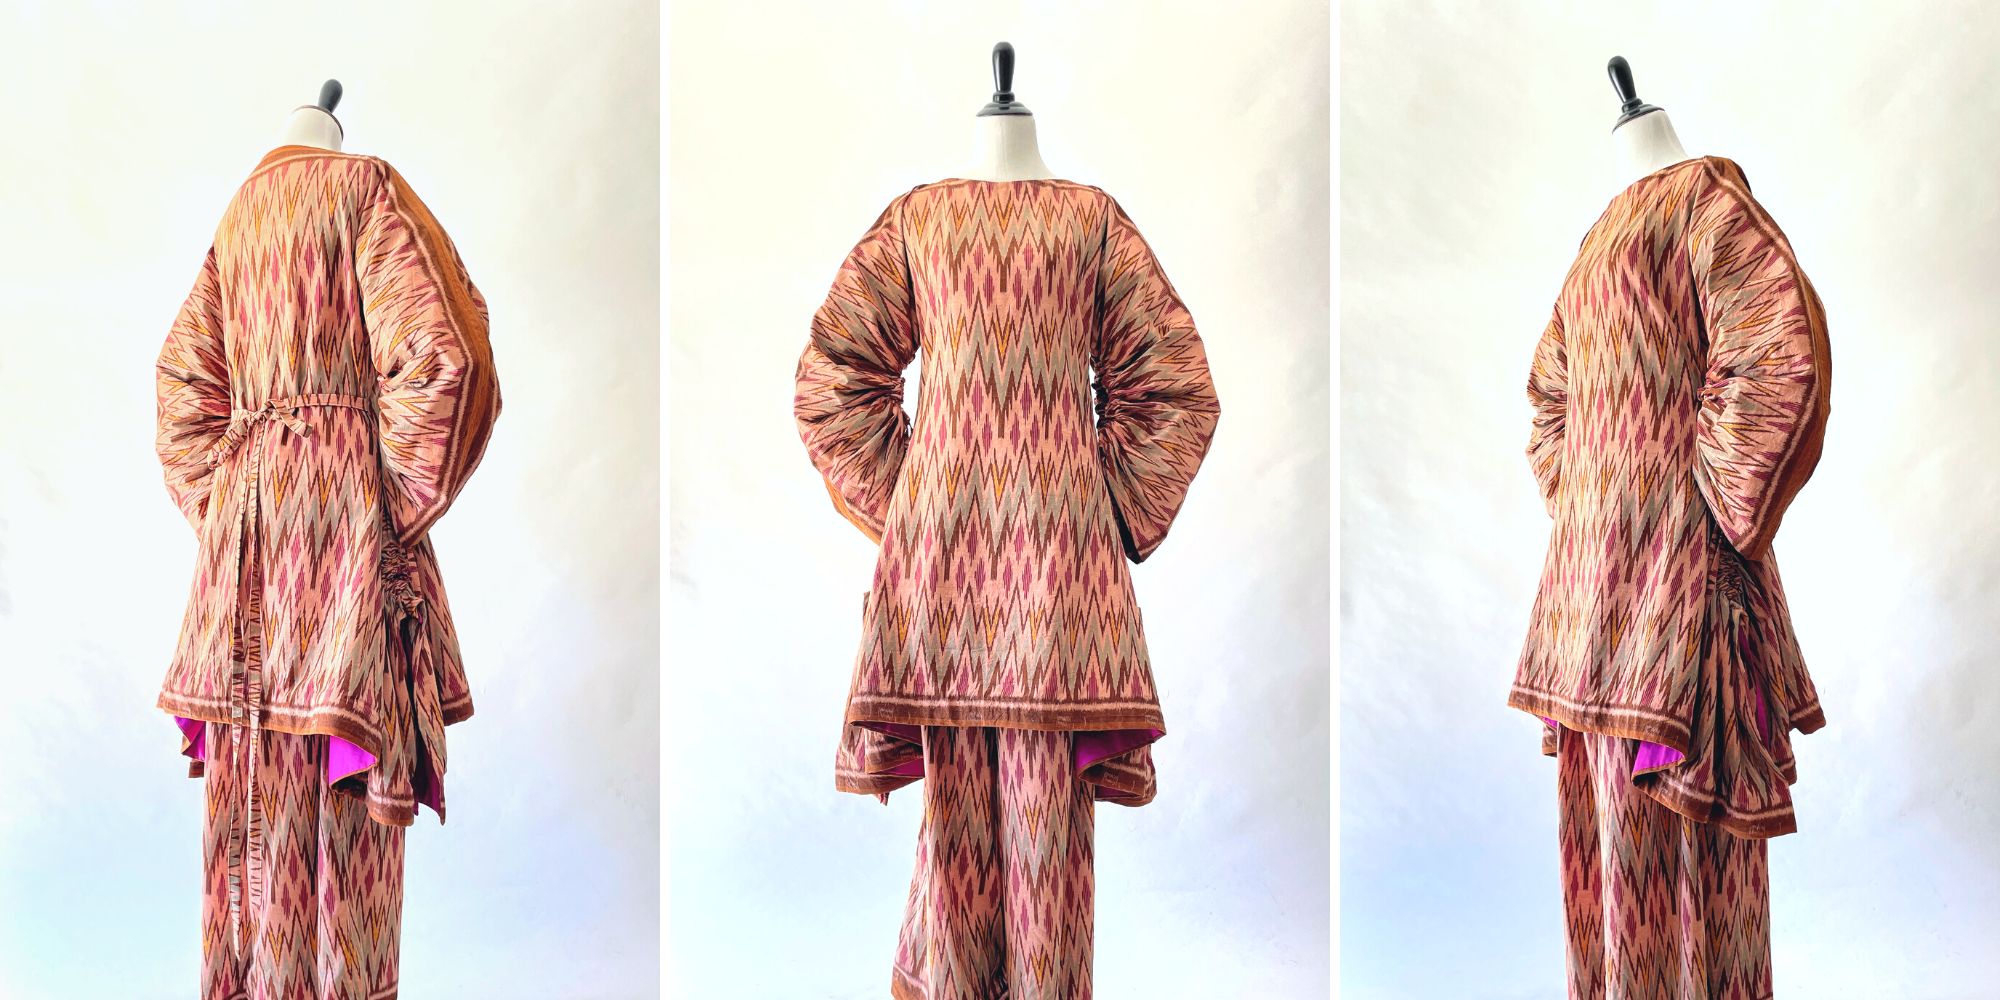
Interpreting Kebaya, Making a Modern Ethnic Ensemble
Modern Ethnic outfit is my interpretation of kebaya dressing. They are made using vintage ikat textile and inspired by several free minimal-waste patterns. Only on fafafoom.com.
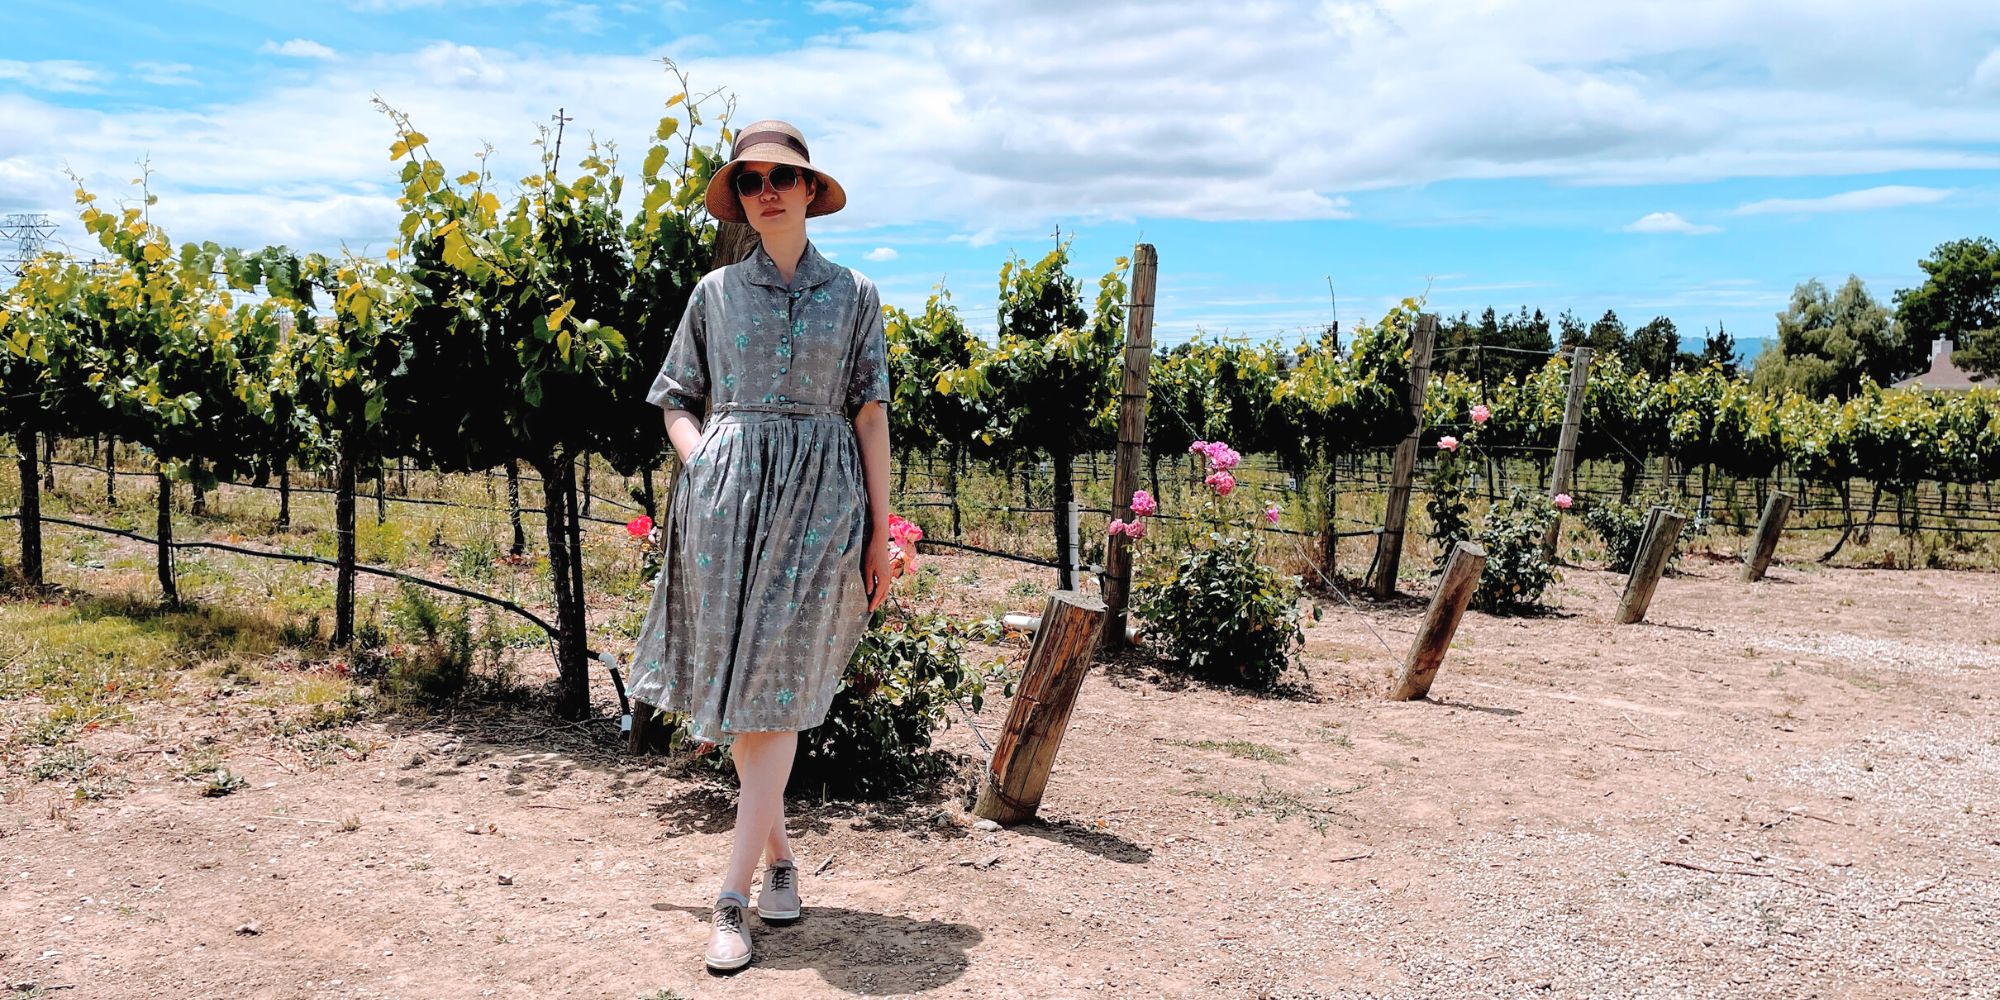
Restoring a 1950s Atomic Age Dress
Restoring and repairing a beautiful 1950s Dress for my summer 2022 wardrobe. Smart alterations include lining and inseam pockets. Only on fafafoom.com.
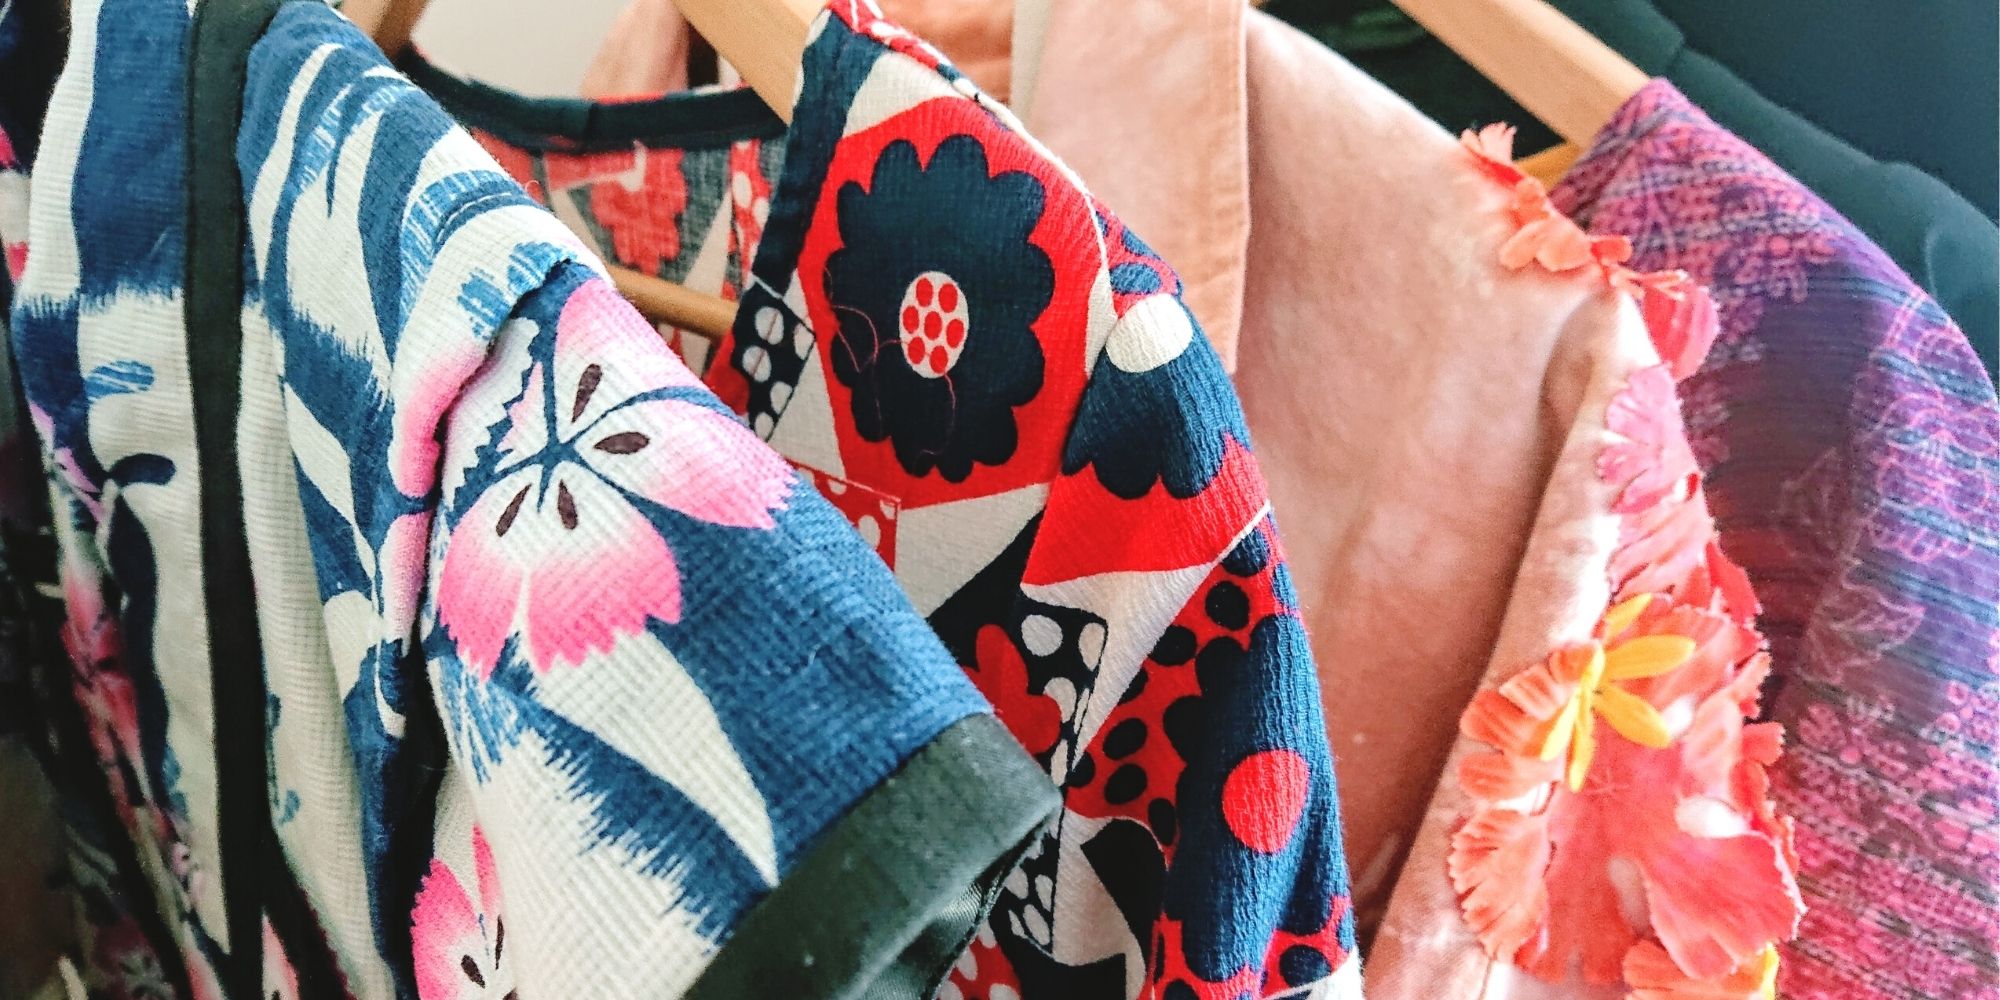
5 Slow Fashion Tips for a More Sustainable Wardrobe
Five slow fashion tips to help you transform your sustainable wardrobe for a cleaner, greener future. A guest feature from Reese Jones for Fafafoom.com.
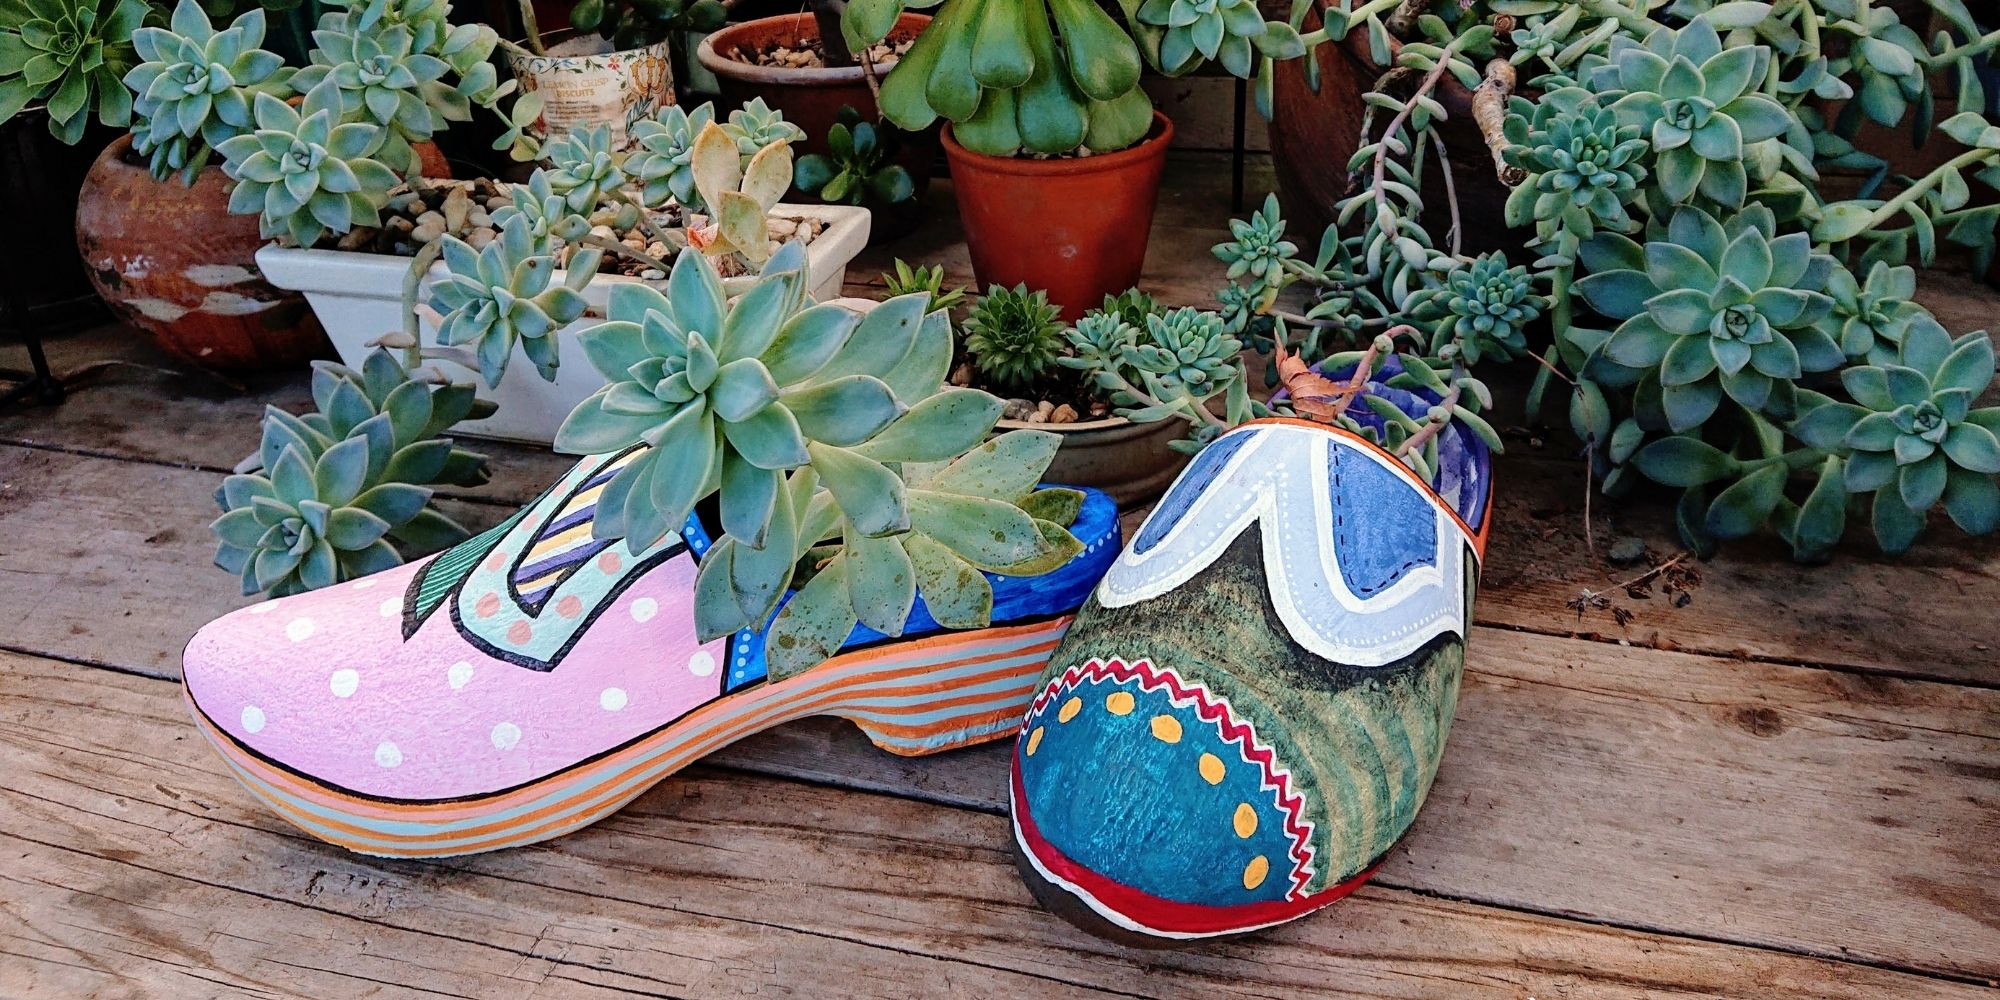
Upcycling and Repairing Ideas for Garden Decor
The garden has become a special place, especially during Covid-19 pandemic. During shelter-in-place period, I made garden decors by upcycling locally sourced items.
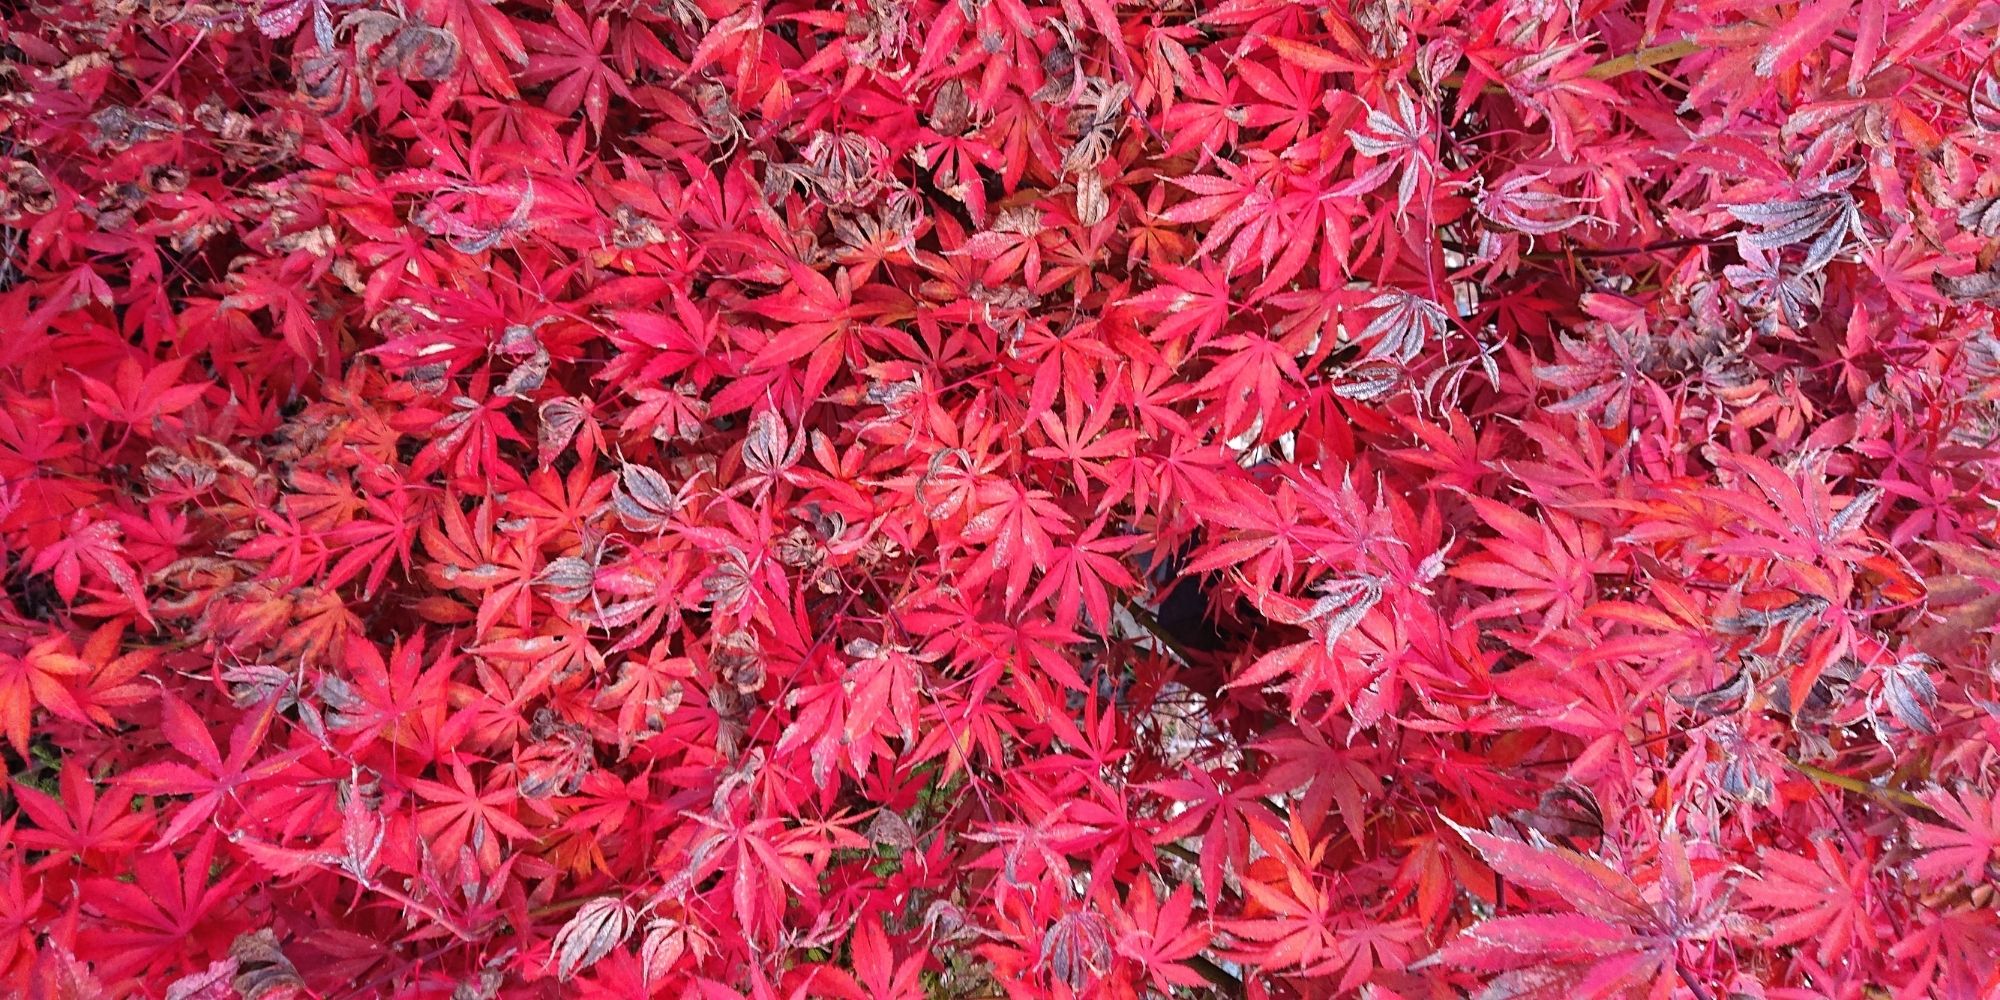
Natural Dyeing with Japanese Maple Leaves: Notes from a First-timer
Notes from my first natural dyeing experiment with Japanese maple leaves in fall season. Three batches of dyeing using fallen leaves sourced from two different trees in the garden. So much to learn and enjoy afterwards.
Accidentally Boro Shirt
A boro shirt made by accident, started with dipping a silk shirt in a bleach solution. Patched with various fabric remnants. From Fafafoom Studio.