
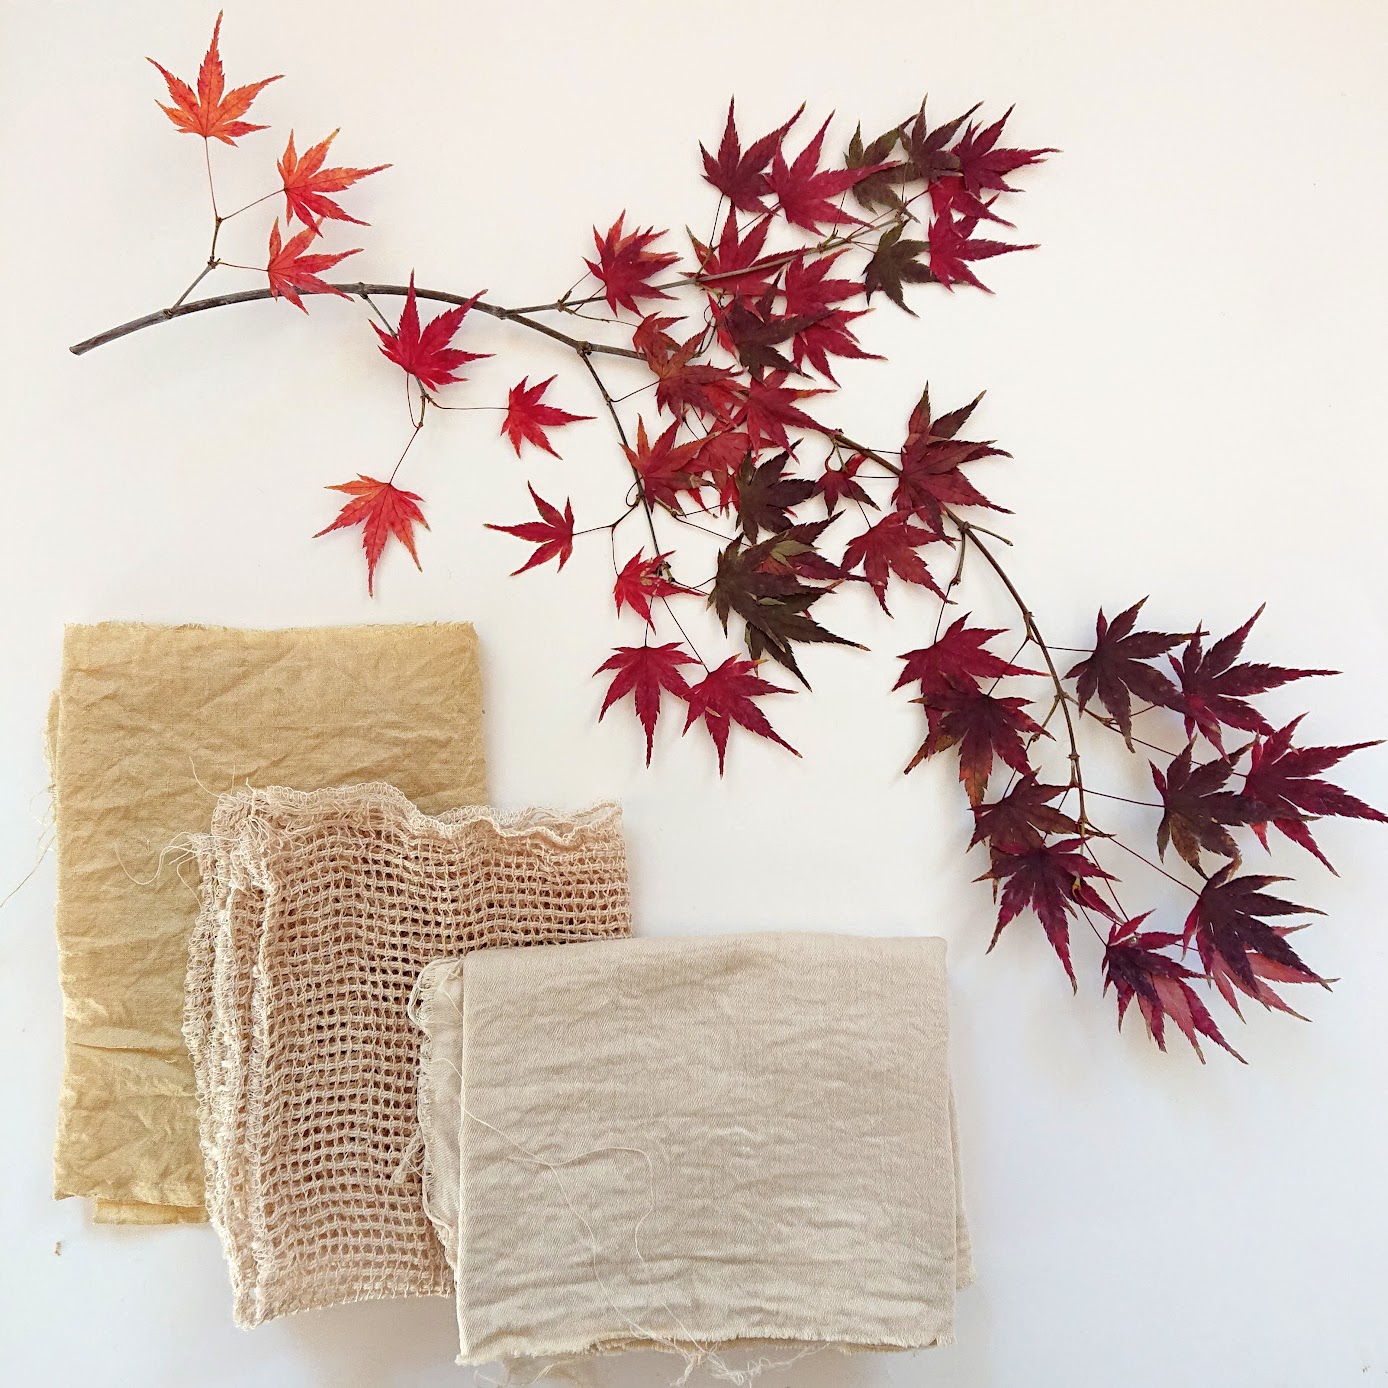
Notes from my first natural dyeing experiment with Japanese maple leaves in fall season. Three batches of dyeing using fallen leaves sourced from two different trees in the garden. So much to learn and enjoy afterwards.
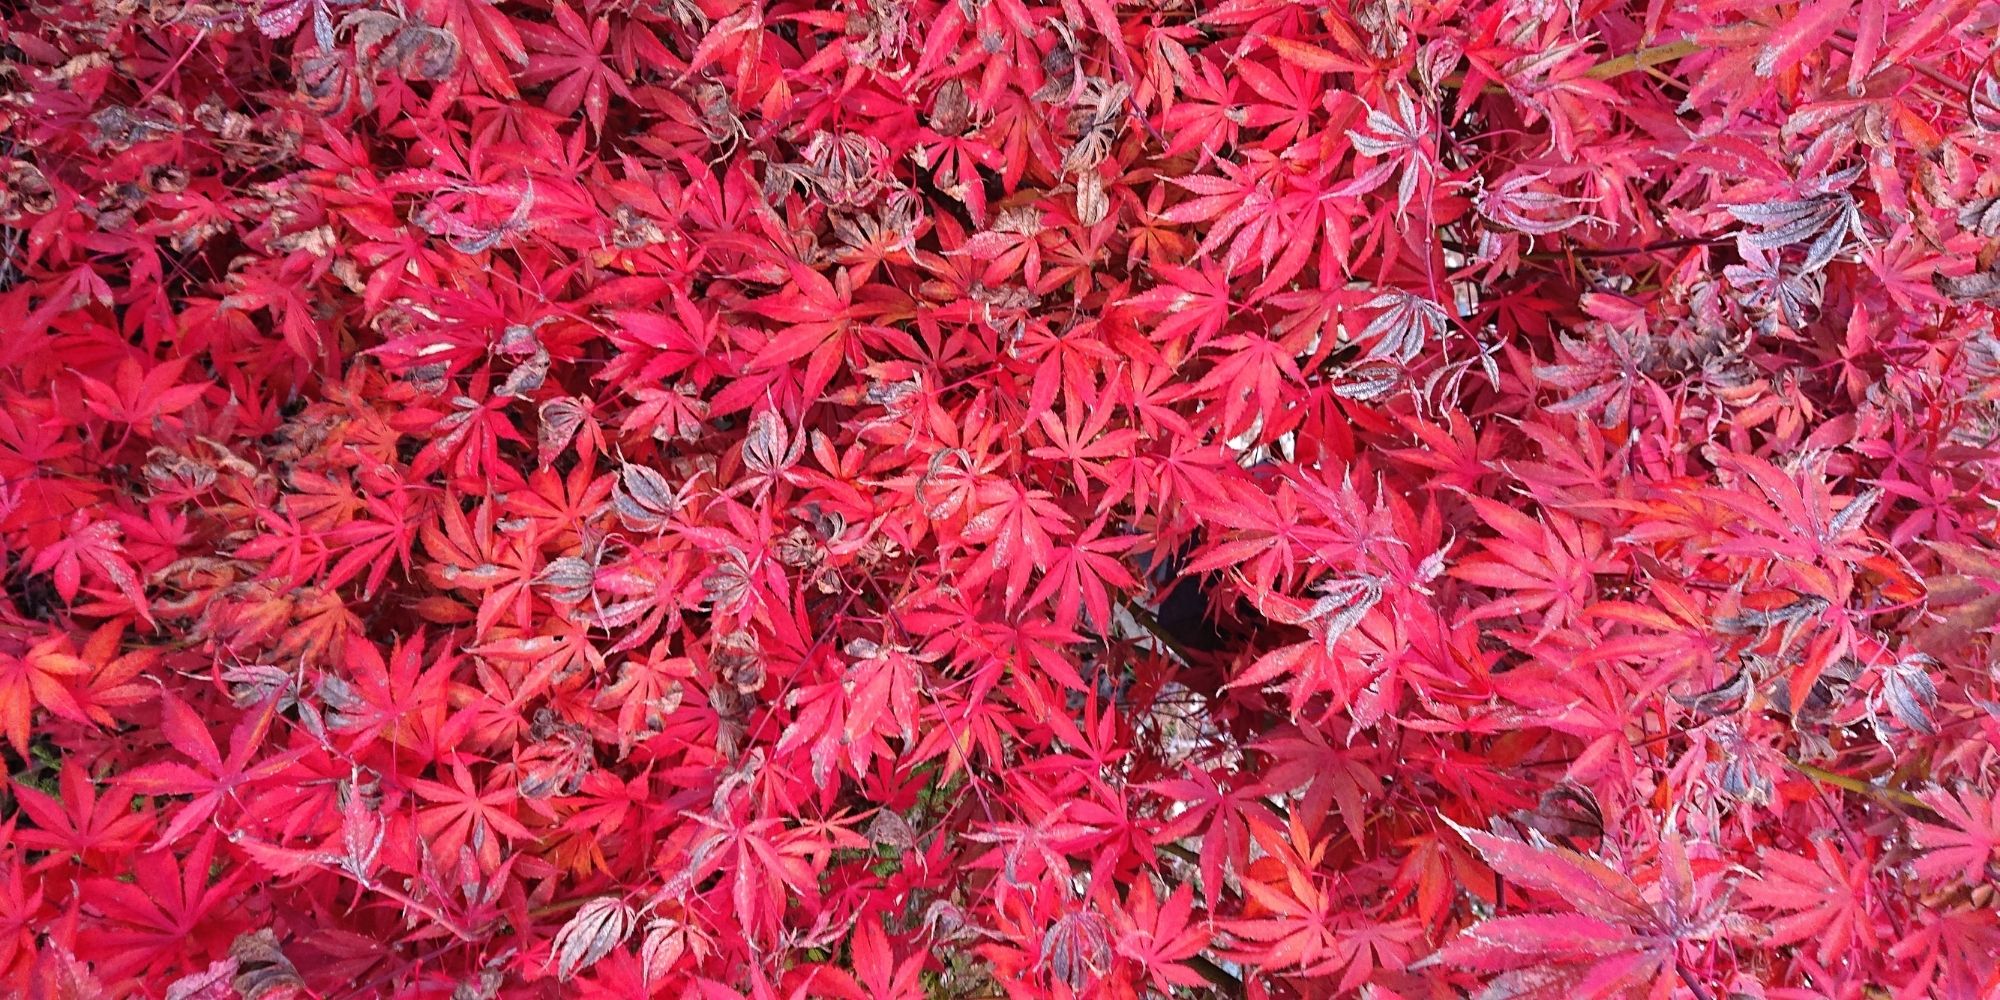
Japanese maple trees at fall season are absolutely beautiful creatures. Enjoying a cup of warm tea while looking at a tree with crimson red leaves swaying in the breeze is one of life’s majestic pleasures.
Until now, I occasionally try to preserve their beauty by pressing a twig or individual leaves between book pages. In fall 2020 season, my friend made me realize I can naturally dye fabrics with Japanese maple leaves! She recommends "Natural Color: Vibrant Plant Dye Projects for Your Home and Wardrobe" by Sasha Duerr. Shortly after, I started this experiment using collected leaves around the garden.
Subscribe to my newsletter
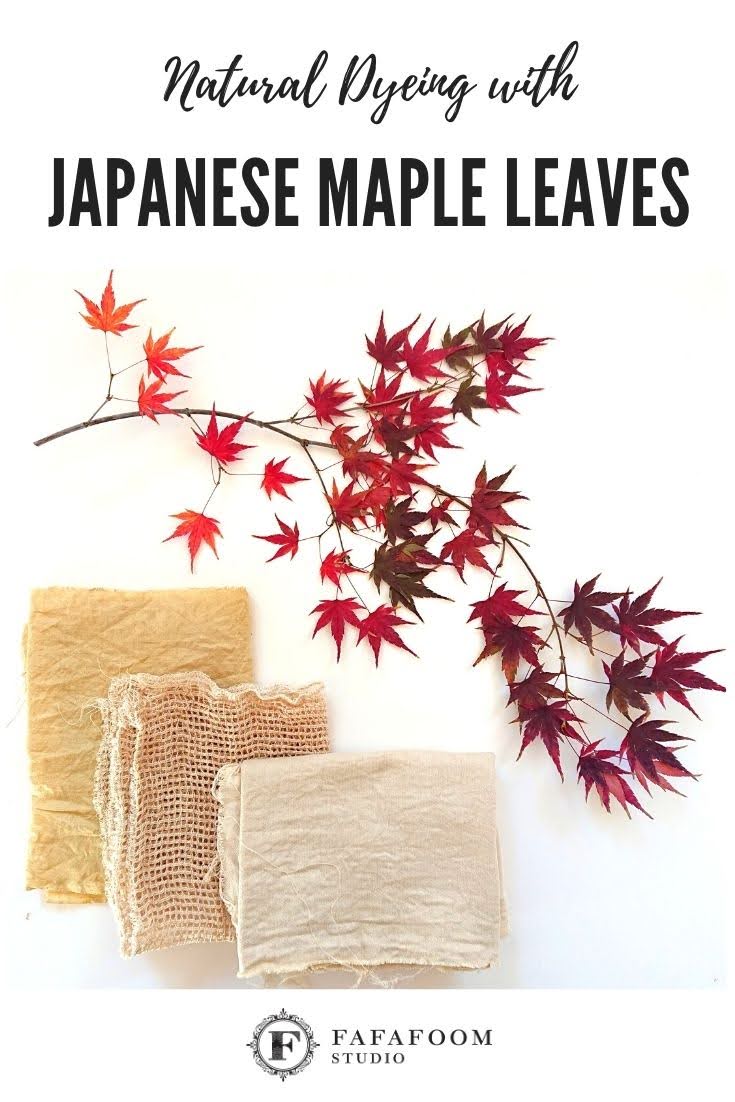
I have done natural dyeing before, most recently with avocado pits. Dyed linen curtains turn cool pink, and transformed into a convertible handkerchief dress. I’ve also done natural dyeing with pink and red camellia petals before, which resulted in pastel peach-pink colors on a 100% cotton lace pillowcase.
That said, dyeing with Japanese maple leaves is a whole new experience and I’m excited to share my summary of notes of my first foray into Japanese maple leaves natural dyeing.
Firstly, here are a few terms related to this natural dyeing and what I use. I refer to them from time to time as I go through three batches of dye bath.
Scouring: cleaning fabrics and garments prior to mordanting and dyeing. My method is to fill a plastic bin with warm water, add pH-neutral textile detergent like Synthrapol mixed with soda ash. This scouring method is the same for all three batches.
Mordanting: preparing fabrics to “accept” color in dye bath and intensify the dyeing result. This is done by adding some dye fixative substance to water and put the fabrics in it after scouring and before dyeing. In this experiment, cold alum mordant bath is used and reused in all three batches.
Dyestuff: the materials used to make a dye bath with. In this case, Japanese maple leaves from two different trees. Batch #1 and #2 uses leaves from the same tree, a large Acer Palmatum that stays green all spring and summer, and turn to crimson during fall. Batch #3 uses leaves from a Acer Palmatum ‘Burgundy Lace’ tree; their leaves stay dark red all the time before they fall before winter.

Mature Japanese Maple (Acer Palmatum) tree. Its leaves are dyestuff source for batch #1 & #2.

Closeup of Japanese Maple 'Burgundy Lace' Leaves - dyestuff source for batch #3.
Dyeing: adding fabrics to dye bath and let it simmer for a while. The most fun step! The longer the fabric is inside the dye bath, the deeper the color result is, even after the dye bath is taken off of stove.
Iron water: color modifier. Made by submerging rusty nails and other found objects into water and left alone for 2 weeks.
Now that we have all those terms sorted out, here are my notes!

Fabrics to be dyed for batch #1
Batch #1
| Fabrics: | 500g of white / light cream fabrics of mixed fiber content. |
| Scouring: | washed and left for one hour. |
| Mordanting: | used cold mordant recipe by Suzanne Dekel. Left overnight. |
| Dye stuff: | fallen Japanese maple (Acer palmatum) leaves. Hard to weigh since they’re practically weightless. Gathered enough leaves to fill the up one 12” x 14” x 22” plastic tub. |
Preparing dye bath:
- Clean leaves with warm Synthrapol bath, and then chopped them up with a blender.
- Simmer around 1kg damp crushed leaves with 5+ liter of water for 30 minutes. Keep on medium fire. (Note: Leaves quickly turn brown. Is it too hot?)
- Strain dye stuff out of the dye bath.
Dyeing:
- Add fabrics to dye bath. Keep on medium / simmer heat for 30 minutes. Most fabrics got in, except one tea towel. (Too little water left - didn’t calculate evaporation.)
- Turn off heat. Divide fabrics into two piles (randomly chosen, approximately similar total weight): 1A and 1B.
- For 1A: wash and rinse with vinegar, hang dry.
- For 1B: add two cups of iron water and leave overnight. Hang dry afterwards.

Washing Japanese maple leaves
Straining washed leaves

Preparing to chopped cleaned leaves

Chopped leaves for dyestuff
Batch #1 Results
Below is a picture of 1A group's highlights. From left to right, the fiber content is silk (underlining of a vintage kimono); 60% linen 40% cotton loose weave fabric sample; cotton remnant. They have light to mid-yellow color hues.
Batch #1A Results from Japanese Maple Dyeing
I don’t see much difference between 1A and 1B group, although 1B’s color is slightly deeper. The picture below offers a better visual representation. The left side features the same fabrics (1A) from the above picture, while the right side shows some of 1B fabrics. Their subtle color deepening is a result of adding iron water into the dye bath.

Comparison of 1A and 1B Results

Leaves bound in polyester scrap fabric in batch #2 dye bath.

Separating batch #1 and #2 dyeing results
Batch #2
| Fabrics: | cotton tea towel that didn't get dyed on batch #1 (labeled as 2A) and 200g of white / light cream fabrics of mixed fiber content (labeled 2B). |
| Scouring: | washed and left for one hour. |
| Mordanting: | 2A got submerged in reused cold alum mordant bath for 48 hours. 2B got no treatment. |
| Dye stuff: | fallen Japanese maple (Acer palmate) leaves. Same source as batch #1. Cleaned and chopped. |
Dyeing:
- Dye bath preparation is the same as batch #1.
- Add fabrics to dye bath on stove top, both 2A & 2B dyed simultaneously.
- After 30 minutes, turn off heat and add 2 cups of iron water to dye bath. Leave for 2 hours.
- Hang dry. No vinegar wash until 2 weeks later.

Air drying Batch #2 fabrics with the sourced Japanese Maple tree on the background.
Batch #2 Results
Since I was using the same fallen leaf stock as the first, the similar yellow hue is expected. Plus, I made the same mistake of leaving the stove fire on medium. It should be kept at the lowest setting (simmer).

Batch #2 Results from Japanese Maple Dyeing
The bottom right fabric is the sole 2A fabric of this batch: 100% cotton tea towel fabric. It has a very beautiful, deep, earthy yellow hue.
All other fabrics (2B) didn’t have any mordant treatment. The three fabrics on top left (clockwise) have the following fiber content: 49% rayon, 30% linen, 21% cotton; 100% cotton muslin; and 40% linen, 27% wool, 24% acrylic, 9% polyester.
The highlight of this batch is the top right swiss dot fabric. It had a previous natural dyeing attempt (with avocado pits) but the result was negligible (i.e. no notable color shift from white), so it’s included with this batch. The yellow beige color, a hue that I usually observe in antique / vintage lacy garments, is a very welcomed surprise.
Batch #3
| Fabrics: | 136g of white / light cream fabrics of mixed fiber content. |
| Scouring: | washed and left for one hour. |
| Mordanting: | reused cold mordant bath, left overnight. |
| Dye stuff: | fallen burgundy lace Japanese maple leaves - deep red color all season. Collected 1 small pasta pot full of leaves, washed and later bound in some polyester scraps, no chopping or straining this time. Too messy. |
Dyeing:
- Make dye bath by simmering bound leaves with 4.5 Liter of water for 30 minutes.
- Add fabrics, continue simmering for 30 minutes.
- Turn off heat, and start dividing into two sub-groups: 3A and 3B.
- For 3A, take out from dye bath. Look pale yellow green / lavender gray when wet.
- For 3B, leave them inside. Add 2 cups of iron water to dye bath, leave overnight. Hang dry after.
Batch #3 Results
This batch has warm gray color hues although I expected something more pink for 3A. Perhaps I didn't clean the dye bath pot thoroughly in-between batch #2 and #3, and there's some iron particles left inside.

Batch #3 Results from Dyeing with Burgundy Lace Japanese Maple leaves
First two on the left column are from 3A subgroup: 49% rayon - 30% linen - 21% cotton loose weaved sample and 100% cotton scrap. Their colors shift from white / off-white to light gray with yellow tint.
Middle column is 3B subgroup’s three fabrics: cotton muslin scrap, 100% cotton mid-weight scrap, and 100% linen scrap that you might recognized from my avocado dyed handkerchief dress. The gray color is deeper and warmer, with greenish yellow undertone. The cotton scrap in the middle stays brighter than the rest.
The wildcard for this batch is the one fabric on the bottom (100% cotton). It was part of 3A. After I saw the results of 3B fabrics, I put the already hang dried fabric and put it in the 3B’s dye bath leftover. The color shifts from greenish gray to brownish gray.
Post-experiment observation
- It can really takes time.
- Picking good leaves are not as straightforward as it seems. I had to pick the ones without brown tips as many as possible.
- Chopping leaves with a blender and straining them can get very MESSY! For future projects, bounding dye stuff in scrap fabric is preferred.
- Scouring (1 hour), mordanting (8 hrs. +), dye bath preparation (30 minutes), dyeing (30 minutes minimal, can be left overnight or multiple nights)
- Another idea to try in the future is cold dyeing (i.e. submerge fabrics in water + dyestuff + mordant, seal, and leave for several weeks). However, I have to make sure to keep track of the project and check it from time to time so it doesn't develop mold or start to ferment.
- Equipments and workspace are not to be underestimated.
- Pots (for making dye bath and dyeing), plastic bins (for scouring and mordanting), plus strainer, water scoop, jars, gloves, etc. can seem overwhelming but necessary.
- Different metal pots can affect dyeing results as they react with the dye bath. I have two dyeing pots, secured from local garage sales: one 10-gallon aluminum stock pot and one 8-gallon stainless steel pot. The bigger one can contain more water and fabrics yet reactive, and the smaller one is not reactive to the dye bath.
- Where you place the tools can determine efficiency of use, which directly affects how long the whole experiment batch takes.
- Water used for the whole experiment can be significant.
From scouring, mordanting, dyeing, washing and rinsing, to cleaning up, natural dyeing at home needs to be thoughtful. Reuse water as much as possible. - Dye stuff and dyeing bath smells earthy and calming, like roasted tea.
The all-natural dye stuff doesn’t emit any funky smell like synthetic dyes do.

Tools for natural dyeing with Japanese maple leaves
So there you have it. I hope my notes can be helpful for someone out there, experimenting with natural dyeing with dye stuff of their own choice. Happy dyeing!
Thank you for reading, until next time,
Musank
Disclaimer: I may earn a small commission for my endorsement, recommendation, testimonial, and/or link to any products or services from this website. Thank you for your support!
Subscribe to my newsletter
Browse more posts
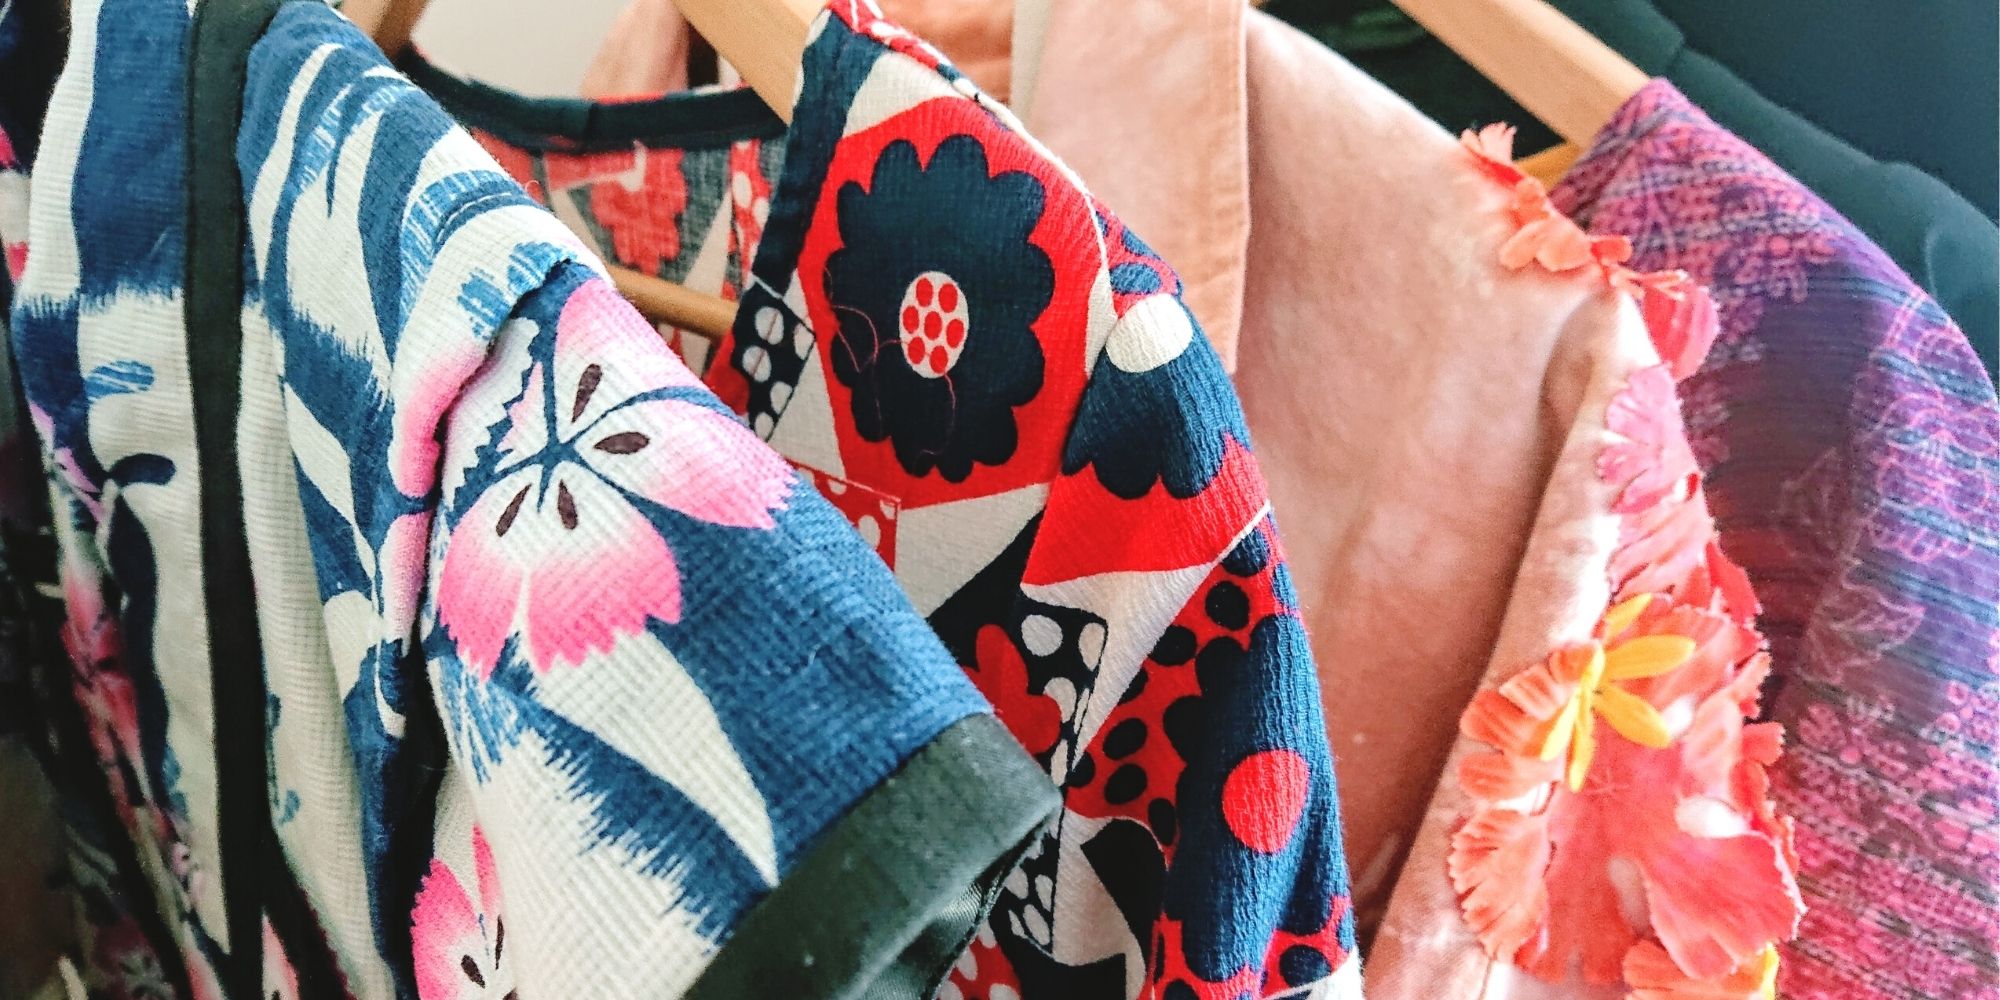
Interpreting Kebaya, Making a Modern Ethnic Ensemble
Modern Ethnic outfit is my interpretation of kebaya dressing. They are made using vintage ikat textile and inspired by several free minimal-waste patterns. Only on fafafoom.com.
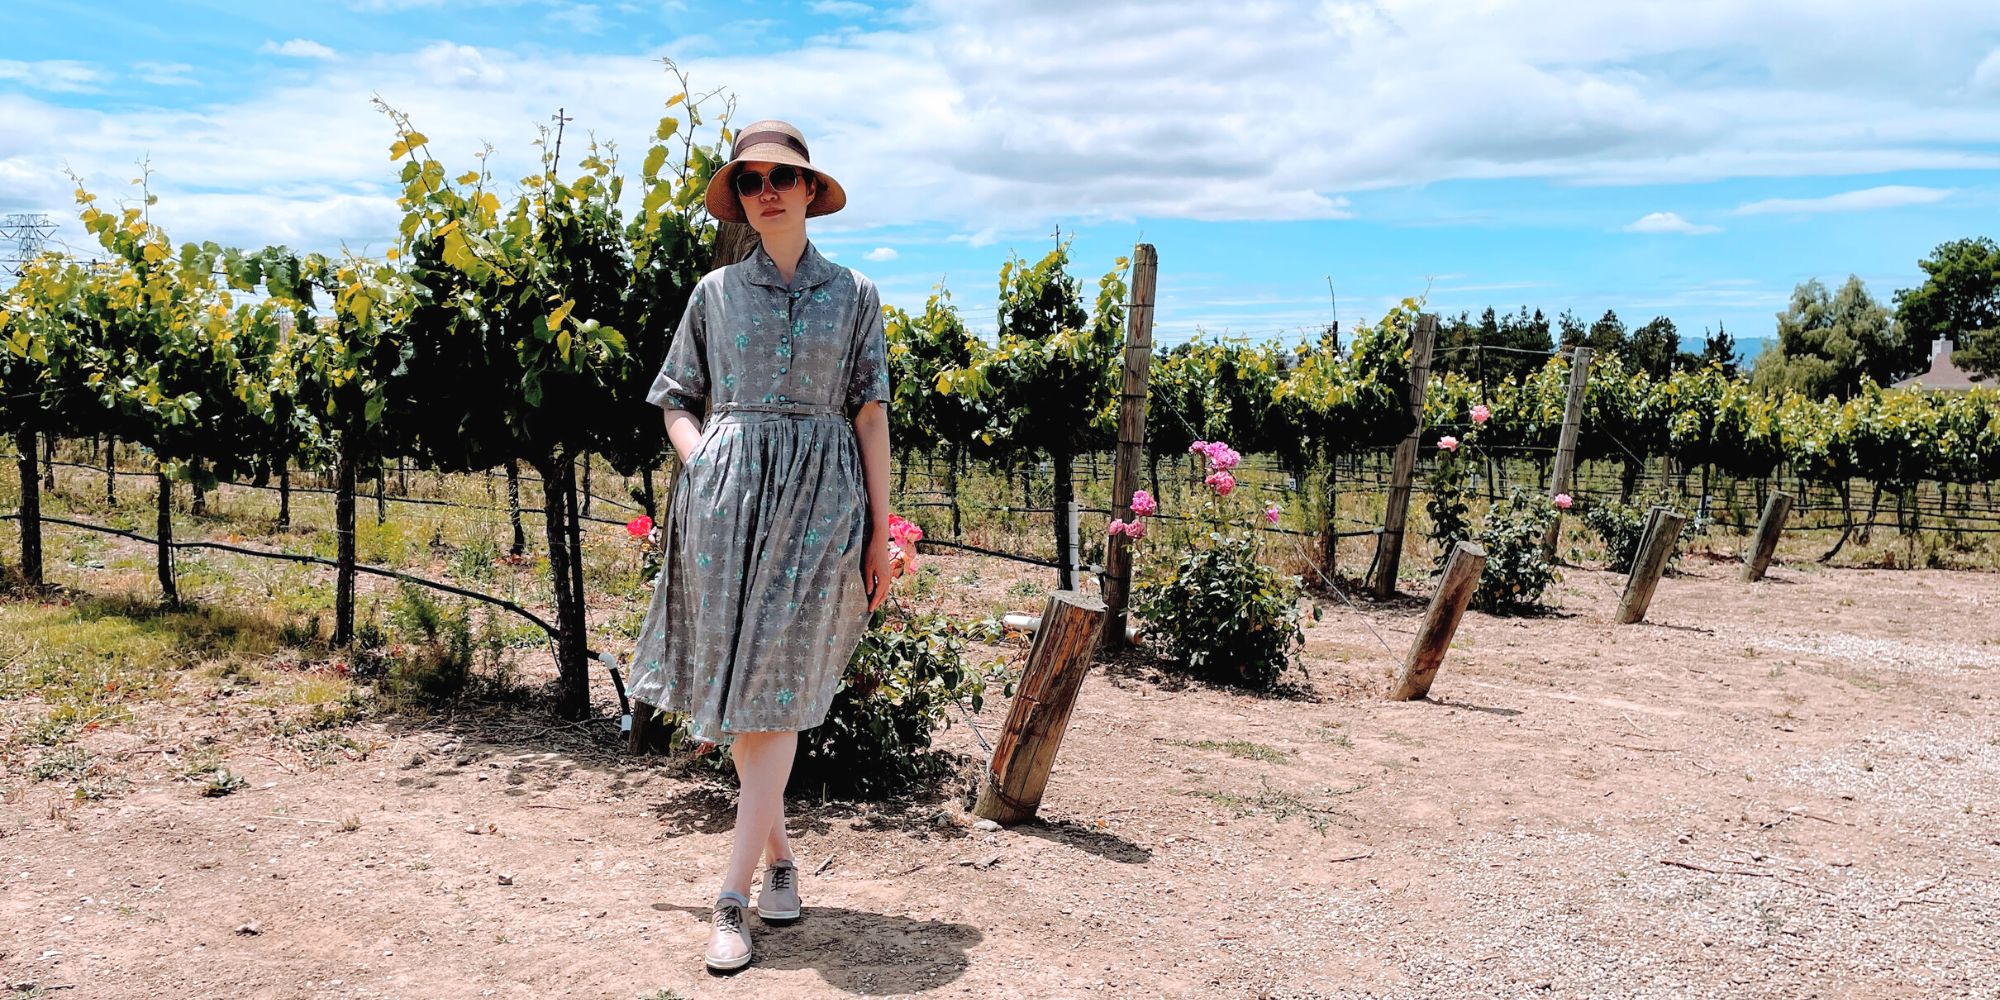
Restoring a 1950s Atomic Age Dress
Restoring and repairing a beautiful 1950s Dress for my summer 2022 wardrobe. Smart alterations include lining and inseam pockets. Only on fafafoom.com.
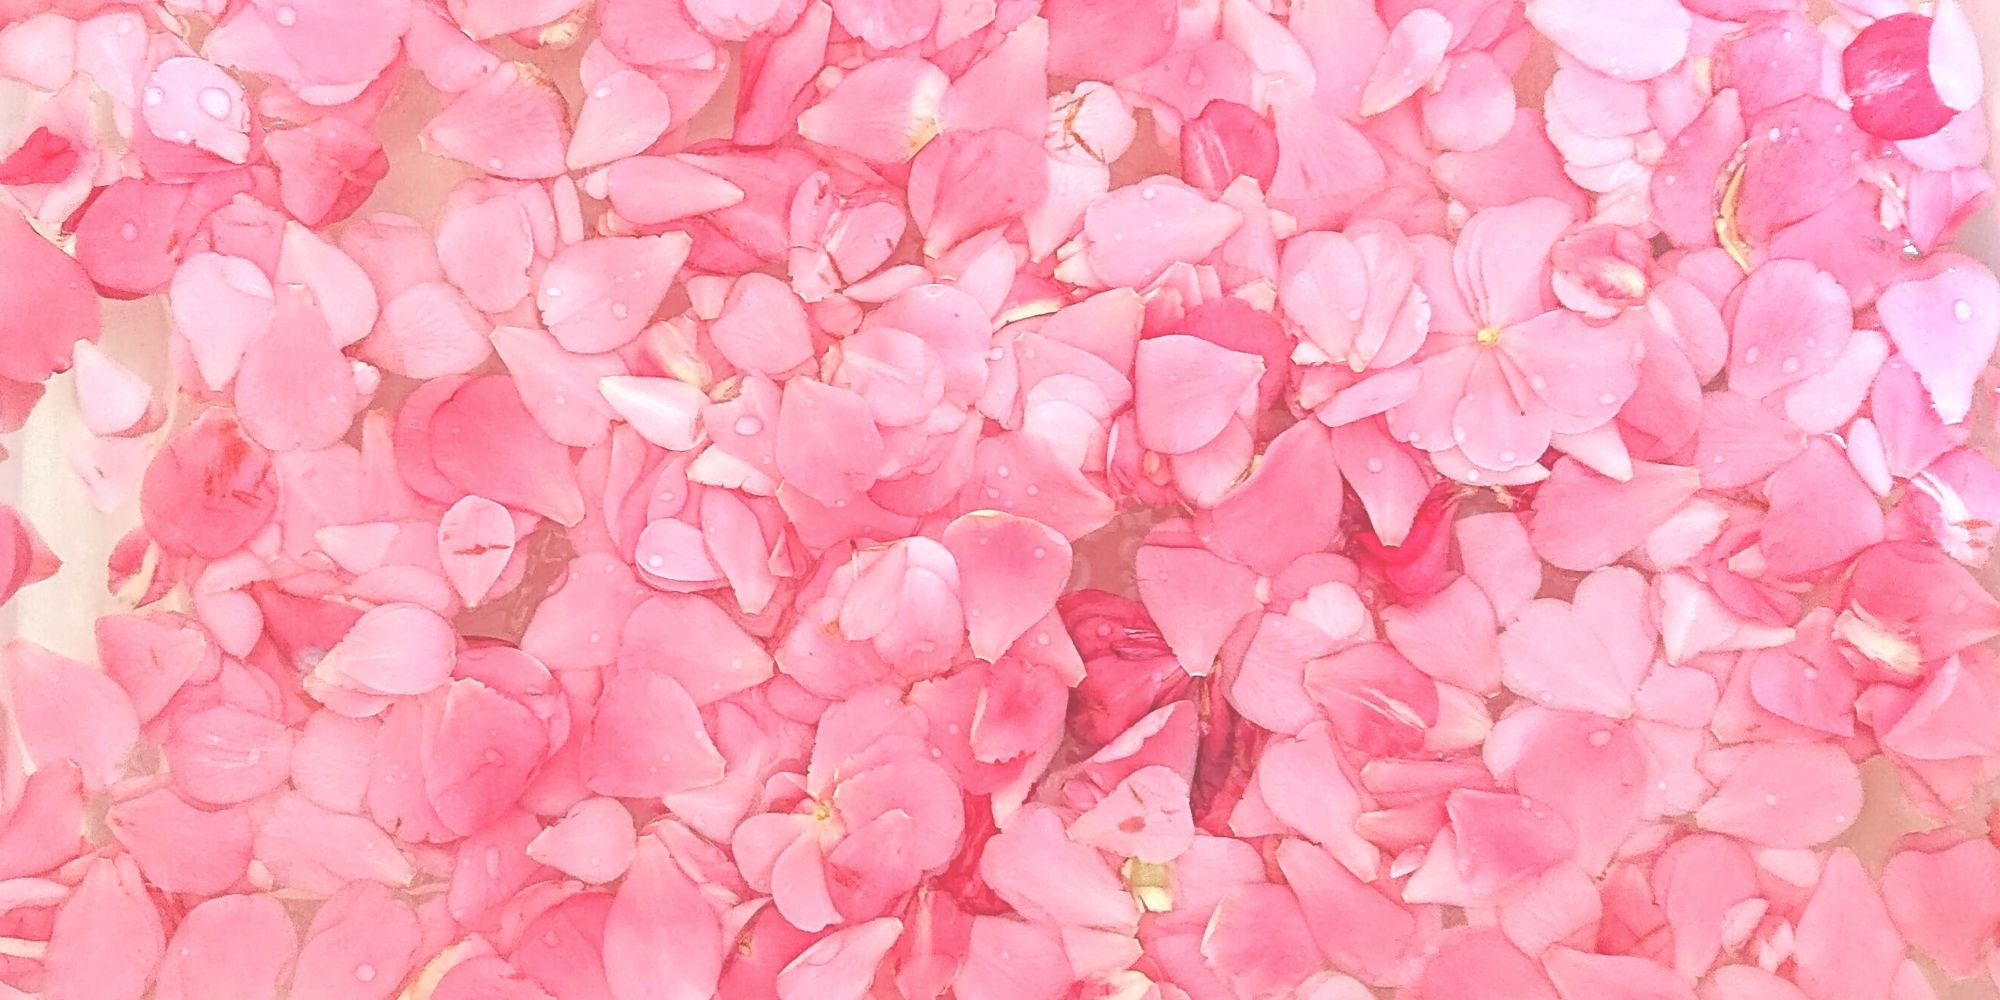
Pink Delight! Natural Dyeing with Camellia Flowers
My next experiment is dyeing with camellia flowers. Amongst all natural dyeing projects I have done so far, this is my favorite. Check out the pink delights! From fafafoom.com.
5 Slow Fashion Tips for a More Sustainable Wardrobe
Five slow fashion tips to help you transform your sustainable wardrobe for a cleaner, greener future. A guest feature from Reese Jones for Fafafoom.com.
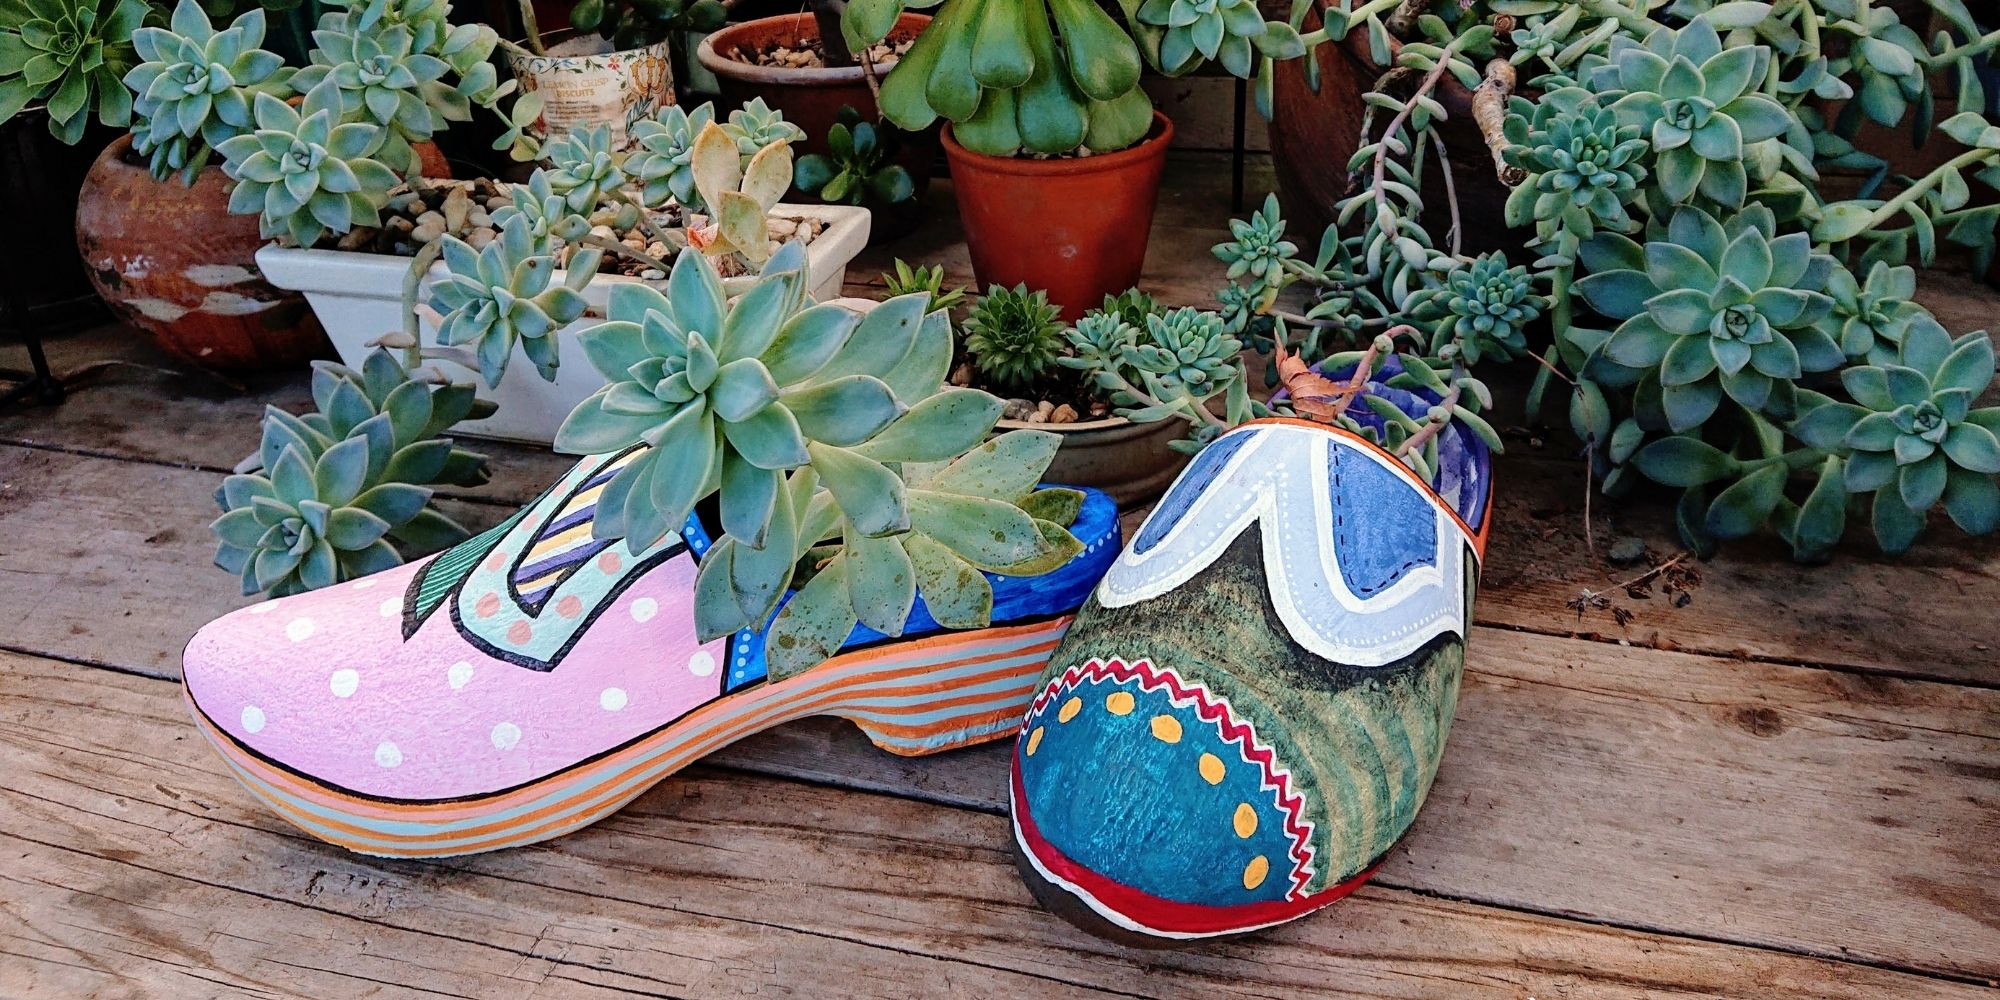
Upcycling and Repairing Ideas for Garden Decor
The garden has become a special place, especially during Covid-19 pandemic. During shelter-in-place period, I made garden decors by upcycling locally sourced items.
Accidentally Boro Shirt
A boro shirt made by accident, started with dipping a silk shirt in a bleach solution. Patched with various fabric remnants. From Fafafoom Studio.