
Fixing a cute little black dress that’s borderline too short with a DIY dress extension made out of black georgette fabric and attached with hook and eye loop cotton tape.
I have a cute black dress from H&M (snatched for $3) that’s too short. It looks fine when I’m standing – the hemline extends past my fingertips, but once I try to sit down or squat, oh boy…I have an inappropriate lady parts situation.
Luckily, I have a roll of black poly georgette fabric scrap (I got it from Fabmo, a designer material rescue organization). It’s only about 12 in. long, but the width is uh, long. I love my LBD but I want to avoid awkward public situations, so I decided to make a DIY dress extension from the black poly georgette fabric.
I want to do something a little different than the typical maxis with minis trend (i.e. see-through maxi layer on top of a mini skirt or dress). With some help from black hook and eye loop tape, I’d say the extended dress looks pretty good!
Subscribe to my newsletter

DIY Dress Extension Materials
- Black sheer fabric – naturally, it’s better to have a piece of fabric that’s as long as you need it to be instead of having to sew three separate fabric panels like I did. But it’s no deal breaker if you have less-than-ideal-length fabric, IMO.
- Hook and eye loop tape – a typical material for corset making
- Stitch Witchery + an iron to fuse it
- Black lace trim
- Black bias tape
- Sewing machine (mine is Brother CS6000i model)
- Black thread and Needle (I used Schmetz Universal Needle Size 80/12)
- (optional) Tracing paper to help making a slight high-low hemline
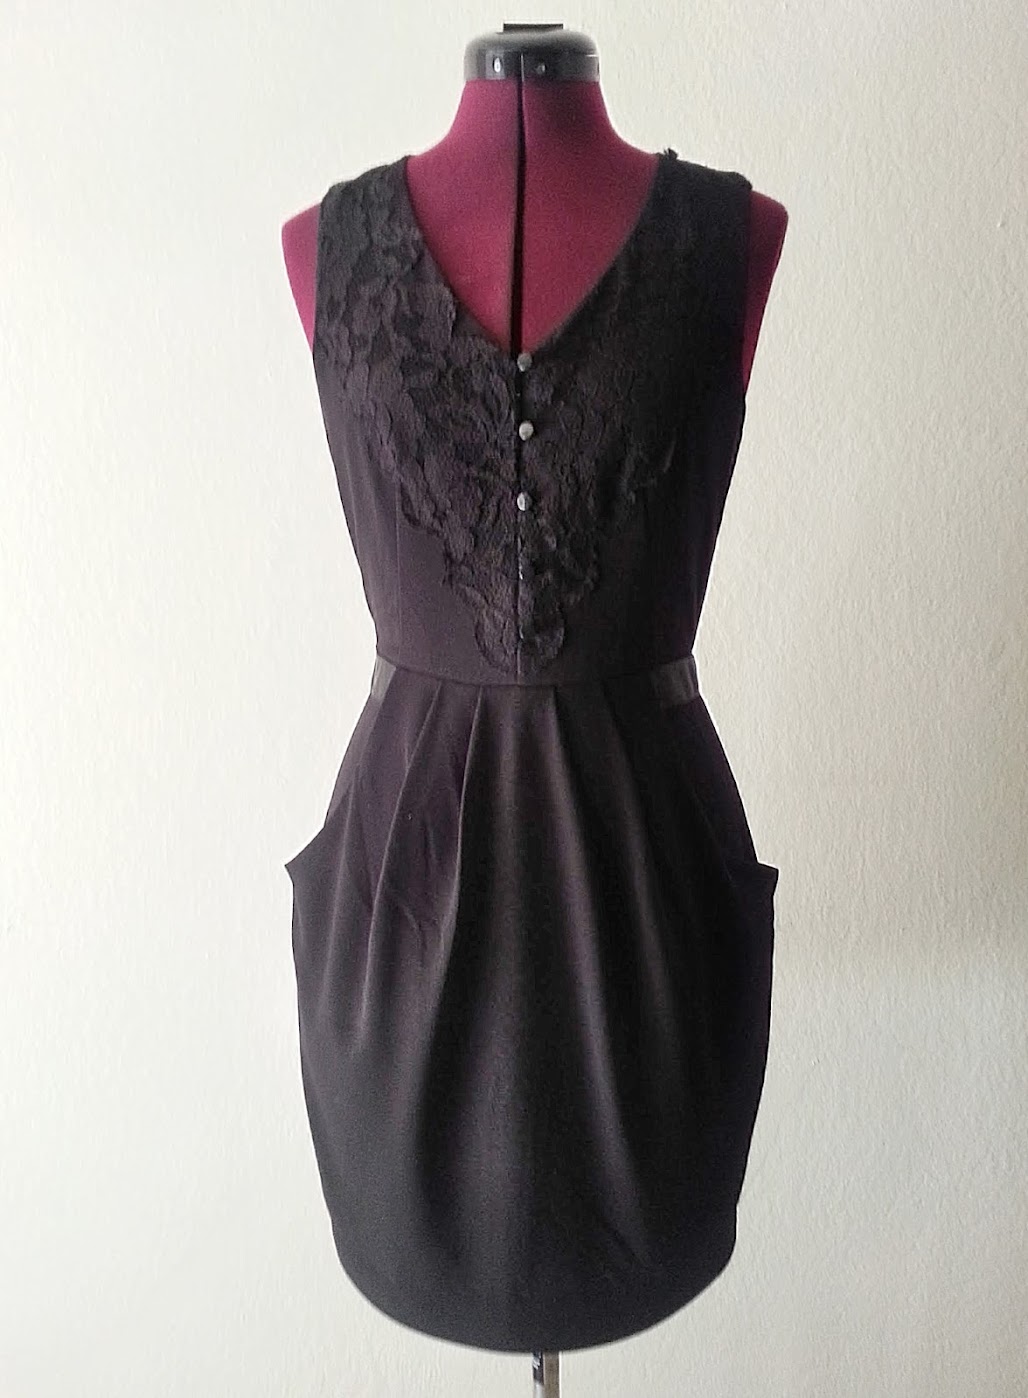
This is what the LBD looks like as-is:
Steps Overview
I did not document the in-progress pictures, mostly because it’s hard to take pictures of black on black on black fabric layers with my phone (and I dislike using flash).
So in place of in-progress pictures, I made this overview diagram below; the fold line is the center front and the diagonal cut line is the center back. I also took detail pictures of the DIY dress extension.
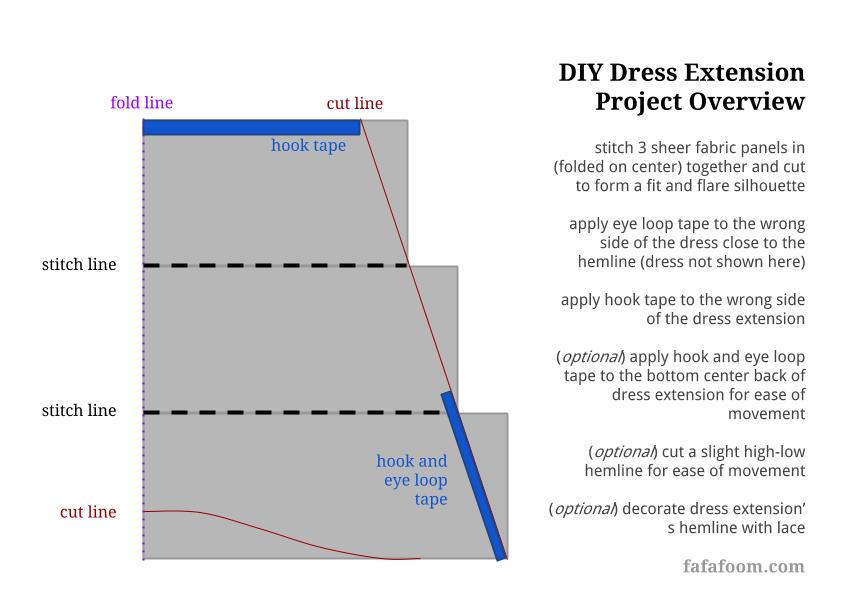
- I cut three strips of the black sheer fabric in gradually increasing length. The shortest one is as long as the circumference of my LBD’s hemline plus seam allowance. The longest one is cut as long as the circumference of my longest stride when walking in my 4 in. heels (which is about 50″) plus seam allowance.
- I stitched the three strips of fabric together, going slowly as the sheer fabric bruises easily. I also did not do any back stitching to ensure minimal puckering (it still happened, though).
- I used Stitch Witchery and an iron to bond the “eye” loop part of the tape to the inside of the dress’ hem. Cut the excess tape.
- I laid the hook tape on the top part of stitched-together sheer fabric. After making sure the length of the “hook” part of the tape matches the already fused “eye” part plus seam allowance, I cut the fabric to form the center back line. Then, I fused the hook tape to the top part of the fabric, on the wrong side.
- I stitched the center back shut, keeping around 10 in. at the bottom free.
- I fused the hook and eye loop tape on either side of the bottom opening.
- At this point, I found out that the front part of the DIY dress extension was too long, so I made a slight high-low hemline at the bottom.
- I finished it off with some black lace hand stitching for subtle decoration.
I hope the overview helps…I really consider doing this with video next time, but I just cannot do that kind of time commitment at this point. Please ask me if you need any clarification for the steps! After the DIY dress extension was done, I took some detail pictures below.
Detail Pictures
Below is how the LBD’s front hemline looks like with some parts of the DIY dress extension unhooked.
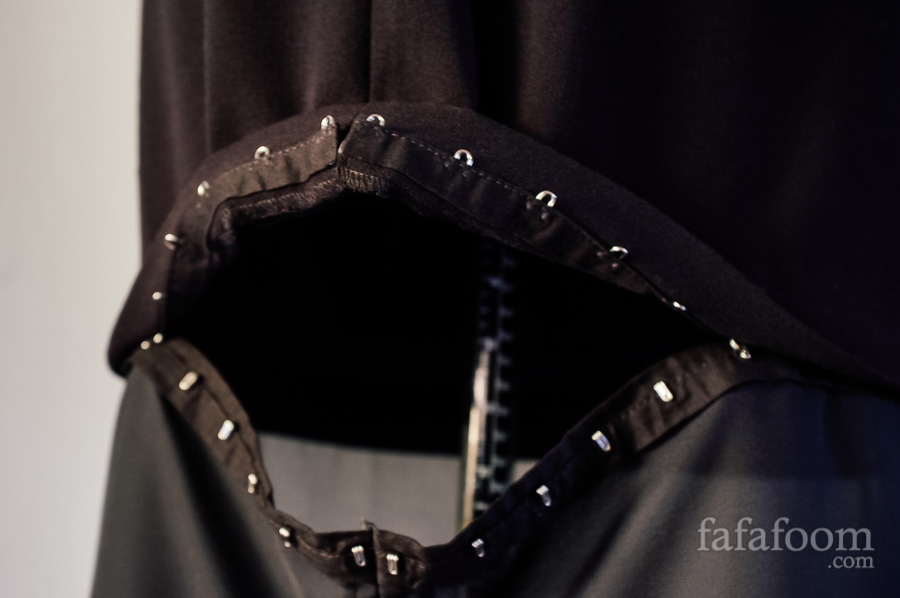
Here’s what it looks like near the center back of the LBD’s hemline, again with some parts of the extension unhooked.
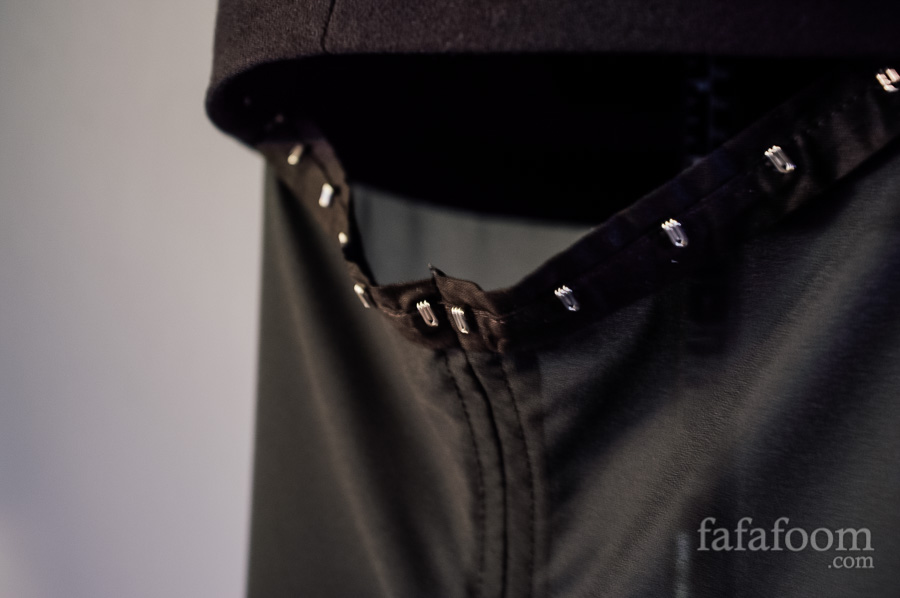
You can see the fused eye loop tape near the dress’ hemline and the unhooked top line of the DIY dress extension. This is taken near the center back, just like the previous photo.
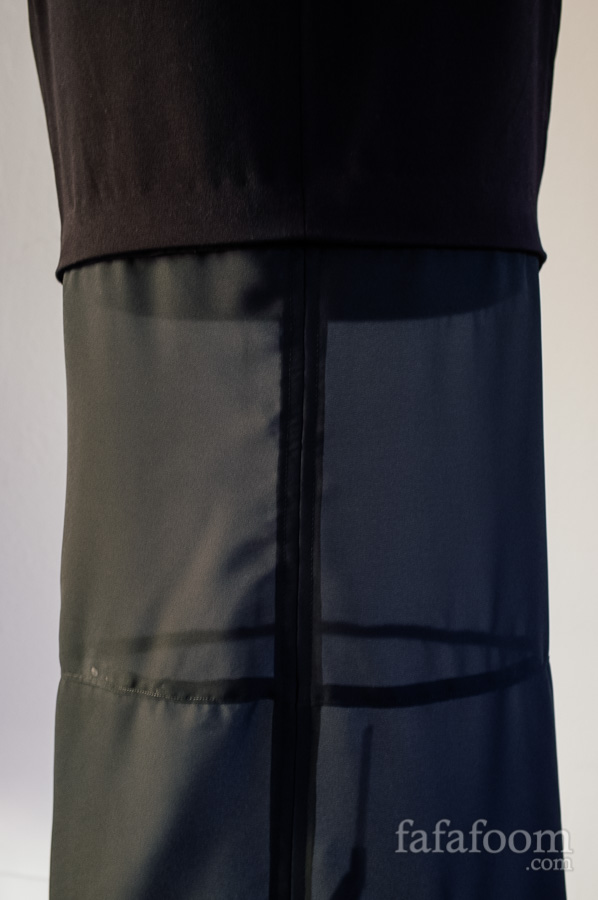
When the DIY dress extension is fully hooked to the dress, this is what it looks like from the back. You can see a white-ish glue stain on the left. Word of caution: do not apply fabric glue to visible part of sheer fabric. I cannot, for the life of me, erase that stain. *sigh*
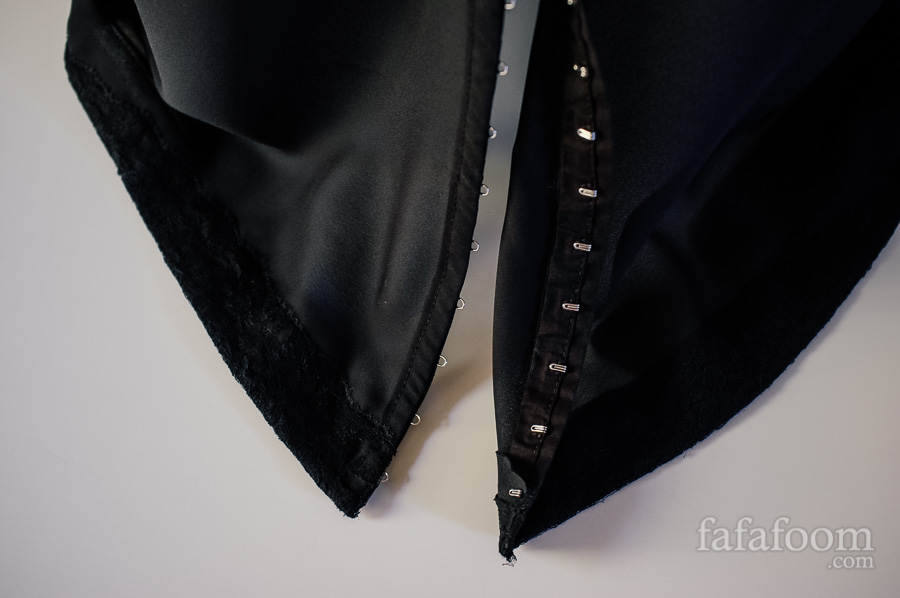
This is the bottom of the DIY dress extension from the back when both sides are free (unhooked).
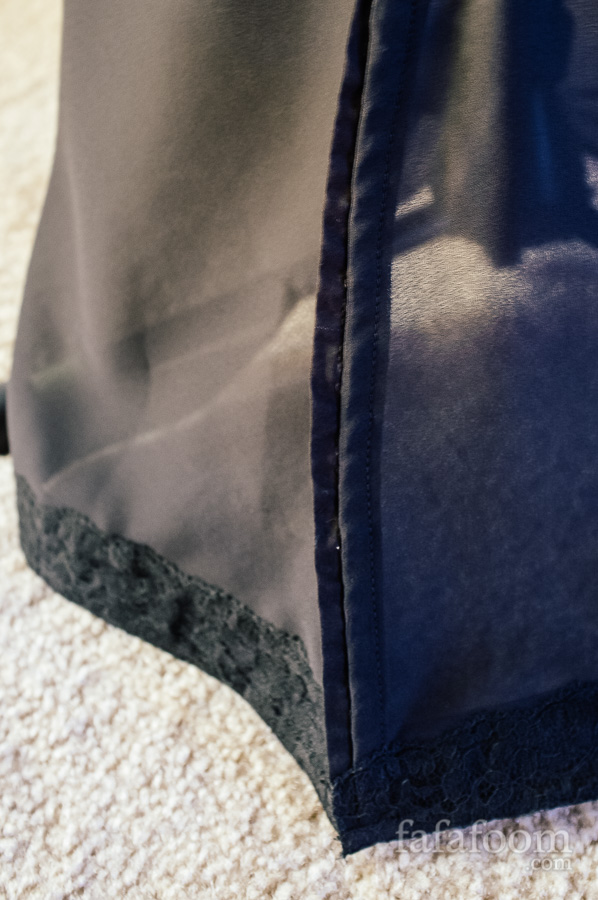
Now this is how it looks like when both sides are closed with hook and eye loop tape.
The Result
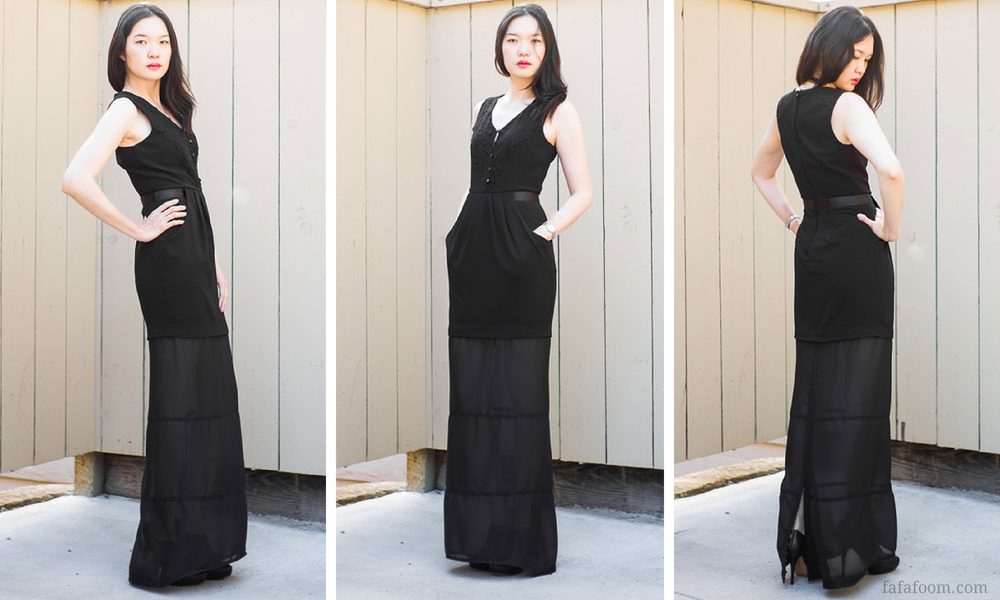
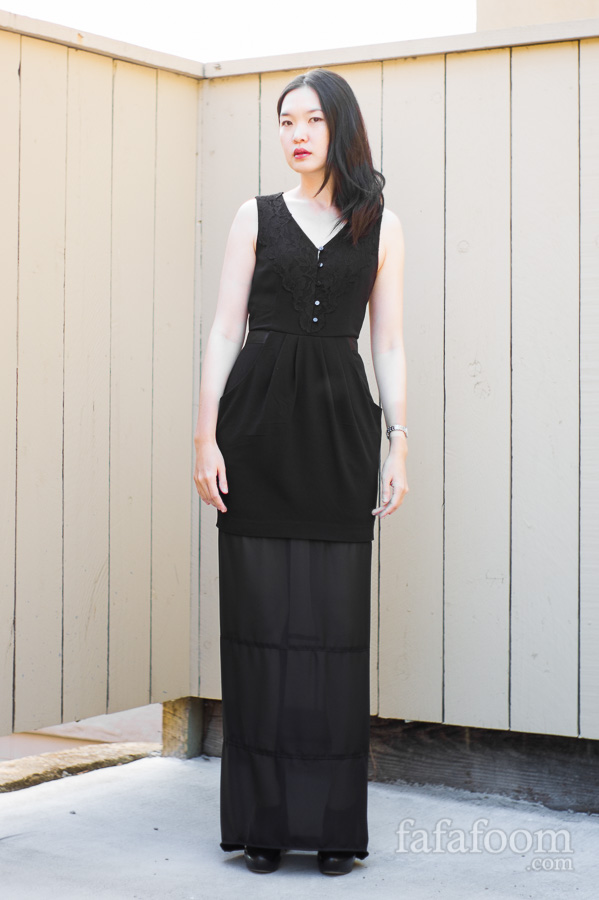
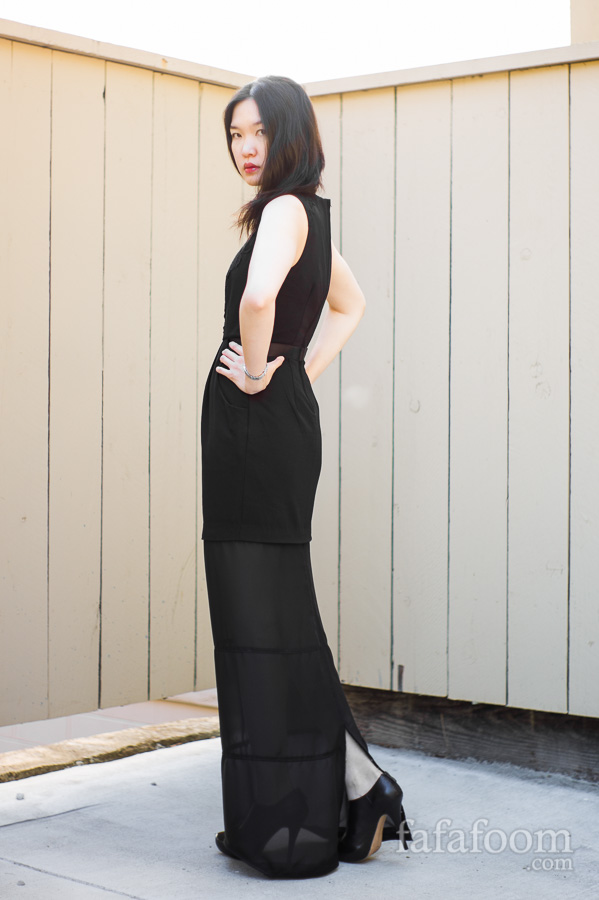
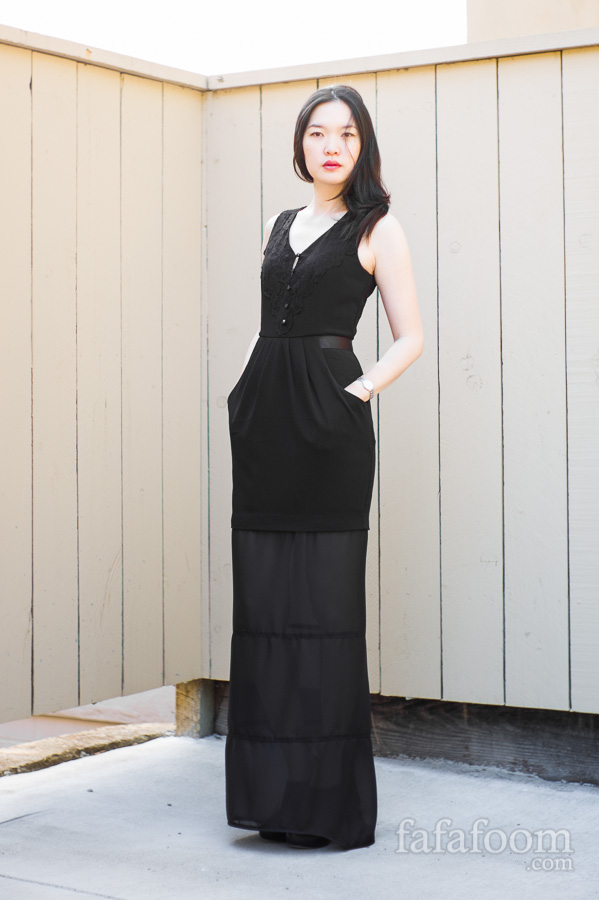
So after all was said and done, here’s my black H&M dress with DIY dress extension attached! I keep the bottom part of the back free (unhooked) to give a clearer picture. I like that DIY dress extension is detachable, and I think the overall feel of the dress changes a bit dramatically when the extension is on.
It’s a cute LBD without the extension, and it’s a more romantic formal affair gown with the extension on. I love it.

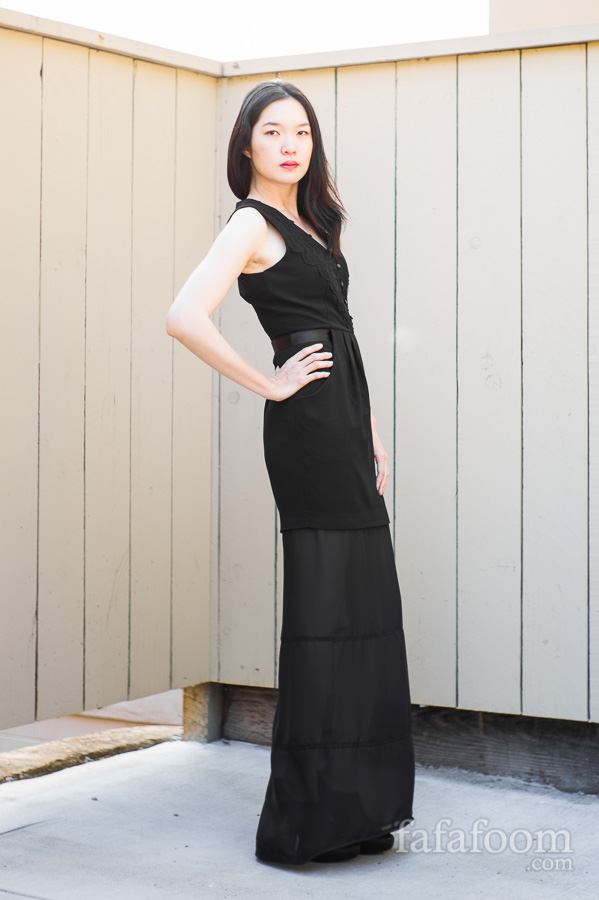

So what do you think? One thing I did not mention is that I ALWAYS walk slow in high heels. When I walk slowly in heels and a mini dress, I got uncomfortable quickly. Now, this DIY dress extension gives me the perfect excuse to walk slowly.
Sshh, don’t tell anyone :)

Thanks for reading; until next time,
Musank
Disclaimer: I may earn a small commission for my endorsement, recommendation, testimonial, and/or link to any products or services from this website. Thank you for your support!
Never Miss a Post
Enter your email below to receive the latest Fafafoom Studio post in your inbox.
Browse more posts
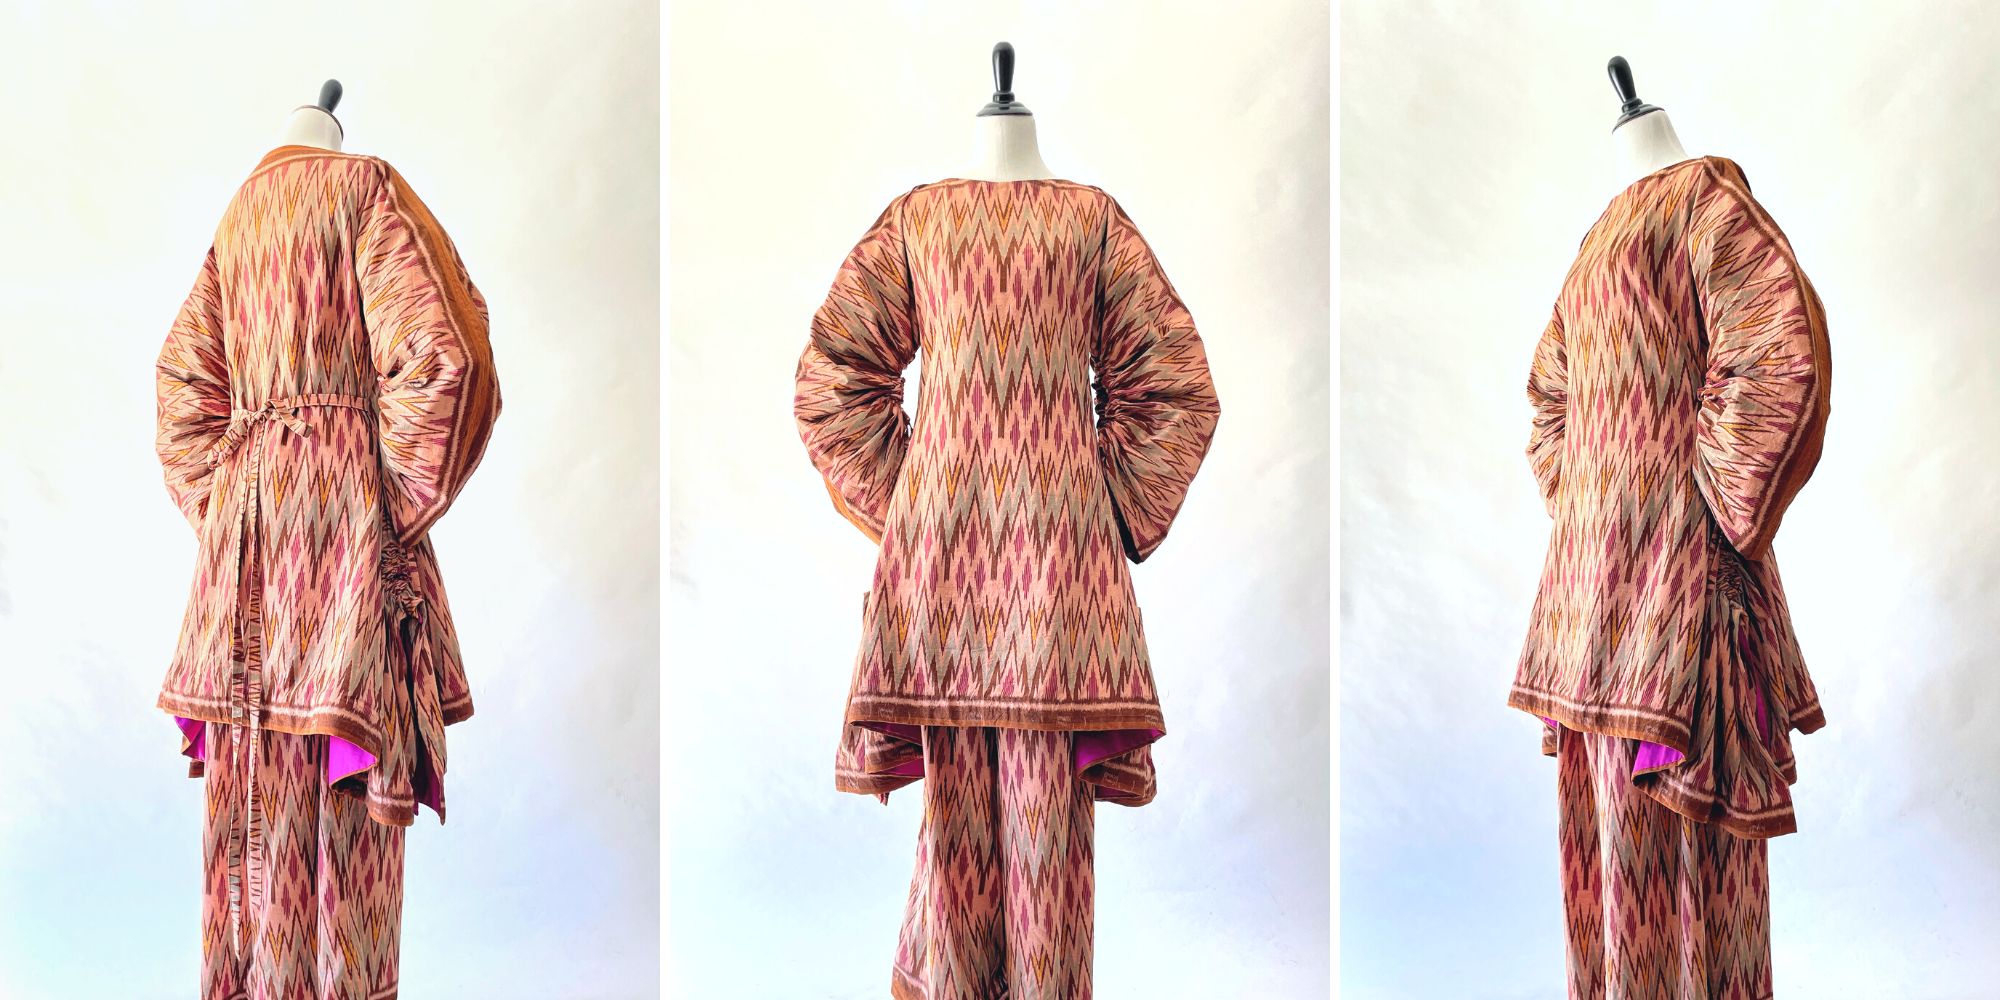
Interpreting Kebaya, Making a Modern Ethnic Ensemble
Modern Ethnic outfit is my interpretation of kebaya dressing. They are made using vintage ikat textile and inspired by several free minimal-waste patterns. Only on fafafoom.com.

Restoring a 1950s Atomic Age Dress
Restoring and repairing a beautiful 1950s Dress for my summer 2022 wardrobe. Smart alterations include lining and inseam pockets. Only on fafafoom.com.
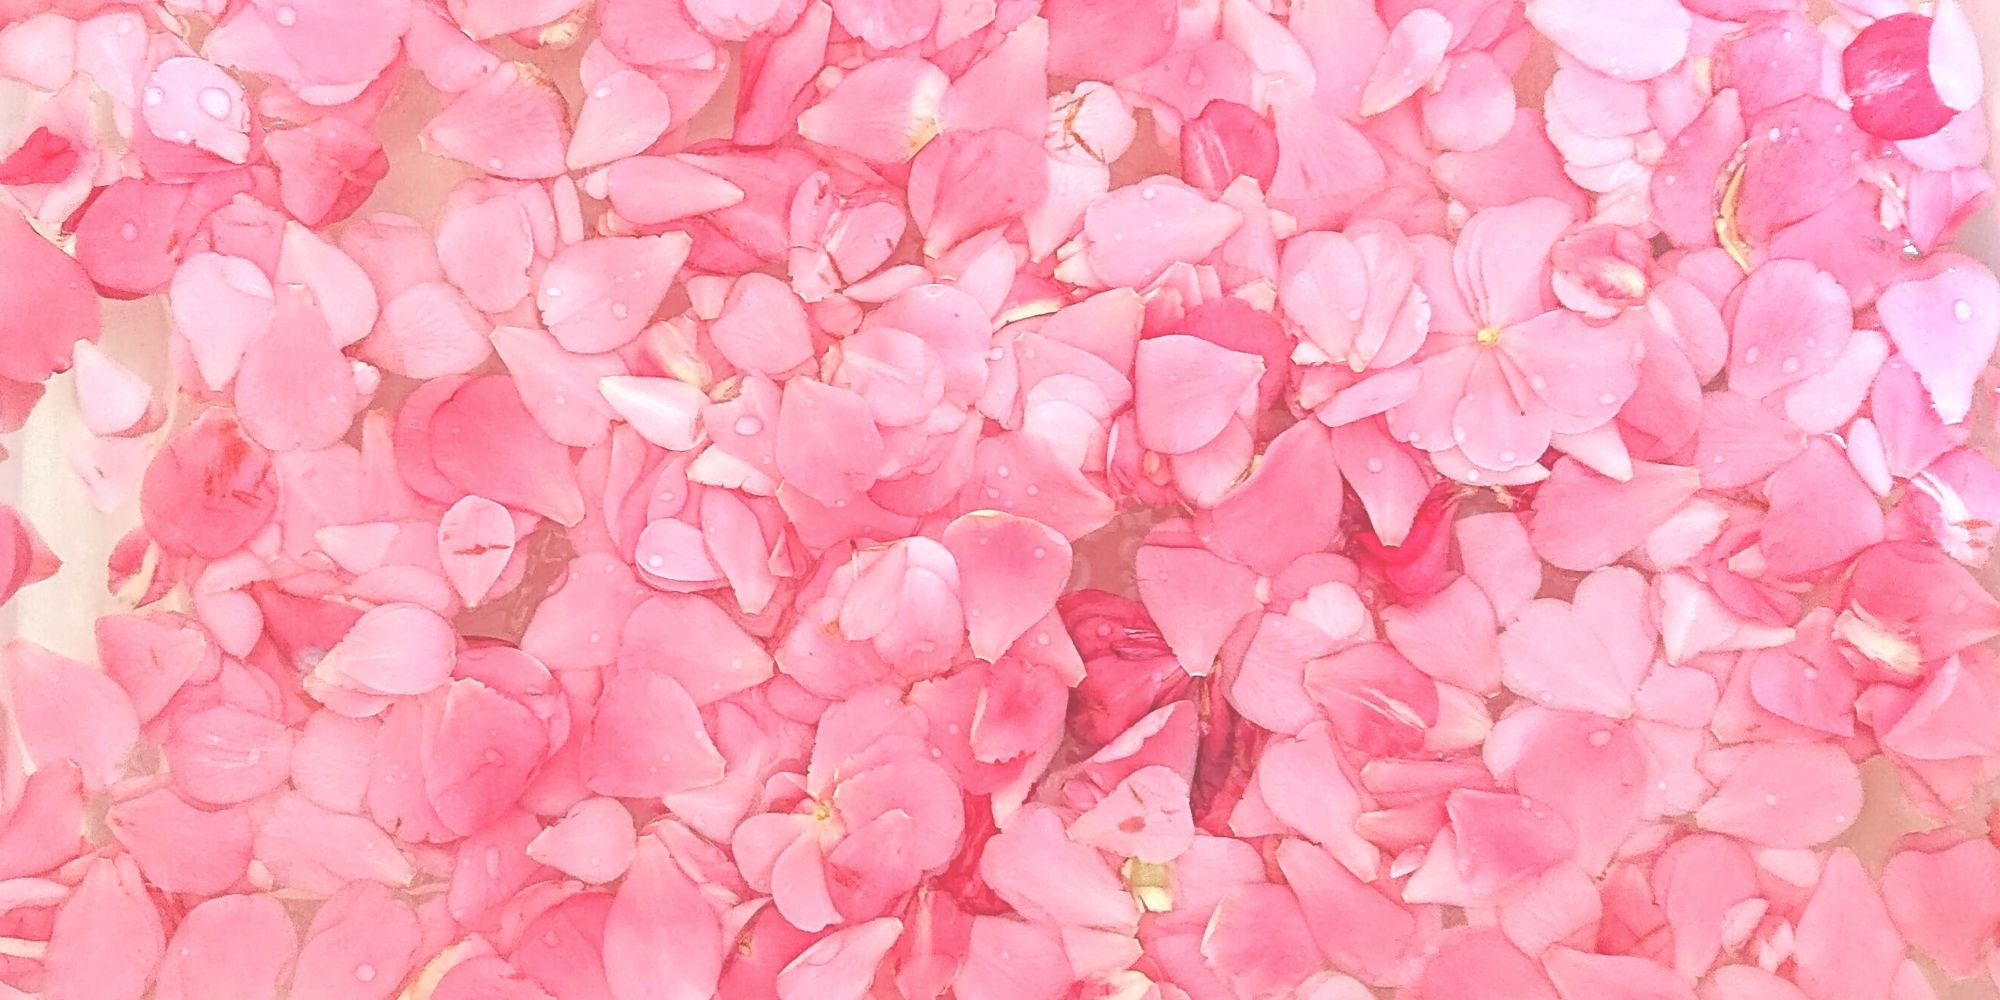
Pink Delight! Natural Dyeing with Camellia Flowers
My next experiment is dyeing with camellia flowers. Amongst all natural dyeing projects I have done so far, this is my favorite. Check out the pink delights! From fafafoom.com.
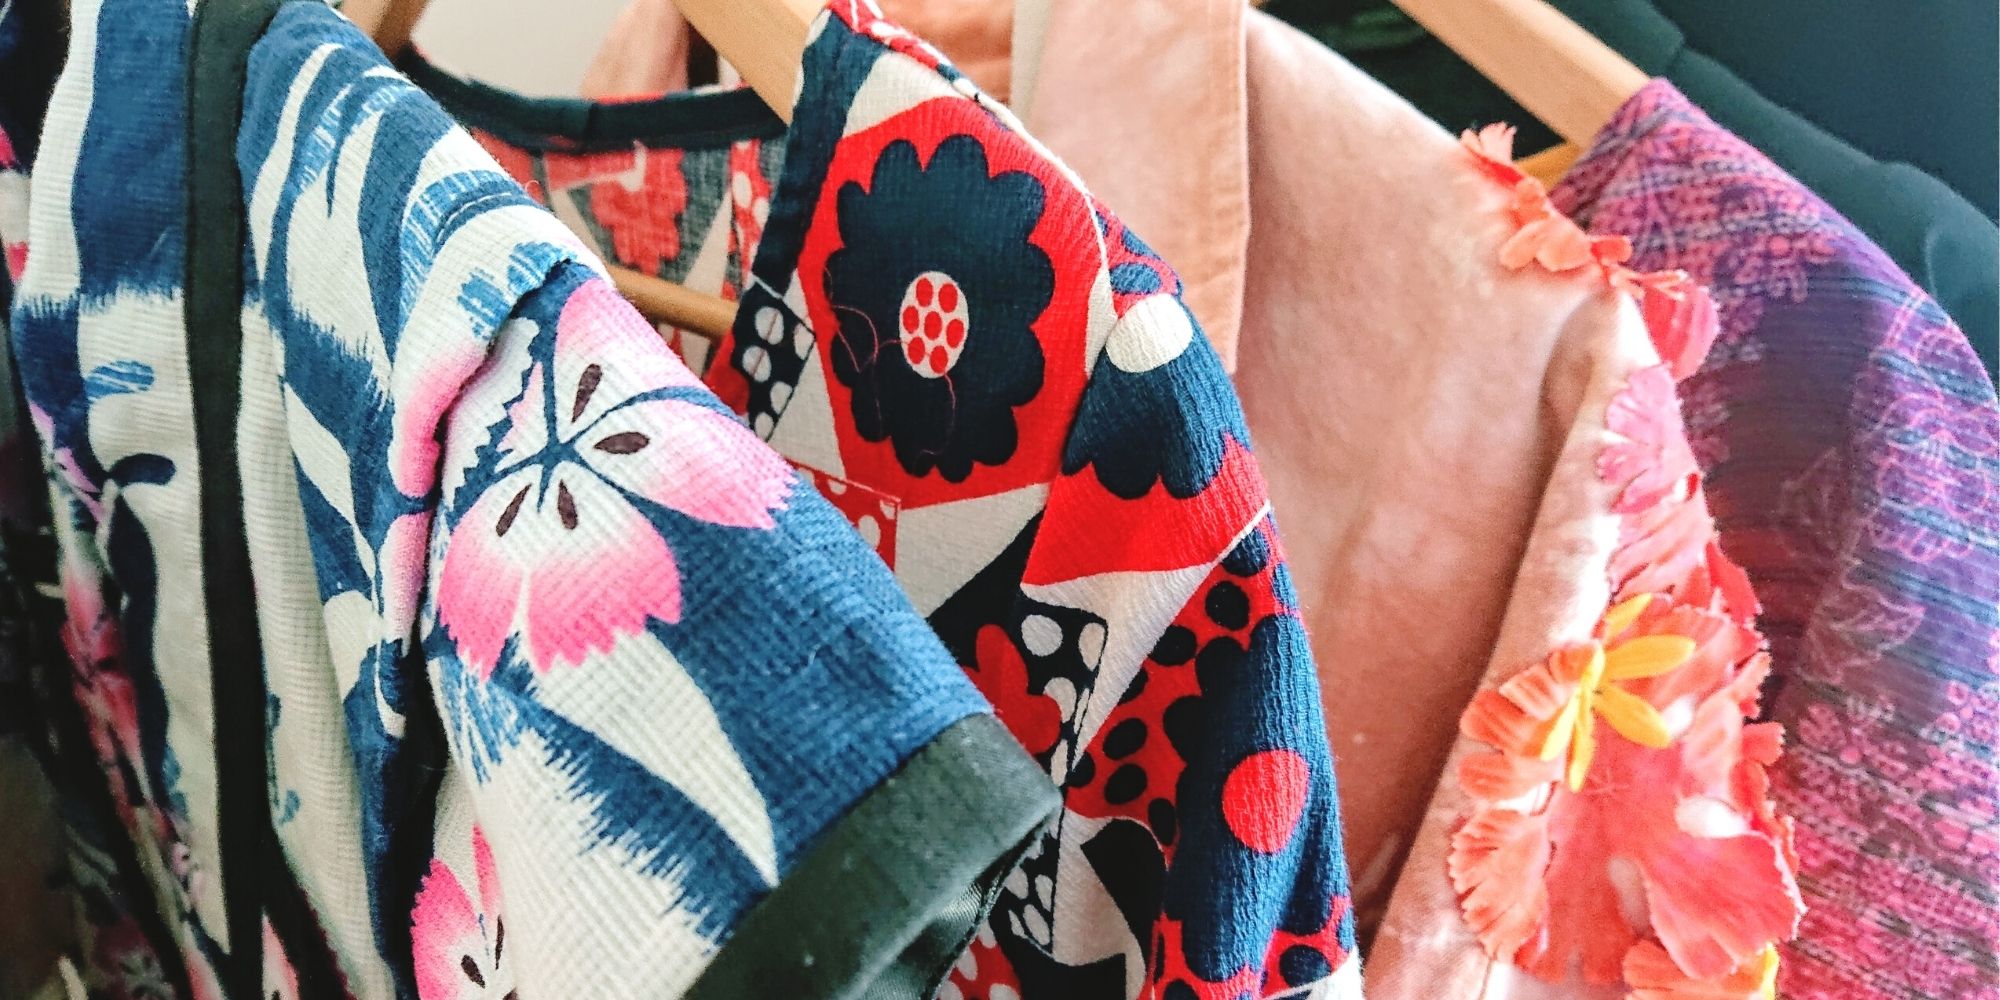
5 Slow Fashion Tips for a More Sustainable Wardrobe
Five slow fashion tips to help you transform your sustainable wardrobe for a cleaner, greener future. A guest feature from Reese Jones for Fafafoom.com.
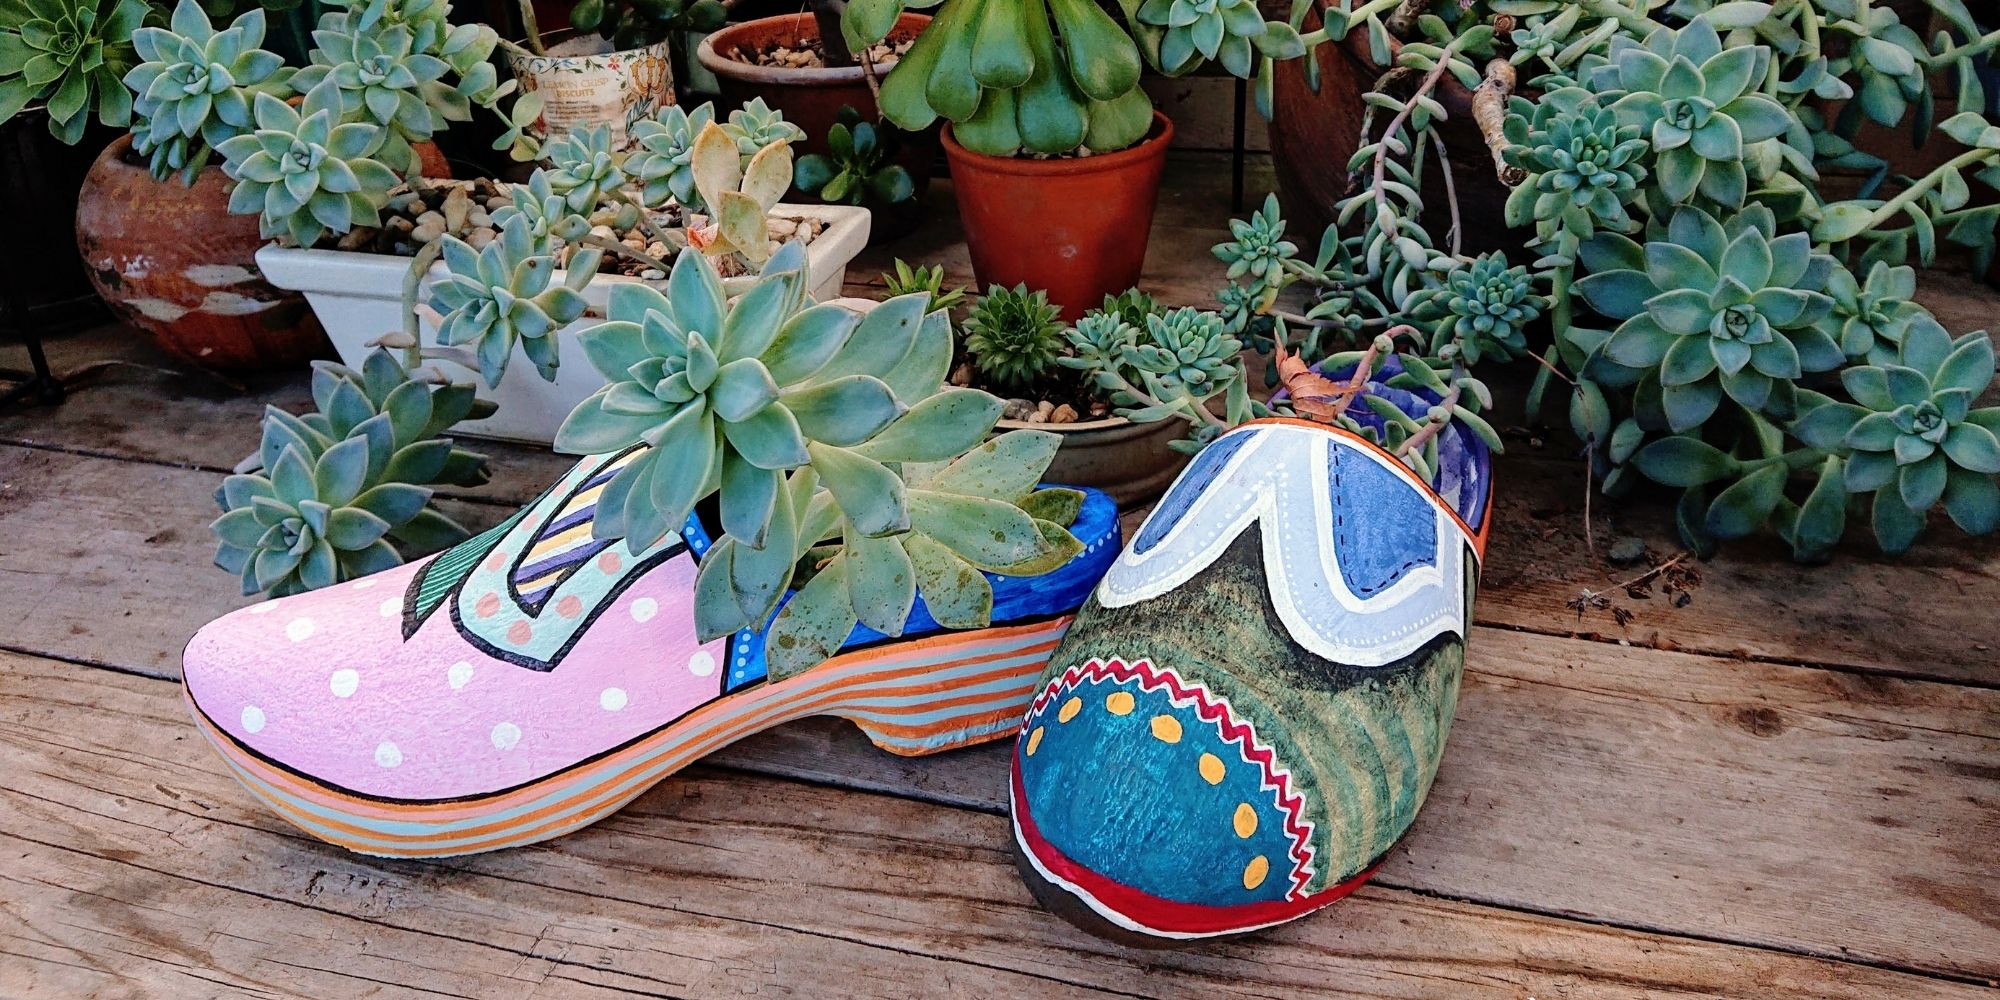
Upcycling and Repairing Ideas for Garden Decor
The garden has become a special place, especially during Covid-19 pandemic. During shelter-in-place period, I made garden decors by upcycling locally sourced items.

Natural Dyeing with Japanese Maple Leaves: Notes from a First-timer
Notes from my first natural dyeing experiment with Japanese maple leaves in fall season. Three batches of dyeing using fallen leaves sourced from two different trees in the garden. So much to learn and enjoy afterwards.
What a great idea. I made an unintentional LBD earlier this year and this is a great fix for my problem. I’m glad I didn’t throw or give my dress away.
That’s great to know, Christina! So glad you can rescue your LBD :)
Wow, that’s a great idea, and the use of the hooks is unique too. :-)
Thank you Agy; I just like the idea of having the extension detachable. Maybe using a zipper is more practical, but it will make the dress’ hem a little bulky. So I opted for a more “invisible from outside” option instead with a hook and eye loop tape.
Great re-fashion! I love the fact the extensions can be removed…I would like to feature you on my blog this Sunday 09-07 for Fiber-Arts National Sewing Month 2014. I will send you the link when it is done.
Thank you for the feature, Cathy! I’m glad you like this DIY :)
That’s a original idea to remake a dress. You are beautiful in it! :)
Thank you so much, Madame Wu!