

Time to catch up with another long overdue DIY project! I had lots of fun upcycling this white shirt with lace ribbons on the bib area. The result is a more refined, yet still minimalist shirt. I LOVE IT! Photos by Mira Musank and Christian Hadidjaja.
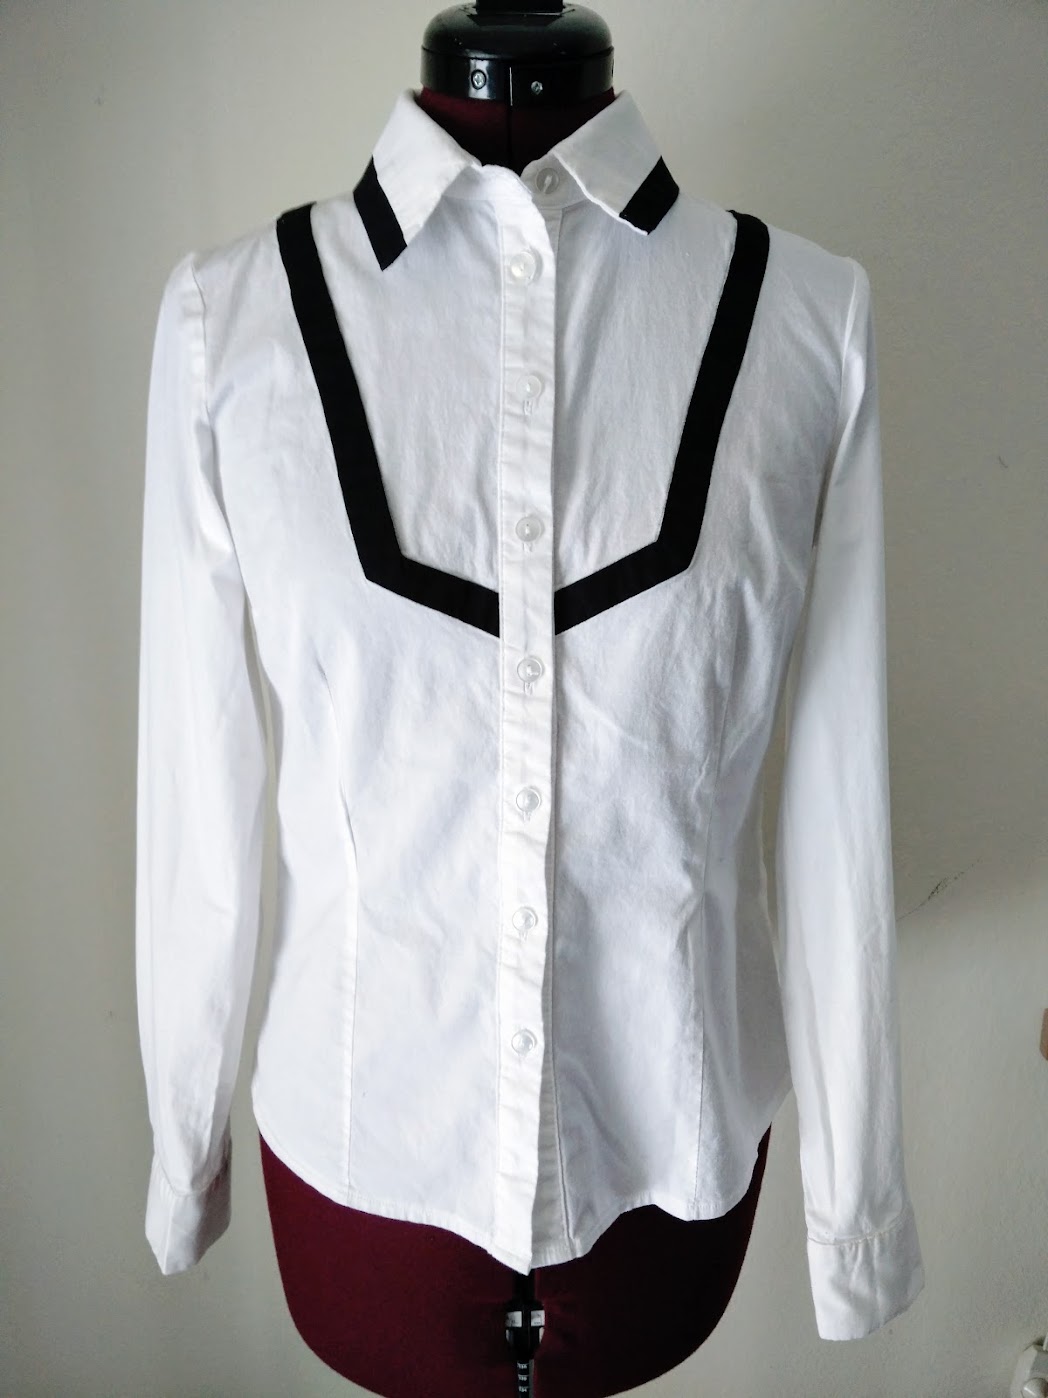
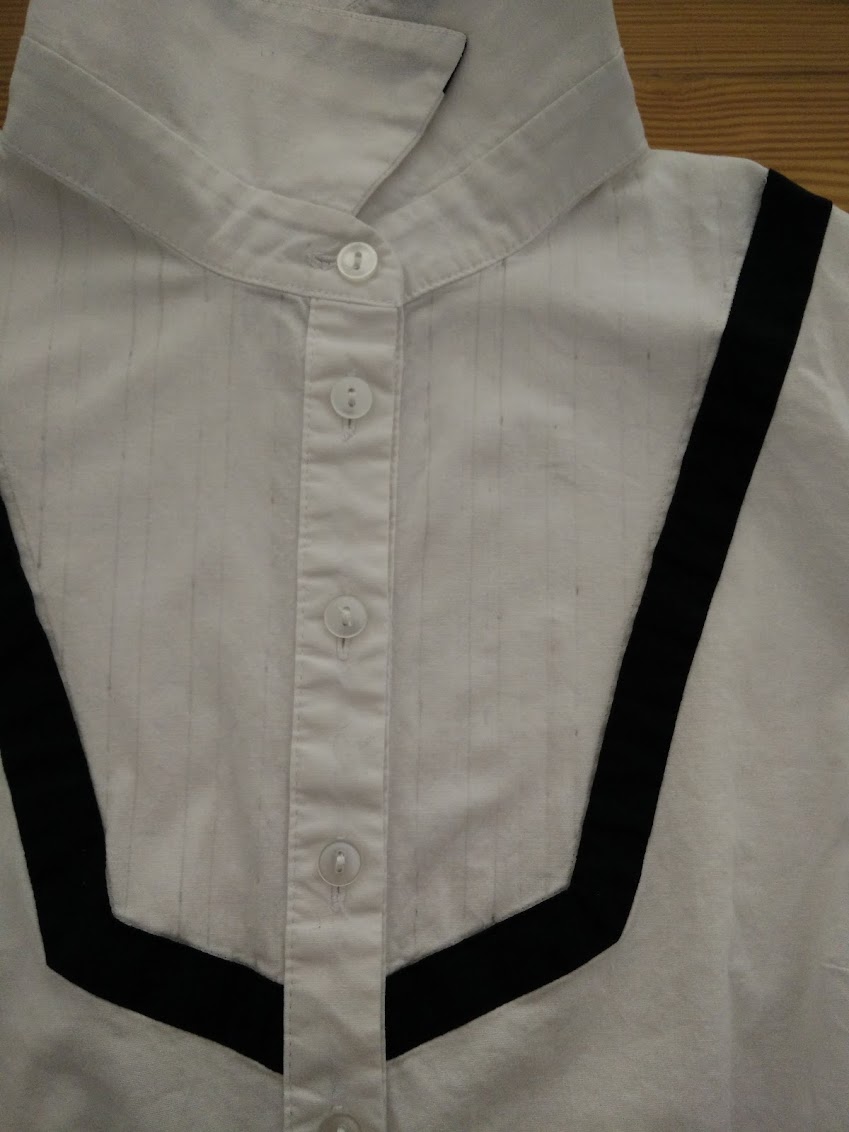
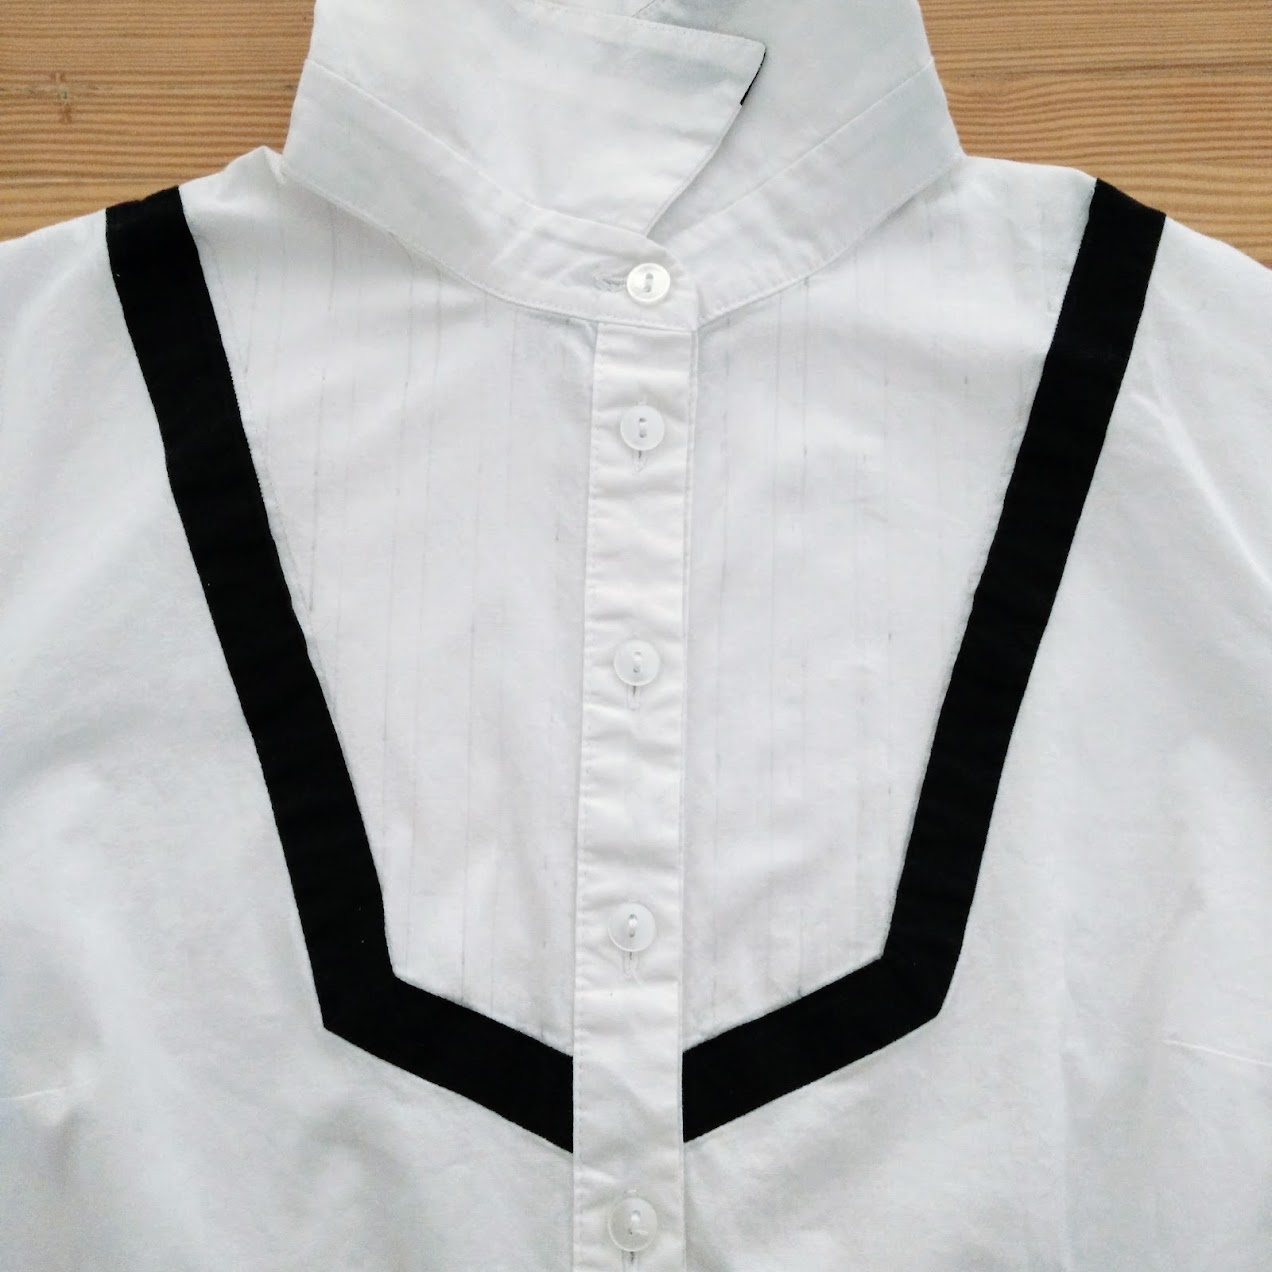
This white cotton ASOS shirt with black strip accent around the bib area is one of my favorites to wear. After several years, it started to lose its appeal. So I decided to plan a refashion / upcycling project with it. This happened within a week after I finished shibori dyeing my other white shirt :)
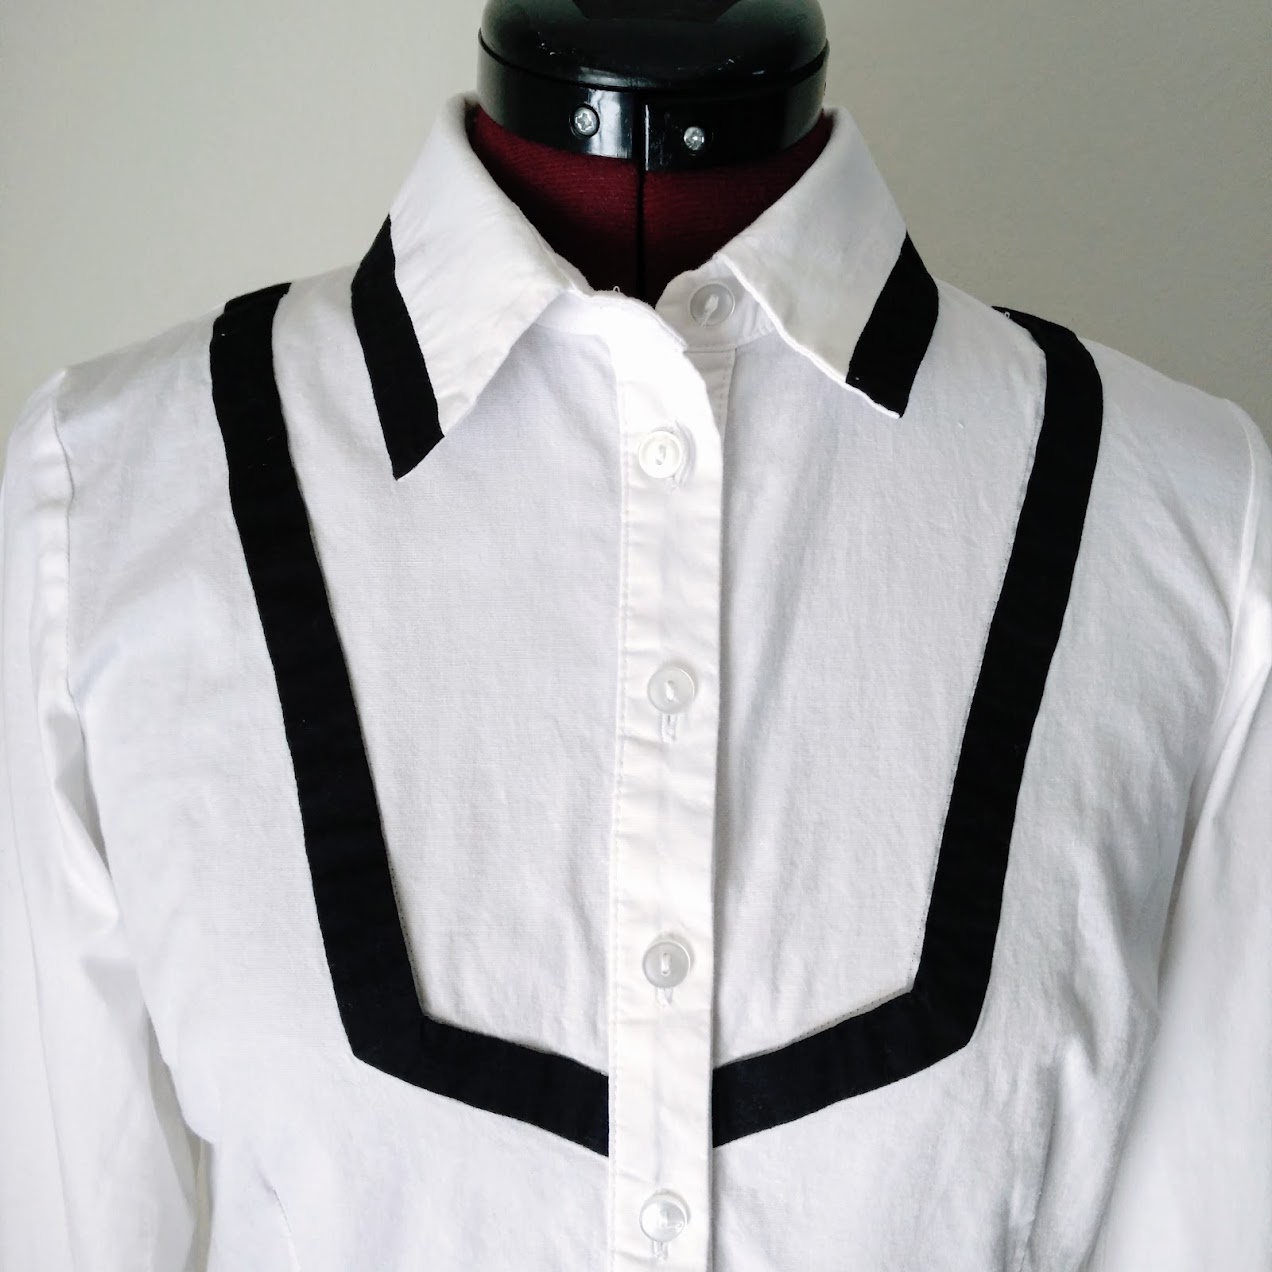
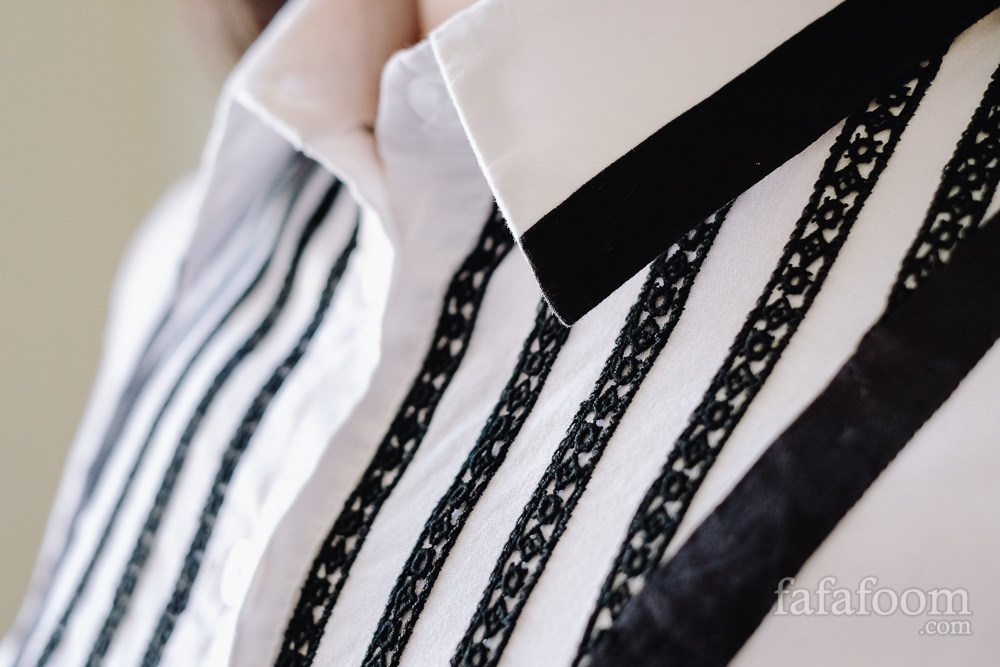
I want to keep the focal point to the bib area. I can enhance it a little bit, and keep the rest of the shirt alone to preserve its minimalist vibe.
My main challenge was deciding what kind of embellishment I want to create inside the bib area. After some experiments with different kinds of lace (I LOVE LACE), I settled with a black lace ribbon.
I got it from a local moving-out sale a while ago, and it’s perfect for this (relatively) quick DIY project. Long-time Fafafoom readers might notice that it’s the same lace ribbon I wore as a necklace to complement the refashioned corset belt on the first day of J-Pop Summit 2014.
Subscribe to my newsletter

DIY Lace Ribbon Bib Shirt Materials:
- My old ASOS shirt, washed and dried (pictured below)
- Black lace ribbon (approximately 3 yards), hand washed and dried)
- Mechanical pencil and ruler
- Seam reaper
- Sewing machine (mine is Brother CS6000i model)
- Needle and Black Thread (I used Schmetz Universal Needle Size 80/12)
- Needle and thread for hand stitching
- Iron and ironing board
- Aleene’s Stop Fraying Fabric Glue
As with any garment upcycling / refashioning project, it’s important to wash the garment first. It’s my personal preference to start working on an existing garment on a clean state.
And by the way, I was so glad that I got to use the sewing machine for 80% of the project. God knows how many hours I would spend if I had to attach the lace ribbon by hand stitching.
Using the sewing machine, I was able to limit my hand stitching work to finish the ribbon edges. So thank goodness!!!
Process
After the shirt was dry, I ironed the front of the shirt, focusing on the bib area so that it's as flat as possible without any crease. I also ironed the lace ribbon.
Just as expected, its length shrunk 10 - 15% compared to its pre-wash state. No matter, thankfully I had plenty of that lace ribbon so I didn't have to worry about running out of length in the middle of the project.
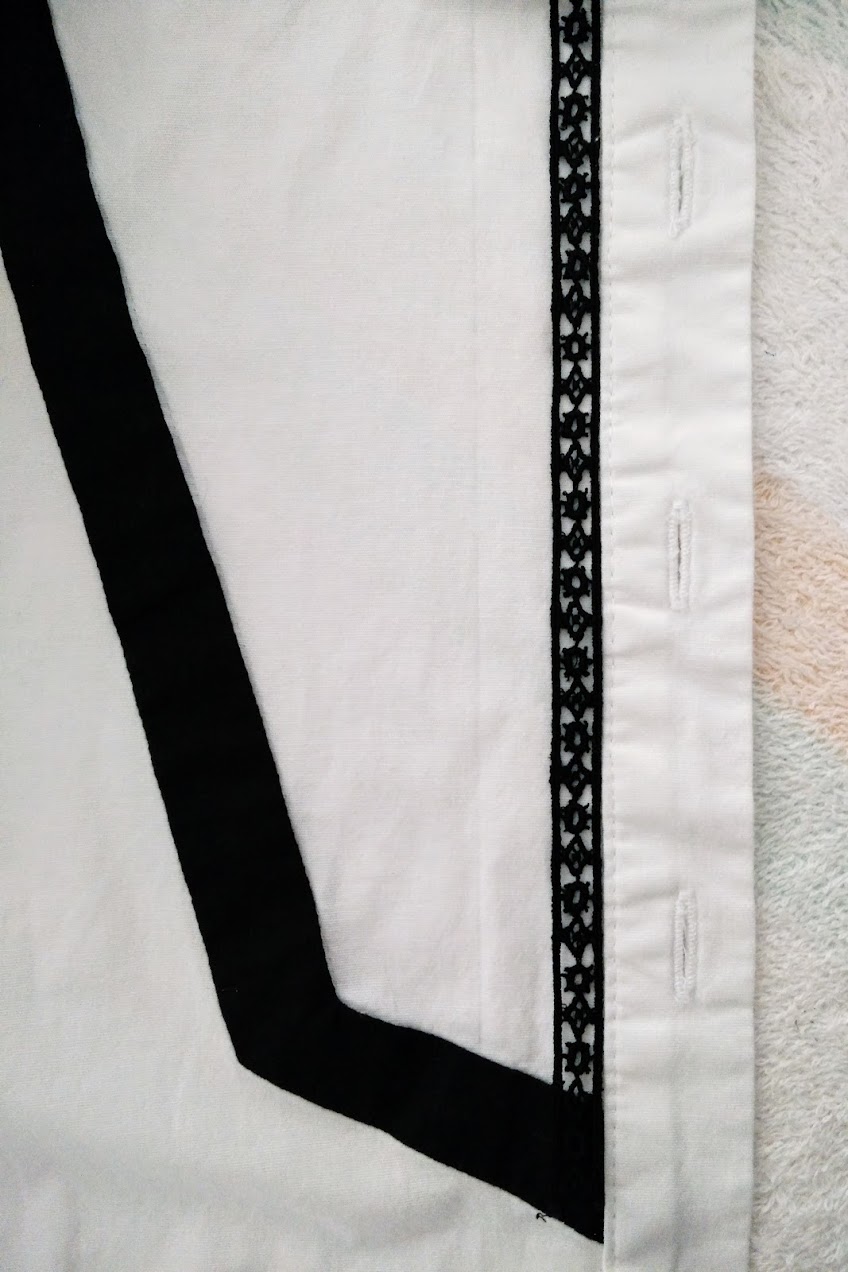
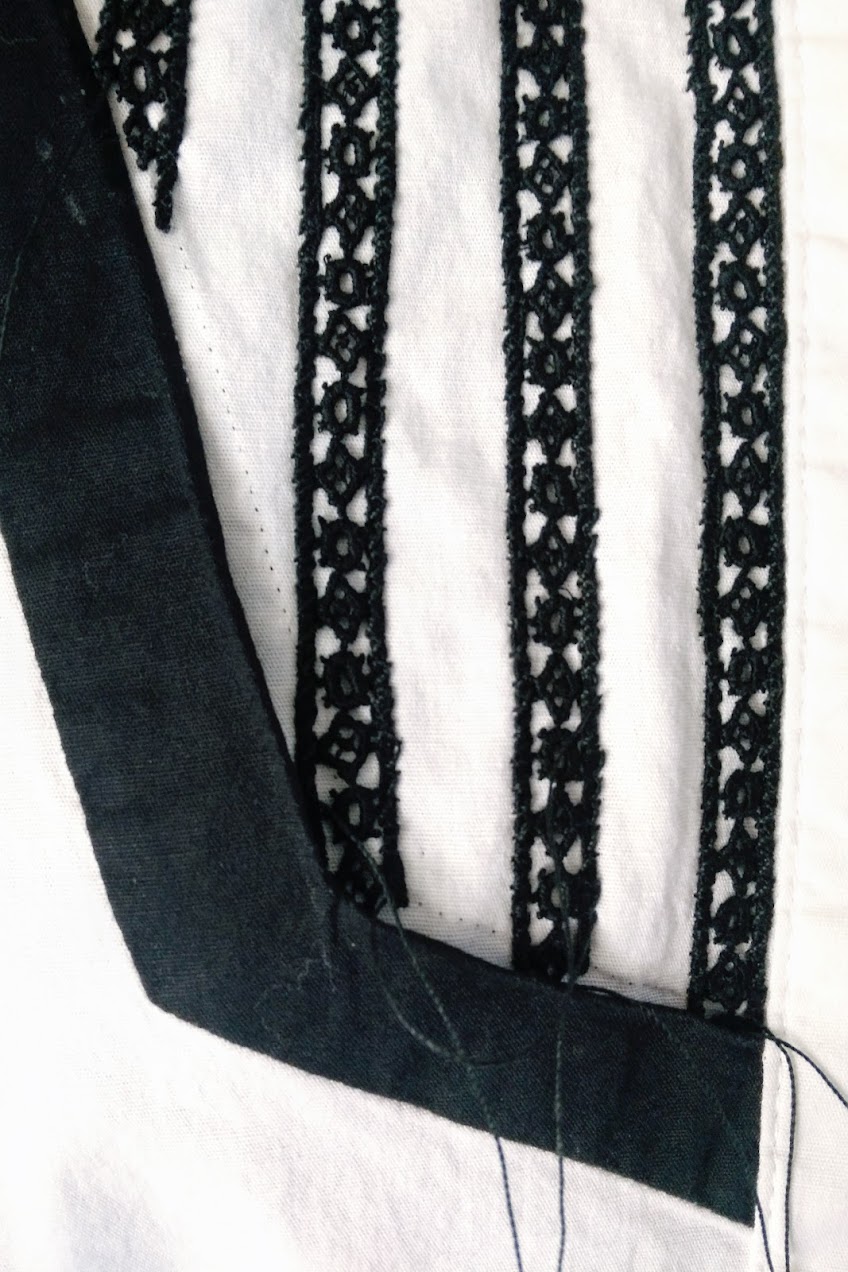
The first major thing I did was opening the inside seam of the black strip.
It's a little hard to see on the picture below, but I was able to open a 1/4" gap between the black strip and the white cotton fabric. The idea was to tuck in the bottom edge of the lace inside this gap for clean finishing.
Next, using a mechanical pencil and a ruler, I created "lanes" for the lace ribbon.
From the center of the shirt, I started making lines right next to the shirt placket. The lace ribbon lanes are half-inch apart from each other.
I made 5 ribbon lanes for each side of the shirt. In total, I needed approximately 36" of ribbon lace for this project.

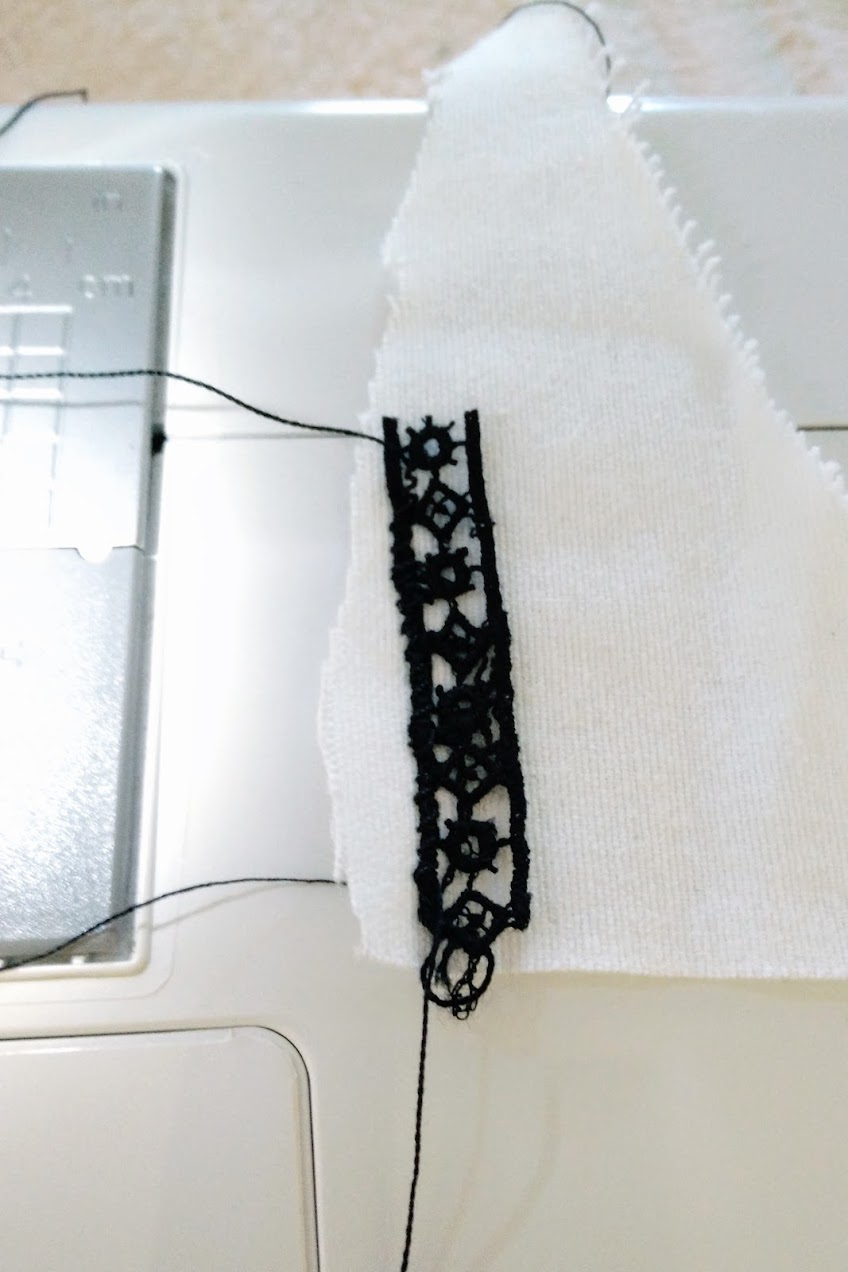
Once I was satisfied with how the lanes looked, I started testing which machine stitch I need to use to apply the ribbon lace.
Long story short, I settled with using a built-in knit stitch (stitch length: 3.5 mm; width: 2.0 mm) to attach the lace ribbon strips to the shirt. I tested this with a scrap of muslin and a small piece of ribbon first.
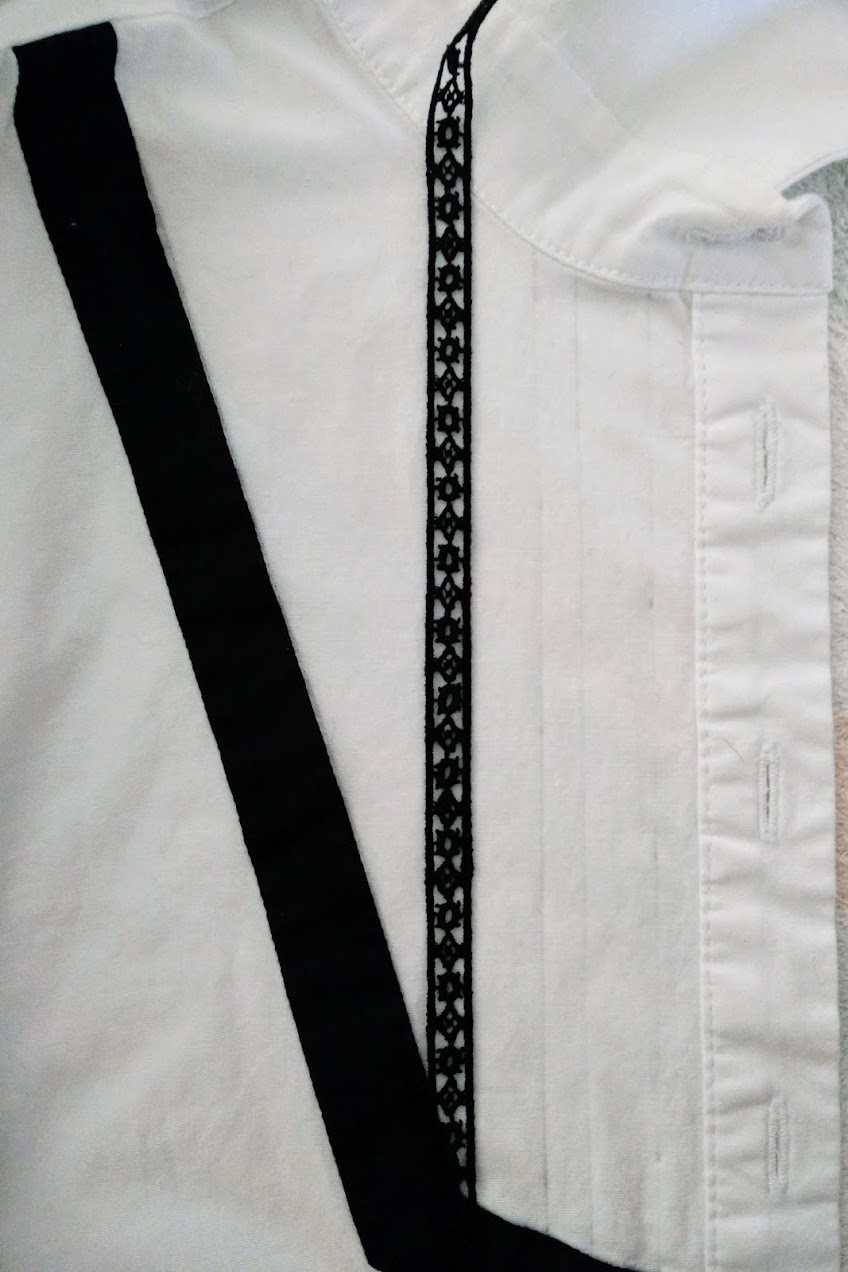
From here on, I basically started stitching the lace ribbon to the shirt, one lane at a time. Using the sewing machine's slowest speed, I made sure the upper thread wrapped around the ribbon's side edge. Each lace ribbon is attached to the white shirt on both sides so they're securely fastened.
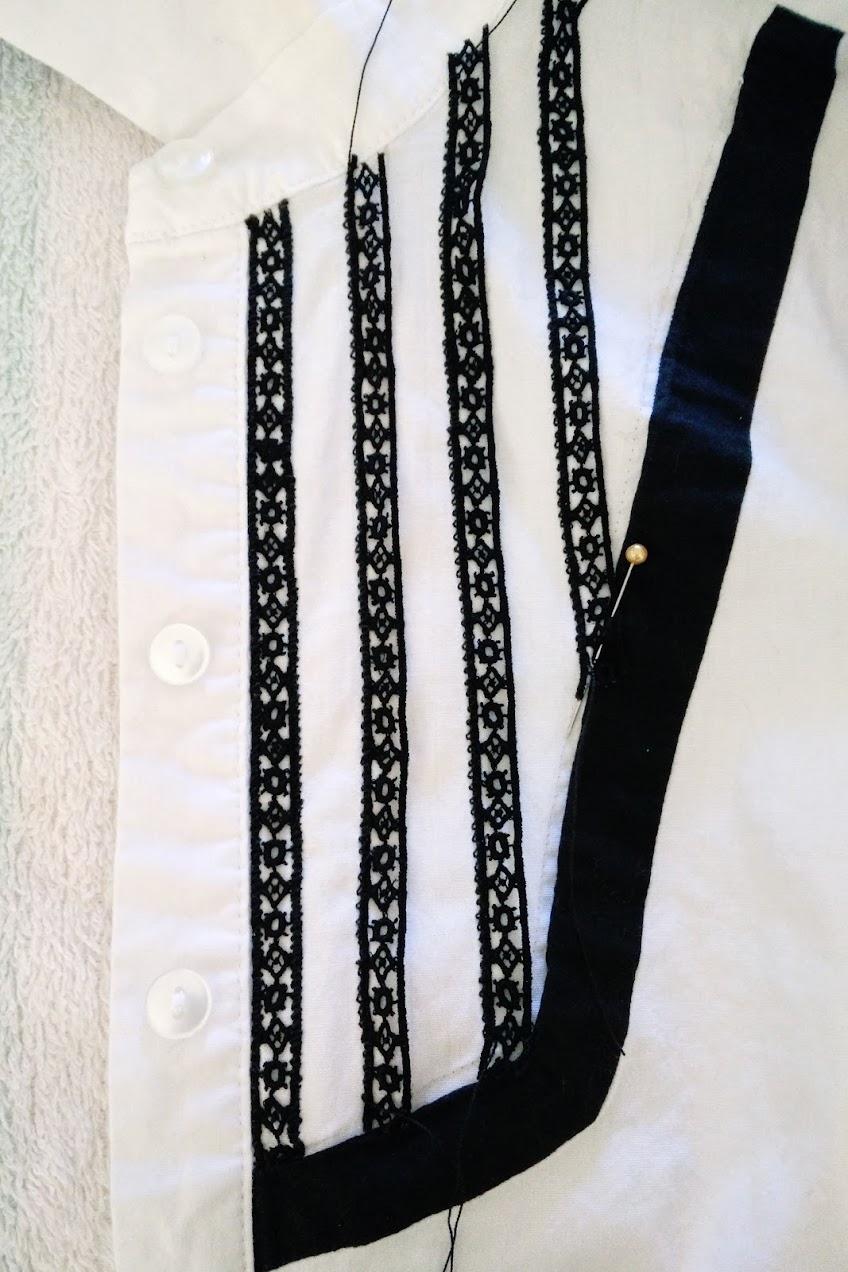
Here's how it looked when I was almost done with the shirt's left side.

After each lace ribbon was stitched, I applied little dots of Aleene's Stop Fraying Fabric Glue on the top and bottom loose edges of the lace ribbon to stop them from fraying.
After several minutes had passed, I hand stitched the top and bottom edges so the ribbons are completely secured to the shirt on all sides.
It's a little tedious, but very straightforward. Here's how it looked when I was working on the shirt's right side.
Last but not least, I closed off the gap between the black strip and the shirt!
I made sure all the bottom edges of the lace ribbons are tucked in properly before running a straight stitch with my sewing machine.
Here's how the shirt's bib area look after all the work is done!
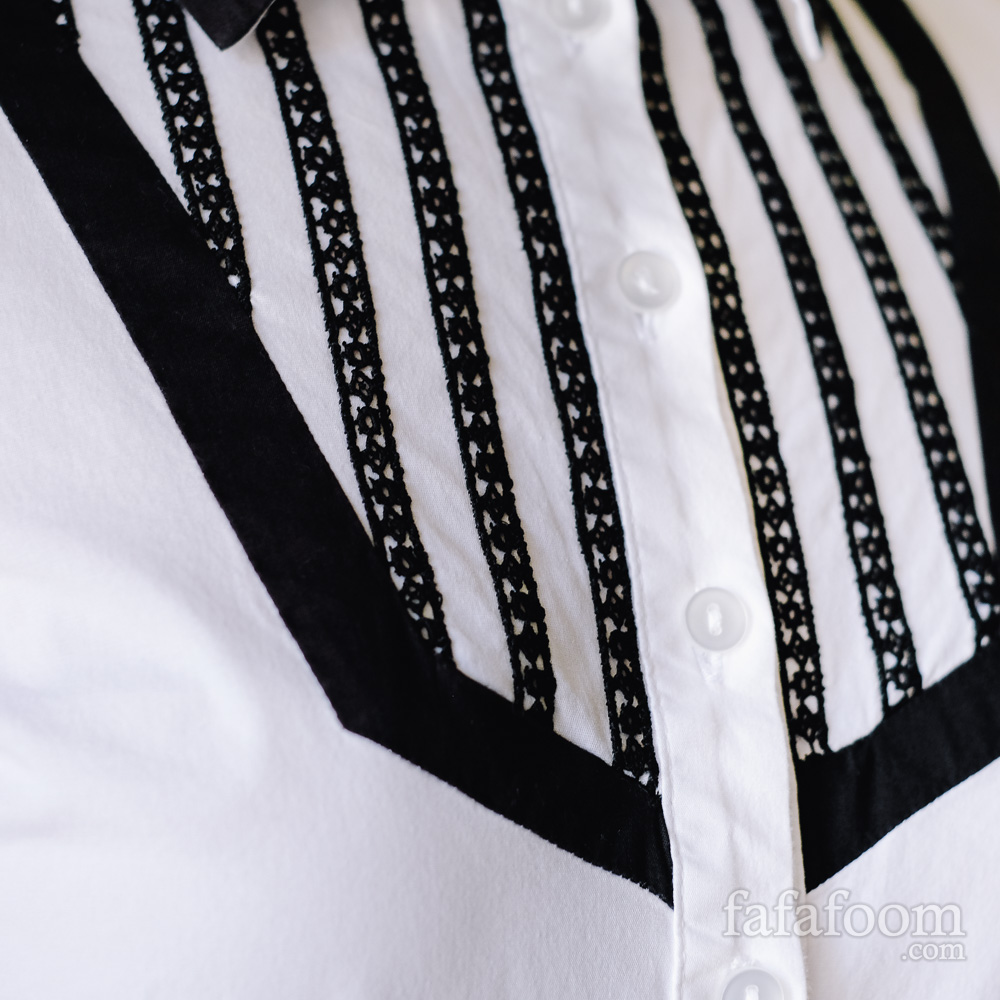
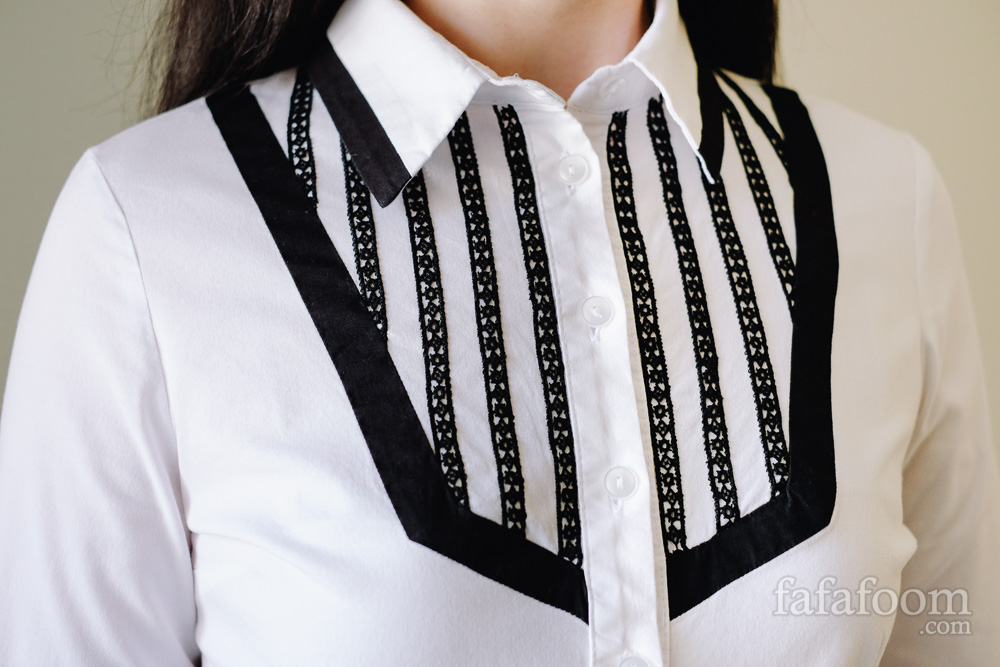
Result: DIY Lace Ribbon Bib Shirt
And that's it! I ironed the shirt one more time, and it's ready to wear. I'm happy that the shirt looked newly polished with the lace ribbon lanes. More importantly, I'm glad that the minimalist vibe of this black and white is preserved.
What do you think? Upcycling / refashioning old tops are always fun, right?


Thanks for reading; until next time,
Musank
Disclaimer: I may earn a small commission for my endorsement, recommendation, testimonial, and/or link to any products or services from this website. Thank you for your support!
Never Miss a Post
Enter your email below to receive the latest Fafafoom Studio post in your inbox.

Browse more posts
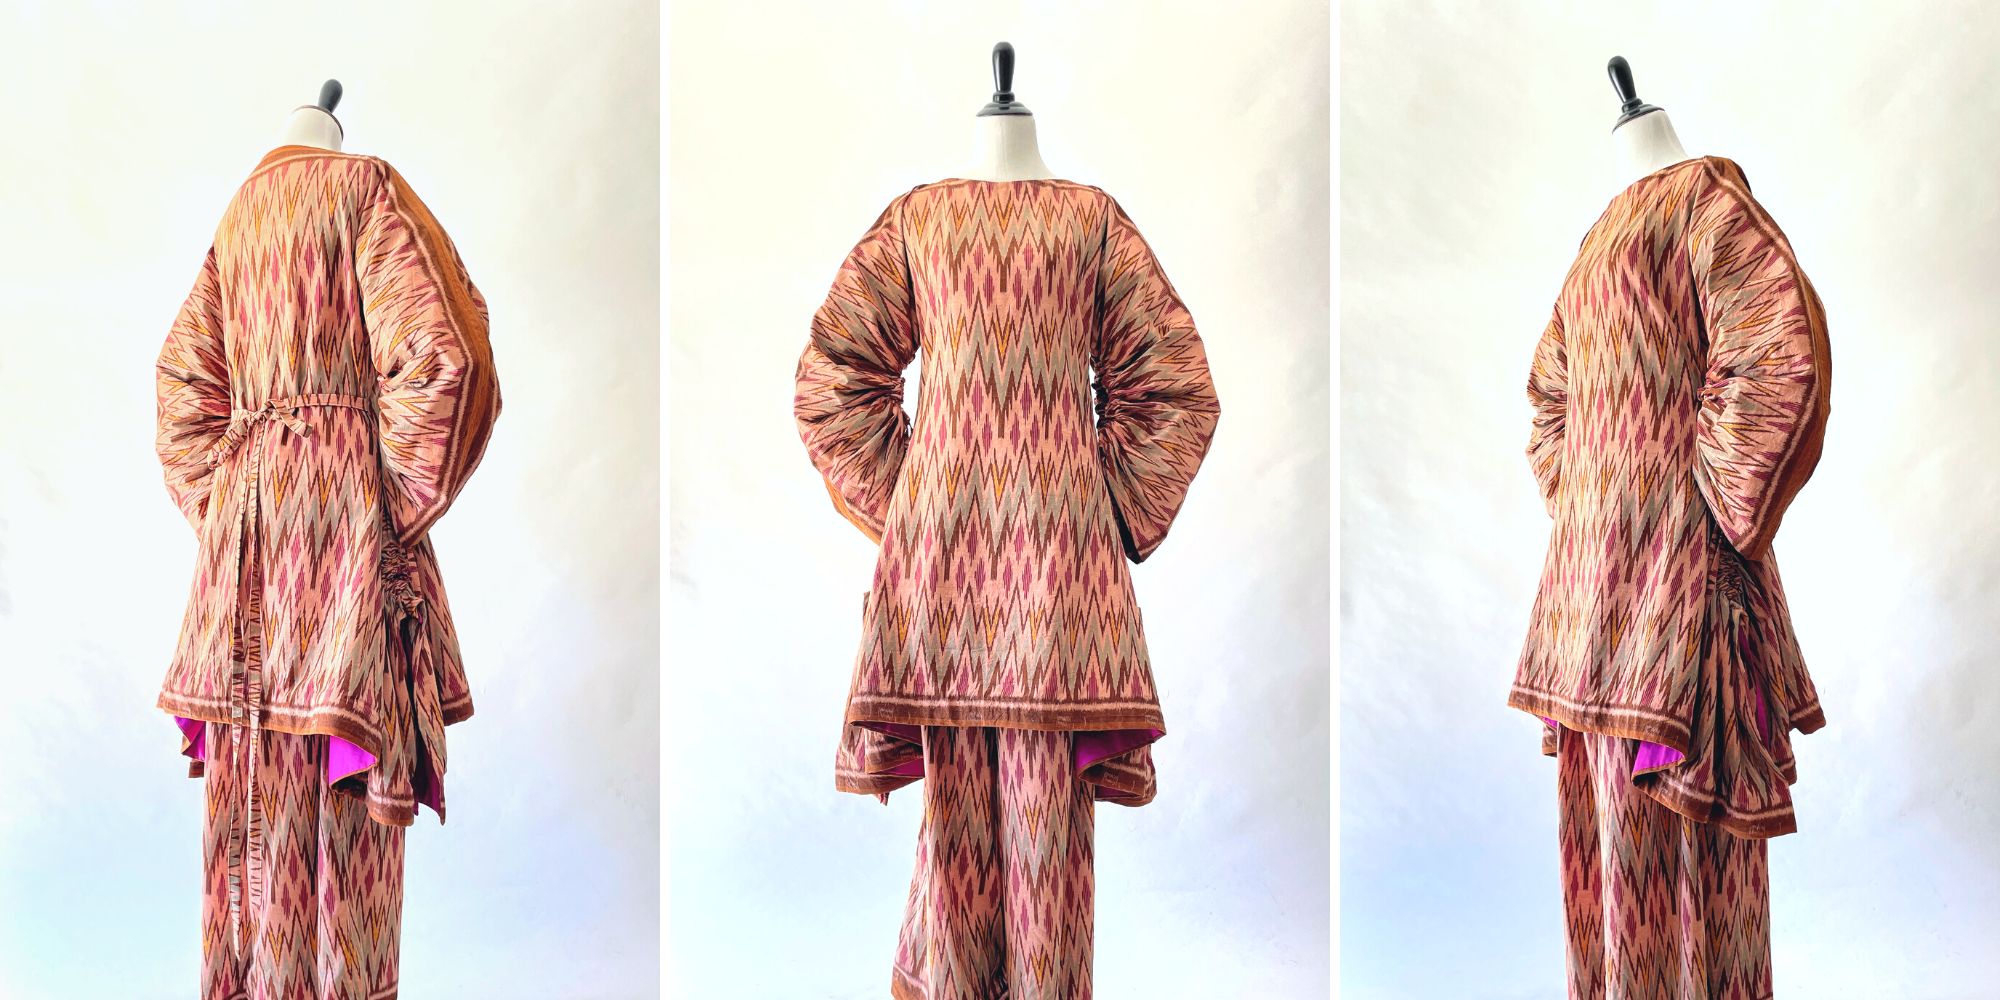
Interpreting Kebaya, Making a Modern Ethnic Ensemble
Modern Ethnic outfit is my interpretation of kebaya dressing. They are made using vintage ikat textile and inspired by several free minimal-waste patterns. Only on fafafoom.com.
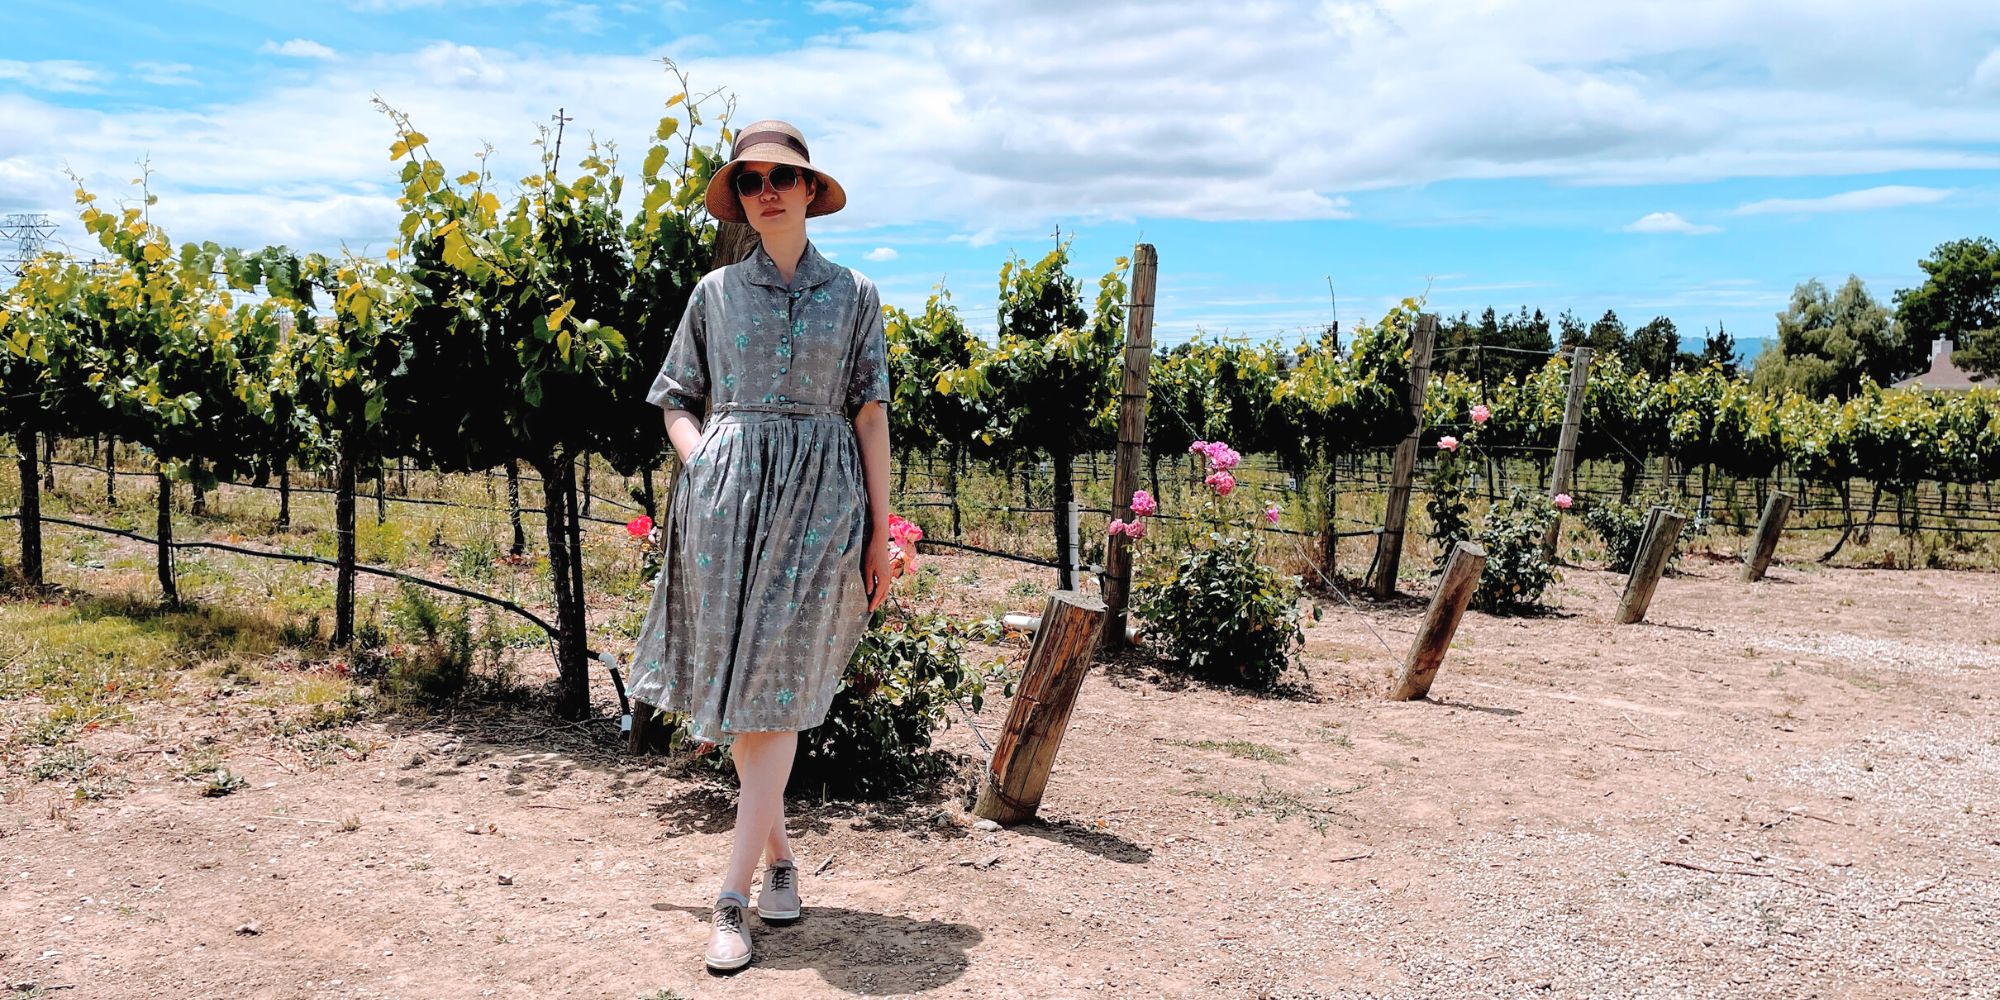
Restoring a 1950s Atomic Age Dress
Restoring and repairing a beautiful 1950s Dress for my summer 2022 wardrobe. Smart alterations include lining and inseam pockets. Only on fafafoom.com.
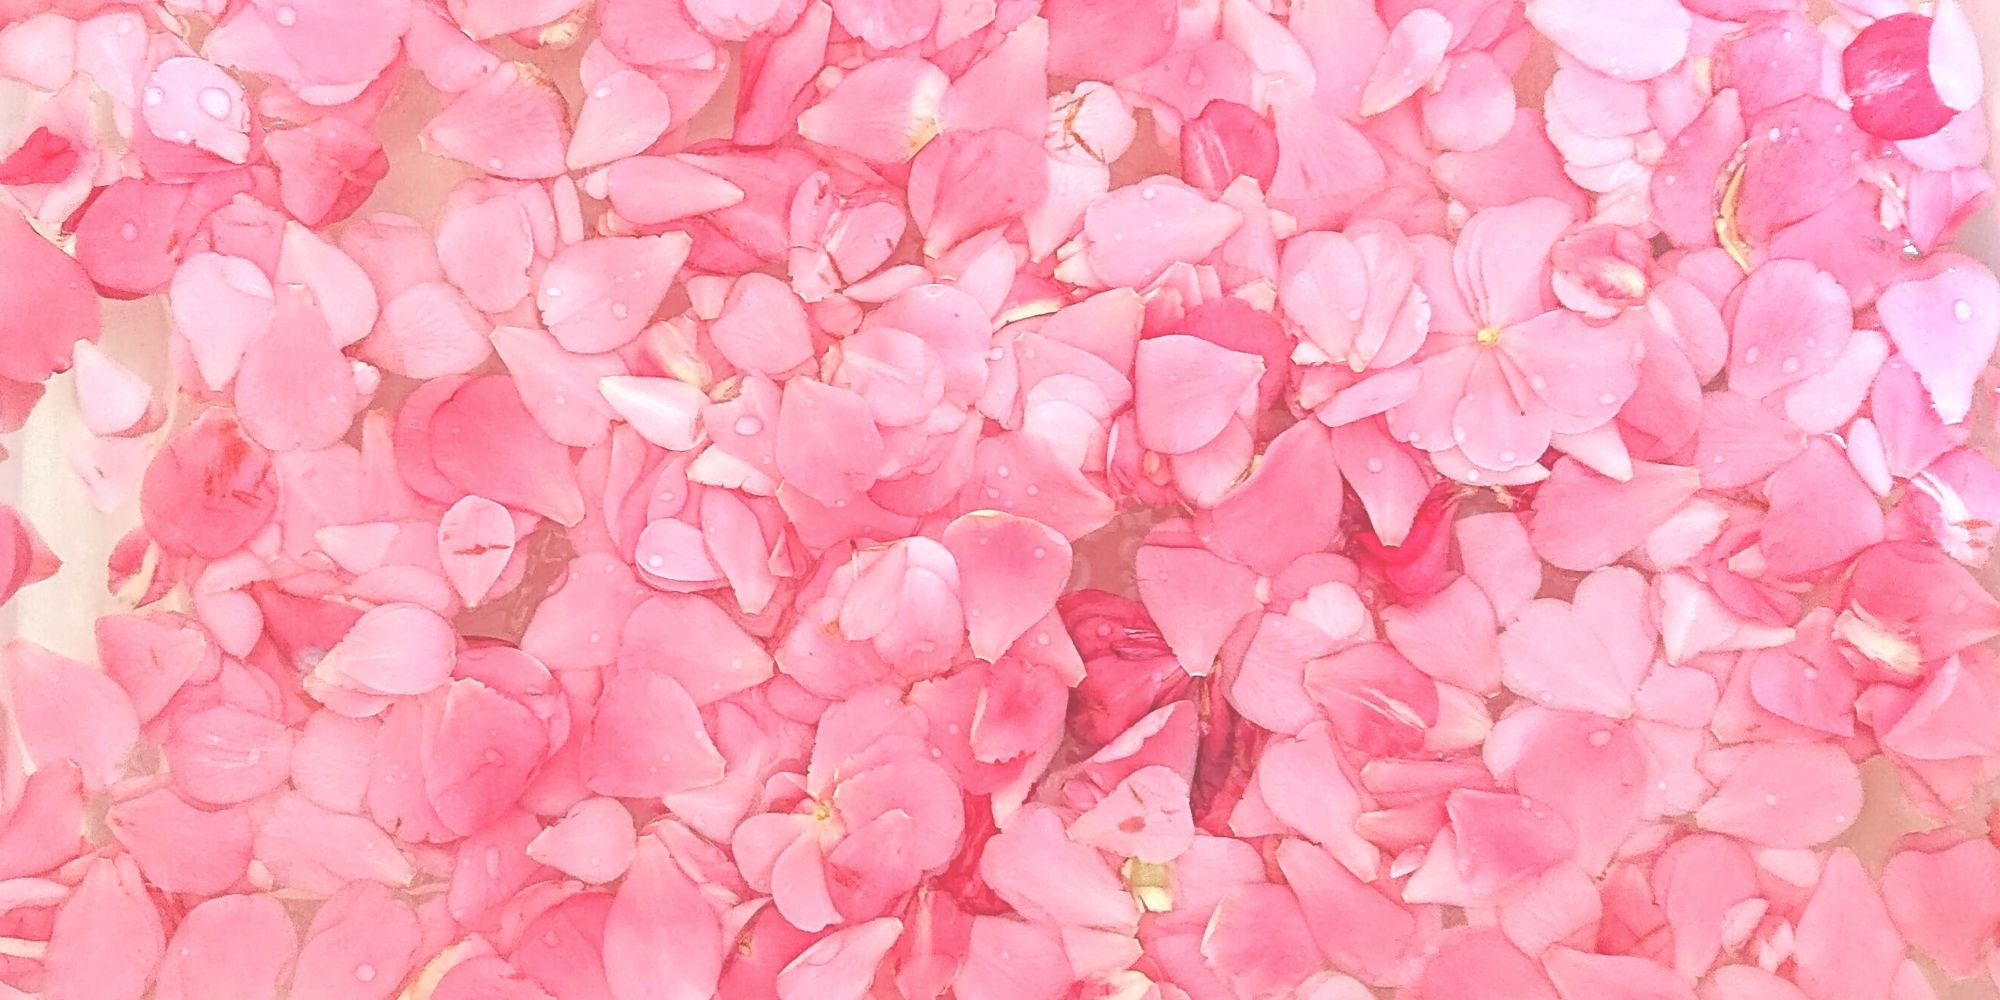
Pink Delight! Natural Dyeing with Camellia Flowers
My next experiment is dyeing with camellia flowers. Amongst all natural dyeing projects I have done so far, this is my favorite. Check out the pink delights! From fafafoom.com.
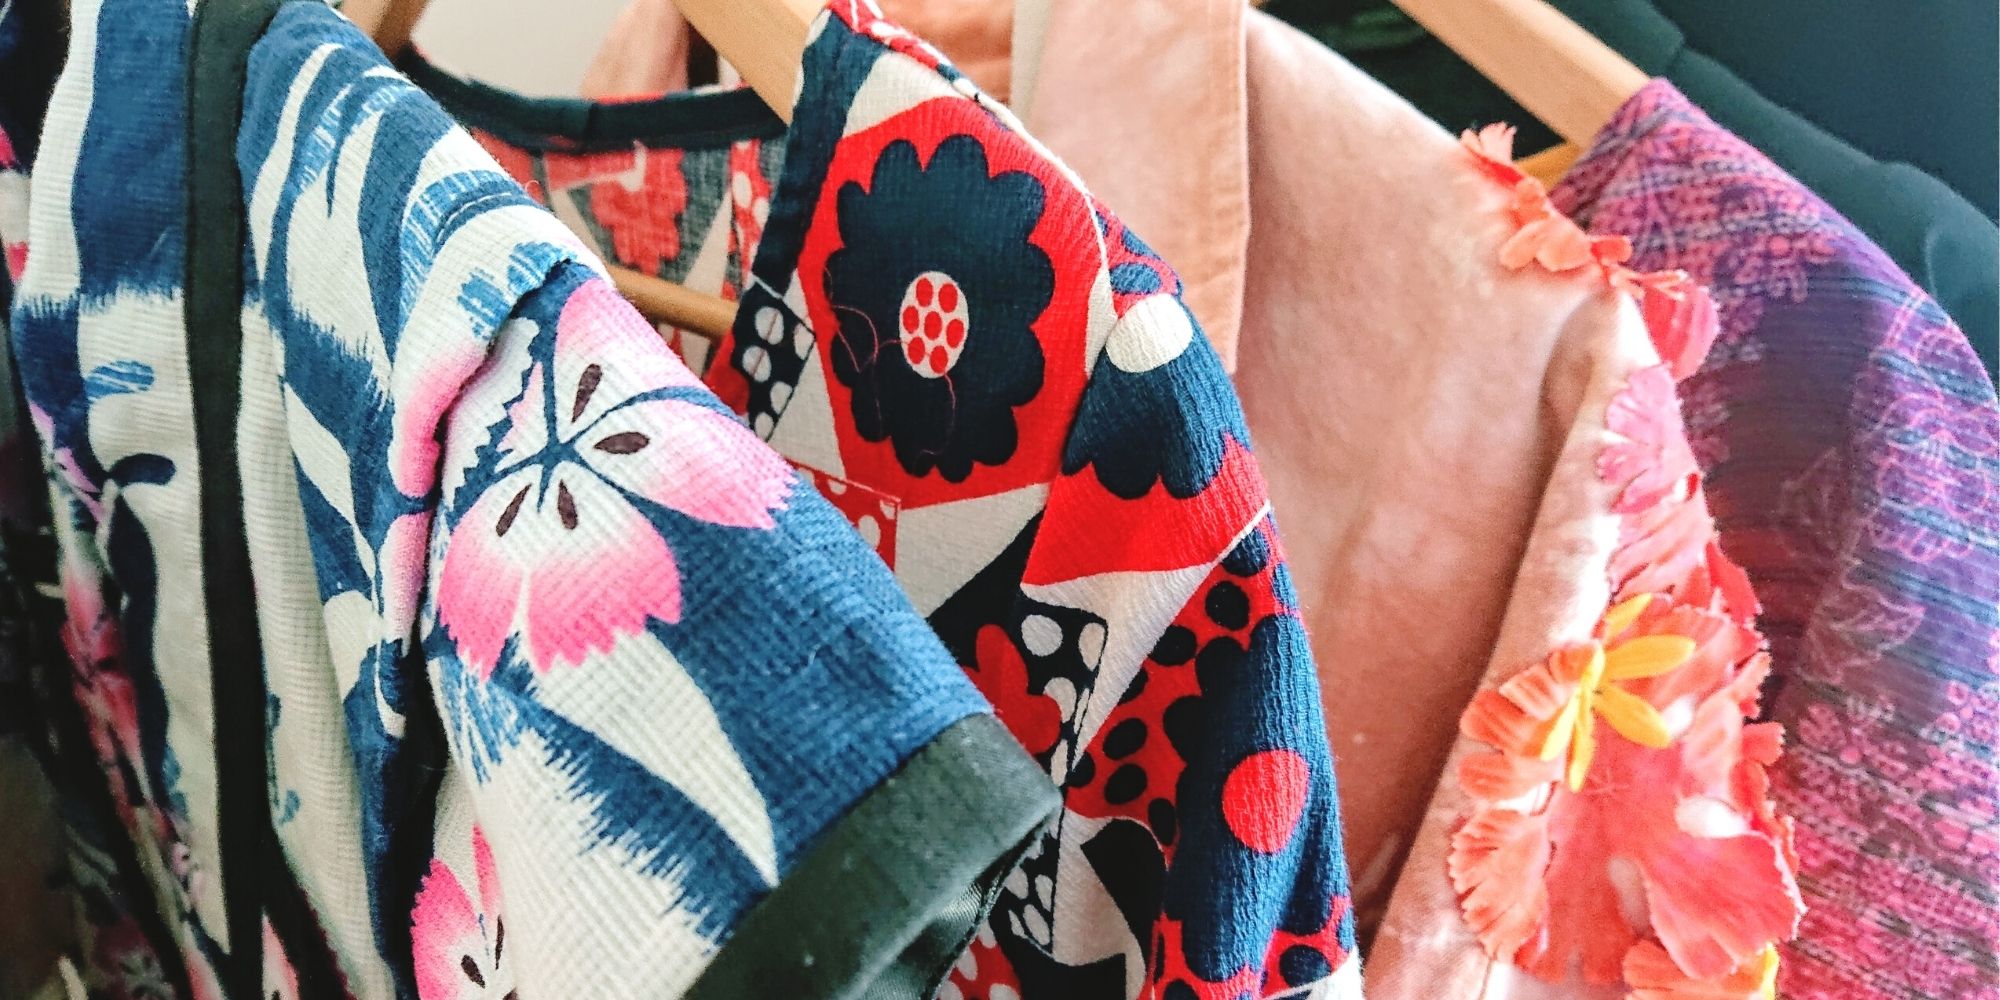
5 Slow Fashion Tips for a More Sustainable Wardrobe
Five slow fashion tips to help you transform your sustainable wardrobe for a cleaner, greener future. A guest feature from Reese Jones for Fafafoom.com.
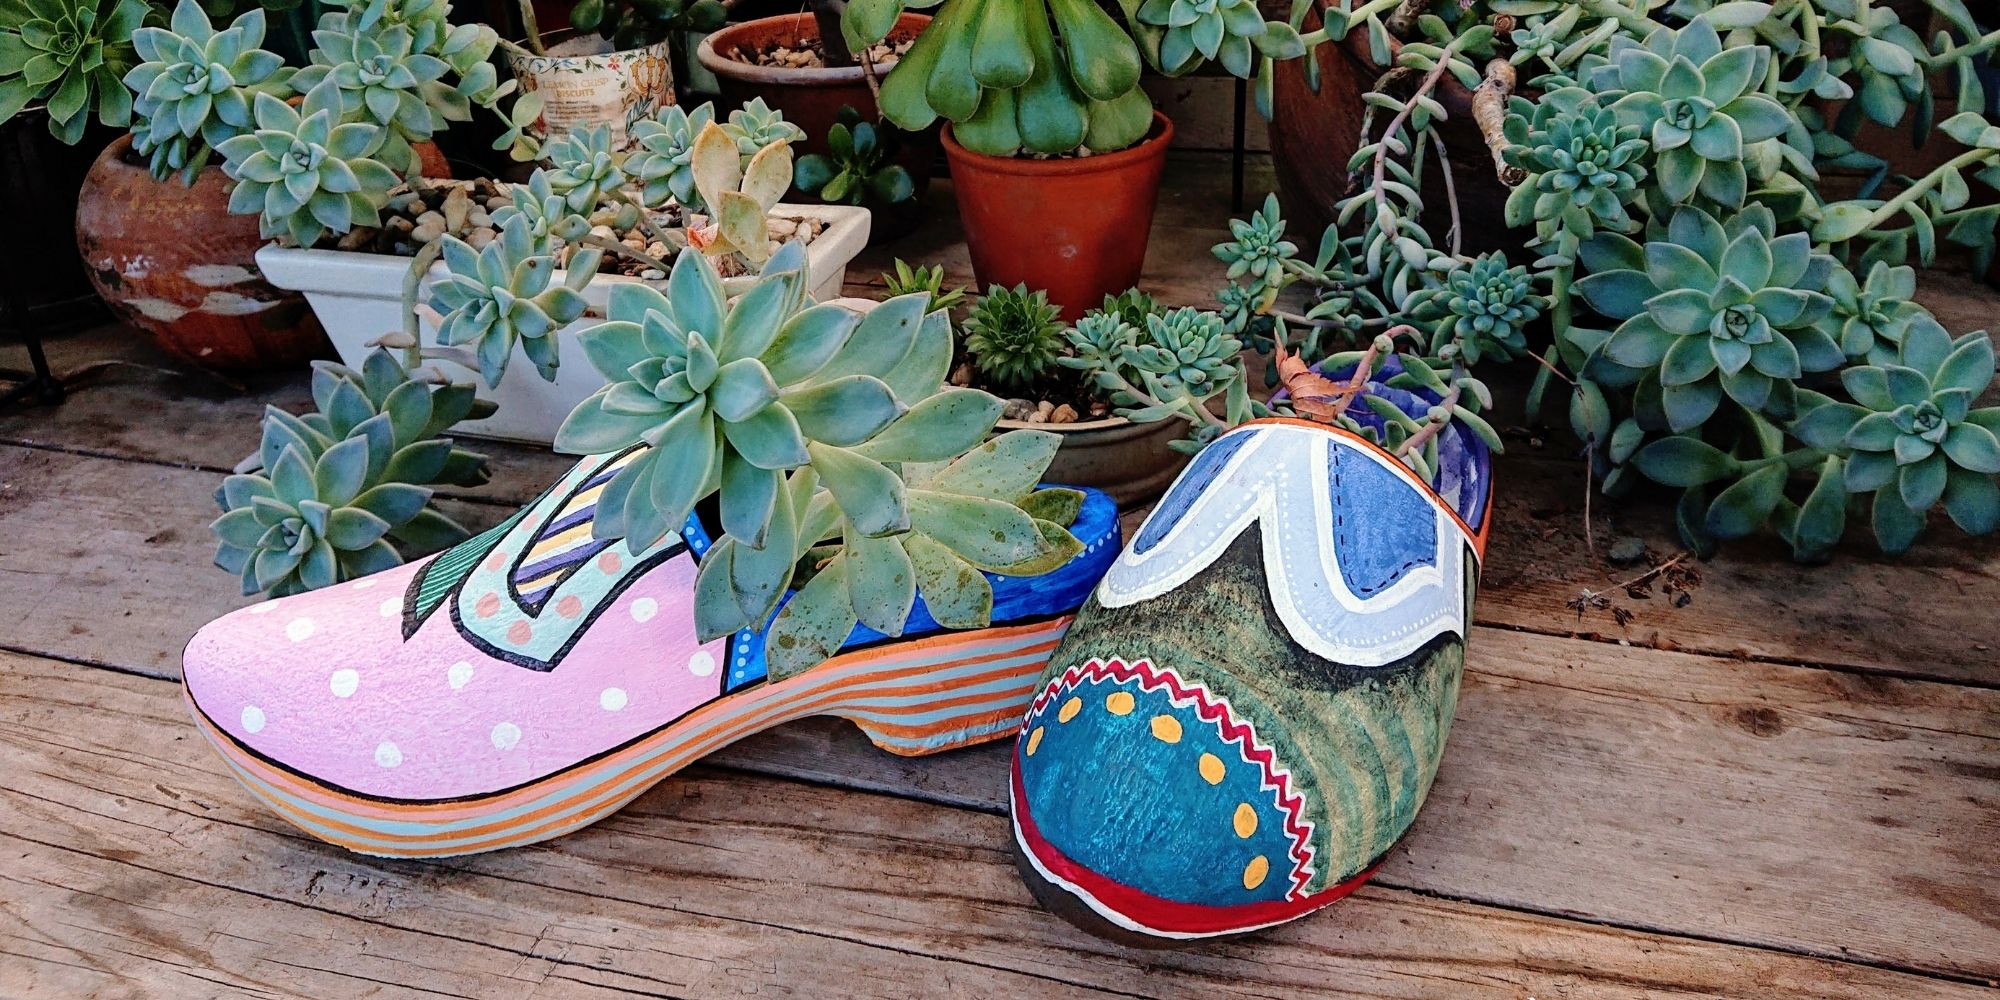
Upcycling and Repairing Ideas for Garden Decor
The garden has become a special place, especially during Covid-19 pandemic. During shelter-in-place period, I made garden decors by upcycling locally sourced items.
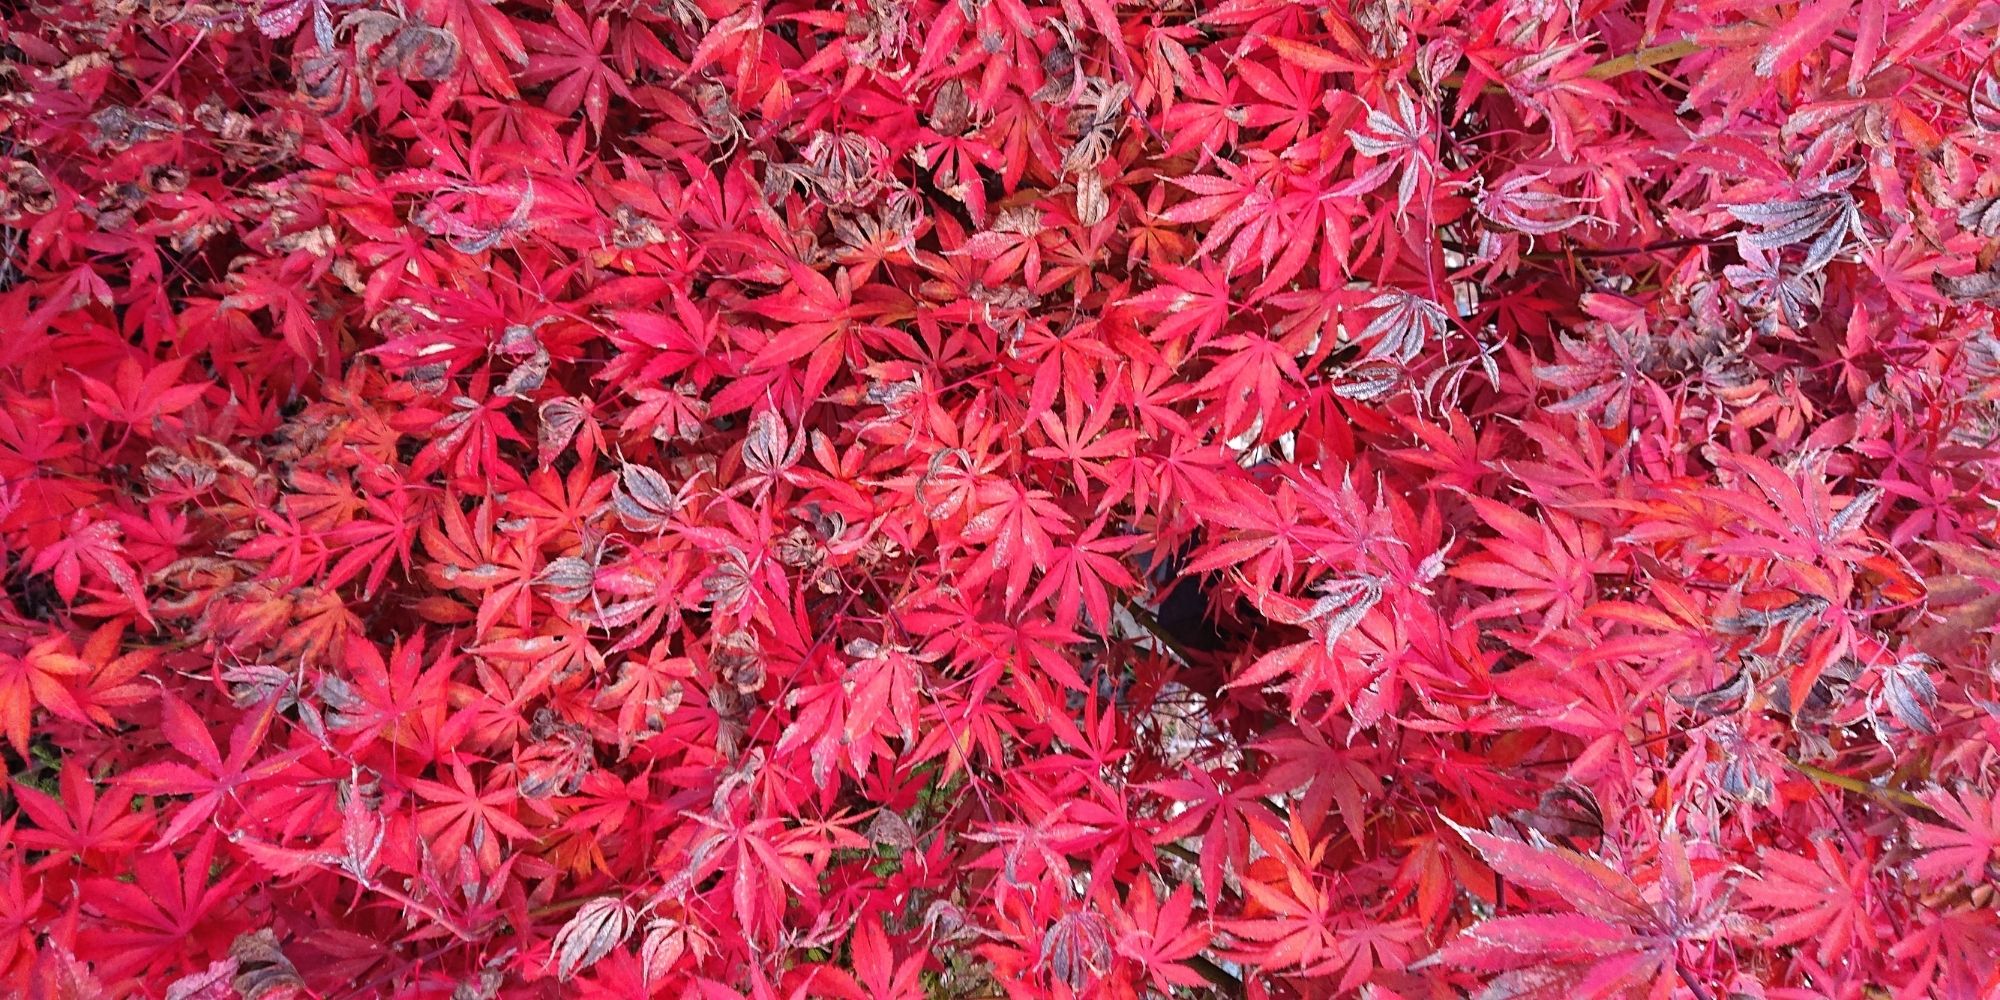
Natural Dyeing with Japanese Maple Leaves: Notes from a First-timer
Notes from my first natural dyeing experiment with Japanese maple leaves in fall season. Three batches of dyeing using fallen leaves sourced from two different trees in the garden. So much to learn and enjoy afterwards.