
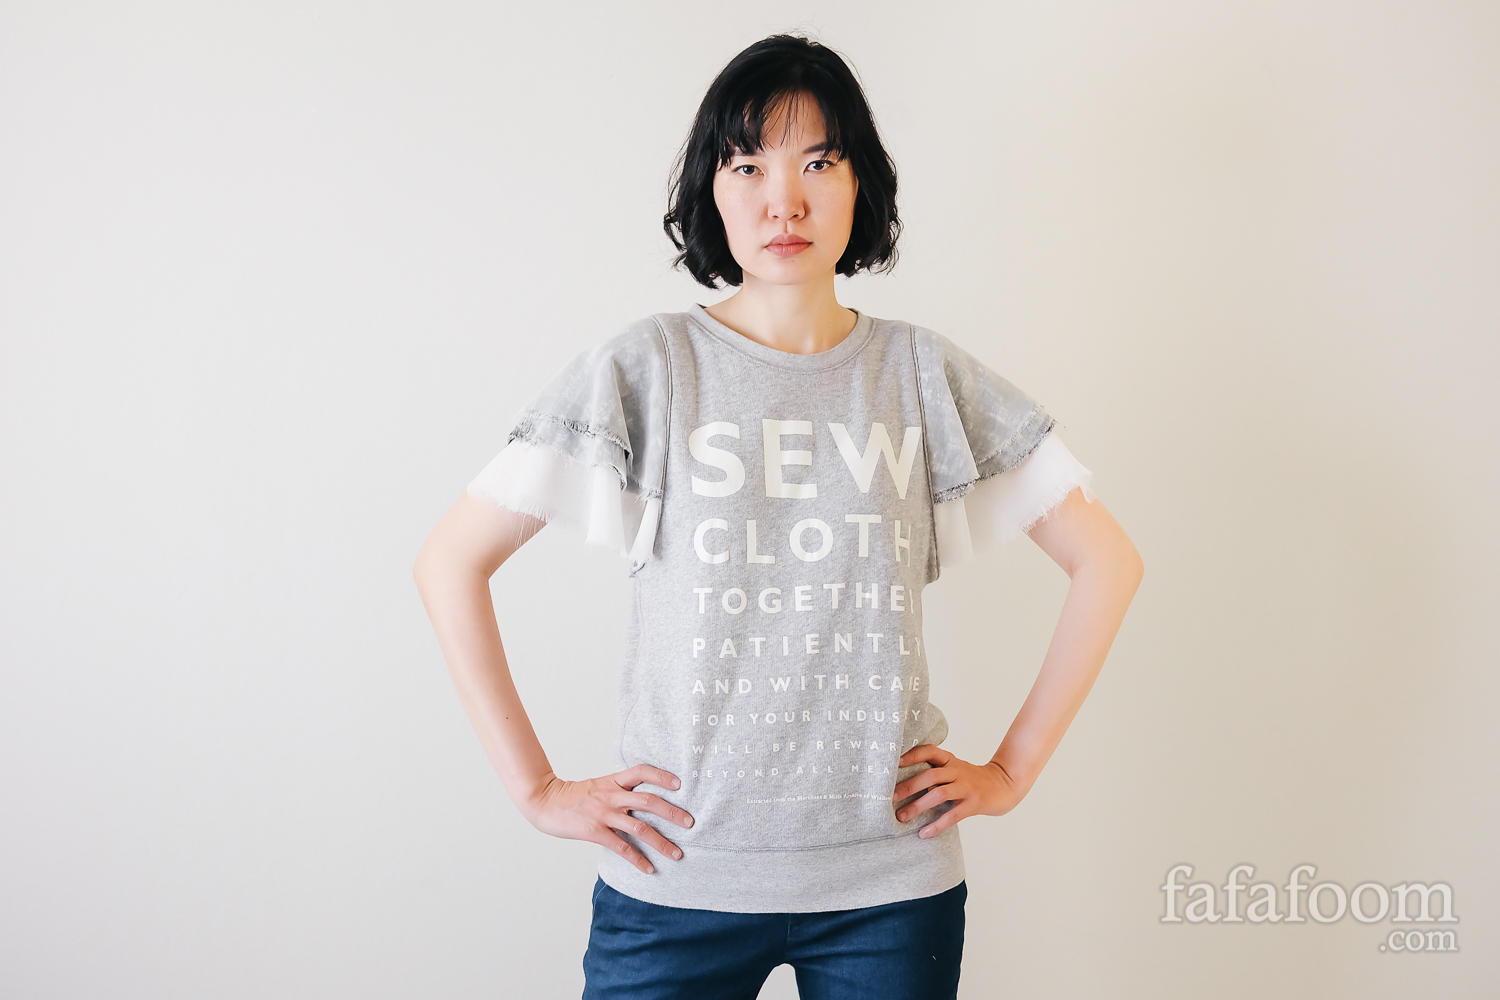
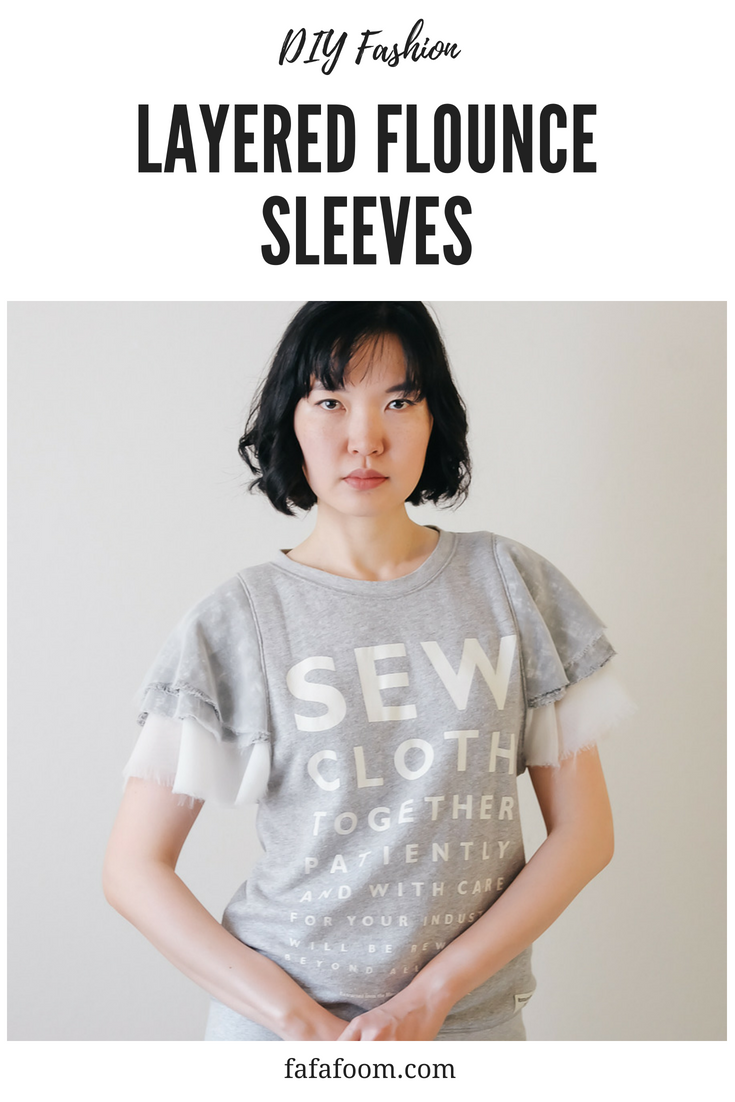
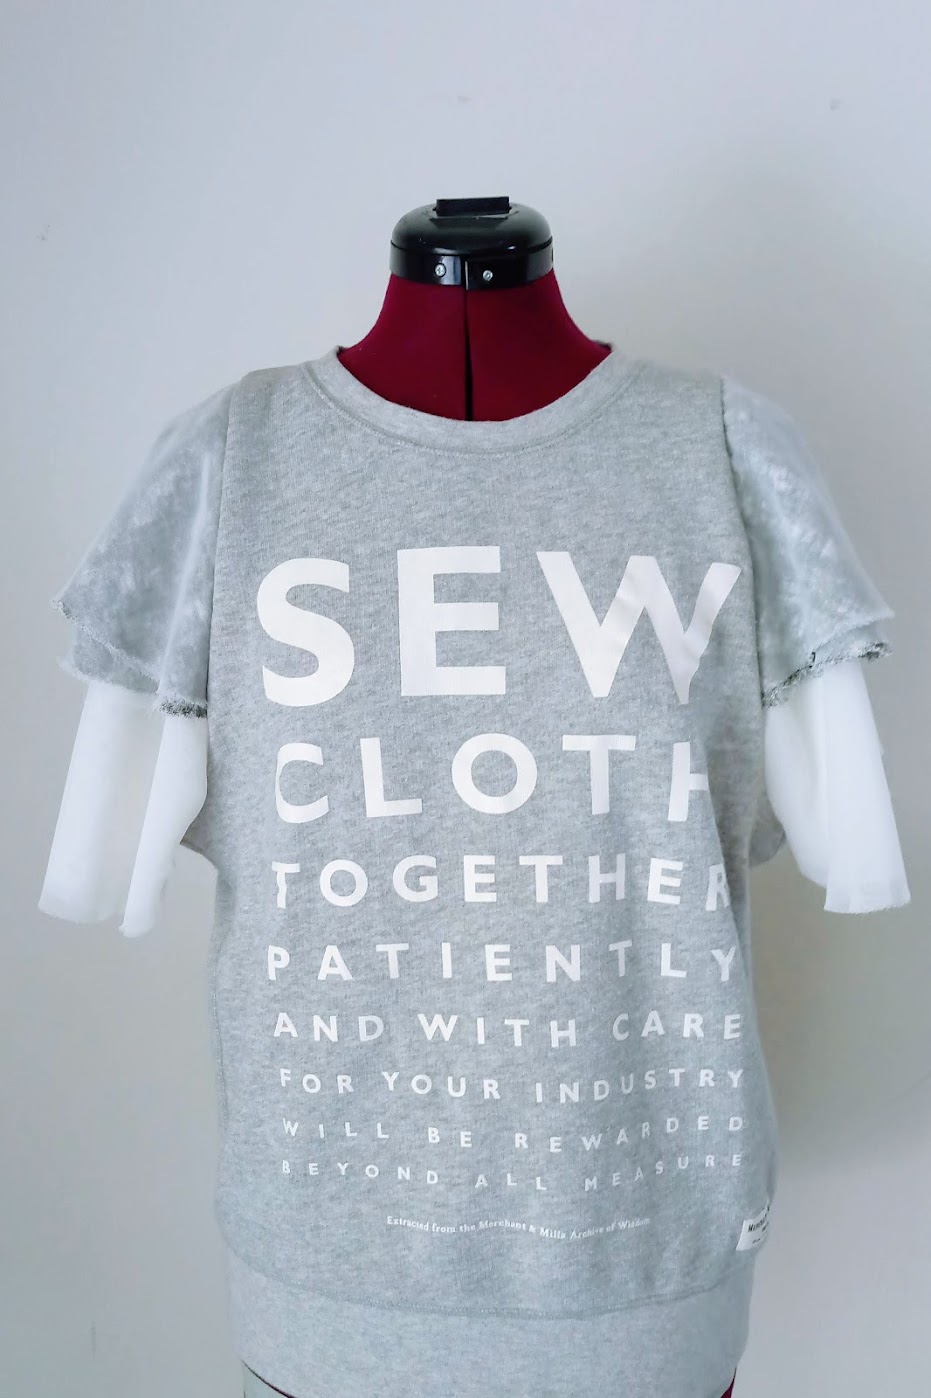
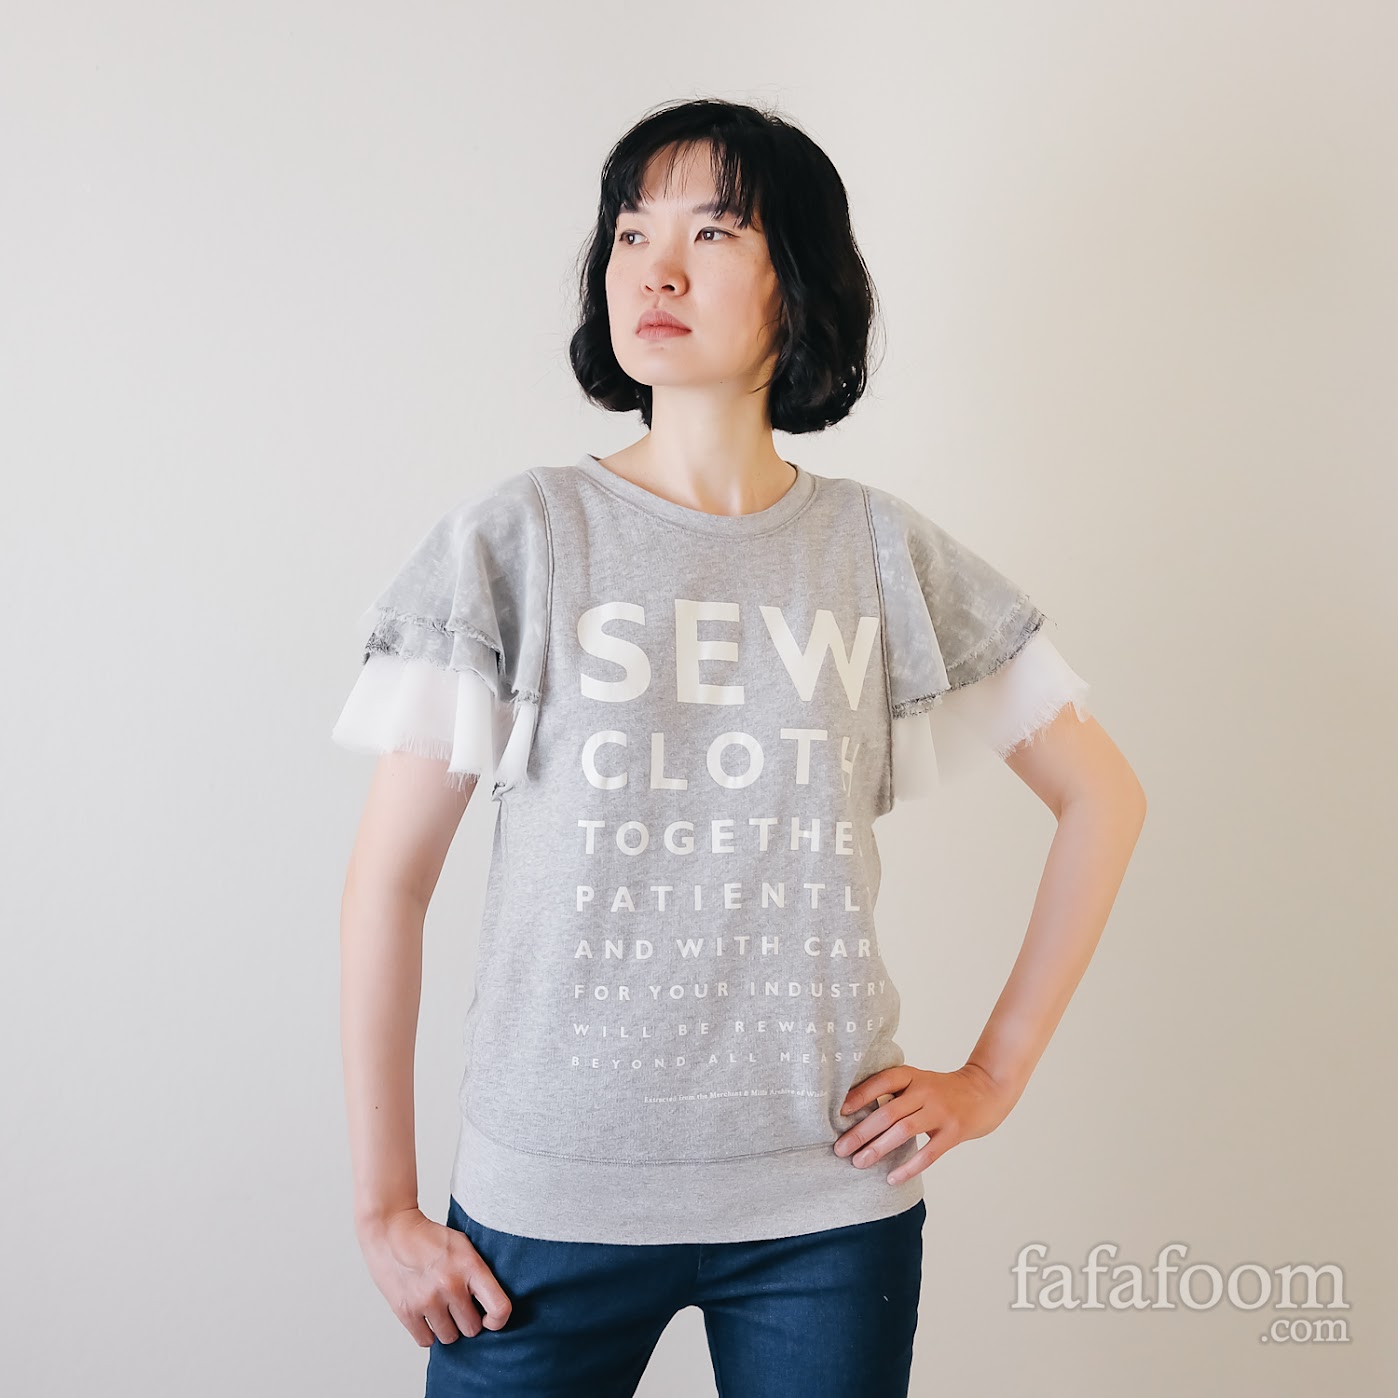
An old sweatshirt got a style upgrade with layers of knit and chiffon remnants cut into petal-shaped flounces. The new sleeves infuse the garment with an understated, casual elegance!
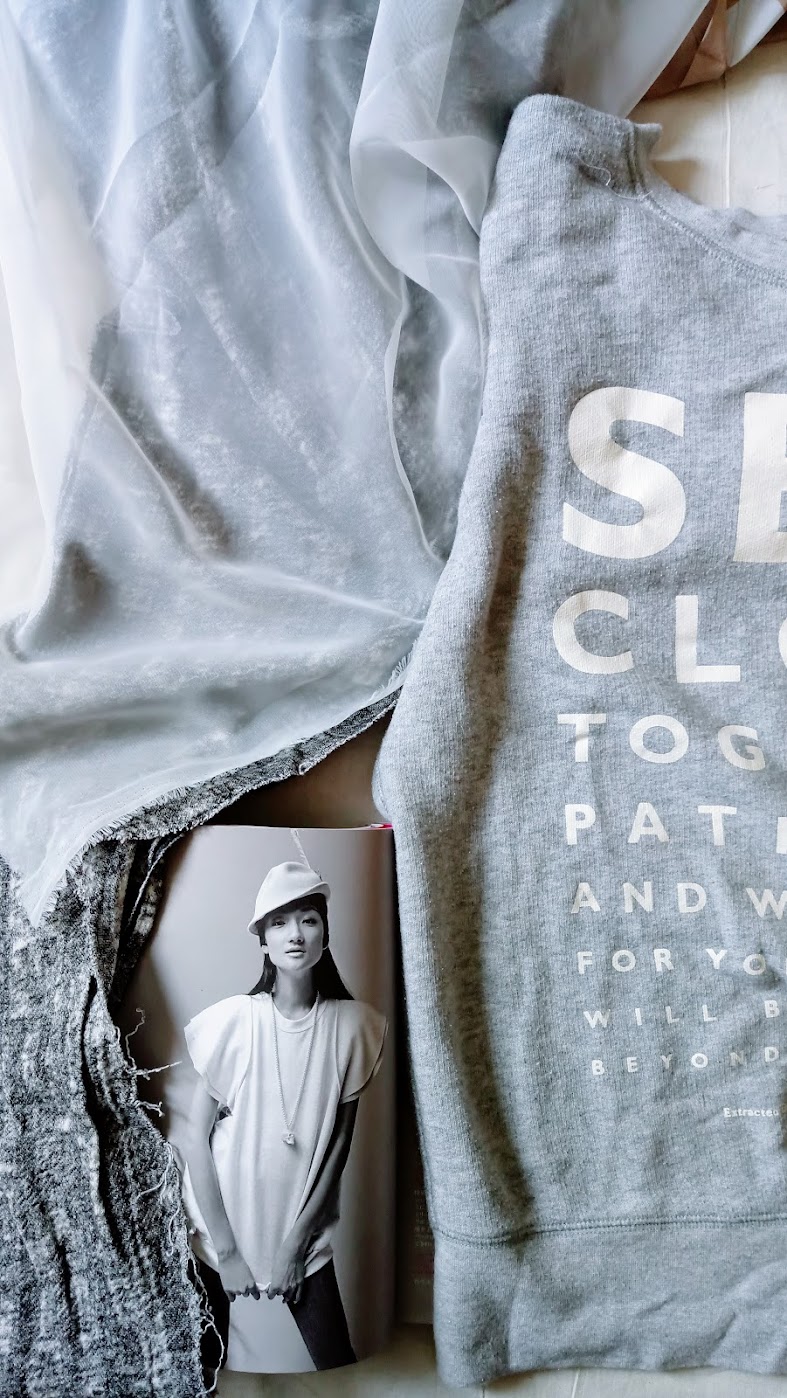
Oh, what more can I say? I really, really, really, really, really, really like Koko Yamase’s garment refashion book “Kakkoii Couture Remake” (English version: Cut-Up Couture: Edgy Upcycled Garments to Sew). This sewing project marks my 8th one inspired from the book’s inspiring pool of garment refashions.
That said, I put my own spin into making the layered sleeves. I incorporated fabrics outside of the original sweatshirt into making these sleeves, as well as subtly sloping additional layers for a more balanced proportion. Let’s go!
Subscribe to my newsletter
DIY Layered Flounce Sleeves Materials:
- One Uniqlo x Merchant & Mills sweatshirt
- Gray and white cotton knit fabric remnants
- Ivory polyester chiffon fabric remnants
- French curves, pencil, ruler, paper scrap for pattern drafting
- Tracing paper and cotton fabric scrap for pattern copying
- Tailor’s chalk
- Sewing machine (mine is Brother CS6000i model)
- Ivory and black threads, plus sewing needle (I used Schmetz Universal Needle Size 80/12)
- 1/2 in. white elastic remnant
Moreover, I washed my fabric materials before working on them to prevent unexpected shrinkage. Not every fabric can have this treatment of course, but the fabric remnants I used for this sewing project were fine with light hand washing.
Process:
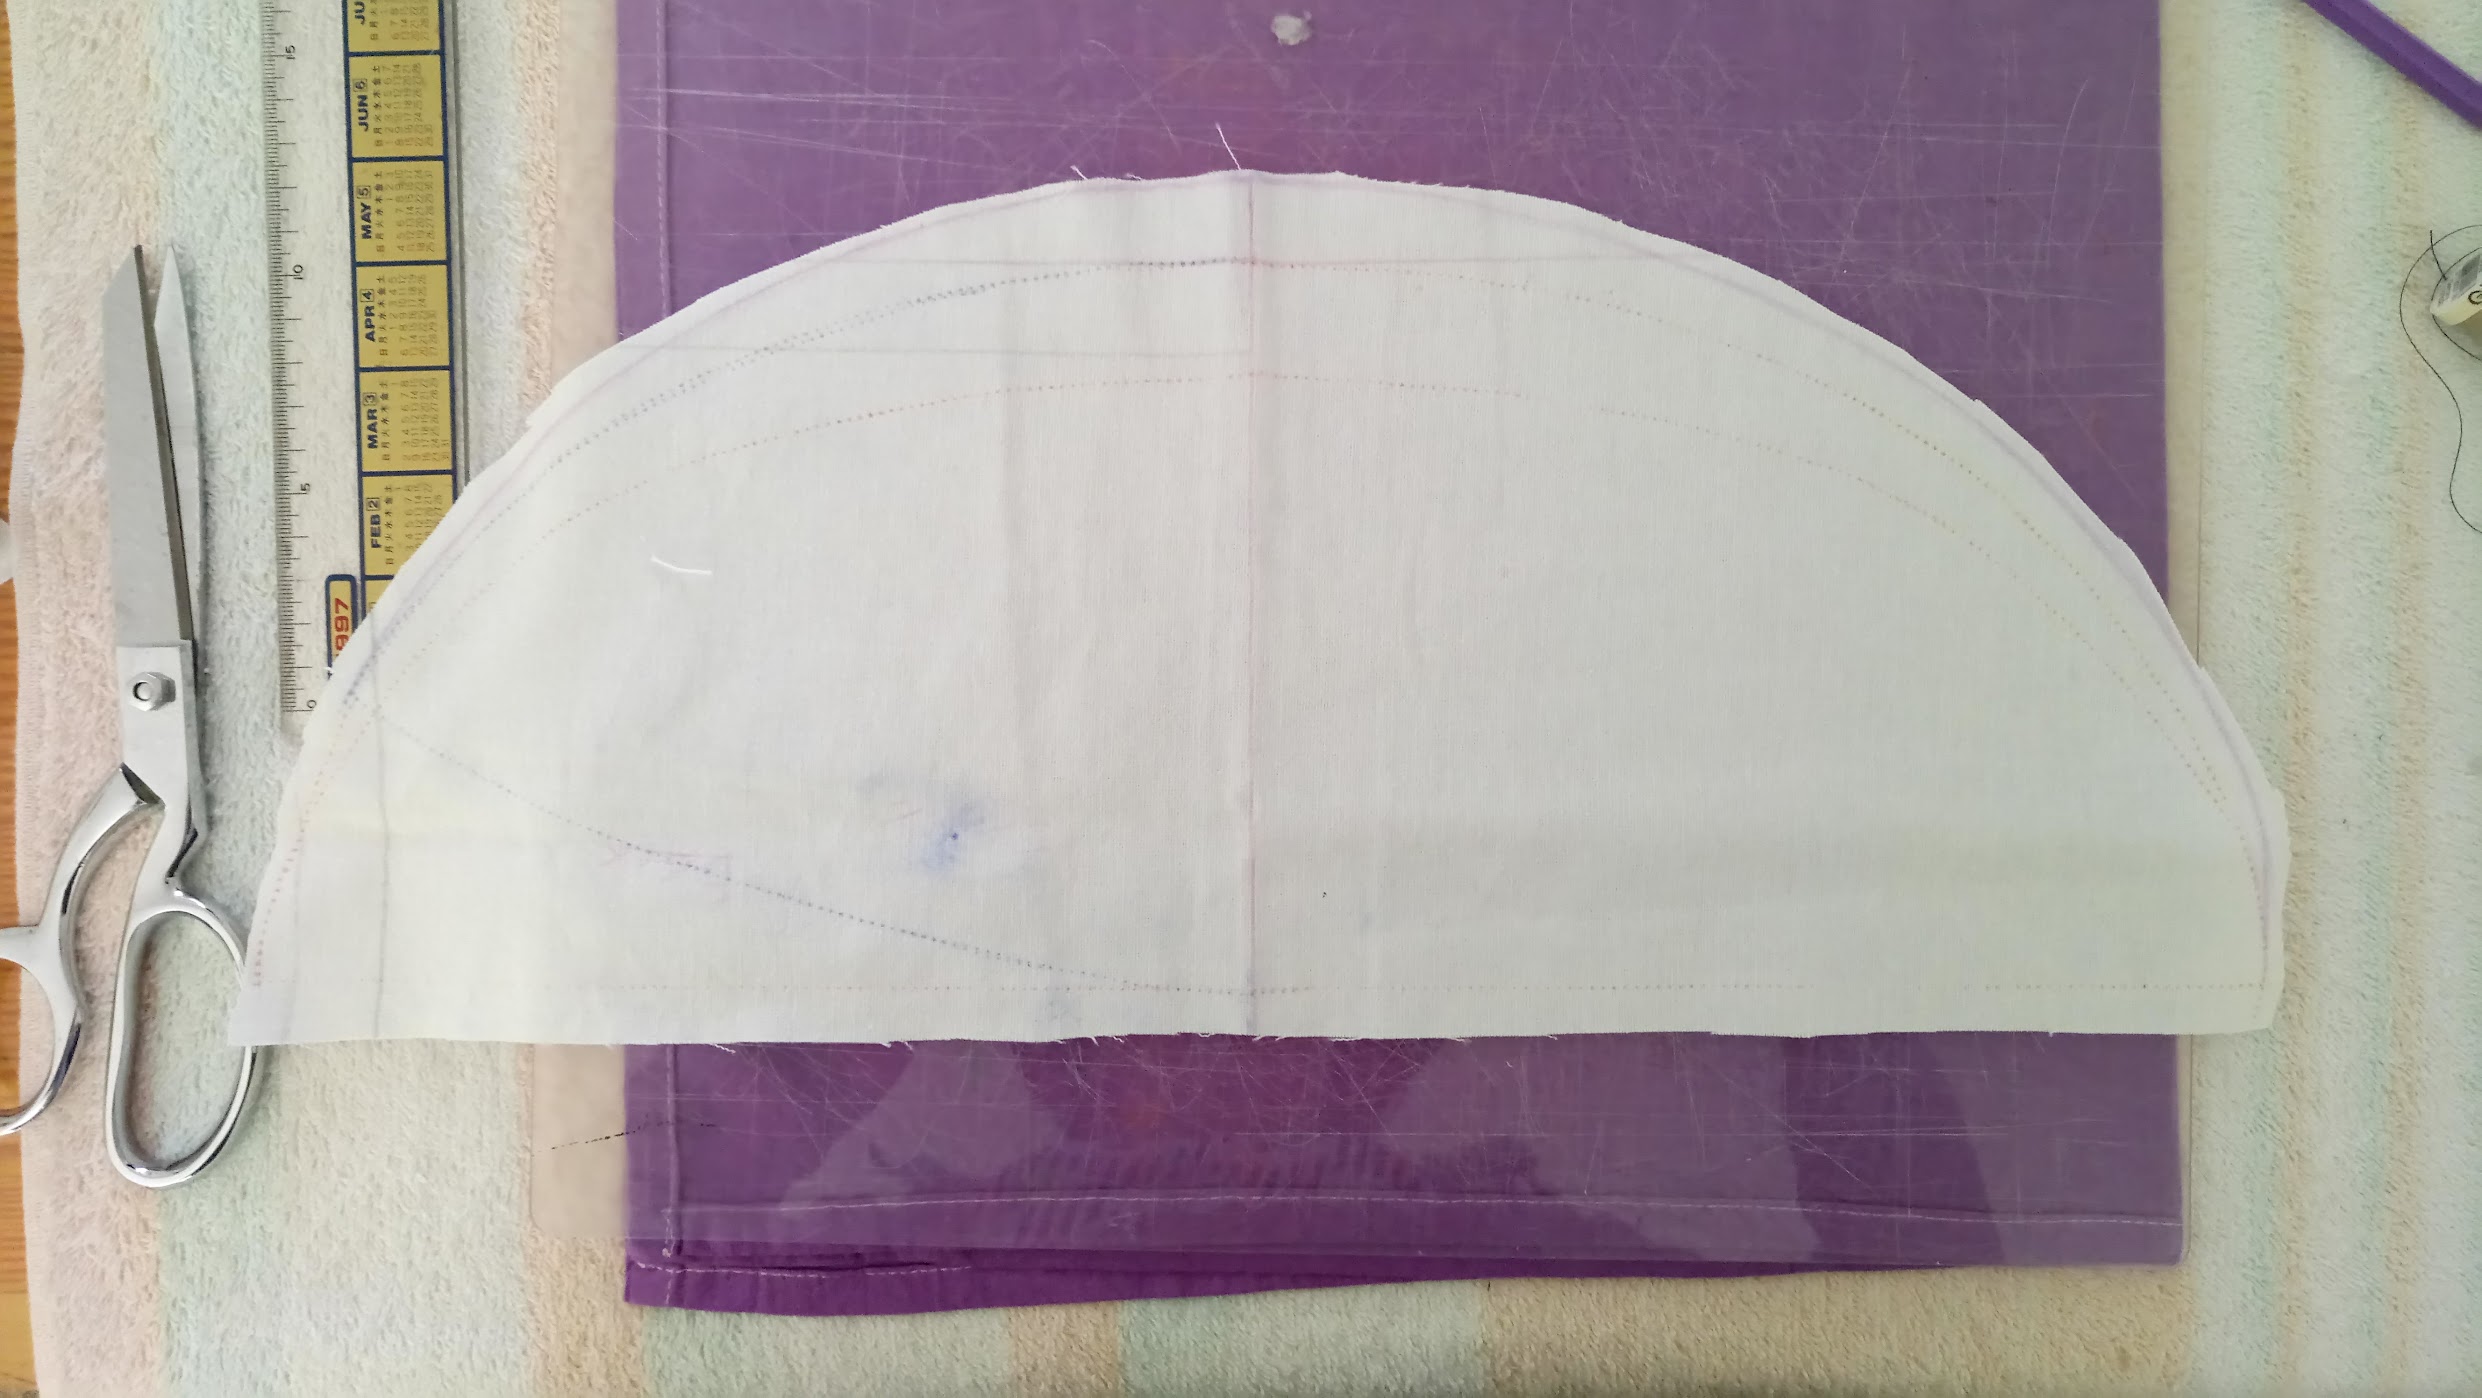
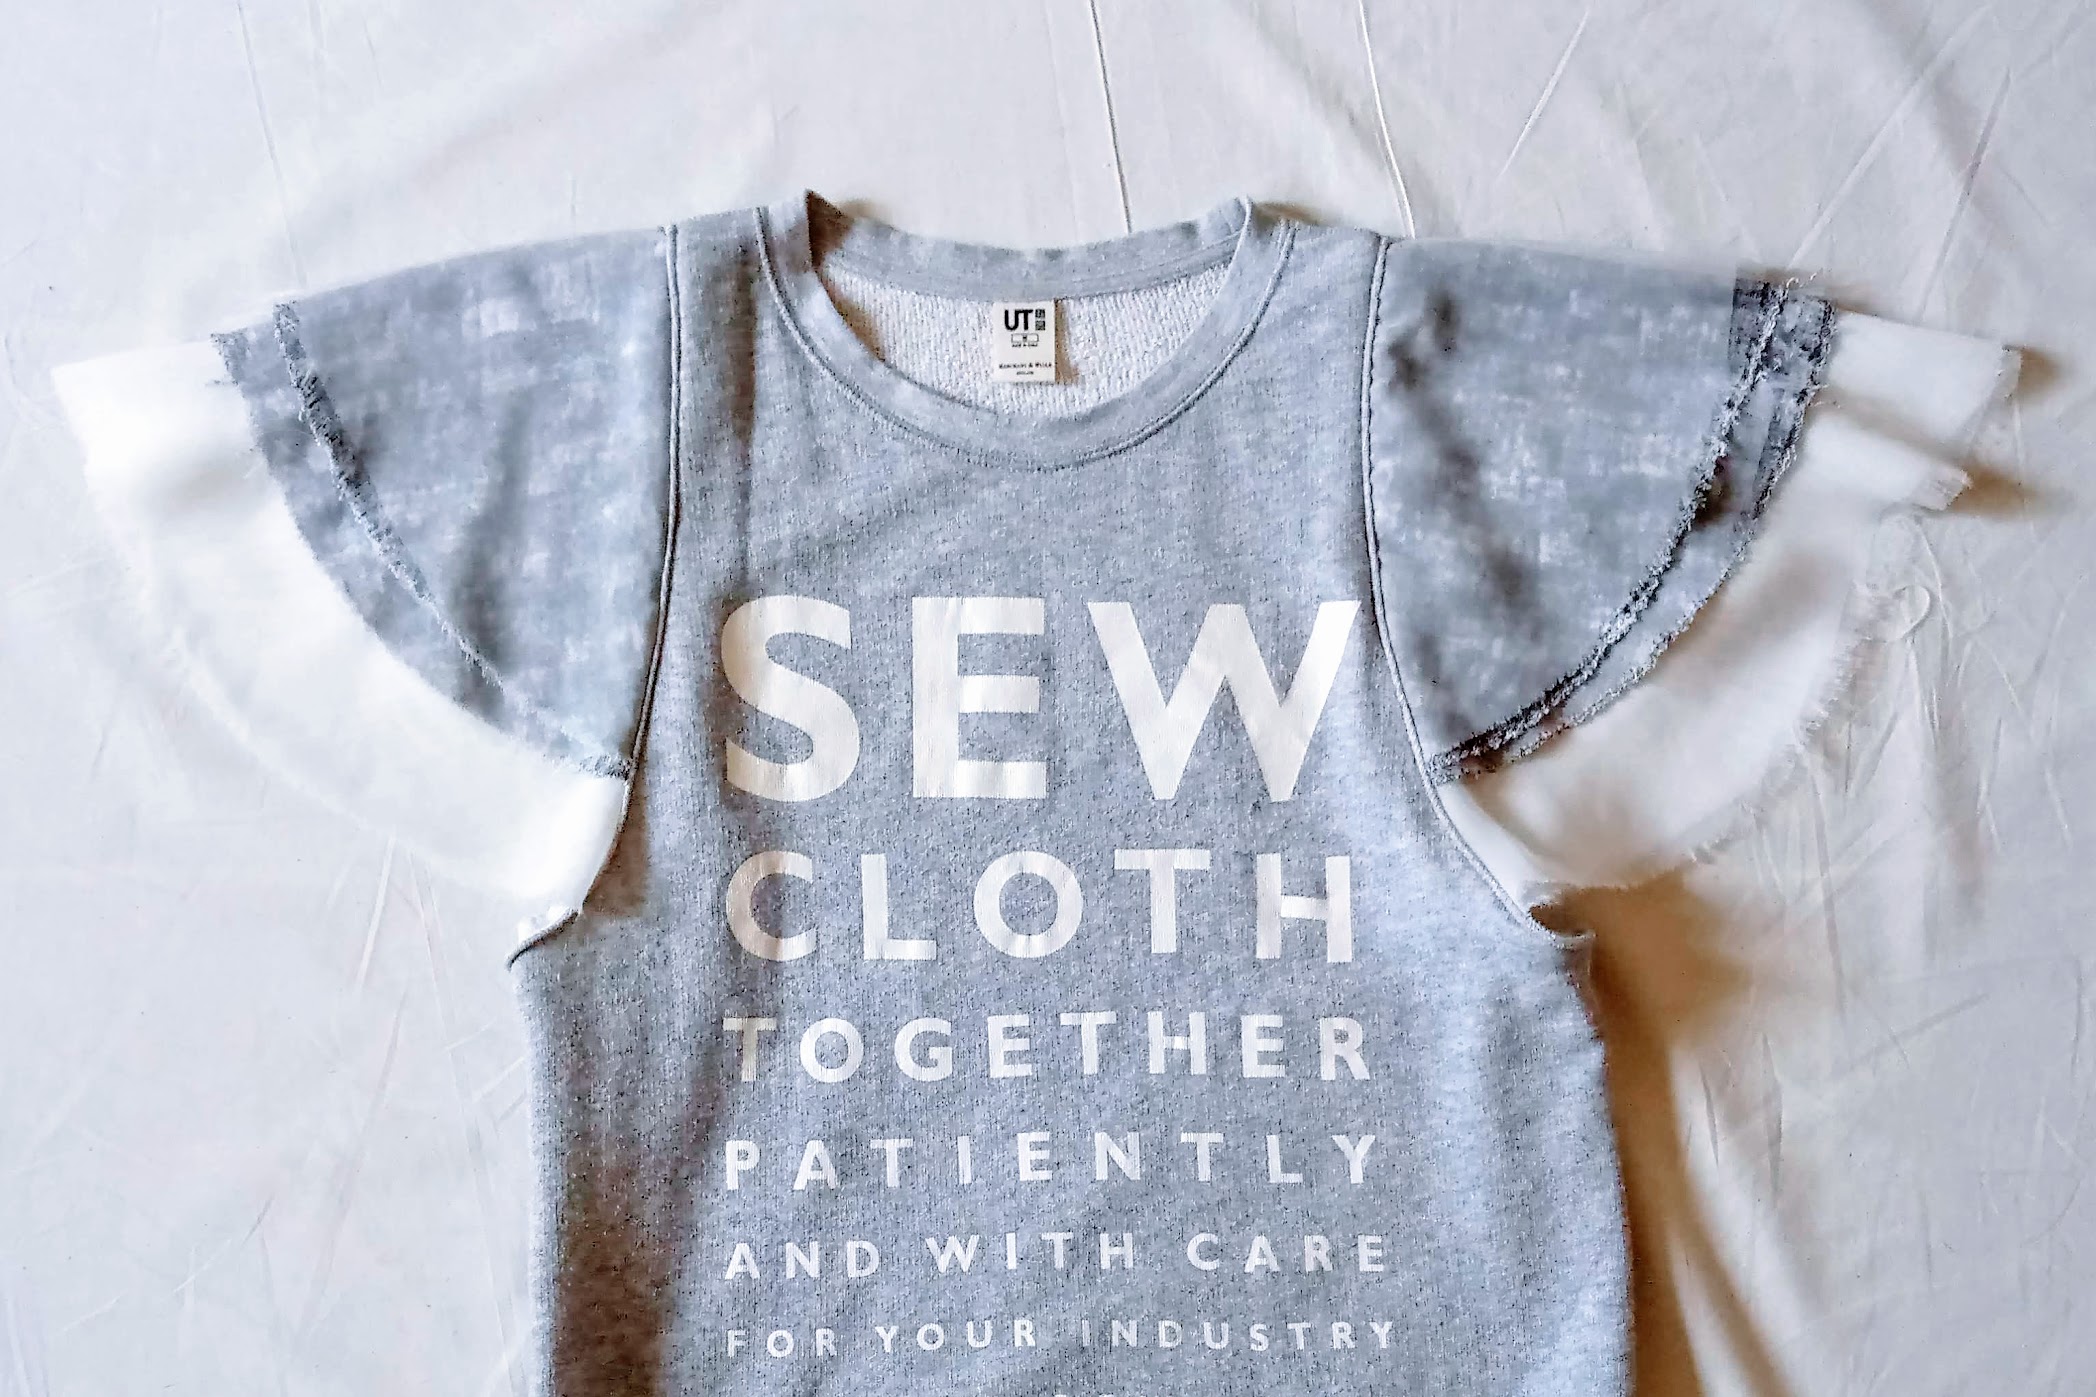
The first thing i did after washing was marking new sleeve openings on the sweatshirt. The first markings were done with tailor’s chalk, and then finalized with the aid of french curves, tracing paper and wheel.
This step was the most critical and challenging. I have worn the sweatshirt so many times that it stretched out in varying degrees in places. So I had to make sure that the new sleeve curves are as symmetrical as possible.

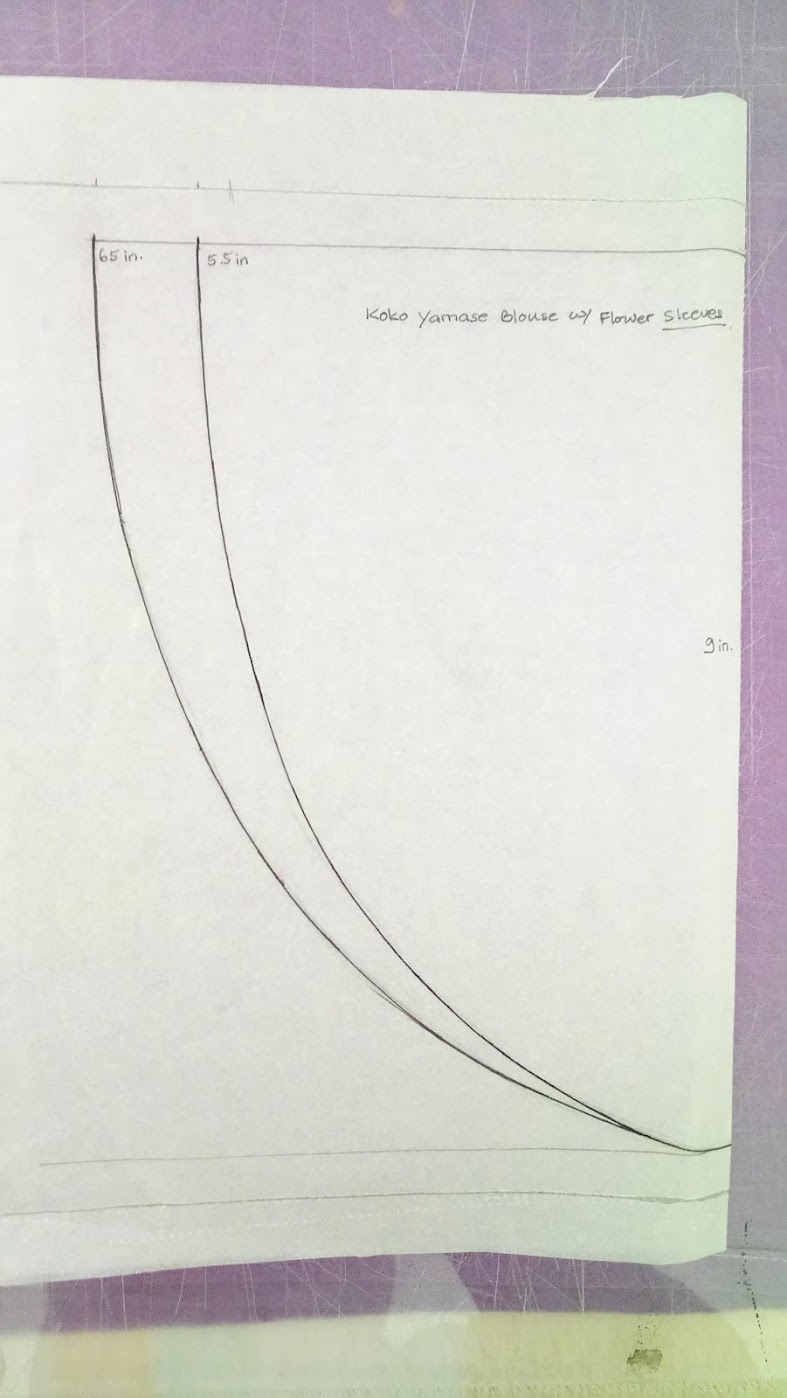
Once the new curves are made, I cut the sleeves off of the sweatshirt. I also started drafting pattern for the flounce sleeves on pieces of paper and cotton scrap.
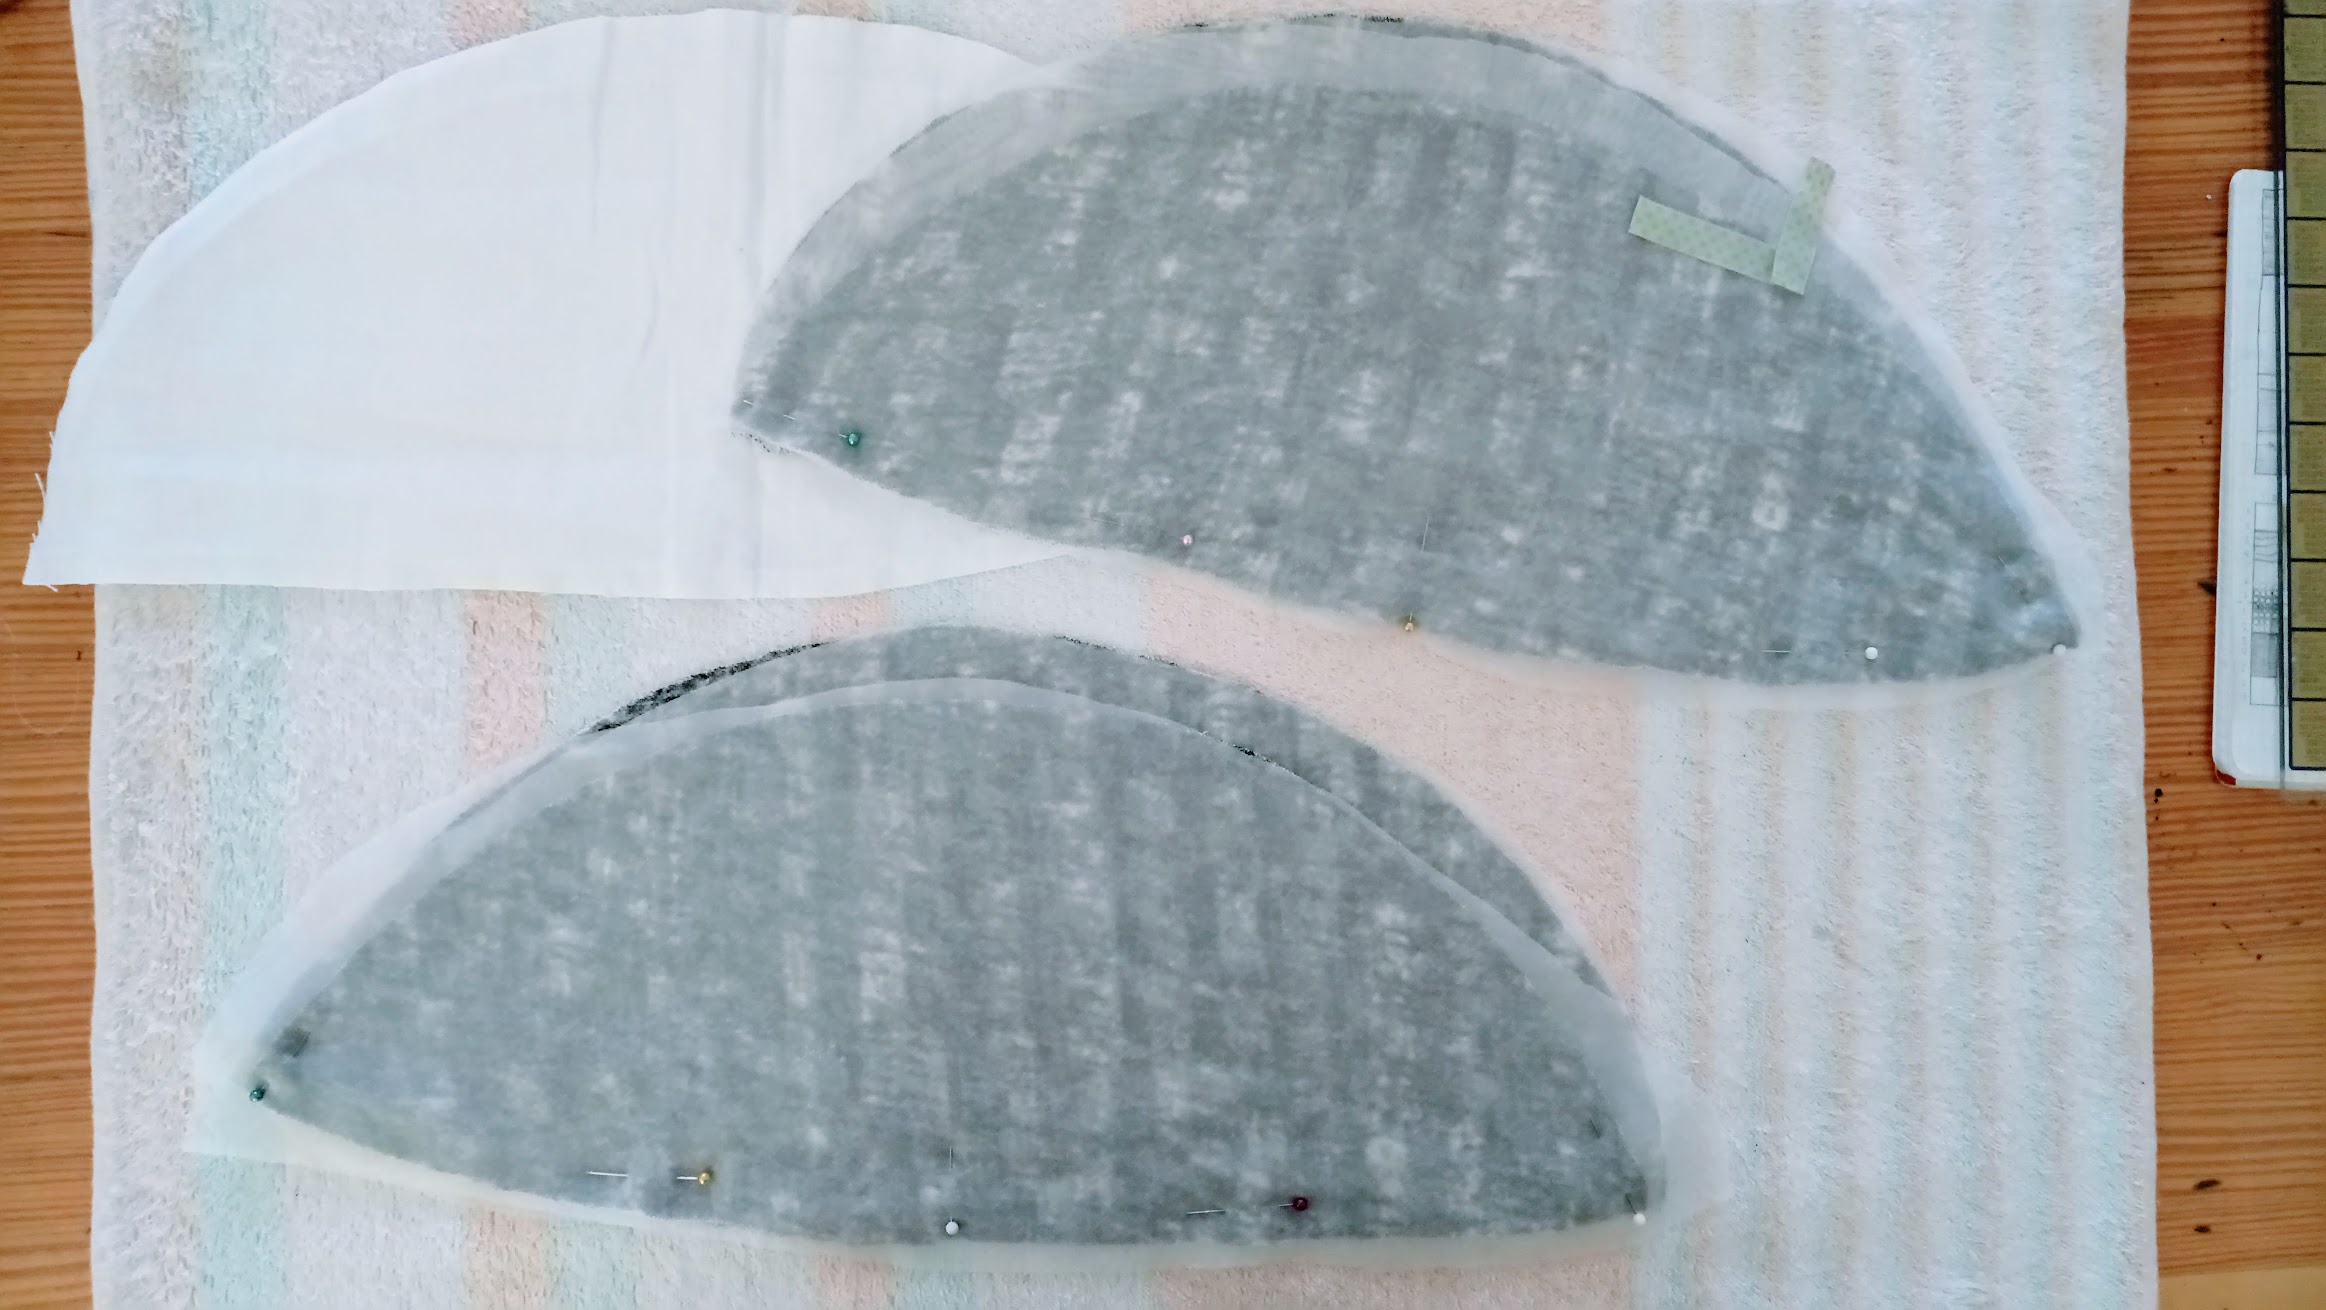
I decided to make two lengths for the flounce sleeves, one if one inch longer than the other. I transferred the pattern onto a piece of cotton scrap, and I pinned it on the currently-sleeveless sweatshirt on the dress form.
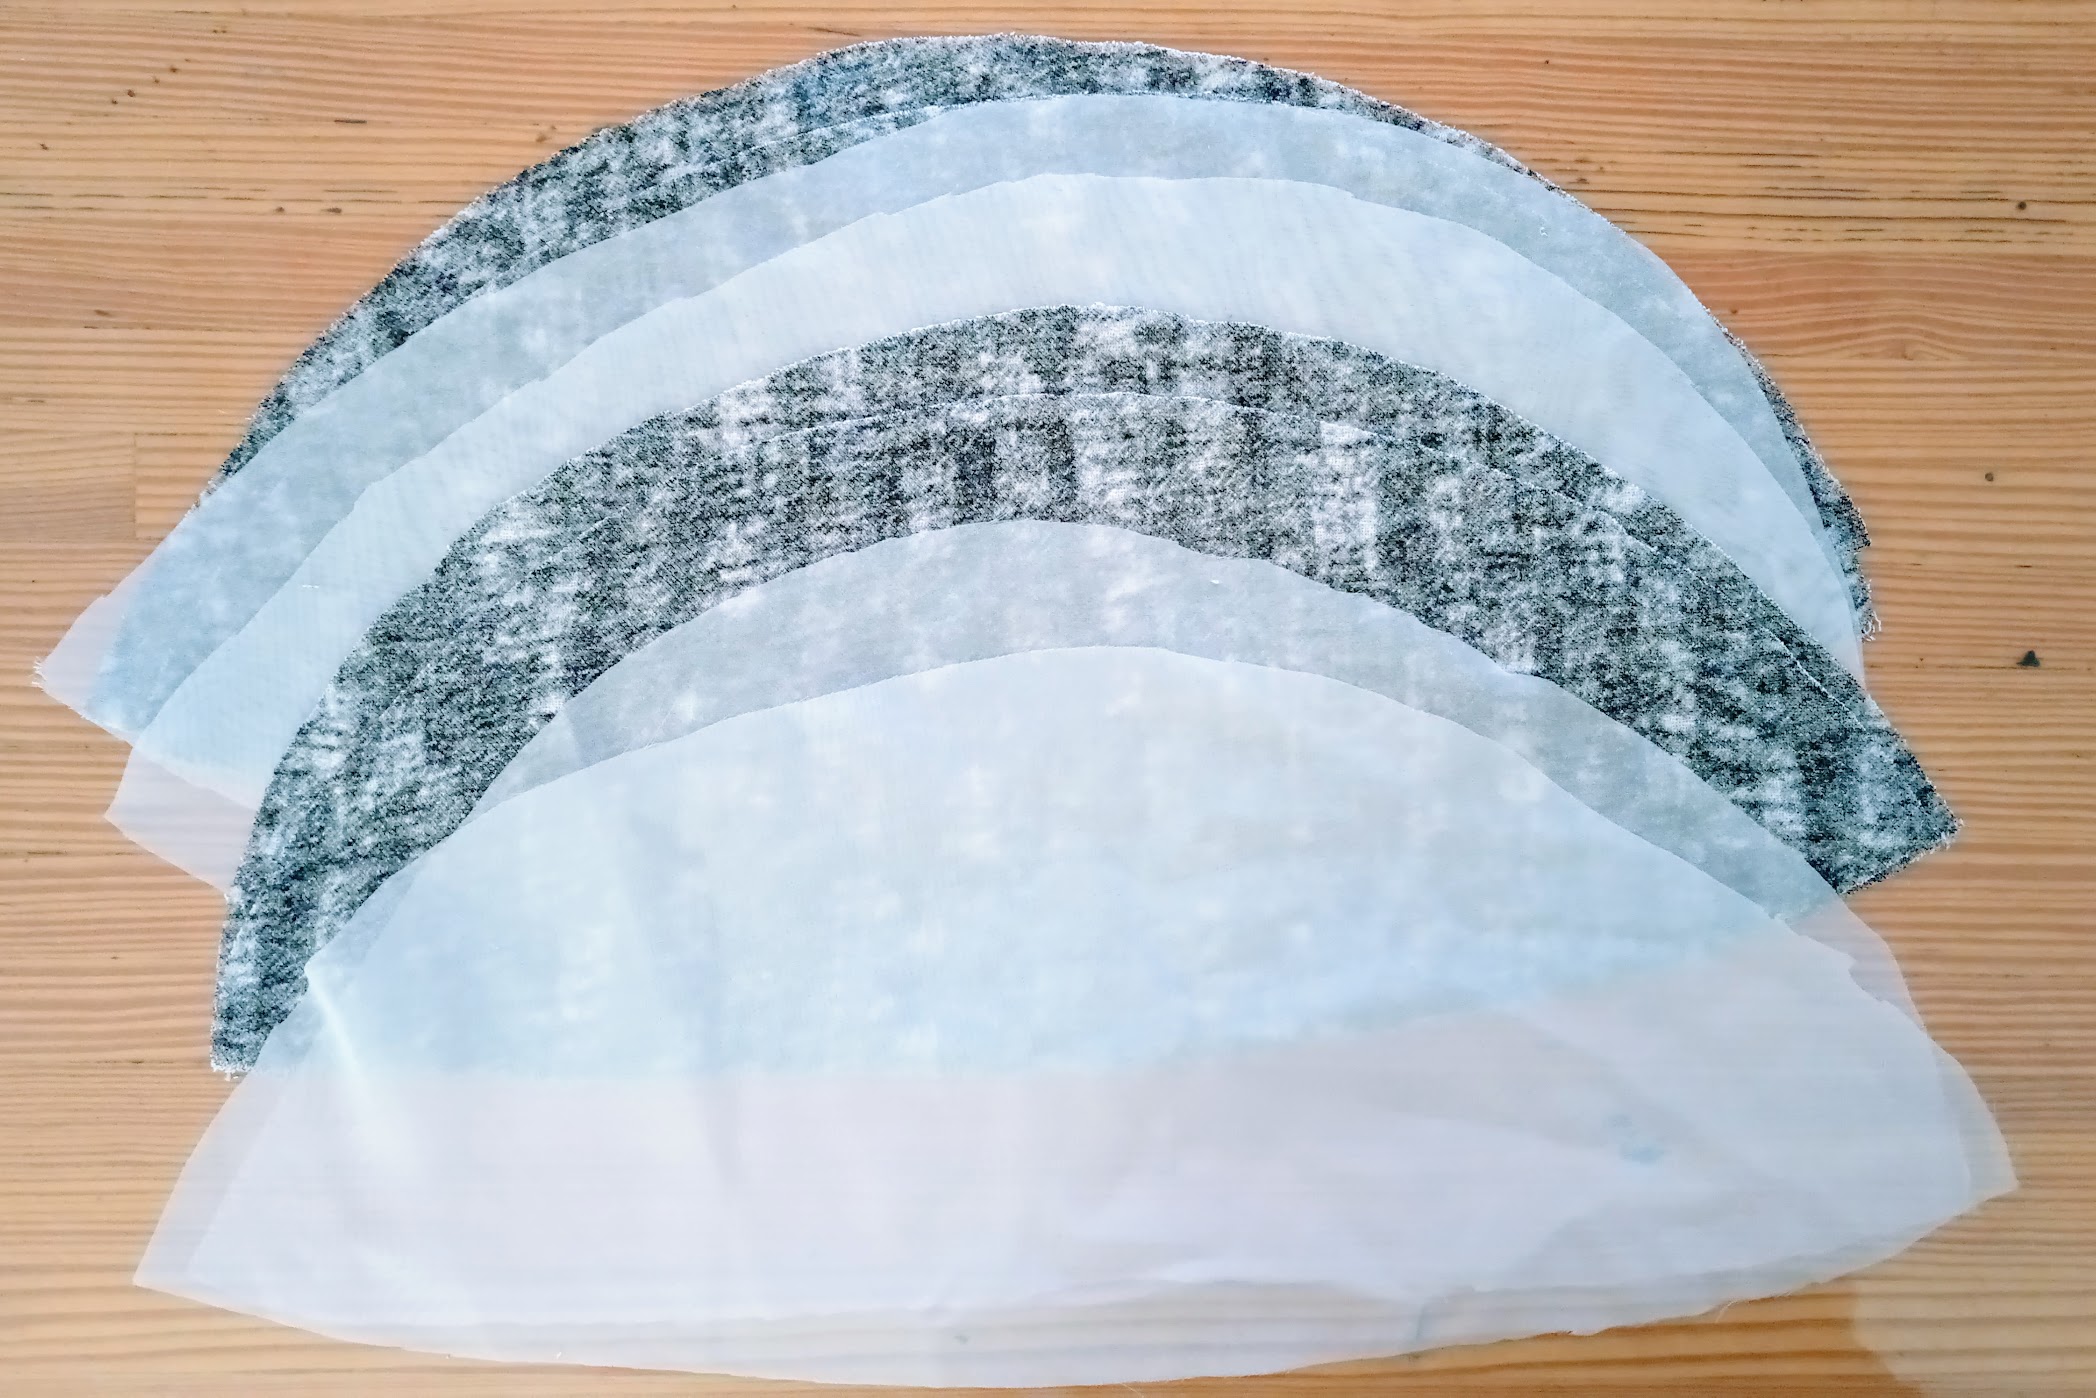
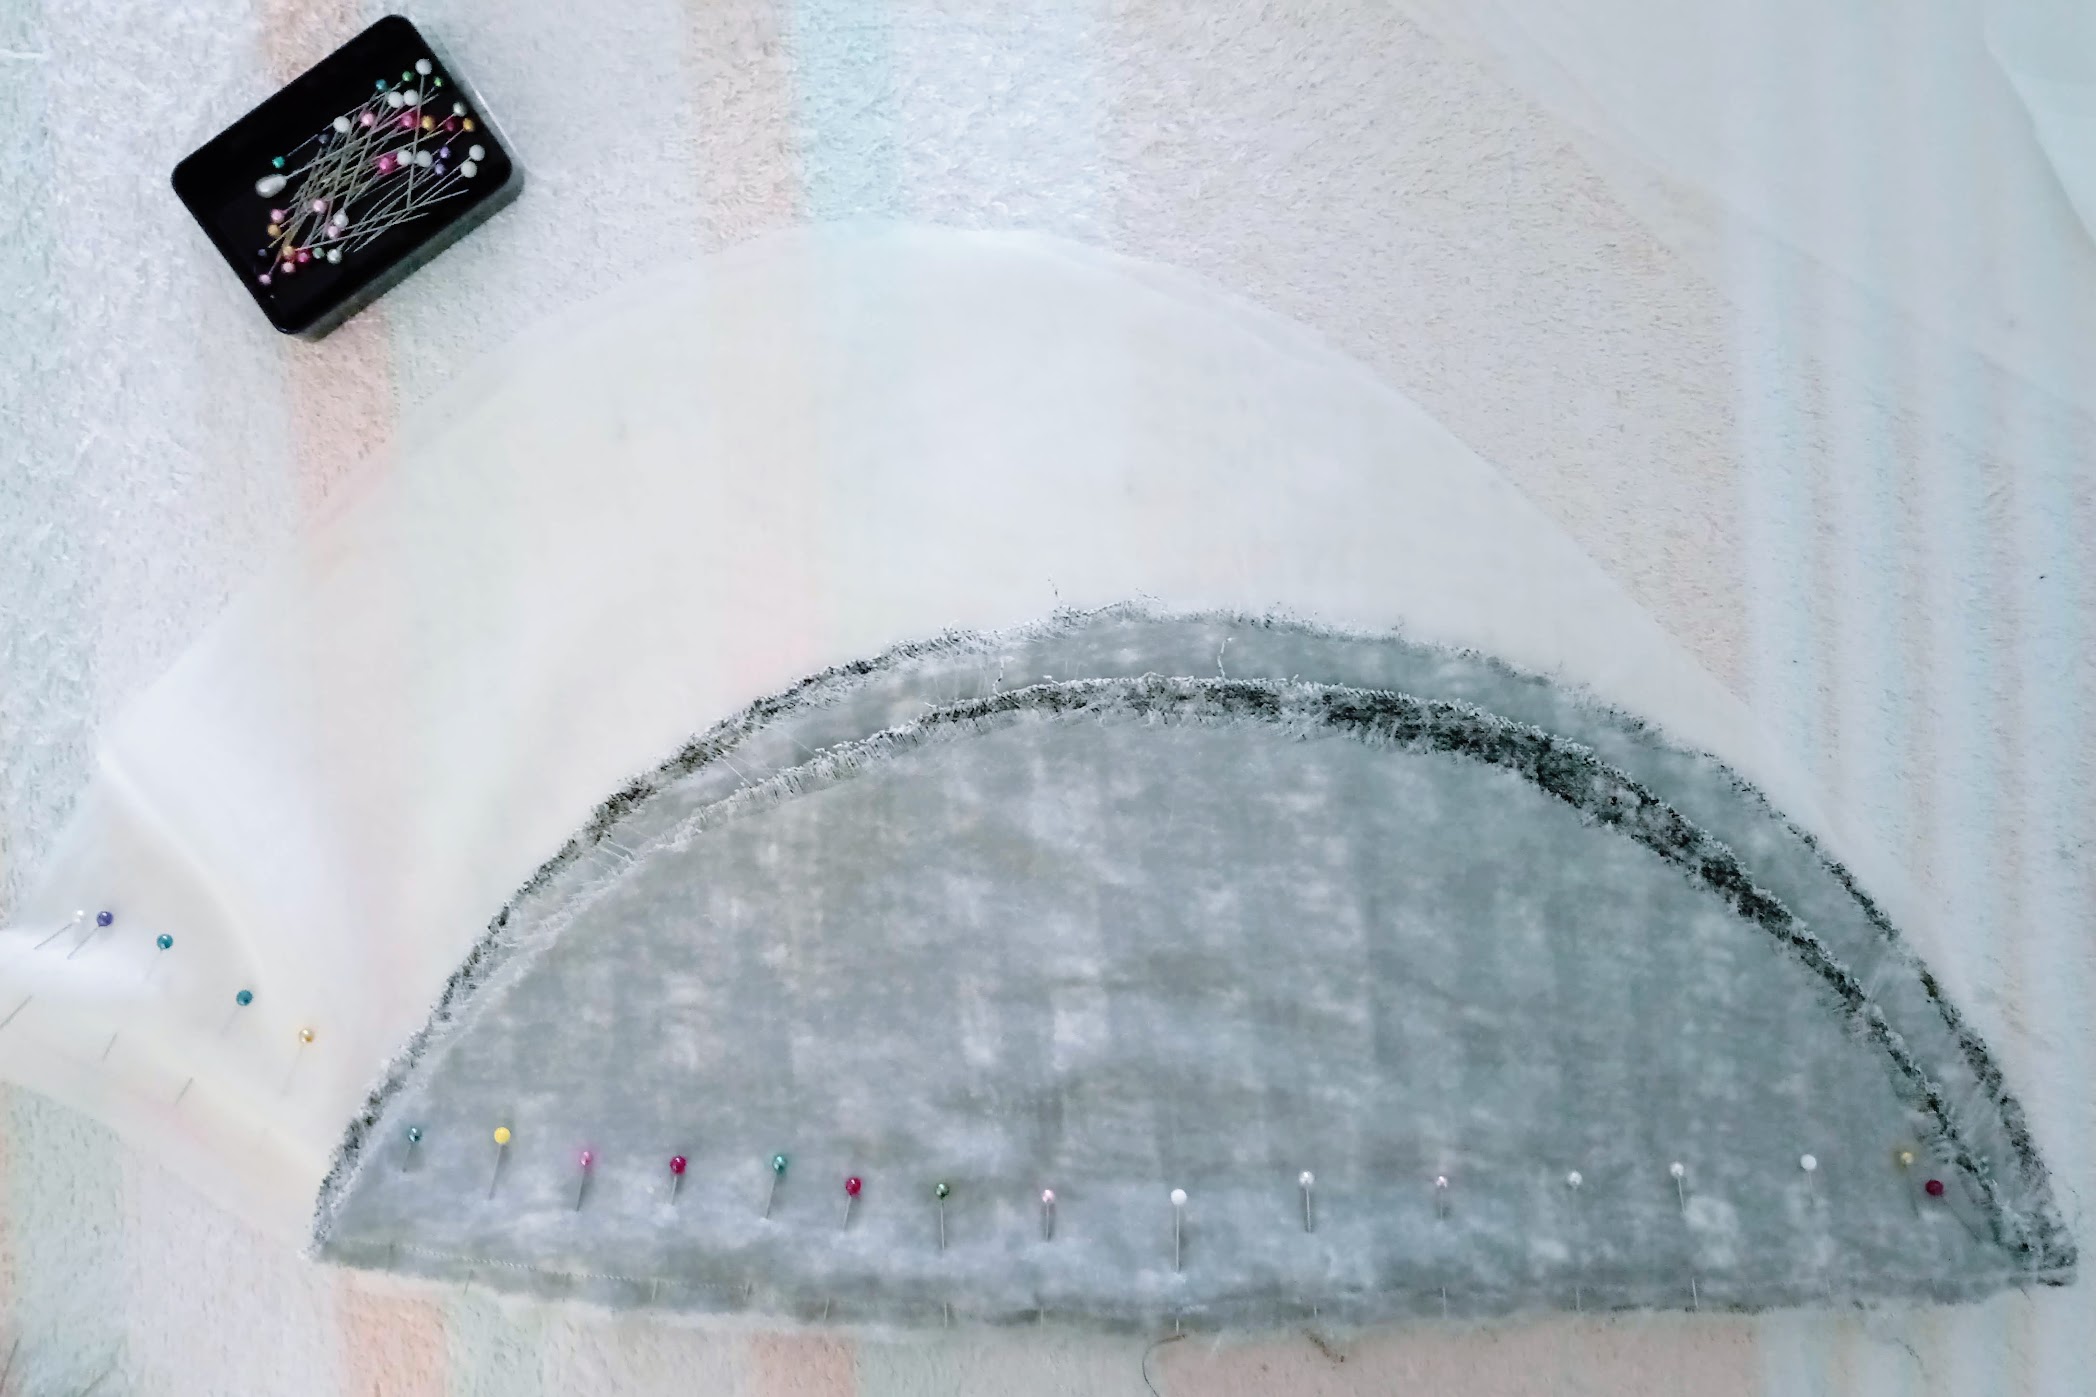
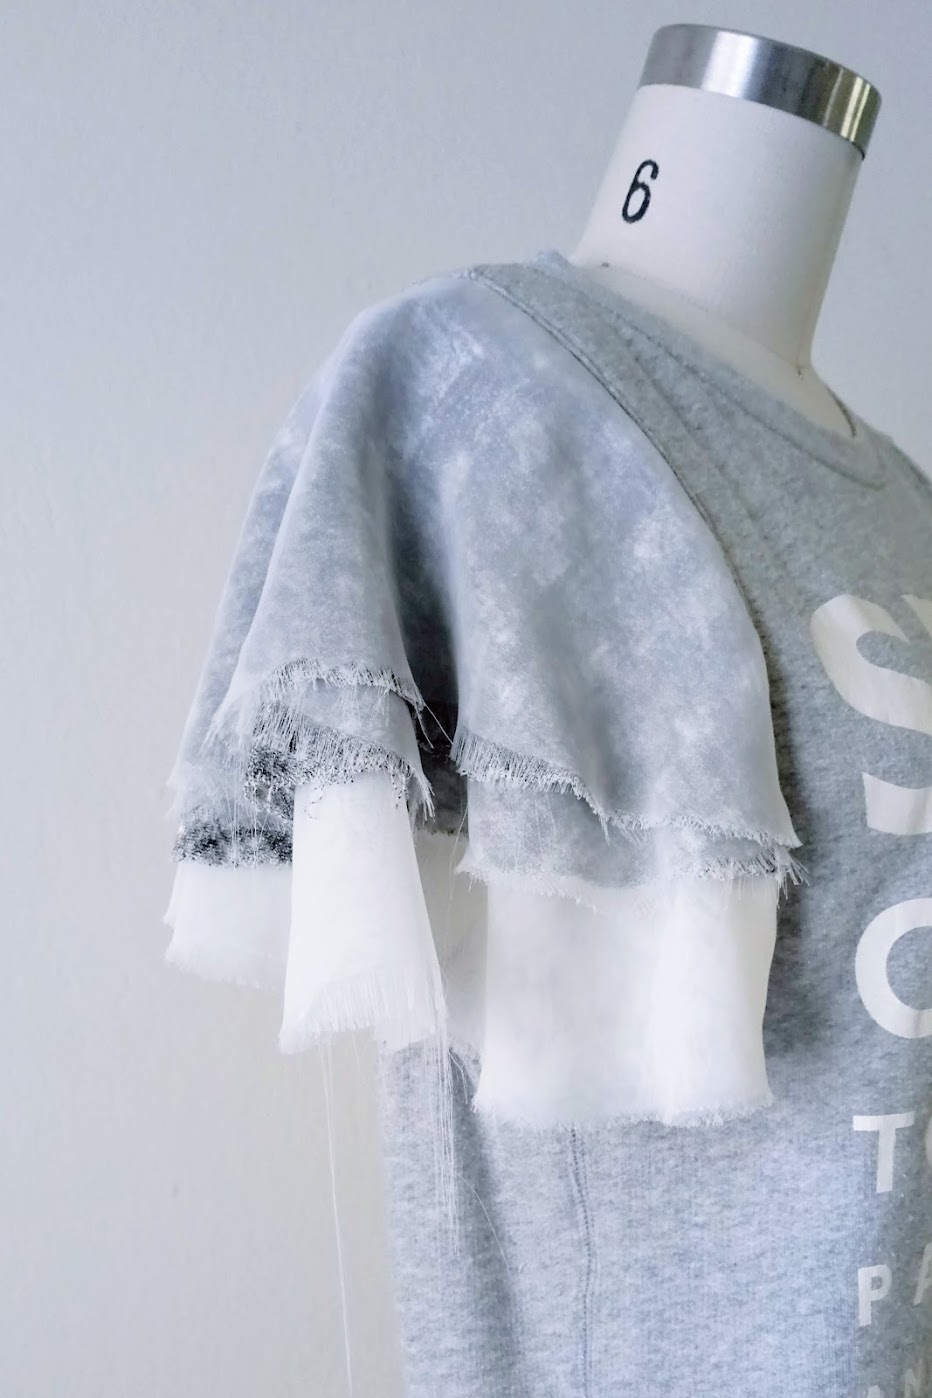
Once I was happy with the pattern pieces, I started cutting the fabric remnants. For each flounce length, I cut one knit and two chiffon fabrics. So each sleeve has two stacks of flounces made from 3 fabric pieces, 6 layered fabrics total.
The chiffon fabrics slipped and shifted so often. I didn’t want to use any kind of stabilizer, so I just did my best by cutting slowly and carefully. Their shapes were somewhat irregular, but that’s not a problem. I liked them that way.
Rather than precision cutting, I was more interested in seeing how the irregularities show up when these fabric pieces are layered on top of one another.
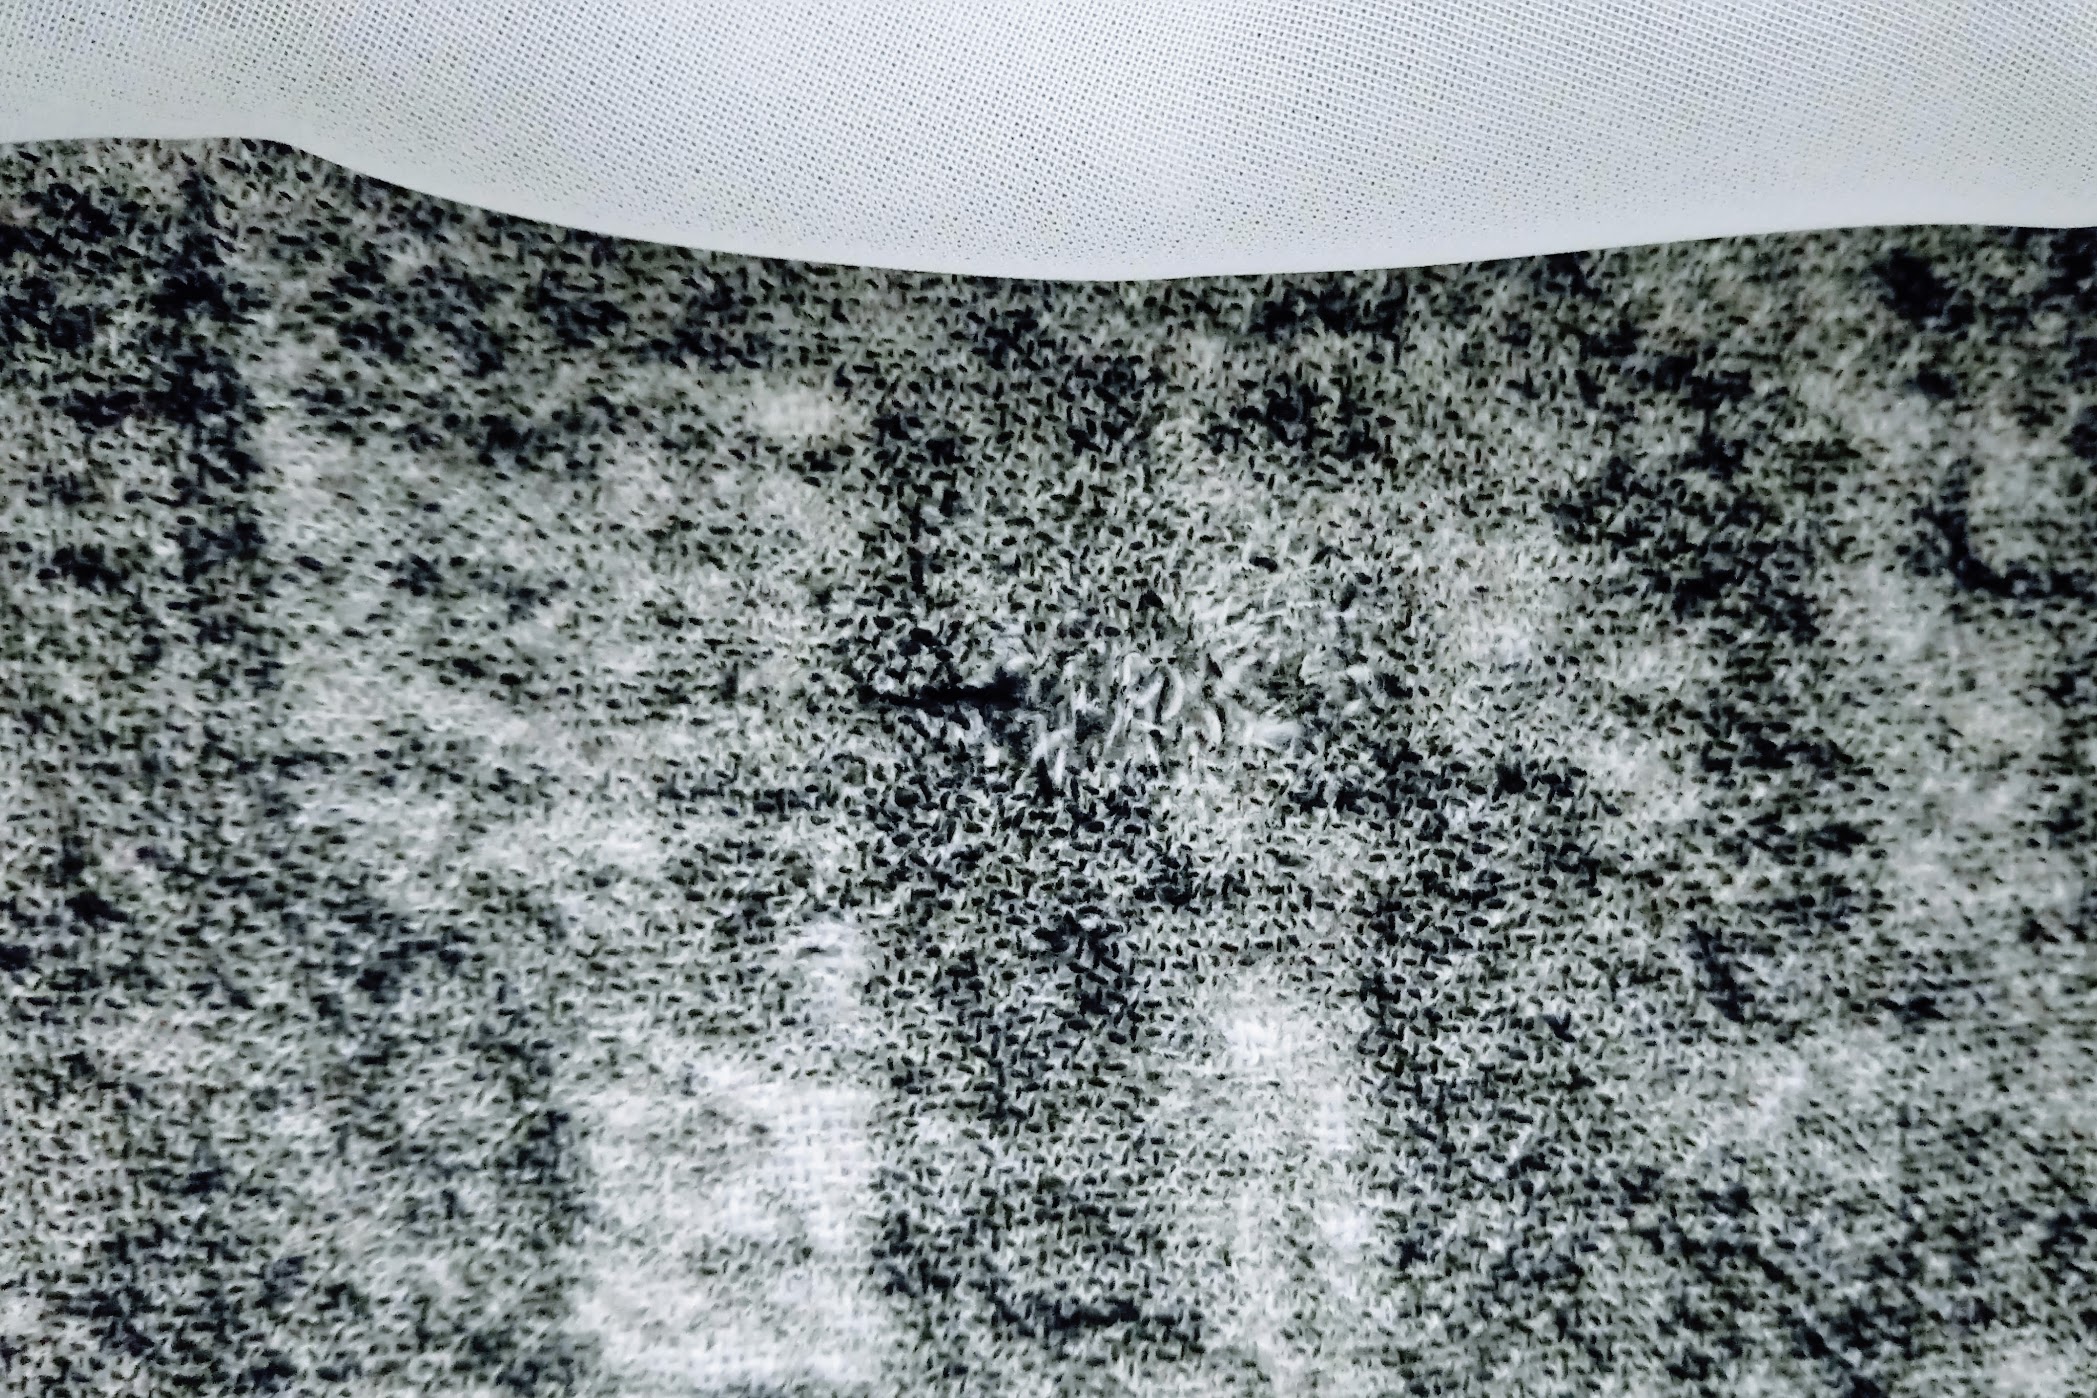
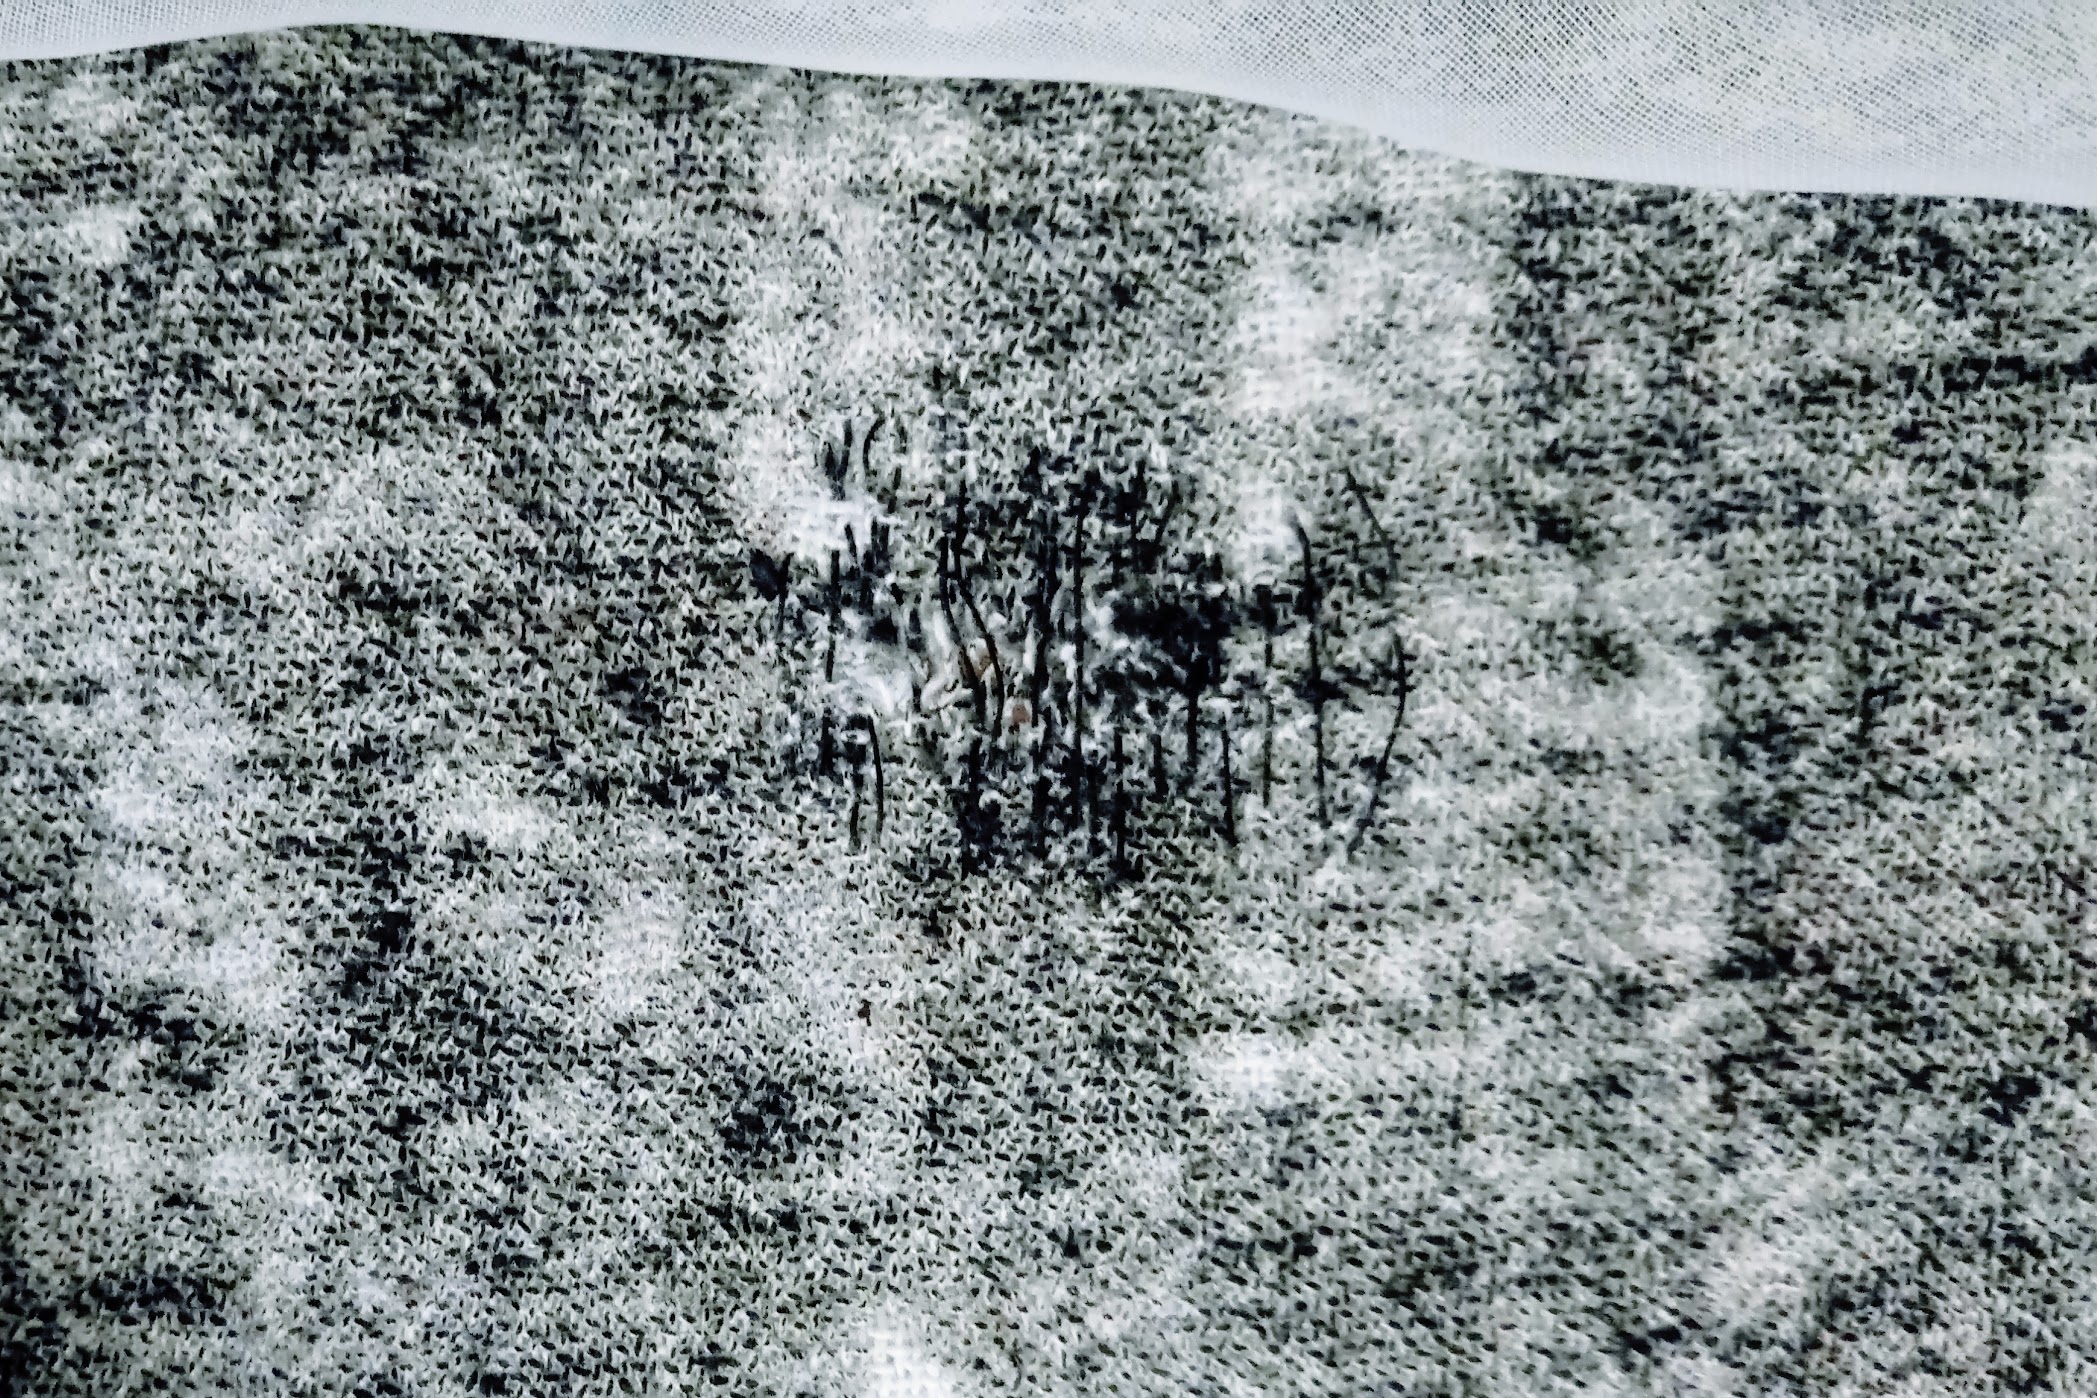
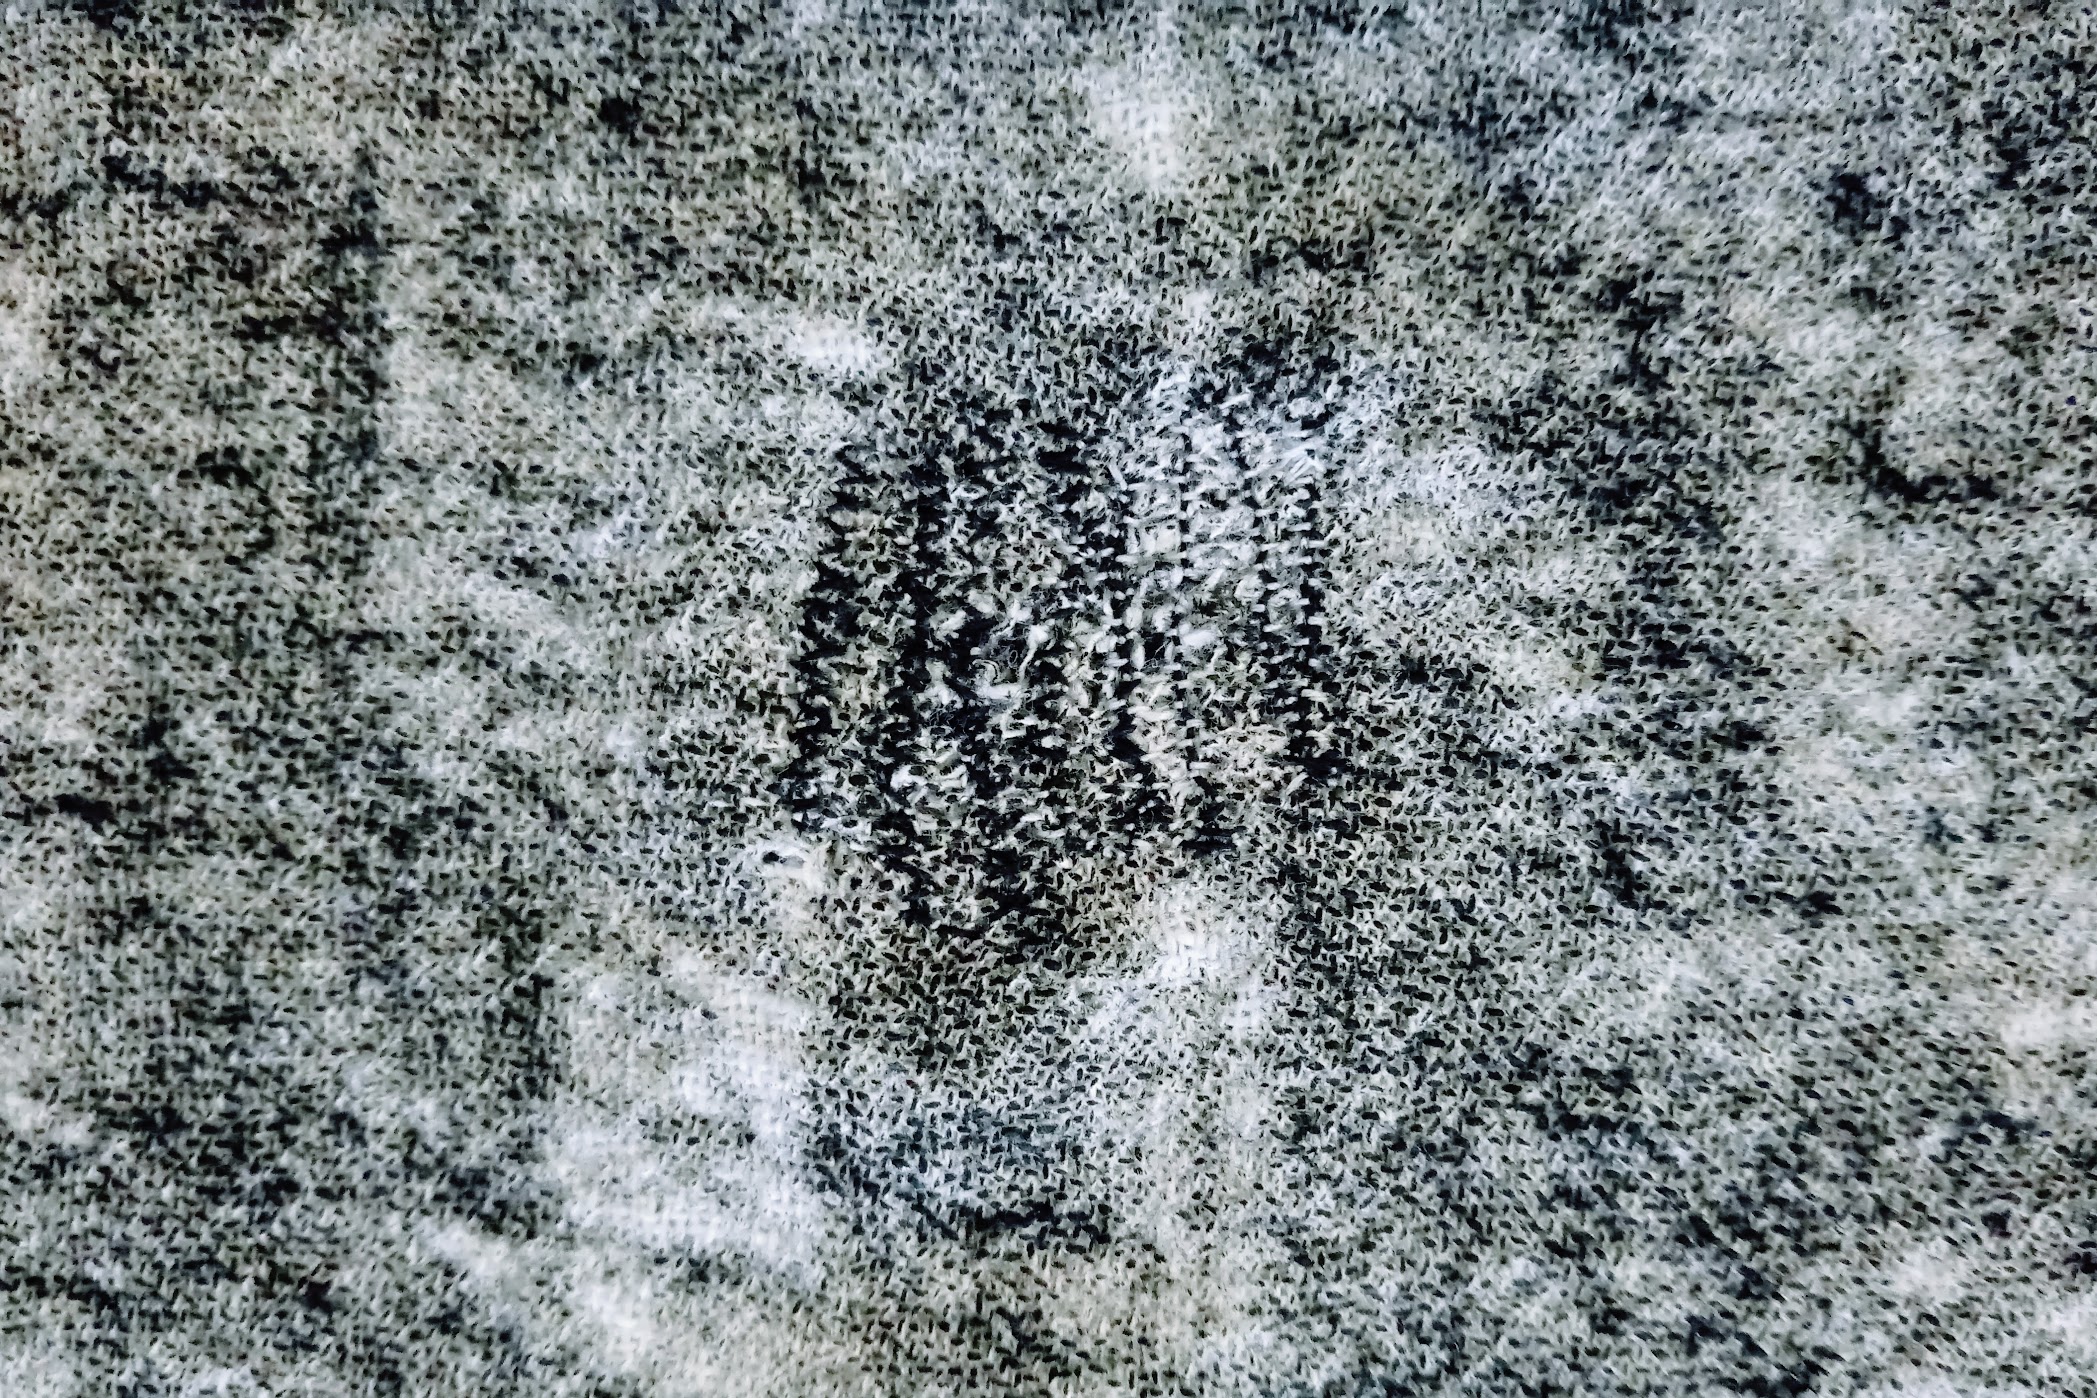
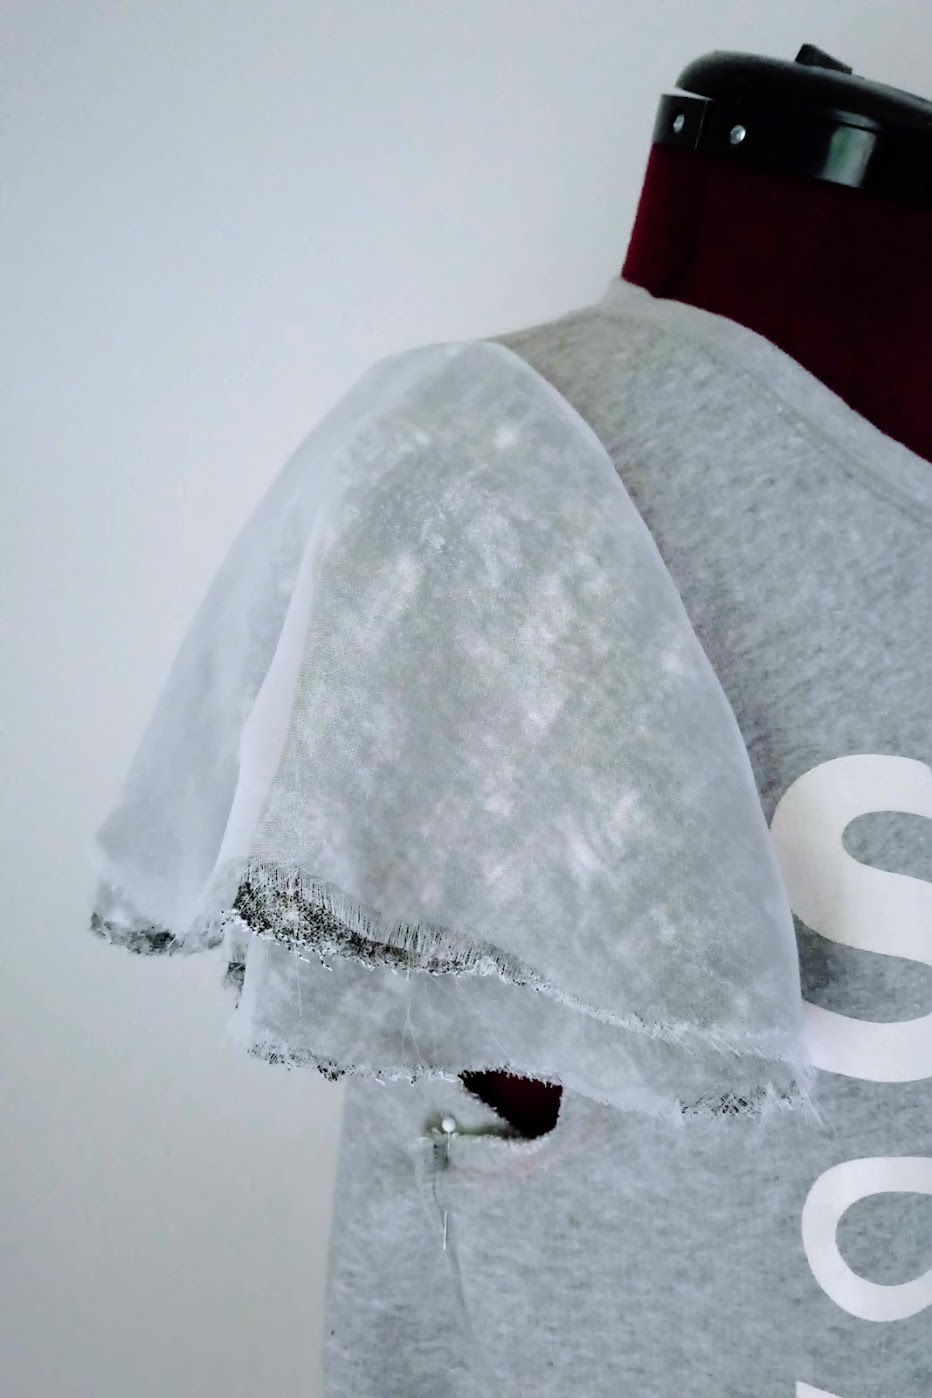
When I cut the knit fabric remnants, I noticed there were some damage on one piece (first photo below), so I fixed it with good ol’ zig-zag machine stitch and black thread (two subsequent photos afterwards). No need to cut a new piece!
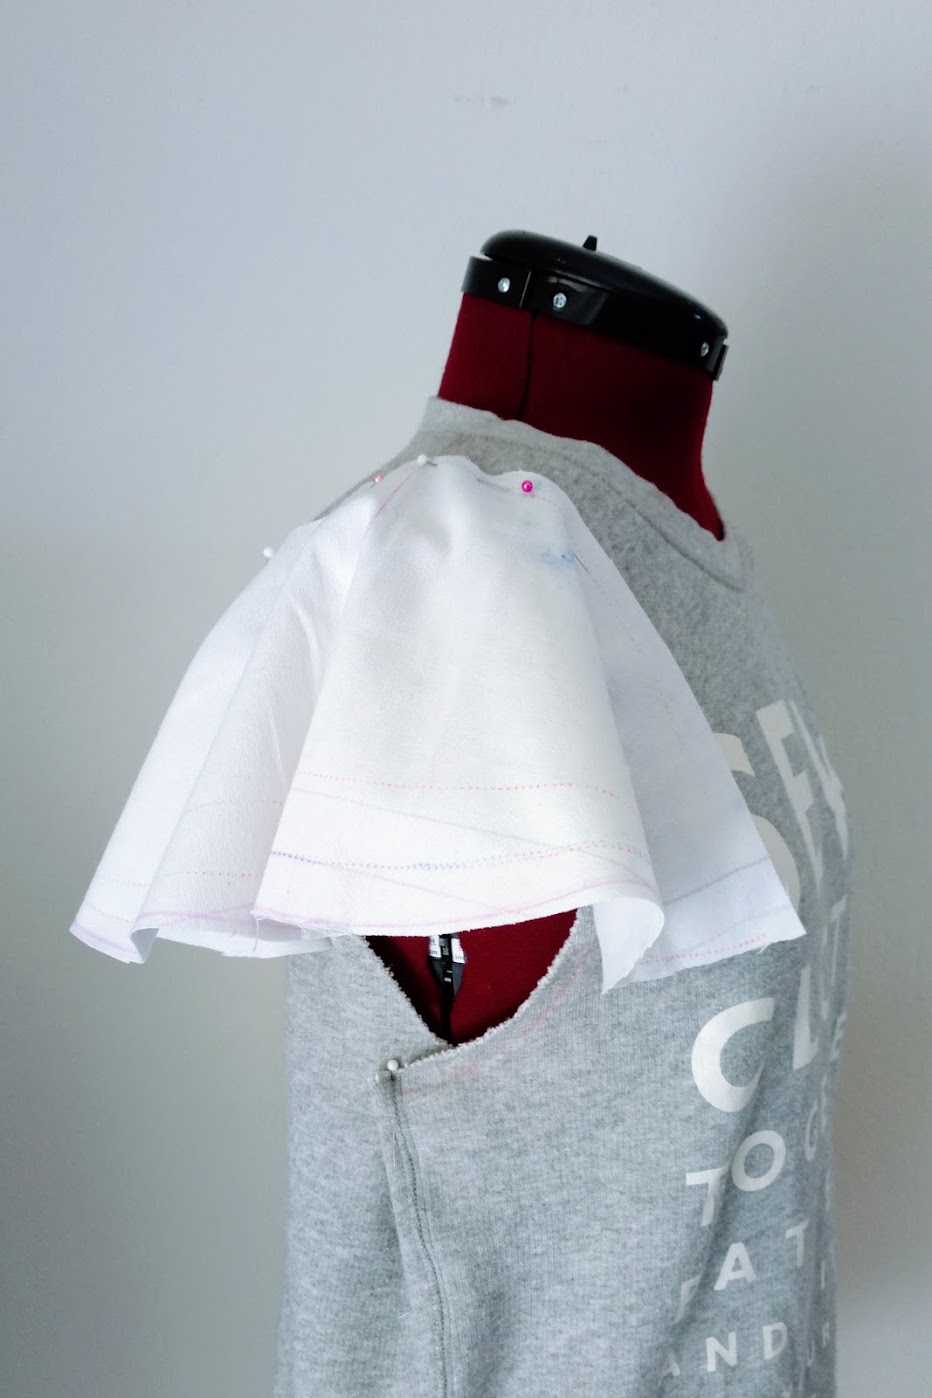
Before I stitched these layers, I pinned them onto the sweatshirt to see how they’d look. That’s when I noticed something was off. The sleeve layers were fine, but the overall proportion looked weird.
The sleeves looked so tiny compared to the overall oversize quality of the sweatshirt torso.
I glanced back to the book, and decided that I did everything good. But I knew this wouldn’t look good as-is for me, so I decided to make a third stack of flounces with the chiffon remnants.
I made a new flounce pattern – it’s similar to the first pattern but more extended on the front. At first I extended 5 inches on the curve line on the front side, but shortly afterwards, I saw that 5 inches was too long.

So I made some adjustments by hand cutting them. It was rather tricky, but thankfully I made it work!
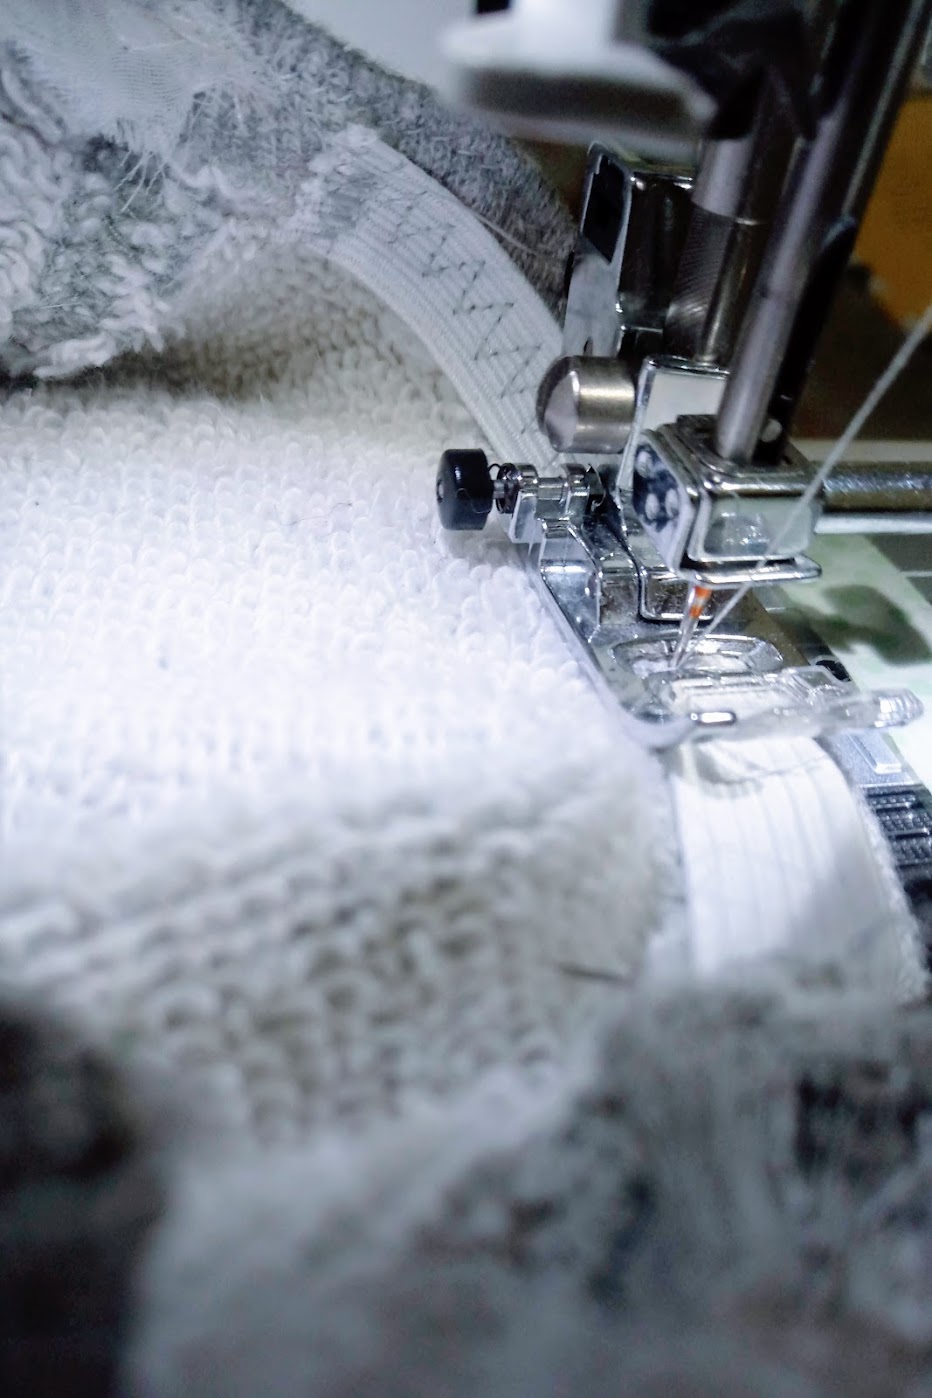
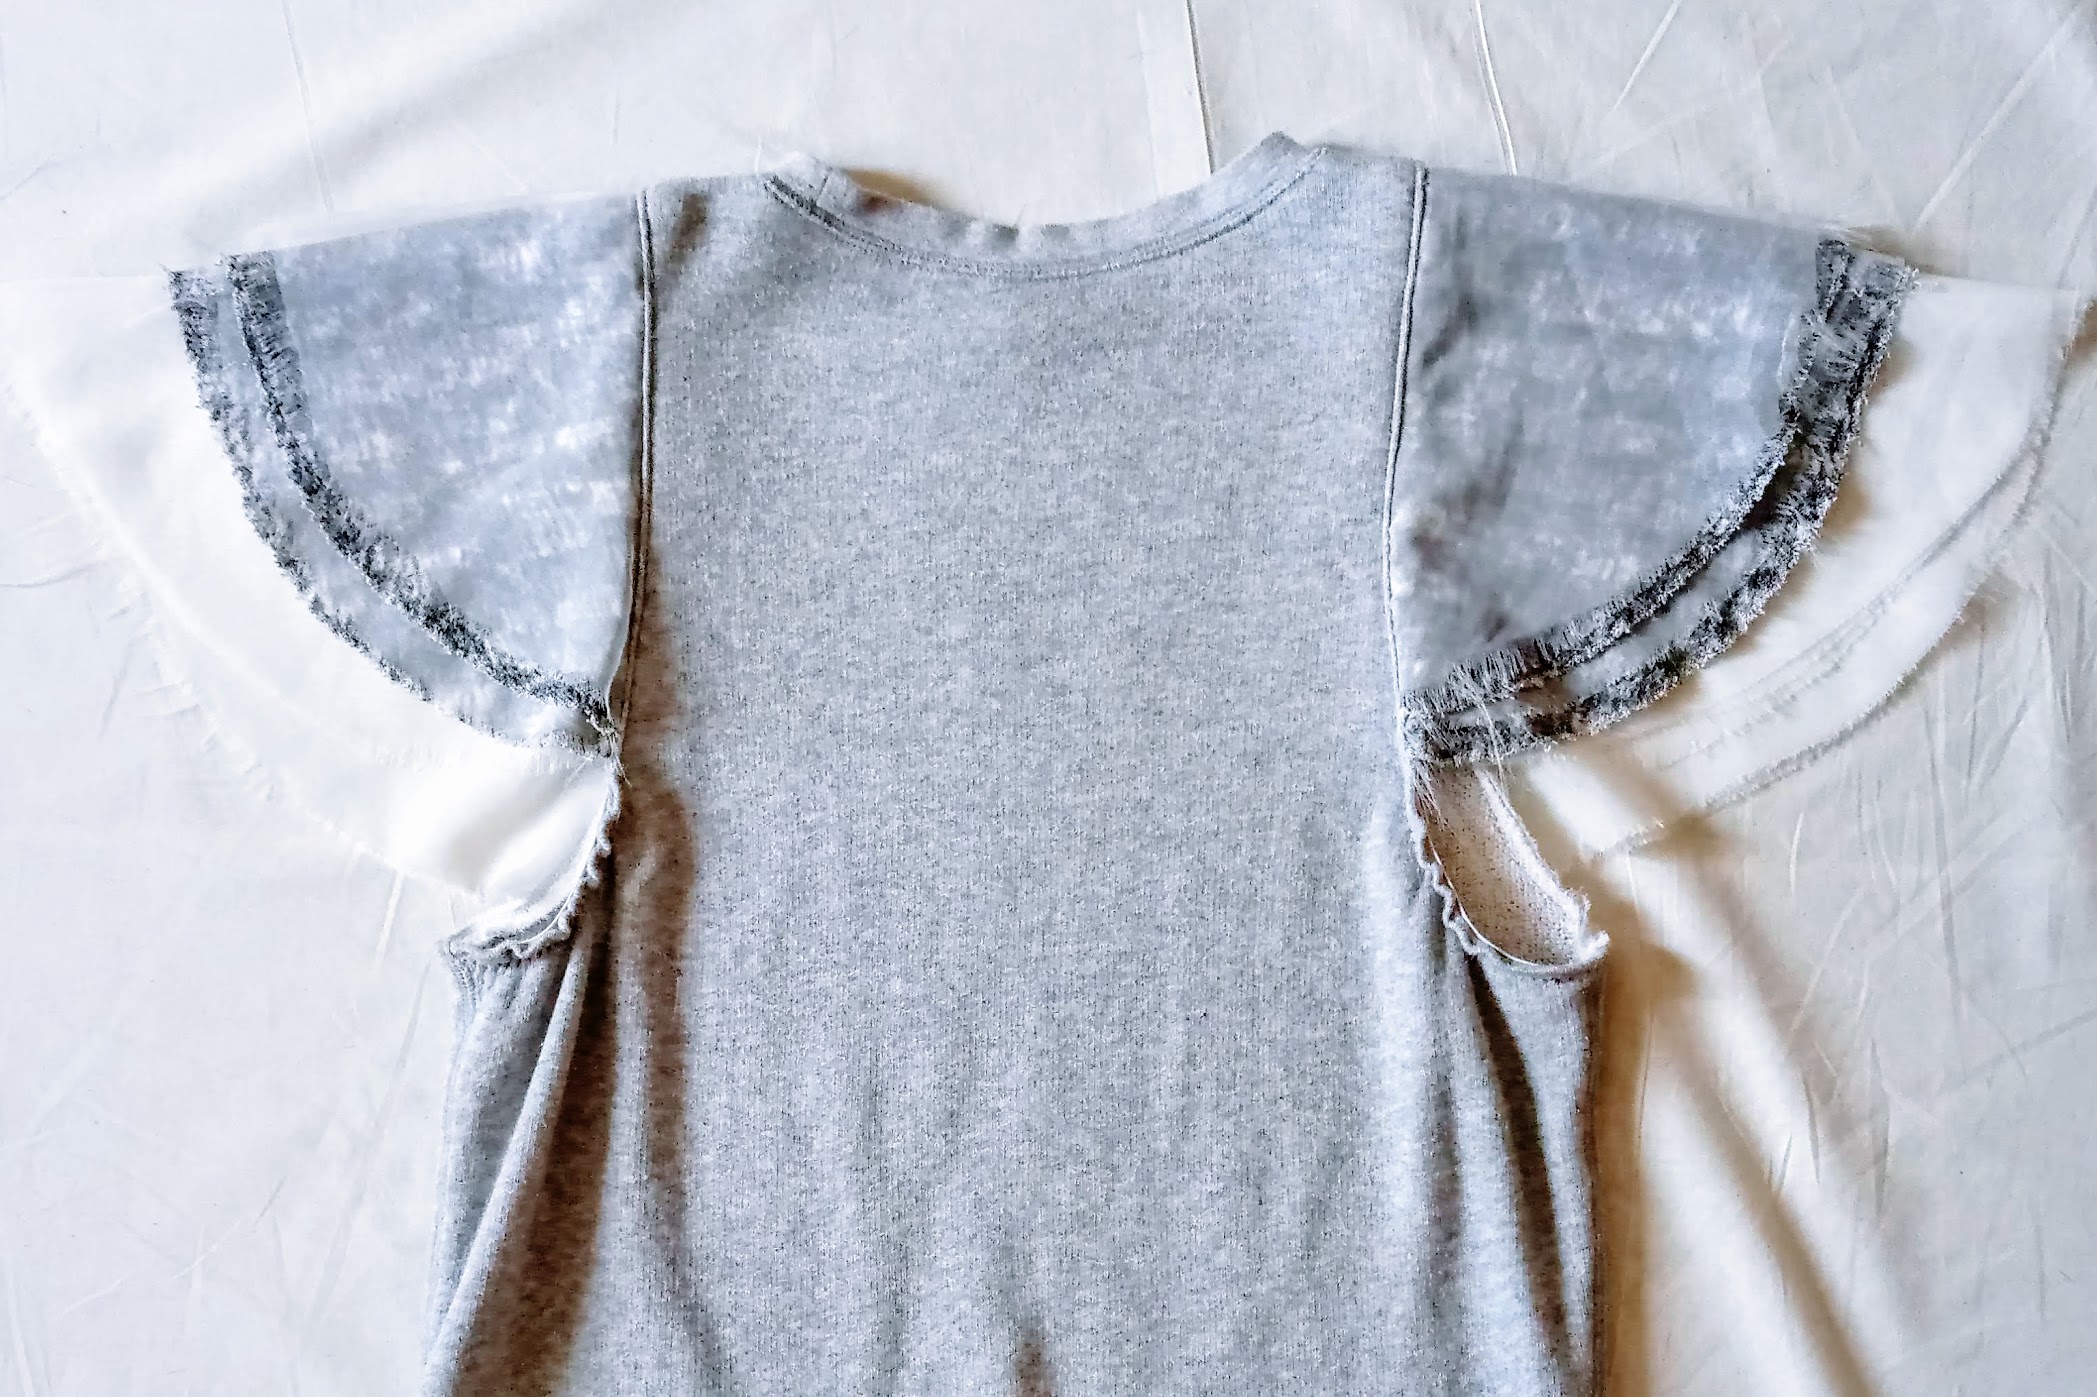
The sleeves were attached and then top stitched 0.25 inch from the seam line using slanted stitch. I checked my work, and they look pretty good! It’s done…right?

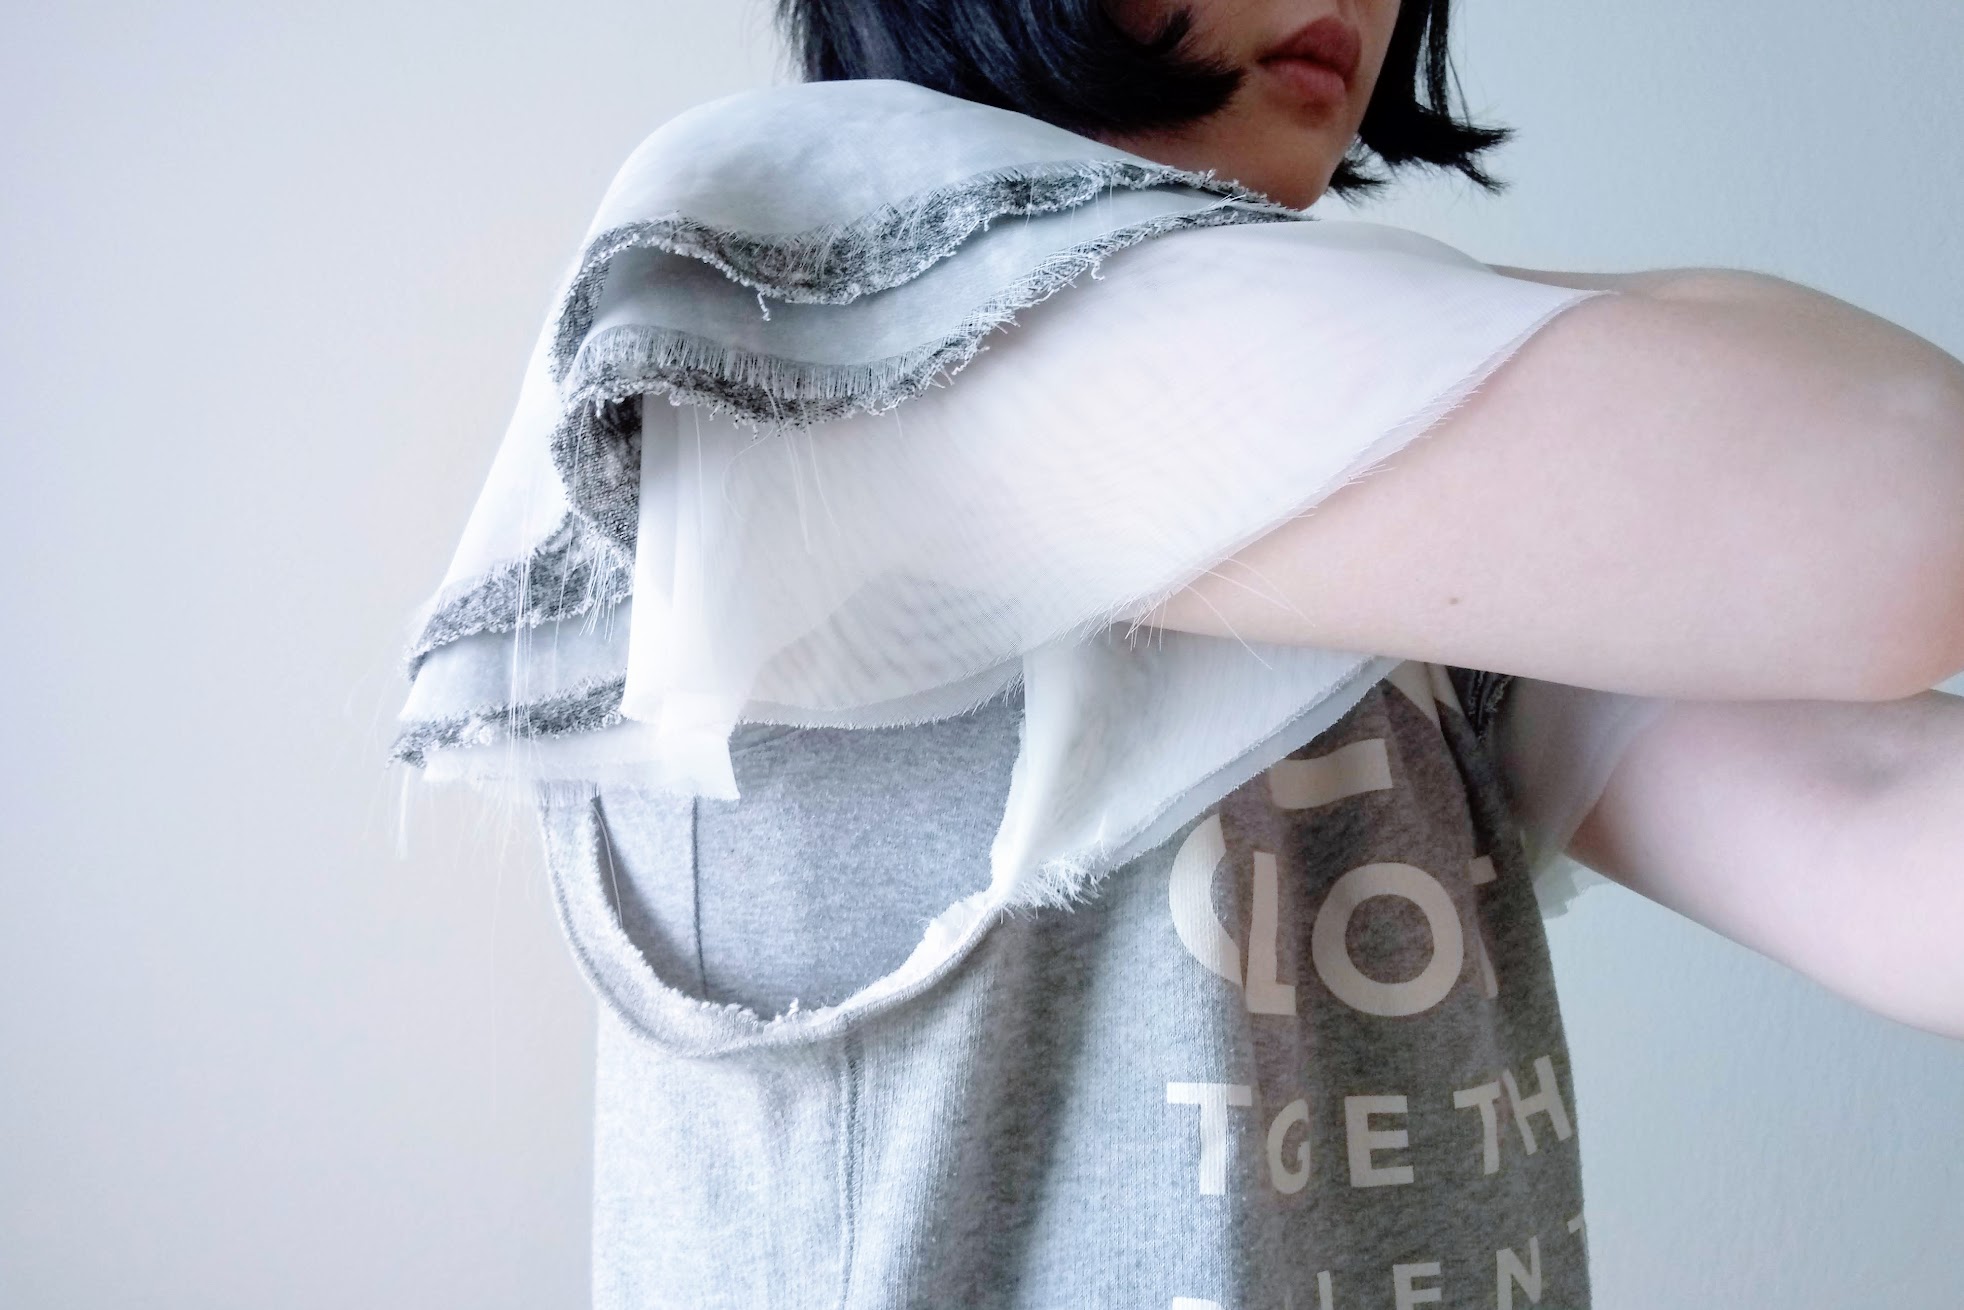
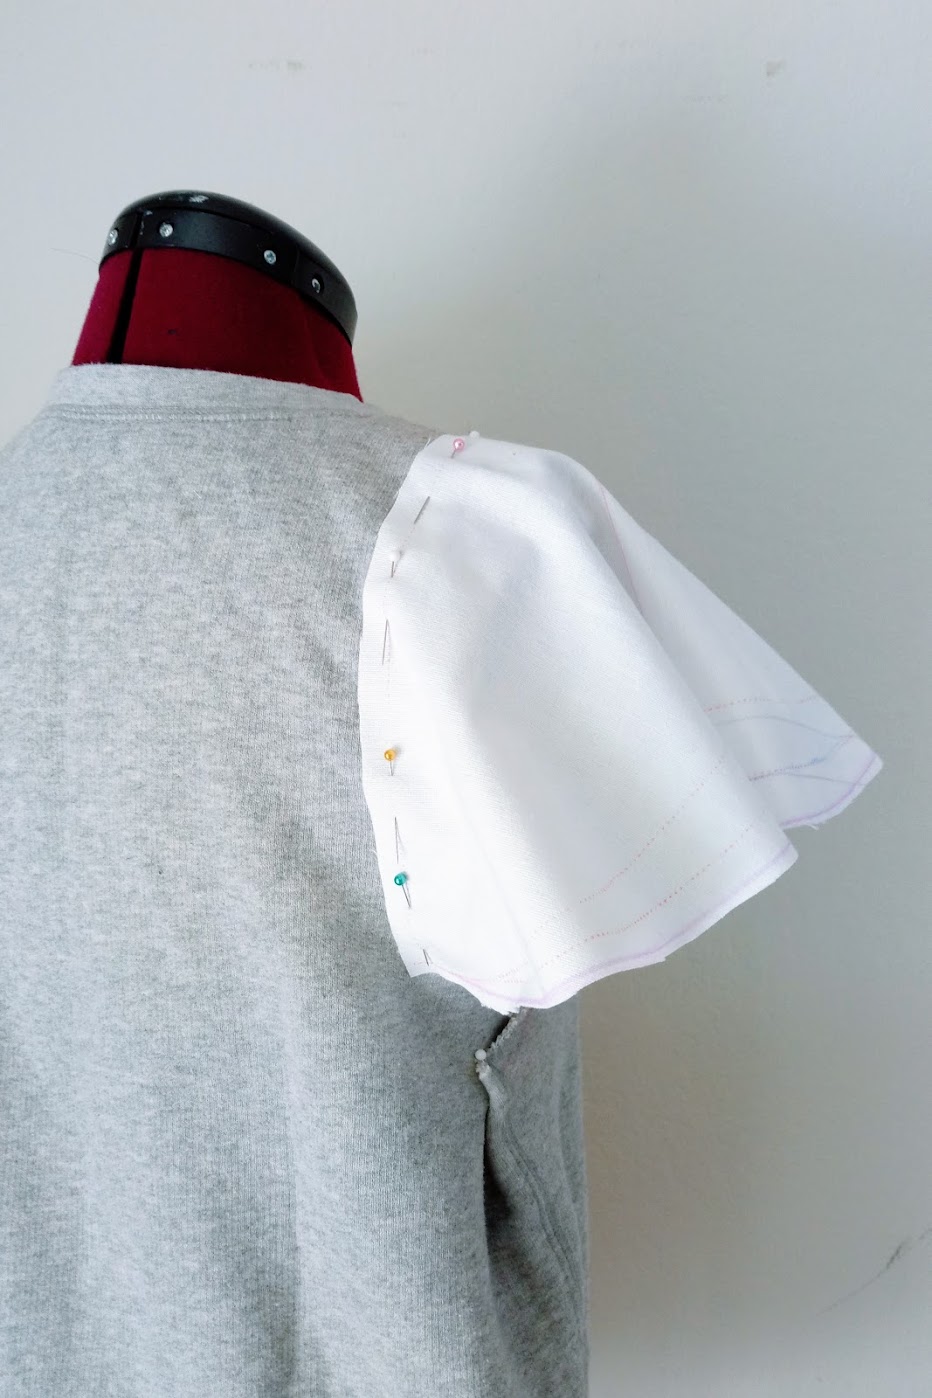
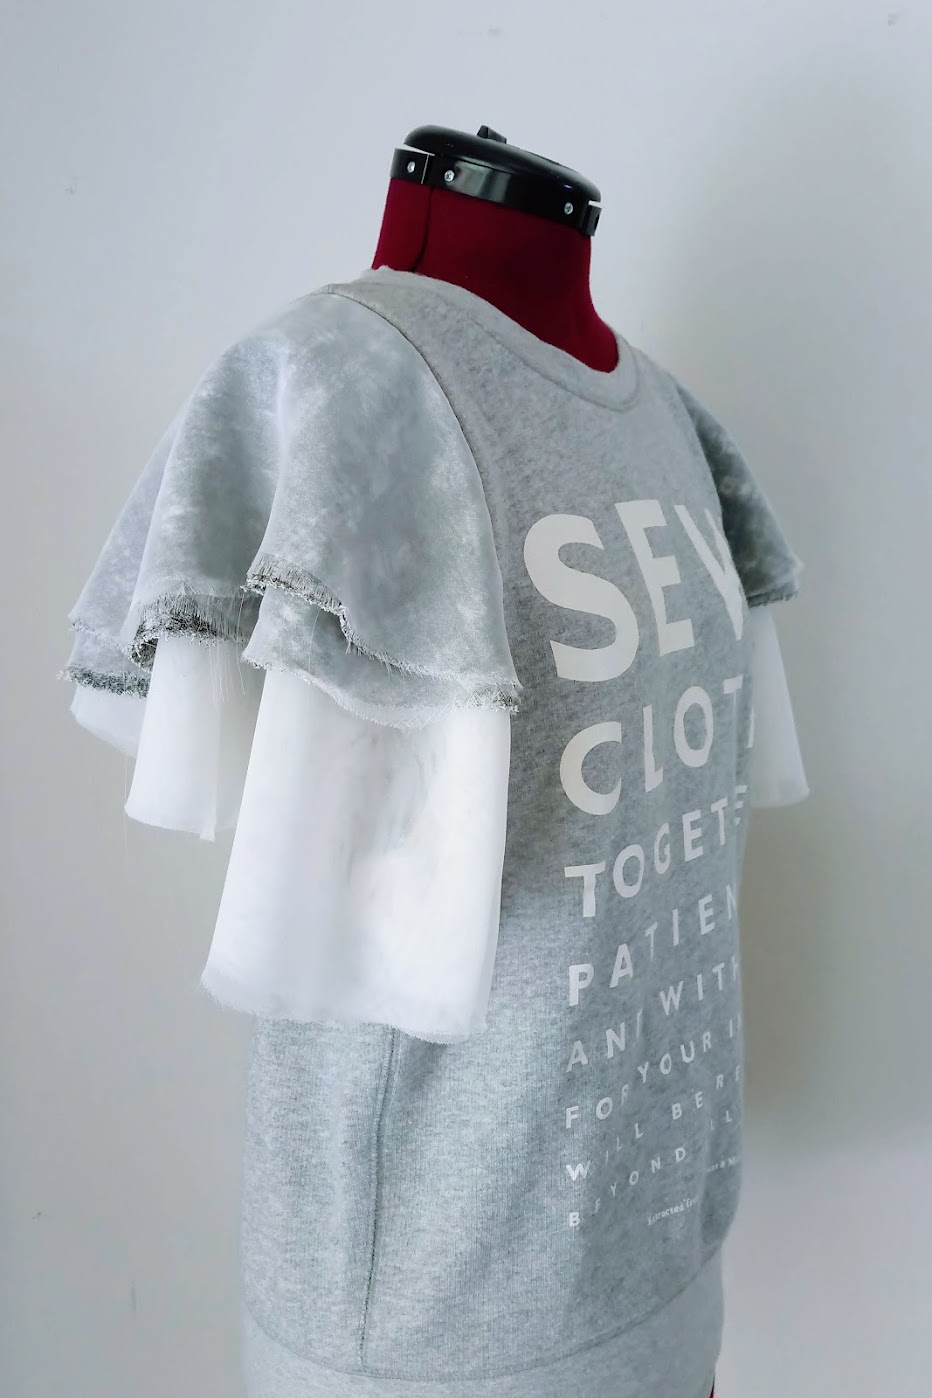
Well, not really. When I saw how droopy the sleeve openings looked from the back, I took some elastic remnant and zig-zag stitched them to the back bottom half of the sleeve openings.
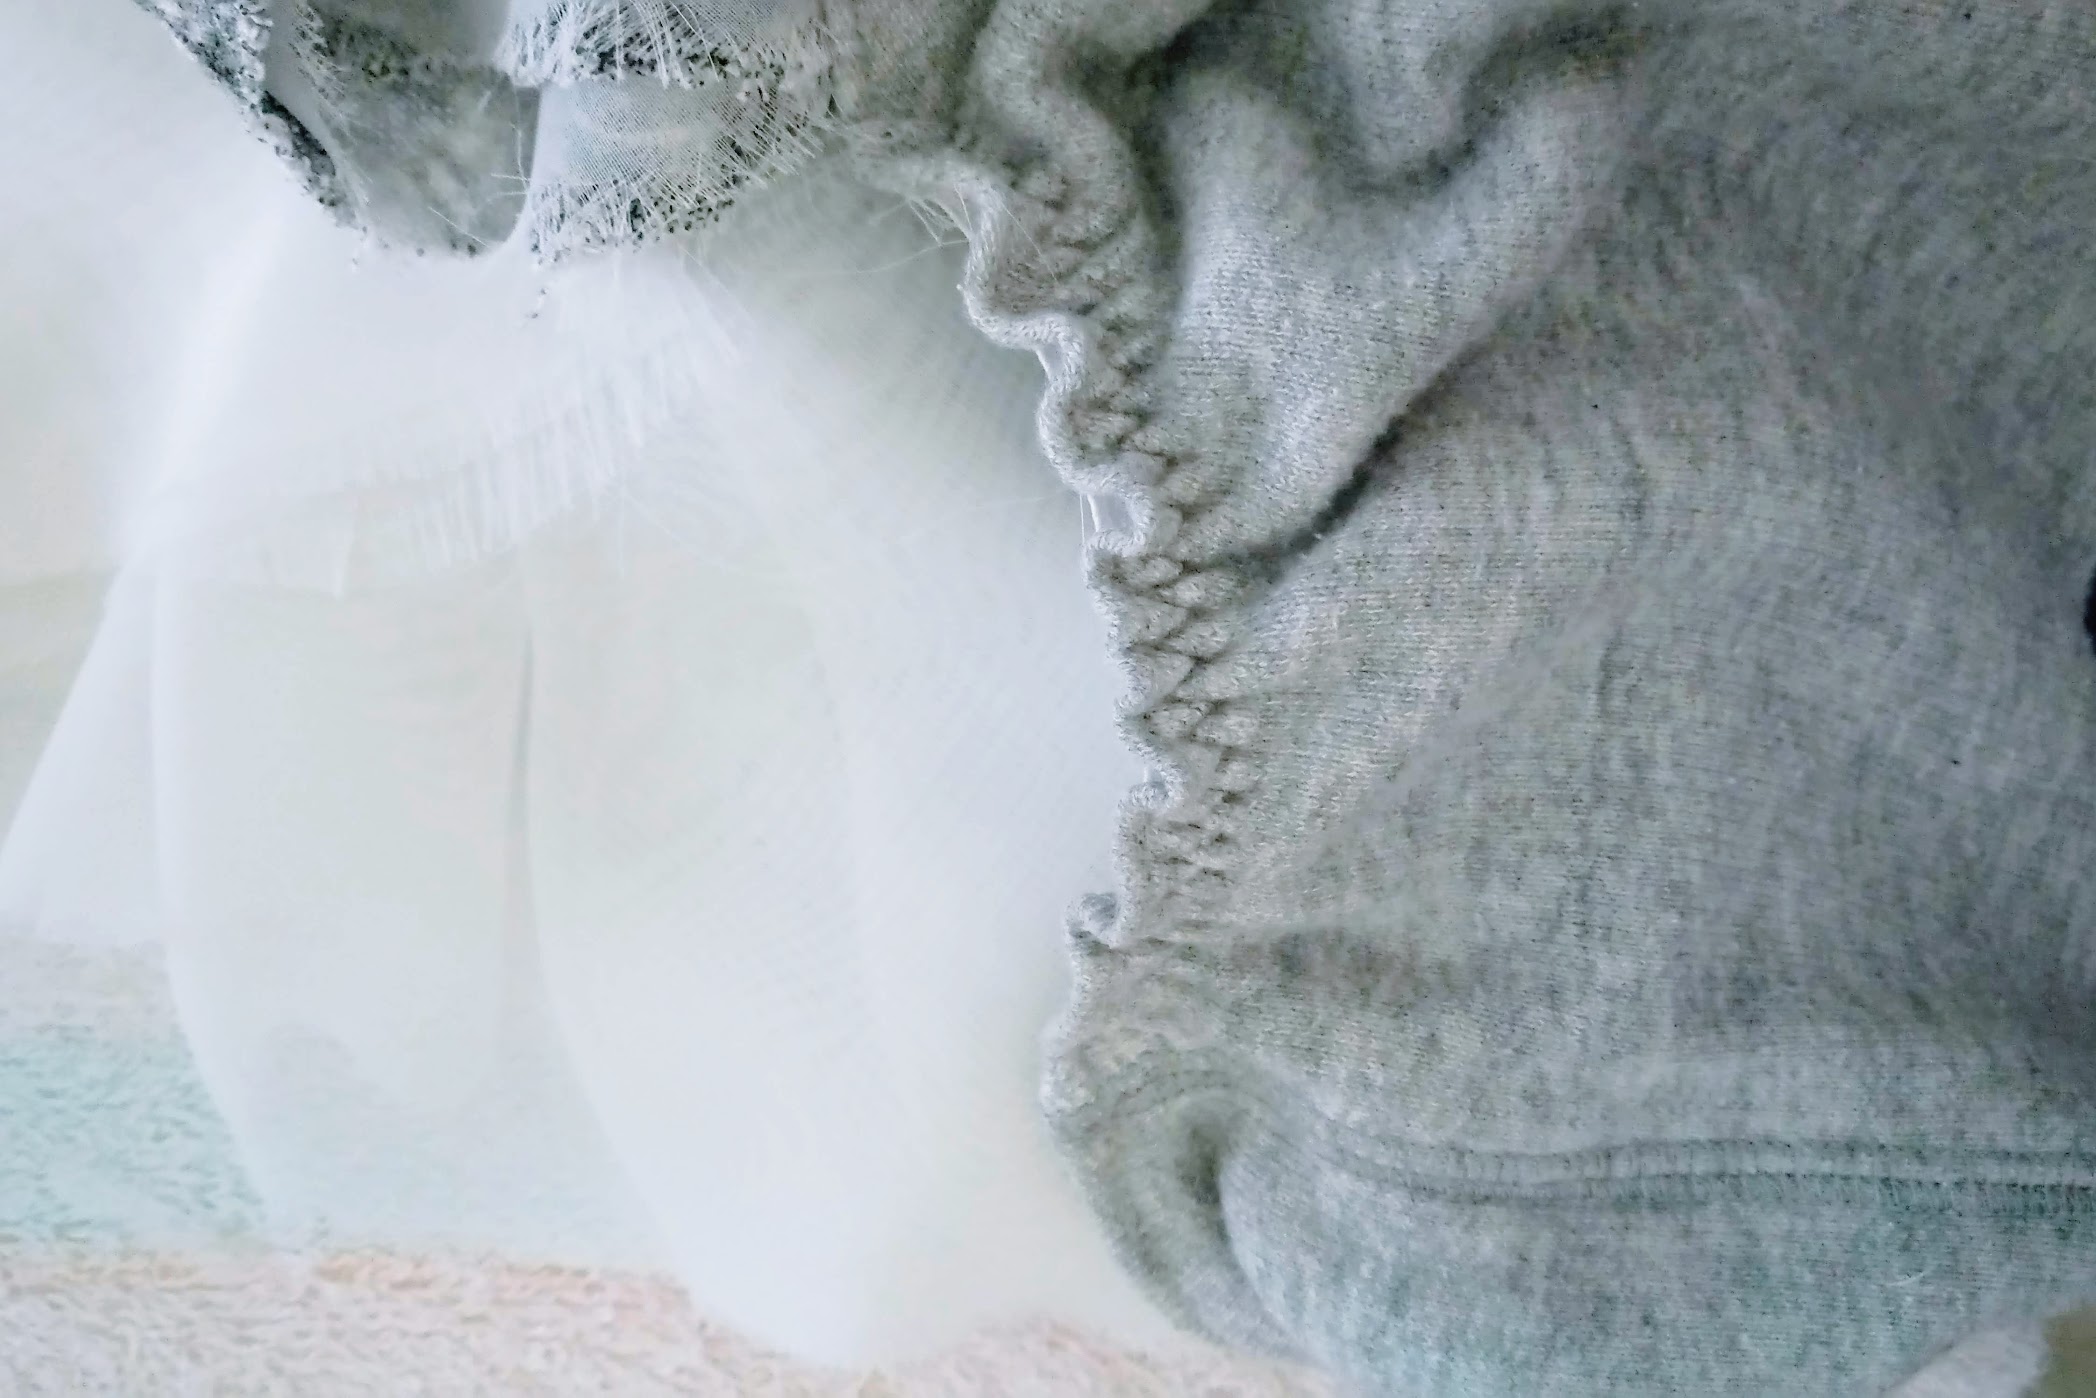
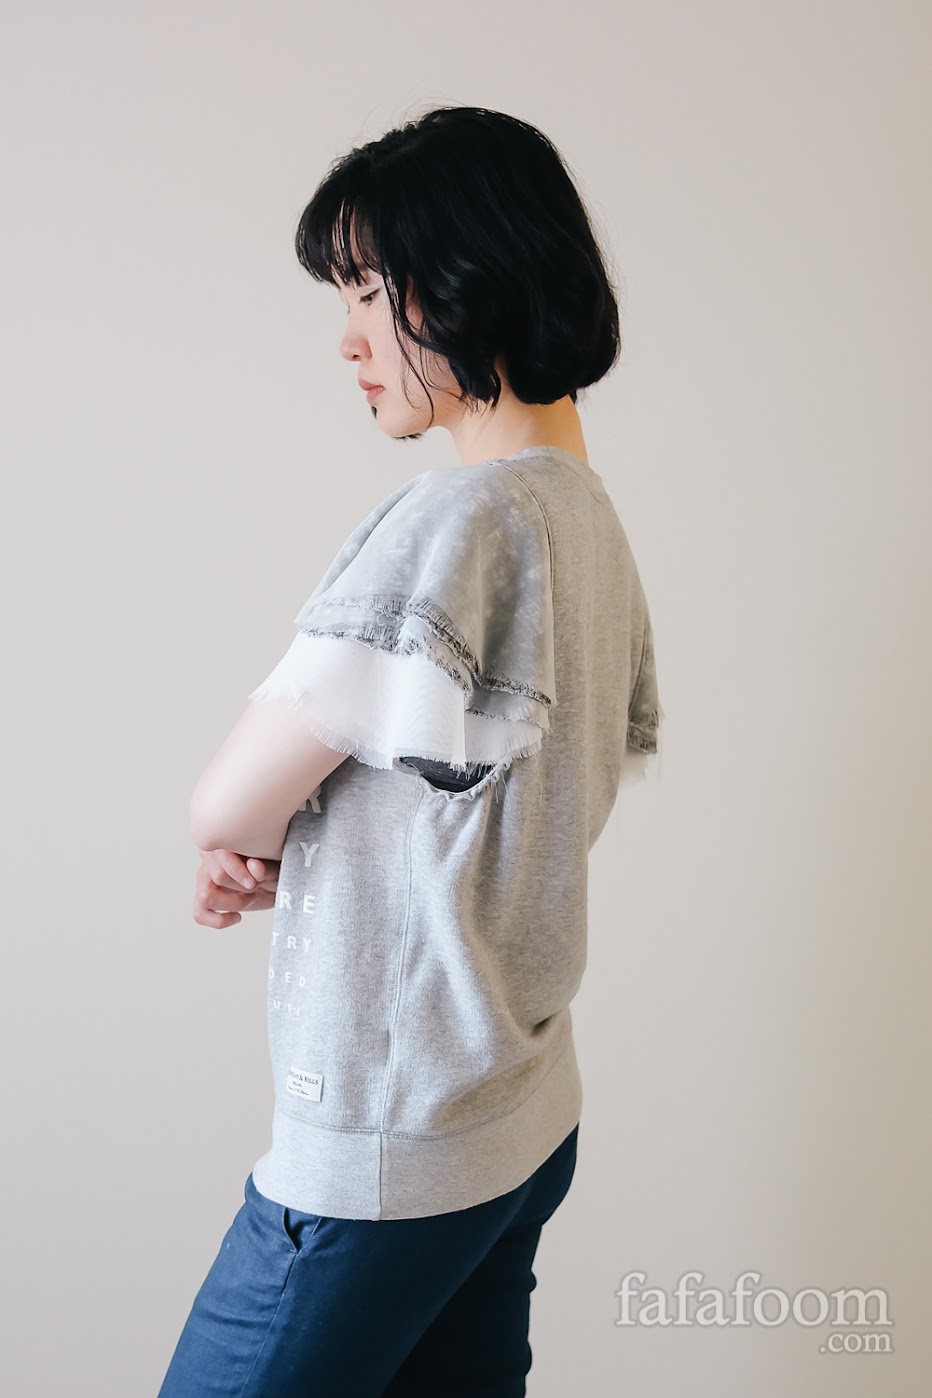
hen I looked at the finished garment on the dress form, I really liked how organic and elegant the layered flounce sleeves look. The bottom layers of ivory chiffon especially looked so elegant, with subtle sloping line from back to front.
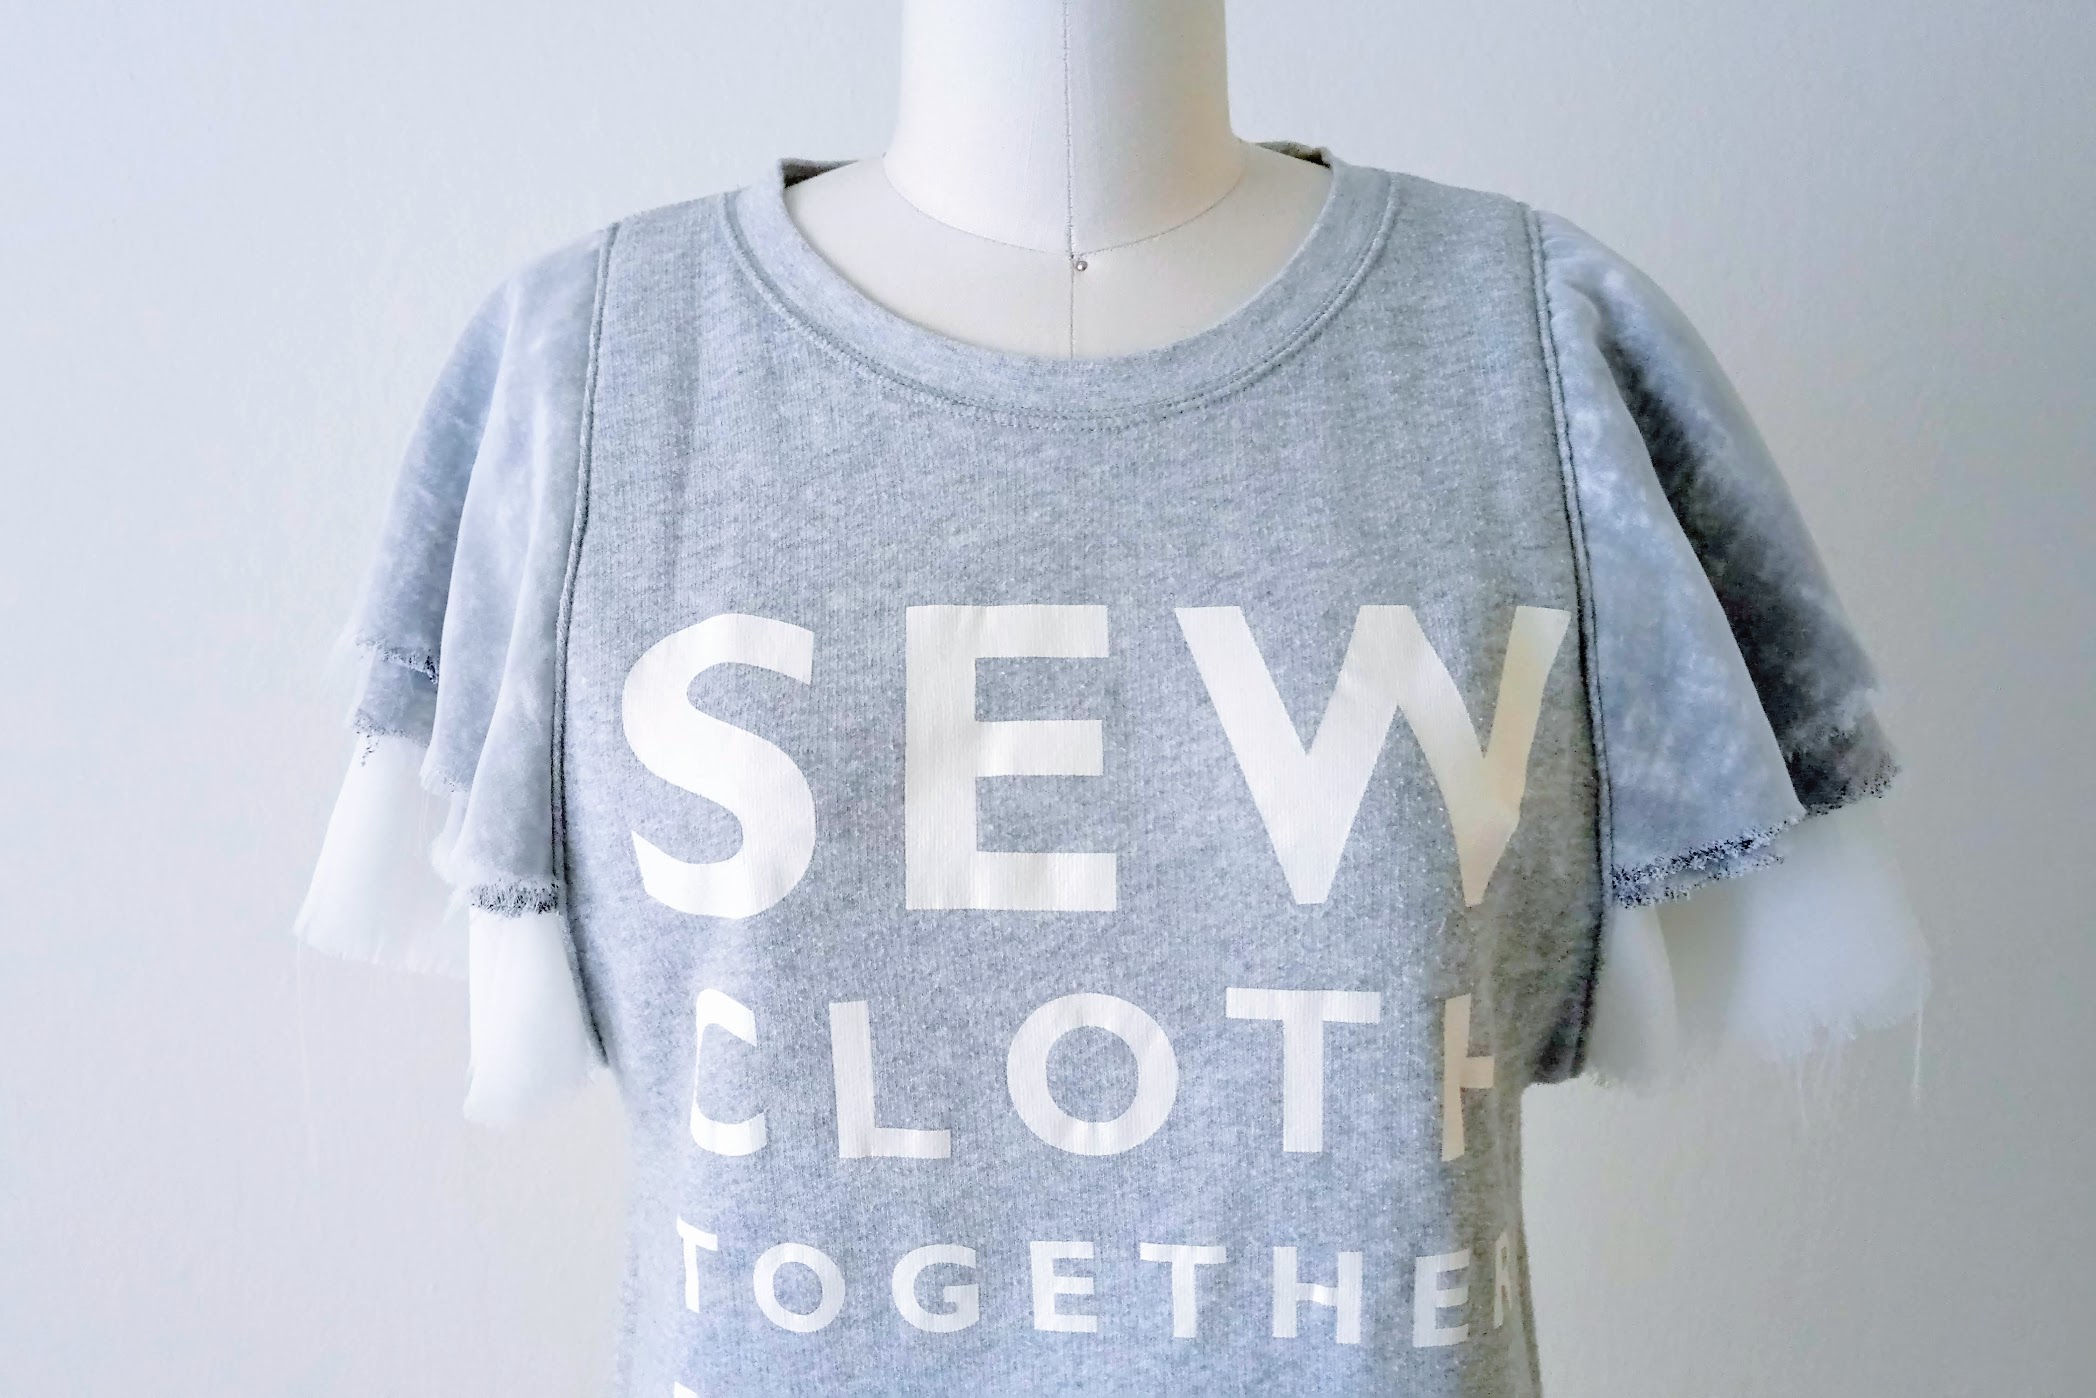
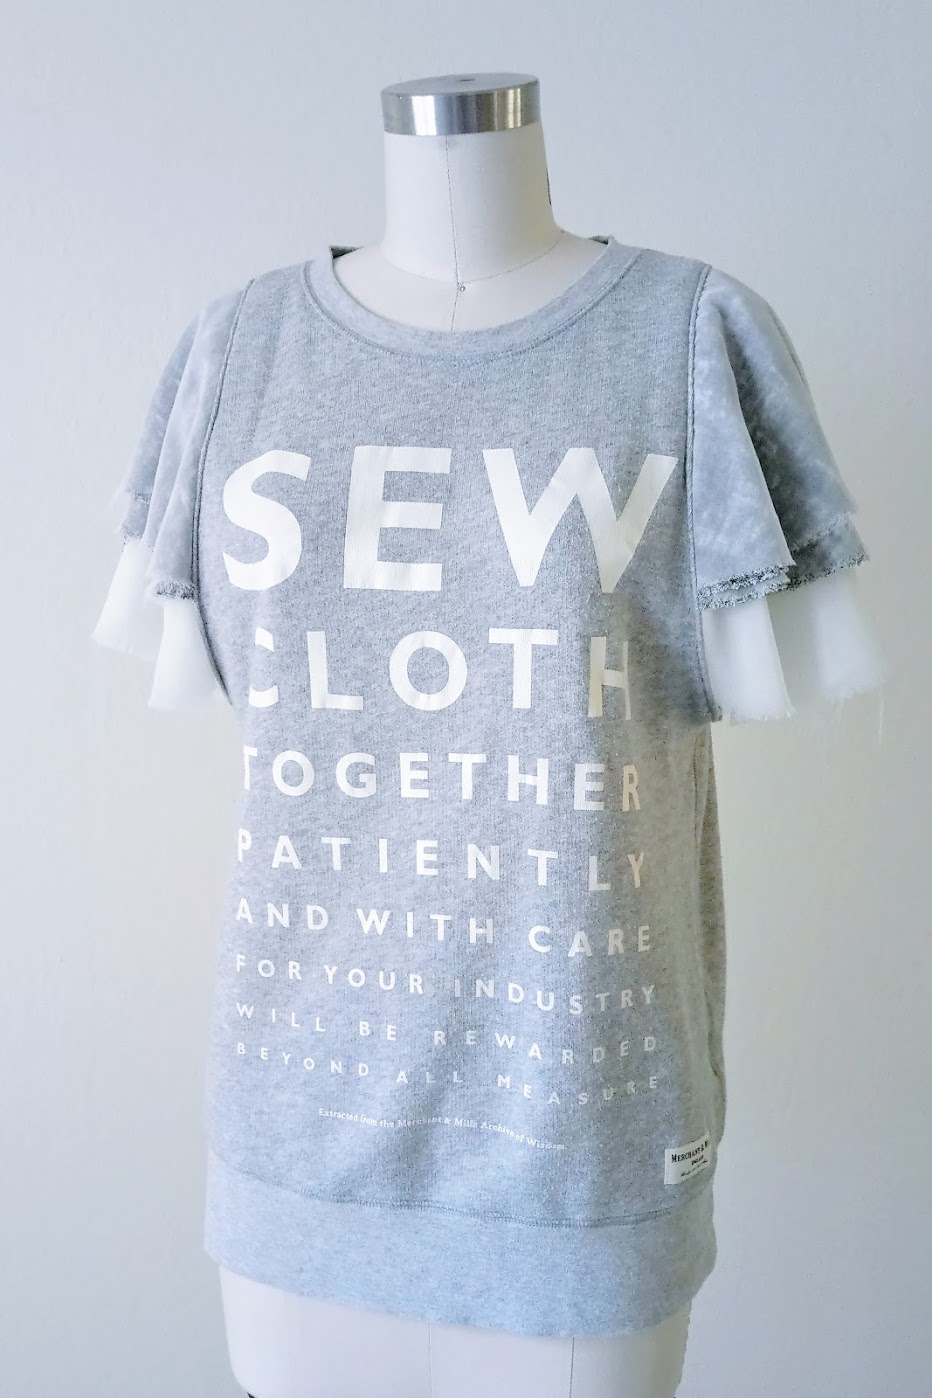


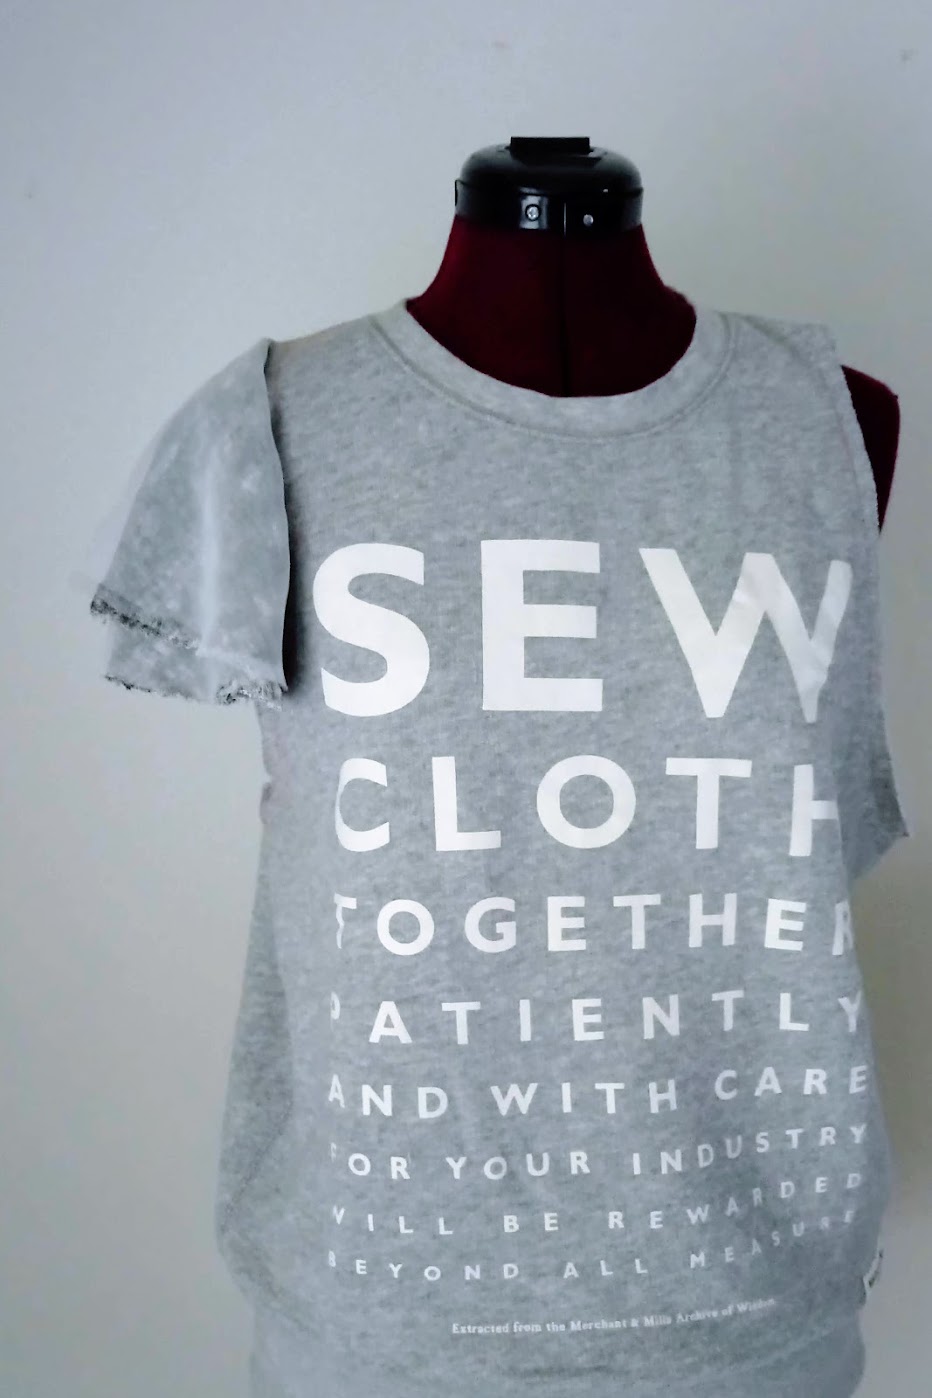
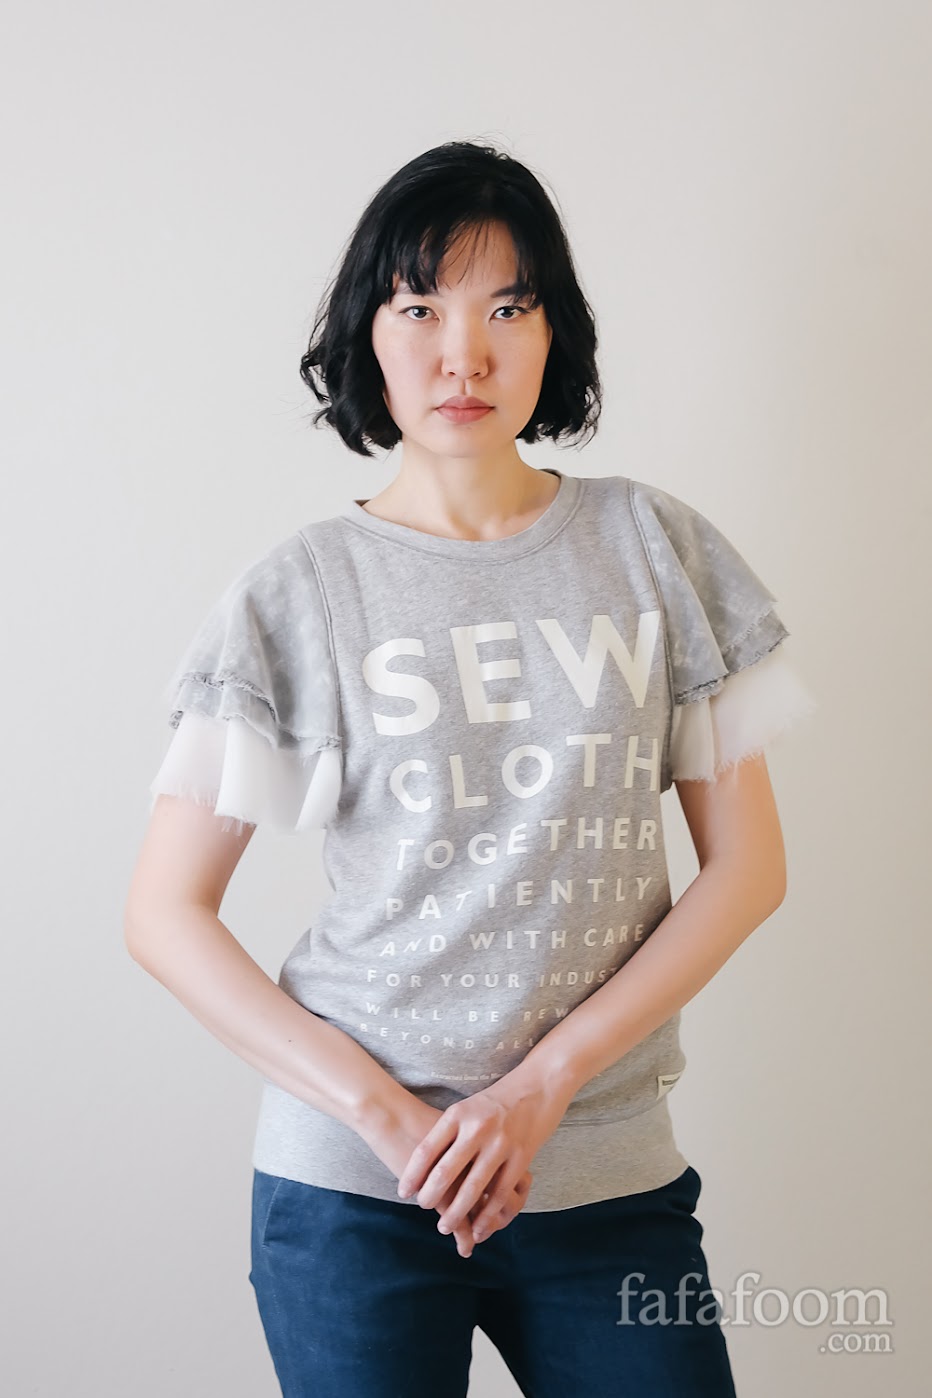
Result: DIY Layered Flounce Sleeves
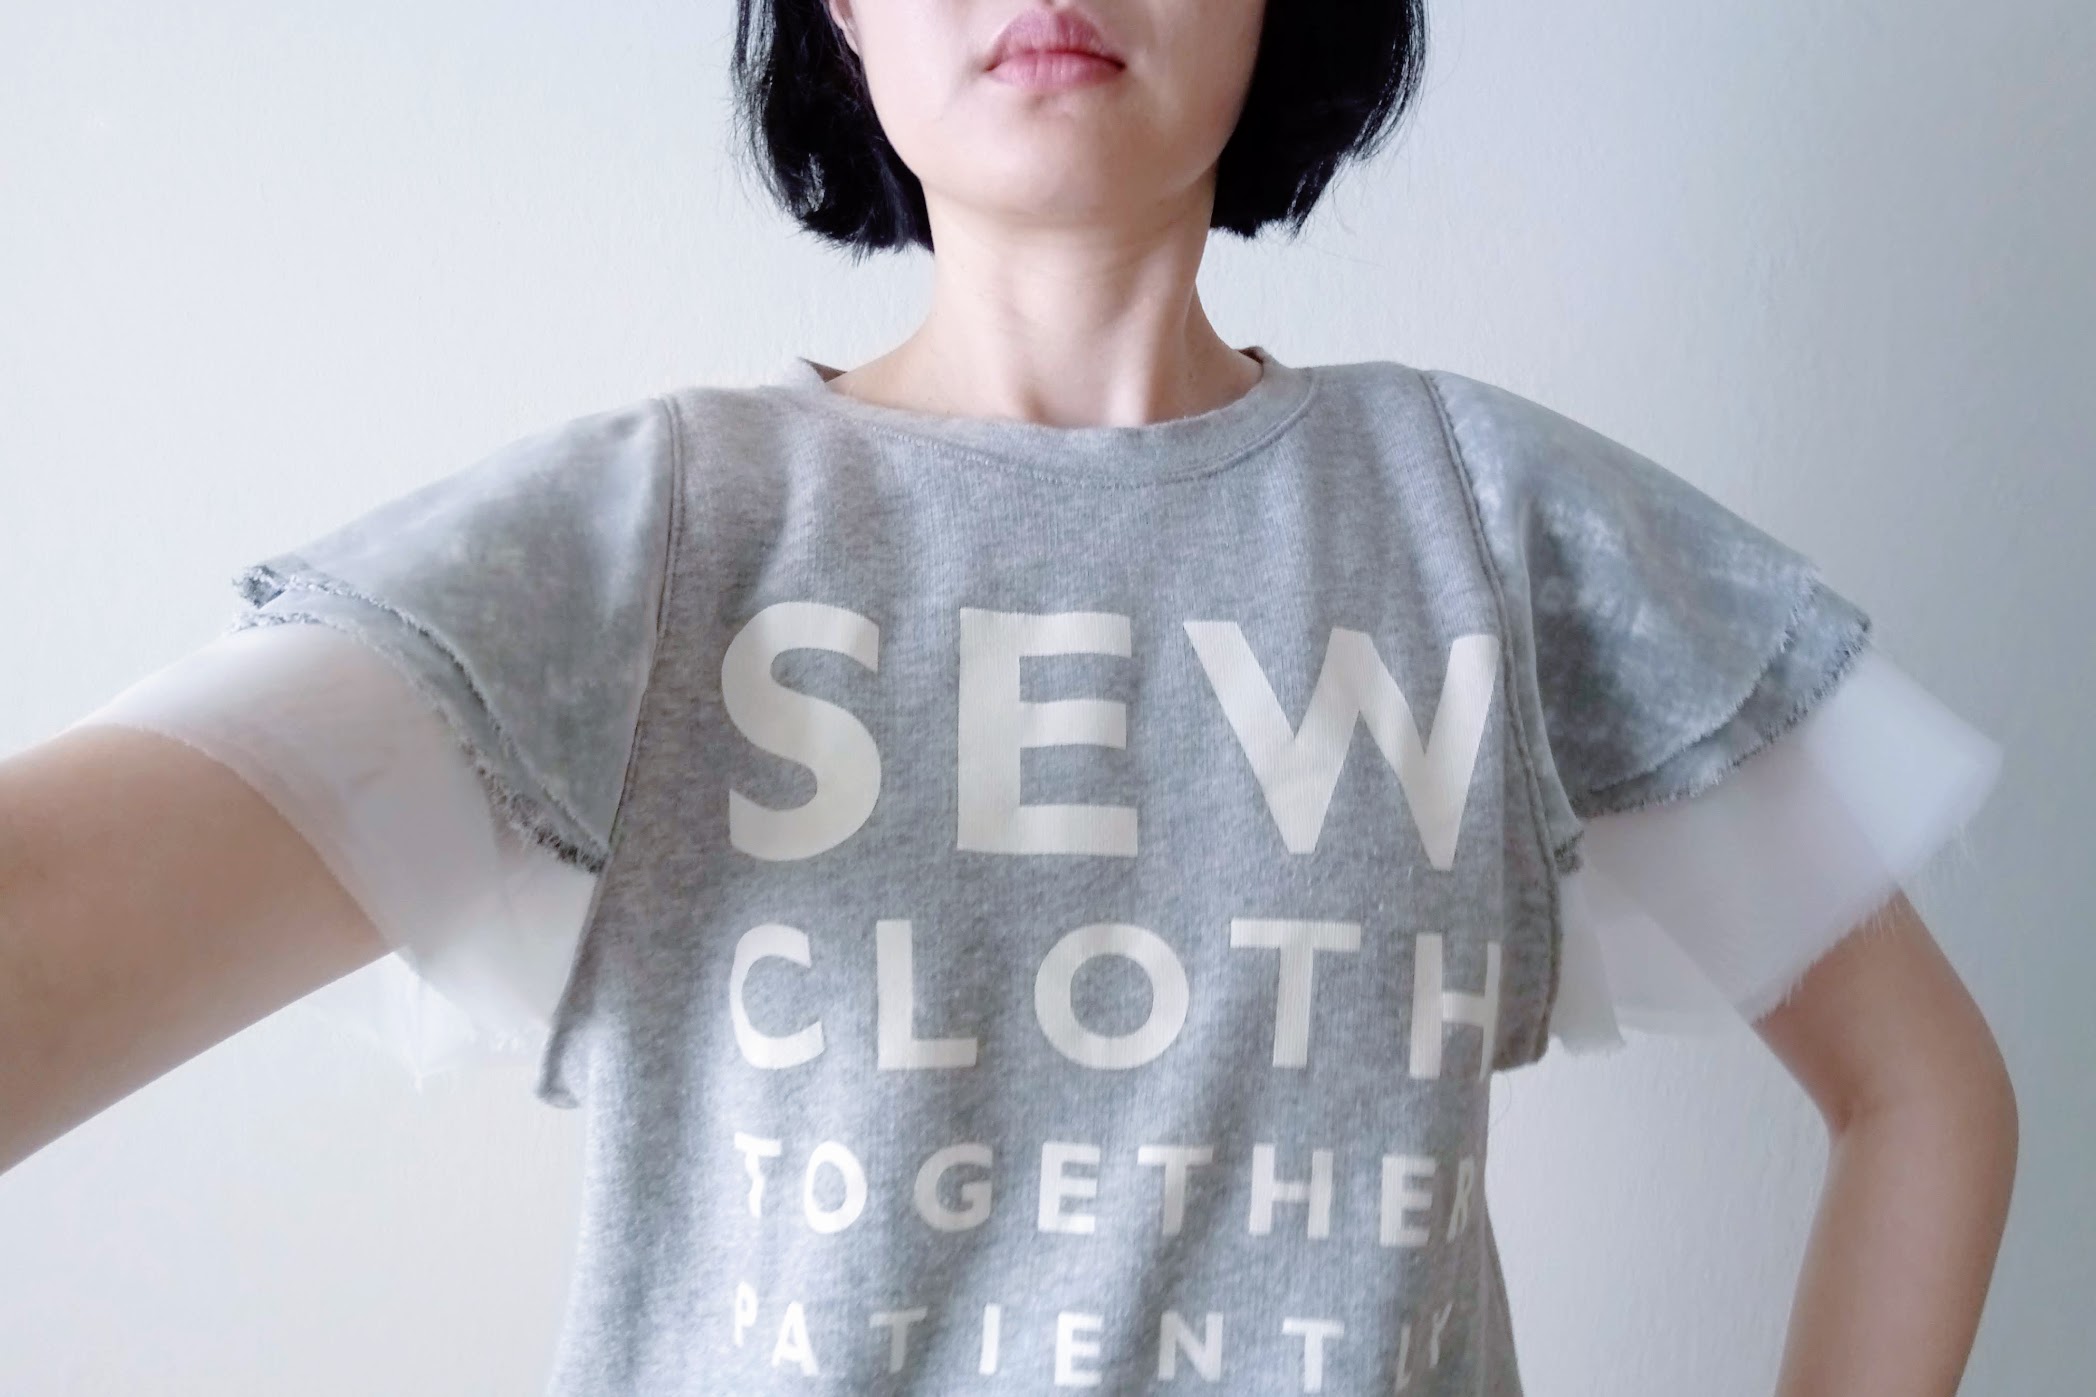
Here’s what the finished garment looked like, and I really enjoy wearing the sweatshirt.
With each wear, the chiffon fabrics frayed a little more, creating drapes of soft fringes. Seeing how the sleeves change every time I wear the sweatshirt is such a treat. It’s a more organic quality that I really appreciate!


As always, feedback and comments are welcome.
Thanks for reading; until next time,
Musank
Disclaimer: I may earn a small commission for my endorsement, recommendation, testimonial, and/or link to any products or services from this website. Thank you for your support!
Never Miss a Post
Enter your email below to receive the latest Fafafoom Studio post in your inbox.
Browse more posts
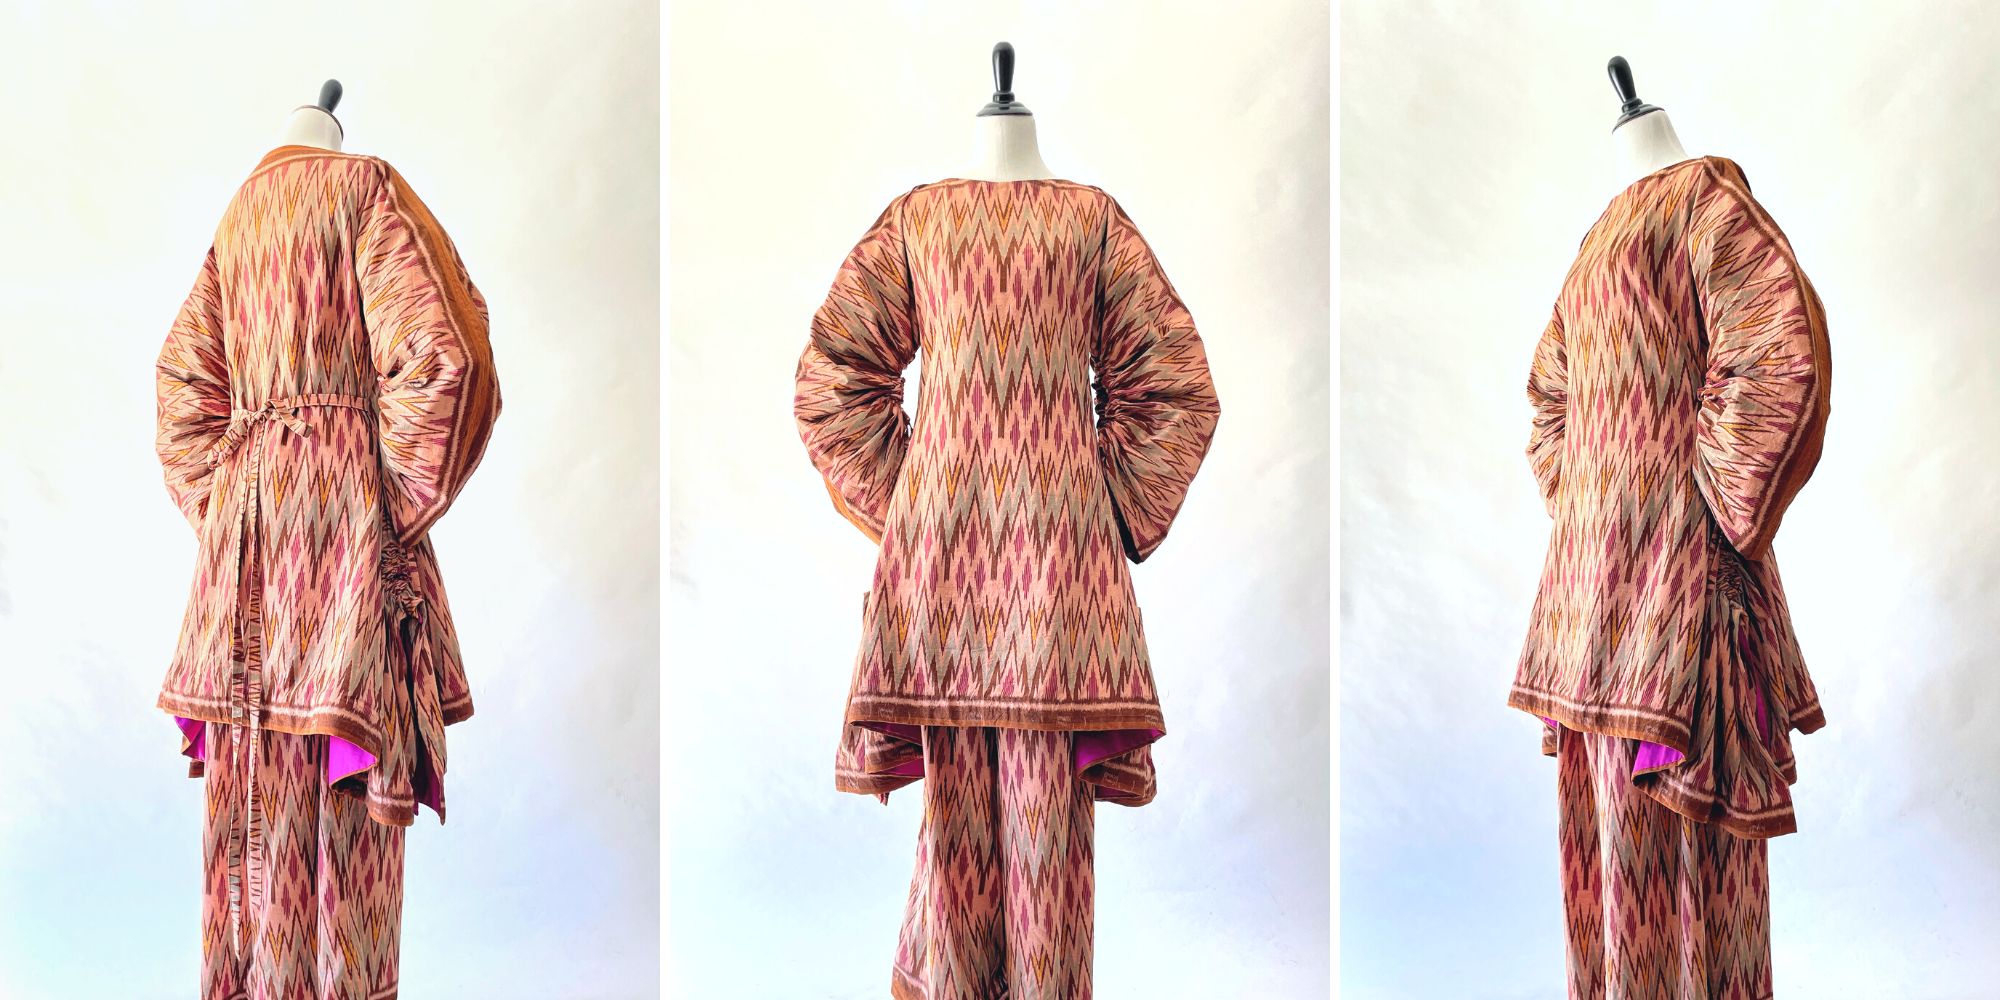
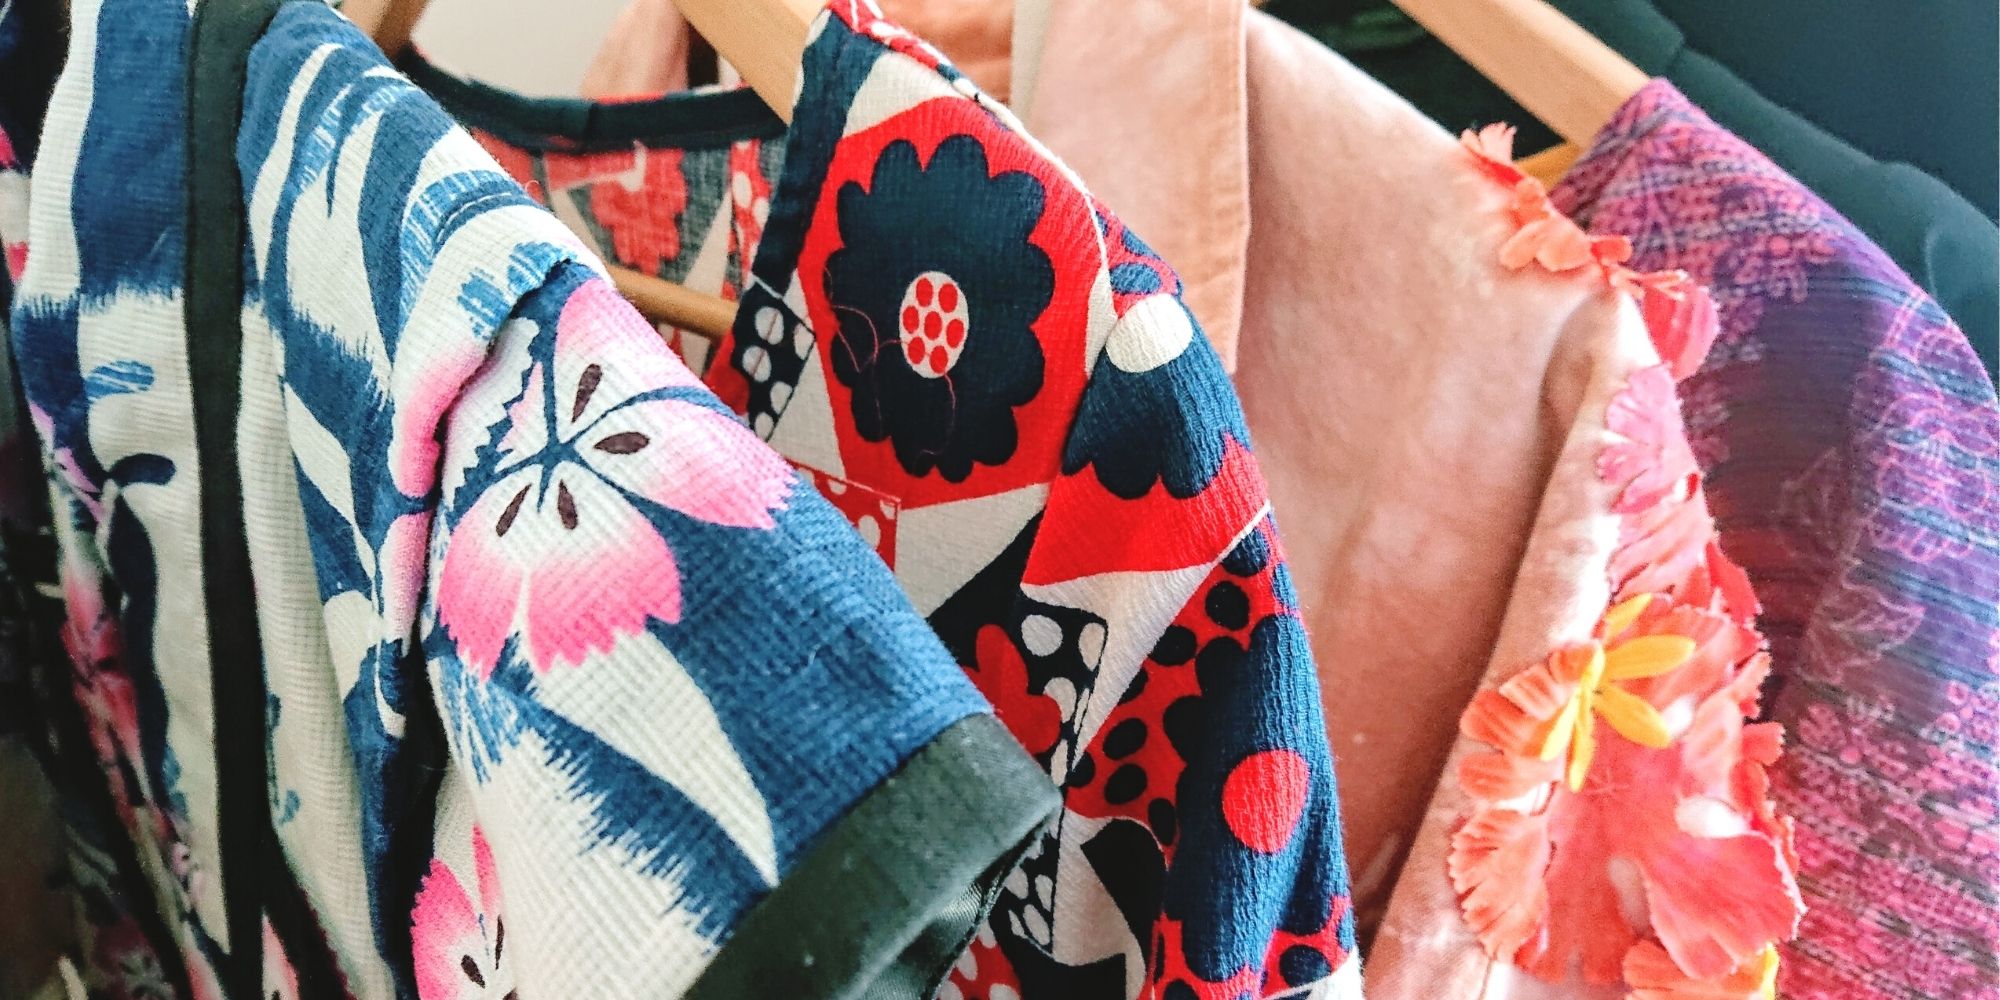
Interpreting Kebaya, Making a Modern Ethnic Ensemble
Modern Ethnic outfit is my interpretation of kebaya dressing. They are made using vintage ikat textile and inspired by several free minimal-waste patterns. Only on fafafoom.com.
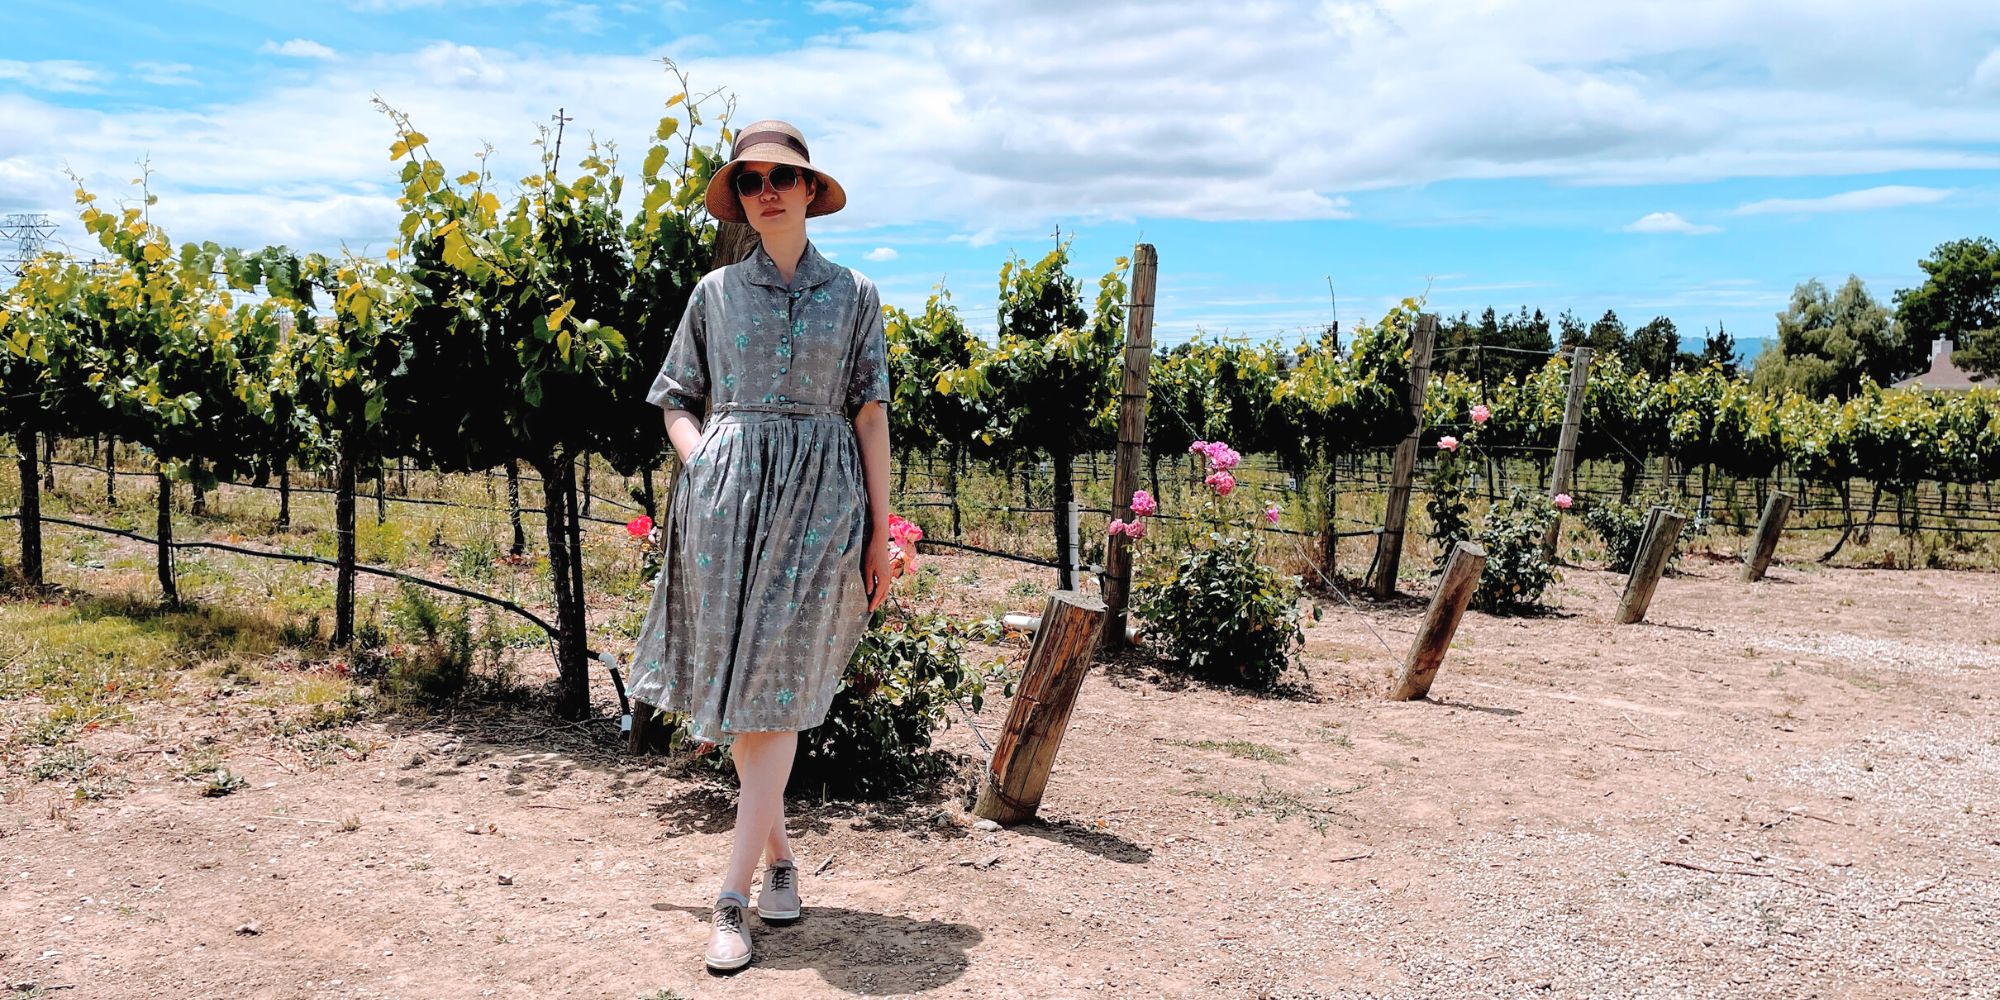
Restoring a 1950s Atomic Age Dress
Restoring and repairing a beautiful 1950s Dress for my summer 2022 wardrobe. Smart alterations include lining and inseam pockets. Only on fafafoom.com.
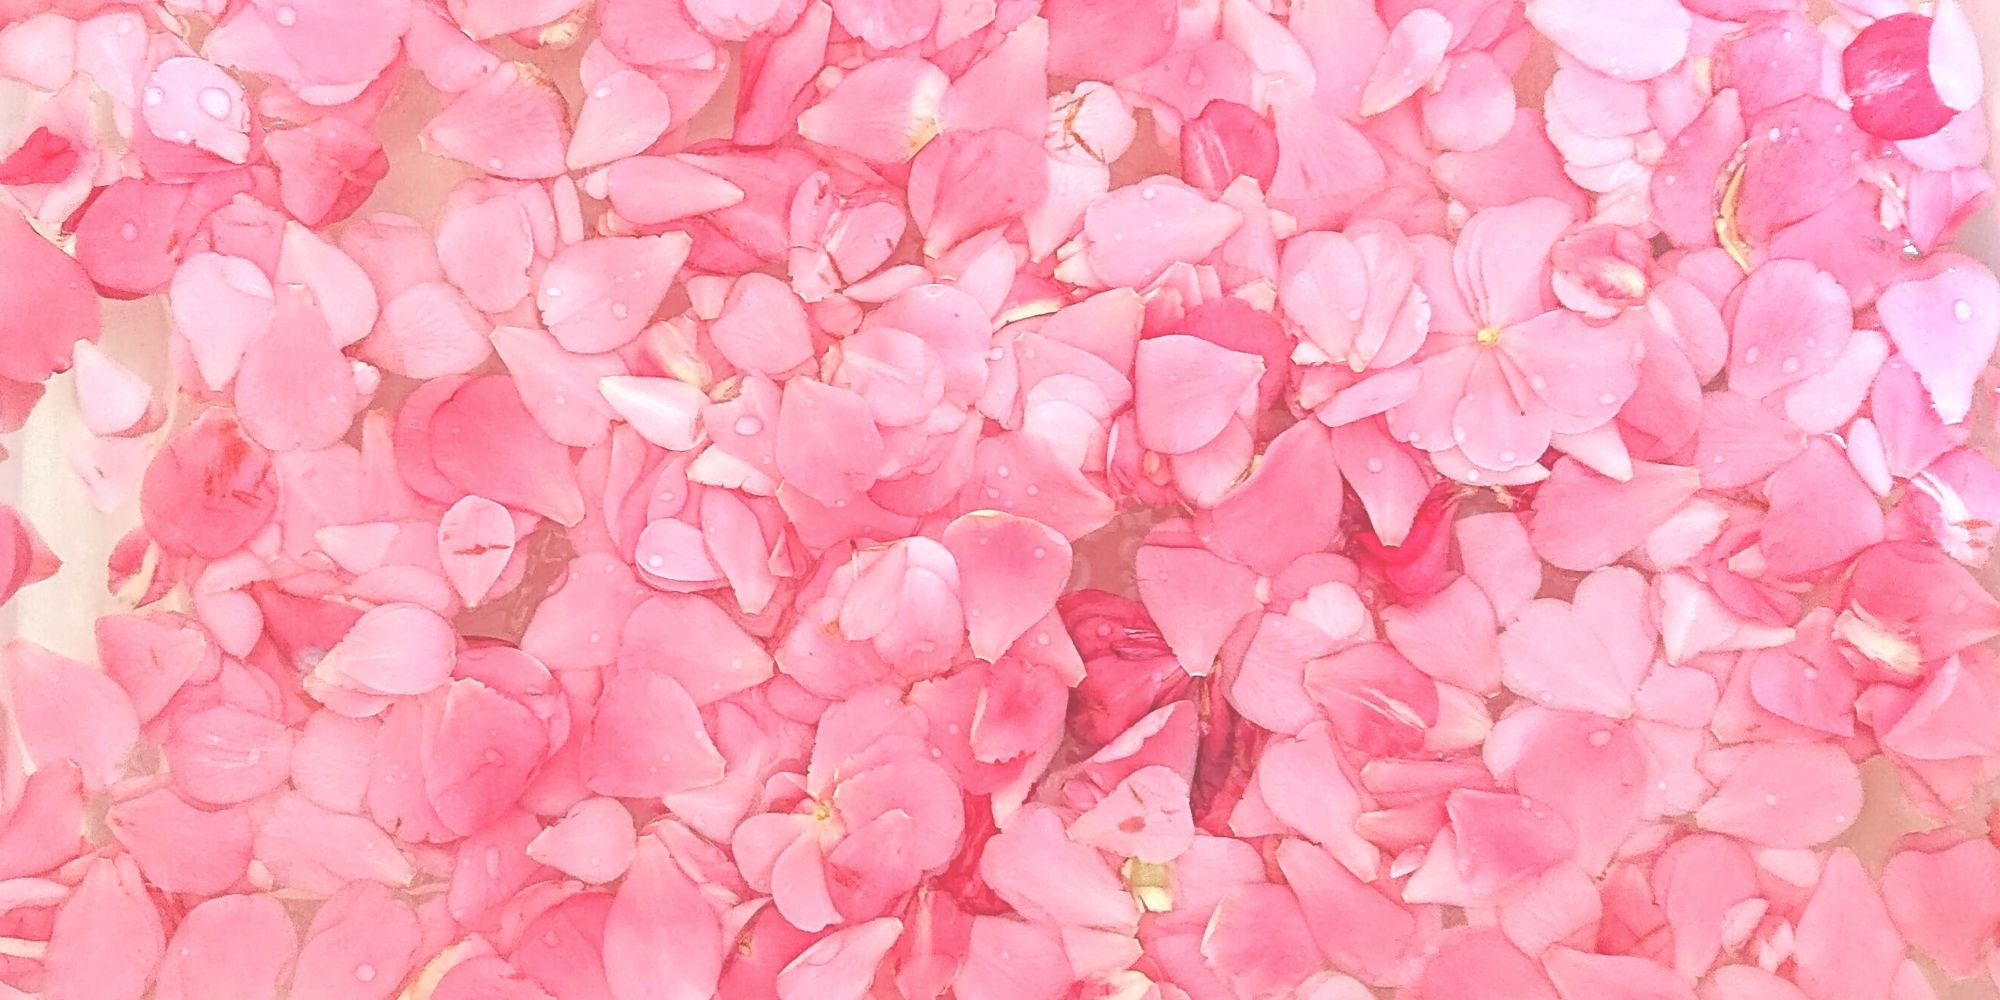
Pink Delight! Natural Dyeing with Camellia Flowers
My next experiment is dyeing with camellia flowers. Amongst all natural dyeing projects I have done so far, this is my favorite. Check out the pink delights! From fafafoom.com.
5 Slow Fashion Tips for a More Sustainable Wardrobe
Five slow fashion tips to help you transform your sustainable wardrobe for a cleaner, greener future. A guest feature from Reese Jones for Fafafoom.com.
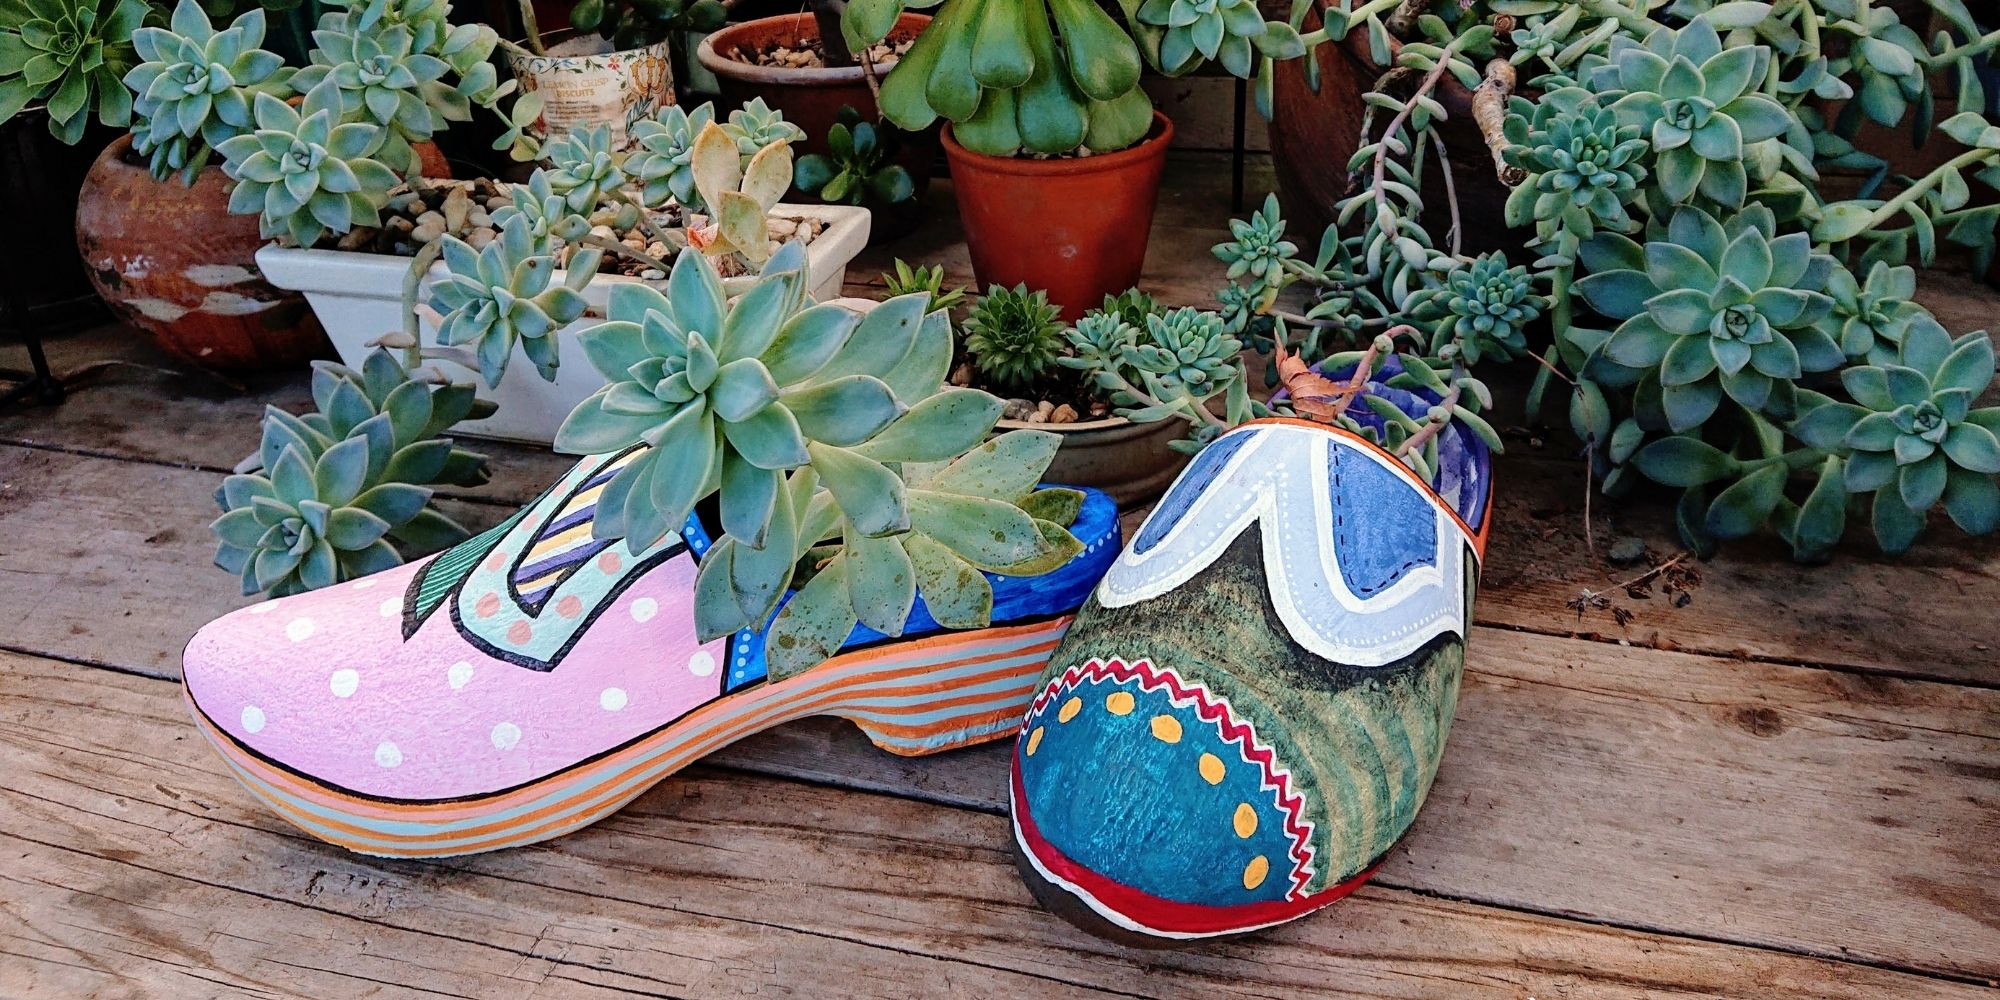
Upcycling and Repairing Ideas for Garden Decor
The garden has become a special place, especially during Covid-19 pandemic. During shelter-in-place period, I made garden decors by upcycling locally sourced items.
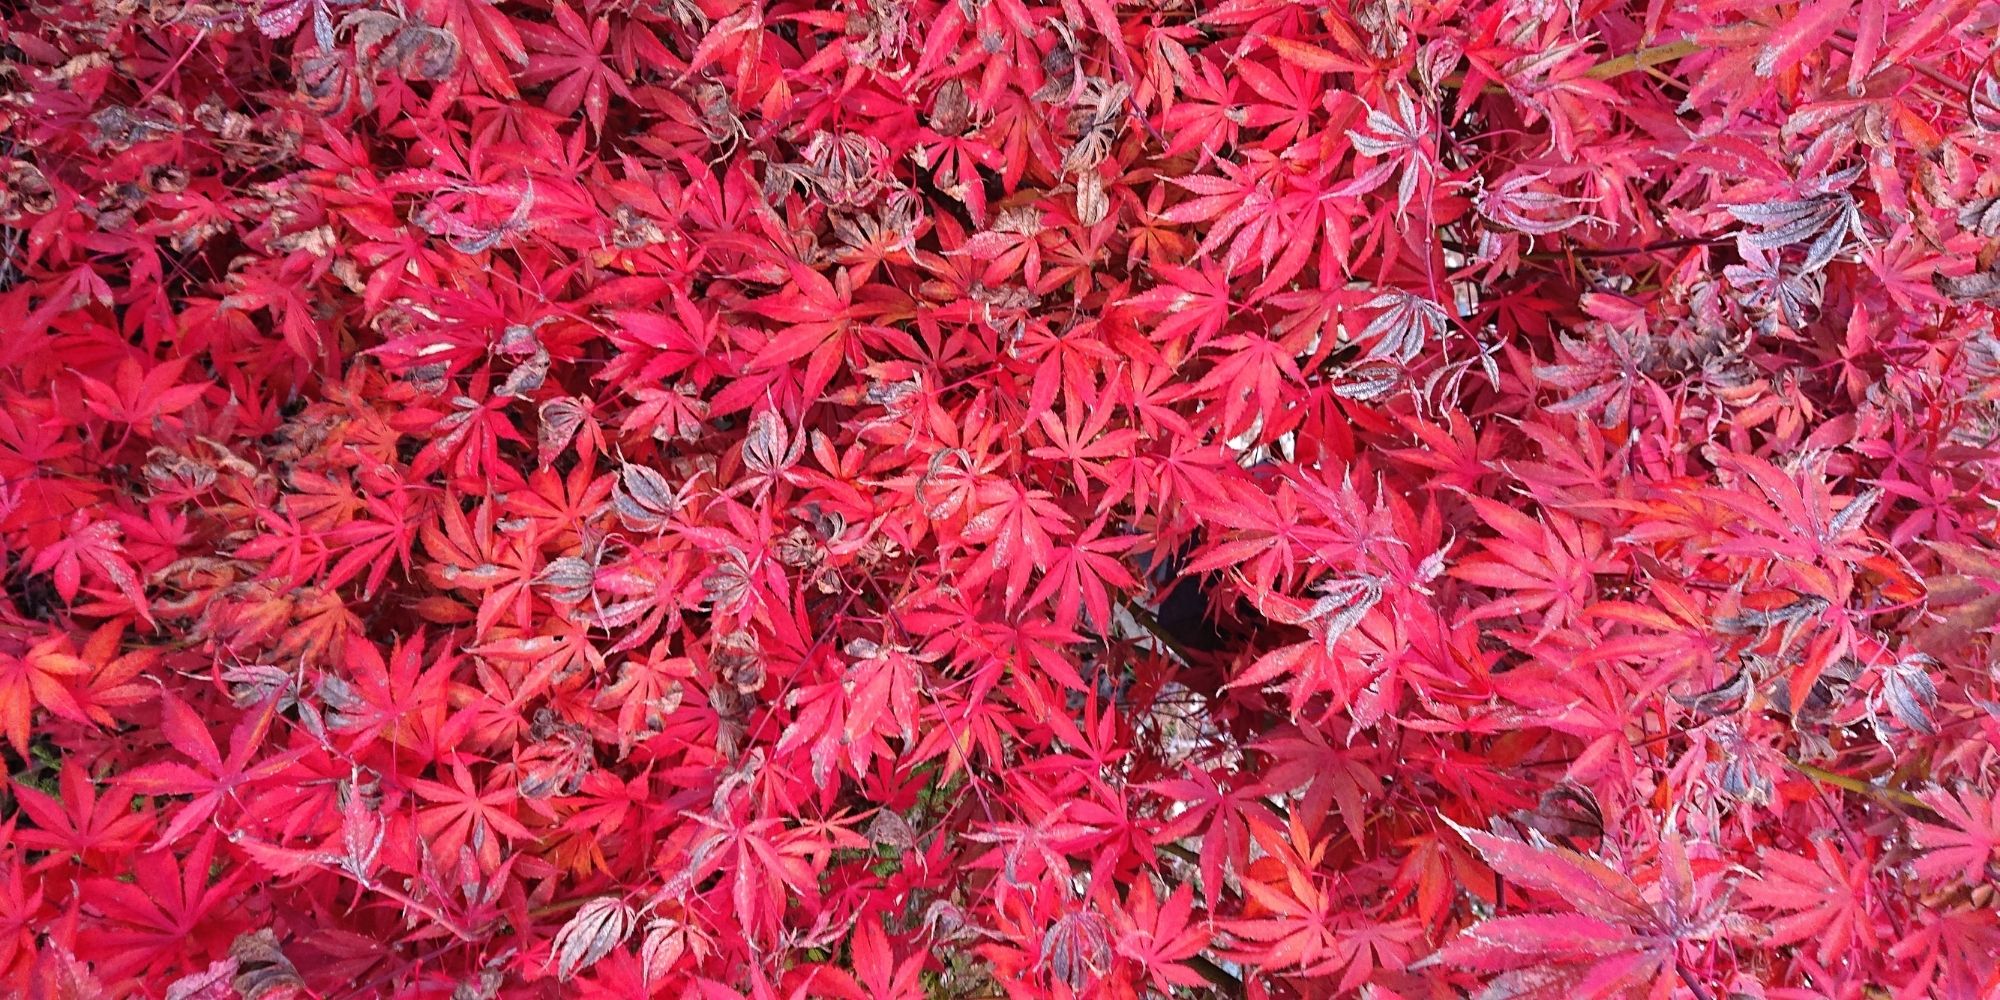
Natural Dyeing with Japanese Maple Leaves: Notes from a First-timer
Notes from my first natural dyeing experiment with Japanese maple leaves in fall season. Three batches of dyeing using fallen leaves sourced from two different trees in the garden. So much to learn and enjoy afterwards.
Trackbacks/Pingbacks