
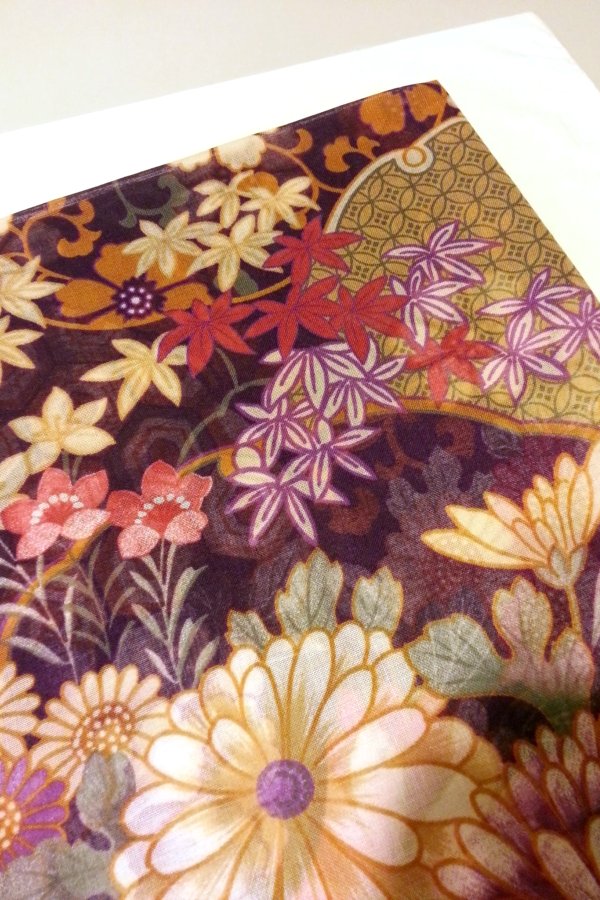
This was the tipping point of my love for DIY projects. Making a simple scarf top with kimono sleeves from an old H&M scarf was such a fun experience. I couldn’t believe I almost throw this barely-used scarf away. The pretty floral print and colors are perfect!
It started with a simple DIY idea. Let’s refashion my pretty-but-not-used-much-at-all rectangular H&M scarf into a kaftan top. Cut a neckline hole at the center of the scarf, then machine stitch around the neckline with some bias tape. To create arm holes, let’s measure the sides and stitch just several inches upwards. The top will be loose and casual.
Pretty simple, right?
However, things changed for the better. Right after I was done with creating the neckline, the plan had to be altered. Lengthwise, the scarf is longer than I thought. So a simple kaftan top would look really sloppy. I would look like a drowning dog in a lake of water lily pond.
That’s when I decided to take the harder route and create kimono sleeves on the sides instead. And what a great decision that was. I am so proud of the scarf top with kimono sleeves…it’s probably my best work so far. This was my first time working with silky fabric and it turned out so good!! So excited to share the process and the finished garment with you all :)

Materials:
- Large rectangular scarf – half its width or length is long enough to cover my torso
- Approximately 0.75 yard of black double-fold bias tape
- Scraps of tracing paper
- Sewing machine (mine is Brother CS6000i model)
- Threads, pencil, and scissors
Subscribe to my newsletter
1. Making the Neckline
The large rectangular H&M scarf I was working with is 100% polyester, and its dimensions are 58 inches long, 52 inches wide. The first step I did was searching for the center of the scarf. I basically folded the scarf lengthwise once, then iron it lightly. Then I folded again widthwise and iron it lightly once again. Below is the picture of the center point I found on my scarf.
Next, I created a simple neckline pattern. Basically, I folded a scrap of tracing paper in two lengthwise so that I’m working from the center and then just “mirror” the pattern on the other side to get a full neckline pattern.
For the front neckline, I measured 12 cm from the center to side. Then I measured 6 cm top-bottom for the front, and 2 cm for the back. Then I hand drew the deeper front curve and shallower back curve.
Finishing up the “mirror”, I got this full neckline pattern:
After choosing the right side of the fabric, I pinned the pattern, aligning it to the center. I used the folding lines created during aforementioned ironing session to align this properly. Then I cut the neckline with a rotary cutter, cutting the tracing paper along with it. And because the fabric started fraying quite badly, I did not delay finishing up the neckline with some black bias tape.
Note: There’s one thing I did not document. After I was finished with the neckline, I tried it on and saw that the neckline did not lie flat on the shoulder tips. So I pinched and hand sew tiny darts from each curve points. It did the trick for me.
2. Simple kaftan top? Nay! Let’s do kimono sleeves instead.
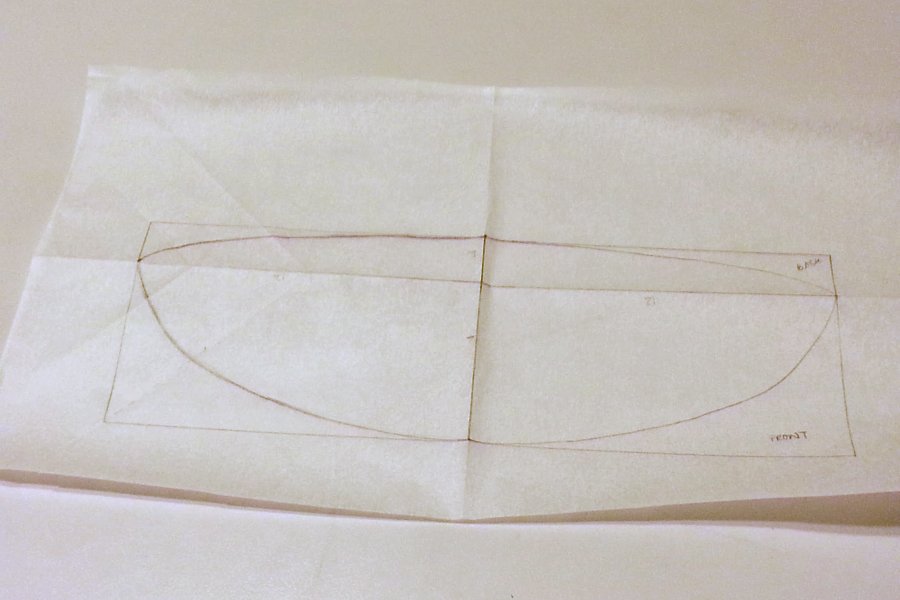
The drawing below should help explain what I did. A picture is worth a thousand words, after all. I used my one and only Uniqlo kimono I bought in Tokyo Japan, 2005 as a reference. It’s really helpful to inform the dip of the kimono sleeves. I marked where to start stitching the torso sides and how far up I want it to be.
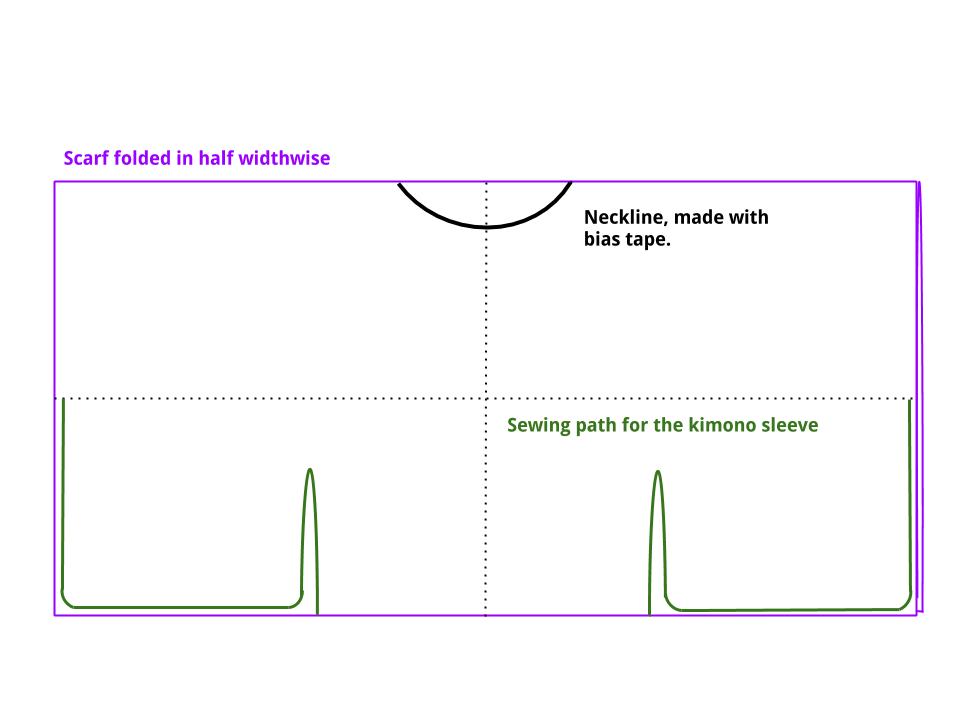
I made a pattern for the faux kimono dip (or “pockets”). I made one for each side, plus one more for safe keeping. So I drew one and duplicated it twice. Based on your own body, your measurements will be different. I hope the diagram above can give you the gist of it.
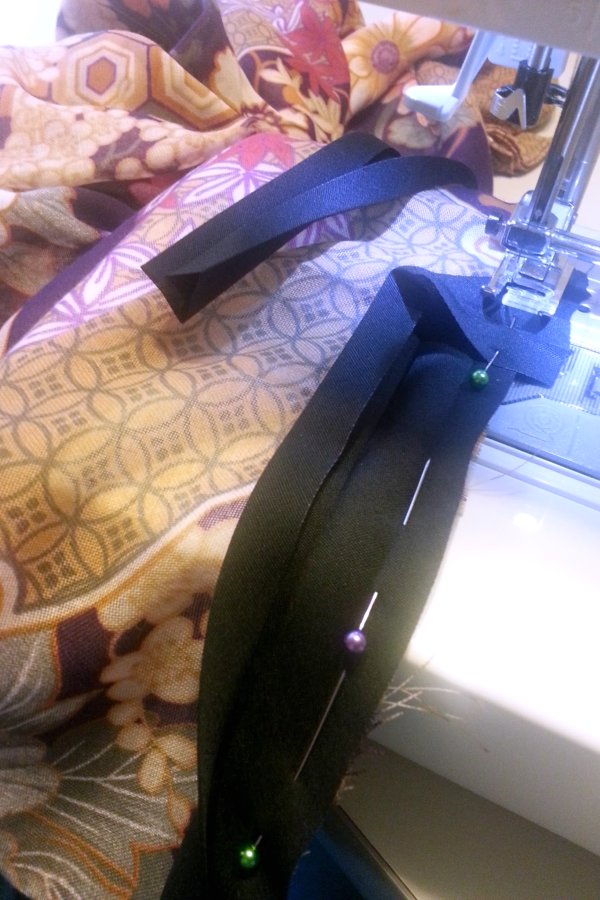
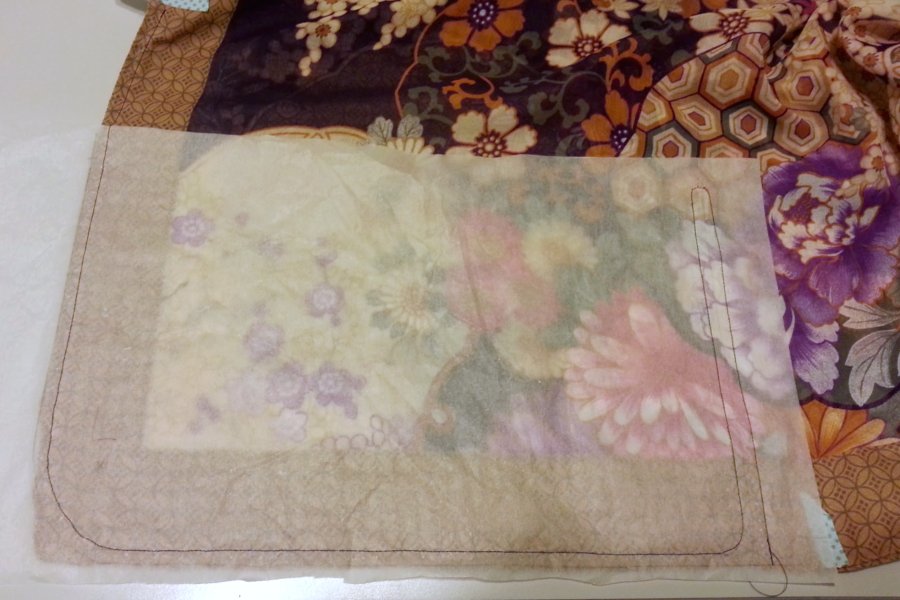
Unlike the neckline situation at the beginning, I was prepared to deal with fabric fraying this time. I now knew that a simple straight stitch for making these kimono pockets would not be enough. So I decided to do french seams for a clean, secure, and more professional look. This was the first time I did it, so thank you Prudent Baby and Sew Mama Sew for the helpful tutorials.
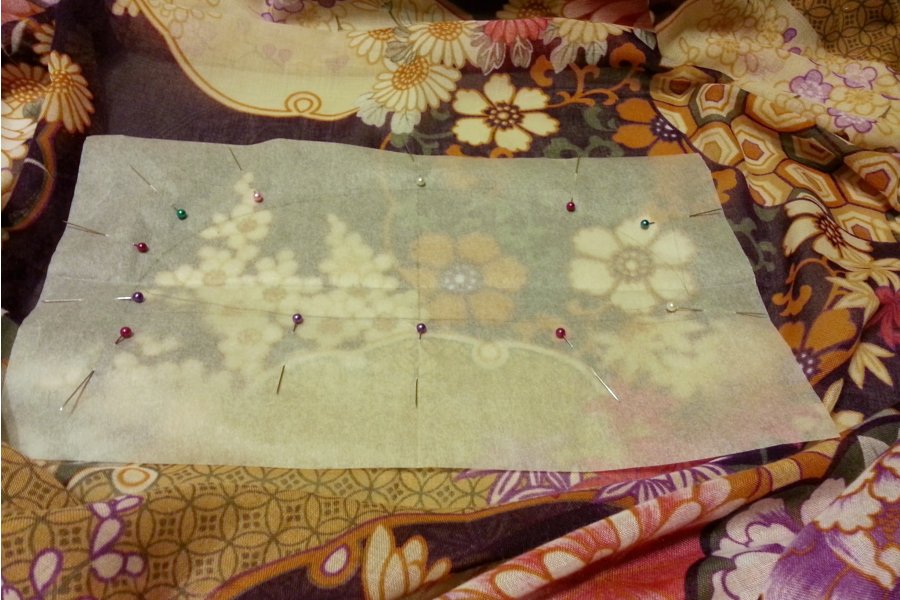
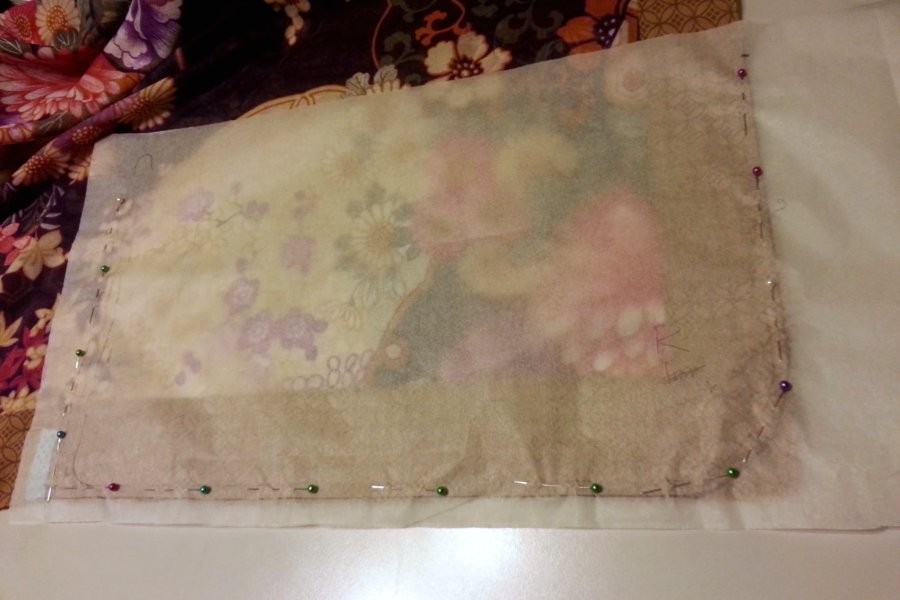
I sew the tracing paper with the fabric. The paper stabilized the slippery fabric, as well as acted as a guide for easier sewing. After the sewing was done, I just ripped the paper.
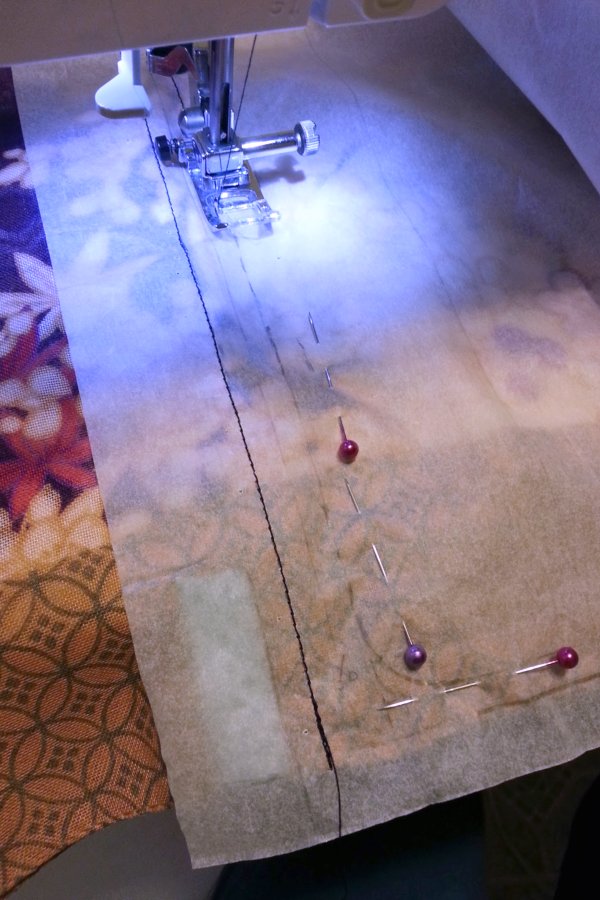
Note: A beginner’s mistake. When this happened, I had to open the seams and redid it. So make sure your fabric is laid flat and not bunching up in places.
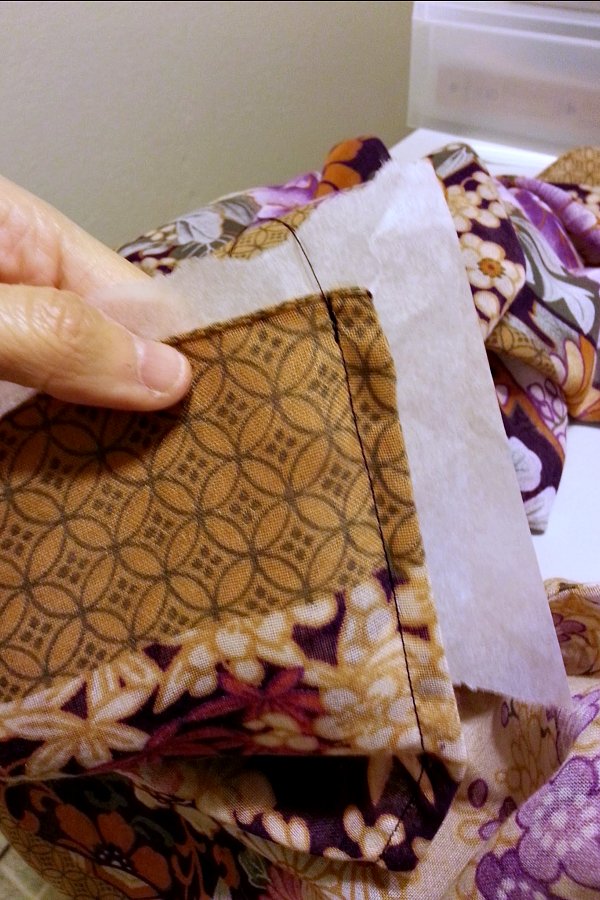
After I was done stitching and ripping the tracing paper, I cut the line between two stitch lines located on the gap between the torso and the kimono. I was being extra careful not to cut the U-turn curve stitch. With that cut done, the stitching line has a uniform 1/4″ seam allowance.
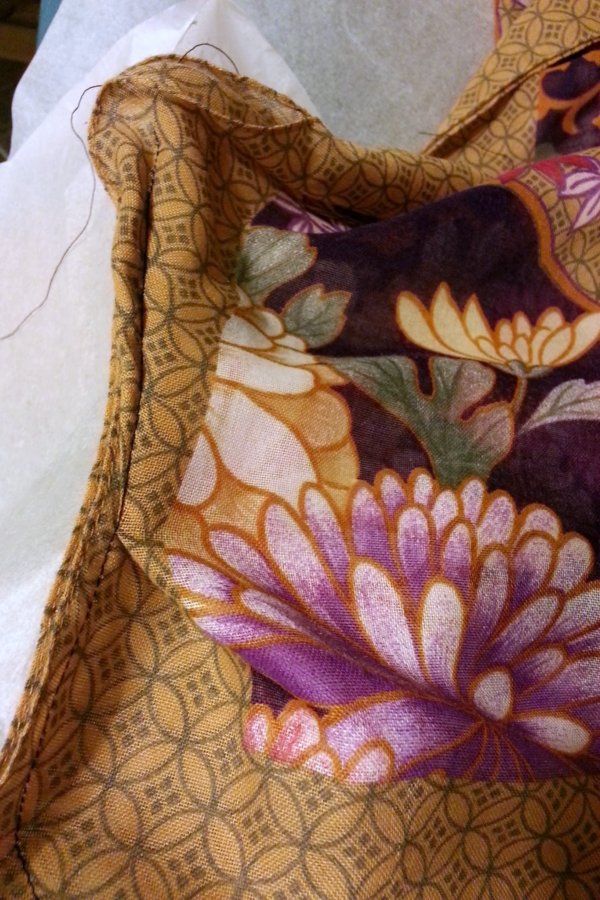
Now, it’s time for the tricky part. The second part of making french seams involved determining just enough sewing allowance so there would be no fabric “whiskers” getting caught when you sew the right sides together. So I carefully measured and double checked the sewing allowances. I also put scraps of tracing paper to sew with at the beginning of the sewing path and the curves to help stabilize the fabric.
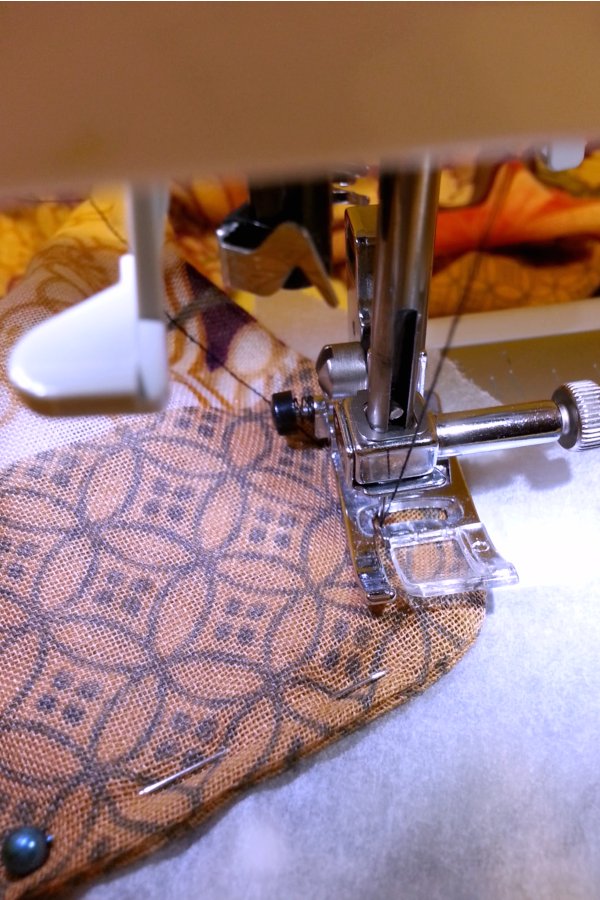
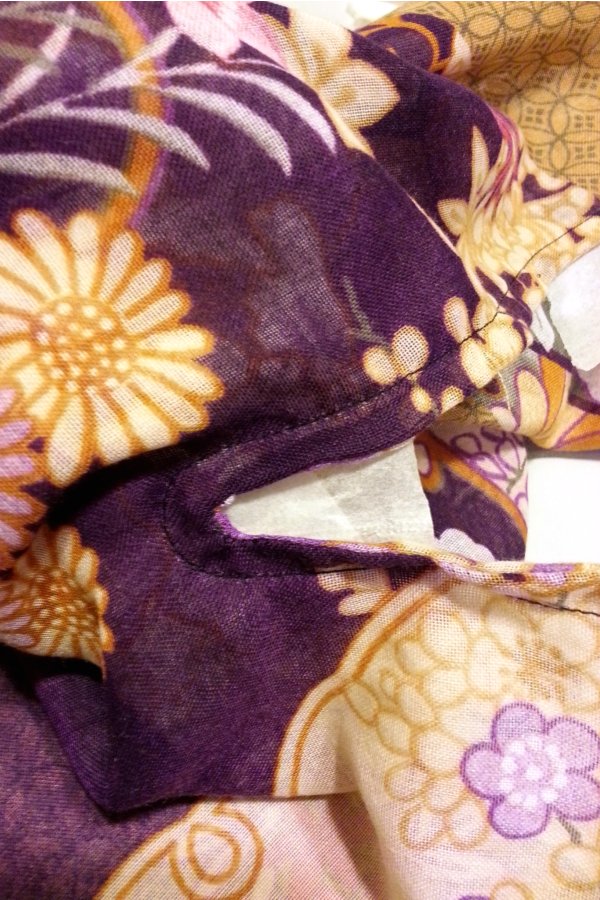
Et voila! One kimono sleeve down, one more to go! So I repeated the same thing with the other side.
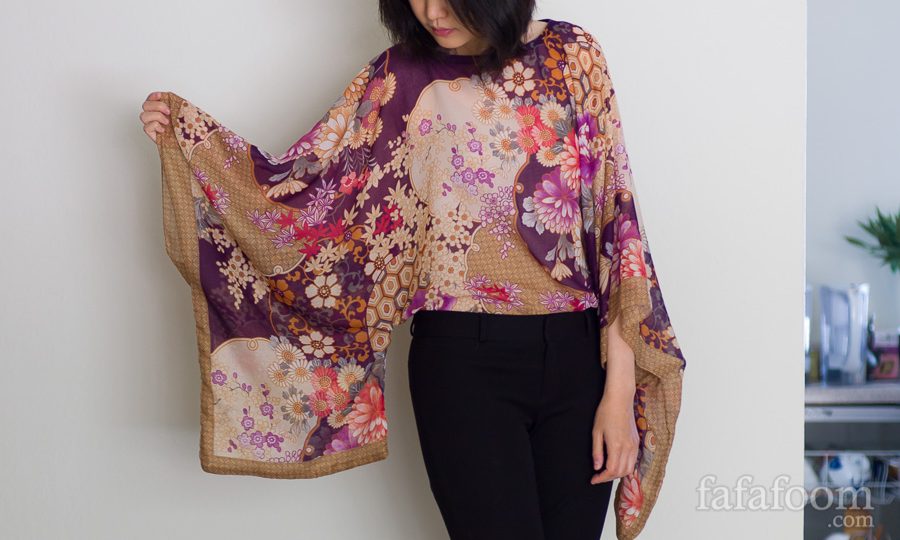
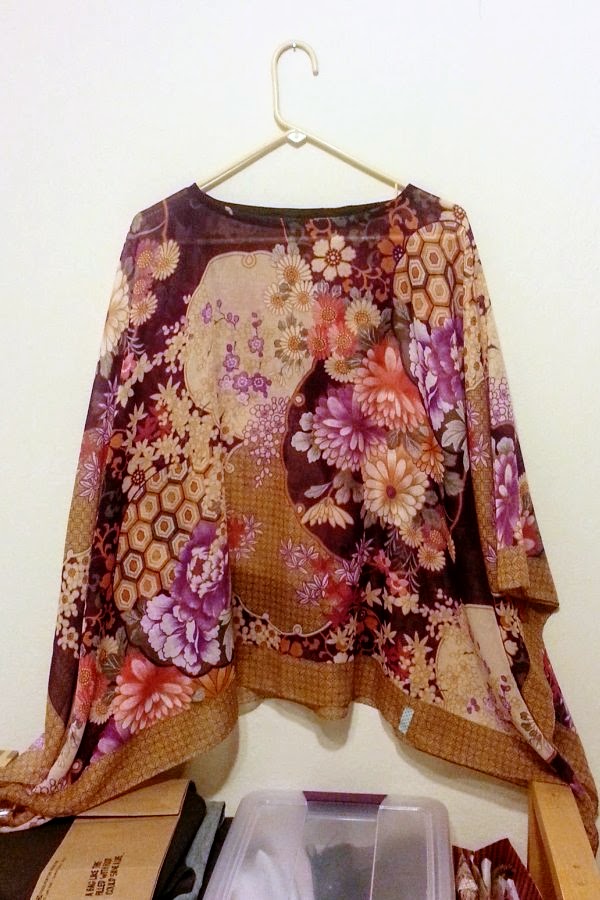
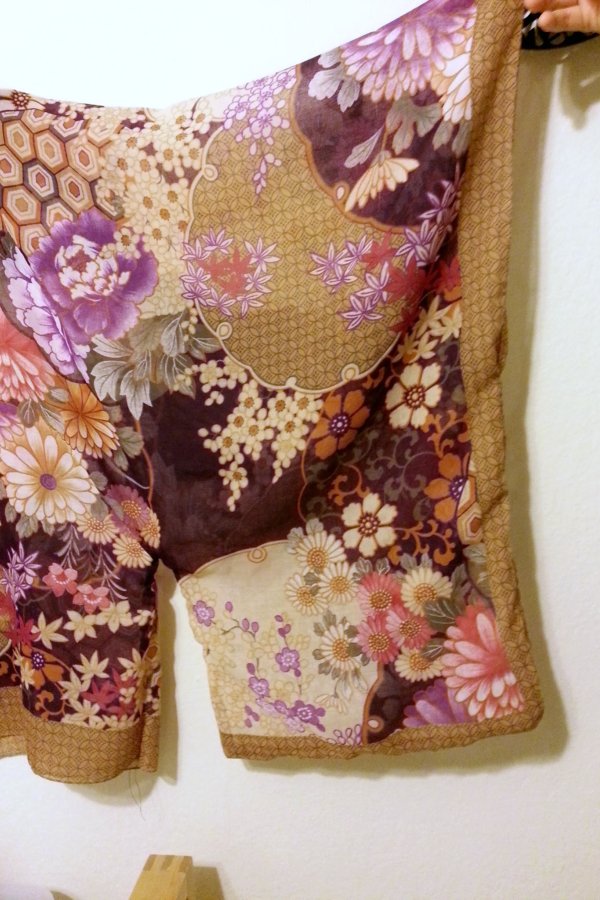
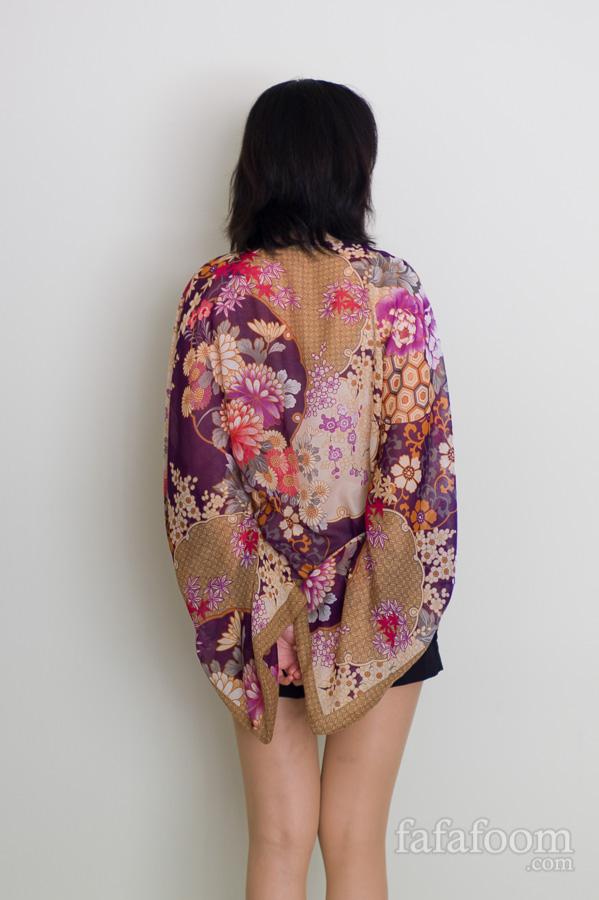
3. Result: Scarf Top with Kimono Sleeves
When I was finished with the last snip, I was happy and proud that I finished this new challenge of working with silky fabric AND doing french seams.
The most wonderful moment was when I finished ironing the kimono pockets lightly and trying on the scarf top with kimono sleeves. I was blooming inside, just like the scarf print. I was (and still am) VERY, VERY HAPPY.
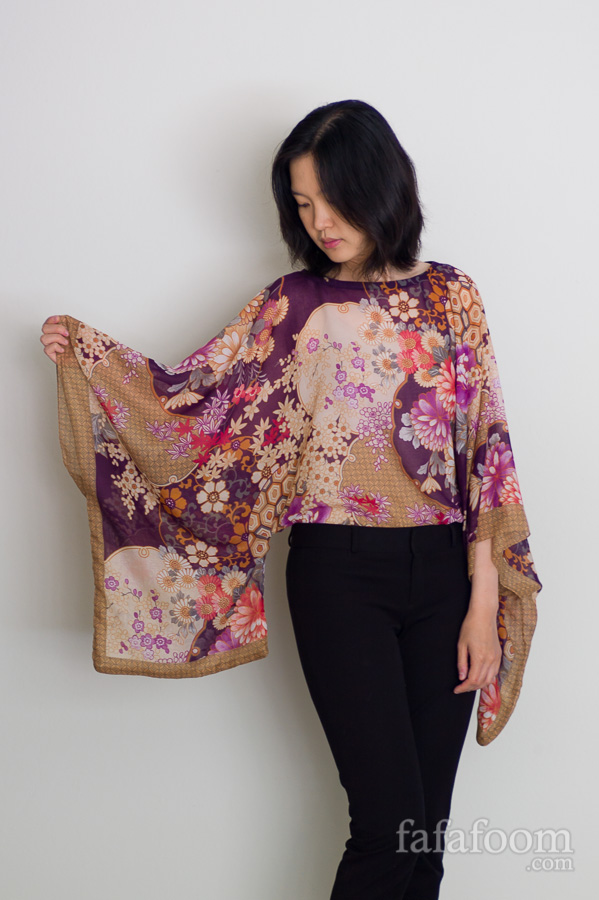
I mean, look at it! This is me styling the scarf top with kimono sleeves very casually with black H&M shorts.
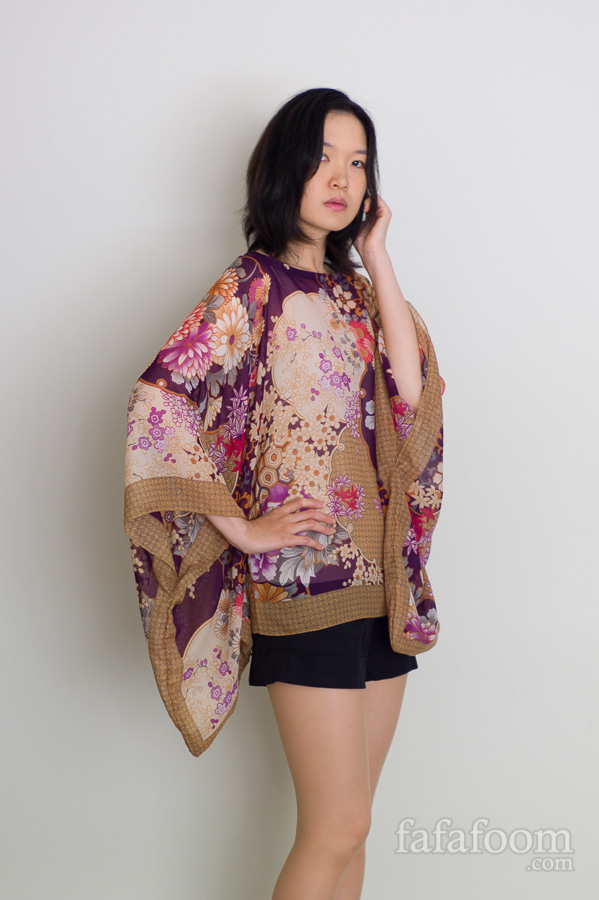
Then I was thinking, hmm, could I wear it to work? So I switched with a black cropped pants and tucked it inside. Yup, for sure! I really loved the flow when it’s in motion.

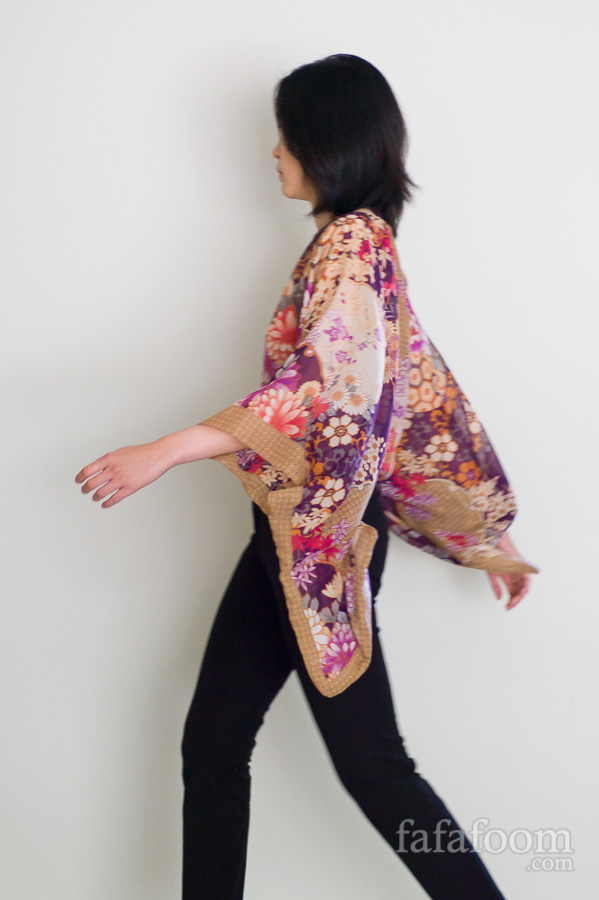
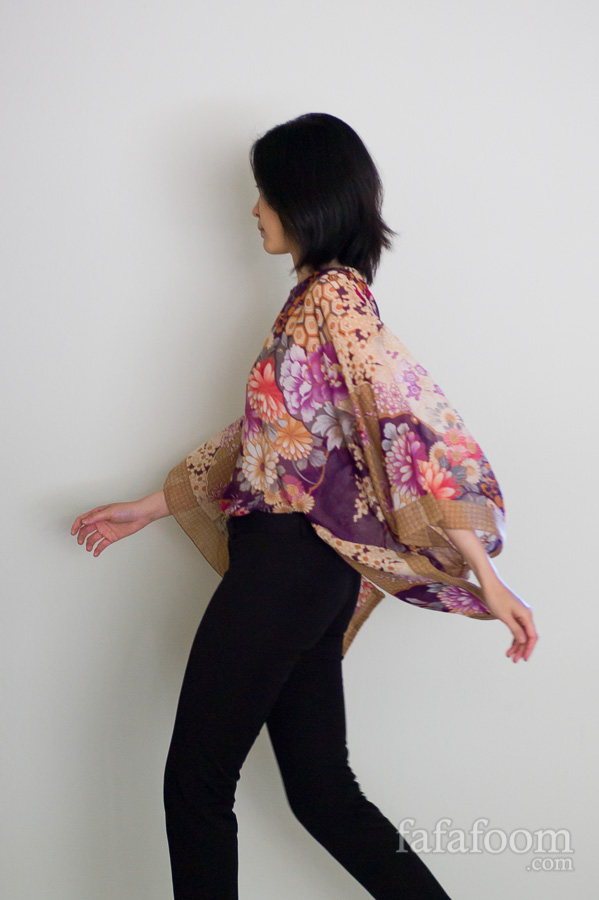

I wore this top during vacation in Oahu, Hawai’i. I have to say that this scarf top with kimono sleeves was PERFECT for late-afternoon / evening wear with very easy-going Hawai’i vibe. One Japanese lady (who sells kimonos!) complimented me on how good and stylish the top looks.
What do you think? Feedback and comments are always welcome! So happy with this refashioning project. This pretty scarf top with kimono sleeves is really versatile for work and play, and will definitely fetch compliments!
Thank you for reading, until next time,
Musank
Disclaimer: I may earn a small commission for my endorsement, recommendation, testimonial, and/or link to any products or services from this website. Thank you for your support!
Subscribe to my newsletter
Browse more posts
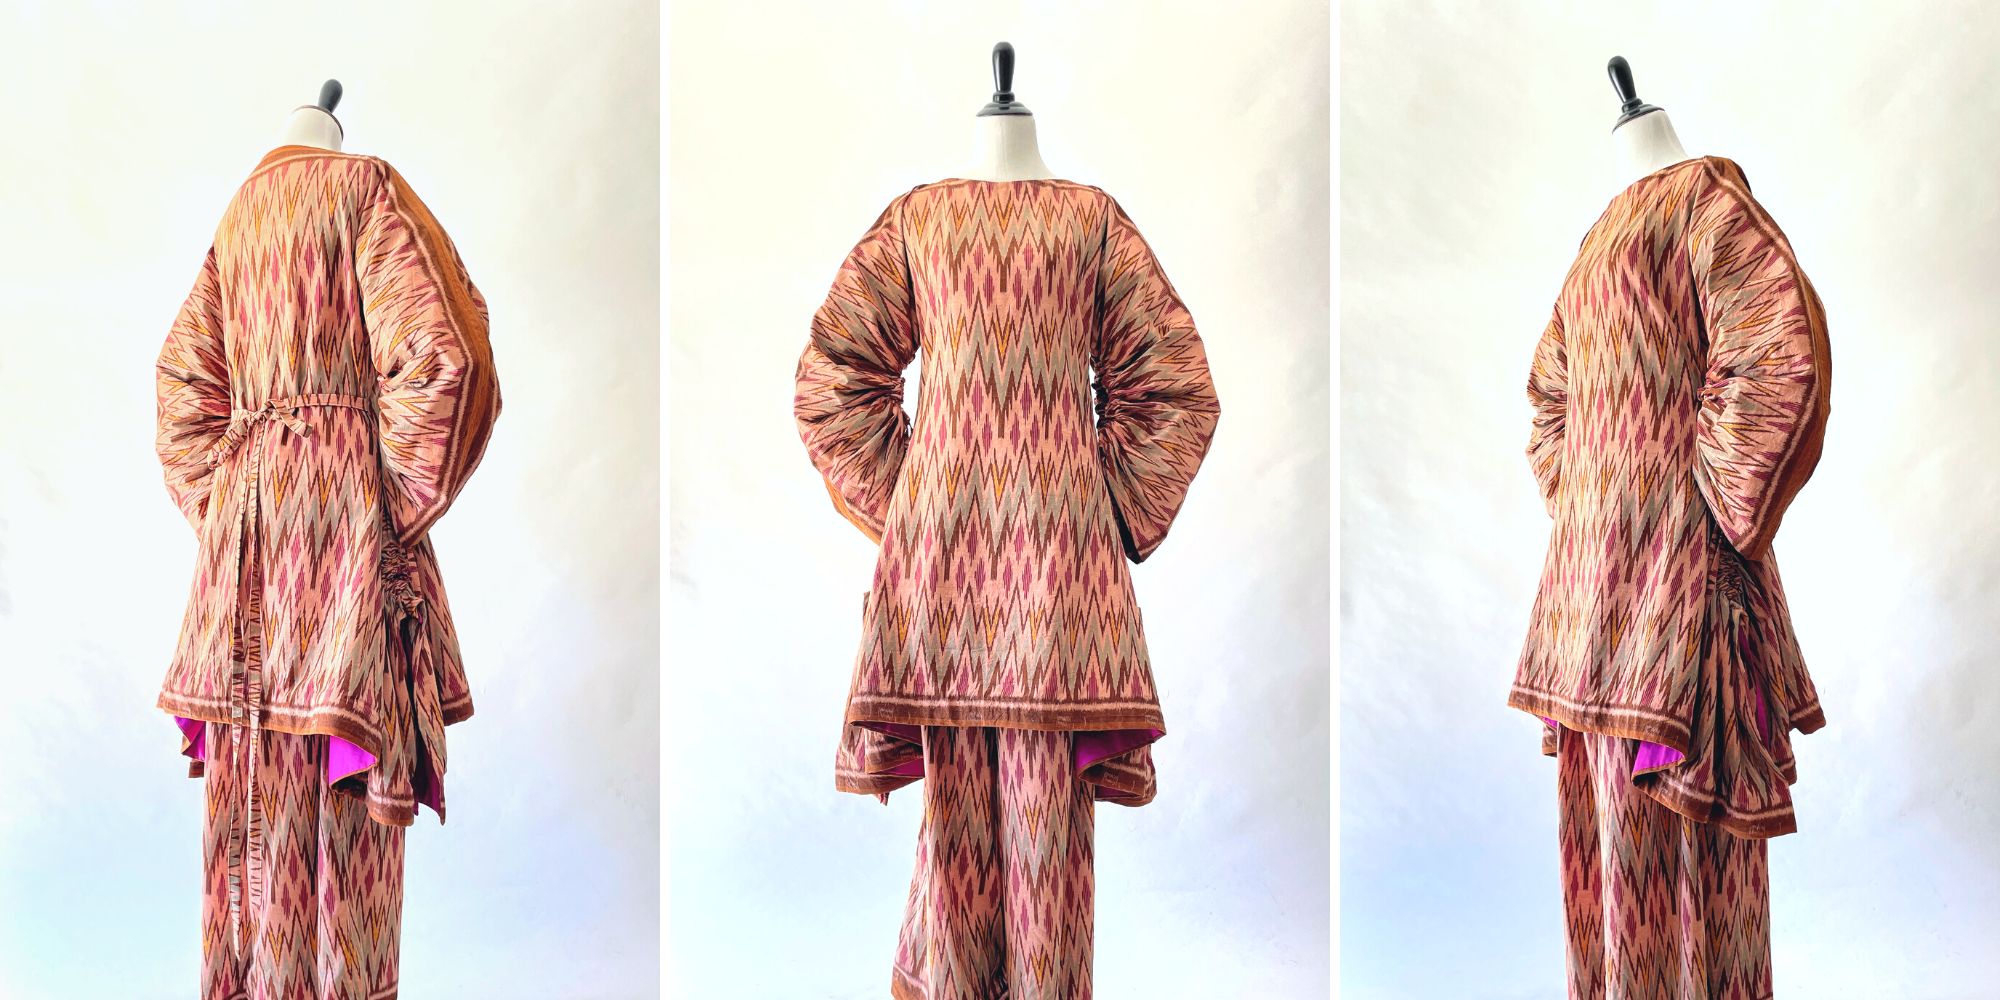
Interpreting Kebaya, Making a Modern Ethnic Ensemble
Modern Ethnic outfit is my interpretation of kebaya dressing. They are made using vintage ikat textile and inspired by several free minimal-waste patterns. Only on fafafoom.com.
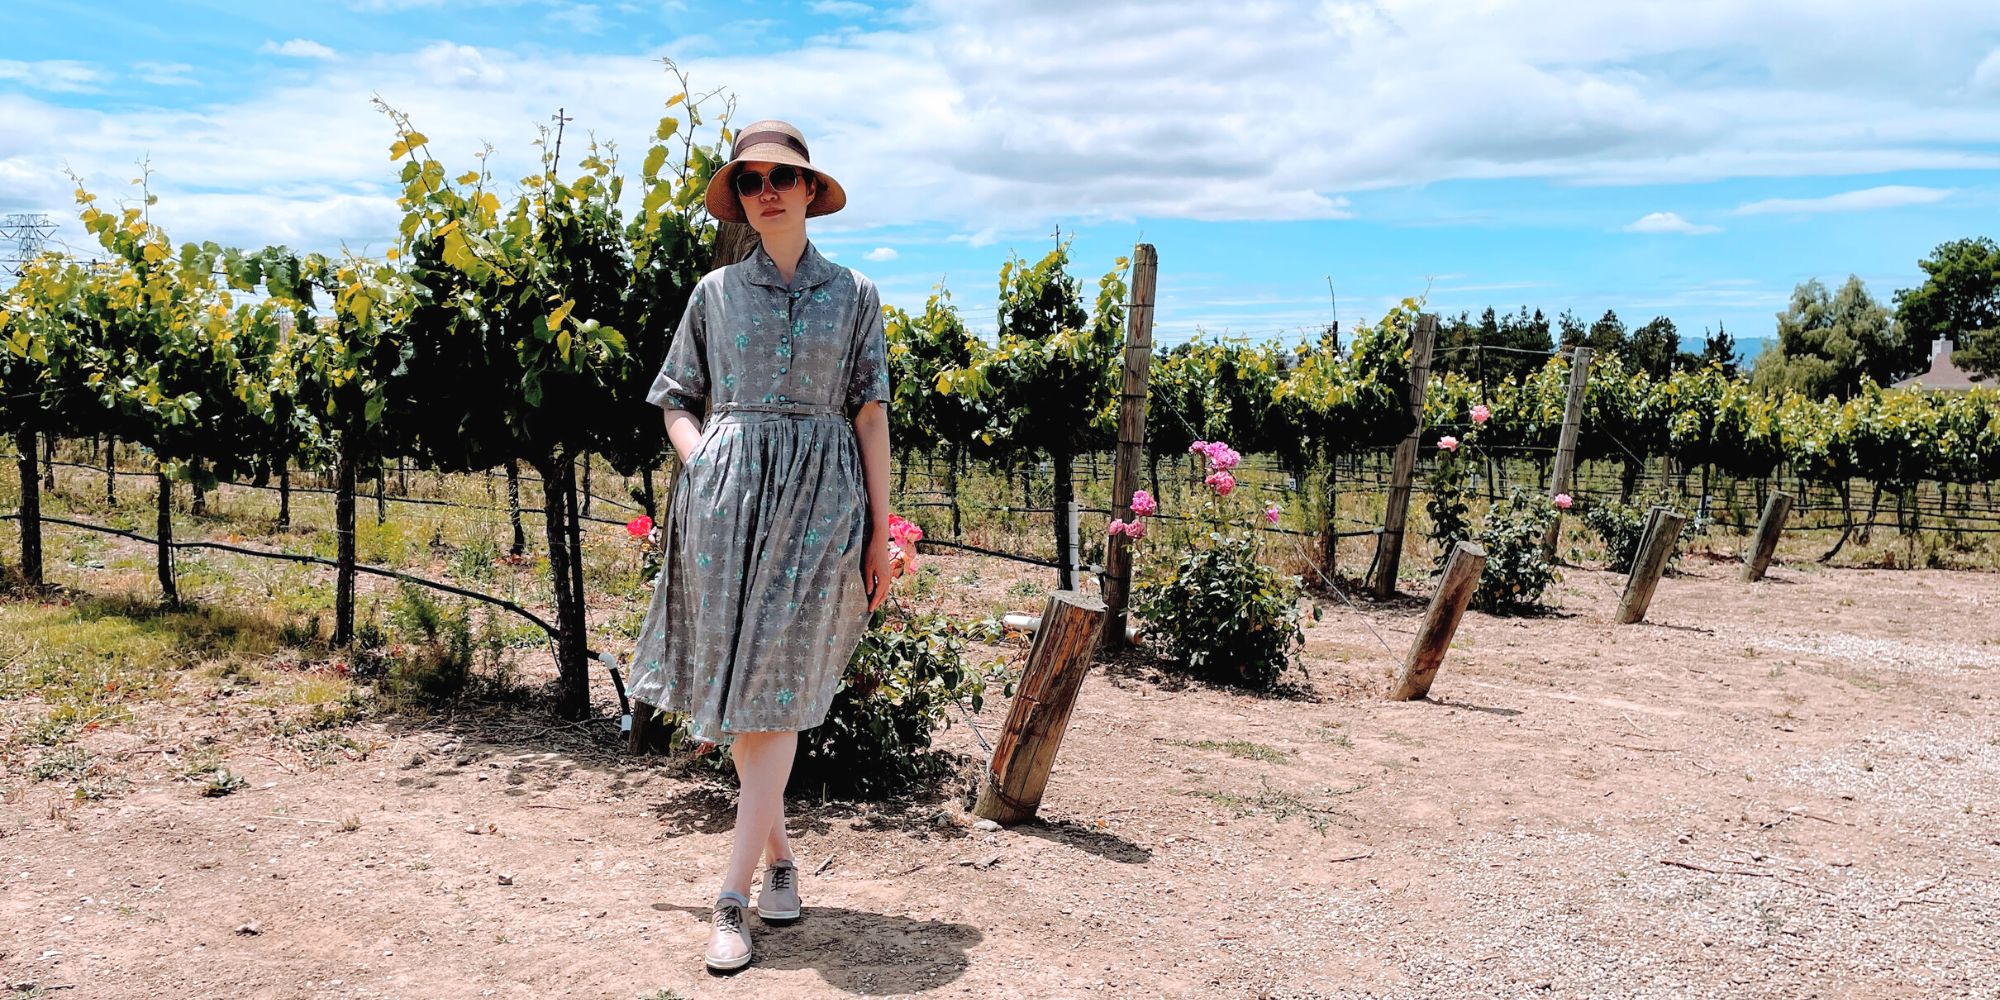
Restoring a 1950s Atomic Age Dress
Restoring and repairing a beautiful 1950s Dress for my summer 2022 wardrobe. Smart alterations include lining and inseam pockets. Only on fafafoom.com.
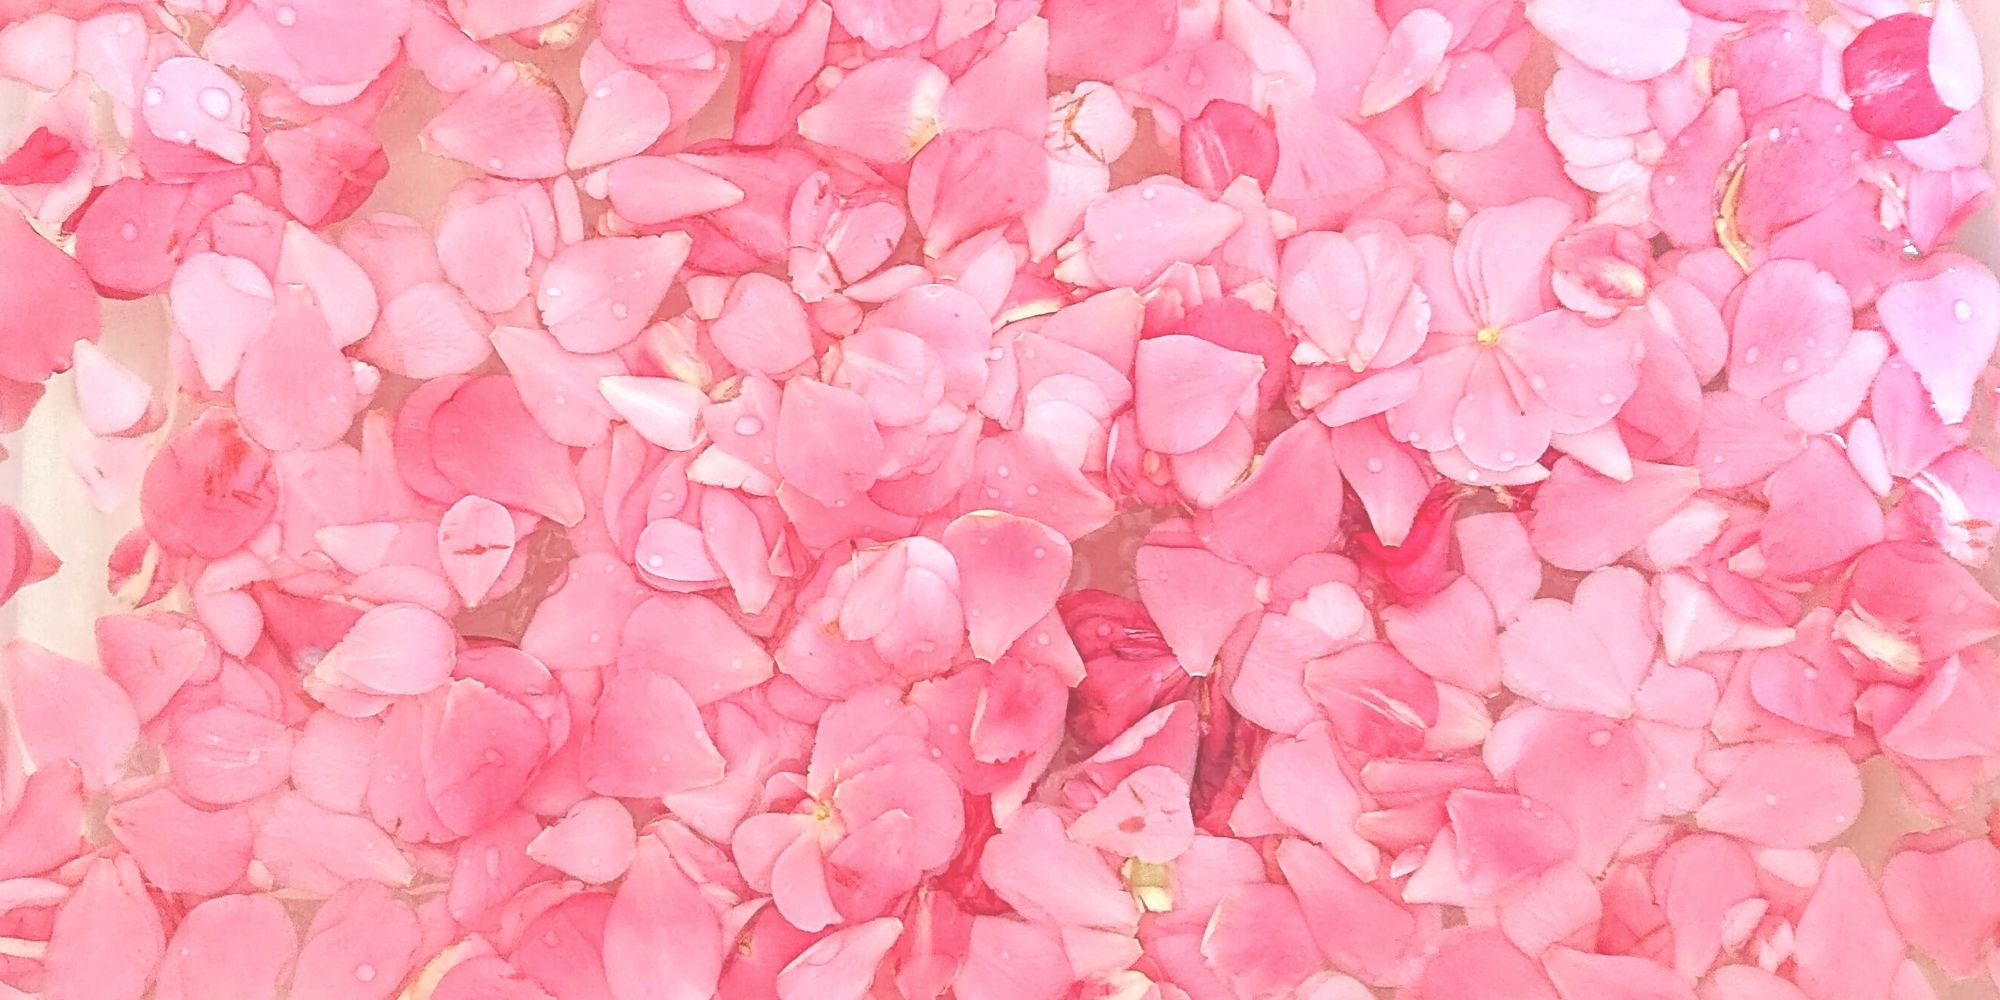
Pink Delight! Natural Dyeing with Camellia Flowers
My next experiment is dyeing with camellia flowers. Amongst all natural dyeing projects I have done so far, this is my favorite. Check out the pink delights! From fafafoom.com.
5 Slow Fashion Tips for a More Sustainable Wardrobe
Five slow fashion tips to help you transform your sustainable wardrobe for a cleaner, greener future. A guest feature from Reese Jones for Fafafoom.com.
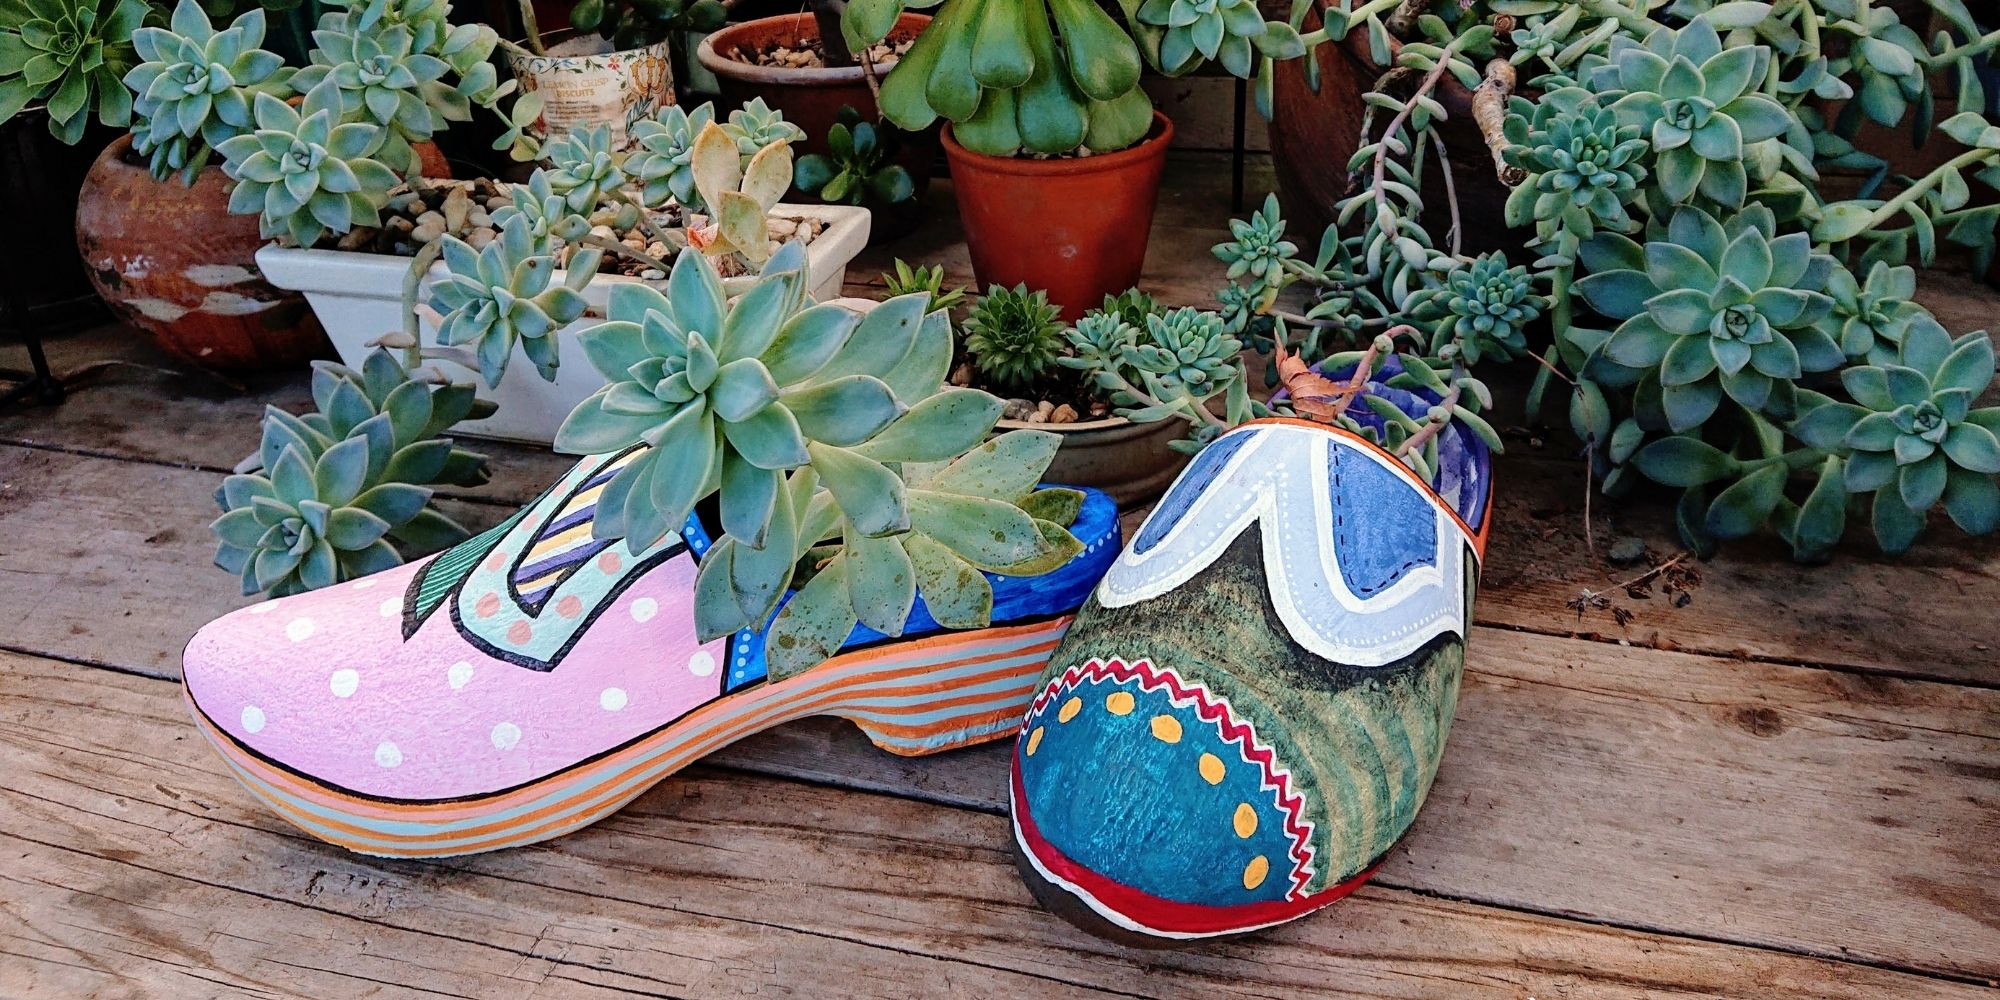
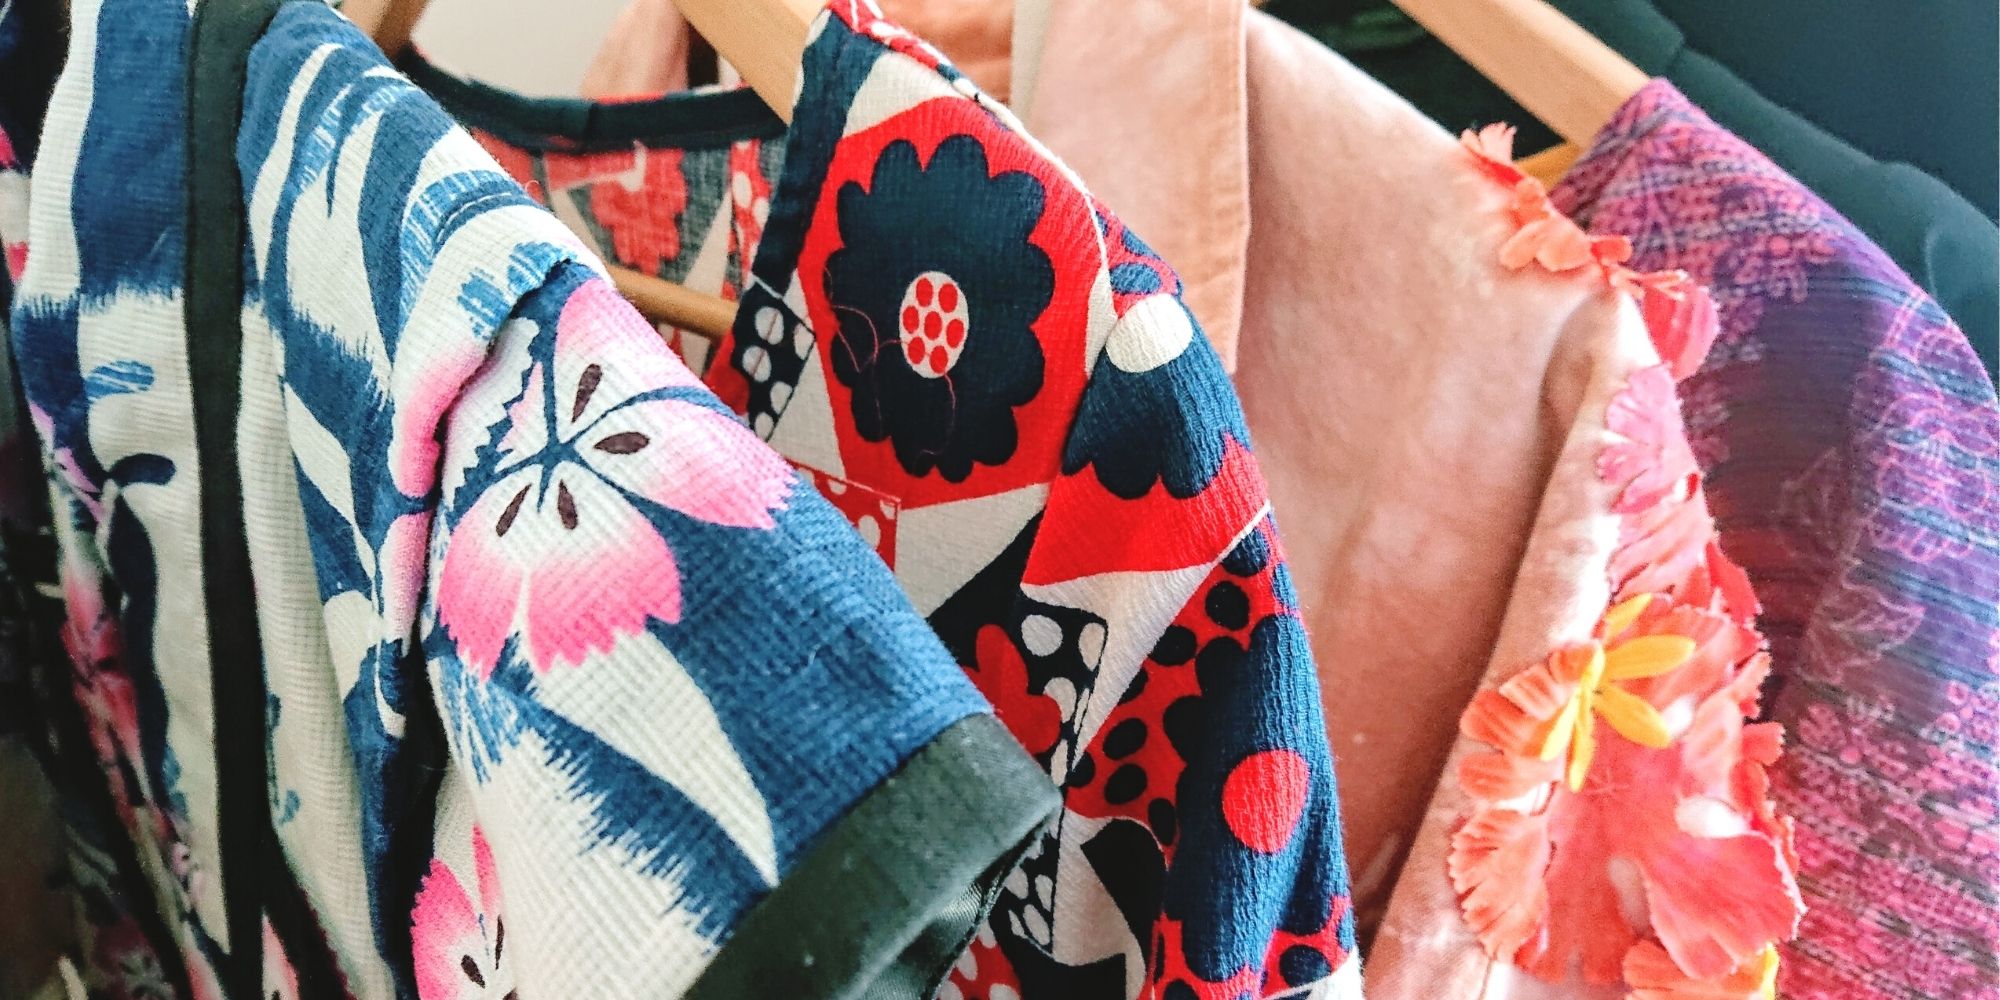
Upcycling and Repairing Ideas for Garden Decor
The garden has become a special place, especially during Covid-19 pandemic. During shelter-in-place period, I made garden decors by upcycling locally sourced items.
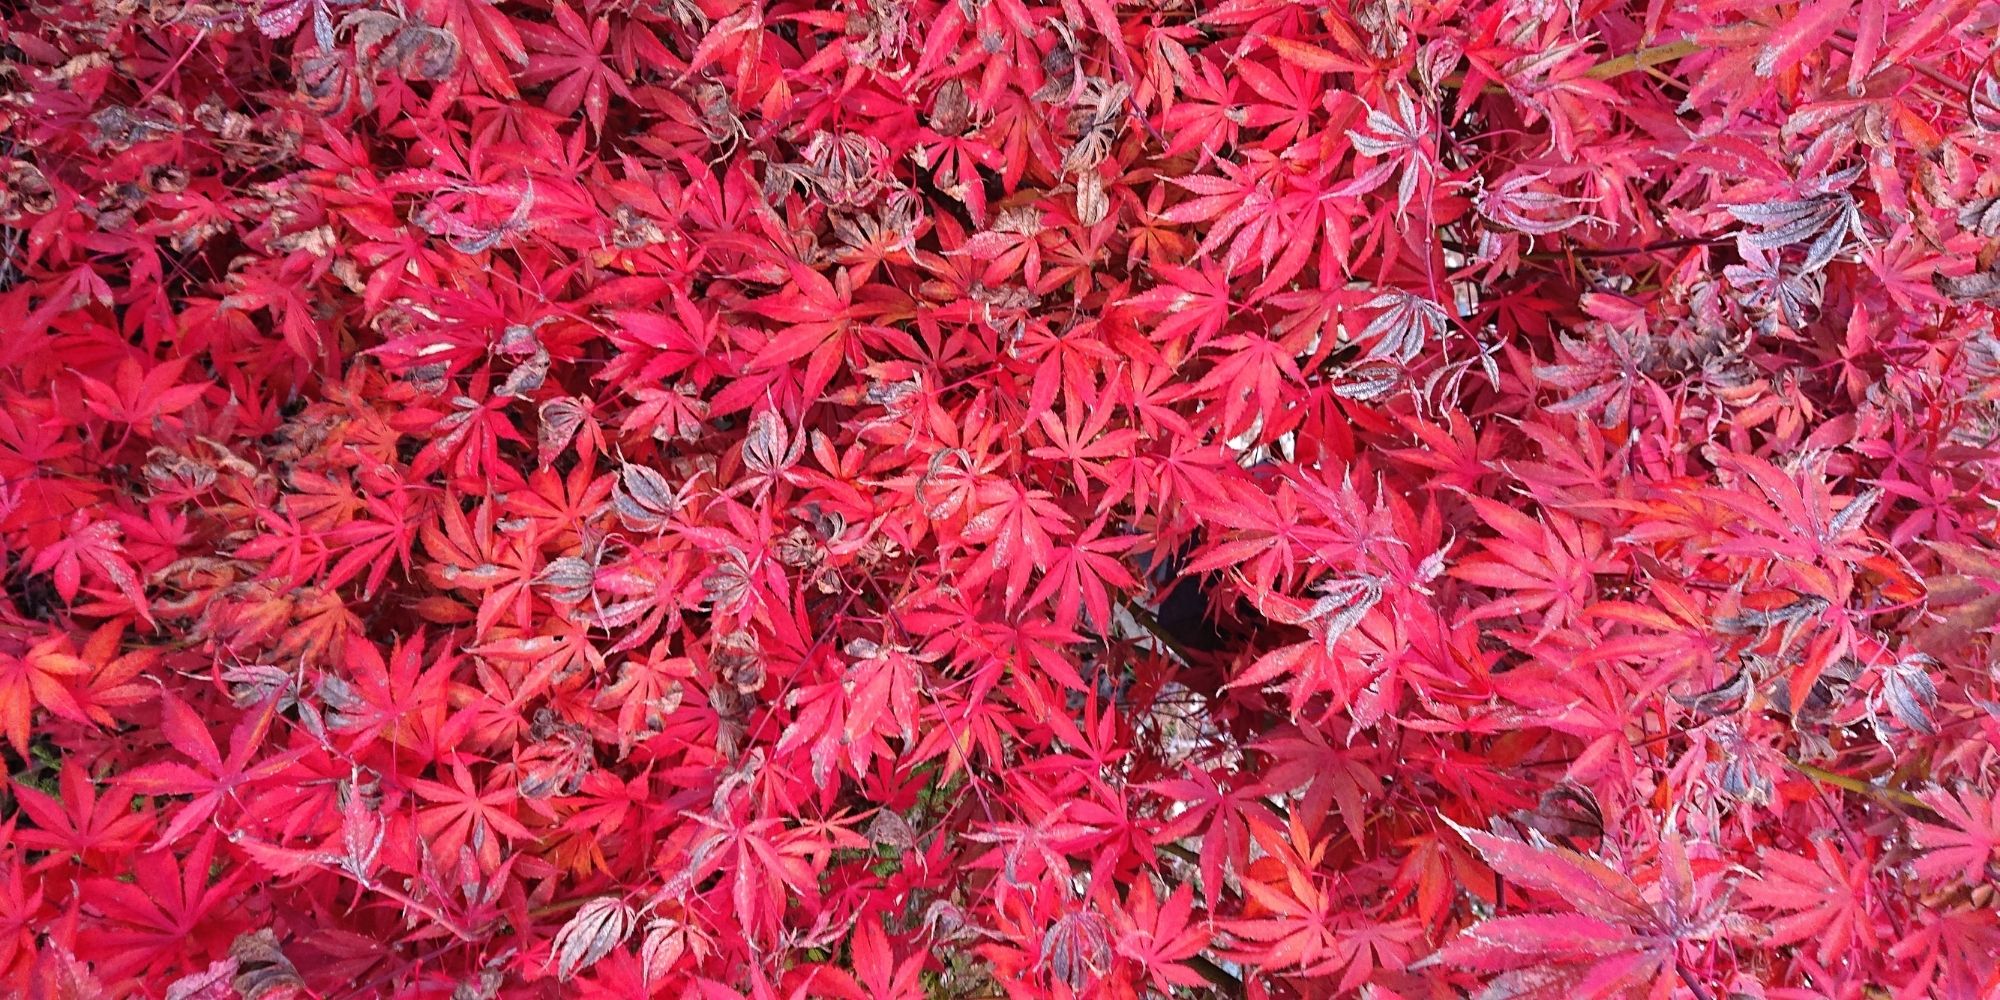
Natural Dyeing with Japanese Maple Leaves: Notes from a First-timer
Notes from my first natural dyeing experiment with Japanese maple leaves in fall season. Three batches of dyeing using fallen leaves sourced from two different trees in the garden. So much to learn and enjoy afterwards.
You did a great job. Looks wonderful tucked in as well as out. saving it to my pinterest, just in case I come across a beautiful scarf like this!
Thank you Turina!!!
Simply gorgeous!
I will be pinning this one for sure! :)
~Jen
Thank you Jen! It means a lot coming from an accomplished refashion queen like you =D
Absolutely gorgeous!
Thank you Agy!
Mira,
I love this top! I reblogged your post on my blog “Bagg Lady’s Buzz” @ http://Raggz2Baggz.com
The link is: http://raggz2baggz.com/2014/03/18/really-cool-blouse/
Awww, thank you Cathy! I’m no designer, but thank you for the compliment :)
But you are. A designer is a person who comes up with an idea, puts the idea on paper and then creates that idea. You wanted to create a top that is unique and you did. I think you are a designer with a lot of talent and unique vision.
Aww, thank you Cathy :)
it’s sooo gorgeous, gorgeous, gorgeous……. absolutely gorgeous, really inspiring a lot, thanks for sharing this ^^
Glad you like it, Dean! So next time you have a gorgeous big rectangular scarf (hopefully not expensive) you seldom use, you know what to do :)
very beautiful! :)
Thank you so much, Weroni! I’m planning to create another one in black and white, tunic length.
Hi Mira! Thanks for your tutorial! I’m definitely becoming a follower of yours :)
I’ve blogged (in Italian :P) about scarf recycling into blouses and dresses and I linked over to this post here http://www.lepecionate.com/2015/06/la-blusa-foulard-diy-tutorial-ispirazione.html
I’m struggling to choose only one model among those I have selected, but yours has surely got personality!
Thanks again :)