

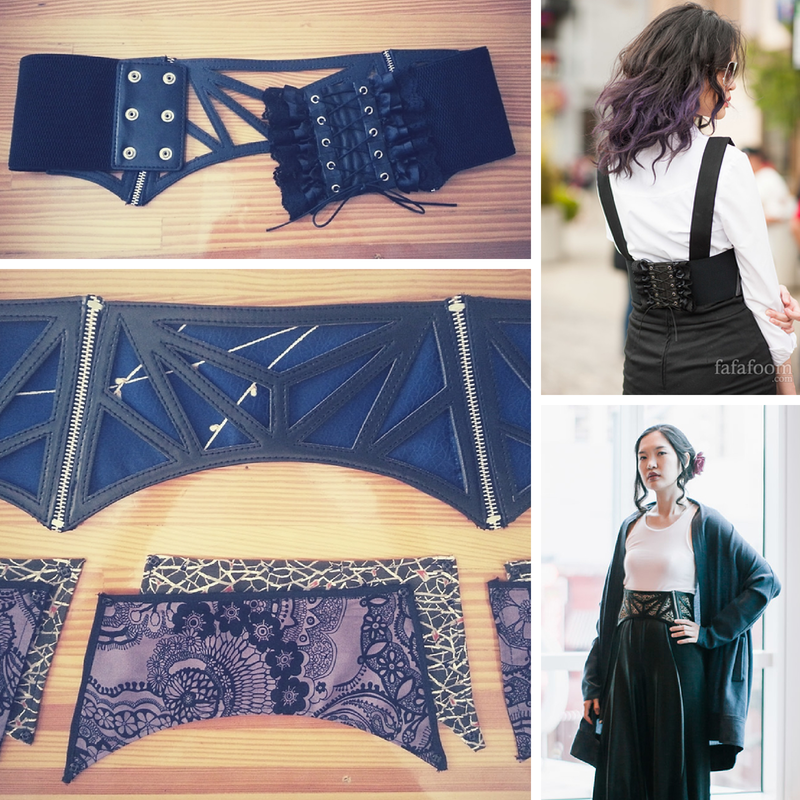
Refashioning a cage-like wide belt into a DIY waist corset belt, complete with tied-up detail and interchangeable fabric options. My go-to fashion statement for J-Pop Summit Festival 2014.
When I bought a faux-leather wide belt several years ago, I thought I was going to wear it often. Alas, it spent most of the last 2 – 3 years waiting in vain inside my drawer. I pulled it out often to test with several outfits, however the belt didn’t pass the test 95% of the time.
Fortunately, I was planning to wear a not-so-casual outfit for the J-Pop Summit 2014 weekend. I wanted to look slightly cooler with an outfit that’s more suited with the occasion, complete with wavy hair with purple tips.
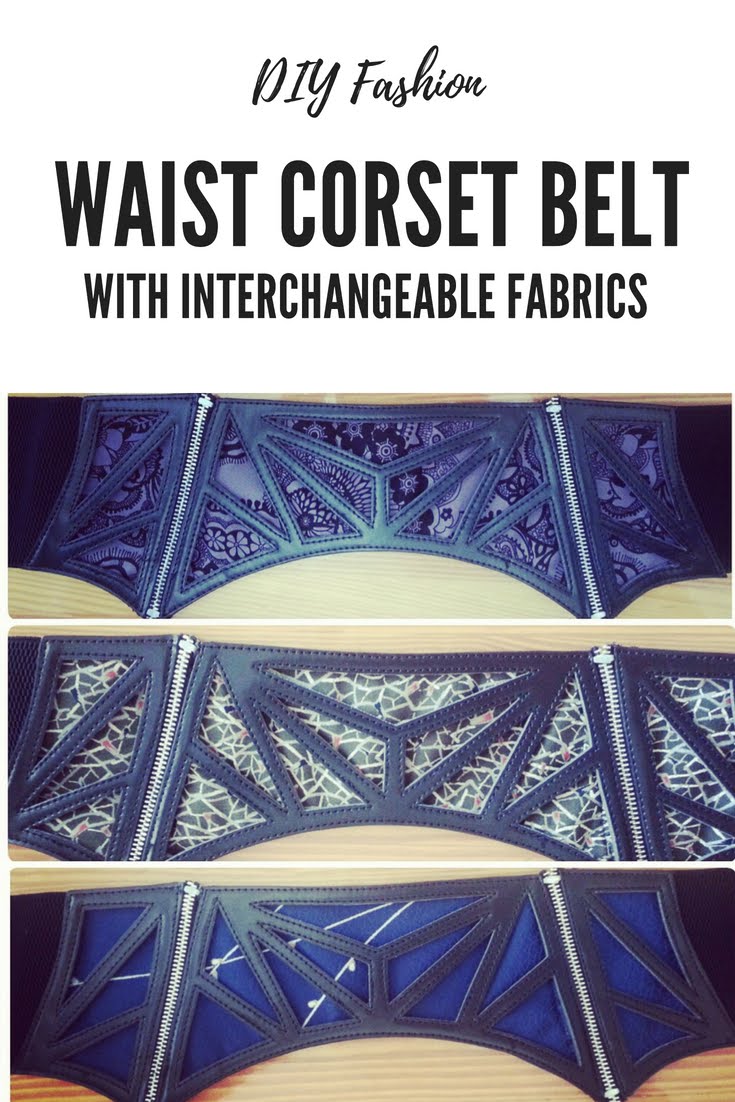
I came up with an outfit soon enough, but I missed the final piece…la pièce de résistance, if you will. So I took my wide belt and refashion it into DIY waist corset belt. Long story short, I made it so that the detachable fabric pieces are interchangeable.
Below is the step-by-step process I went through, complete with pictures. I hope it give you a little bit of inspiration so you can refashion a cool belt you don’t want to give up yet!
Subscribe to my newsletter

DIY Waist Corset Belt Materials
- Wide belt with cut-outs (mine is this one)
- For making the details on the back of of the belt:
– black ribbons
– black faux-leather trim with grommets
– black faux-leather cord
– black leather scrap - For the front of the belt:
– fabric scraps (big enough to cover the belt’s cut-outs)
– black size #3 sew-on snaps
– (optional) bias tape, wonder tape, featherweight fusible interfacing - E6000 glue
- Tracing paper
- Rotary cutter
- Sewing machine (mine is Brother CS6000i model)
- Needle and Thread (I used Schmetz Universal Needle Size 80/12)
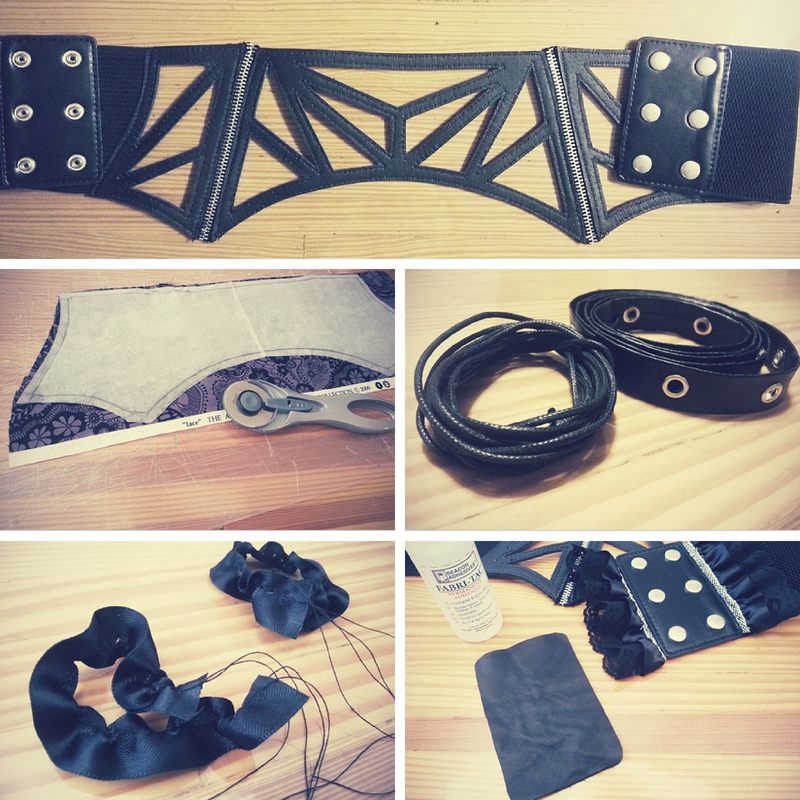
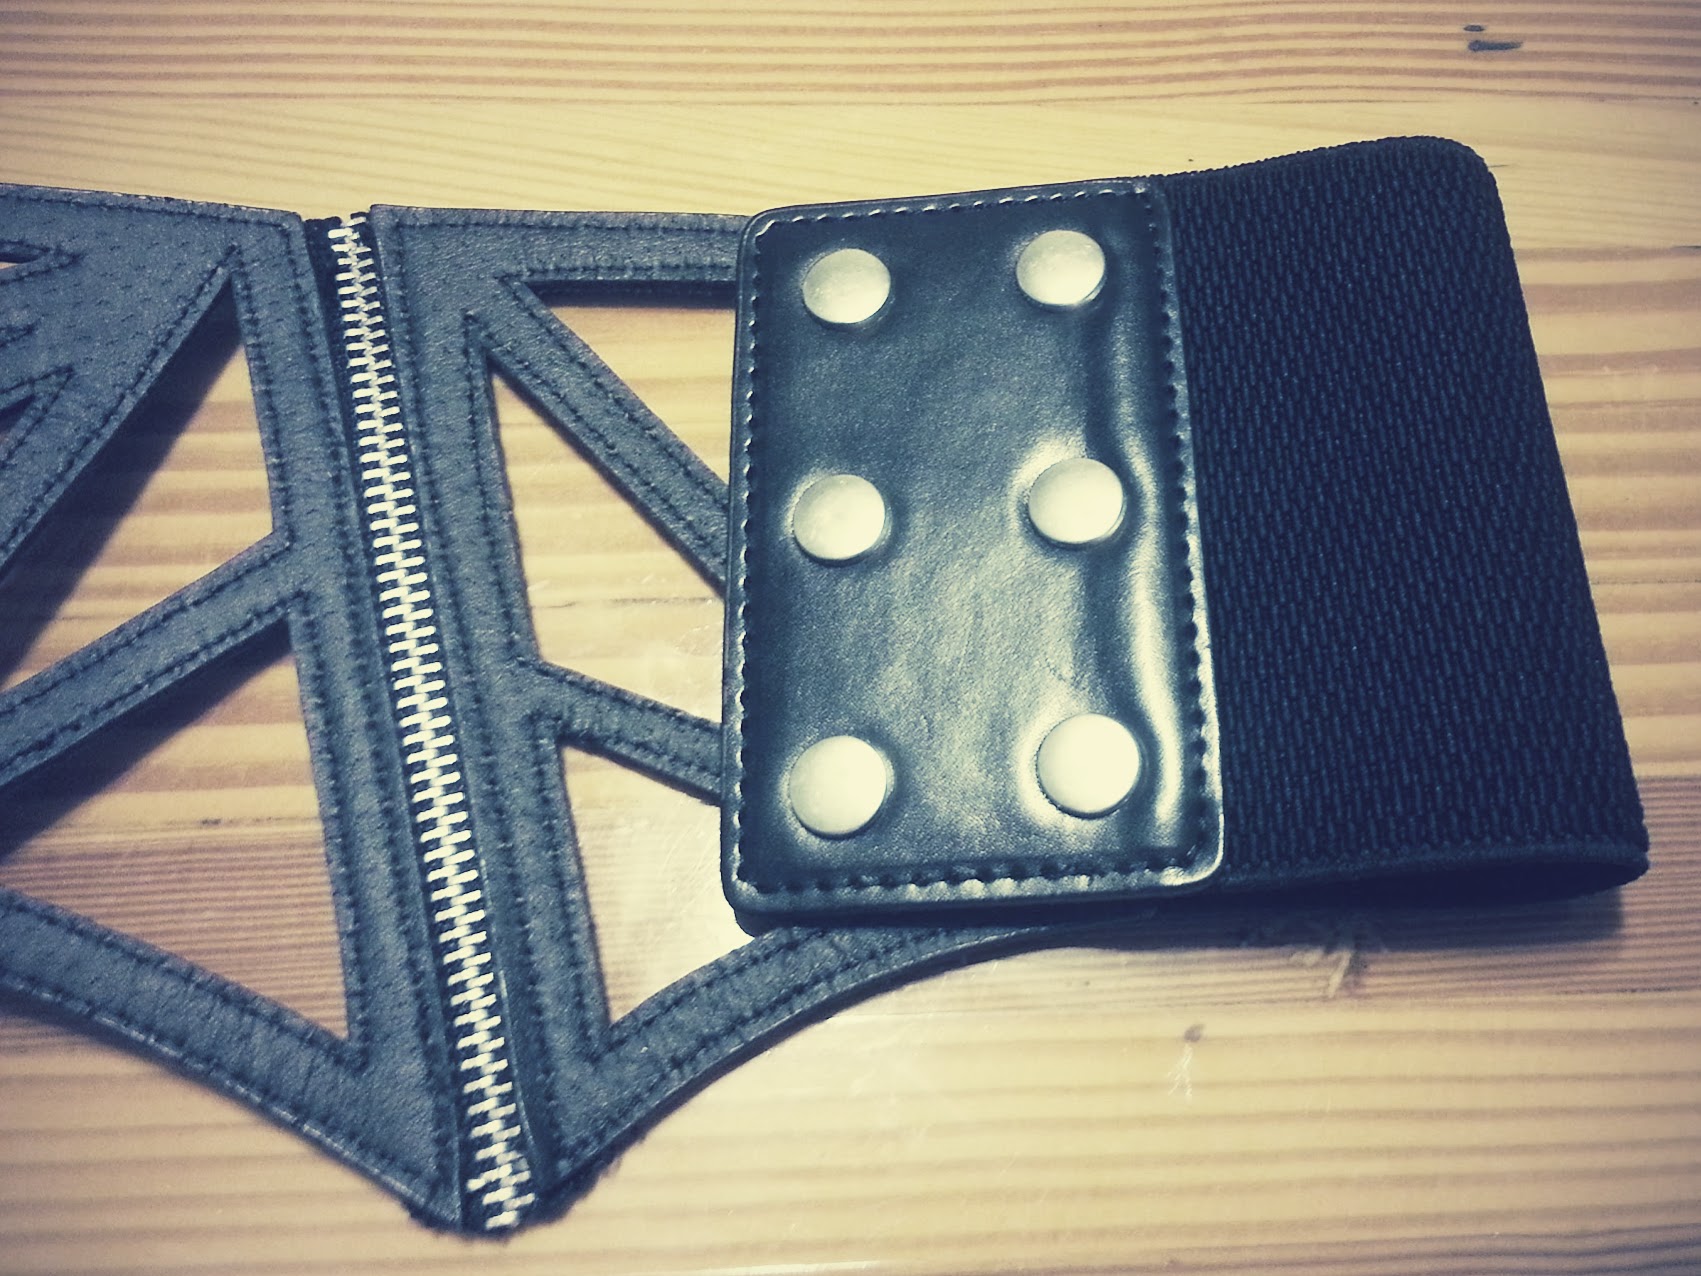
Part I: Transforming the Back of the Belt
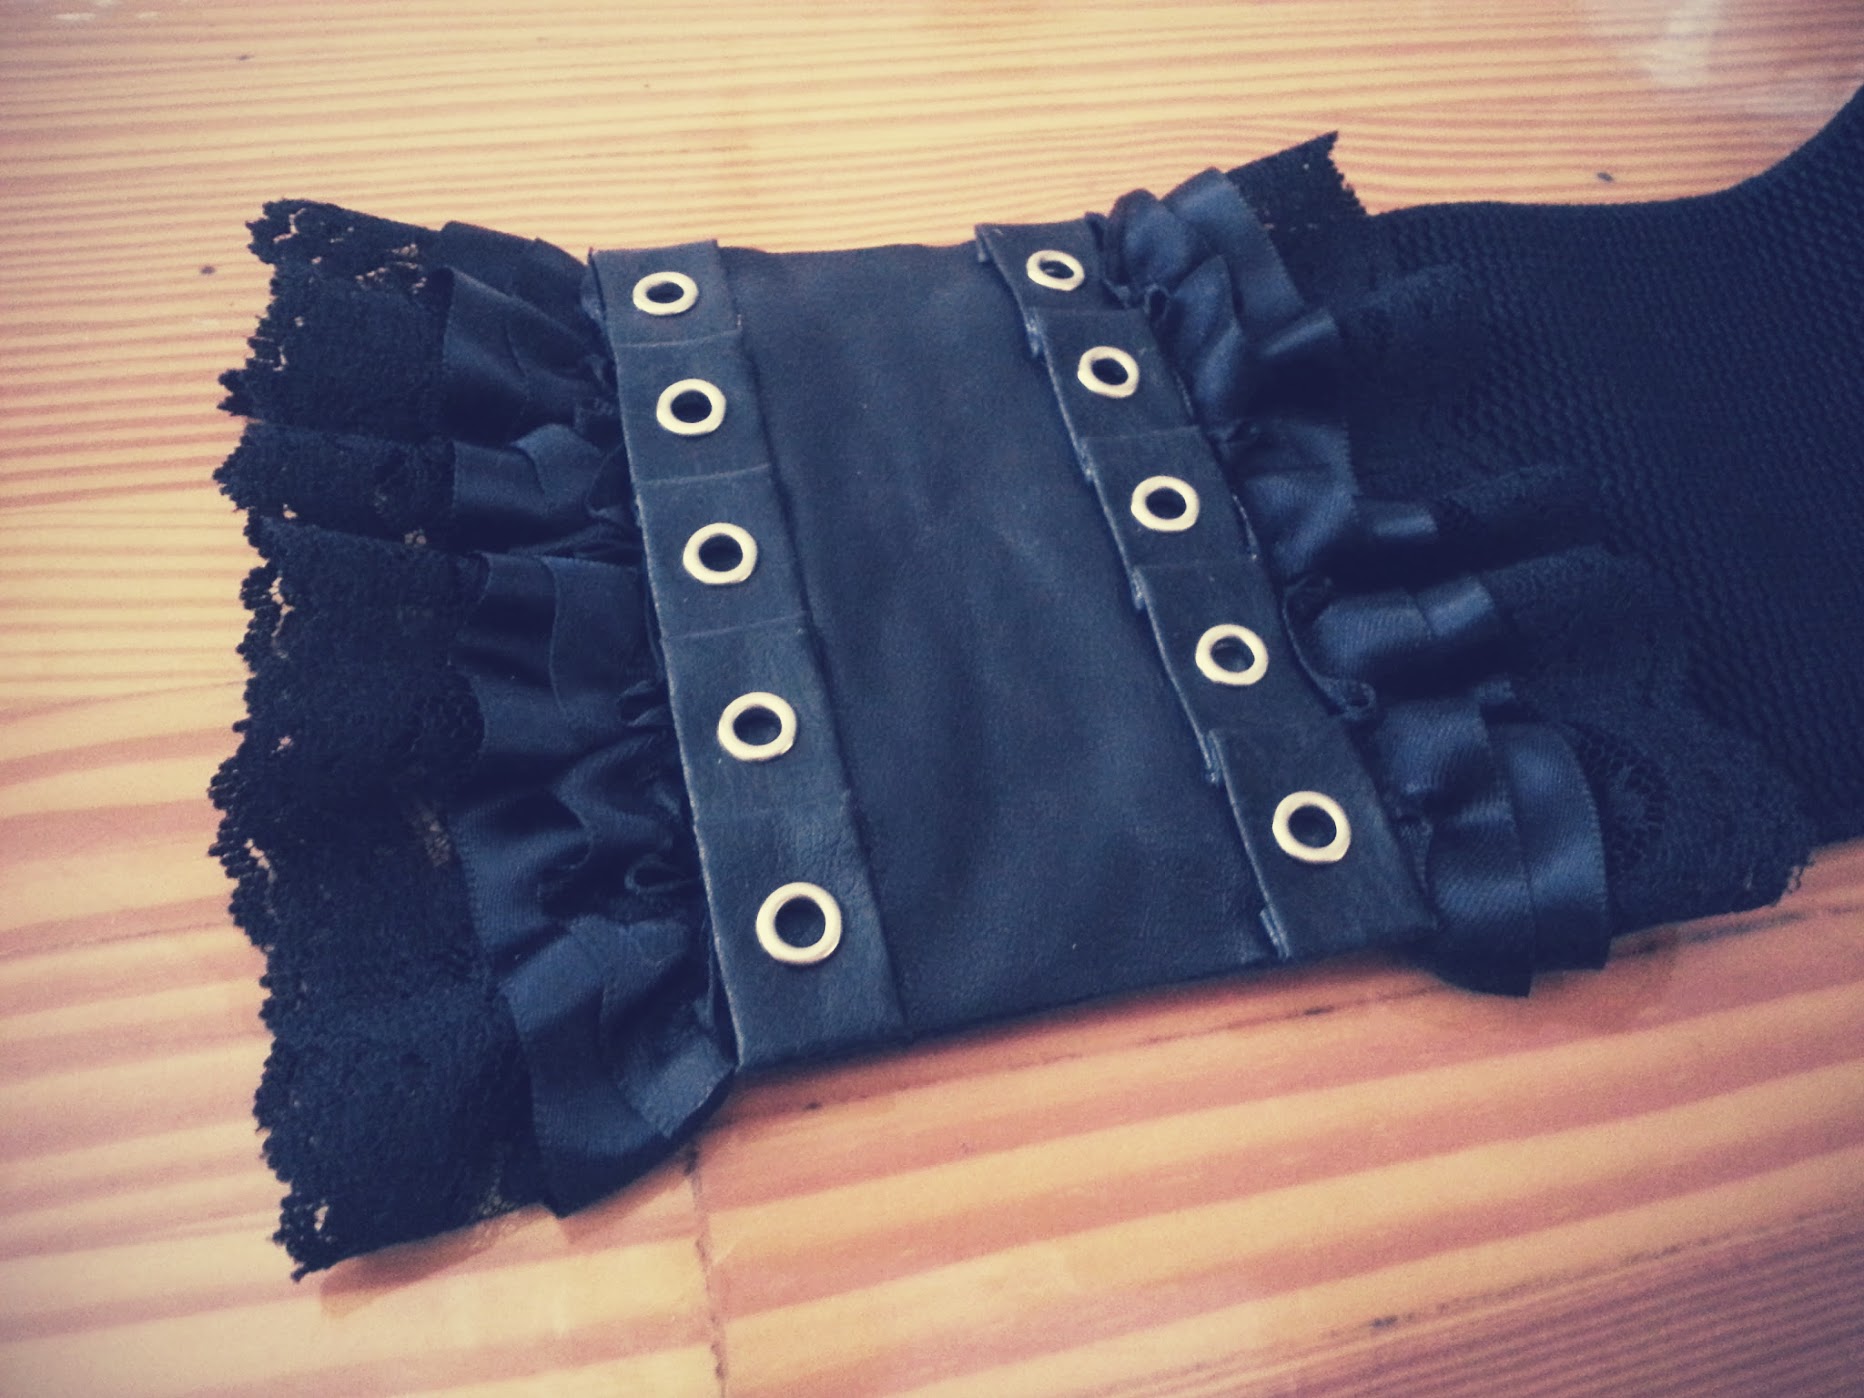
The most important part of making this DIY Waist Corset Belt is making the illusion of a corset belt. So my goal was to cover the “plate” that has the six snap buttons at the back of the belt and make it more frilly, complete with “tied up corset” illusion detail.
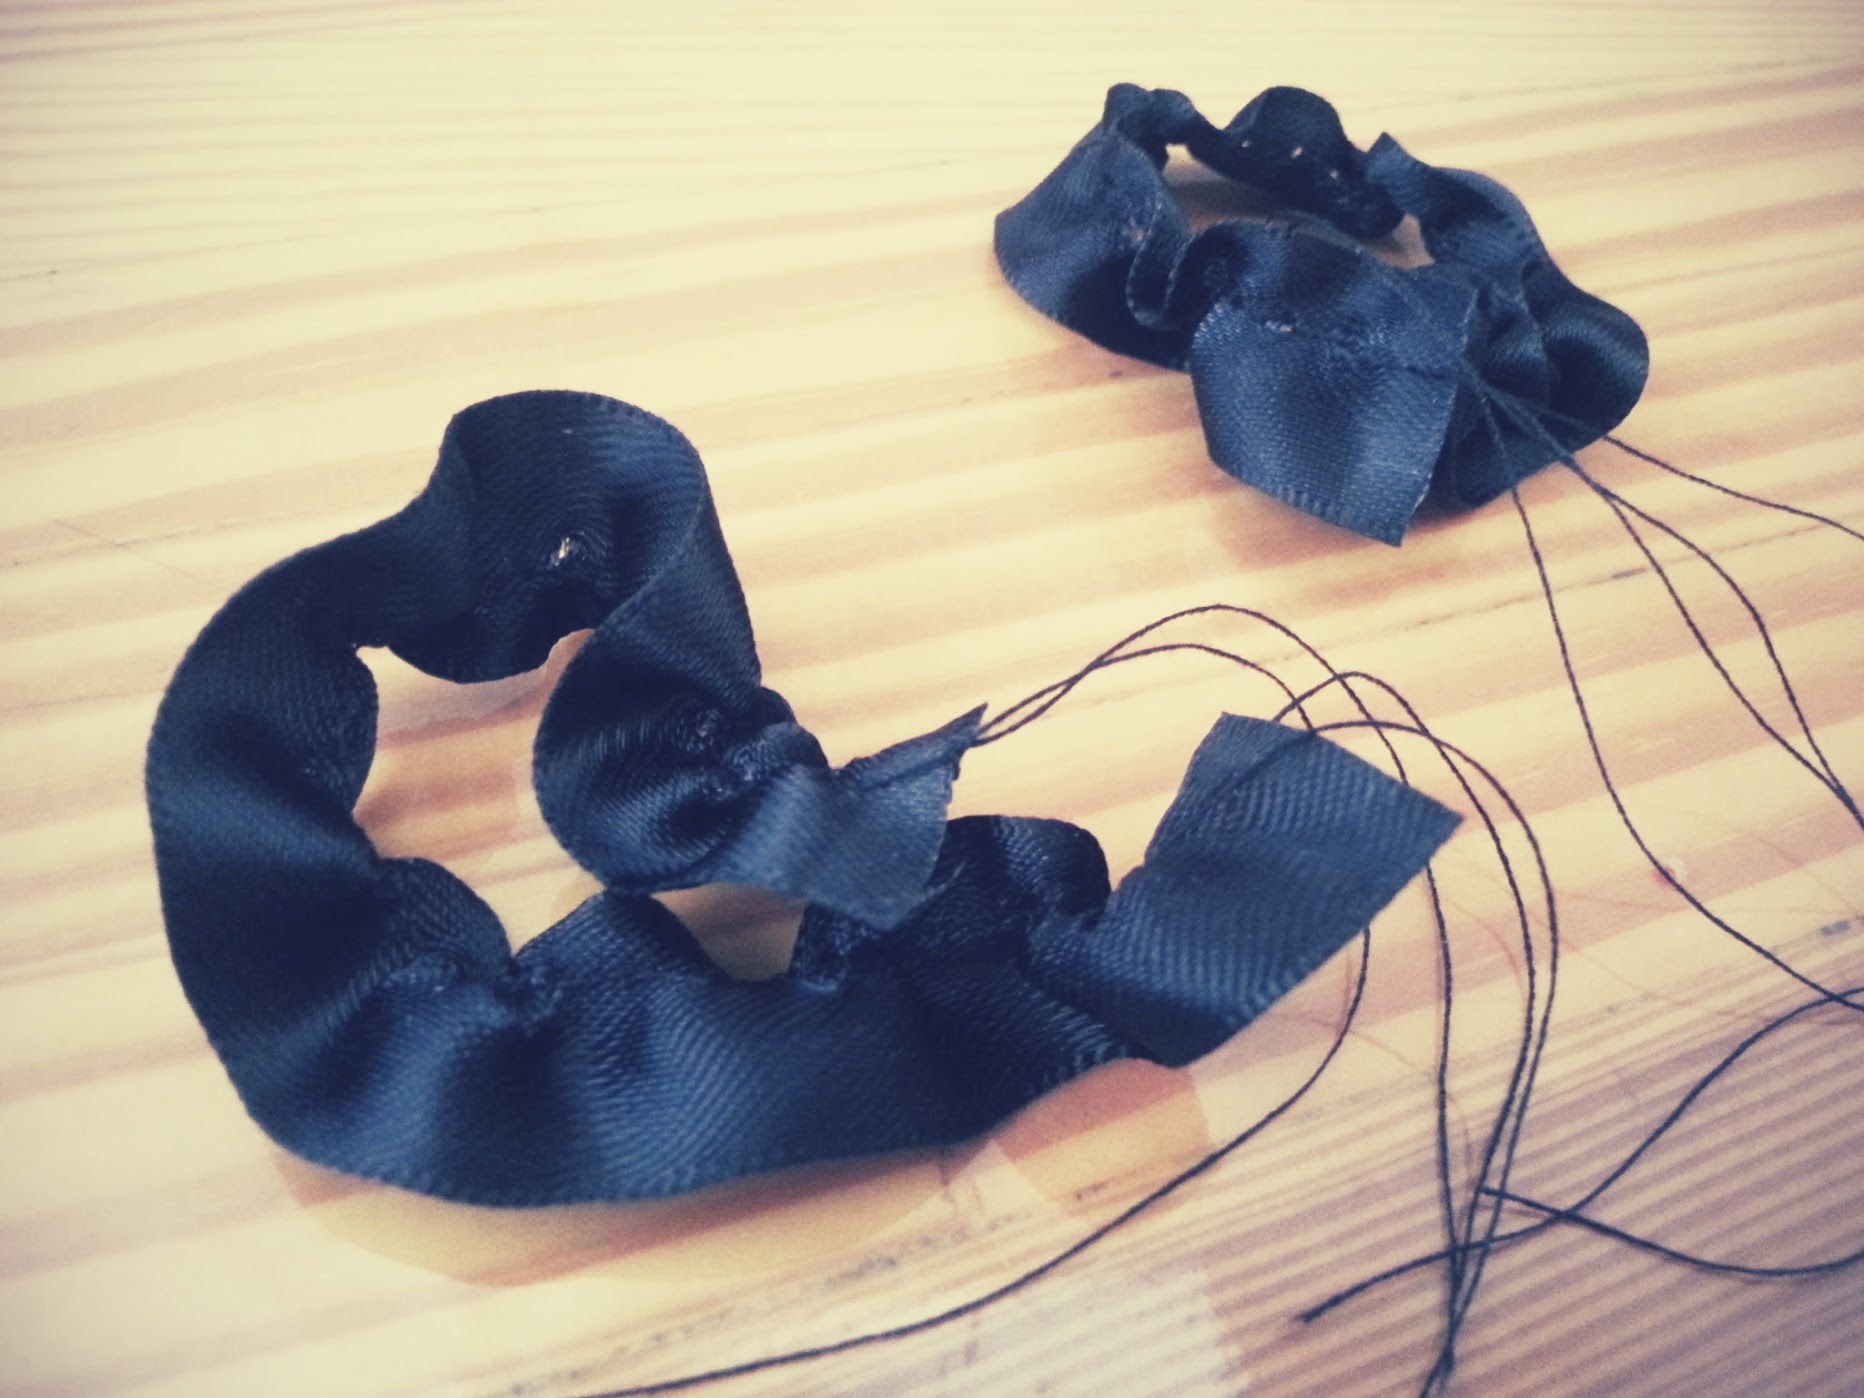
I started with some hand stitch job, attaching gathered black ribbon strips to the sides.

Then I cut a scrap of black leather and cover the whole back “plate” with it. There’s FABRI-TAC glue there in the picture, but I eventually used E6000 as the project went along. The fabric glue was not strong enough for this job.


Then I added another layer of gathered ribbon trim on top of the first ribbon layer, making sure the side edges of the glued-on leather was covered.
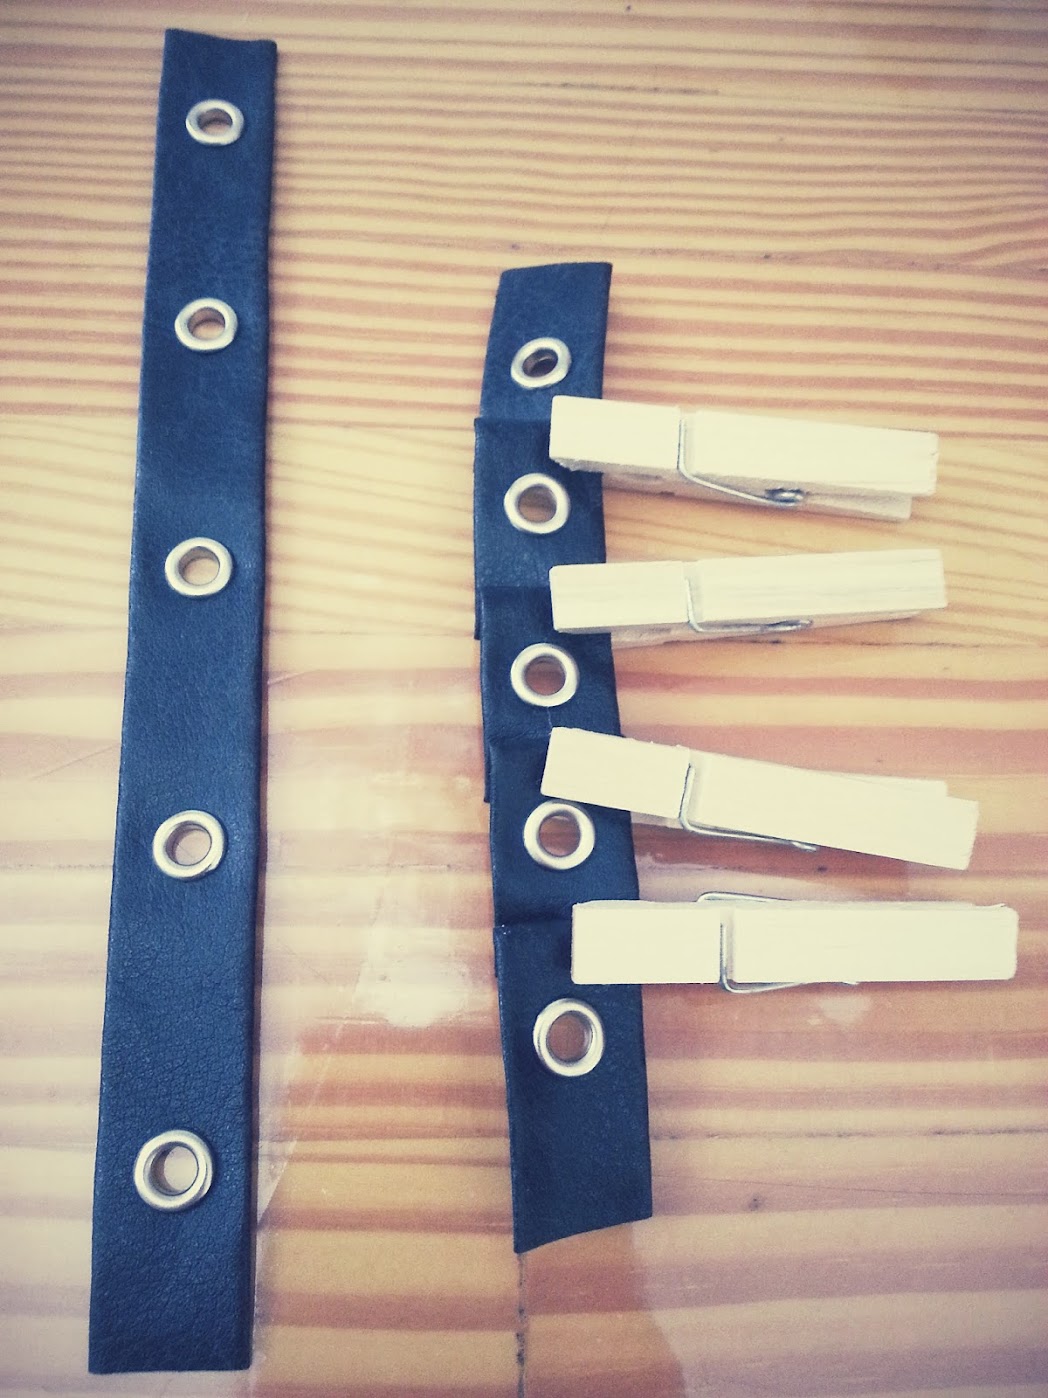
The faux-leather trim with grommets that I bought was great, but the space between one grommet to the next was too wide. So I did some “pleats” and glued the folded parts so the grommets are closer to each other. After that’s done, I glued them to the outer part of the plate’s side edges.
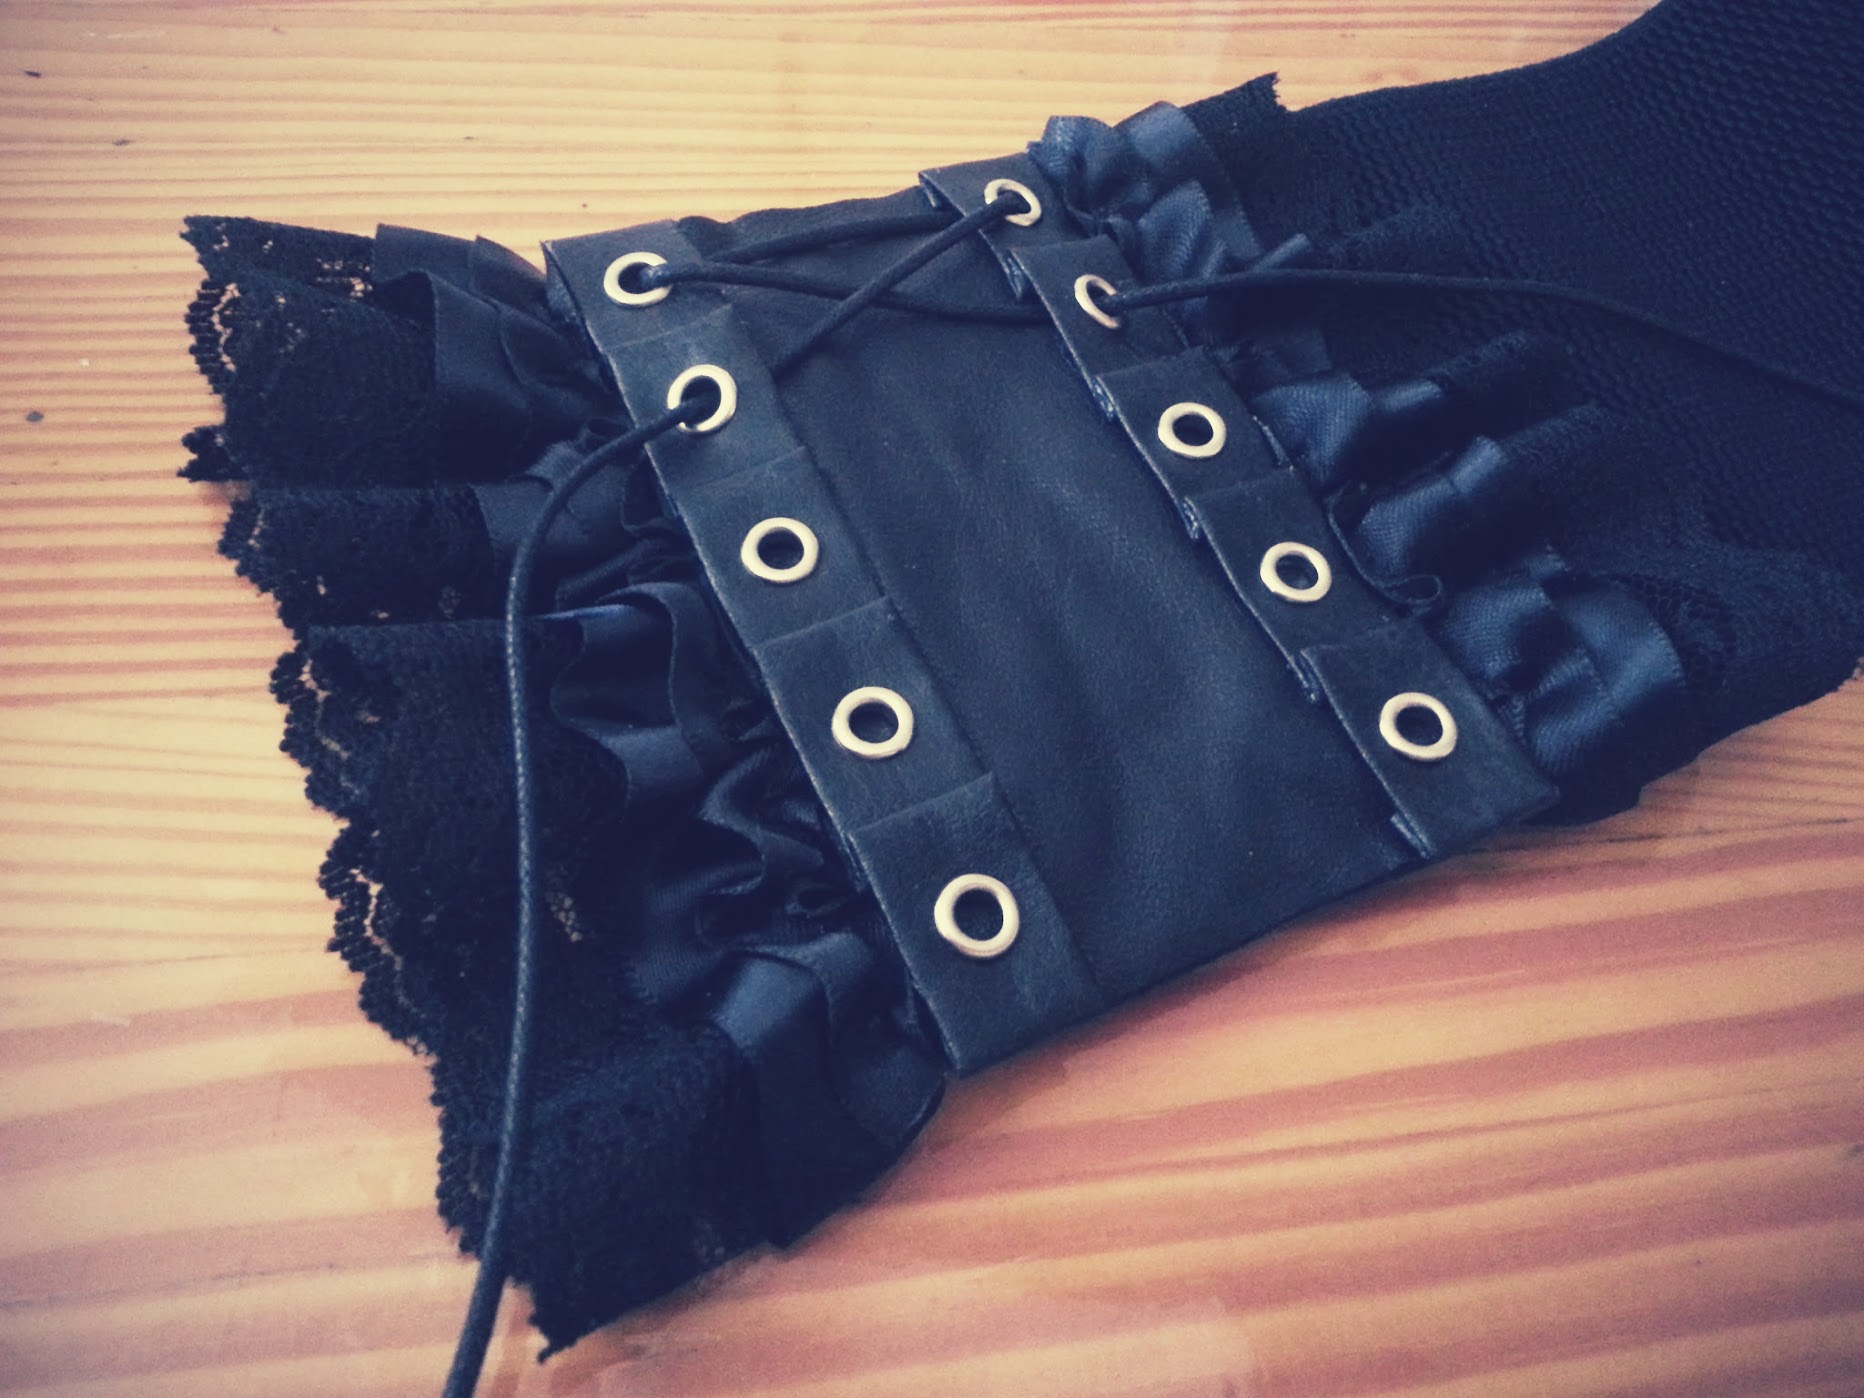
After waiting several minutes for the glue to dry off, I put in the black cord carefully starting from the top, criss-crossing just like I’m about to tie my shoe laces. When I reached the bottom, I tugged the cord lightly to make sure it’s tight enough before forming a knot.
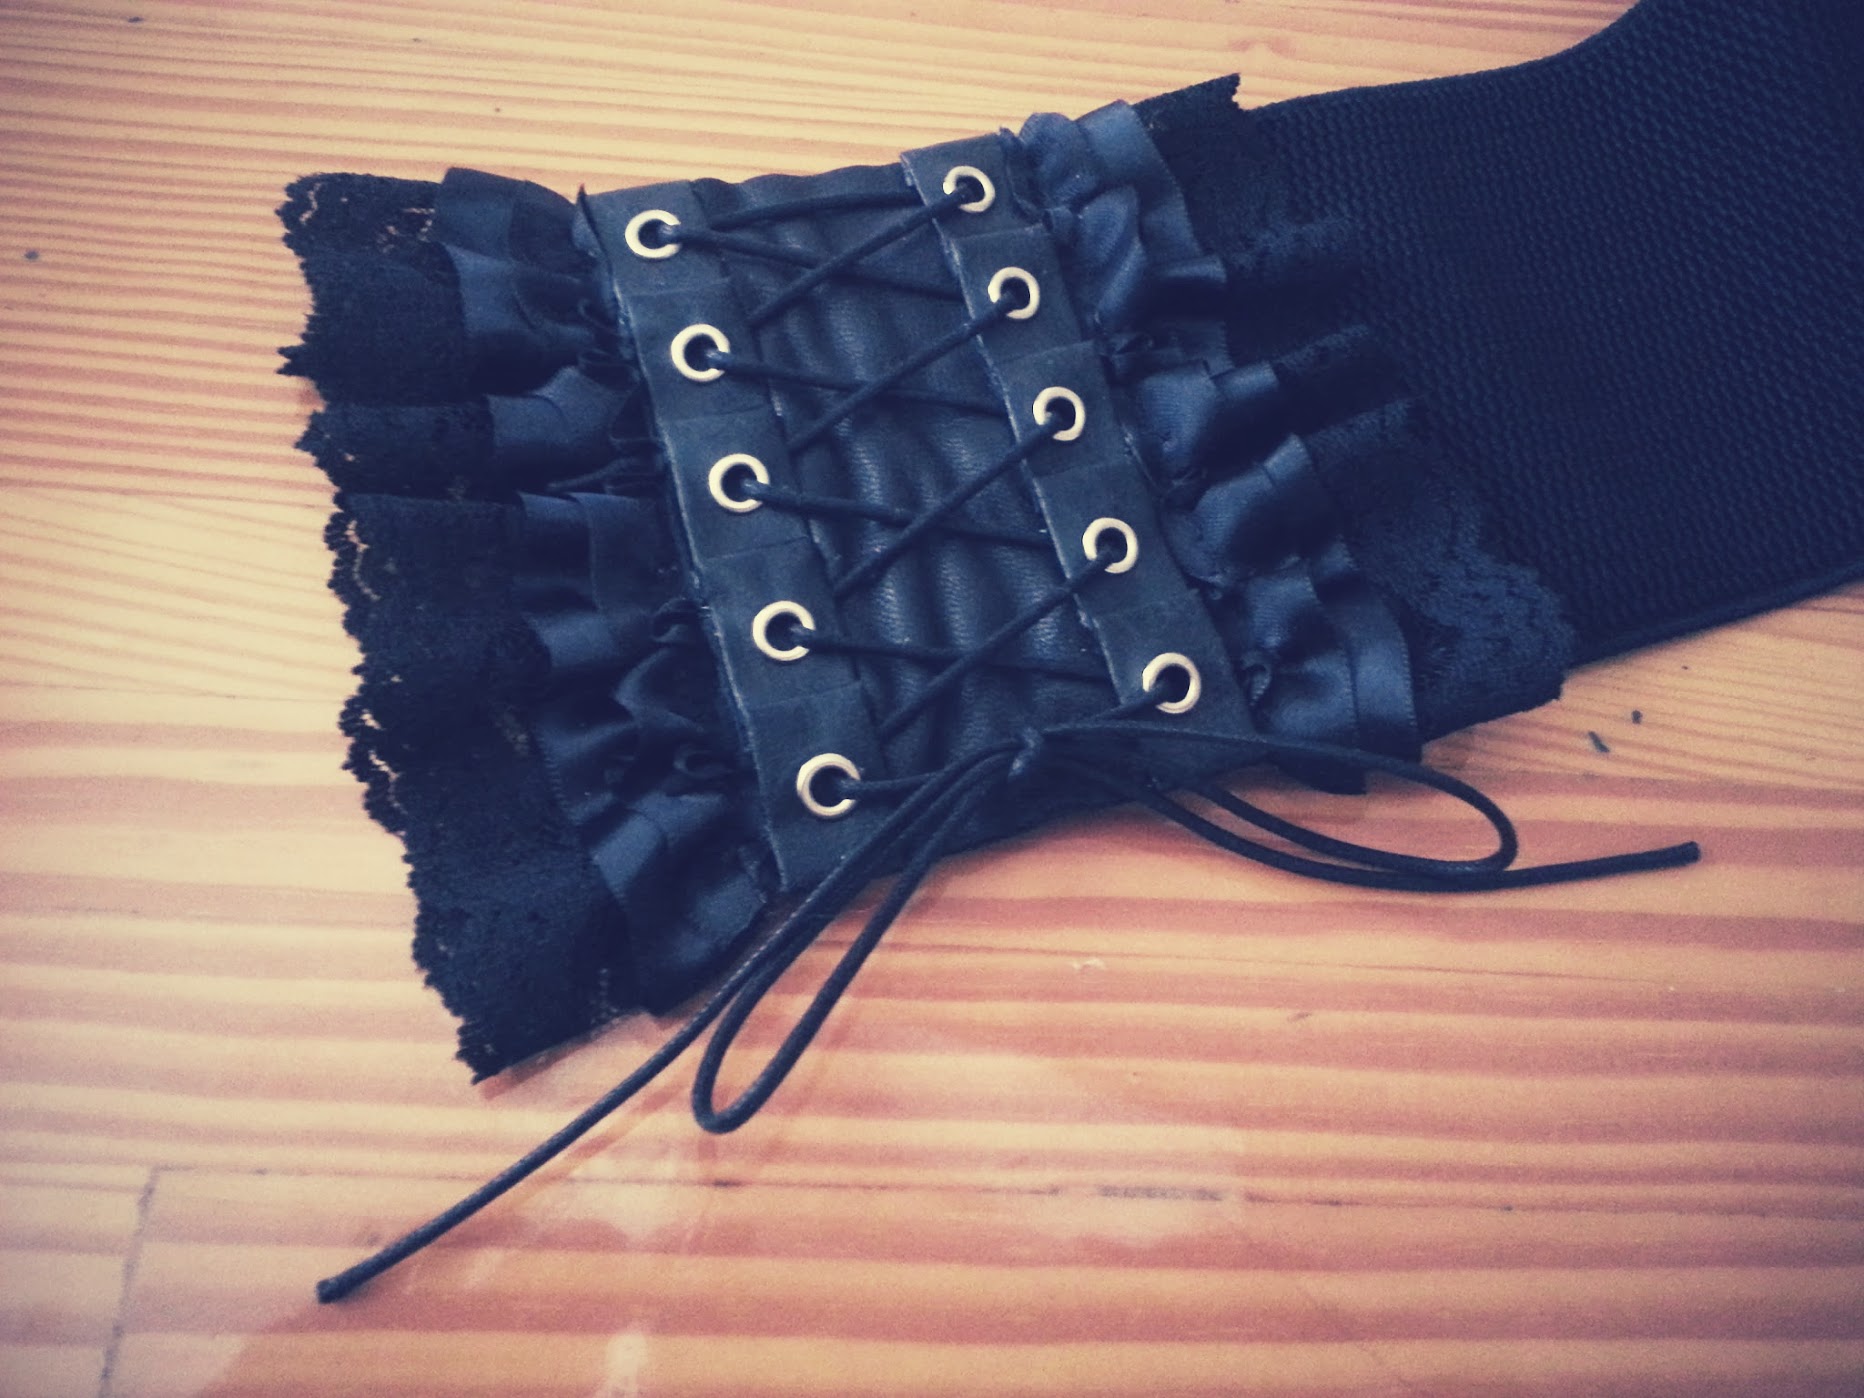
With that, the back part of the DIY Waist Corset Belt was done! Woooo!!!

Part II: Transforming the Front of the Belt
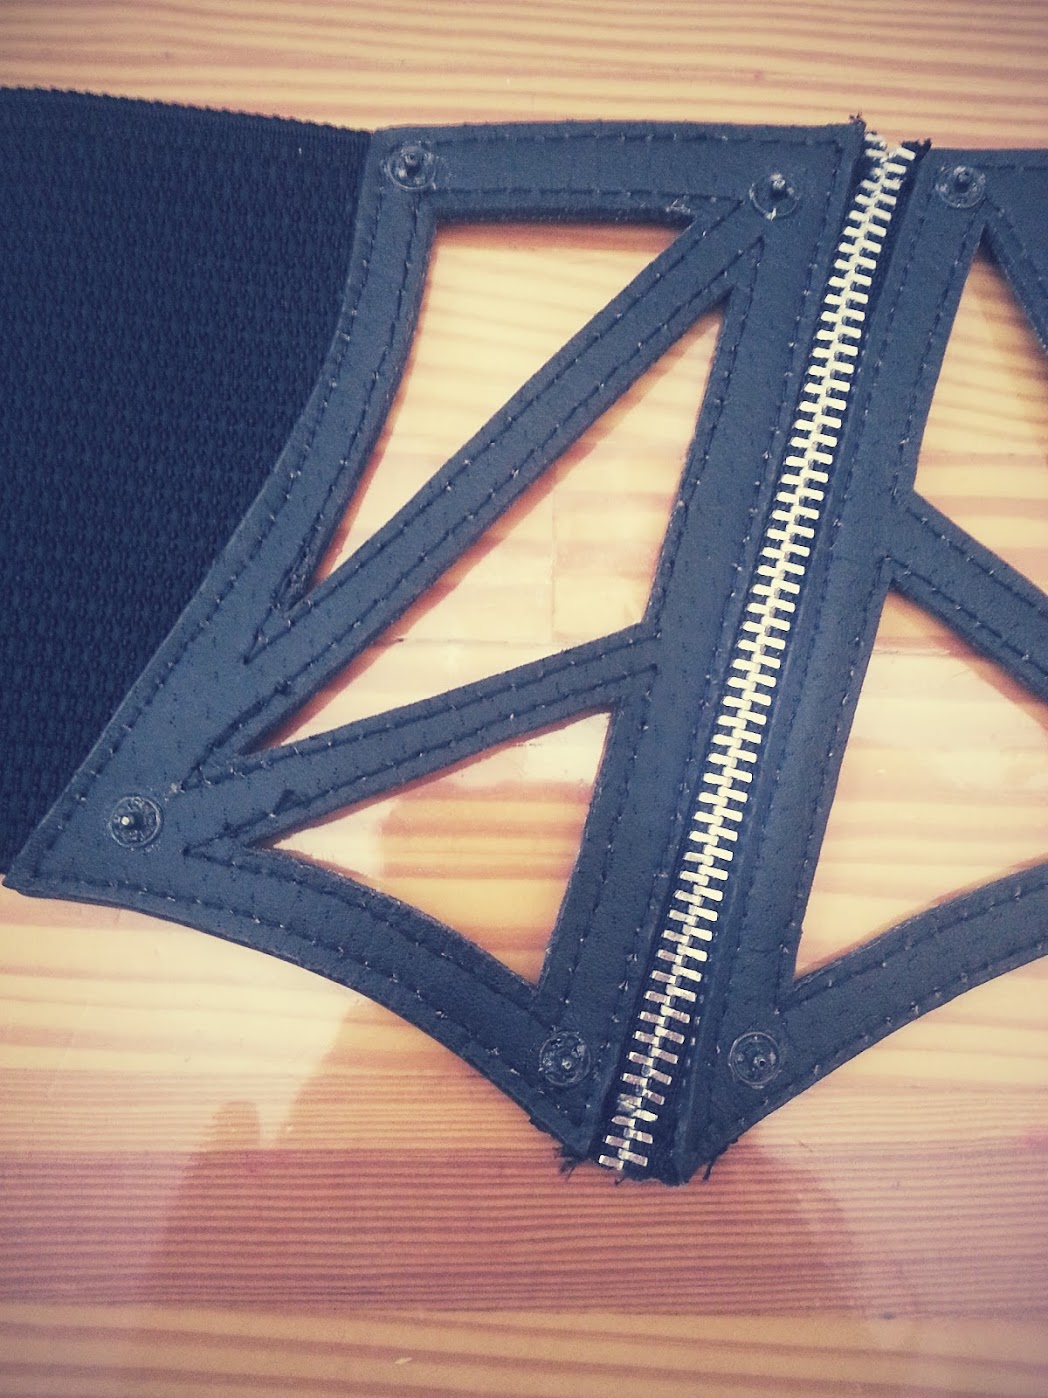
I love the arching quality of the belt’s front. The combination of zipper details and the cutouts on the front, left, and right sides are fine as-is. But I want to put some fabric behind it so the belt’s outer shape is enhanced and the fabric can peek through the belt cutouts.
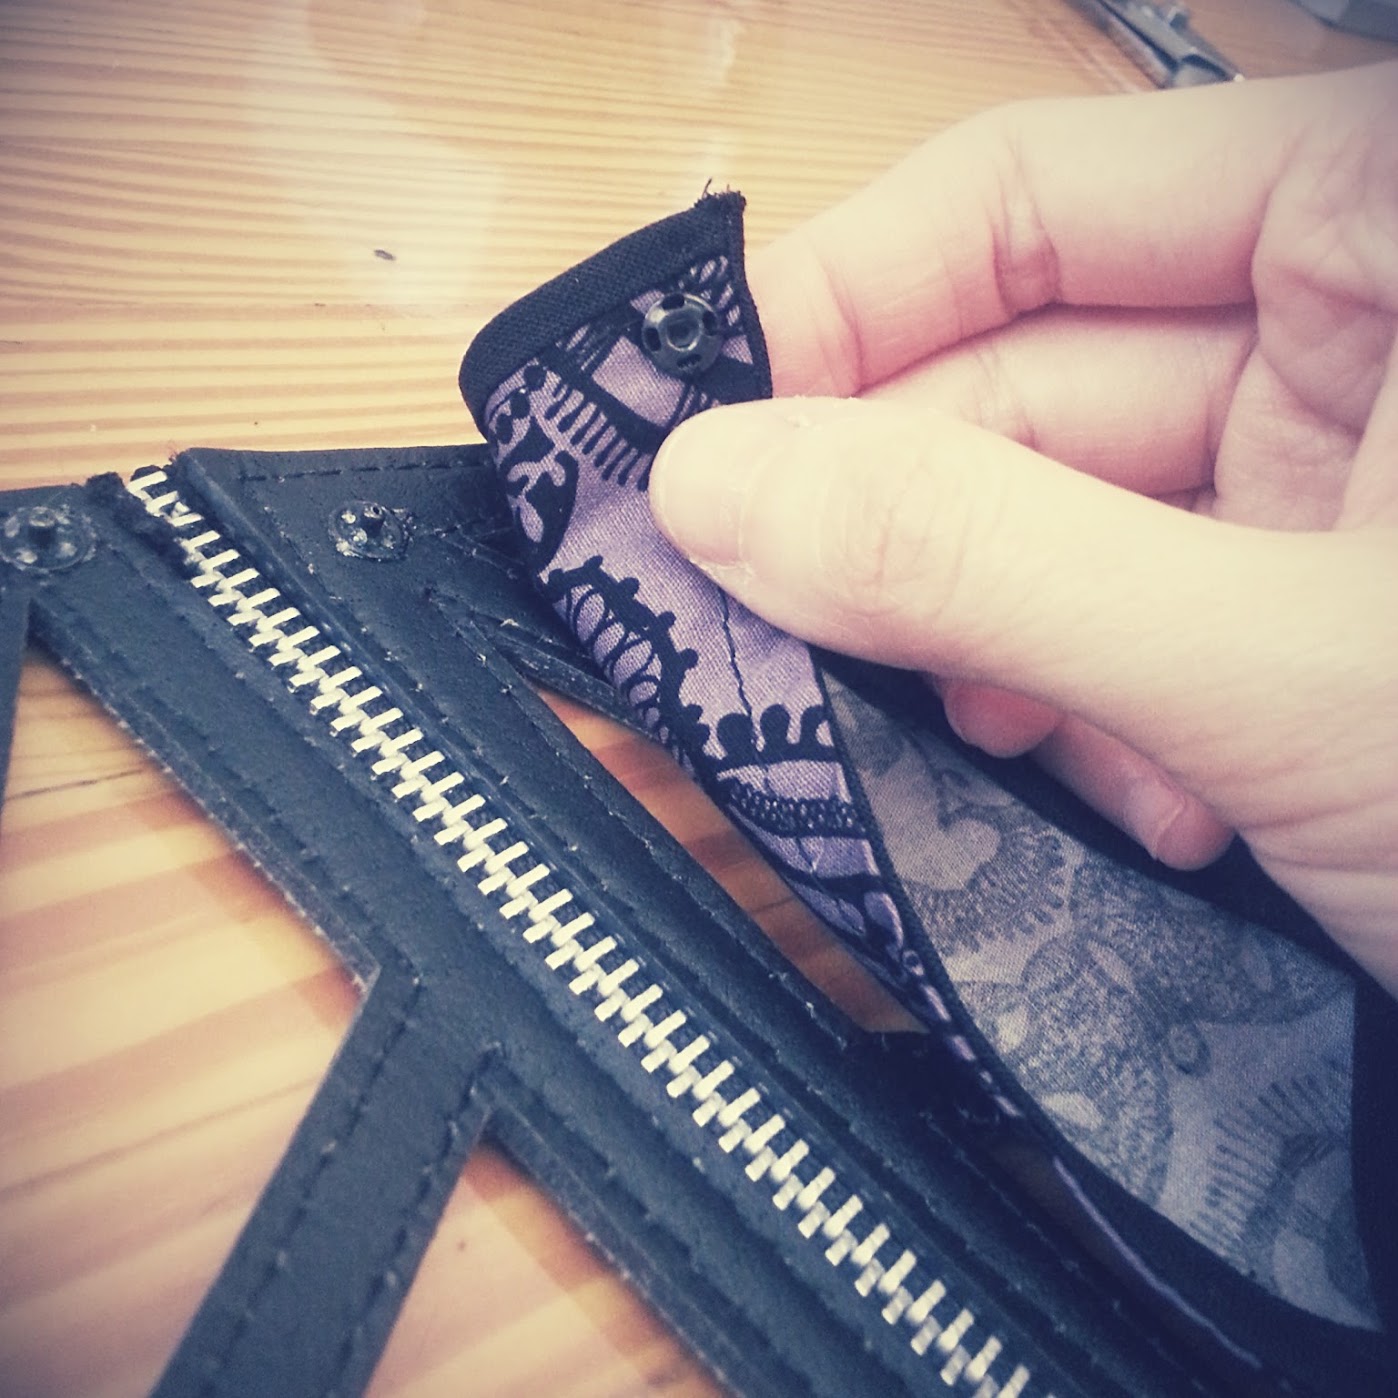
Moreover, I realize that I will eventually get bored looking at the same fabric peeking through. Therefore, instead of glueing the fabric to the outer edges of the belt’s front, I glued sew-on snaps on the corners of the belt’s front (wrong side) and hand stitched the corresponding snaps on the fabric scraps (right side).
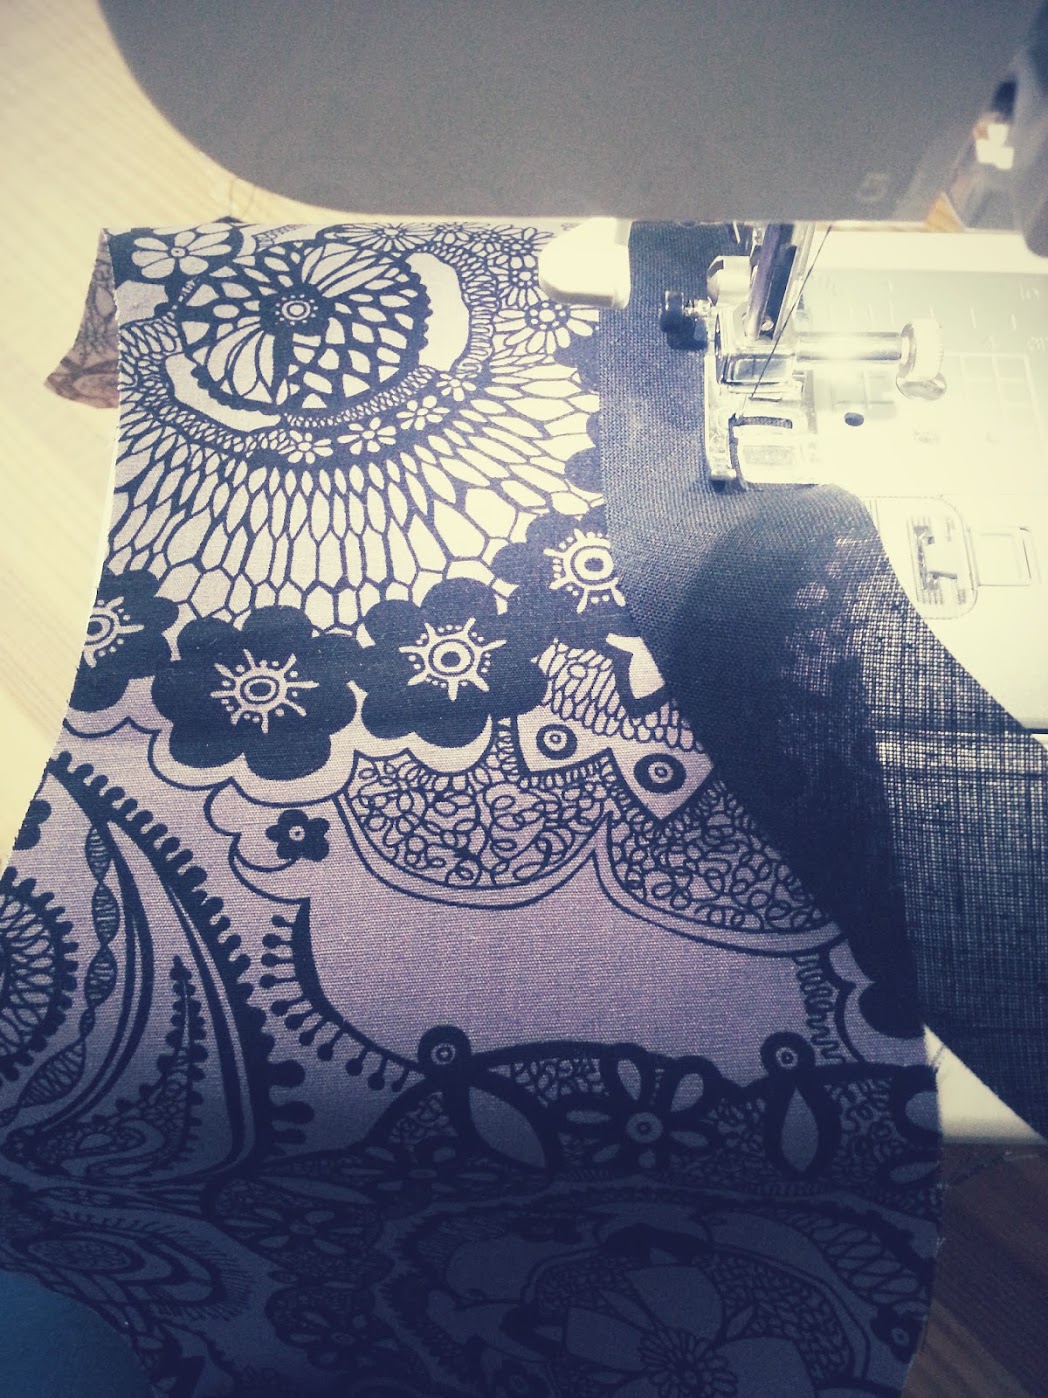
So I started with tracing and cutting three separate fabric pieces for the left, front, right sides. The first fabric I chose was a “lace” printed purple cotton fabric.
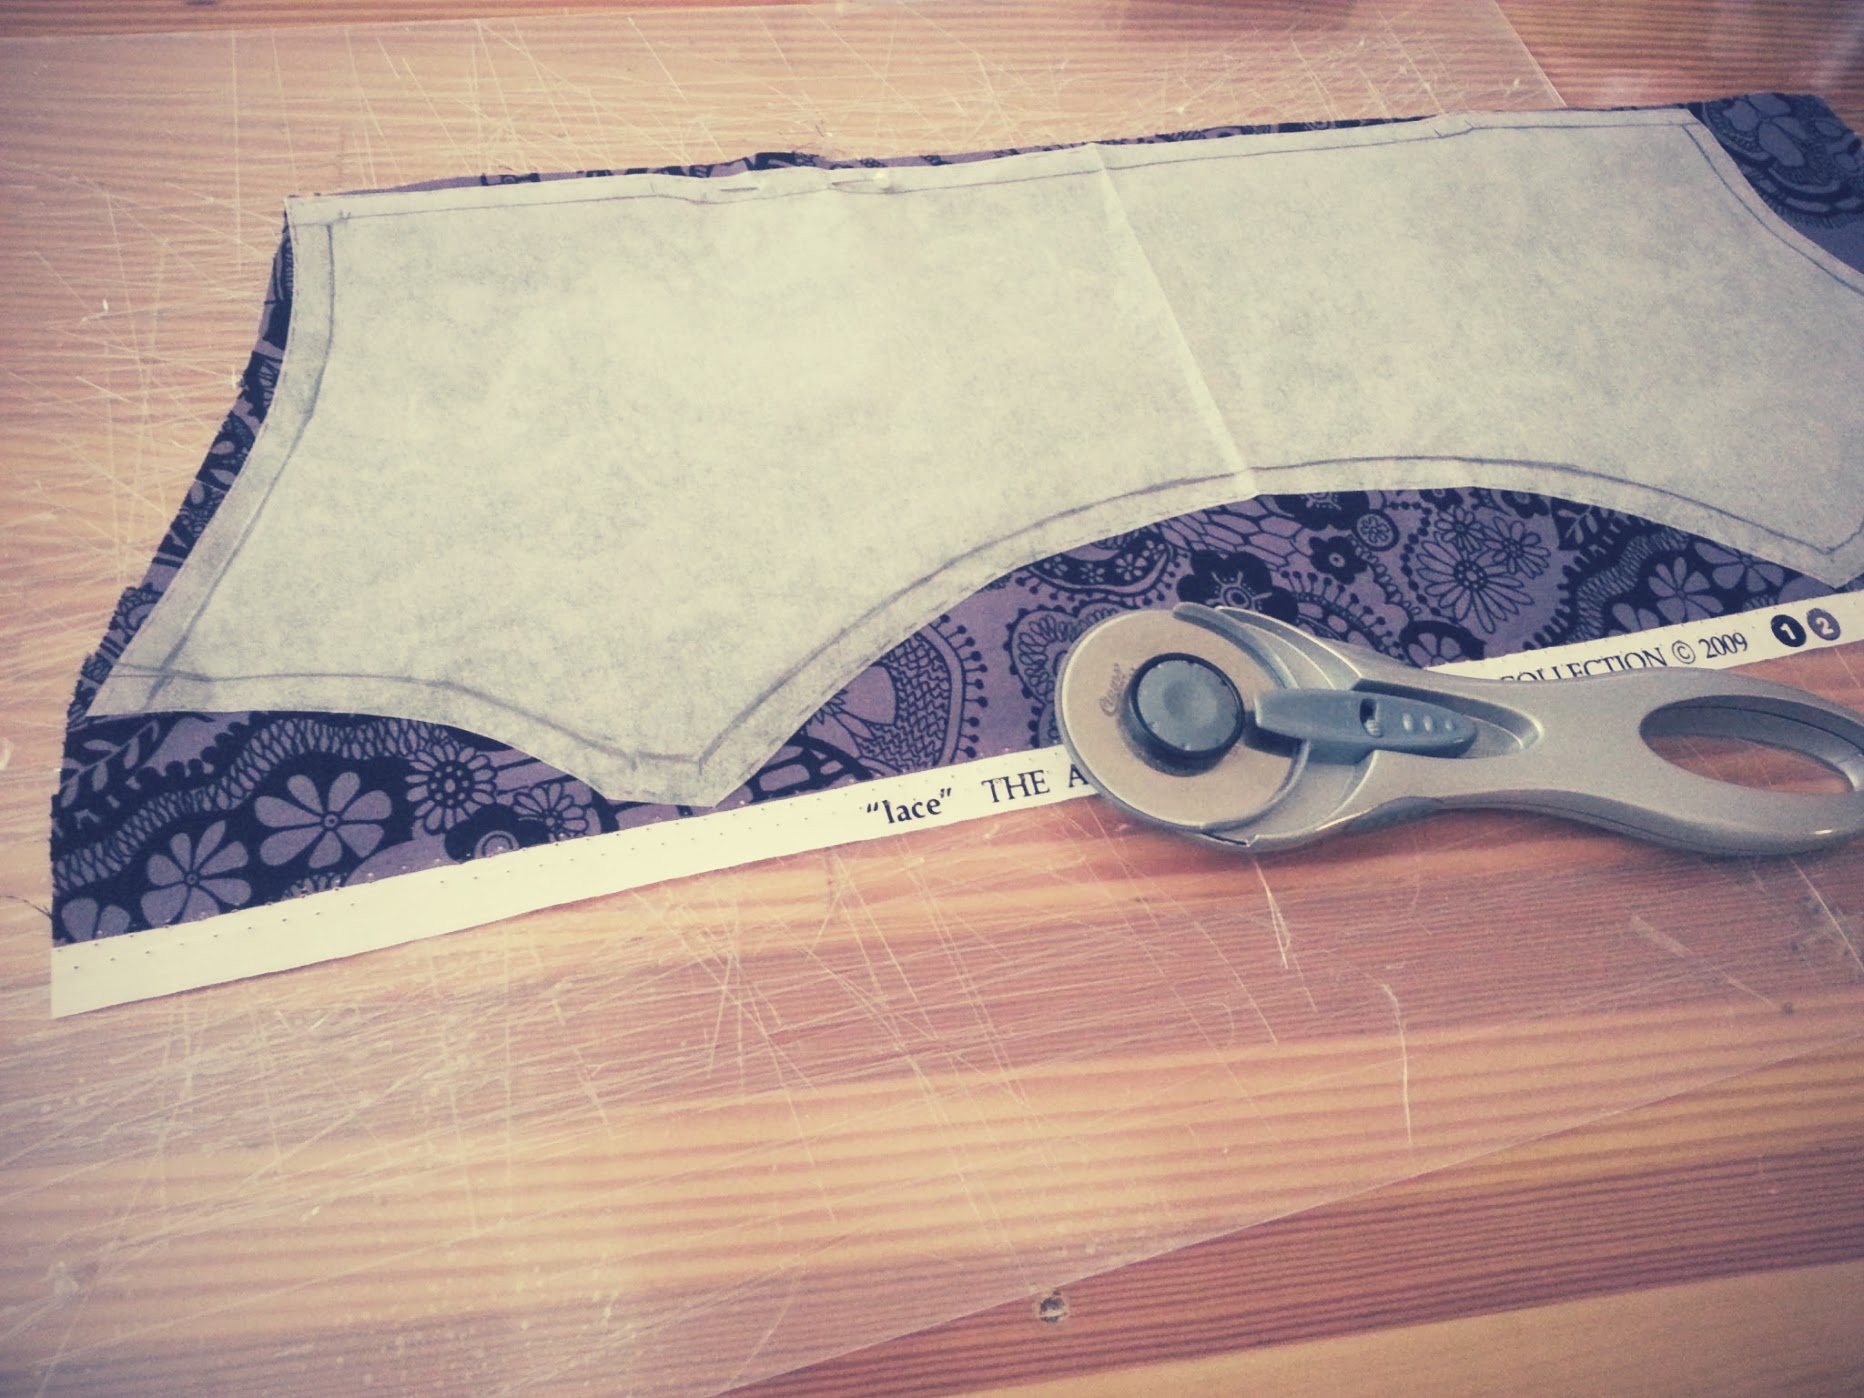
The photo above showed my initial approach of using one wide fabric panel. Later on, I realized this wasn’t possible and divided that one panel into three.
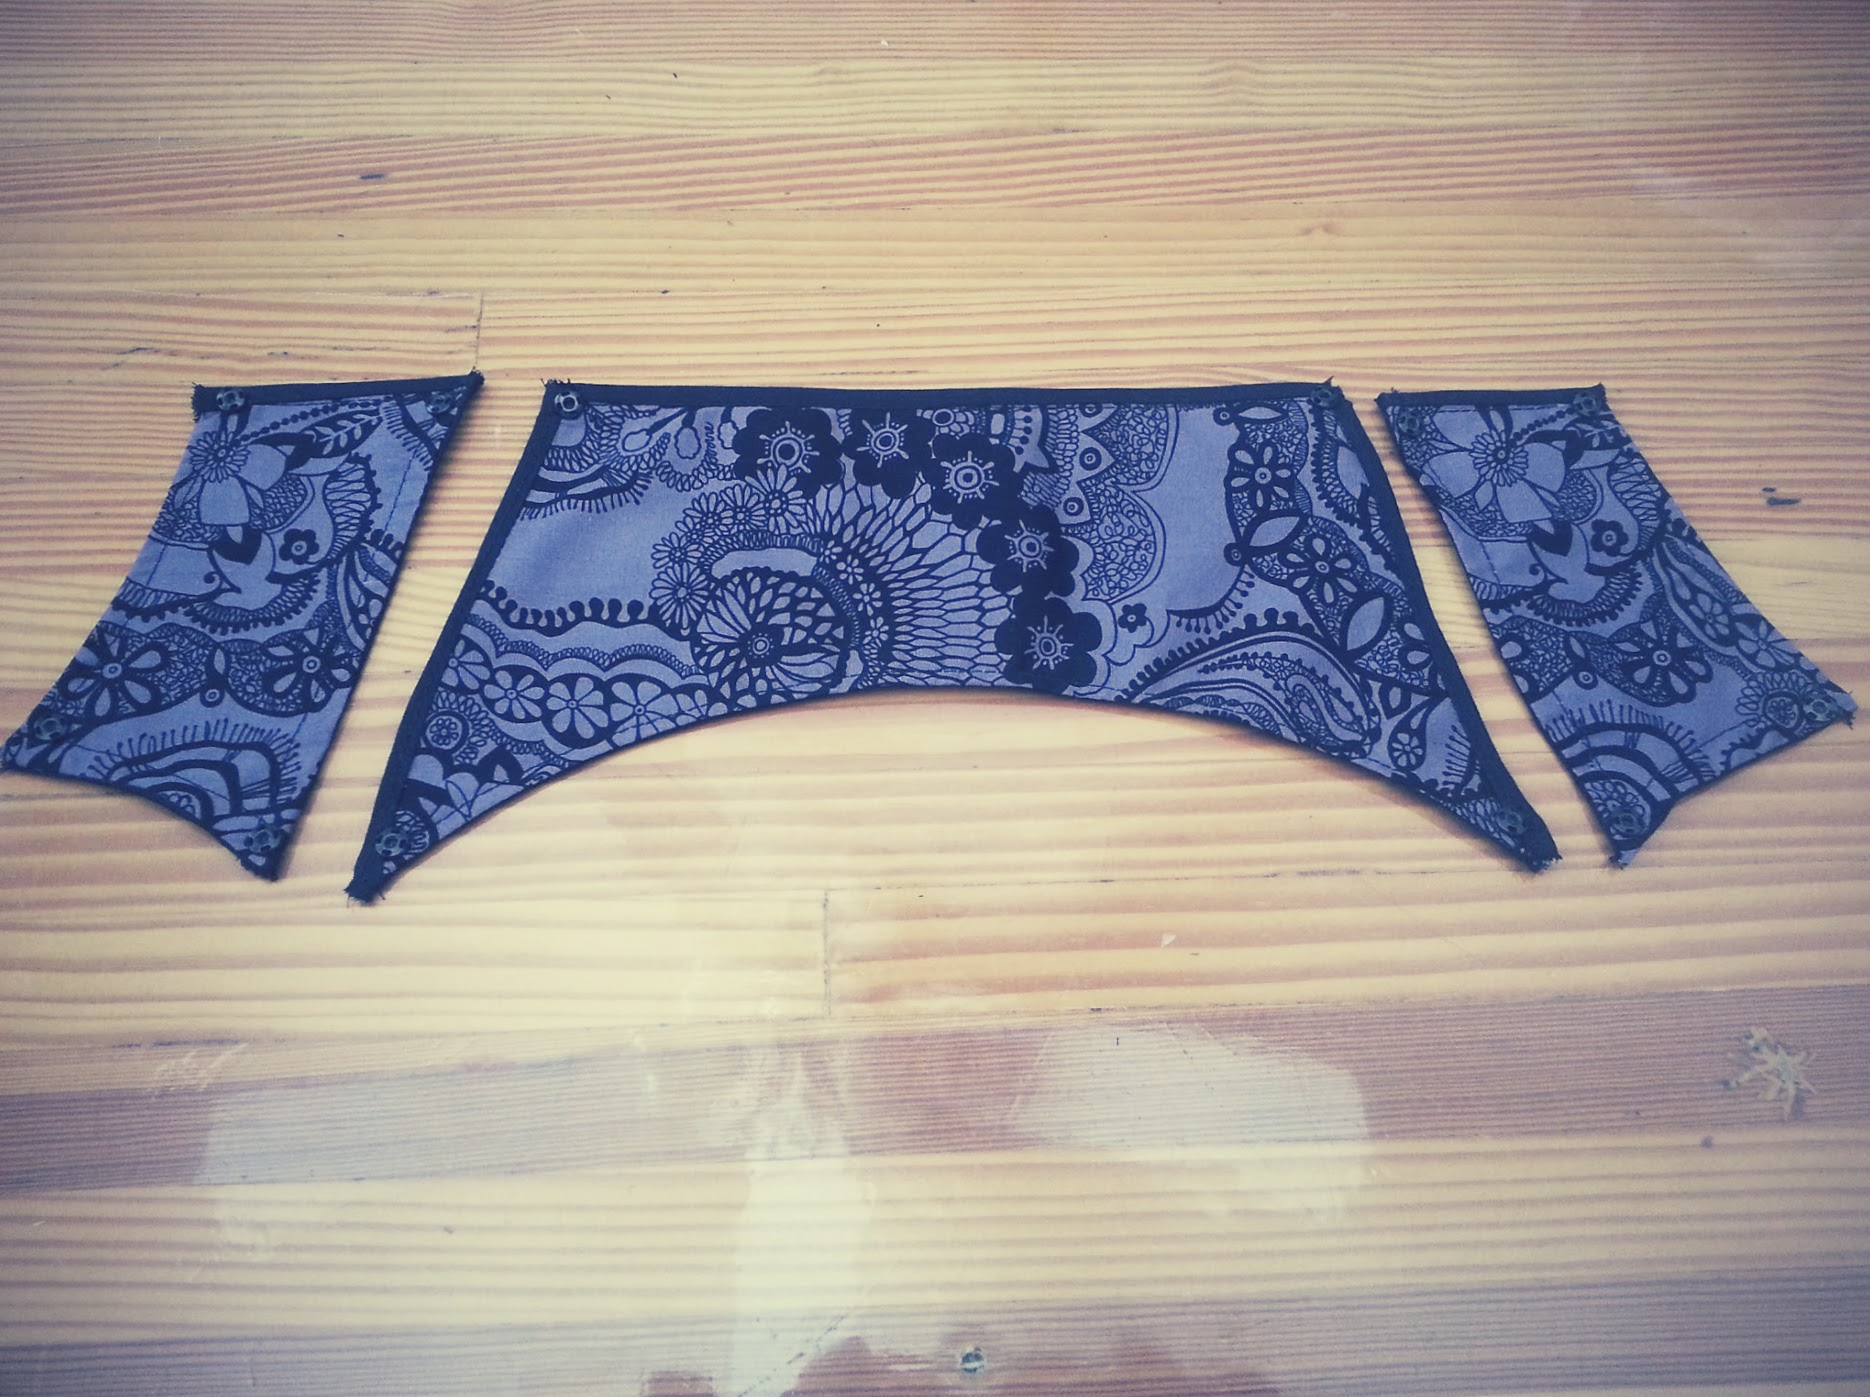
After cutting the three pieces (taking into account the seam allowance), I finished off the pieces by using some bias tape. On my subsequent work on the later fabric choices, I no longer used the bias tape and instead just increase the seam allowance for double folding.
These are the three fabric pieces for the left, front, and right sections of the belt’s front.
Next, I used the always-reliable E6000 to glue in one half of sew-on snaps on the corners of the belt’s front (wrong side).
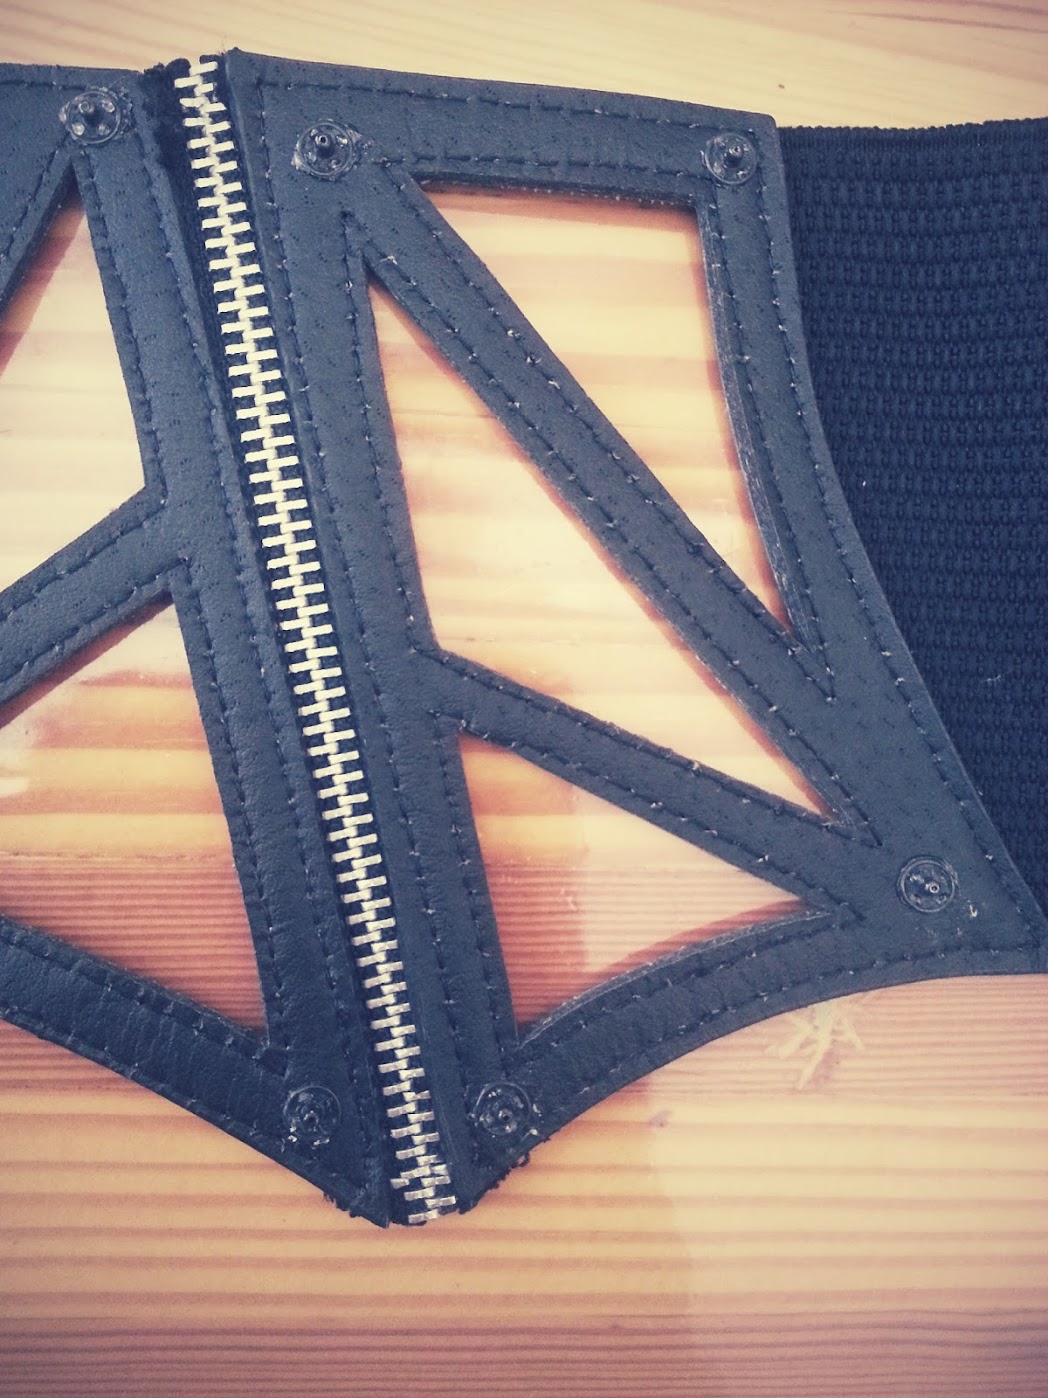
I sewed the other half of those snaps on the fabric pieces (right side). Basically, I wanted to snap on those fabric pieces on the wrong side of the belt’s front.
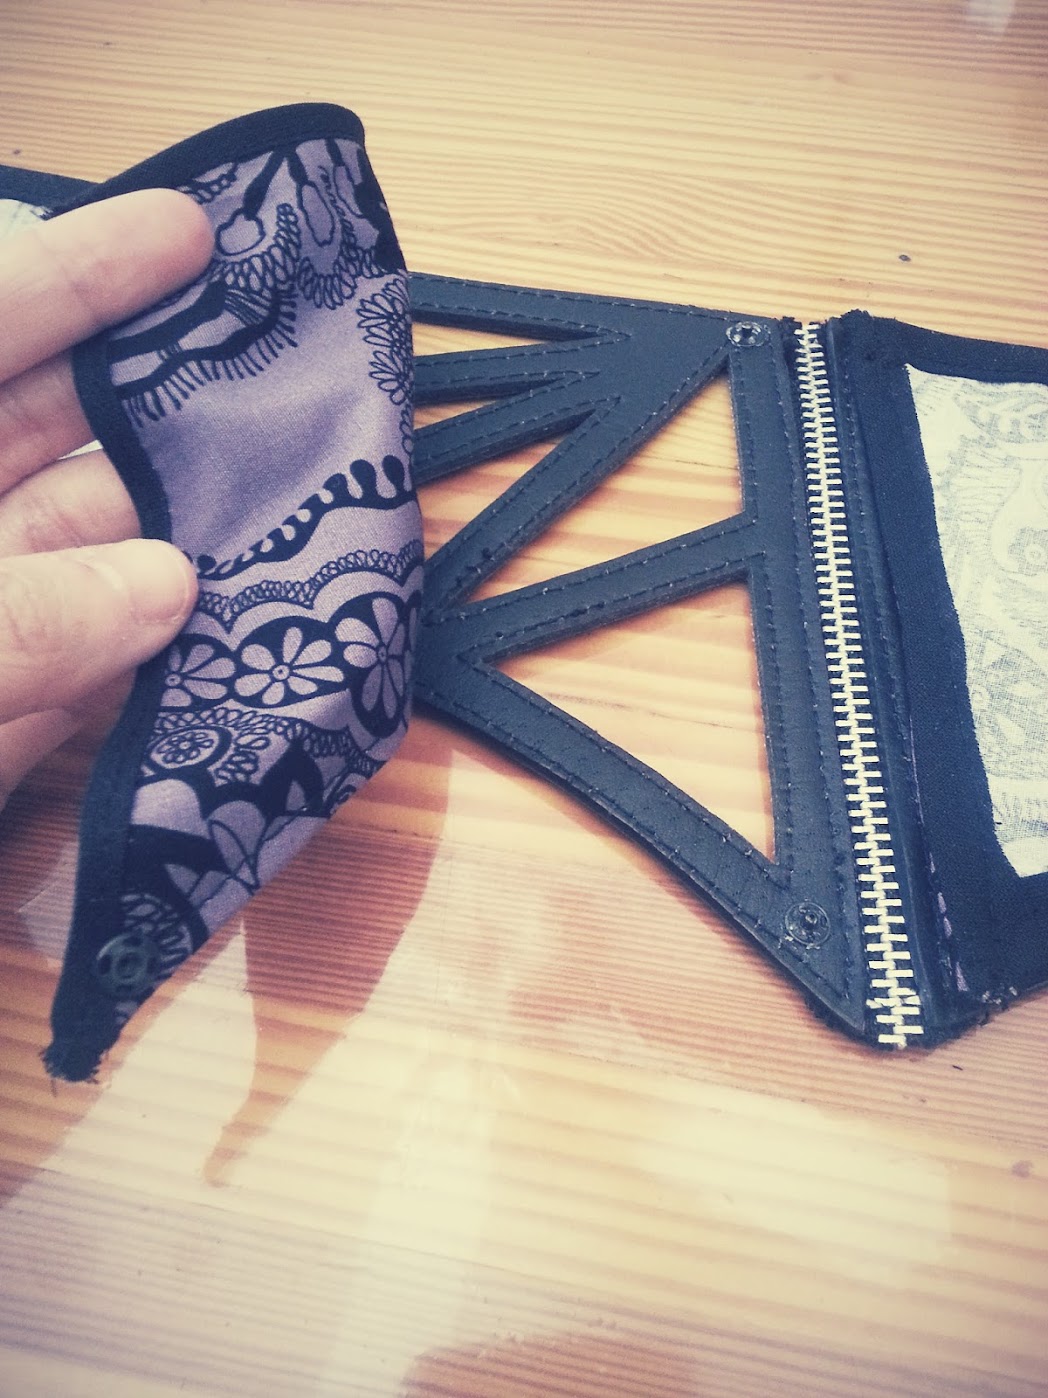

This is what the front of the belt looked like after it’s all said and done!
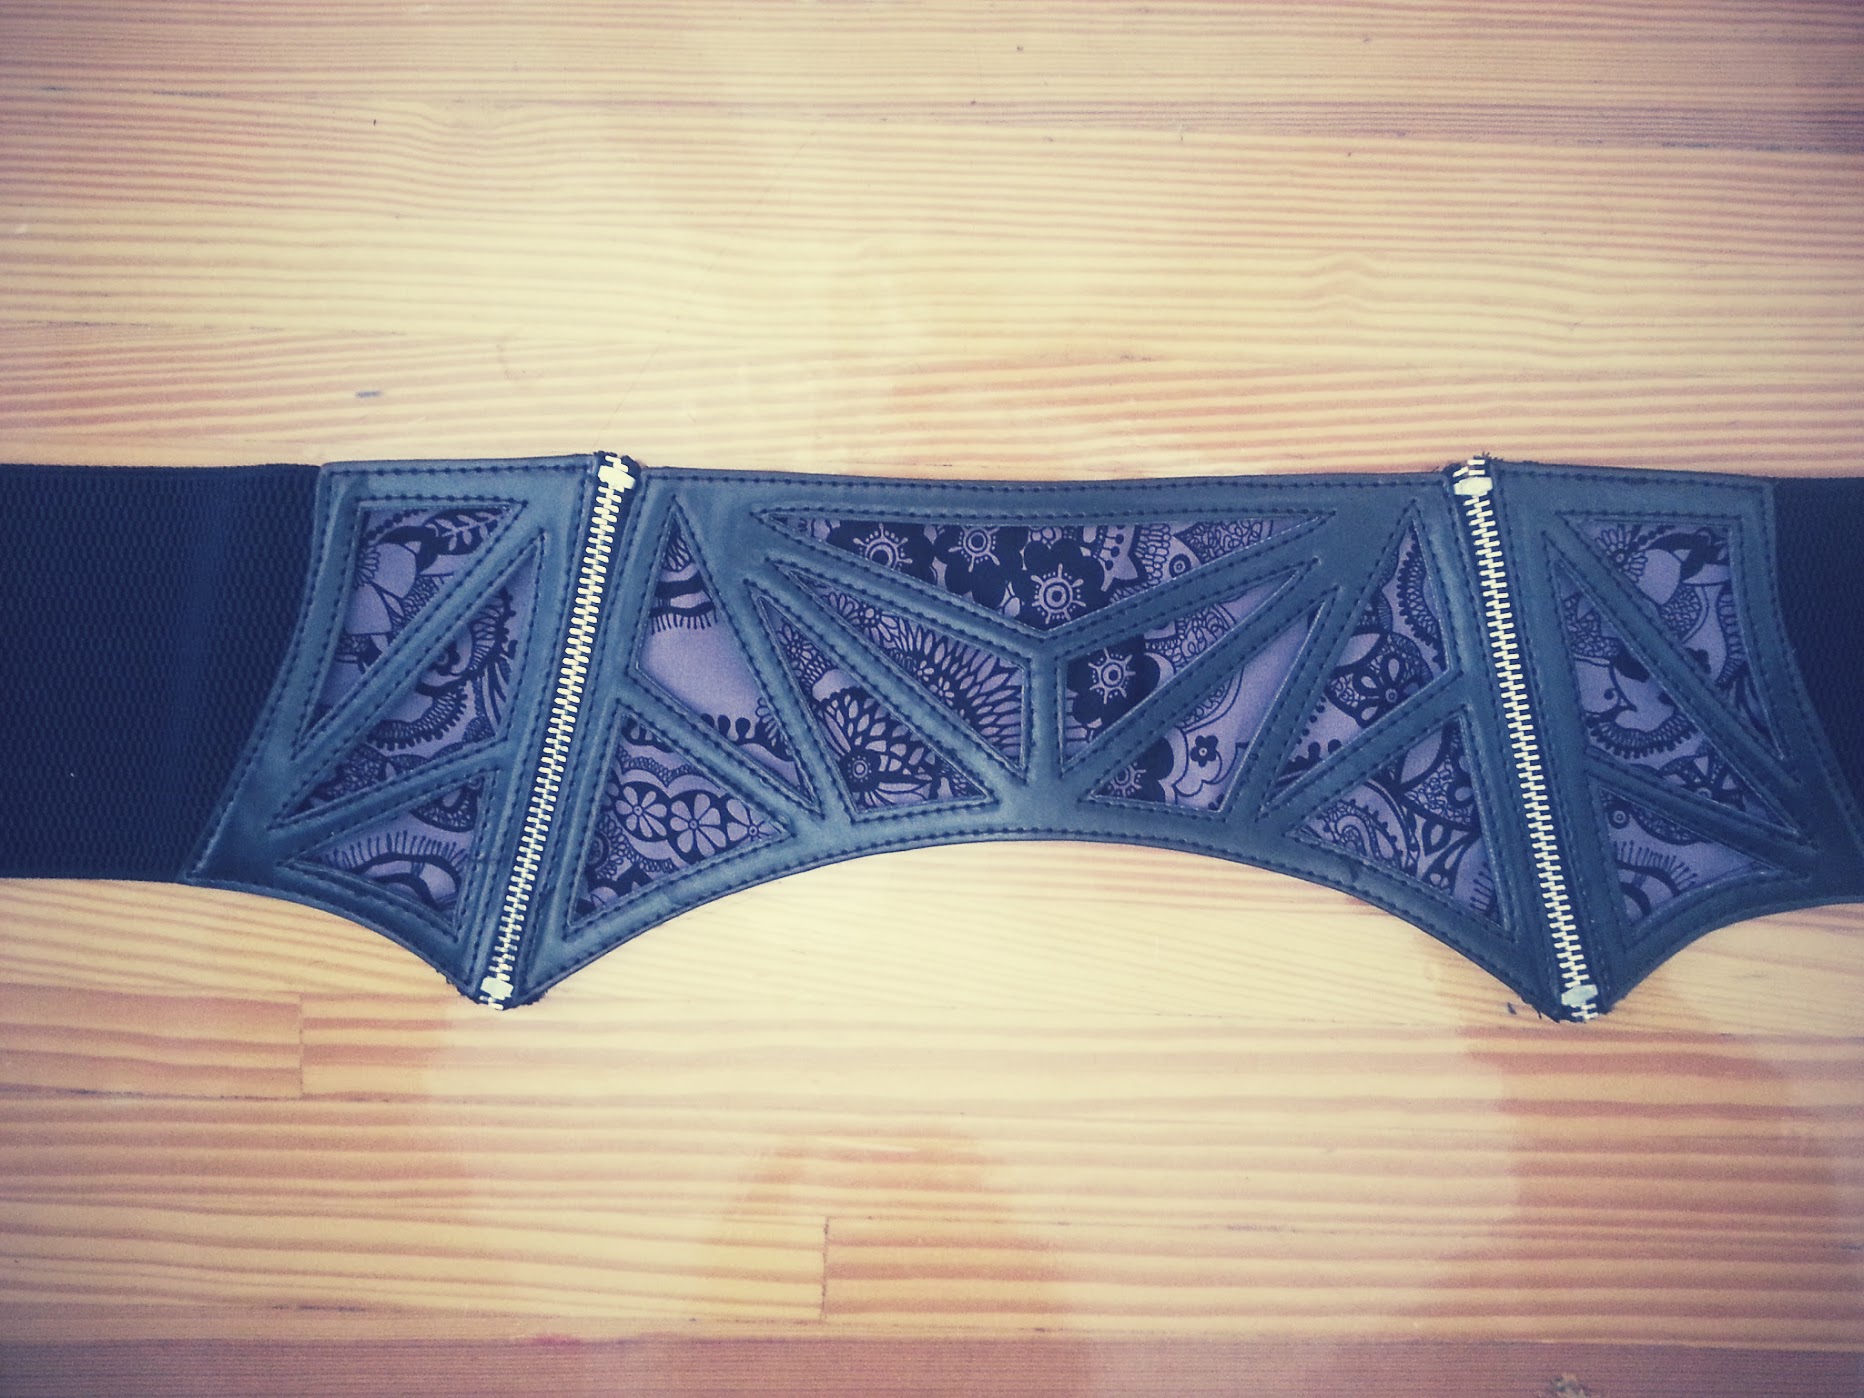
The Result: DIY Waist Corset Belt
Yay! I definitely wore it proud on the first day of J-Pop Summit 2014 :)
This is the first fabric choice I made, the purple version.
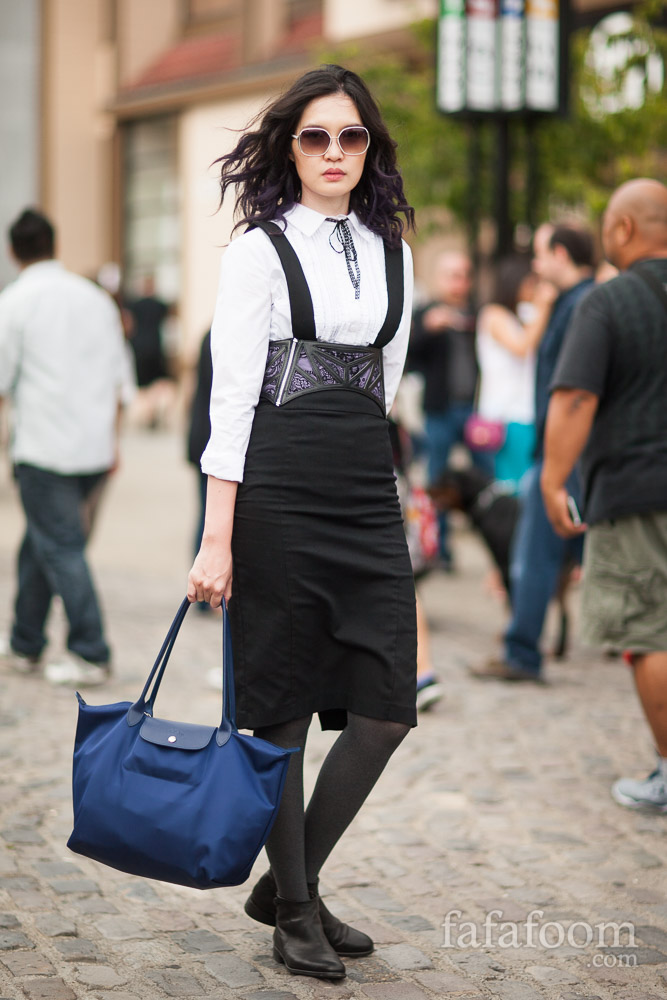
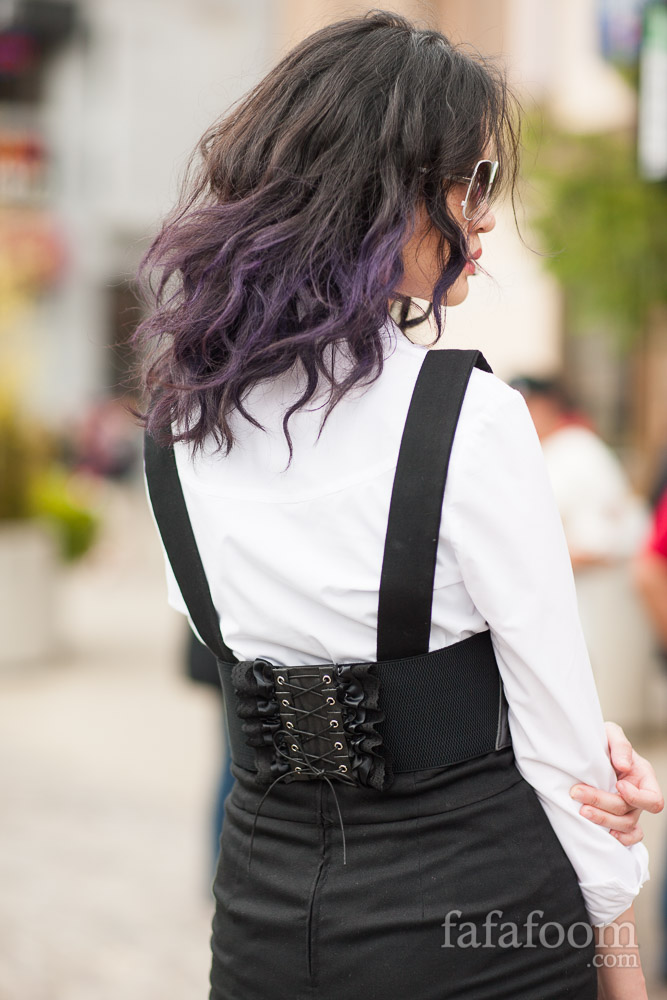
Outfit details: ASOS white shirt, Forever 21 high waisted skirt with suspenders, UNIQLO tights, Coclico boots. Marc by Marc Jacobs sunglasses, black vintage ribbon (worn as a tie), Longchamp bag. Purple hair tips with Kevin Murphy Color Bug (I personally don’t recommend it for black Asian hair like mine. Too much work, too little reward.)
After J-Pop Summit was over, I still wanted to wear this belt again for Fashion On The Square 2014 finale runway show, which took place the week after.
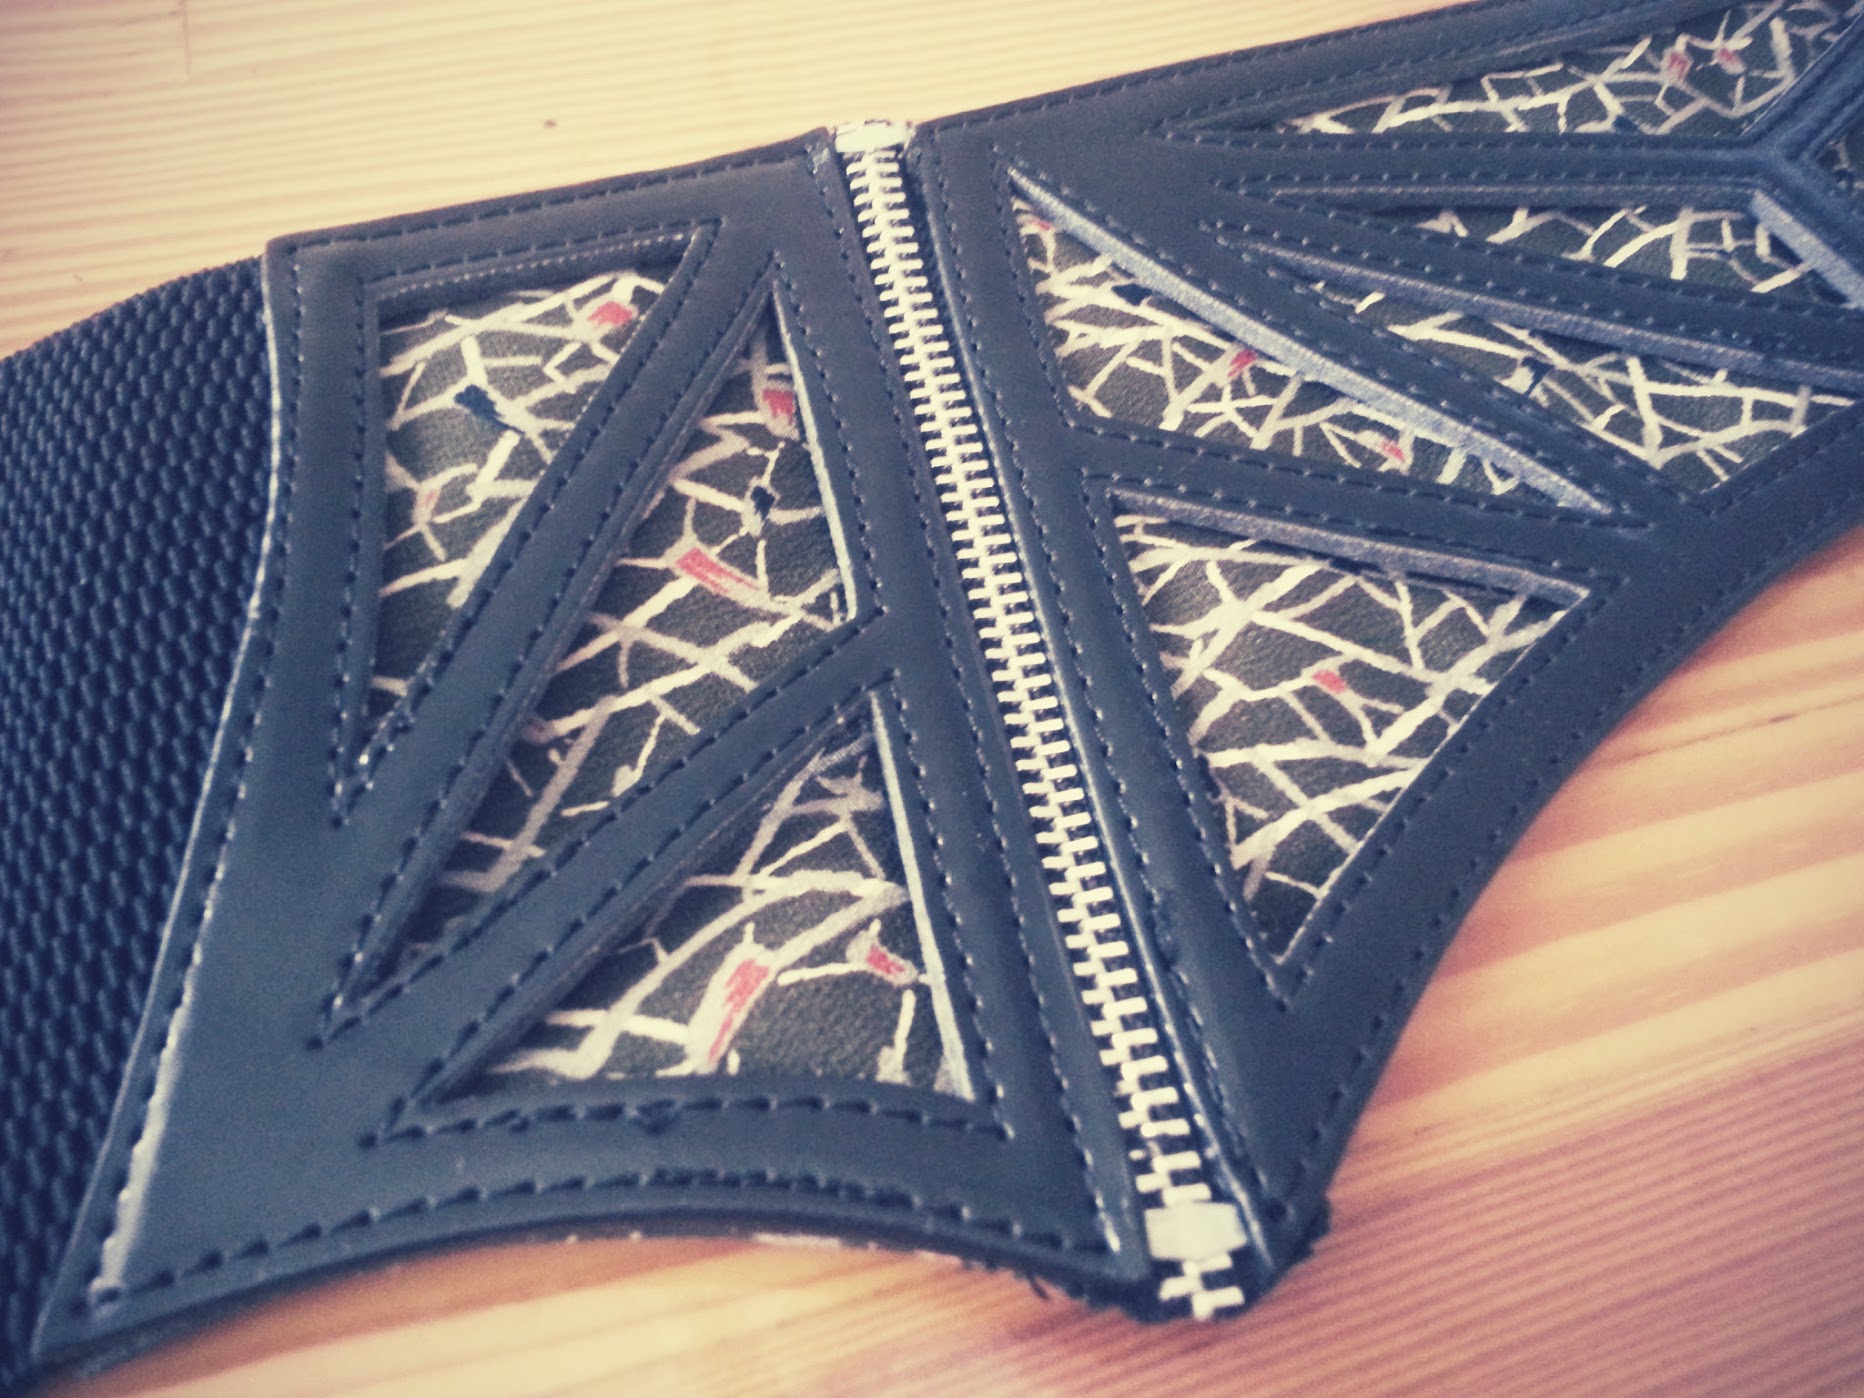
So I took out some kimono fabric scraps, chose one deep green fabric with nice “cracked ground” details, ironed some fusible interfacing on its wrong side, cut them, and made three fabric pieces out of it.
This is the green fabric version:

And this is how I wore it to FOTS 2014:
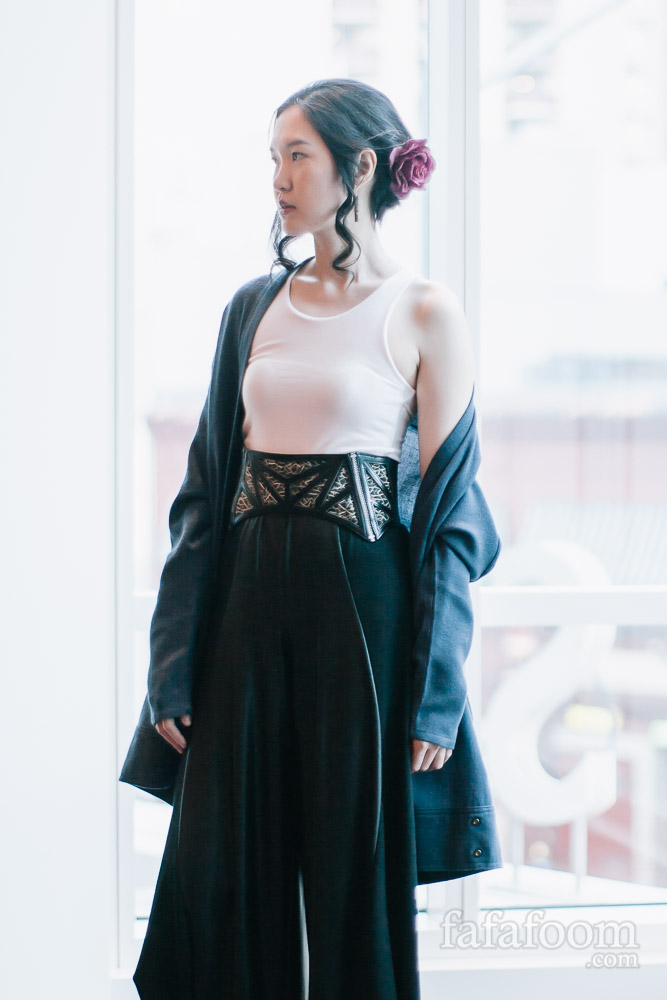
Outfit details: Isda & Co tank top (I’m so sad the designer retired already), Alembika pants, Melissa boots, Harputs jacket.
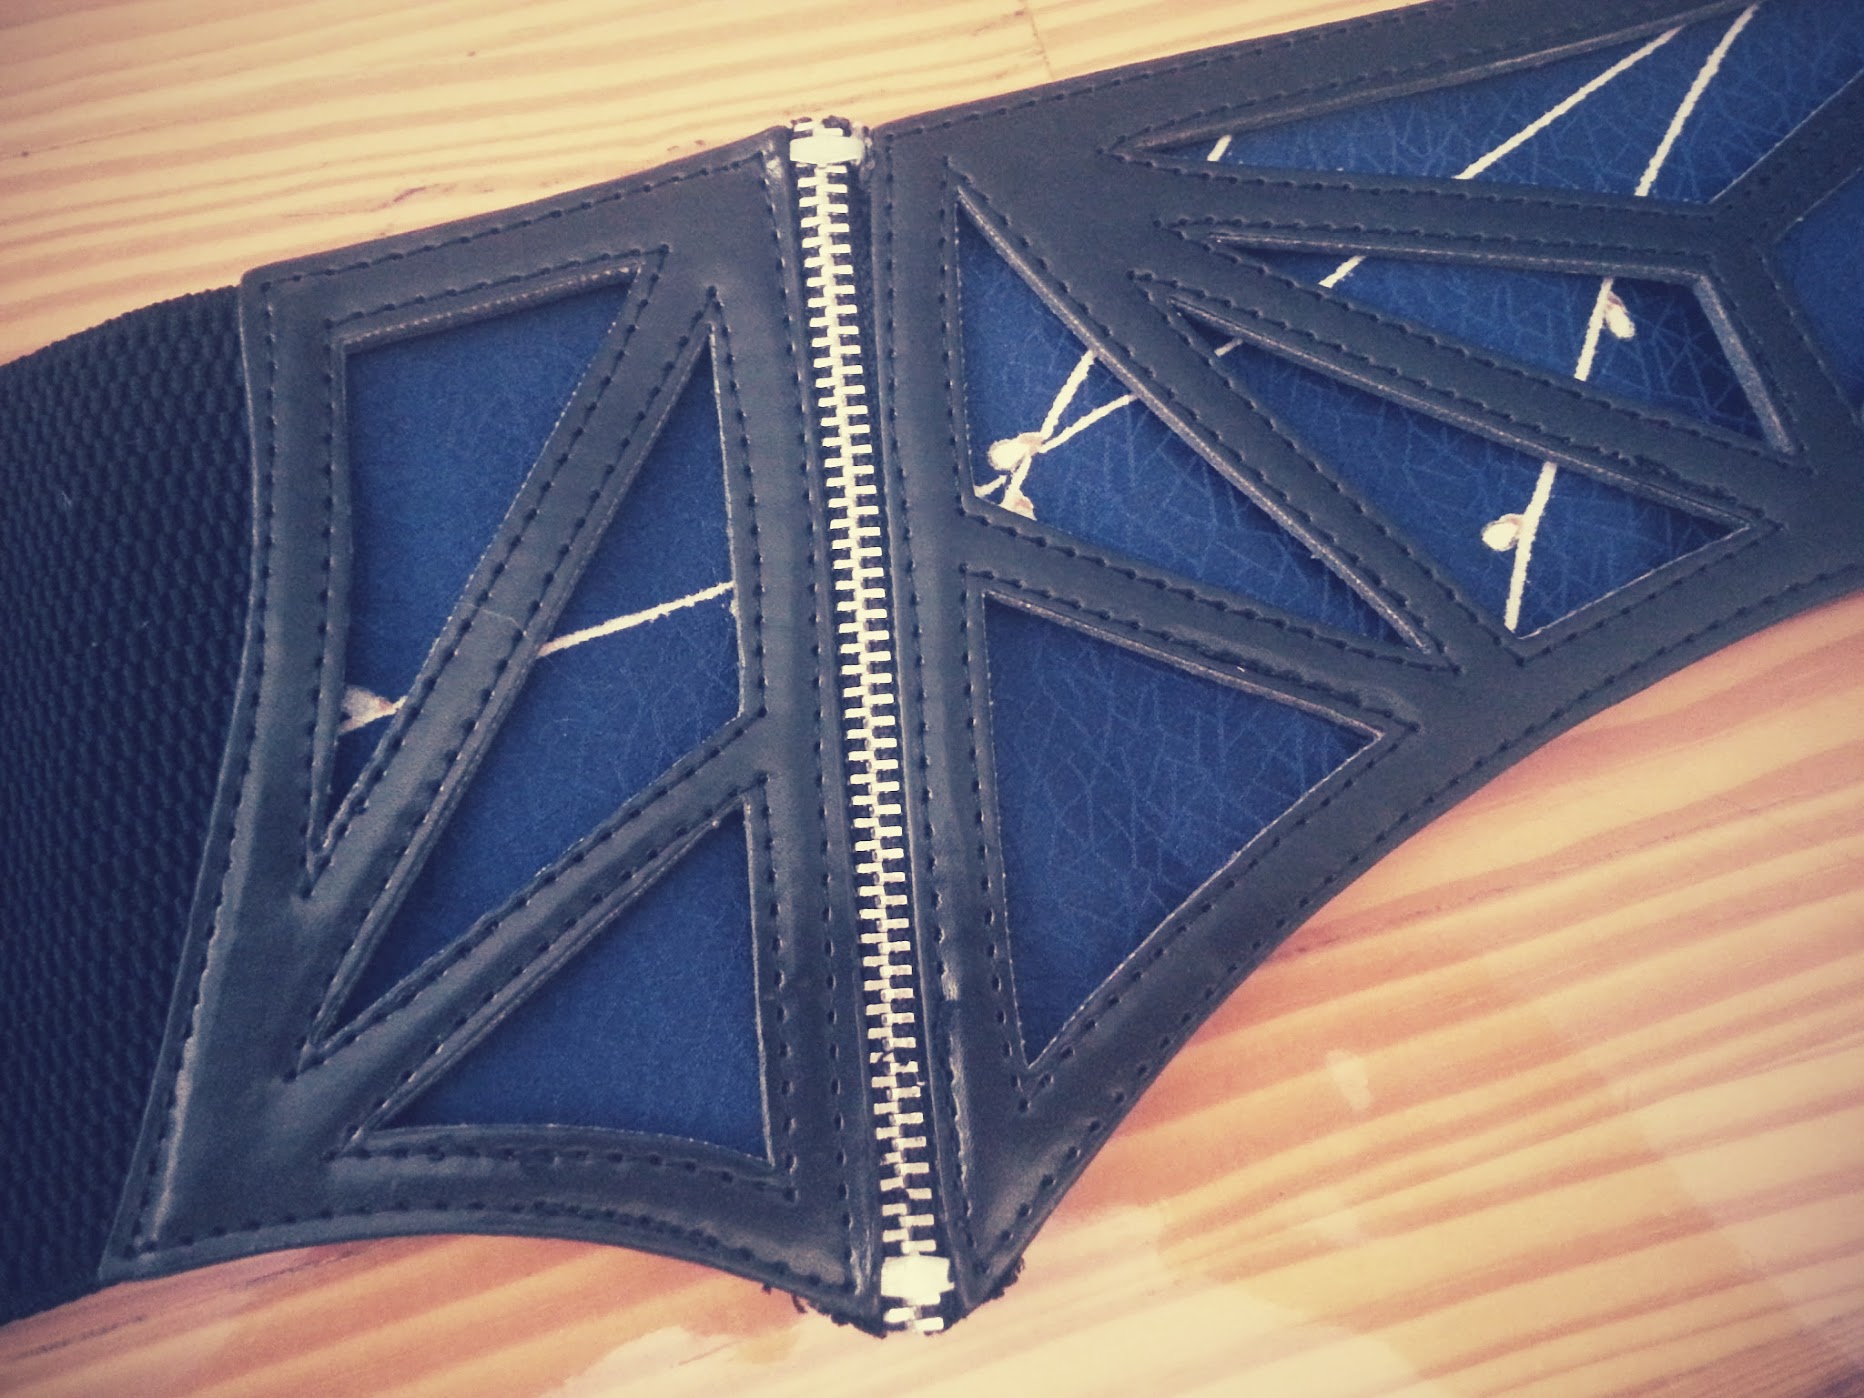
I had so much fun creating the interchangeable fabric options for this DIY Waist Corset Belt that I made the third option: a textured deep blue kimono fabric with white twig details.
I was so happy that after it’s done, the twig seems to seamlessly continue from the front section to the right section, even though the pieces were cut out from different fabric sections.

I haven’t had the chance to wear the DIY Waist Corset Belt with the blue fabric option yet, but I imagine I will soon. I also have so many more fabric options planned in my head, so as long as I can buy more size #3 sew-on snaps and just use one half of them, the possibility of fabric options for this waist corset belt is endless!
What do you think about this DIY refashion project? I’m really loving this waist corset belt; it’s highly stylish, very versatile, and really easy to snap on and off. I’m really glad I did not give that wide belt away for donation several months ago.
Thank you for reading, until next time,
Musank
Disclaimer: I may earn a small commission for my endorsement, recommendation, testimonial, and/or link to any products or services from this website. Thank you for your support!
Subscribe to my newsletter
Browse more posts
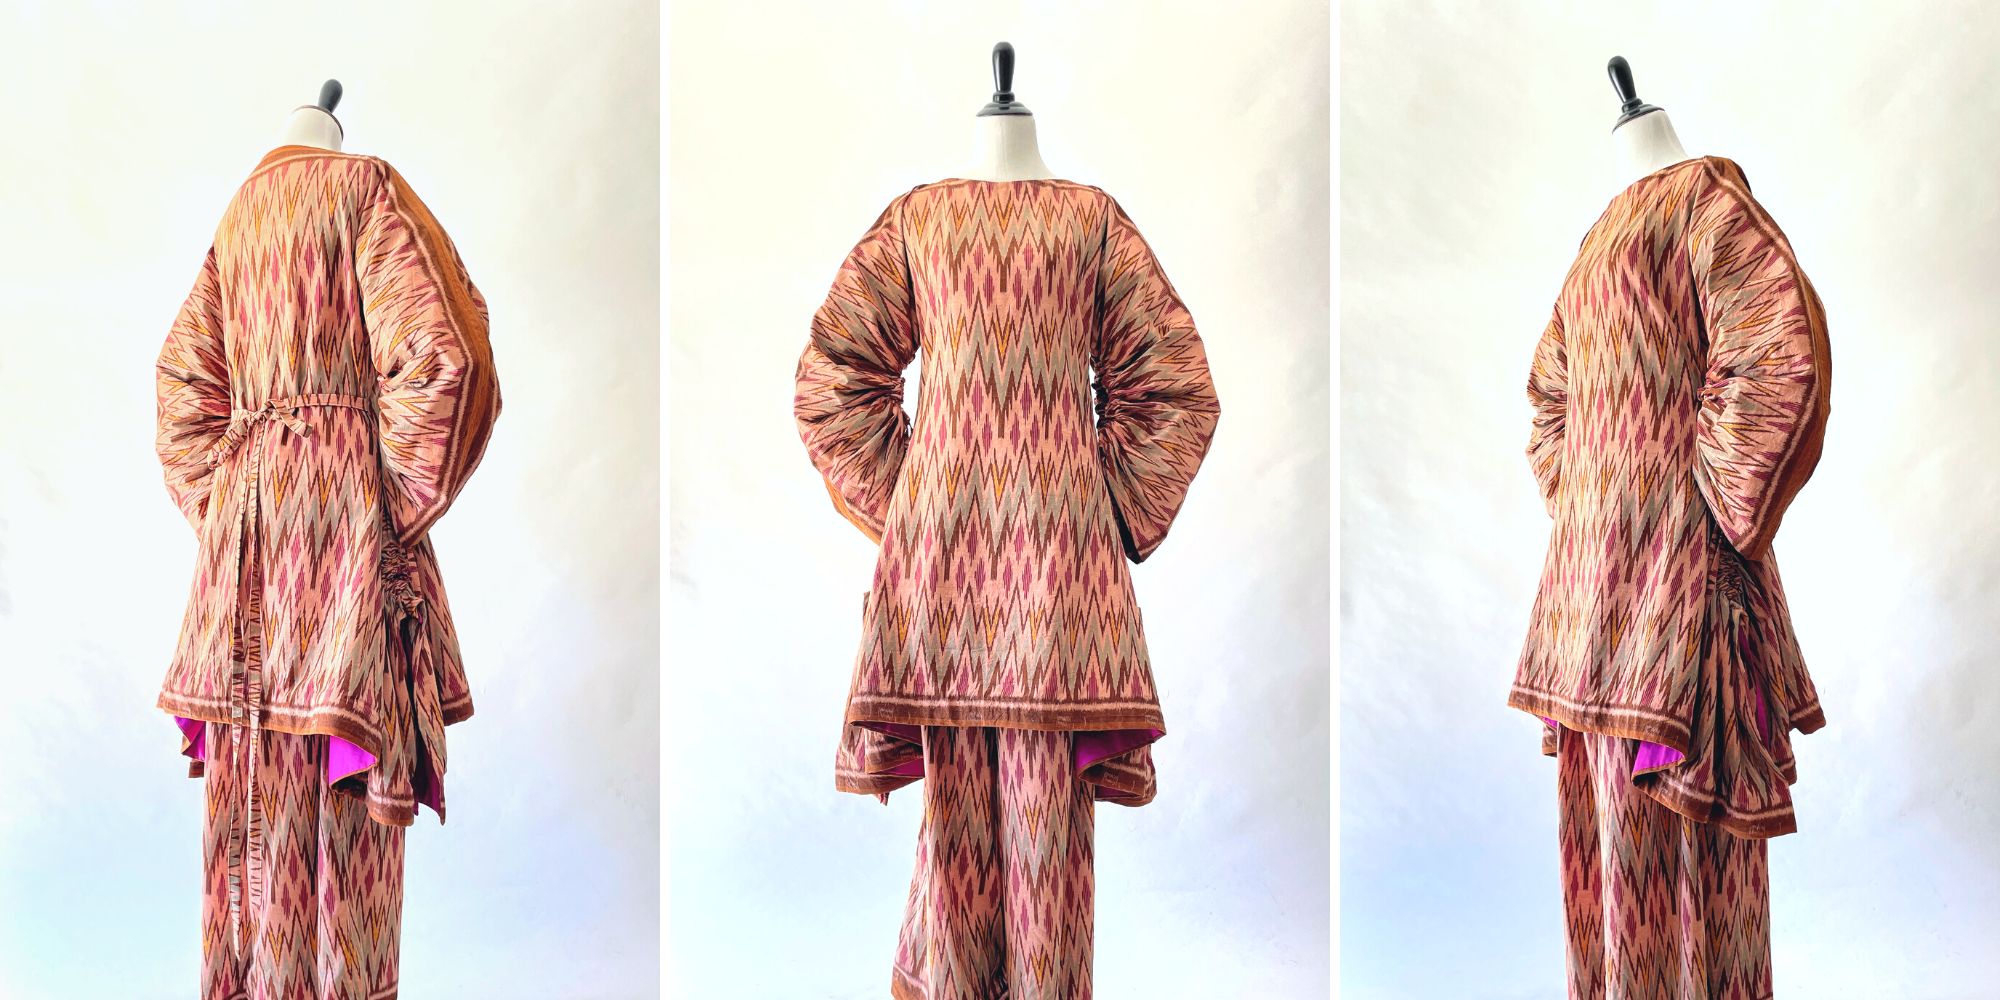
Interpreting Kebaya, Making a Modern Ethnic Ensemble
Modern Ethnic outfit is my interpretation of kebaya dressing. They are made using vintage ikat textile and inspired by several free minimal-waste patterns. Only on fafafoom.com.
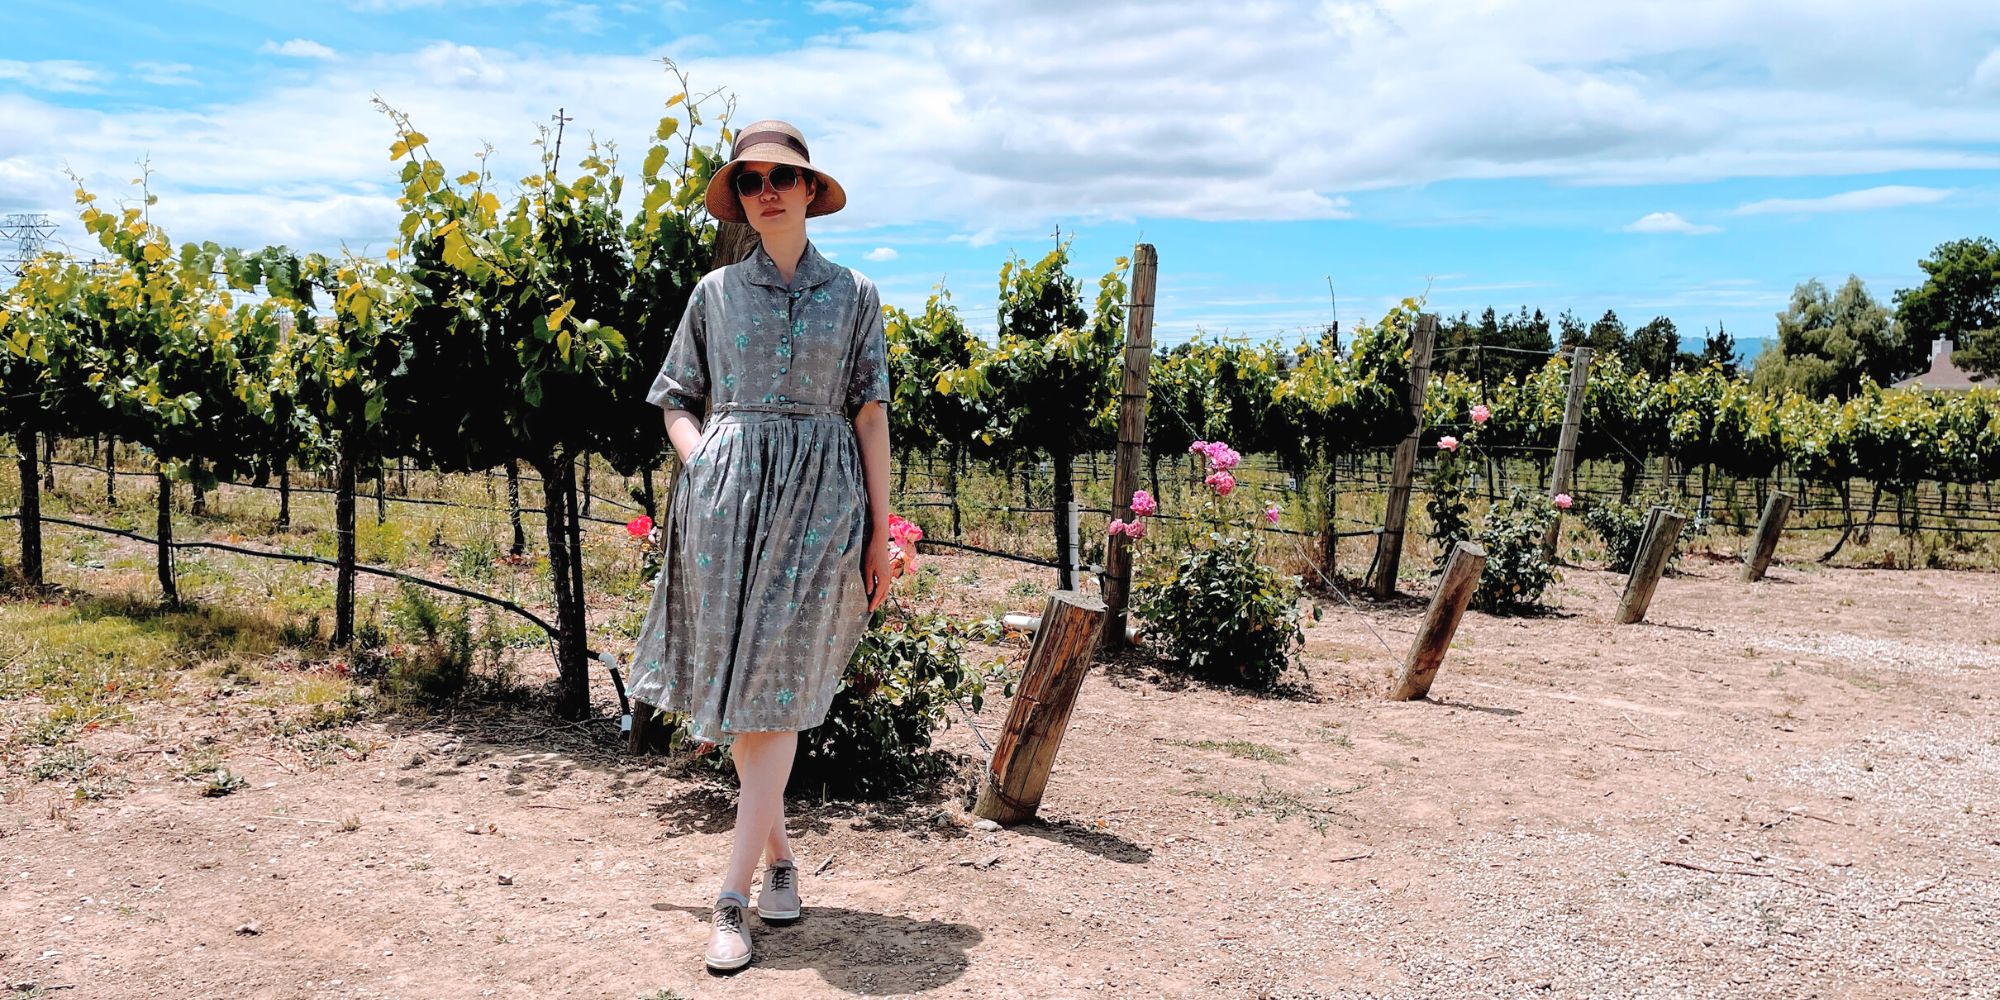
Restoring a 1950s Atomic Age Dress
Restoring and repairing a beautiful 1950s Dress for my summer 2022 wardrobe. Smart alterations include lining and inseam pockets. Only on fafafoom.com.
Pink Delight! Natural Dyeing with Camellia Flowers
My next experiment is dyeing with camellia flowers. Amongst all natural dyeing projects I have done so far, this is my favorite. Check out the pink delights! From fafafoom.com.
5 Slow Fashion Tips for a More Sustainable Wardrobe
Five slow fashion tips to help you transform your sustainable wardrobe for a cleaner, greener future. A guest feature from Reese Jones for Fafafoom.com.
Upcycling and Repairing Ideas for Garden Decor
The garden has become a special place, especially during Covid-19 pandemic. During shelter-in-place period, I made garden decors by upcycling locally sourced items.
Natural Dyeing with Japanese Maple Leaves: Notes from a First-timer
Notes from my first natural dyeing experiment with Japanese maple leaves in fall season. Three batches of dyeing using fallen leaves sourced from two different trees in the garden. So much to learn and enjoy afterwards.
This is great! Love how you added the lace fabric onto the belt – really adds a great touch.
Thank you Agy! It’s really fun adding fabric options for the belt. What’s not so fun is sewing the snaps on the fabric pieces :) But I guess I can just glue them if I’m in a hurry :)
Such a smart ReFashion! I will have to keep my belts in mind for upcoming projects!
Thank you Vanessa! It’s really fun to refashion belts; I’d love to see what you come up with.