
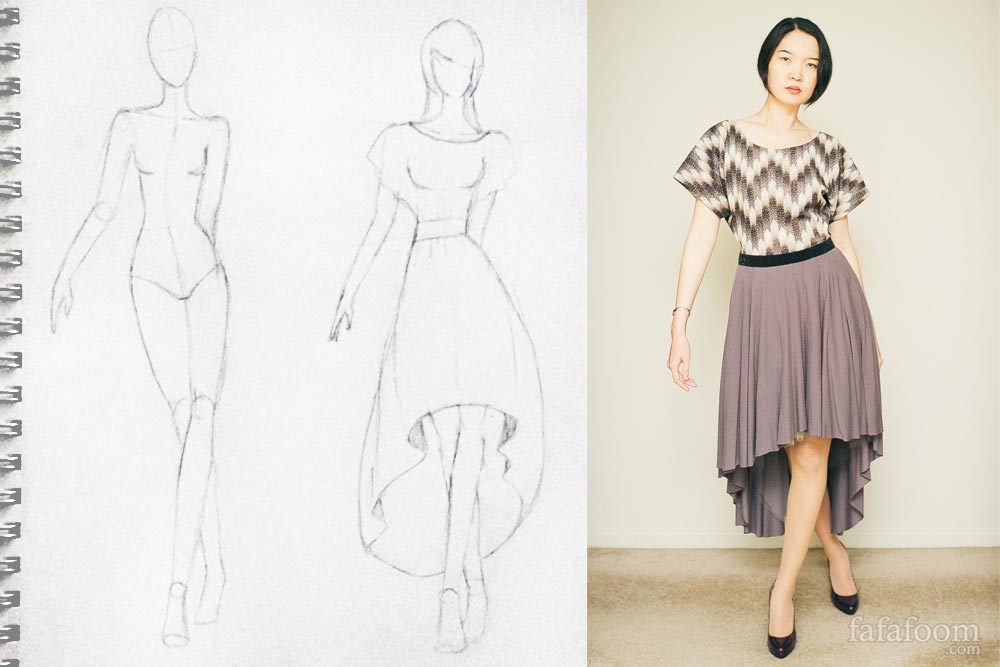
My first DIY dress ever! It was a rather impulsive decision, and the execution was muddled with detours. It took me 20 hours to create this high-low circle skirt dress from sketching to finished garment, but the end result (and learning experience) was SUPER worth it!
Shortly after I was finished with the DIY black lace dress, I returned to where I left off on my illustration drawing practice using Chris Hart’s Fashion Design Studio book.
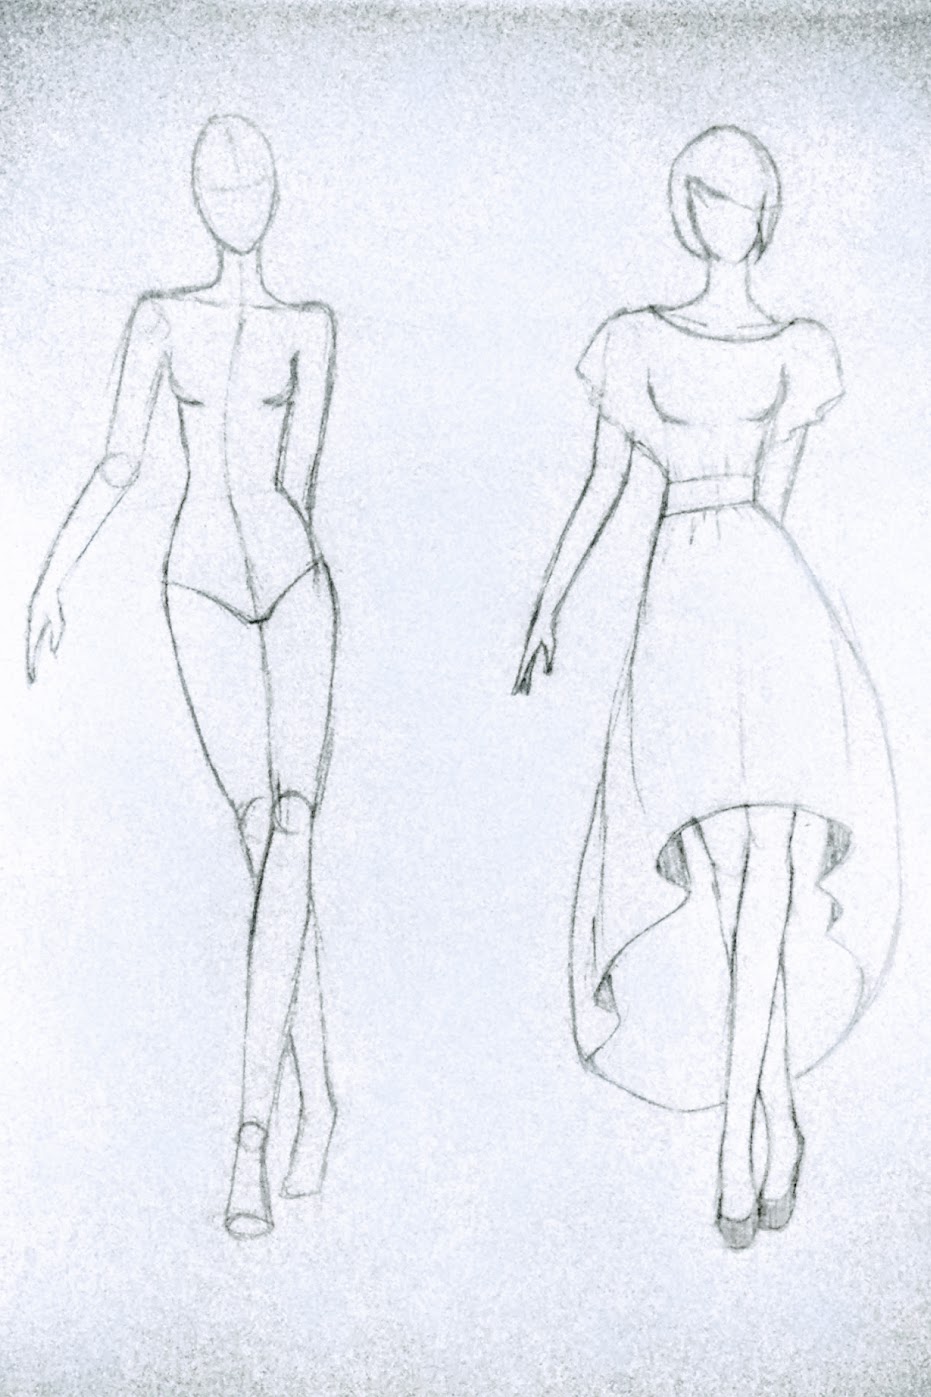
But I didn’t get do it for long. Almost immediately, I started clothing the figure I just drew with a simple high-low circle skirt dress design. It became an illustration that I really wanted to make into reality.
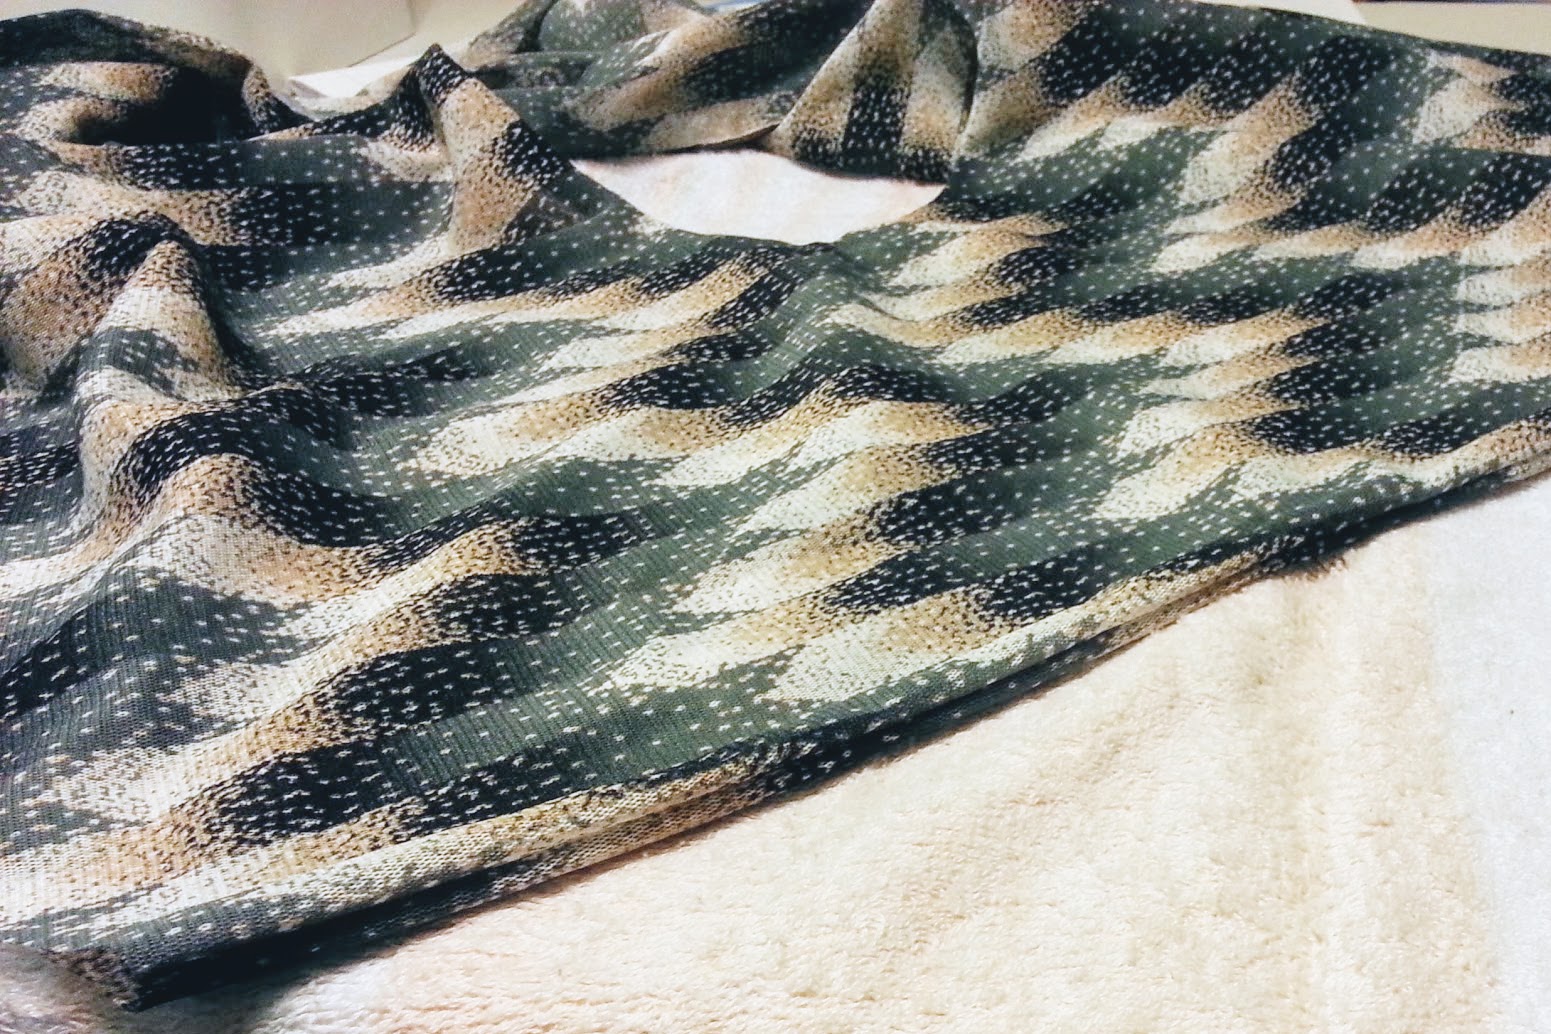
Several Pinterest pins later (and one particularly helpful pin for drafting a high-low circle skirt), I was set to create a high-low circle skirt dress. The fabrics I chose were bought several years ago at a fabric store at Clement St. in San Francisco. I had not found the right project to use them, however it just seemed quite fitting this time.
I thought it was going to be a pretty simple project (note: I should banish that thought out of my mind every time I begin a new project). A circle skirt should take about 1 – 3 hours to make, and the top is shaped like a kaftan top. I use elastics so I don’t have to sew a zipper. Shouldn’t take me more than 10 hours to finish this circle skirt dress, right?
Nope. There were several detours along the way, and working with plain knit fabric is actually a lot harder than I thought. Forming a good, flowing high-low shape with a slippery fabric is really difficult. However, after all’s said and done, it was a really wonderful learning experience. Moreover, I have ideas to create more dresses in the future!
The high-low circle skirt dress isn’t my best work, but it looks cute overall. On the colder days, a wide belt to cinch the waist and a blazer (or a cropped jacket) can finish the look just fine. Life’s good :)
Subscribe to my newsletter
List of Materials
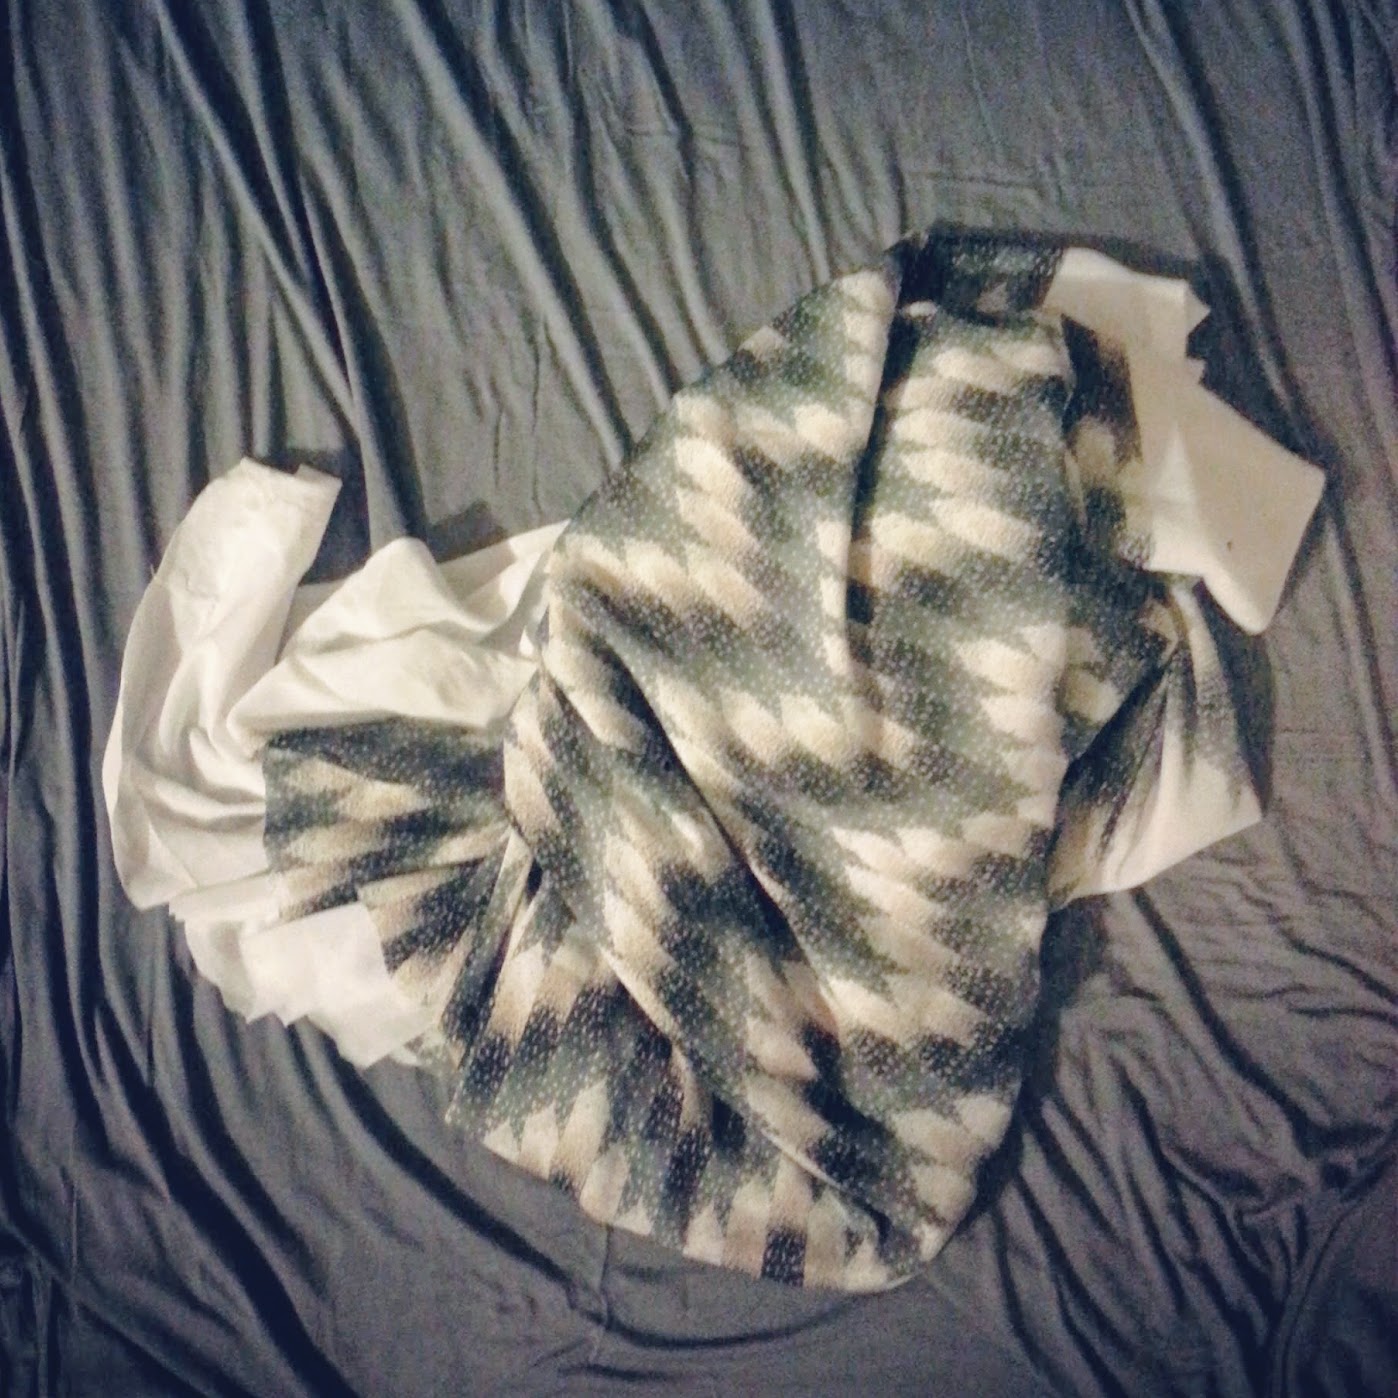
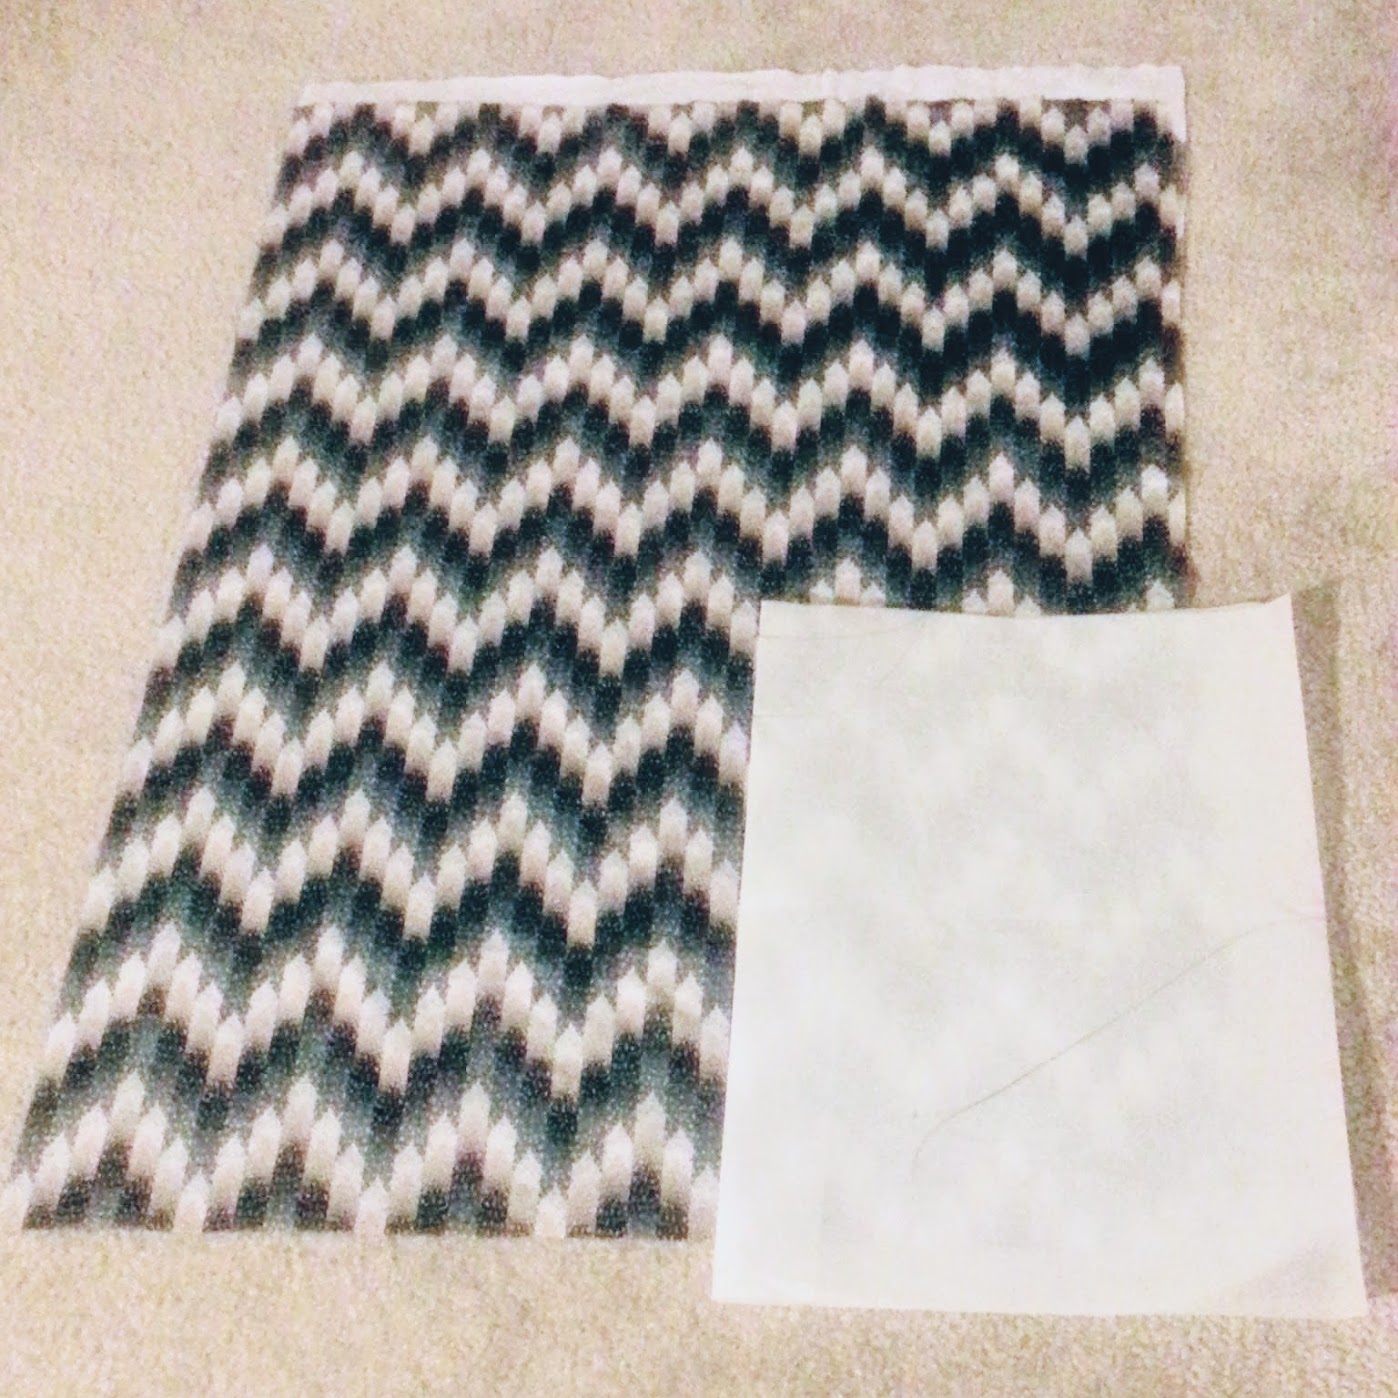
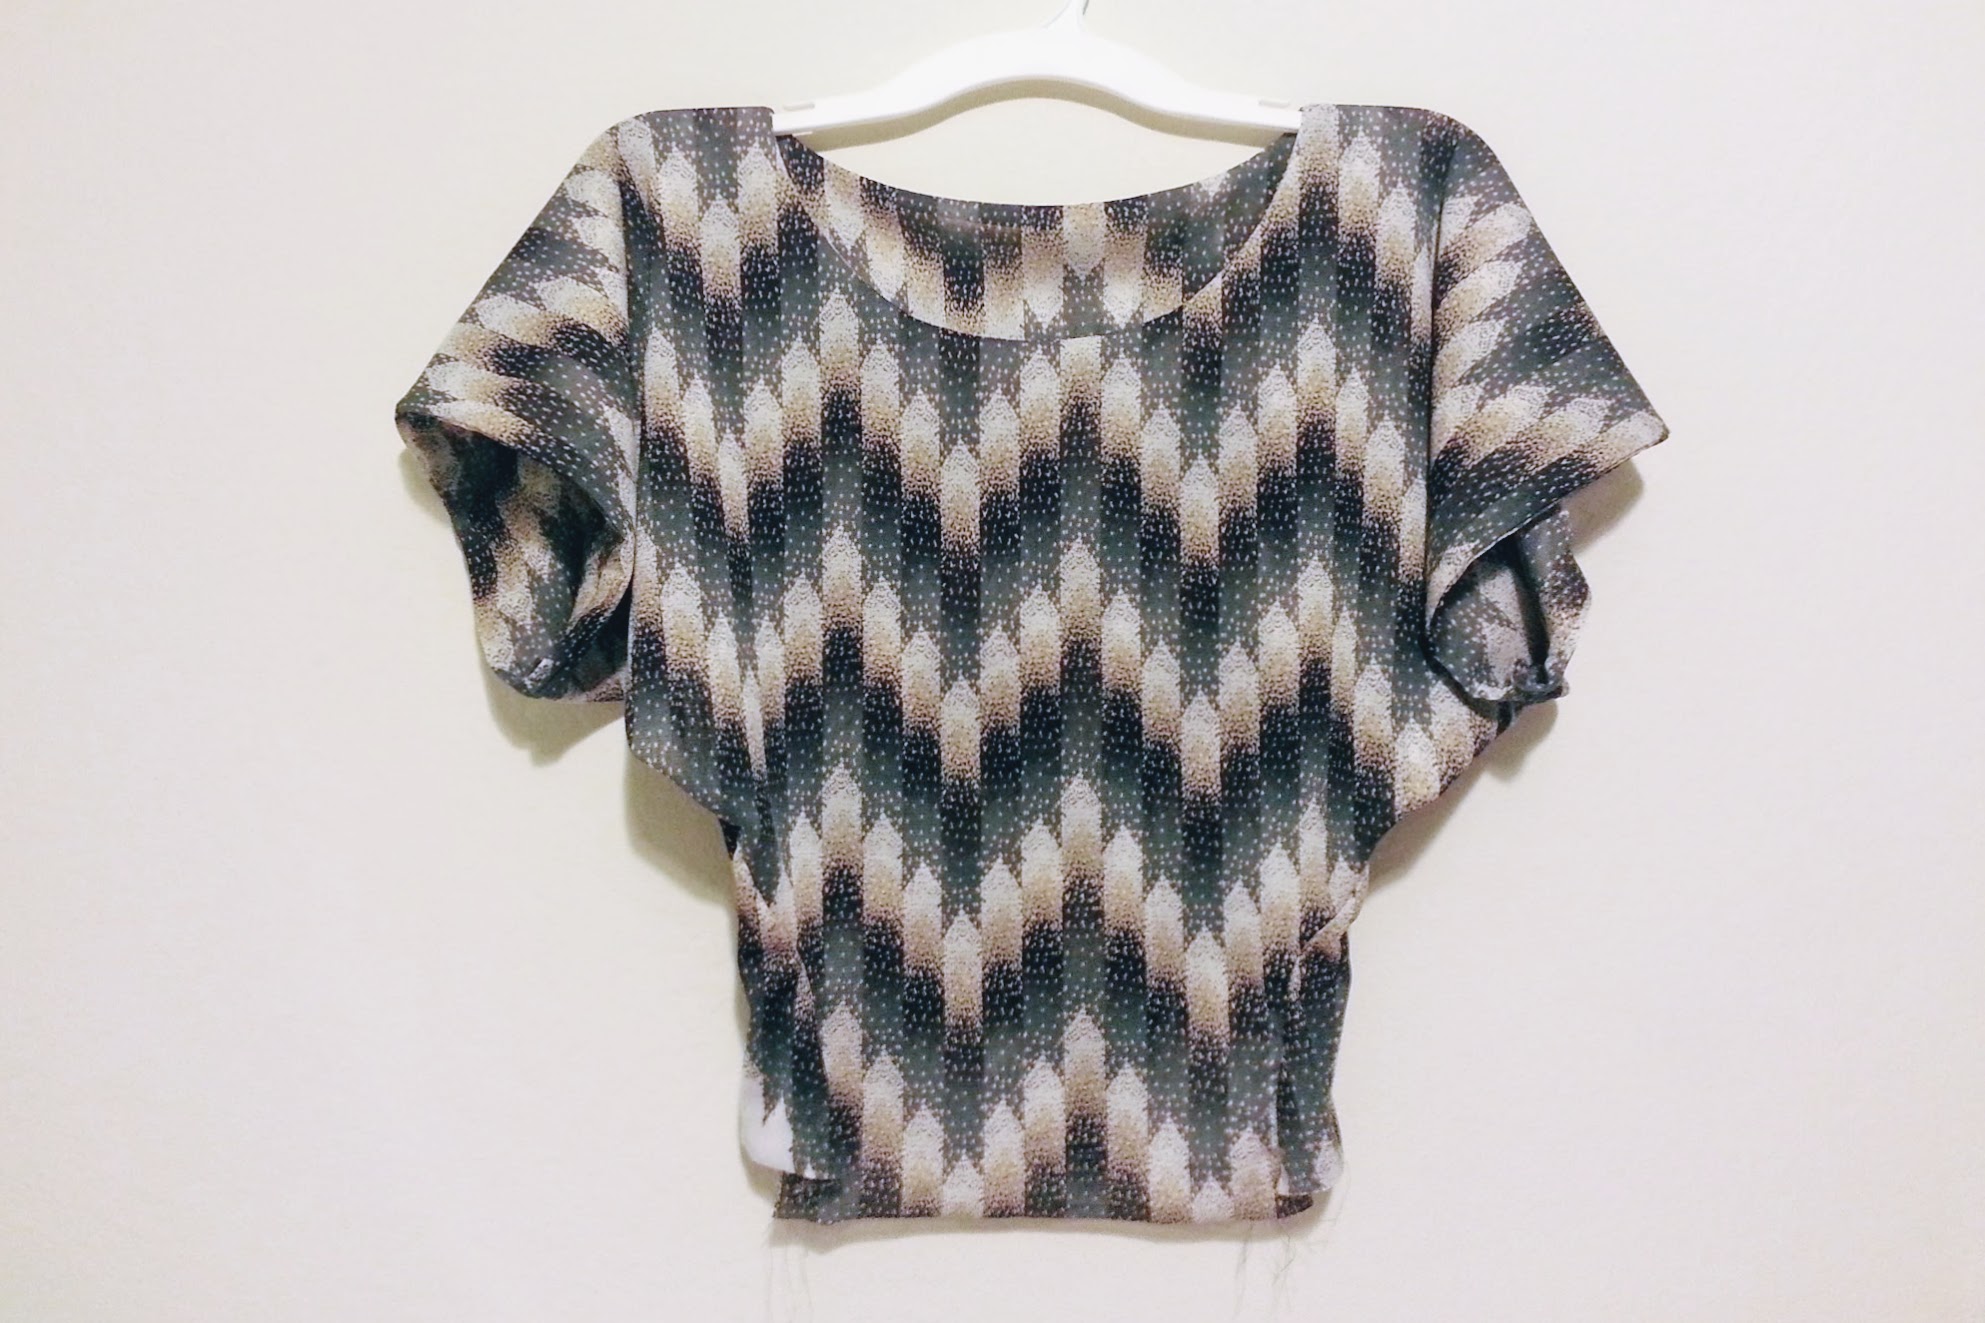
- 1 yard of 60″ wide multi-colored chevron(ish) print tricot nylon knit fabric (pictured below)
- 2.5 yards of 60″ wide gray plain knit fabric
- 5 yards of tulle
- 1.1″ wide elastic band, as long as your waist circumference
- black elastic fabric as the elastic band’s coverup
- tracing paper and pencil
- sewing machine (mine is Brother CS6000i model)
- needle and thread for a bit of hand sewing
with ballpoint needle (I use Schmetz Ball Point Jersey Machine Needles Size 80/12)
Process:
I’ll try to be as thorough as possible. This DIY Project is divided into 4 big parts.
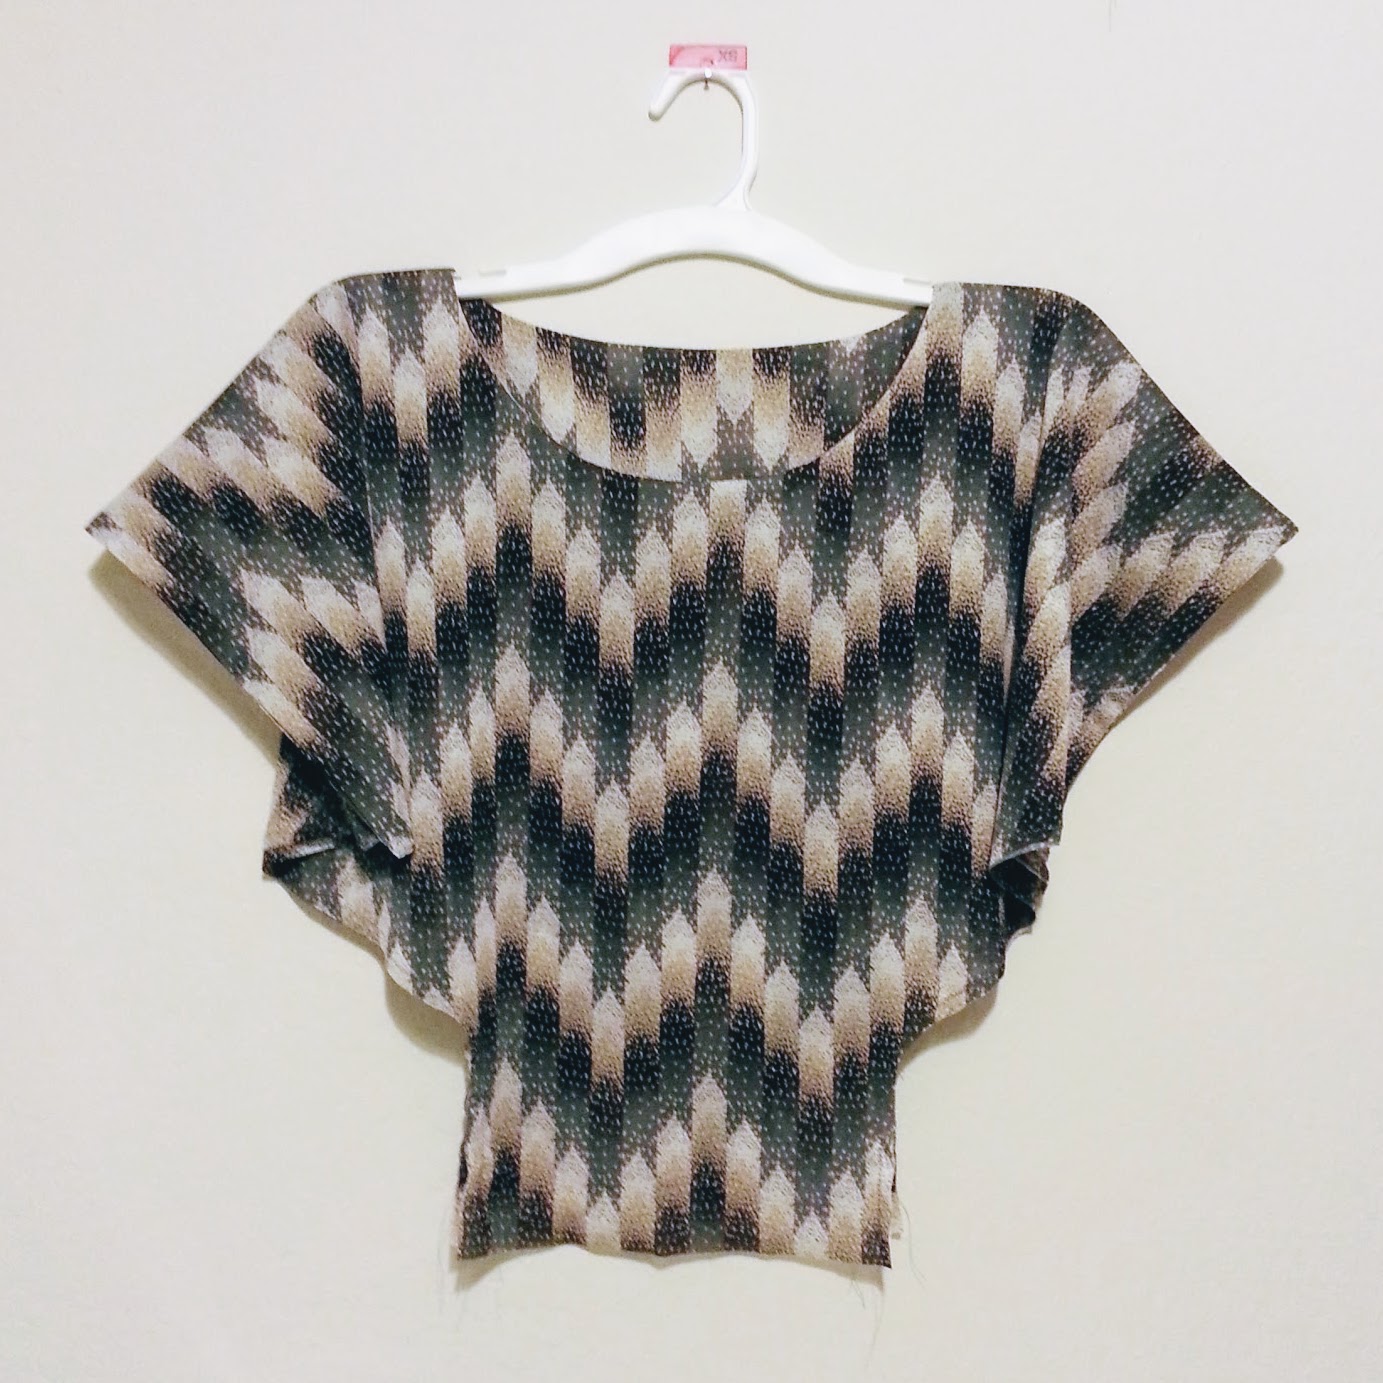
Part 1: Making the Top
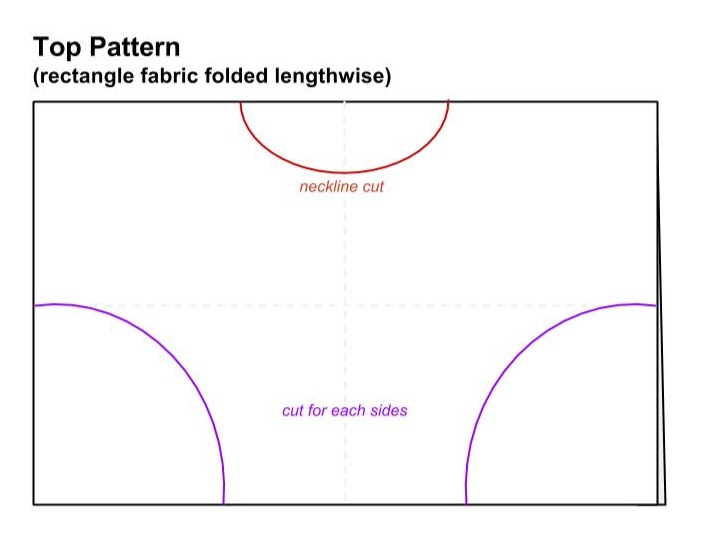
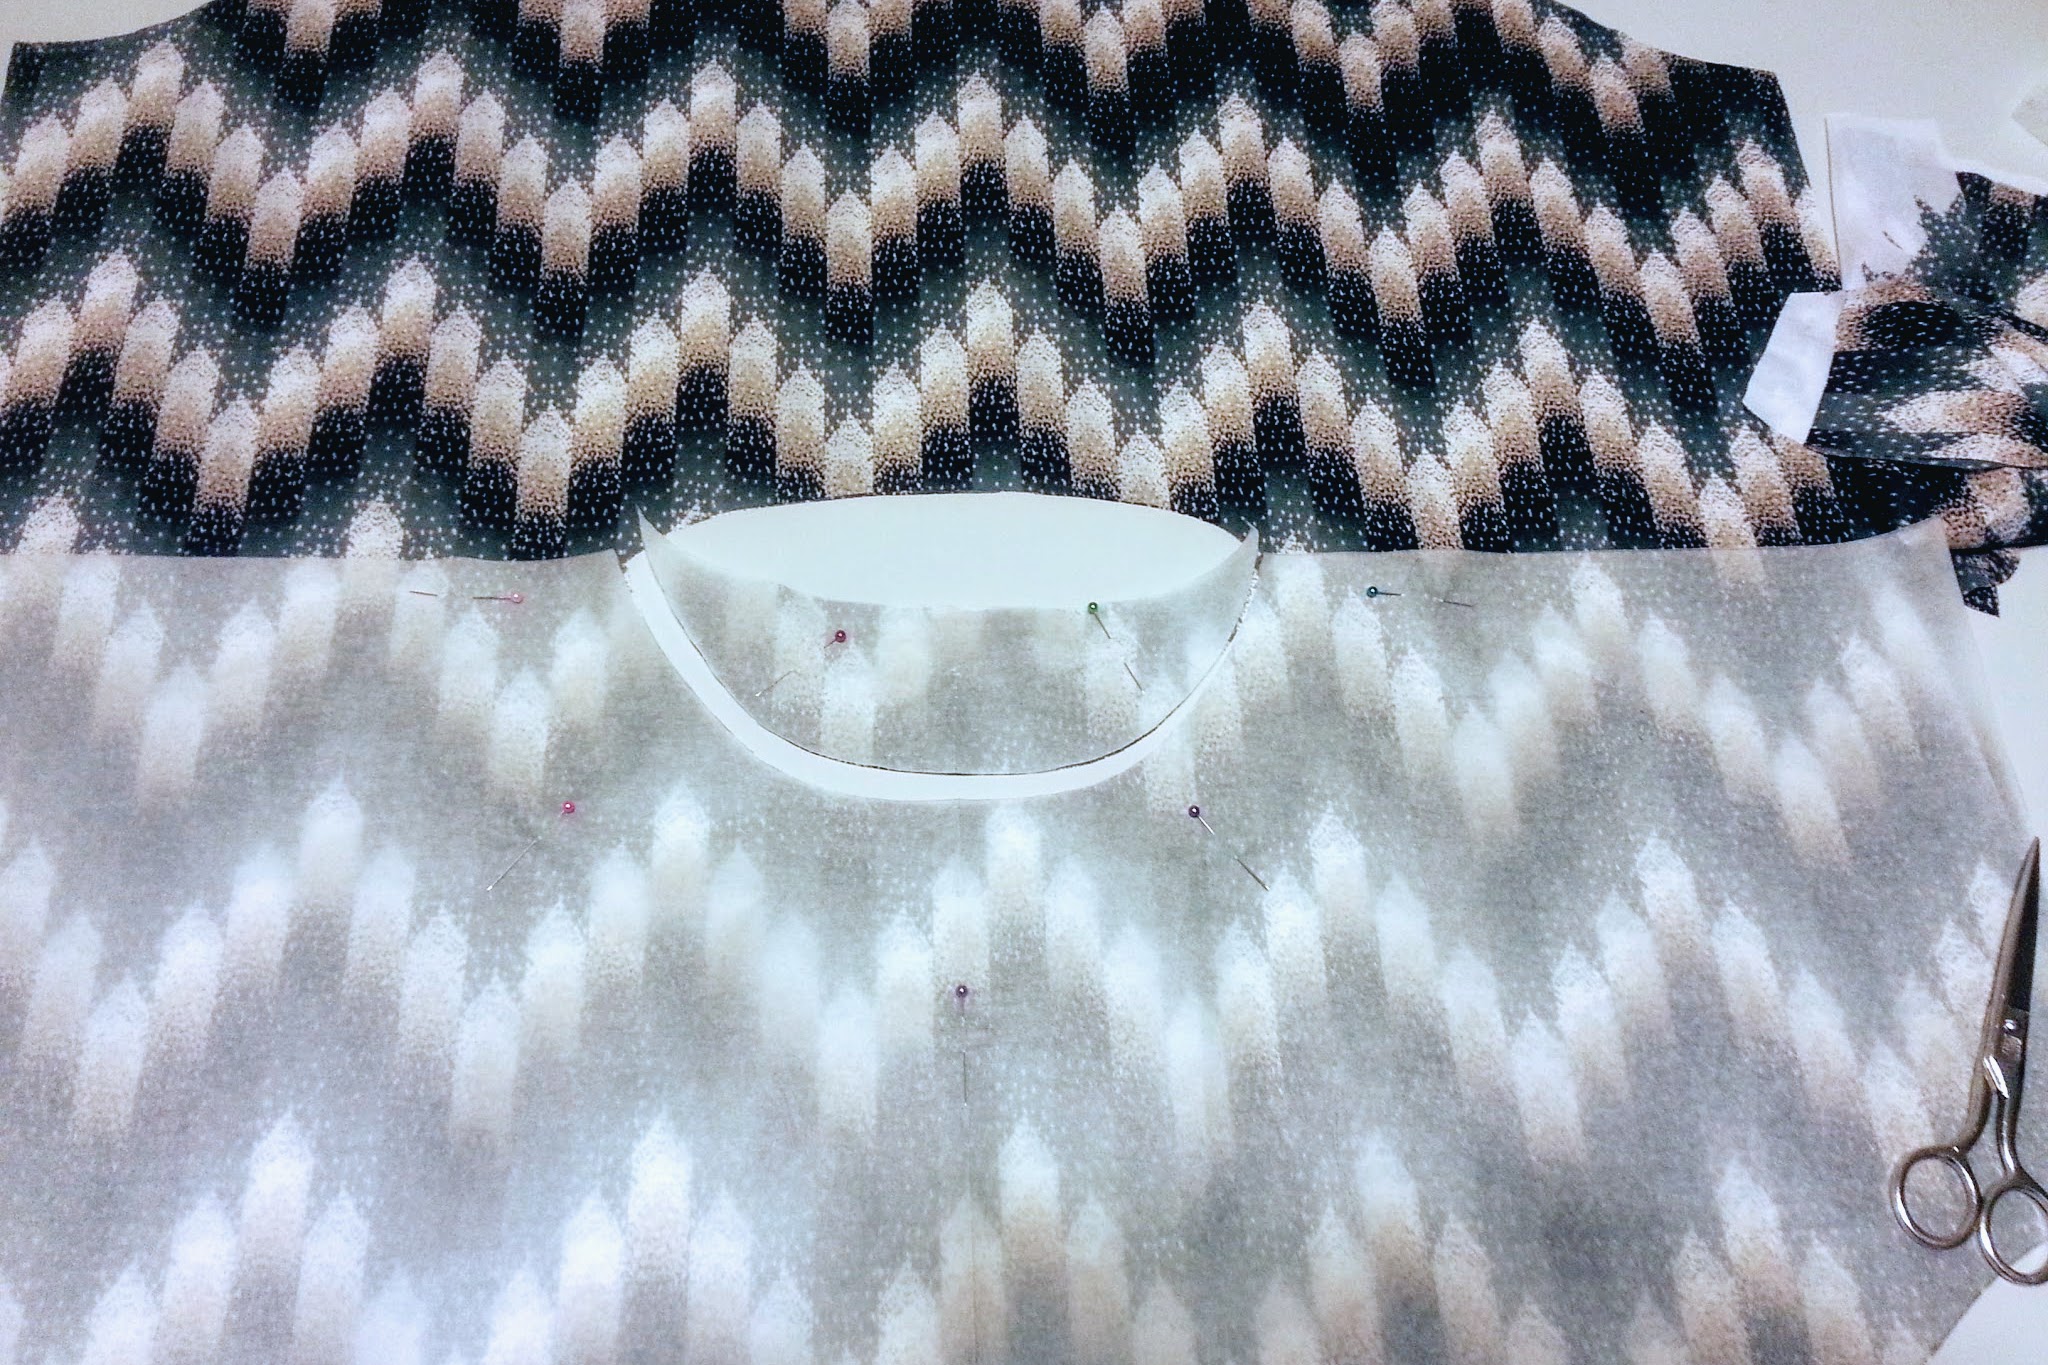
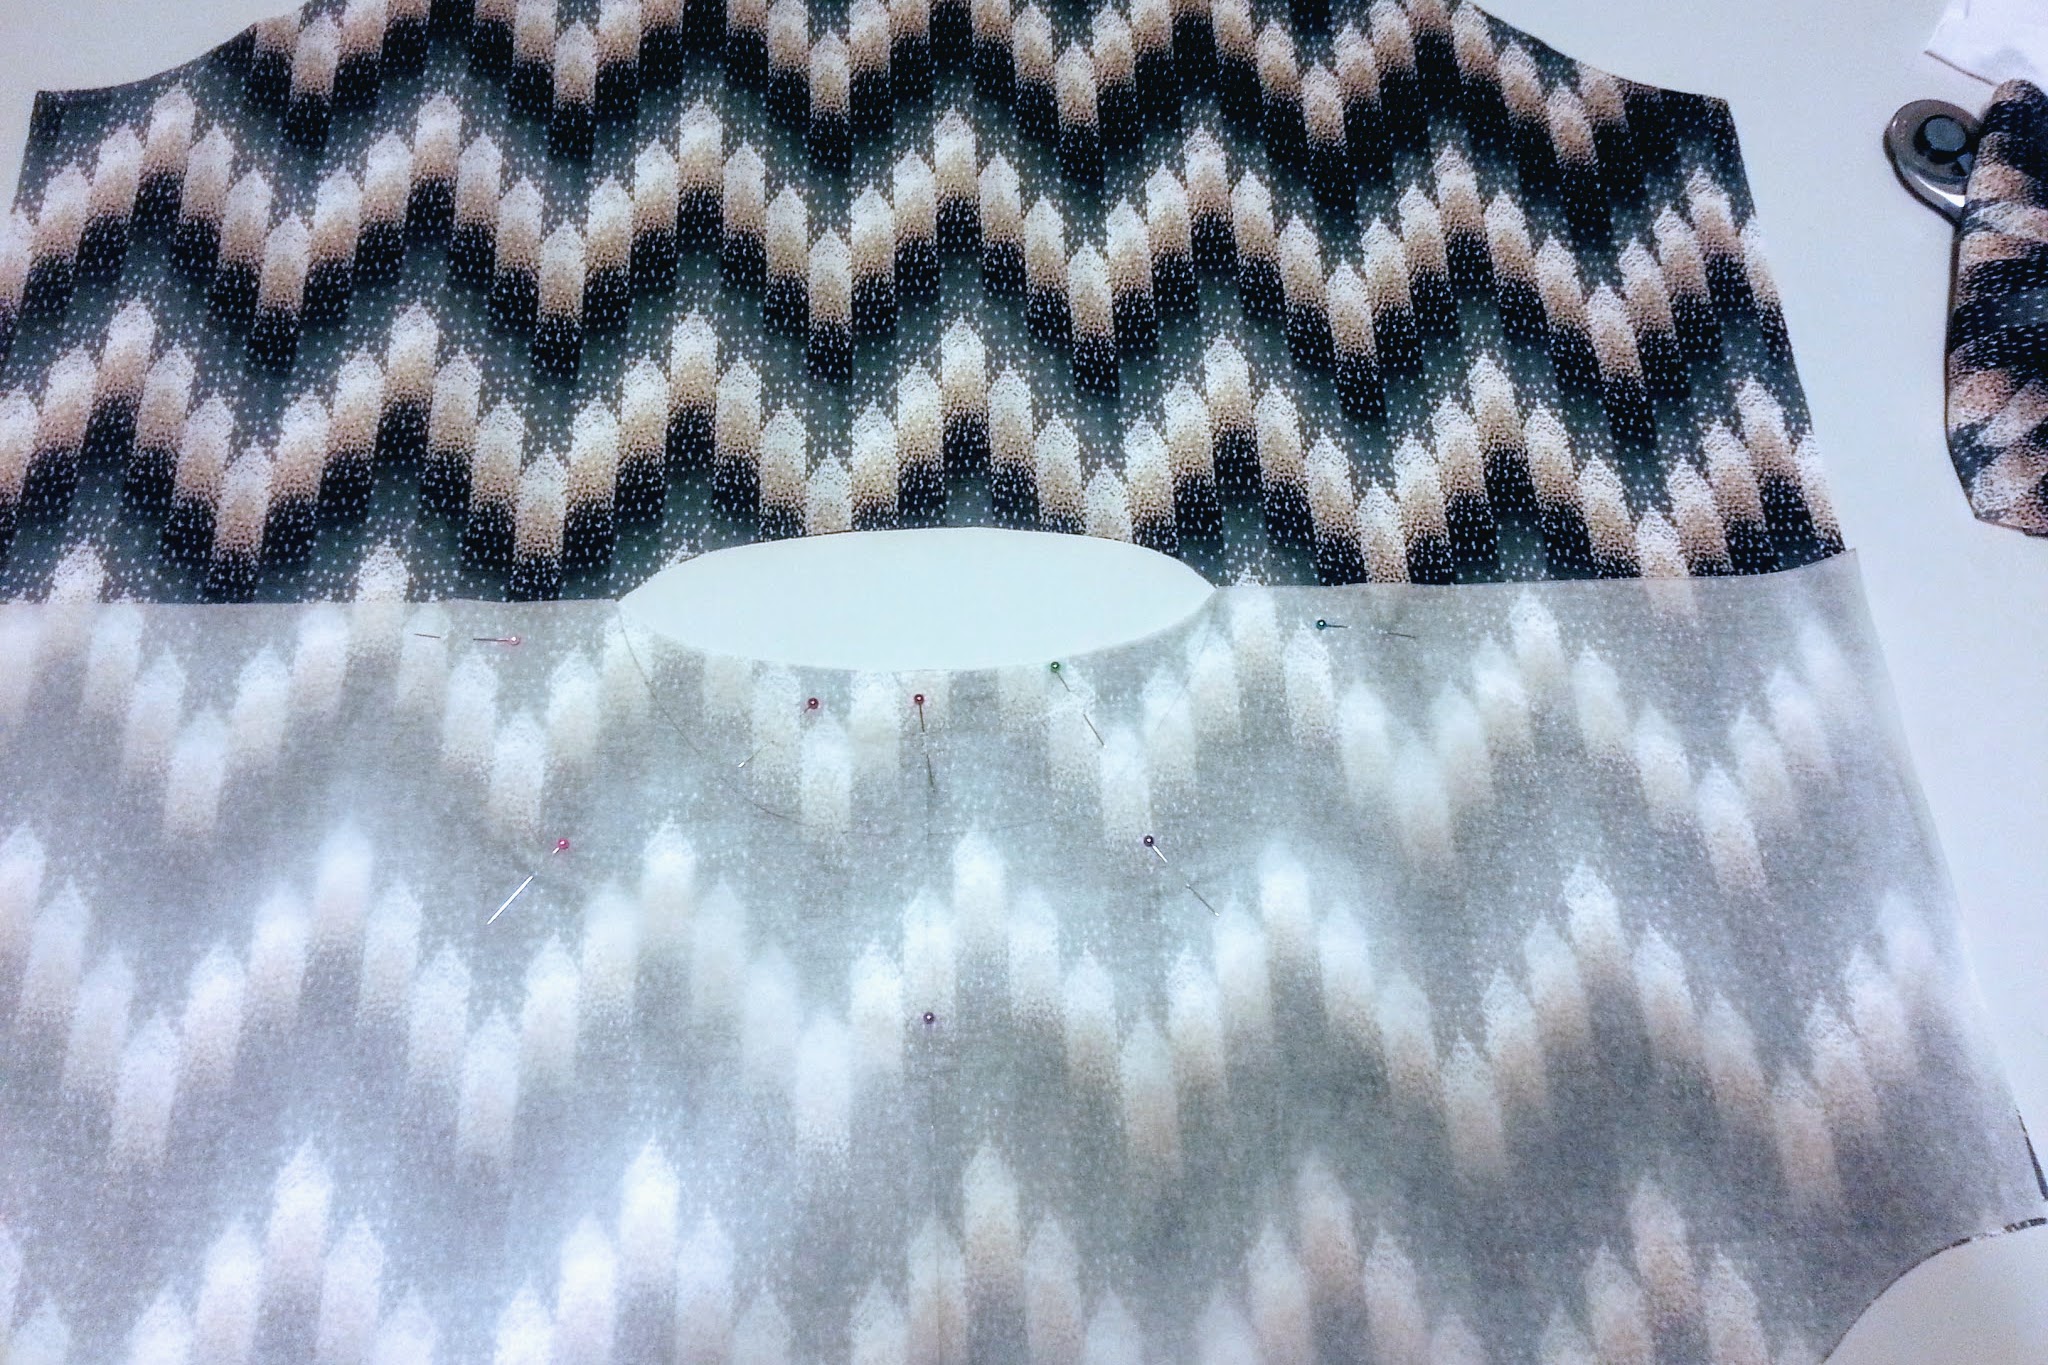
Luckily, the tricot nylon fabric is easy to work with. It has a slight stretch and enough structure, and it doesn’t fray. YES! The neckline is similar to what I did on my Scarf Top with Kimono Sleeves, I just make the front neckline deeper.
On a separate piece of tracing paper, I set a center point and put 12 cm from center to one side (how much I want to show my collarbone), 10 cm from center to front (how much I want to show my chest), and 3 cm to from center to back (how much I want to show the back of my neck). After drawing the front and back 1/2 curves, I folded the paper and finish up both curves.

I traced the neckline pattern to the top pattern, making a simple top pattern like this:
From there, I started cutting the tricot. Since it’s rather sheer, I decided to use the same fabric as the underlining. So after I cut 2 layers of fabric, I layered the two right side together to sew the neckline.
After making small snips on the neckline curves (so that the neckline is smooth and flat), I flipped the outside layer right side out and pressed the neckline.
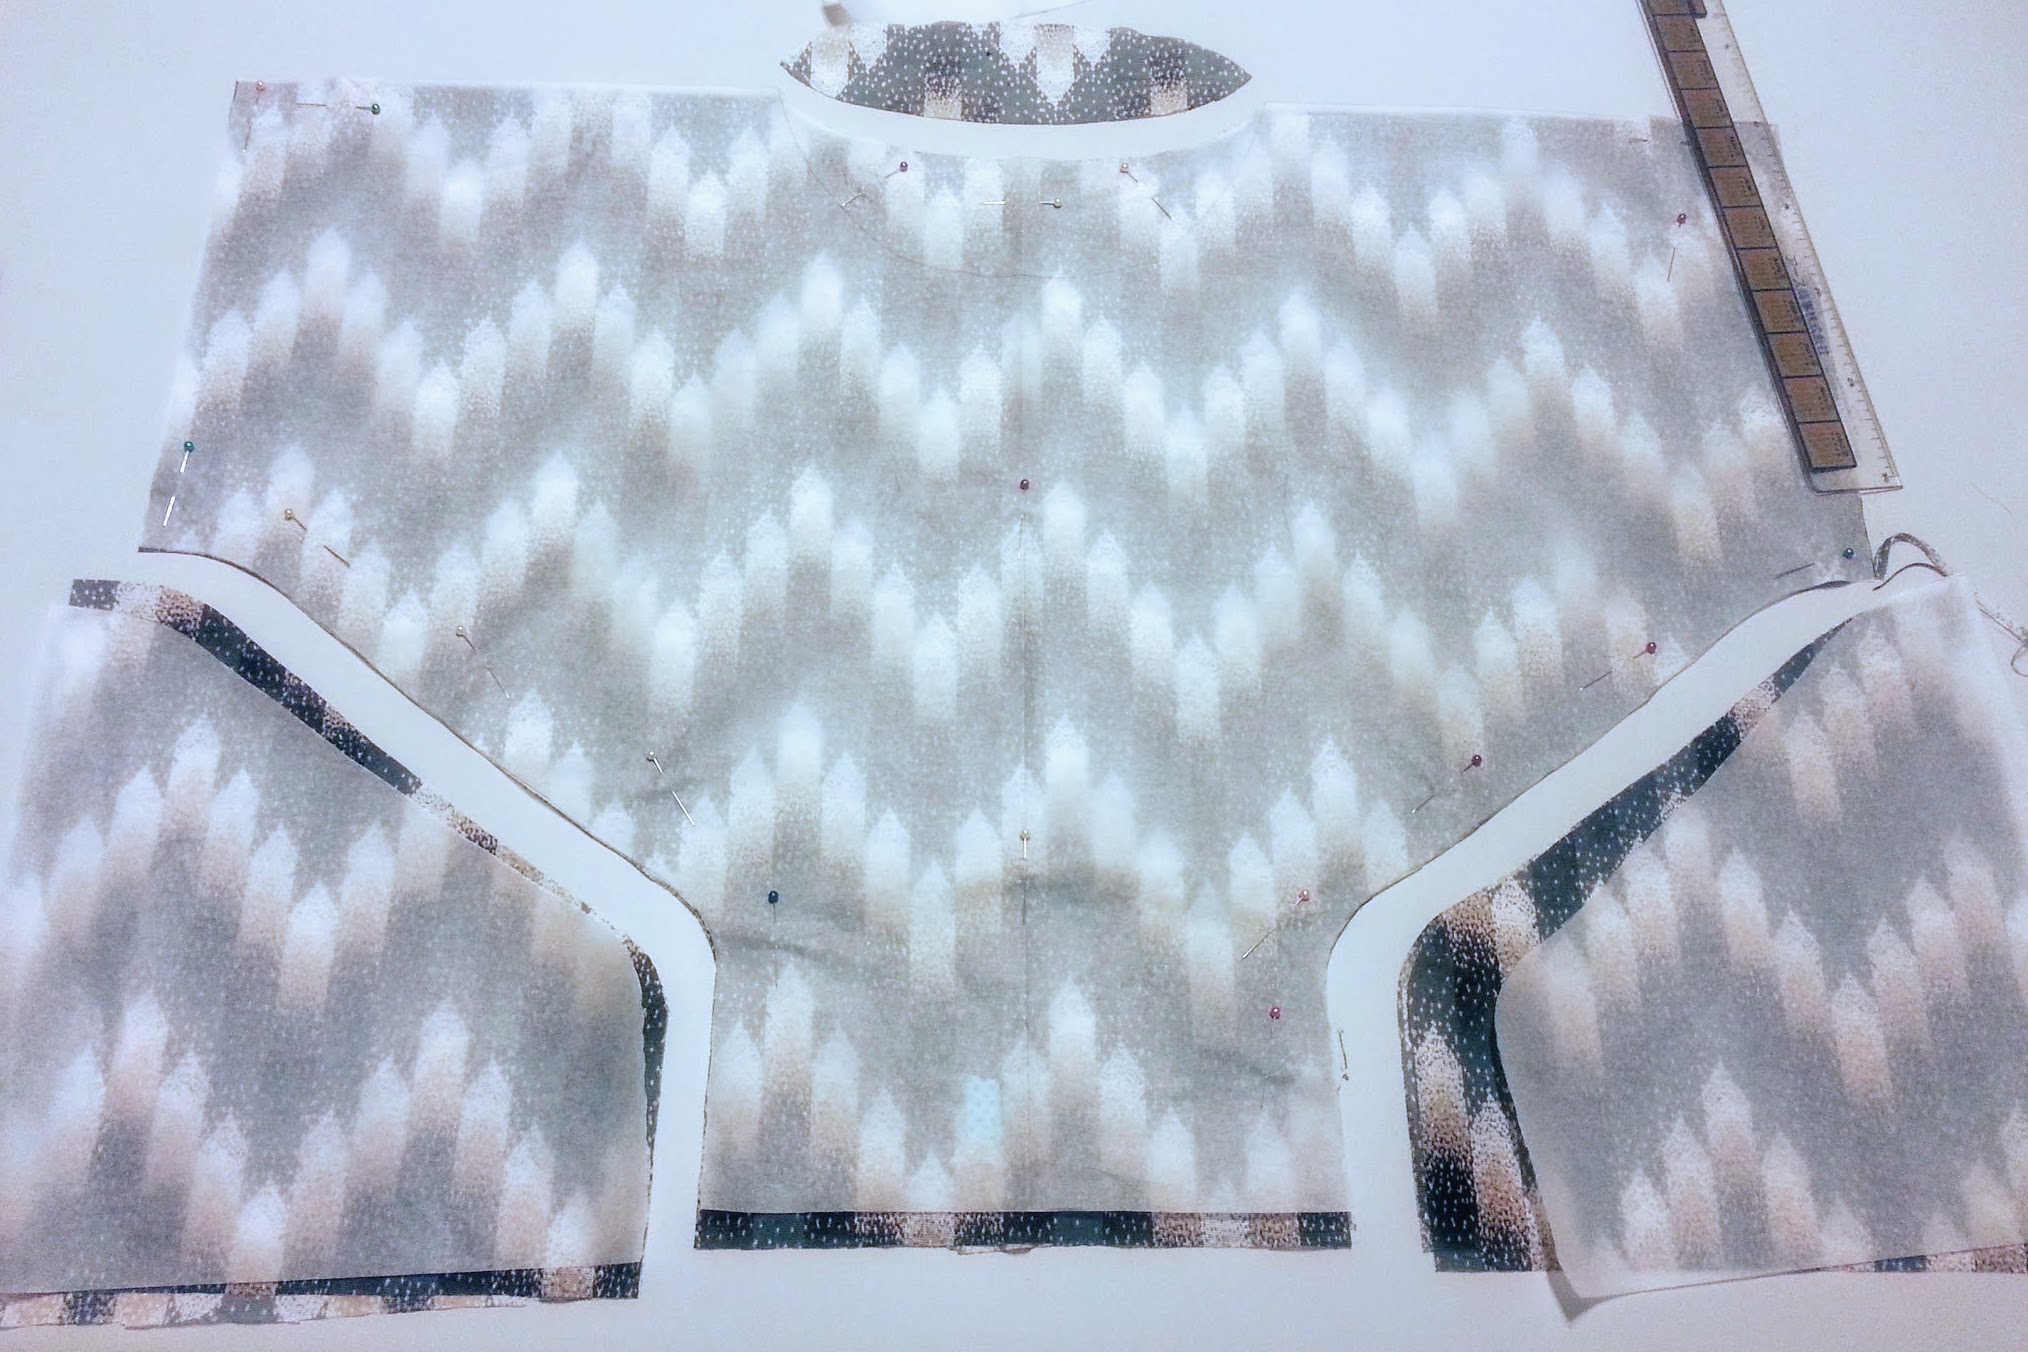
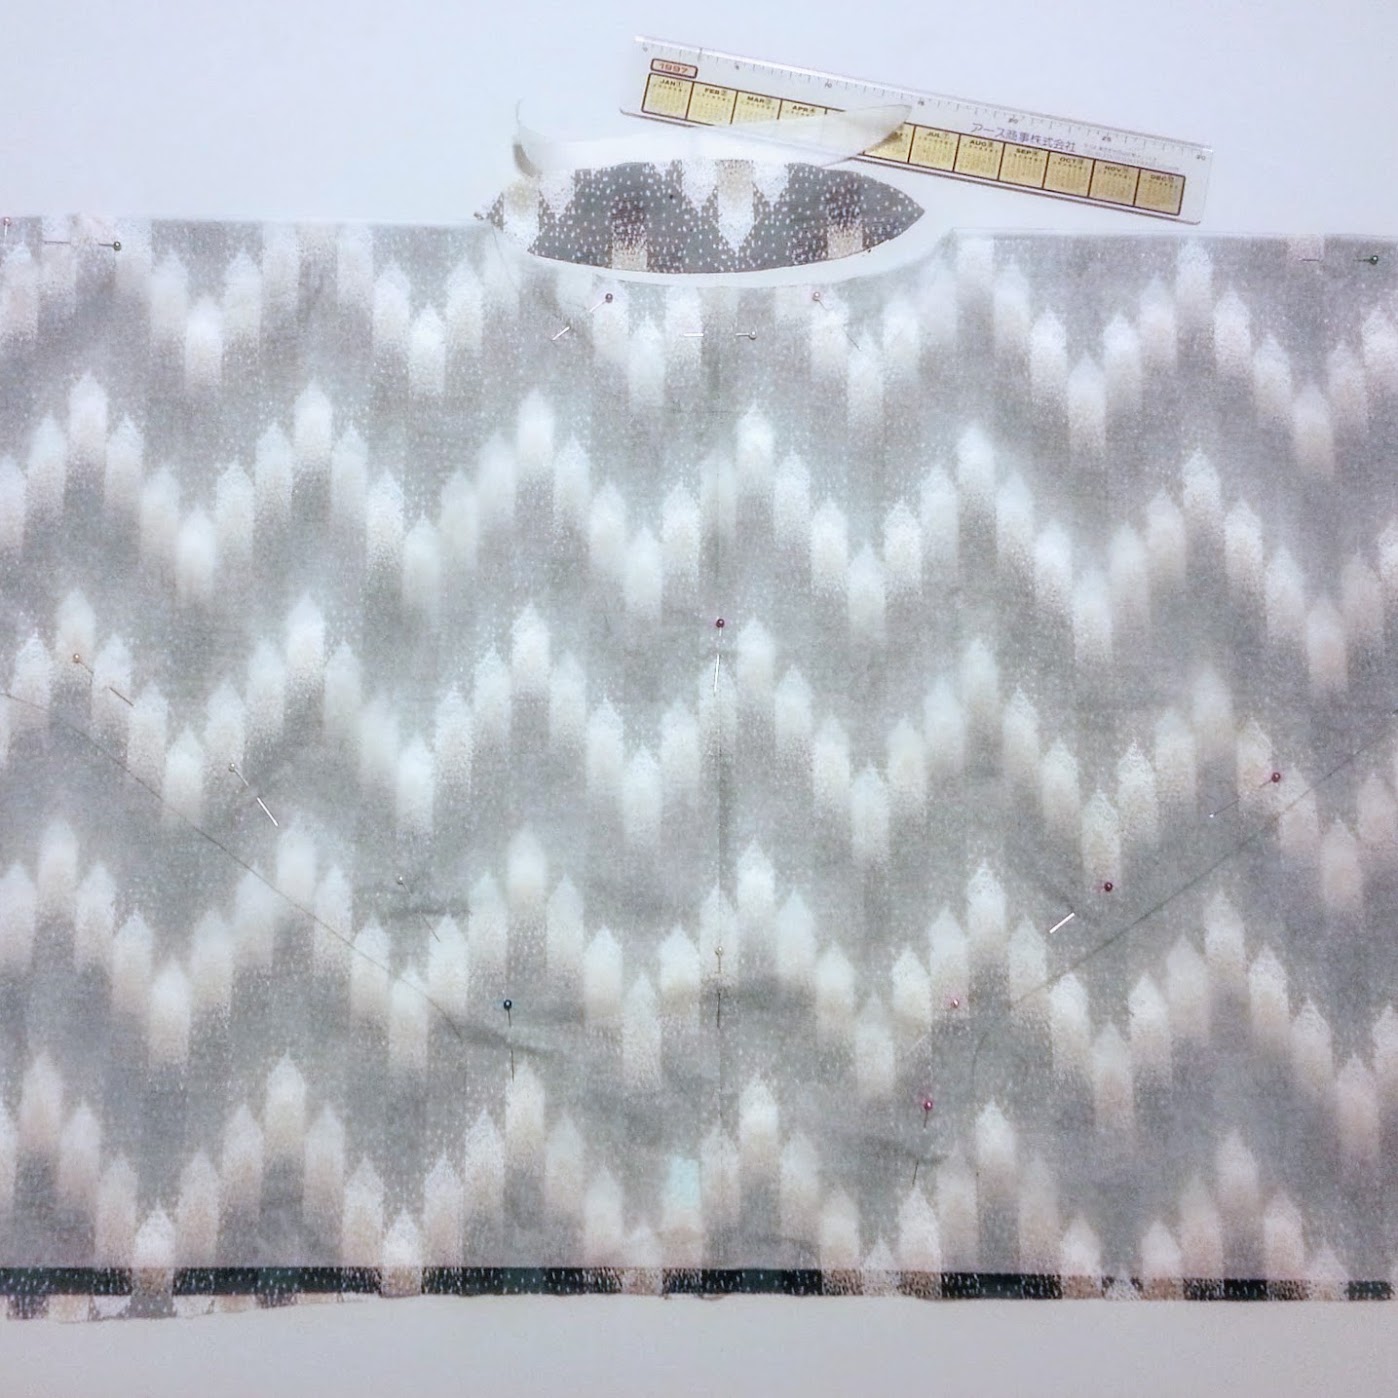
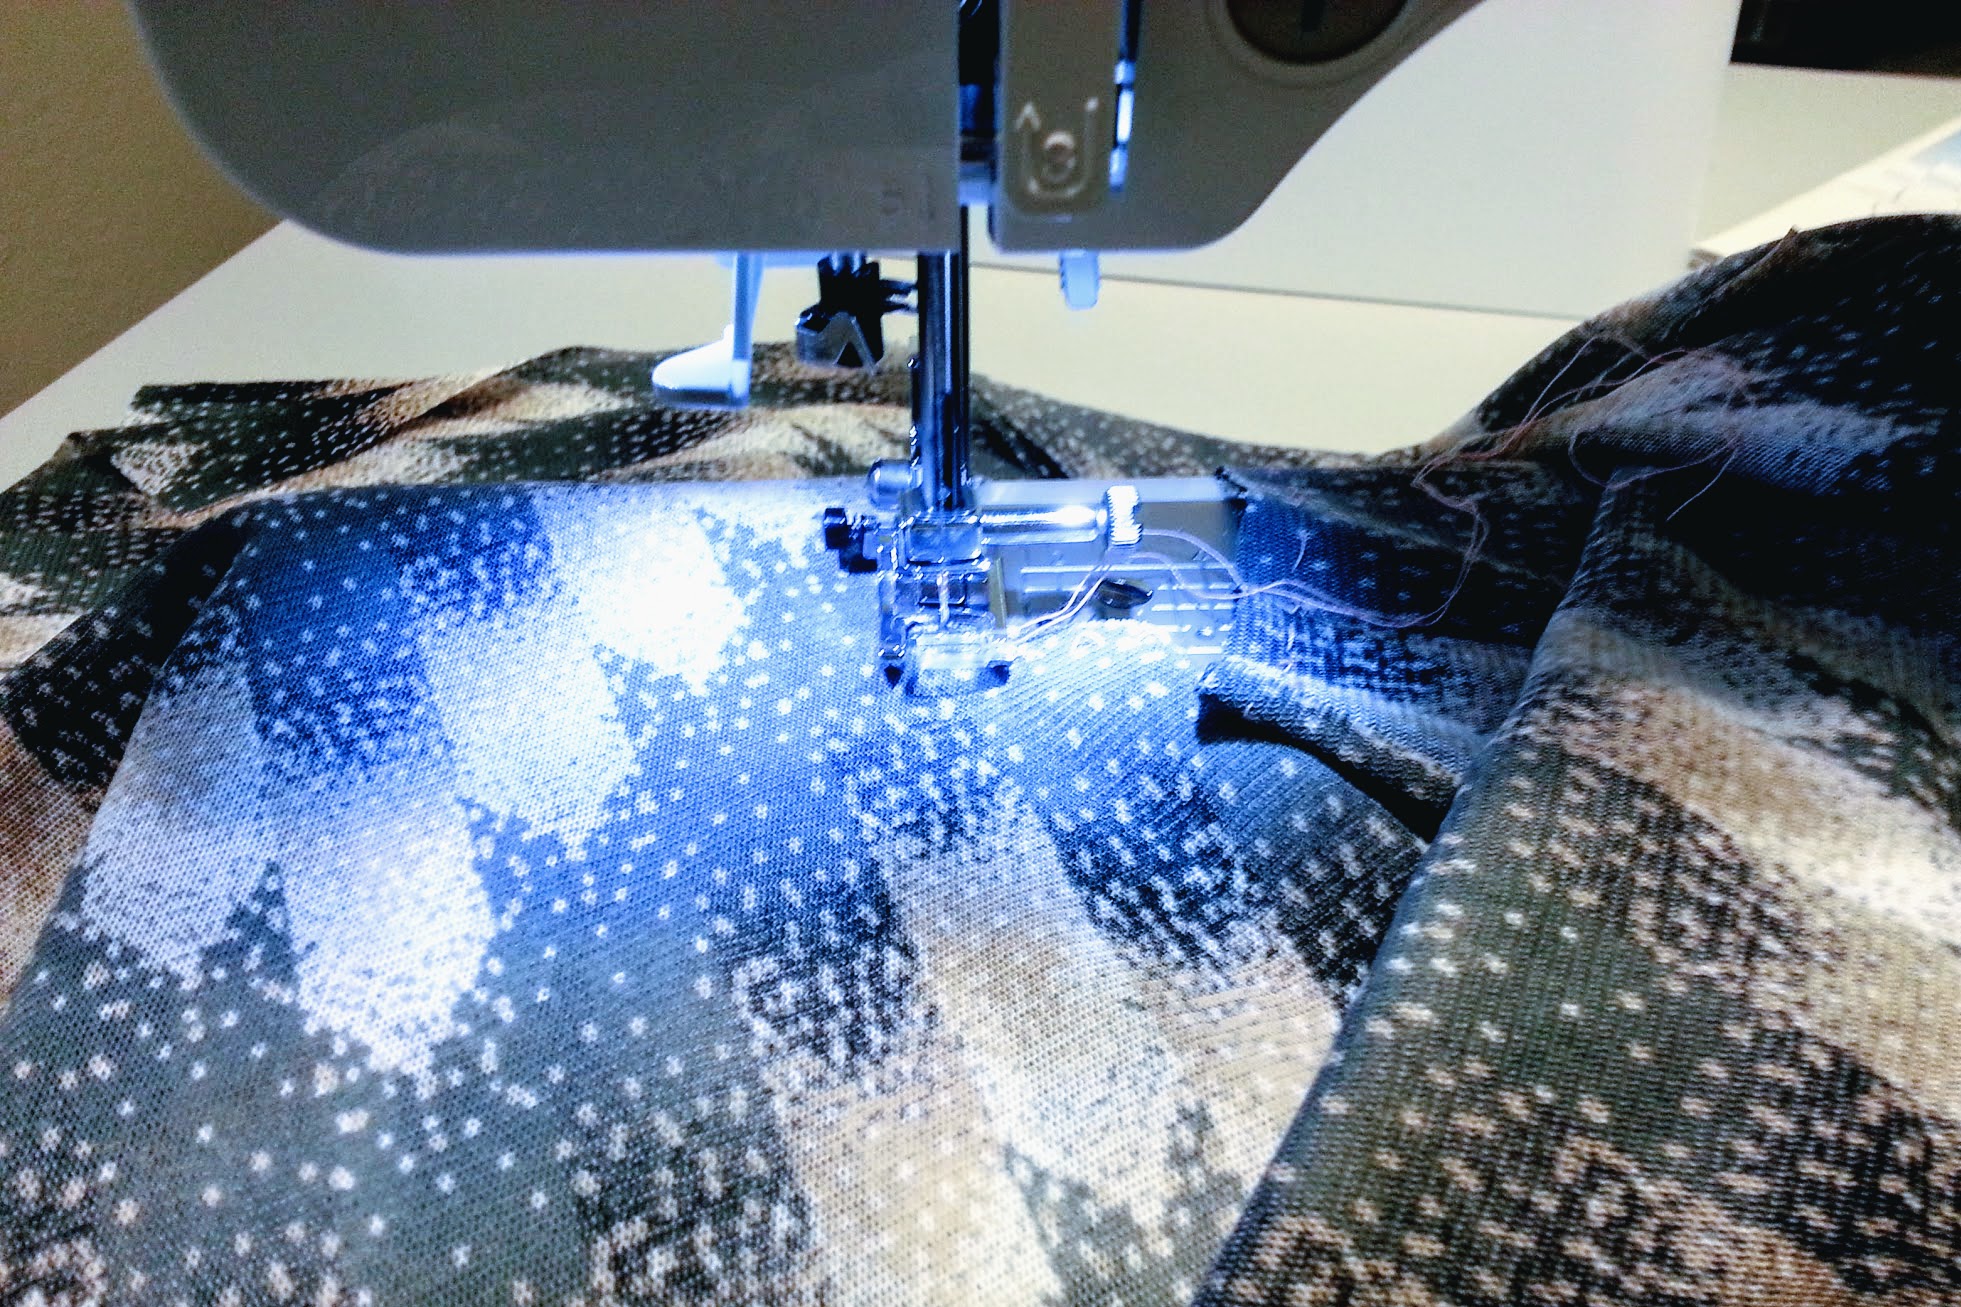
After that, I sew the arm holes with french seams since I wanted the sleeves to drape nicely. This fabric made my life so much easier to sew french seams.
From there, I just need to sew the sides shut and we’re golden…right?
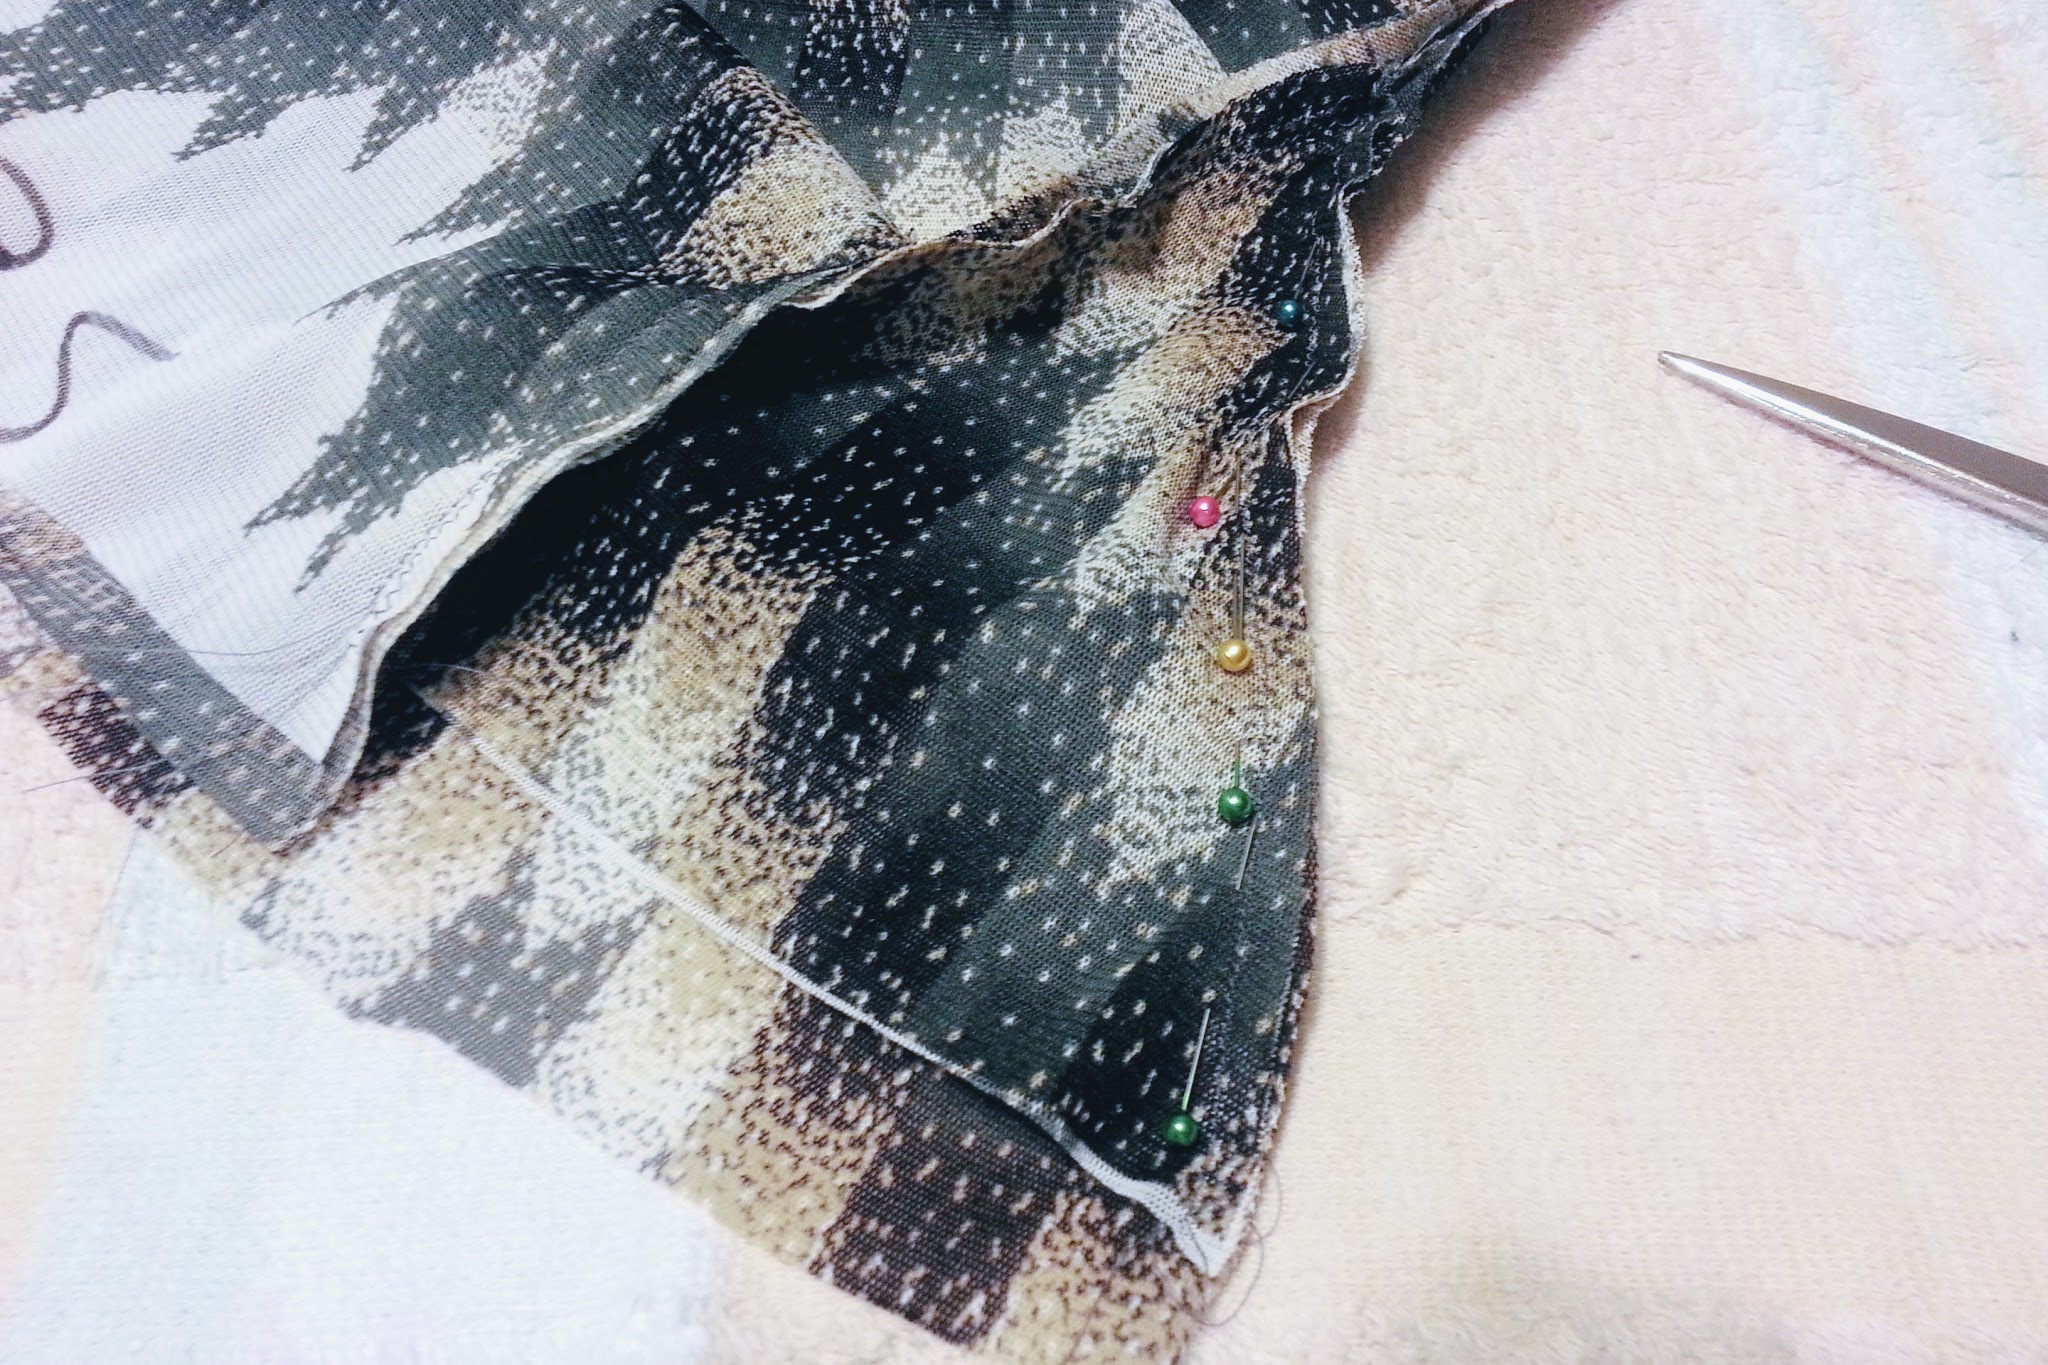
Well, that’d be great…except that I apparently was overzealous when cutting the sides. I tried it on, and I noticed right away I could replace my waist with a barbie’s, or I need to make a couple of gussetts so I can fit in the last 1/3 of the top.
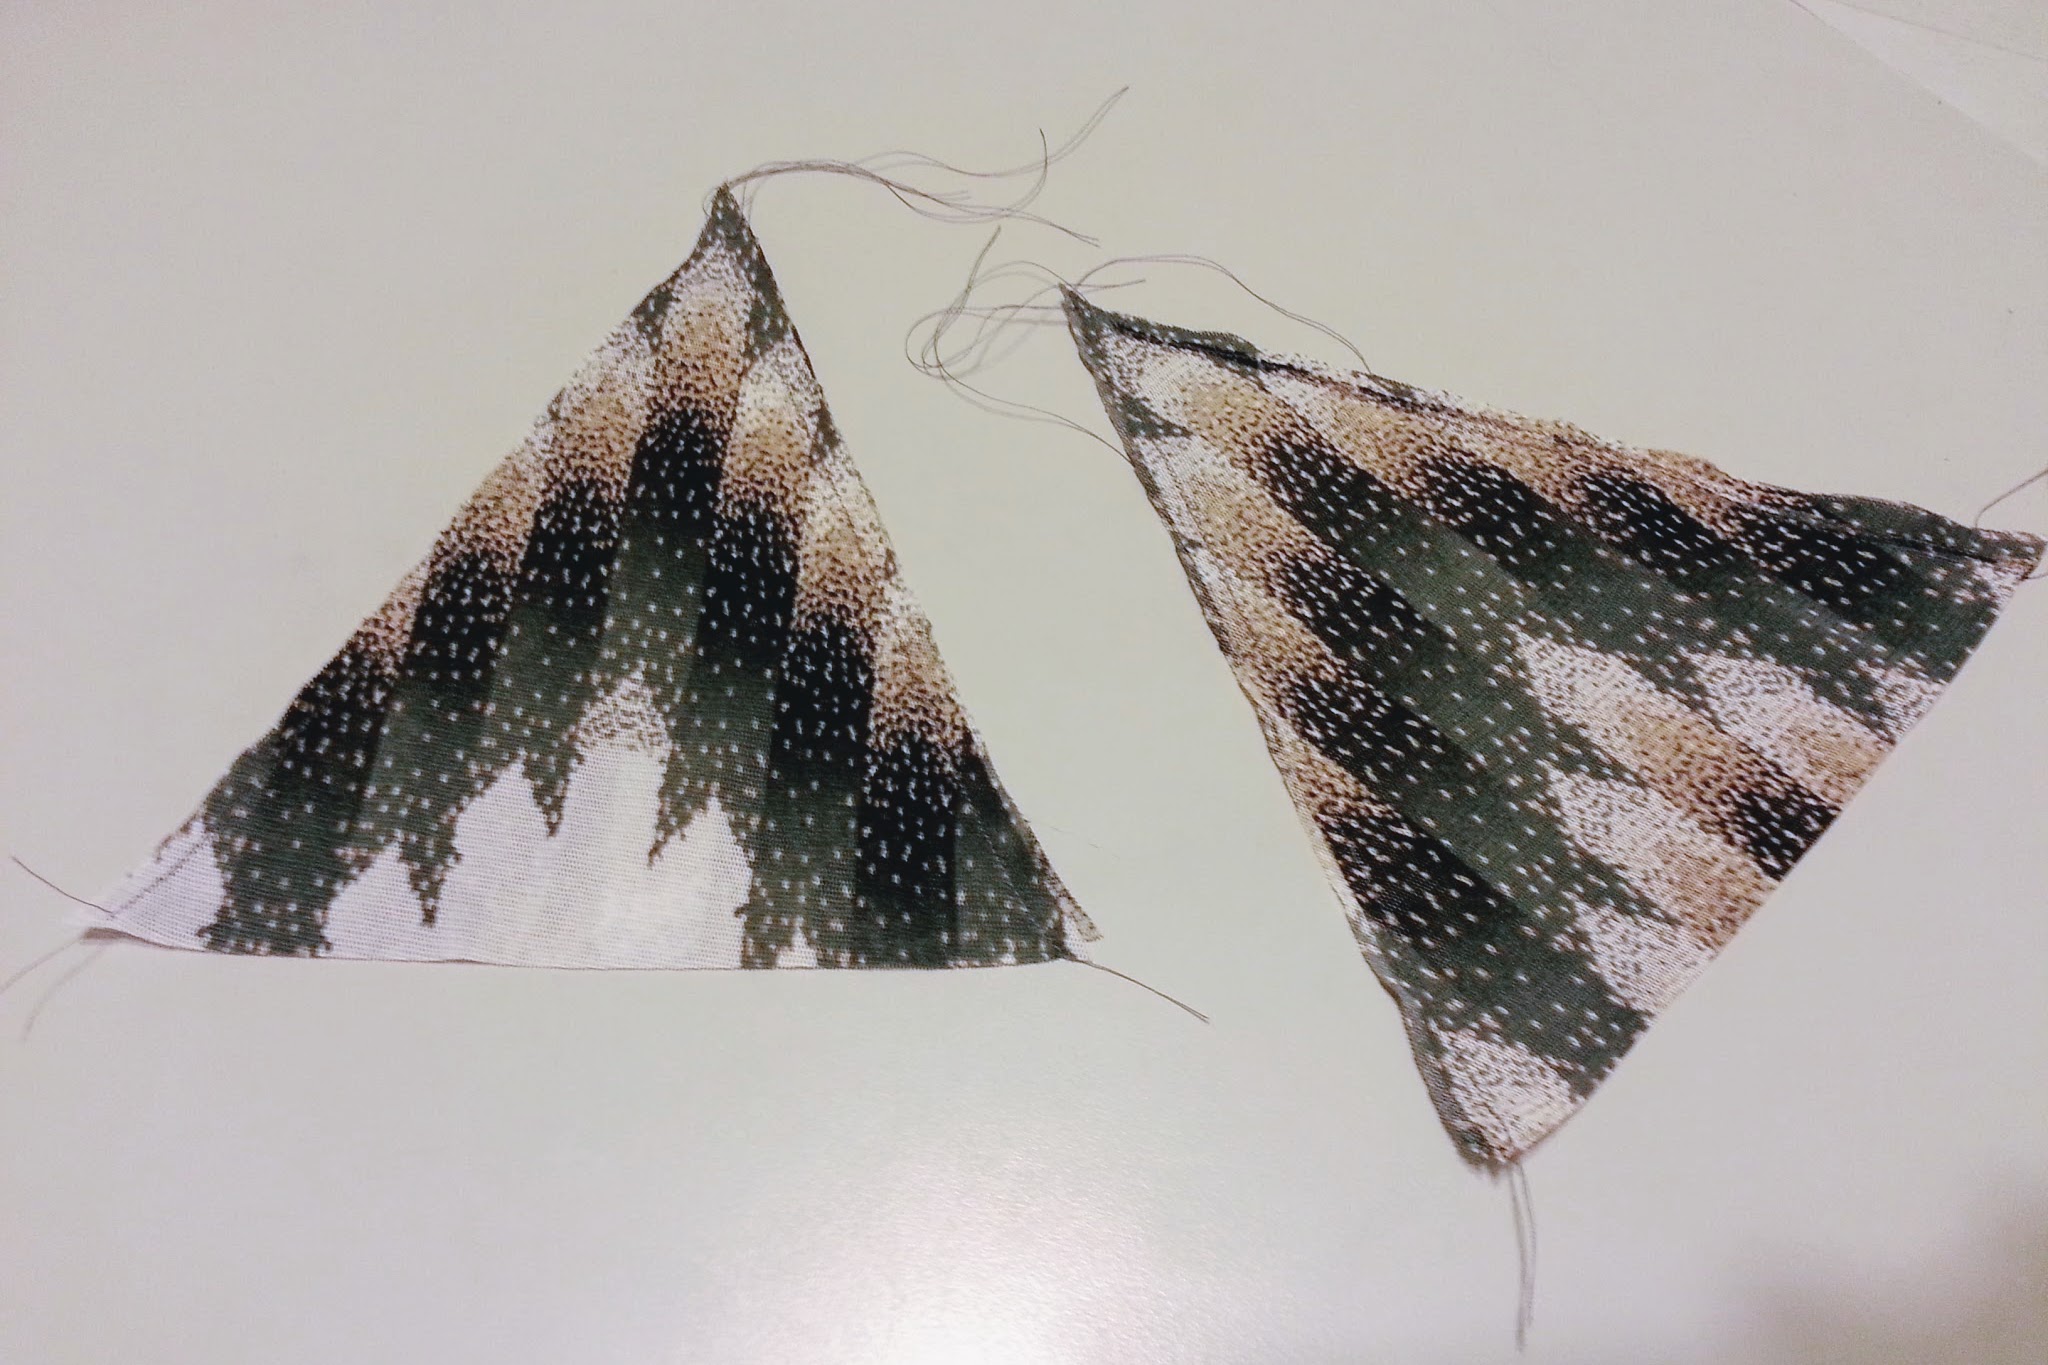
I chose the latter, obviously. Thankfully, I still have some scraps left. Yay, learning to work with gussets for the first time! I made two identical isosceles triangles and then insert them carefully into each sides, closing off the sides.

The top part is complete!!!
Part 2: Making the high-low circle skirt
A. The plain knit
From the get-go, it proved quite a challenge to make this skirt. If I do more projects like this, I’d like to choose a stretch fabric with slightly more structure. Single knit fabric stretches A LOT, and it really is better for you to cut your waist radius 10% – 15% less than the actual measurement to accommodate the stretch.
The circle skirt is a very popular DIY project, and I mainly use Cut Out + Keep, Taller Than Thou, and Knuckle Salad for tips and guidance.
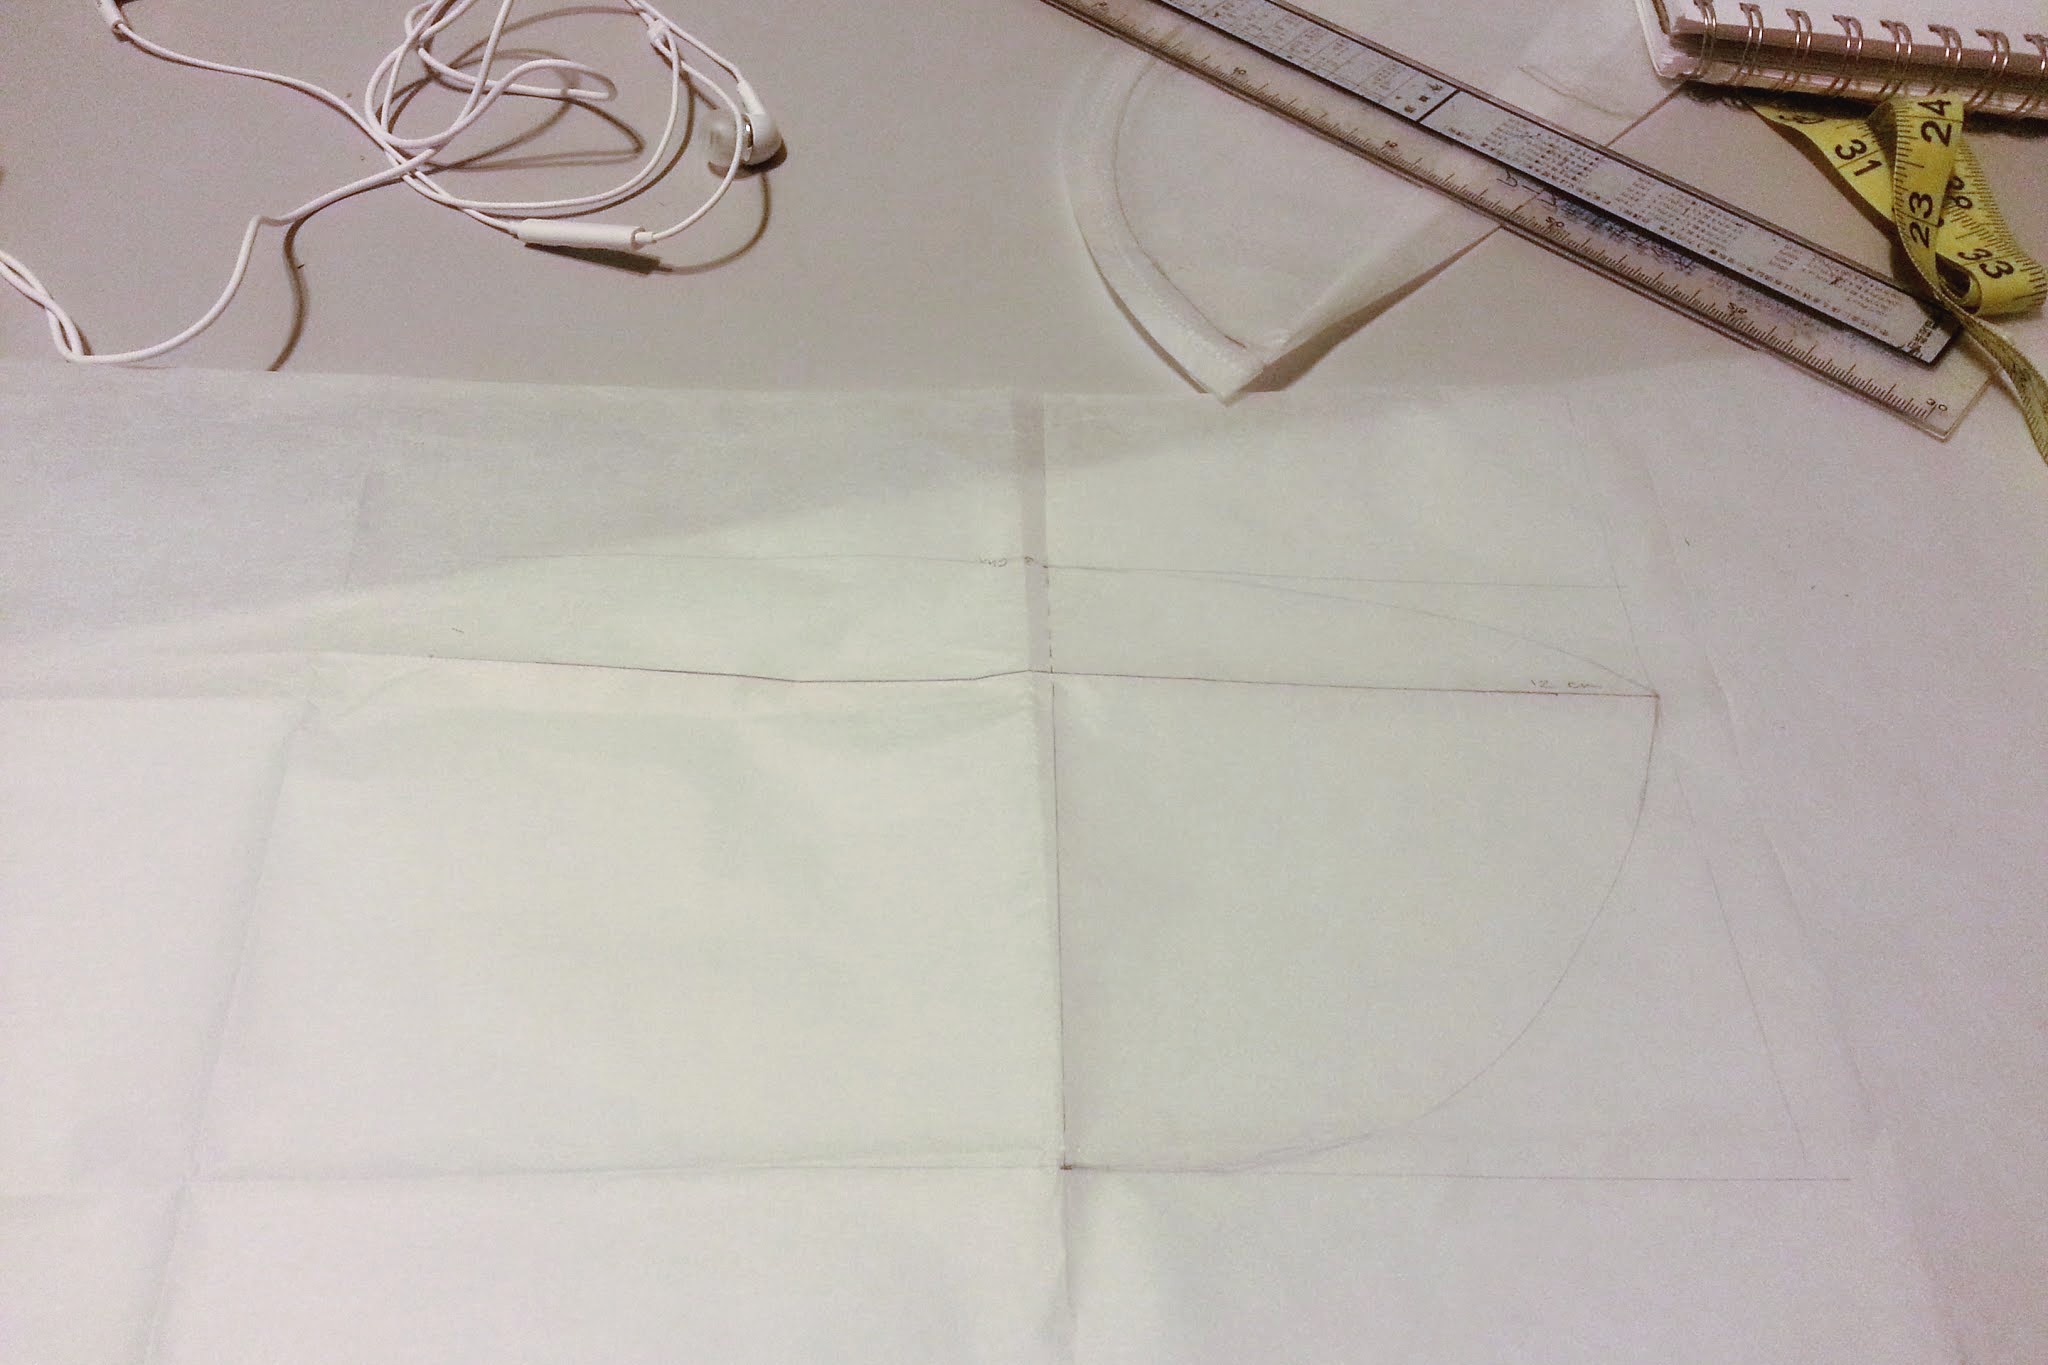
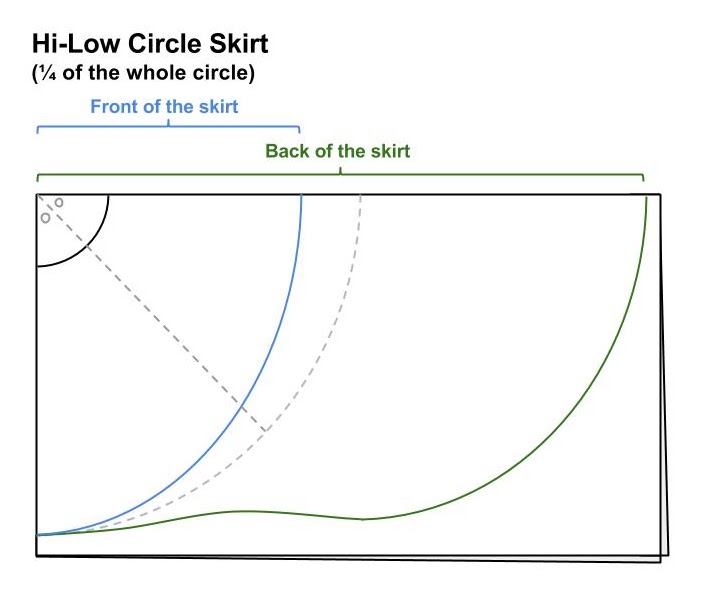
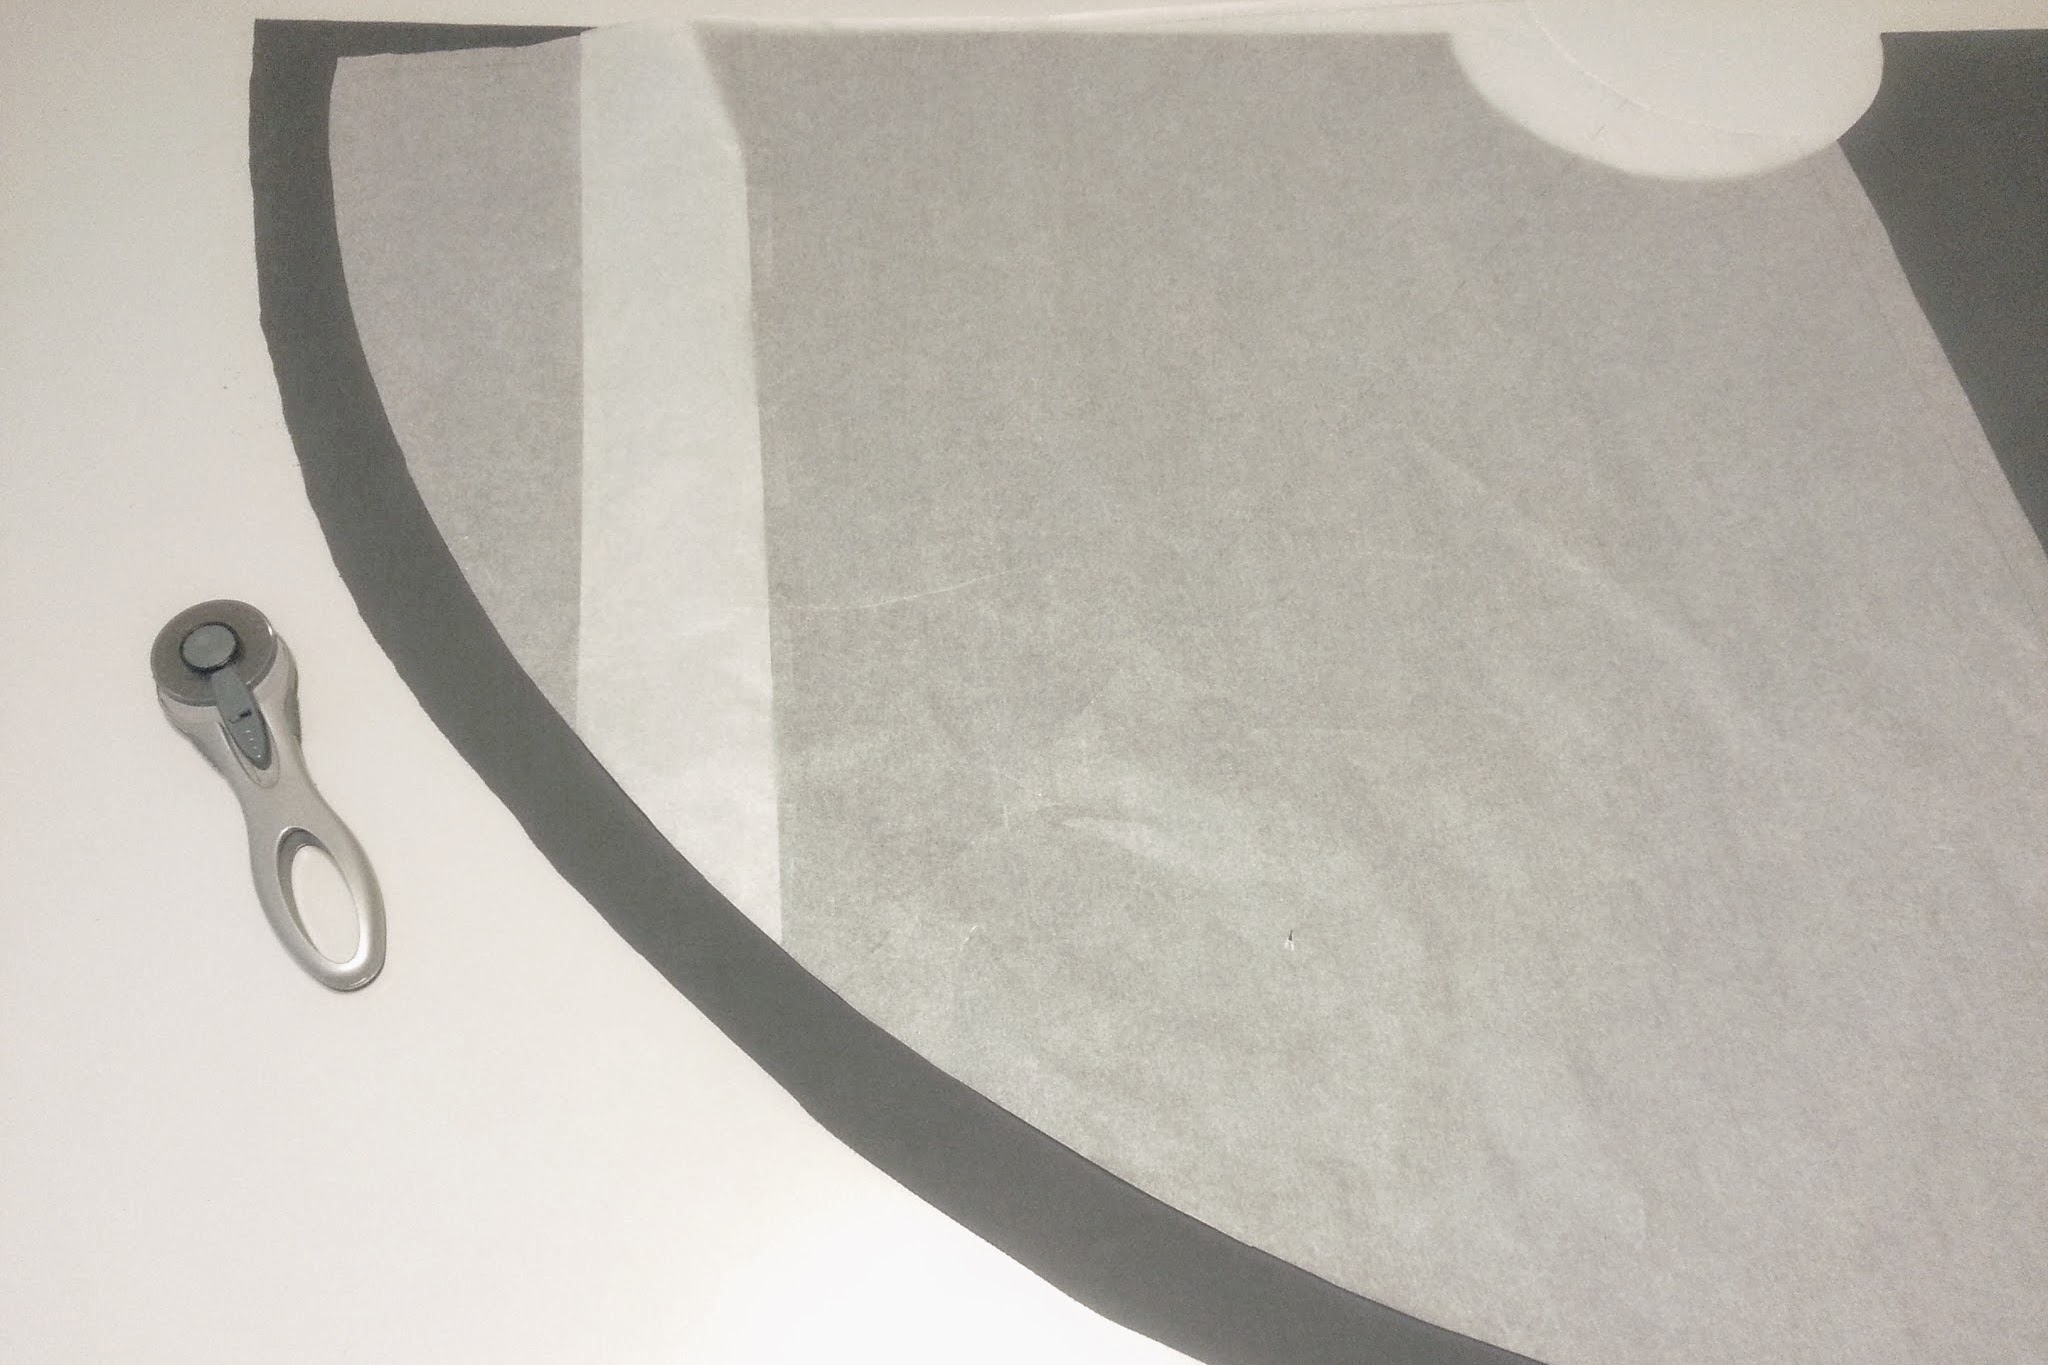
To create the high-low hemline, I found this pin on Pinterest and decided to give it a go. Here’s what my skirt pattern looks like:
Cutting the fabric was hard for me since I have to fold it in half twice on my not-so-big dining table. Thank God my rotary cutter didn’t quit when slicing the stacked 4 layers of fabric. I cut all 4 layers following the “low” part of the skirt line…
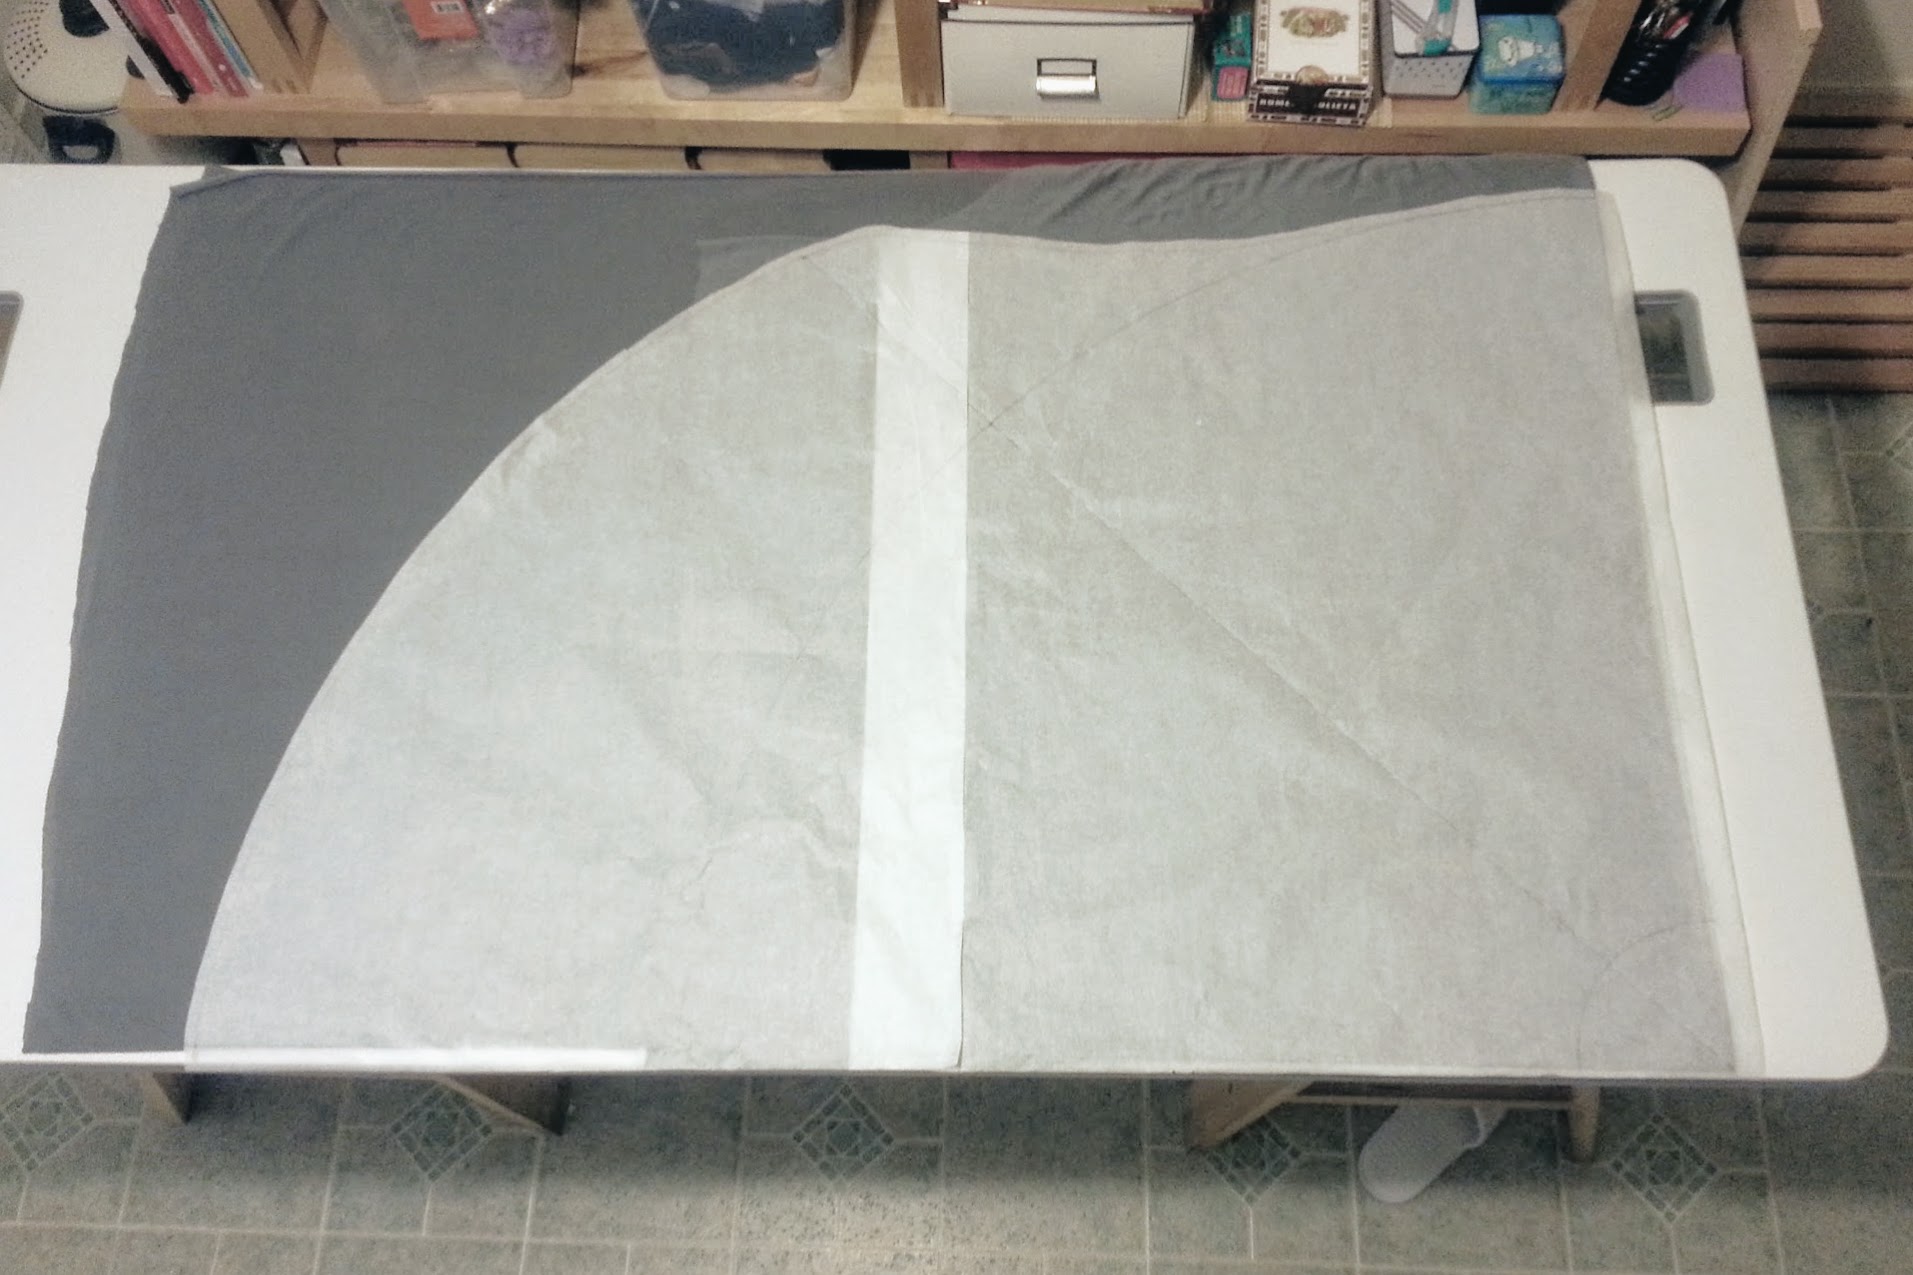

…then I “released” the middle layers gently (gosh, it’s so hard), so I’m left with two stacked layers. Now I cut them with the “high” part of the skirt line.
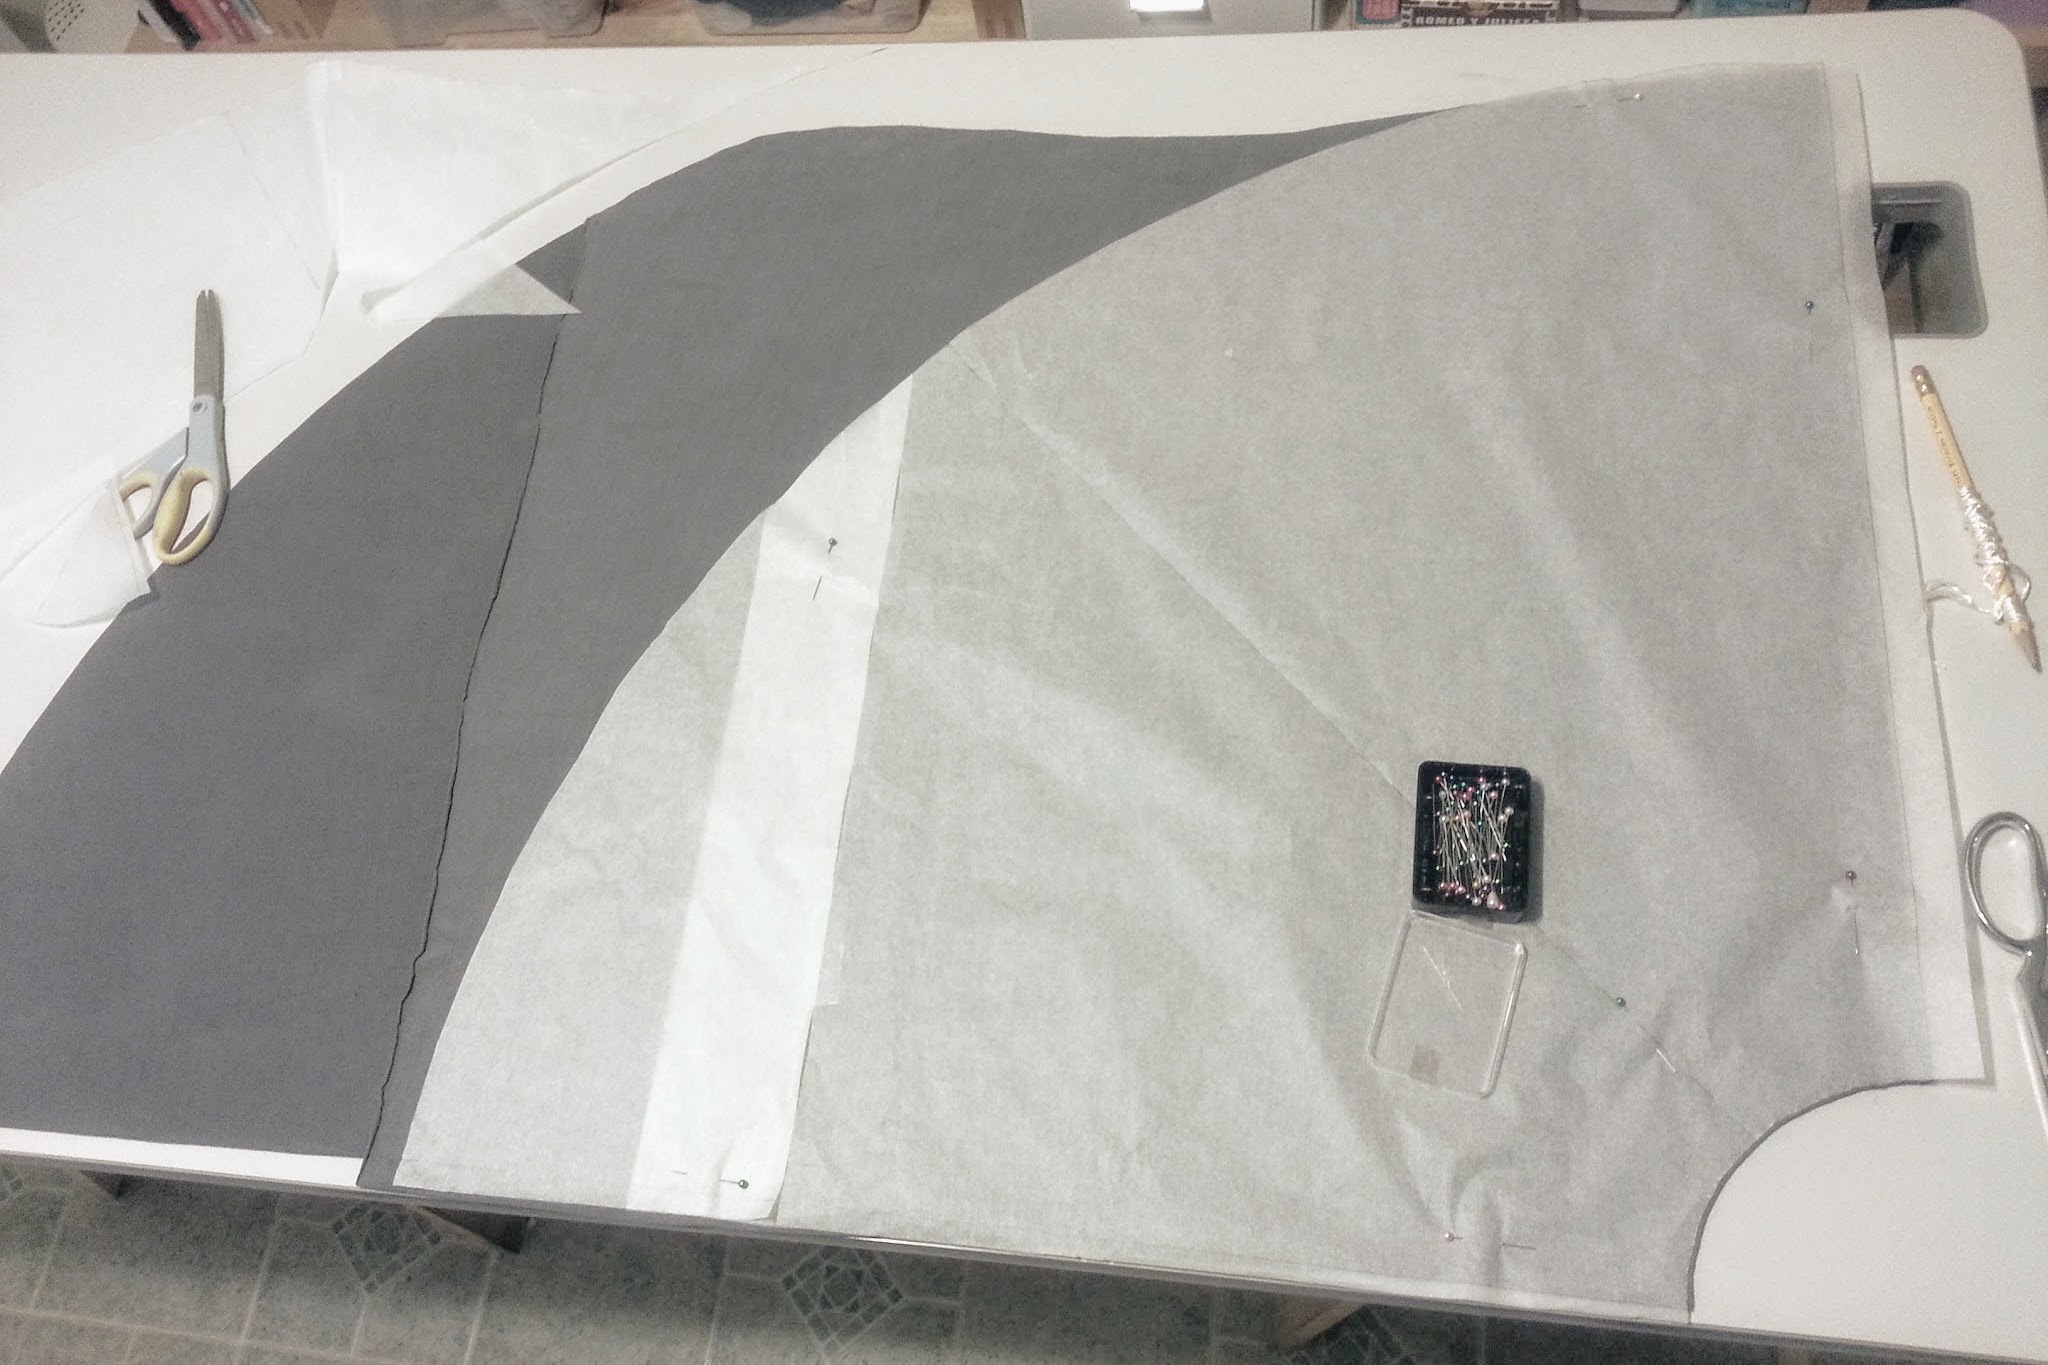
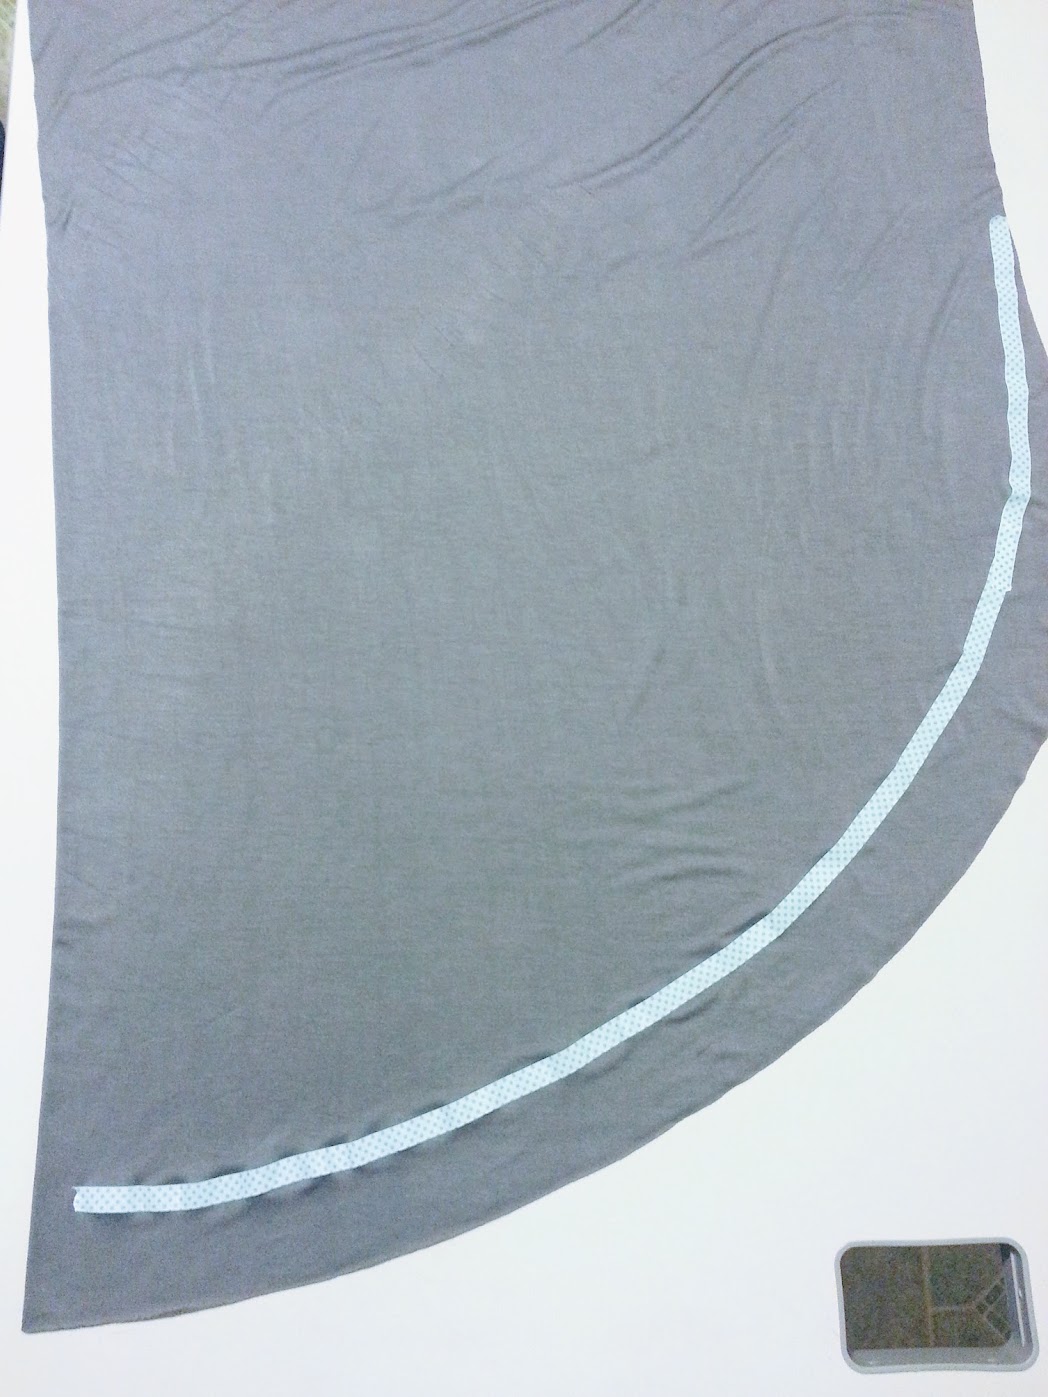
After that, I cut the waist radius part. It was time to loosely pin the skirt on the uncut elastic and try it on, just to see where I was.

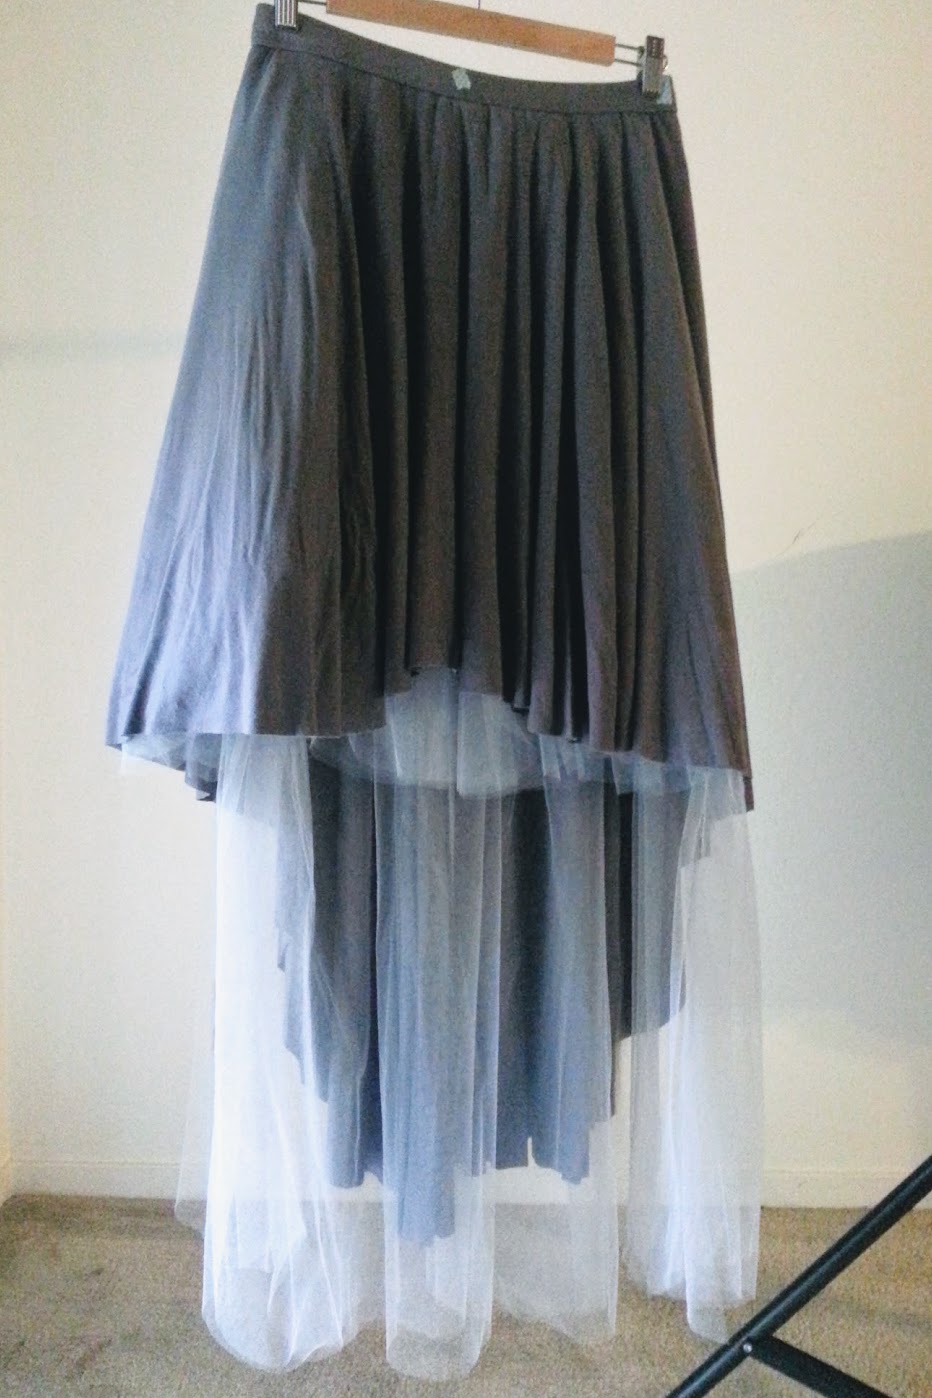
Oh no….the skirt is limp and lifeless! Grr!
Also, at this point, I noticed that the “low” hem were uneven, so I did some adjustments. Thank you, masking tape. I also cut the front hem a little bit more so it would give a tulle peek-a-boo effect when everything’s done.
B. The tulle layers
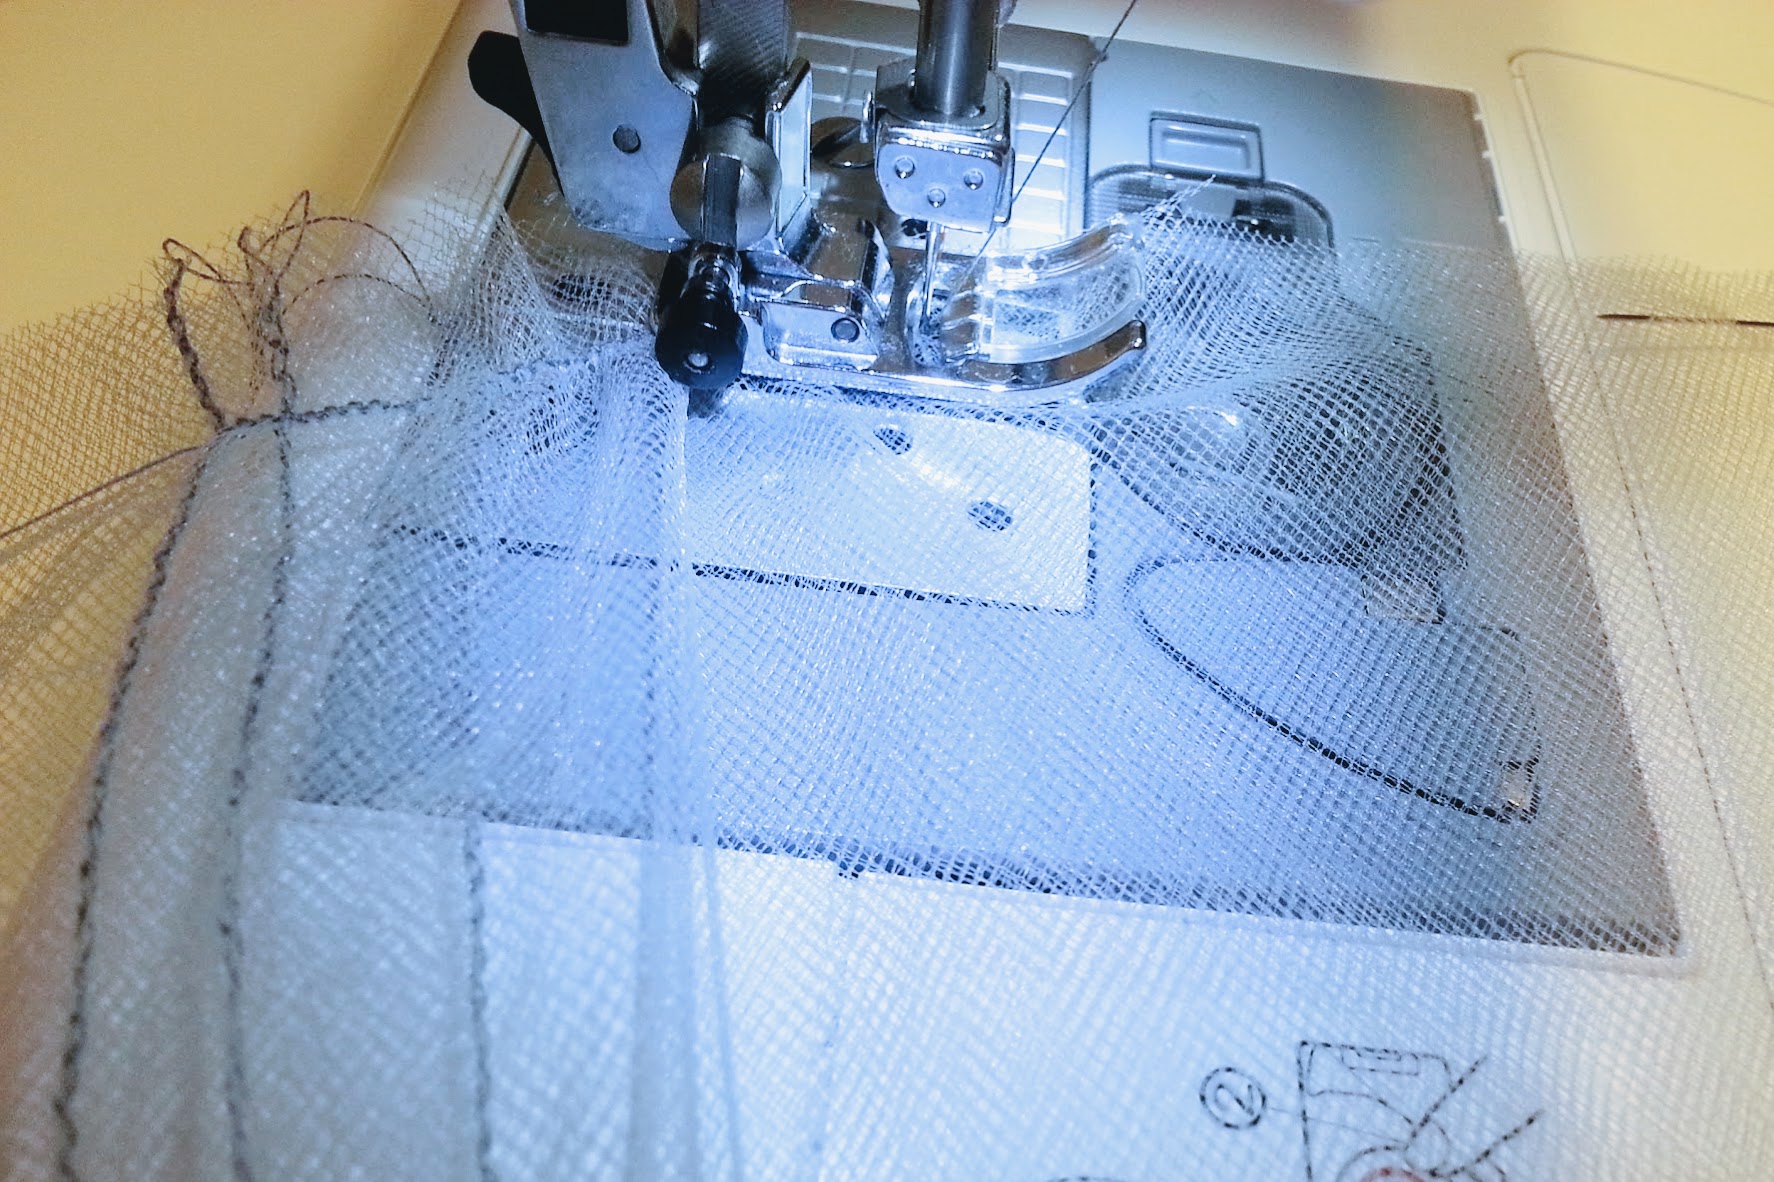
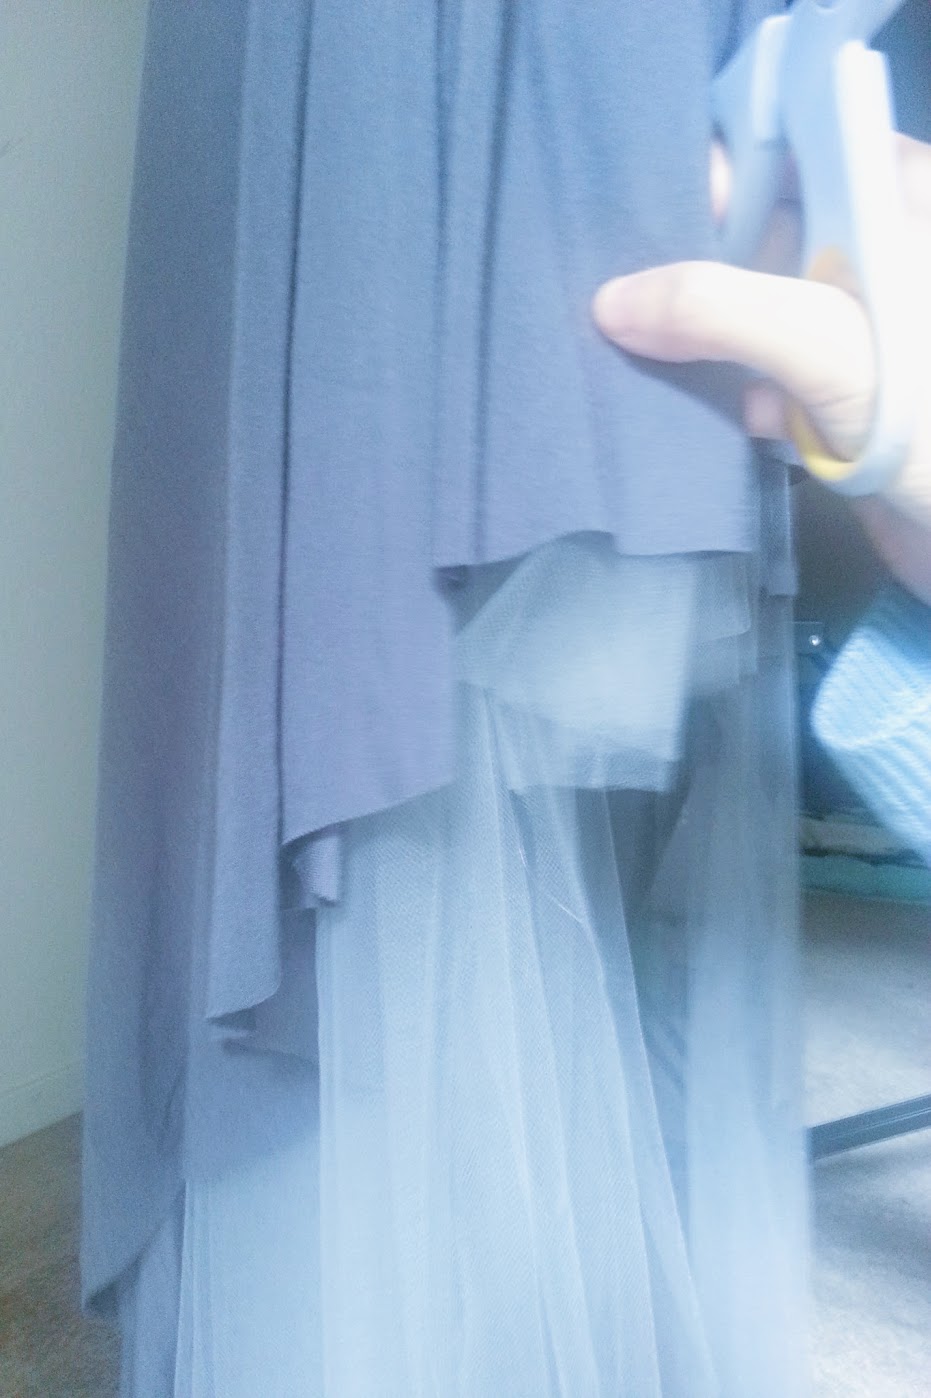
Time for the 2nd detour: adding tulle underneath the skirt! I chose to add 3 layers of tulle underneath, give the skirt a bit of a lift. That’s a lot of tulle!
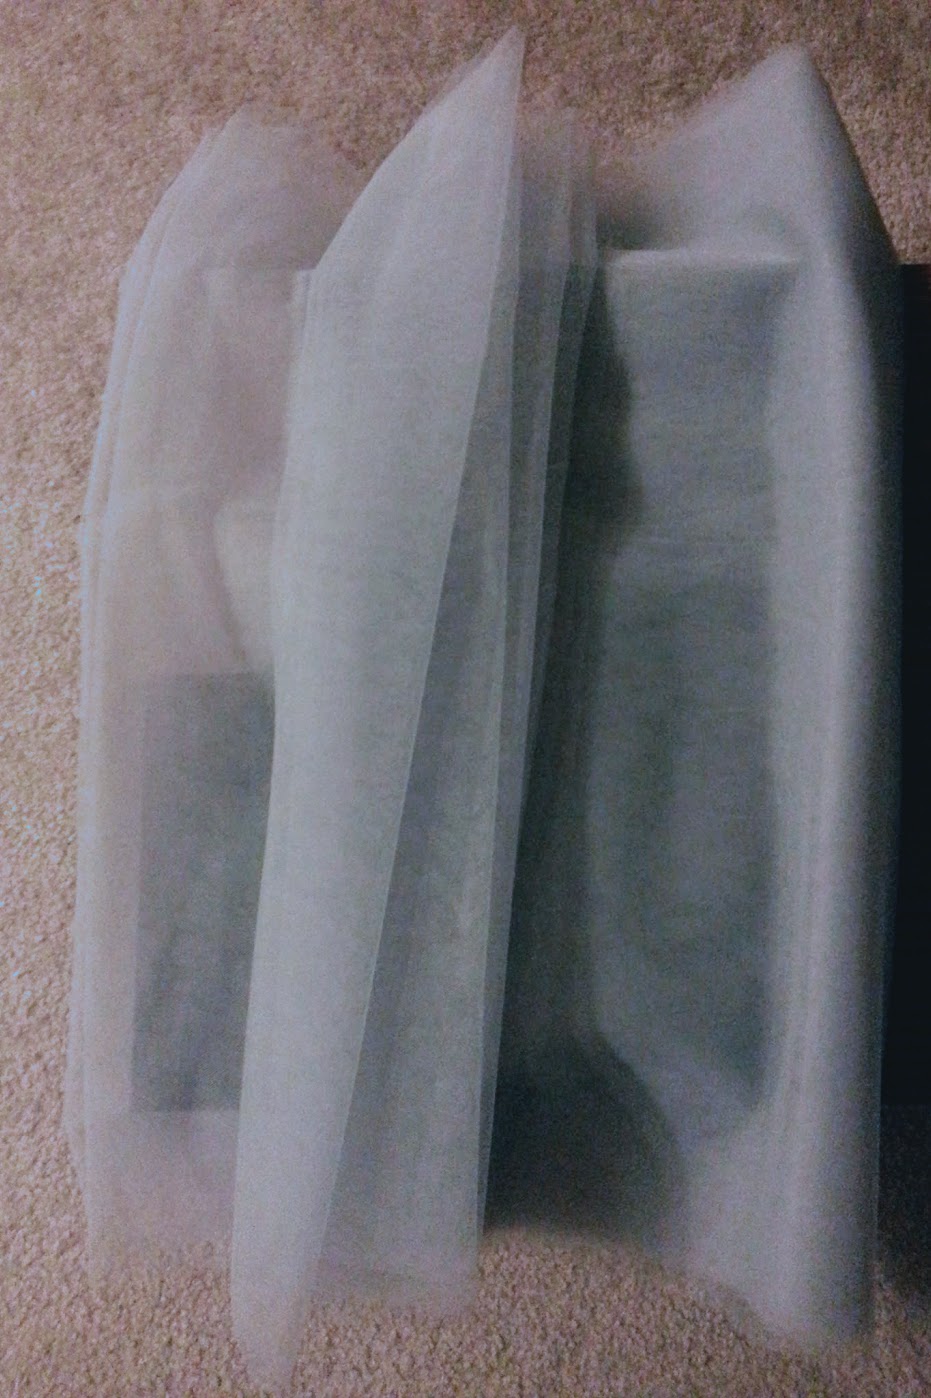
Because of the high-low nature of the skirt, I divide them into 6 different parts of approximately 60″ width. Then I cut 3 shorter (23″ long, which is the length of the longest distance to the front hem) tulle layers for the front, and 3 longer (41″ long, which is the length of the longest distance to the back hem) tulle layers for the back.
I then stitched together the sides of one short and one long tulle layers and repeat this process thrice. After that, I stacked them on top of each other as nicely as I could, and stitched the circumference of all three layers with a straight stitch.
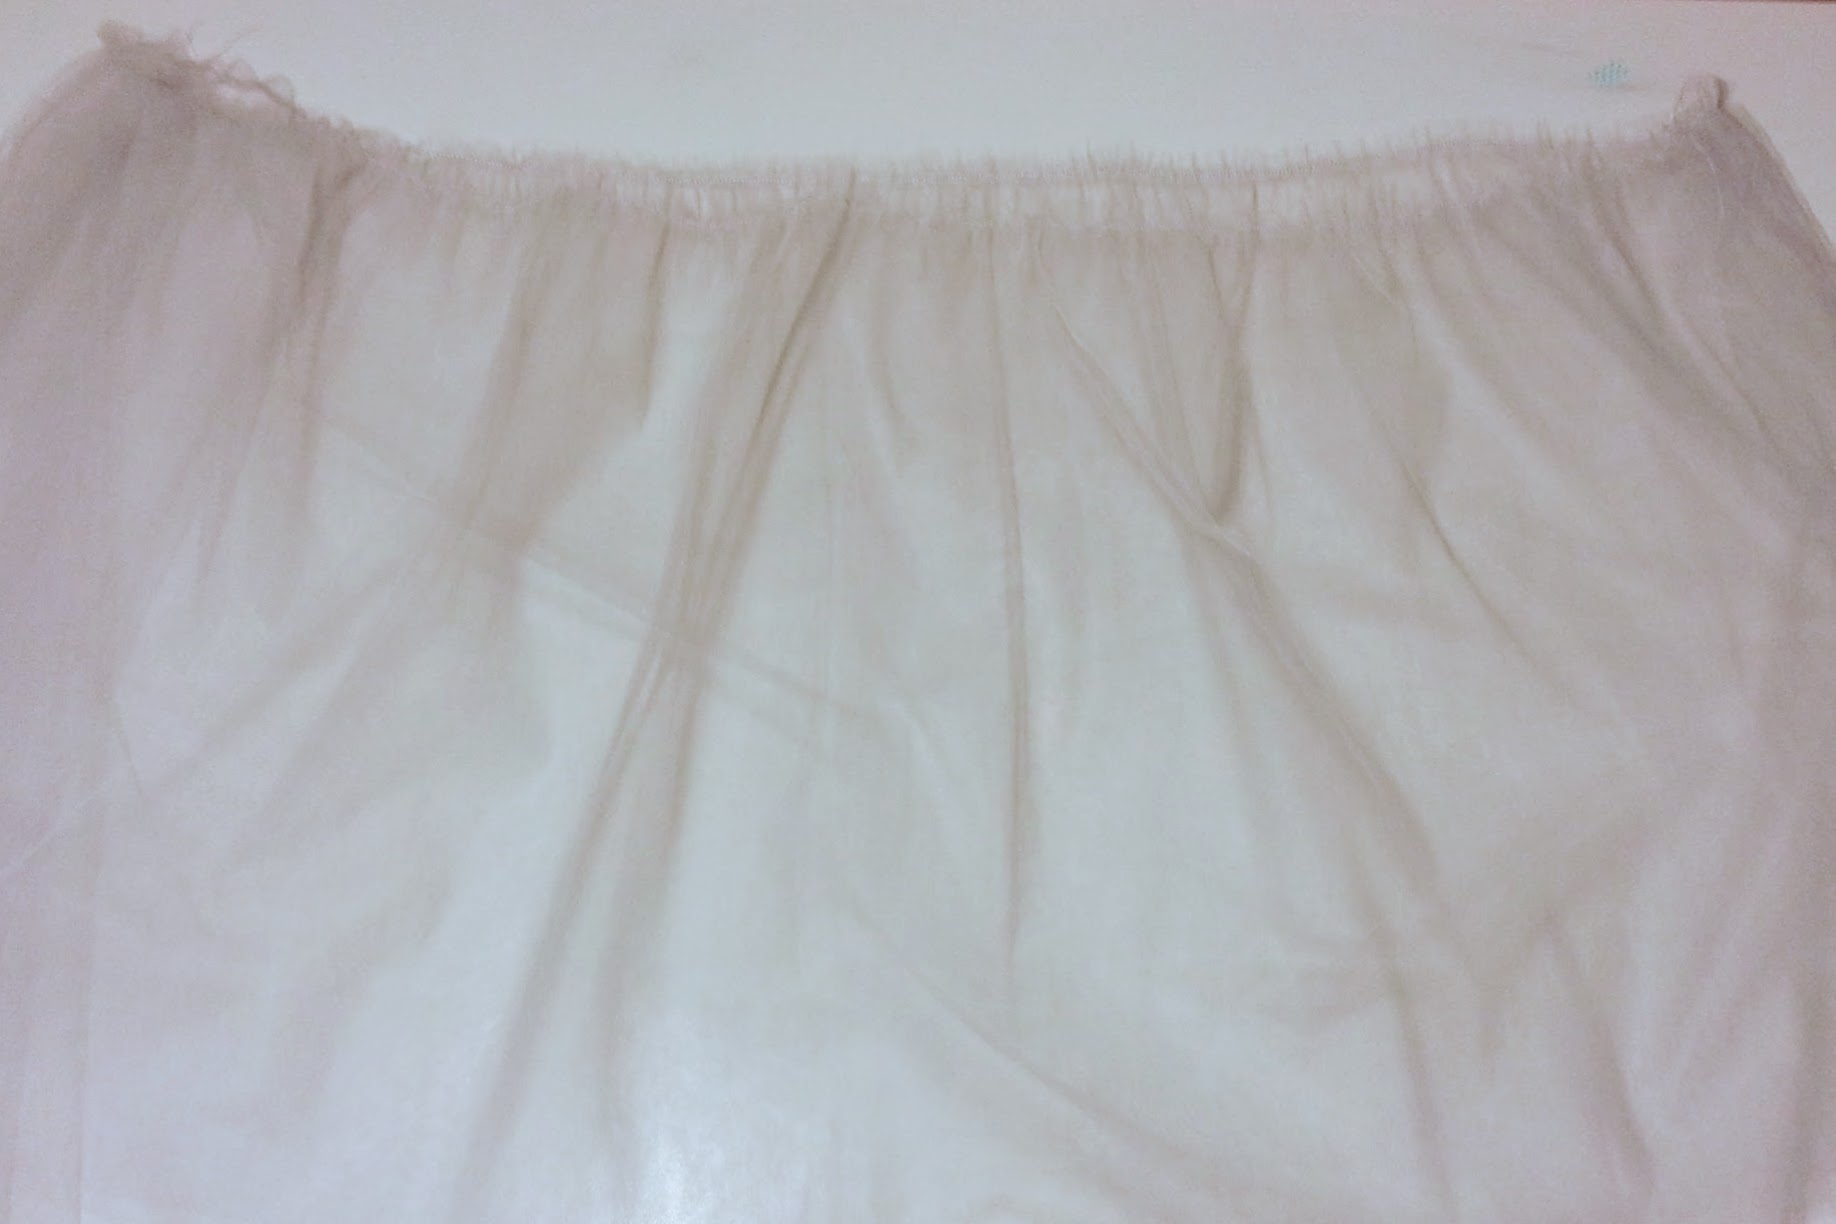
It looks like a huge tulle lingerie for Santa Clause at this point, so I pulled the thread to make a gathering.
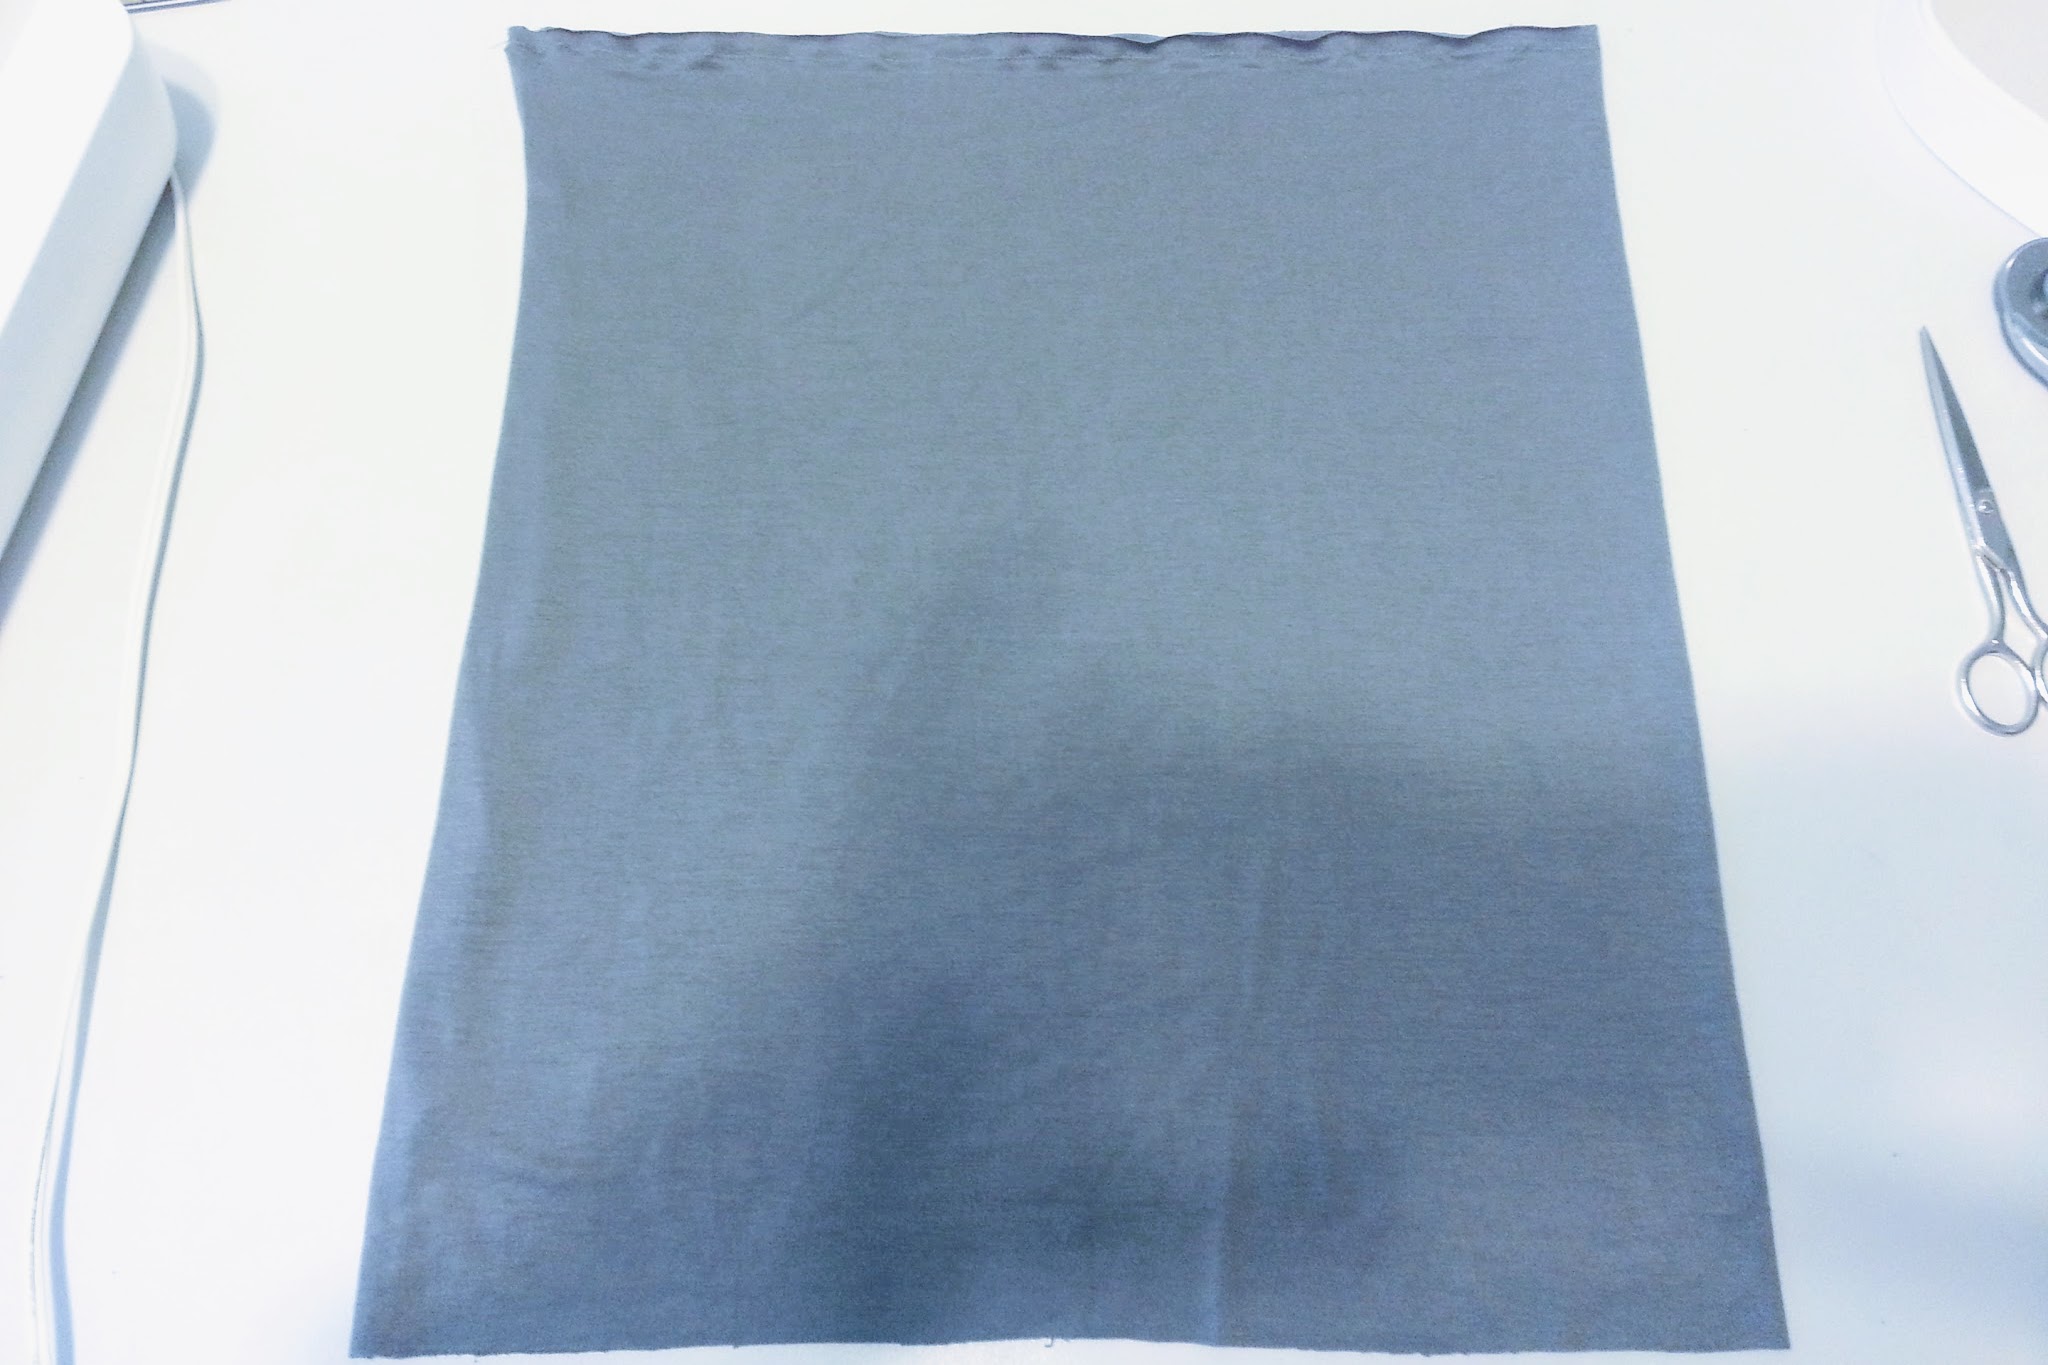
C. The underskirt (using plain knit leftover)
Tulle tends to be itchy on skin contact, so I quickly made a simple rectangular underskirt with the leftover plain knit fabric.
D. Put it all together
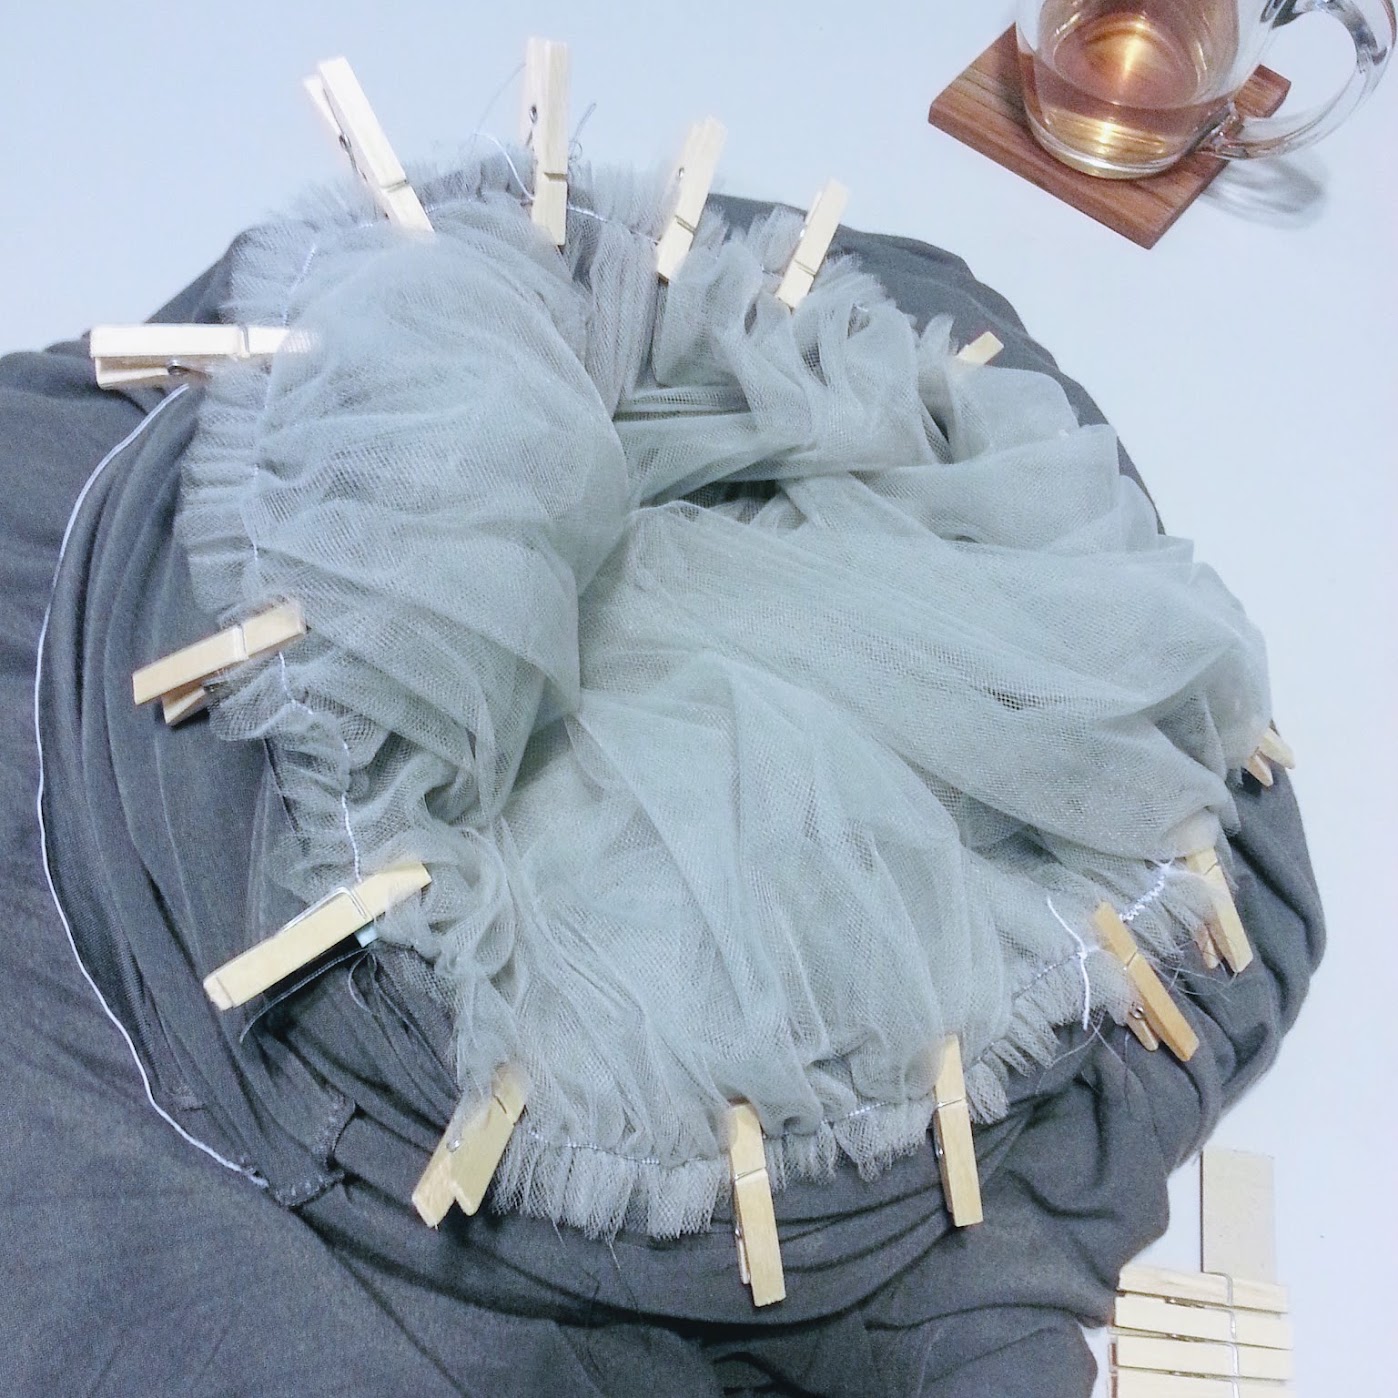
Let’s see, so I have my cut high-low plain knit fabric, a stack of gathered 3-layer tulle, and the underskirt.
Remember when I said to mark the center front, center back, and two sides of each layers? Well, I didn’t do it properly so I had a slightly harder time to stack the three layers of tulle, the high-low plain knit (right side out), and the underskirt (right side in) altogether.
Yikes, that’s a lot of clothespins! I thought I created a monster there.
I then stitched the top part of all layers together, getting as close as possible to the seams. My heart is pounding at this point.
It went smoothly, so now I trimmed any excess rogue tulle spikes and flipped over the underskirt so that it now become the innermost part of the skirt.
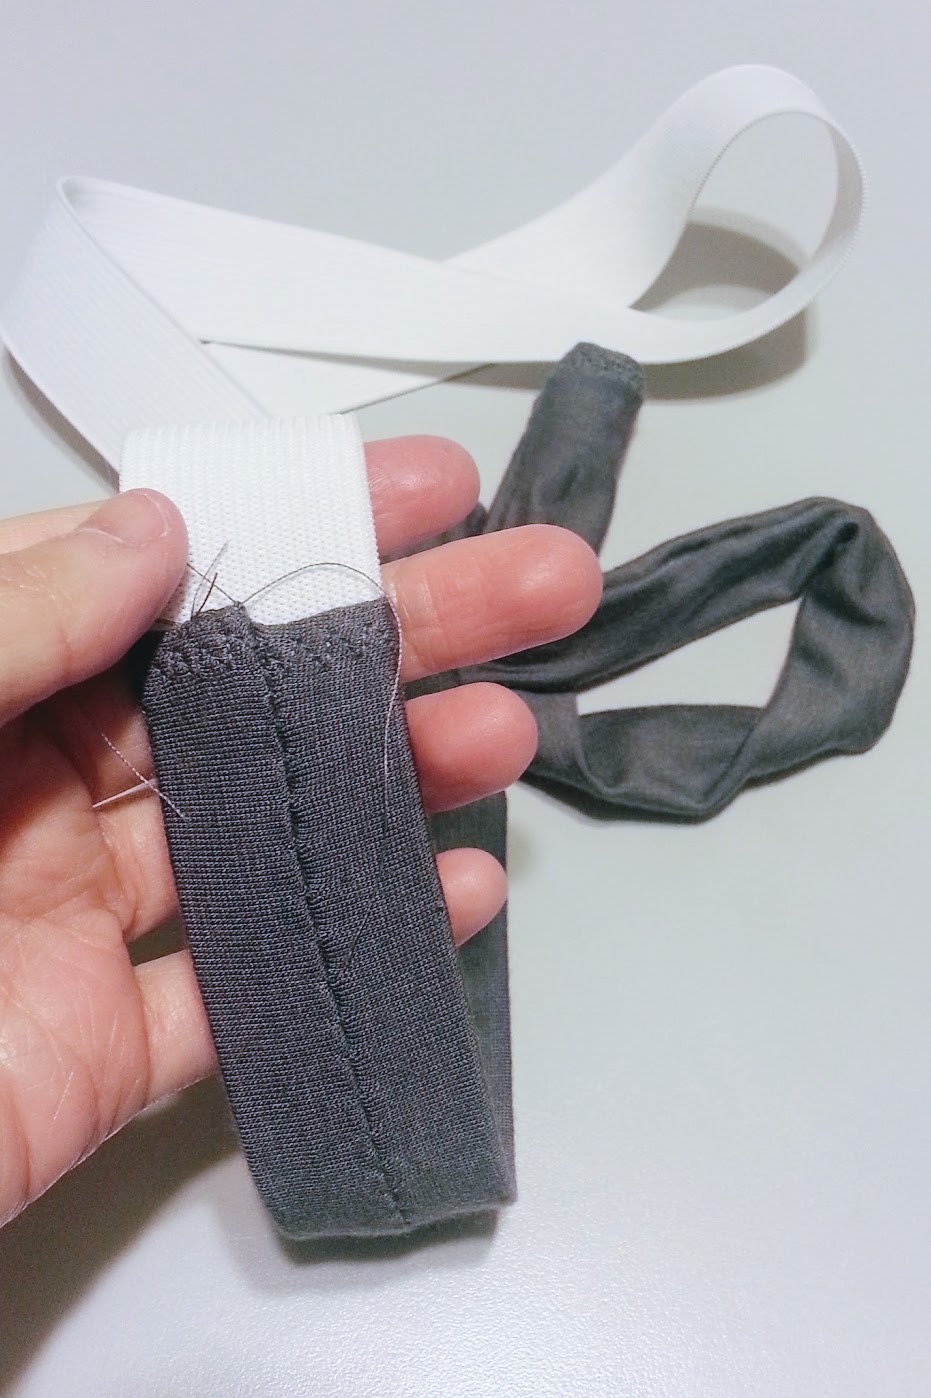
Part 3: Making the Elastic Waist
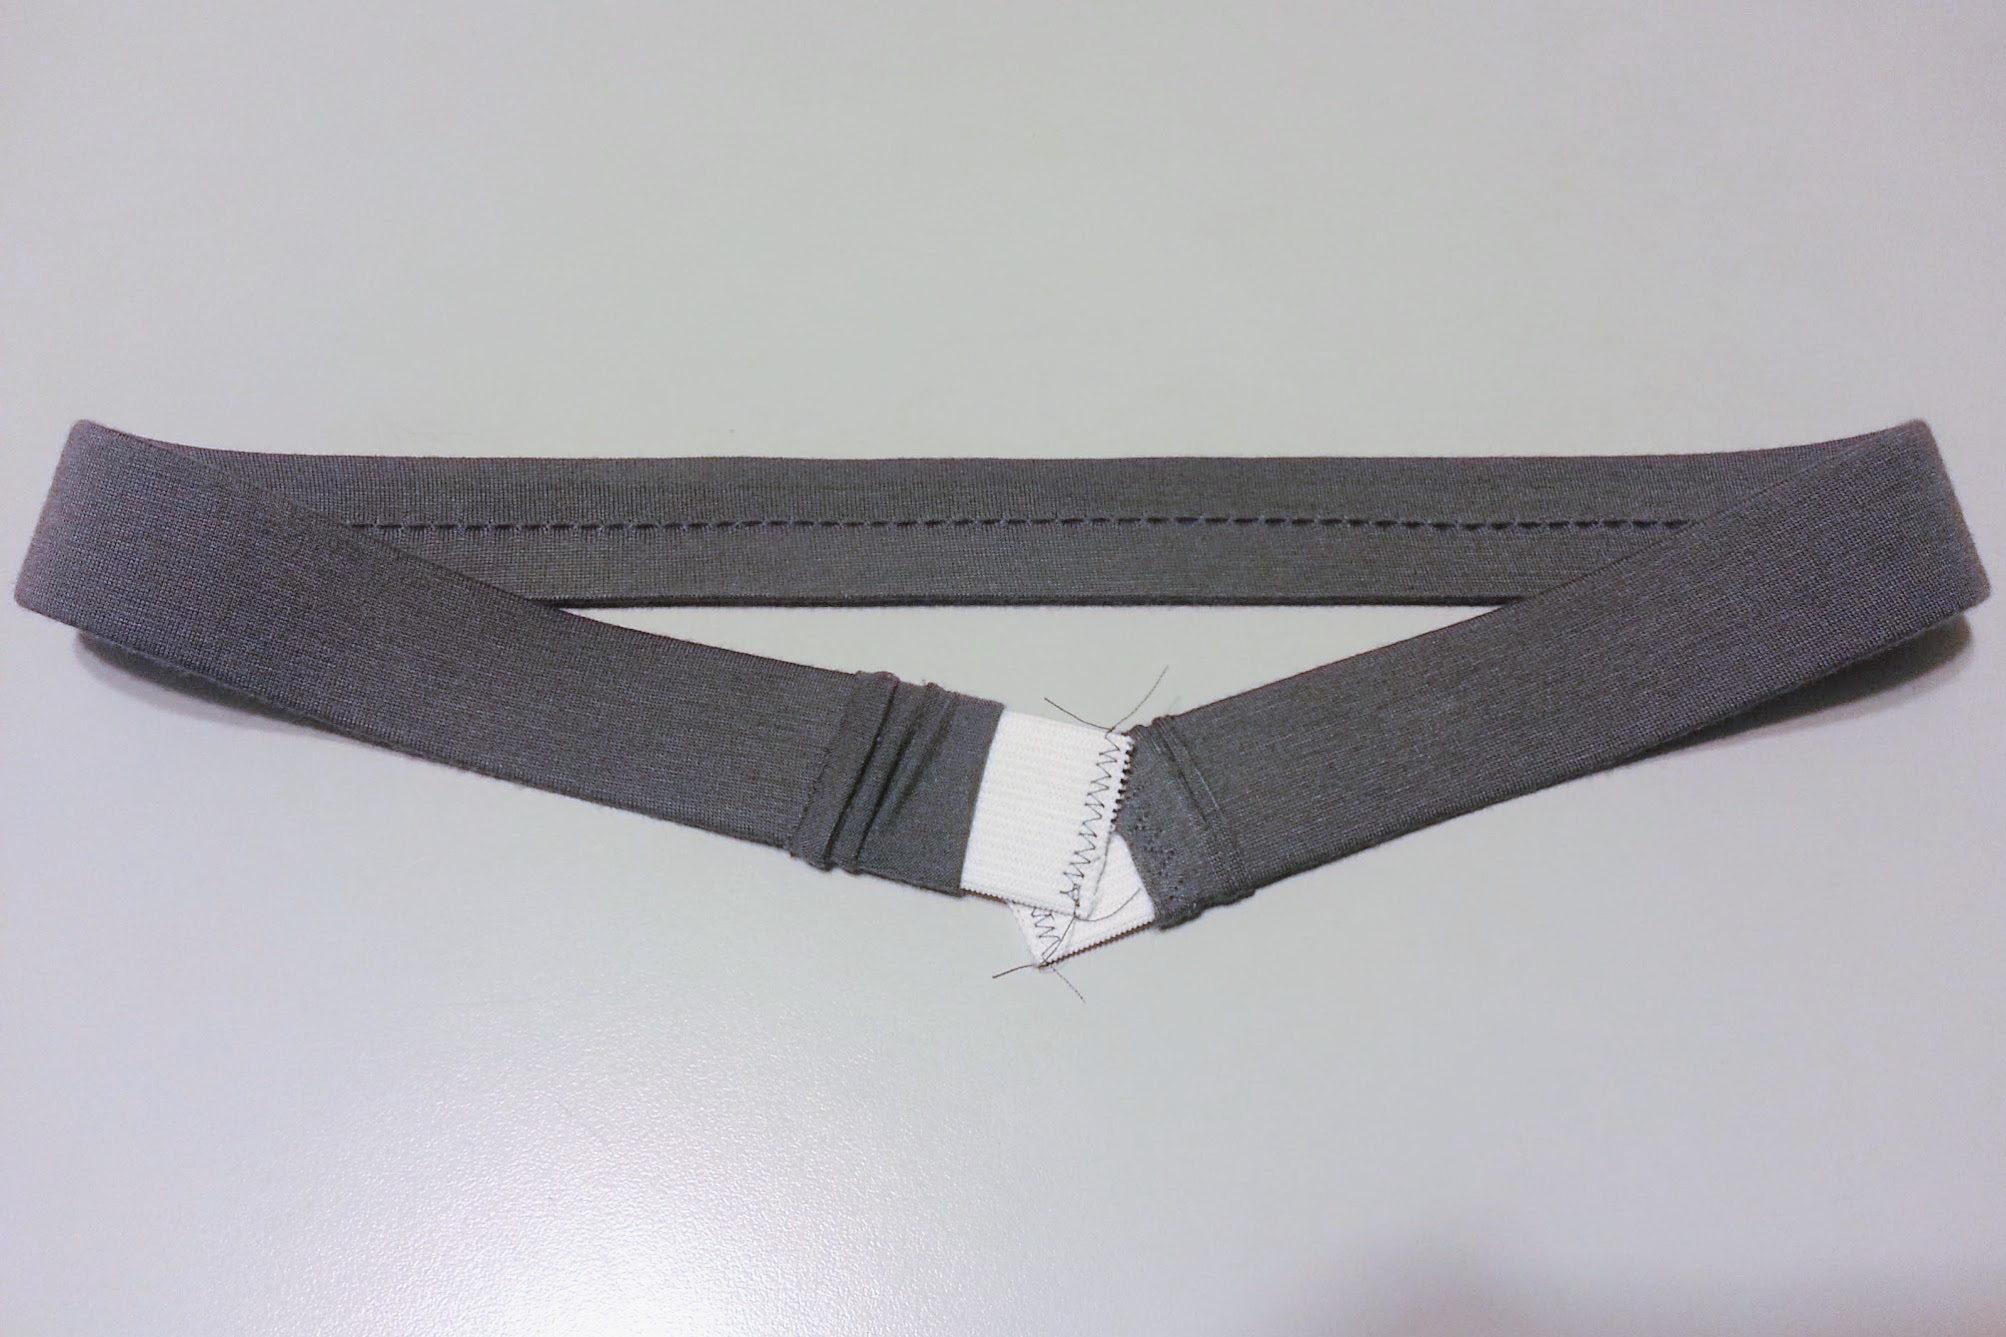
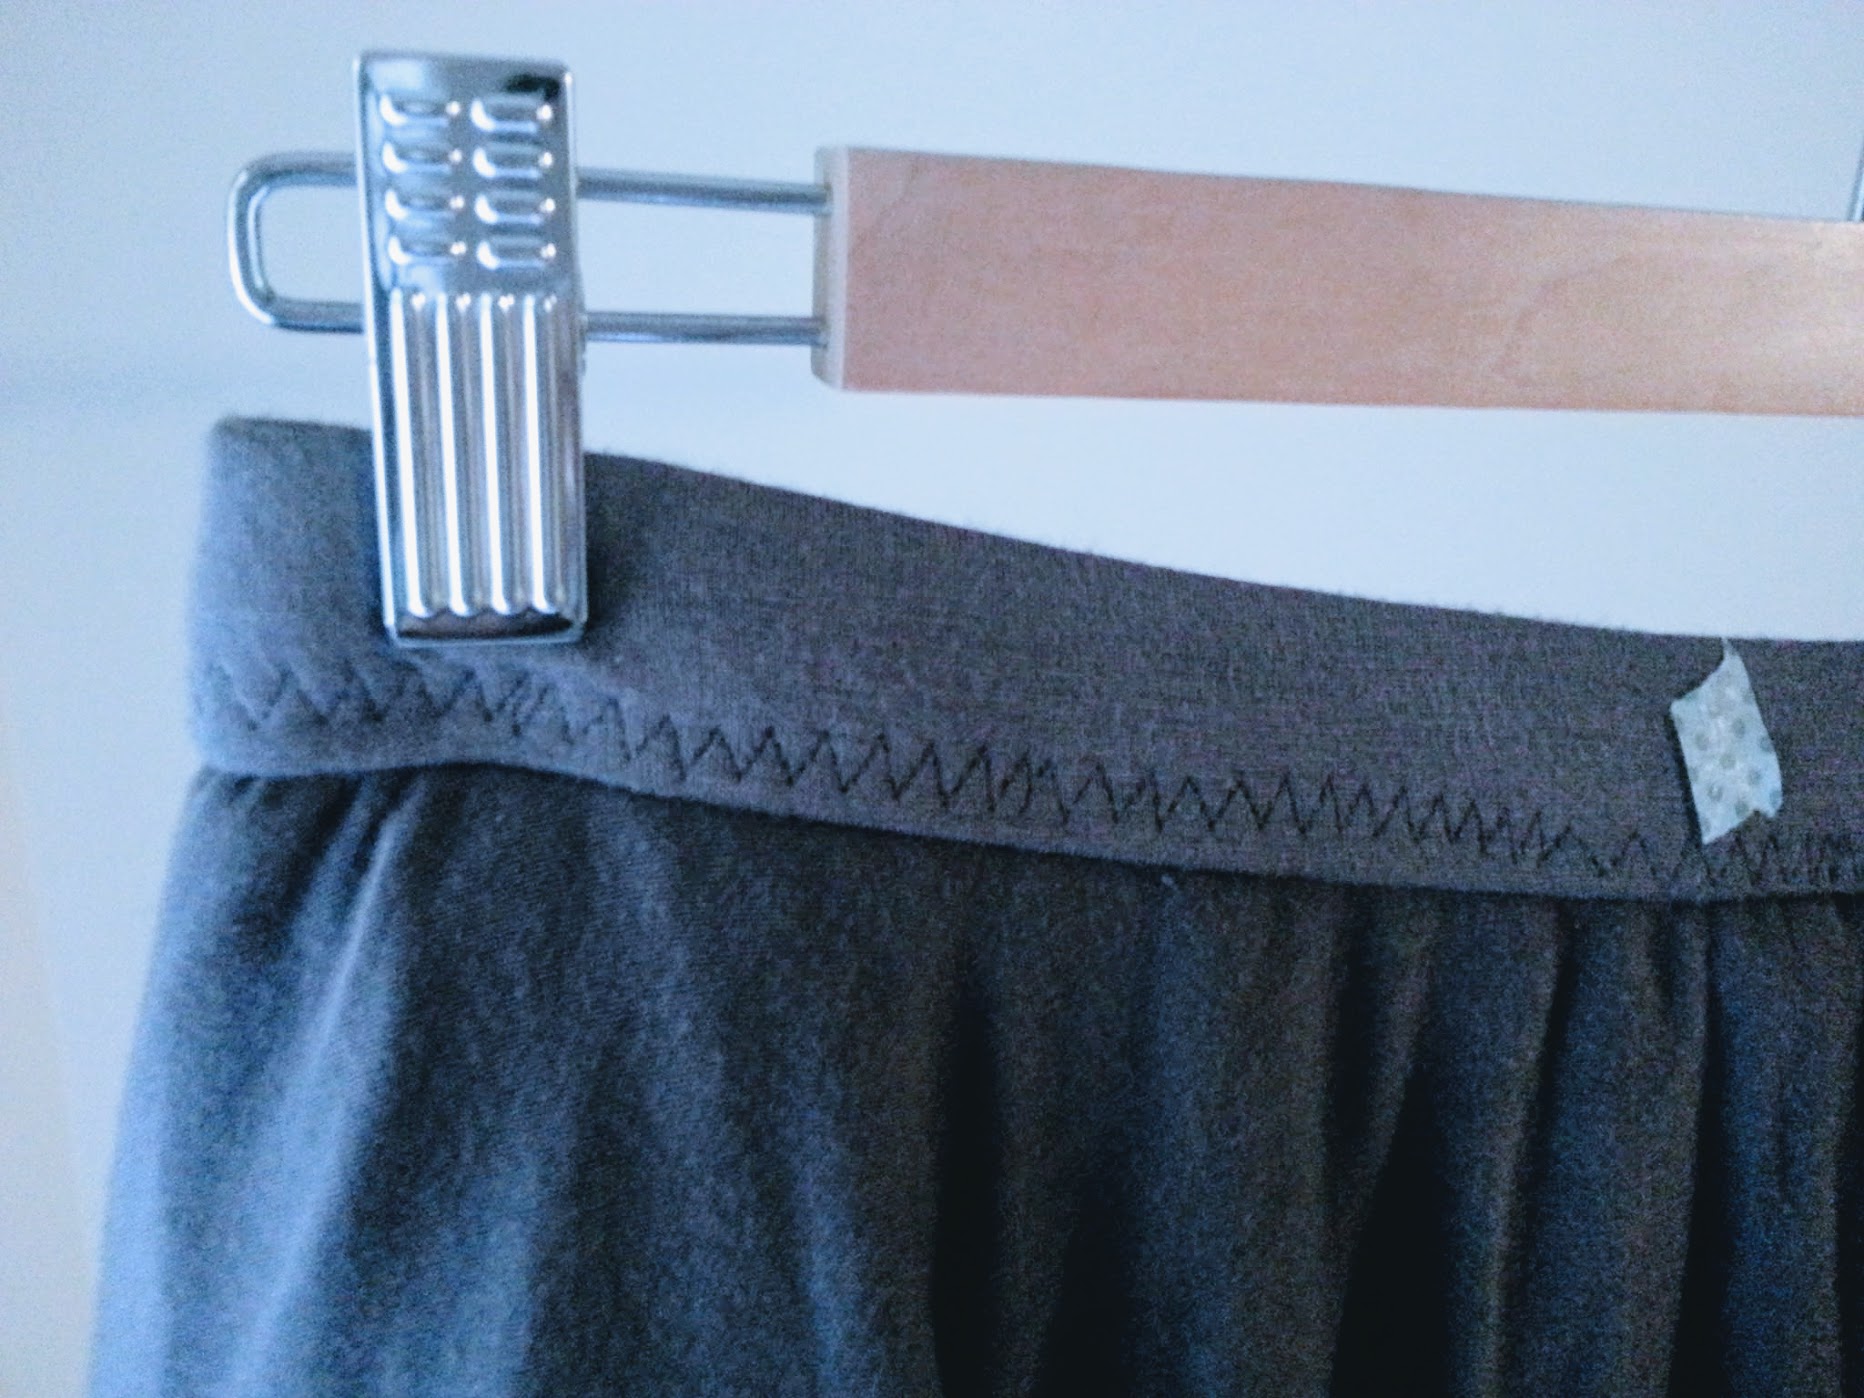
I cut the elastic according to my waist measurement, and then I cover it with a casing I made from the plain jersey. Before stitching the casing closed, I stitched both ends of the elastic together. Just like with the skirt, I marked the center front, center back, and two sides of the elastic.
Part 4: Combining all the pieces
A. Attaching the skirt to the elastic
This was the moment of truth. Before going to the sewing machine for the moment of truth, I did a basting stitch 1″ below the top of the skirt to minimize any layers being caught on the sewing machine. (Later on, I found out that this was a pretty good call to make.)
When I was satisfied with how the elastic band and skirt are aligned with each other, I started to put 4 pins on the (you guessed it) center front, center back, and two sides, pinning all the layers together with the elastic band.
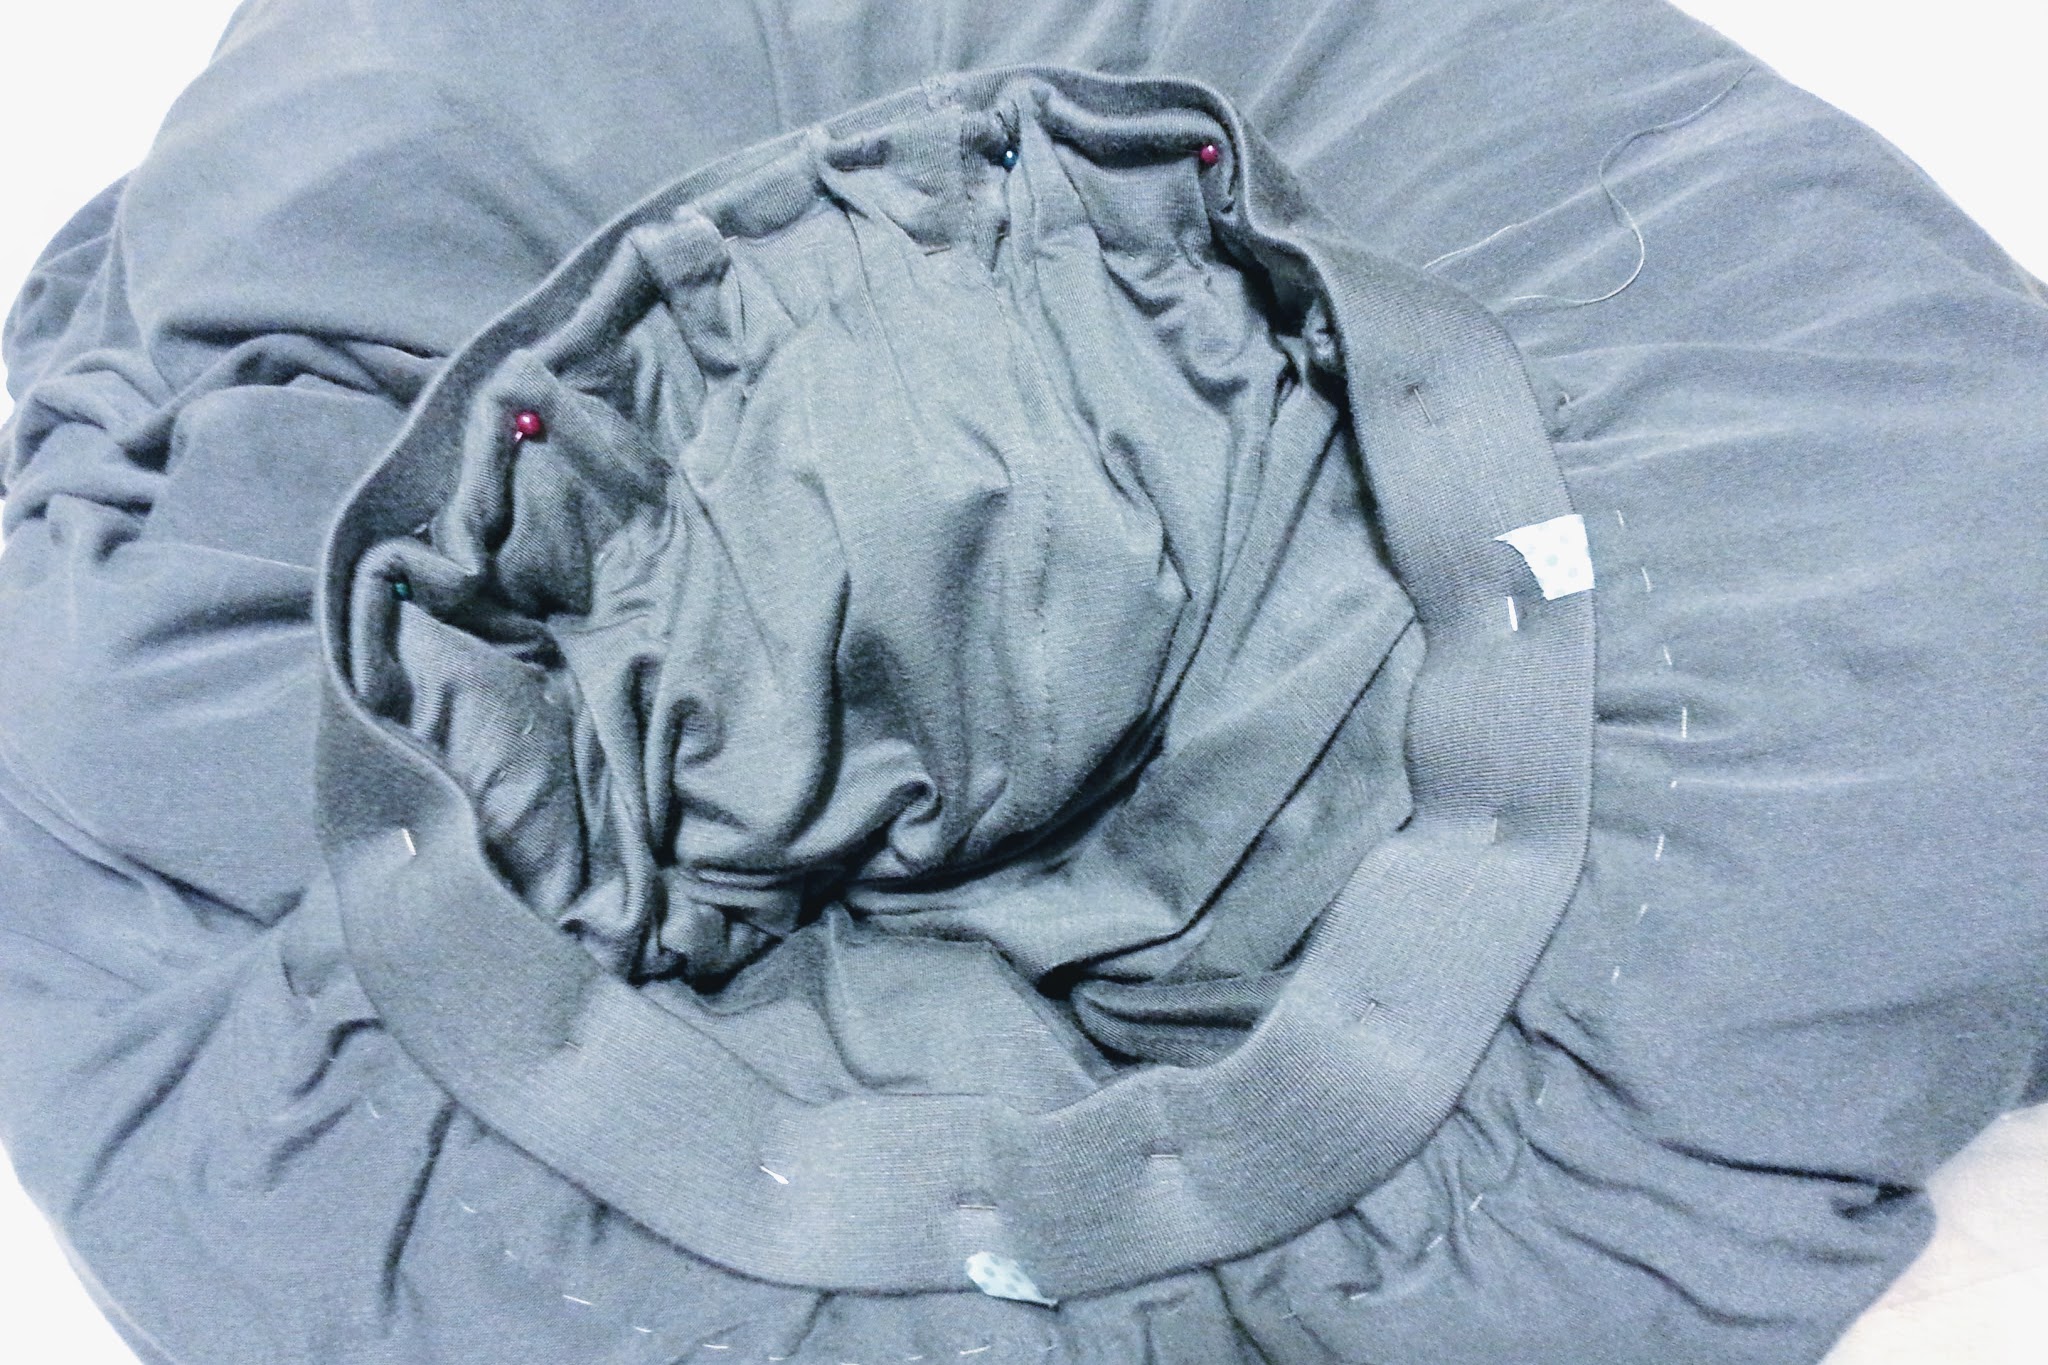
This is it! Time for a zig-zag stitch and arms strength test (because I have to stretch the elastics 4 times in order to cover all the width of the skirt). It was quite a work-out (yeah, I’m kinda weak).
So far so good! I can see the high-low circle skirt dress forming!
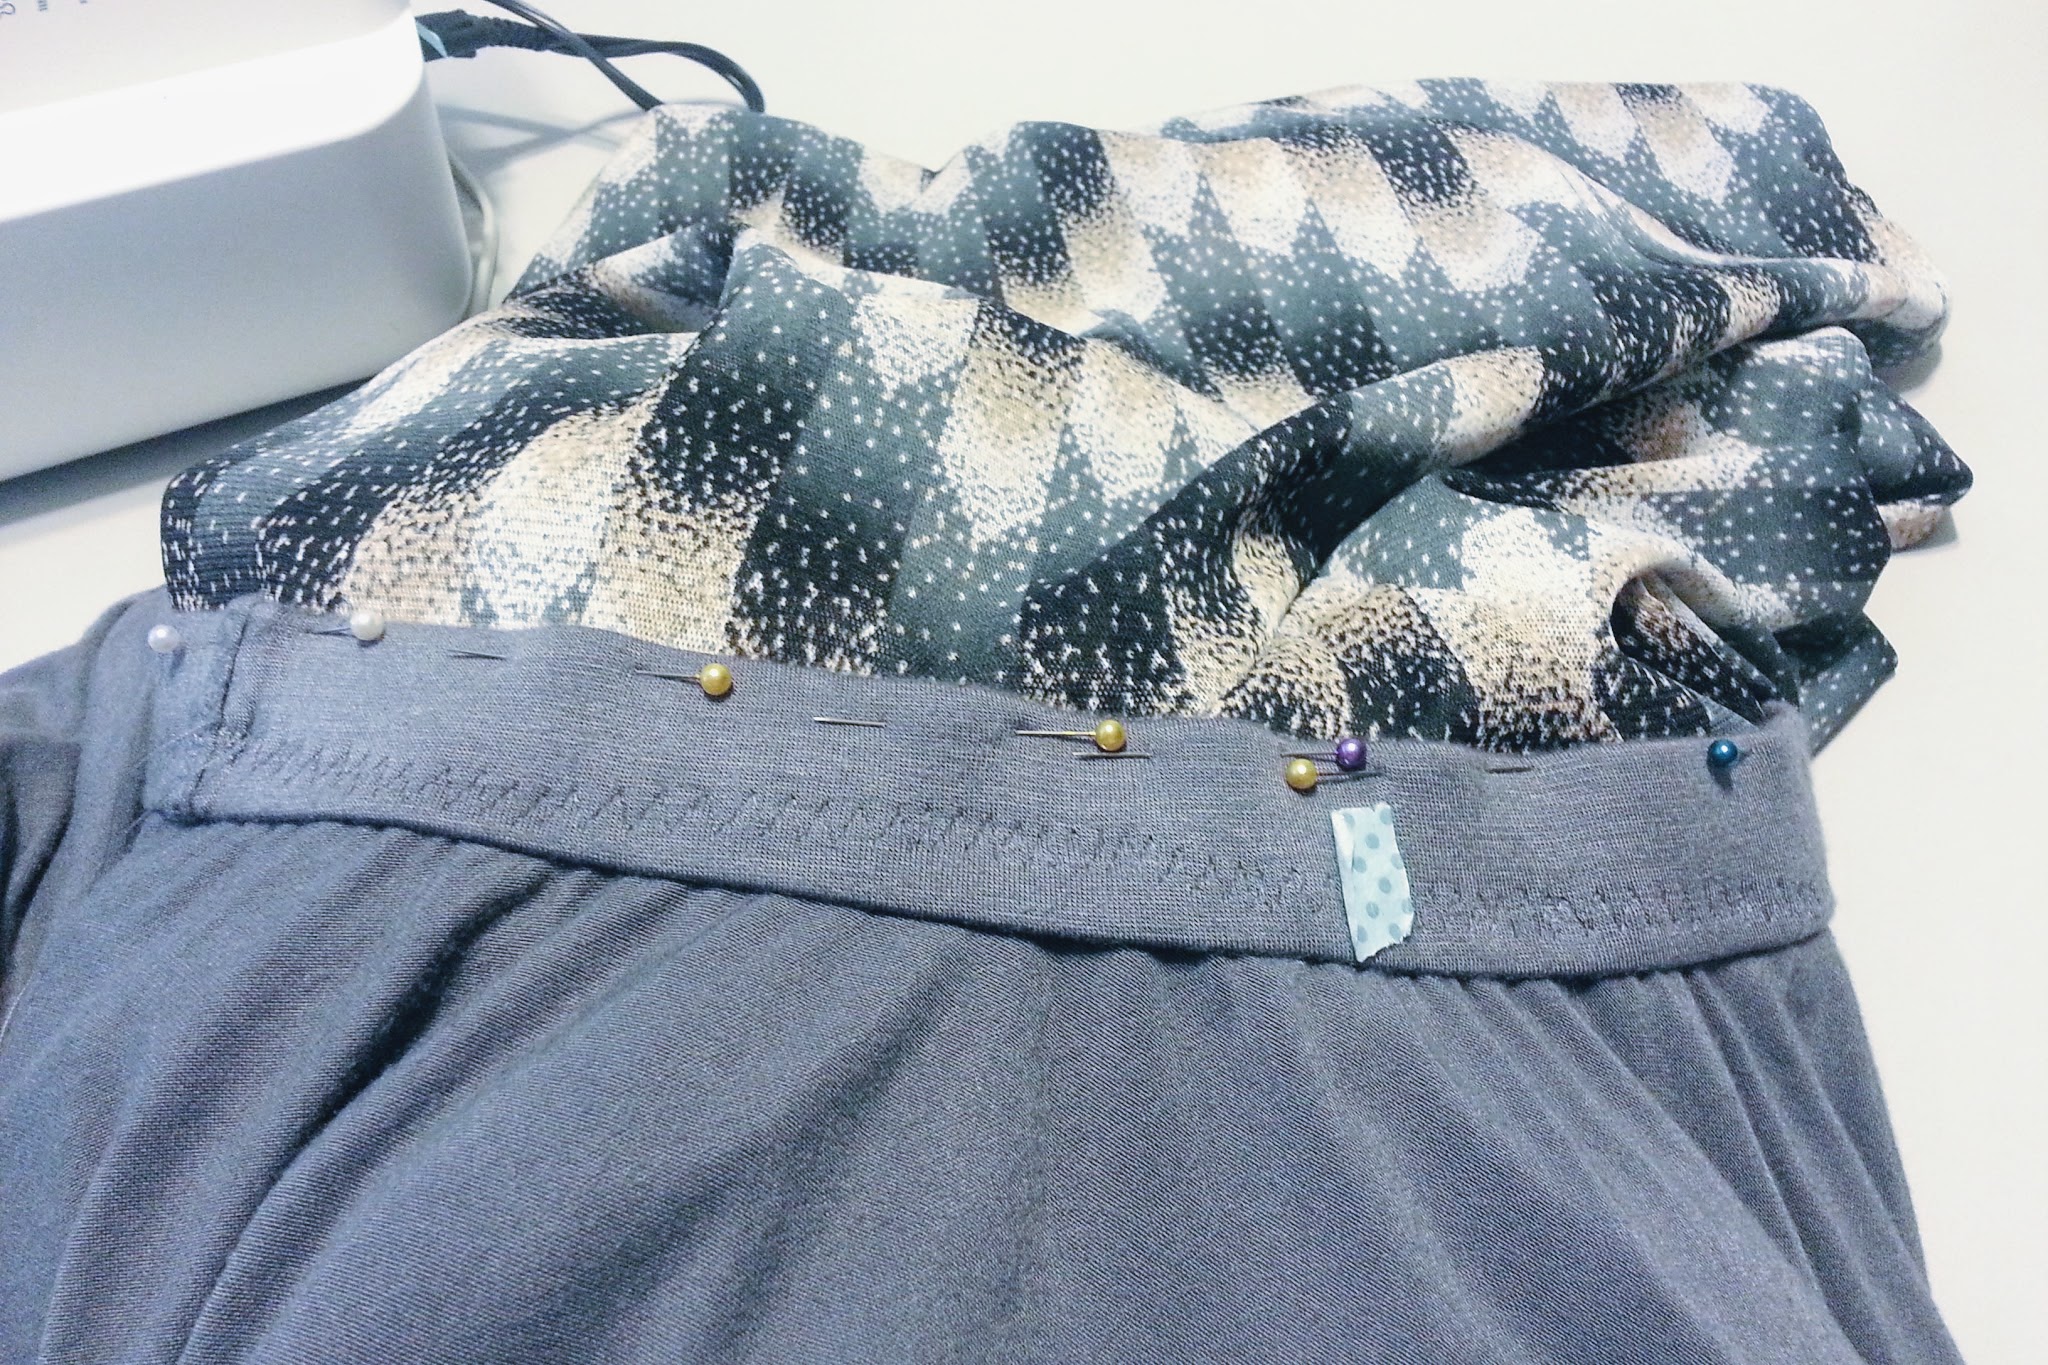
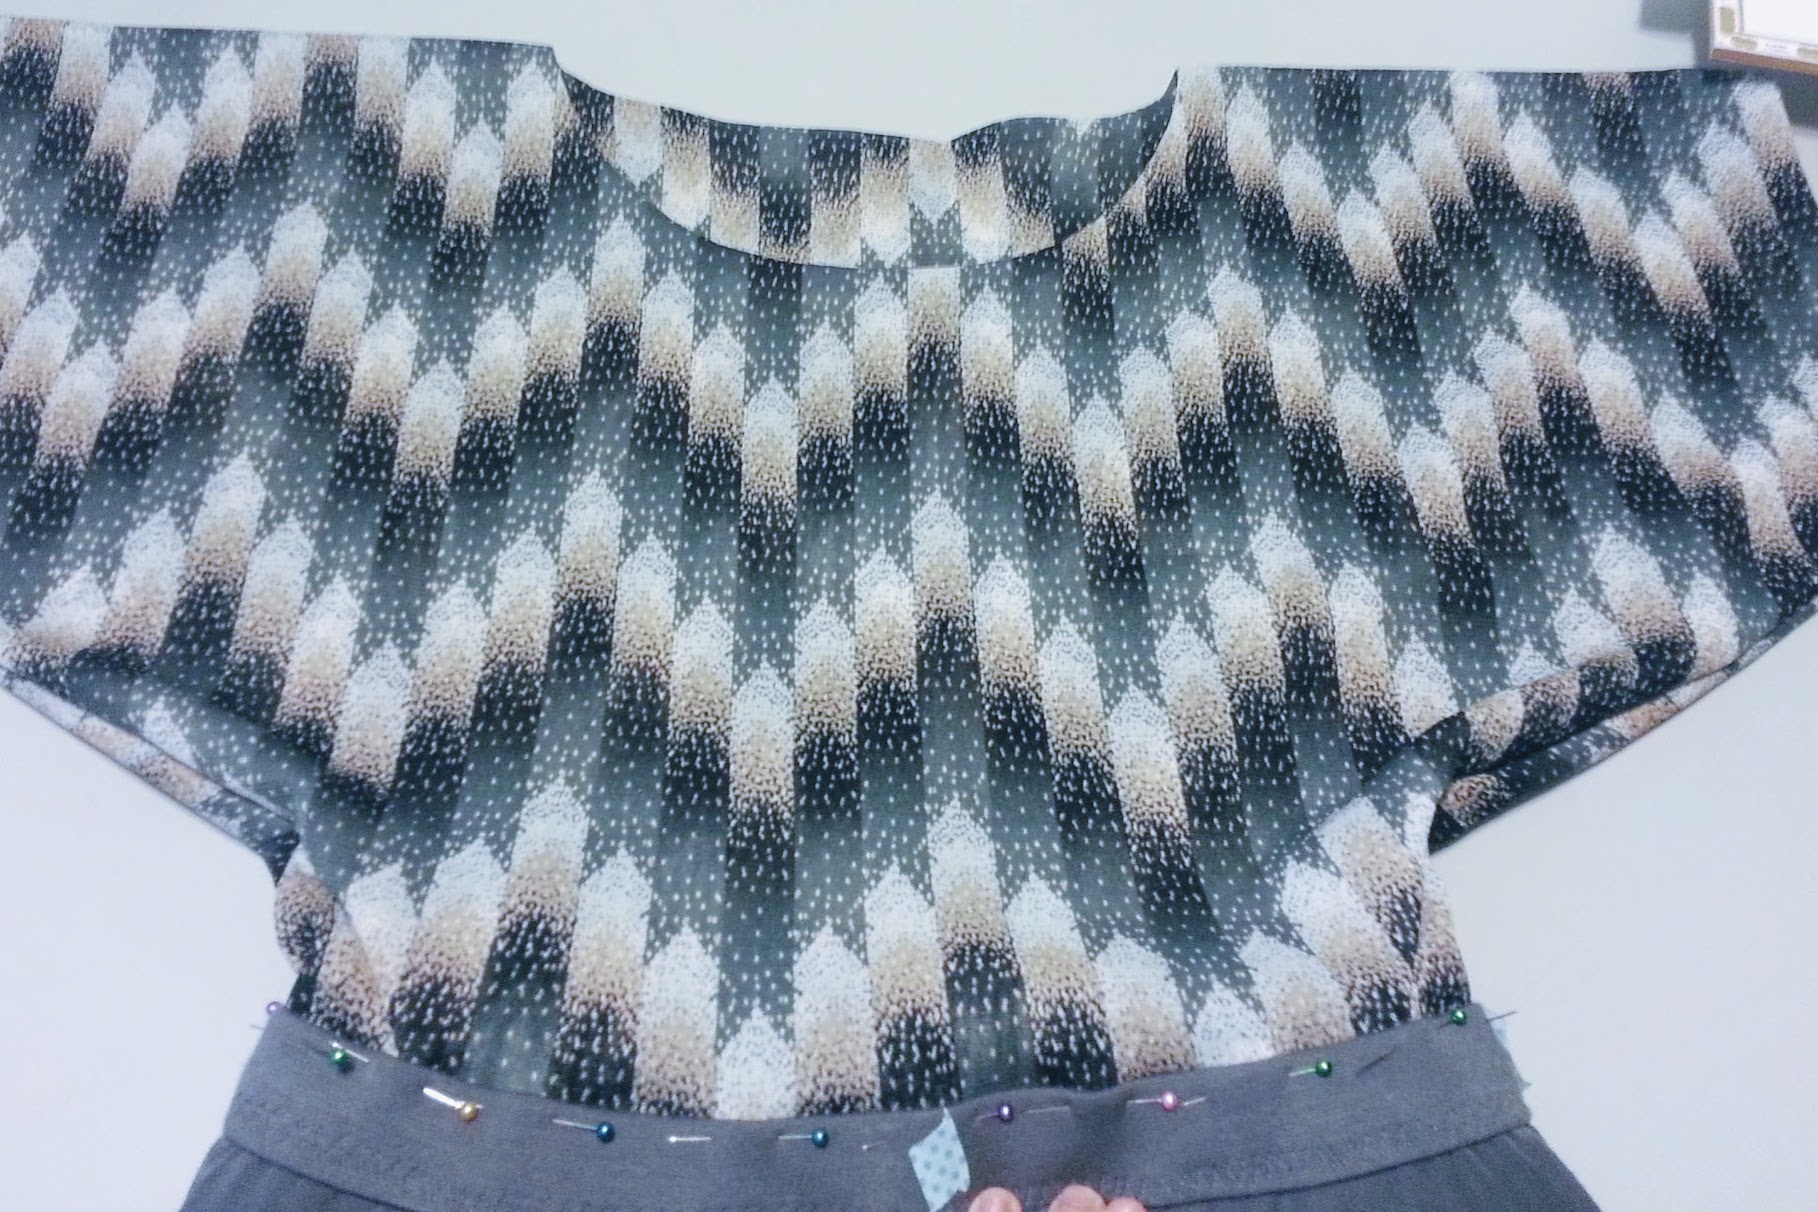
B. Attaching the top to the elastic
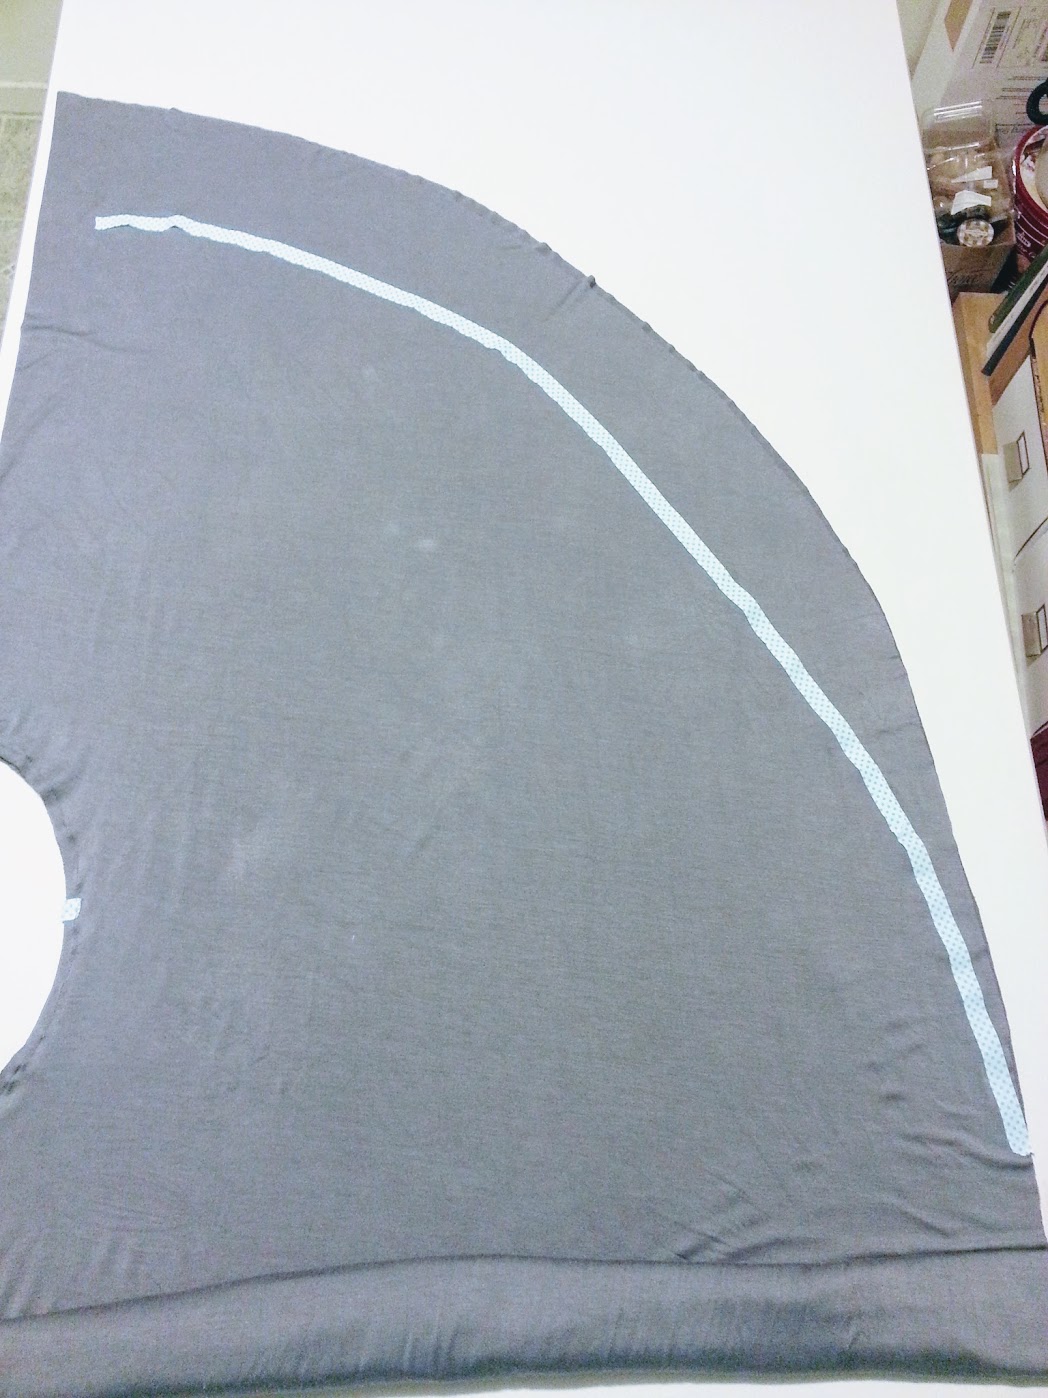
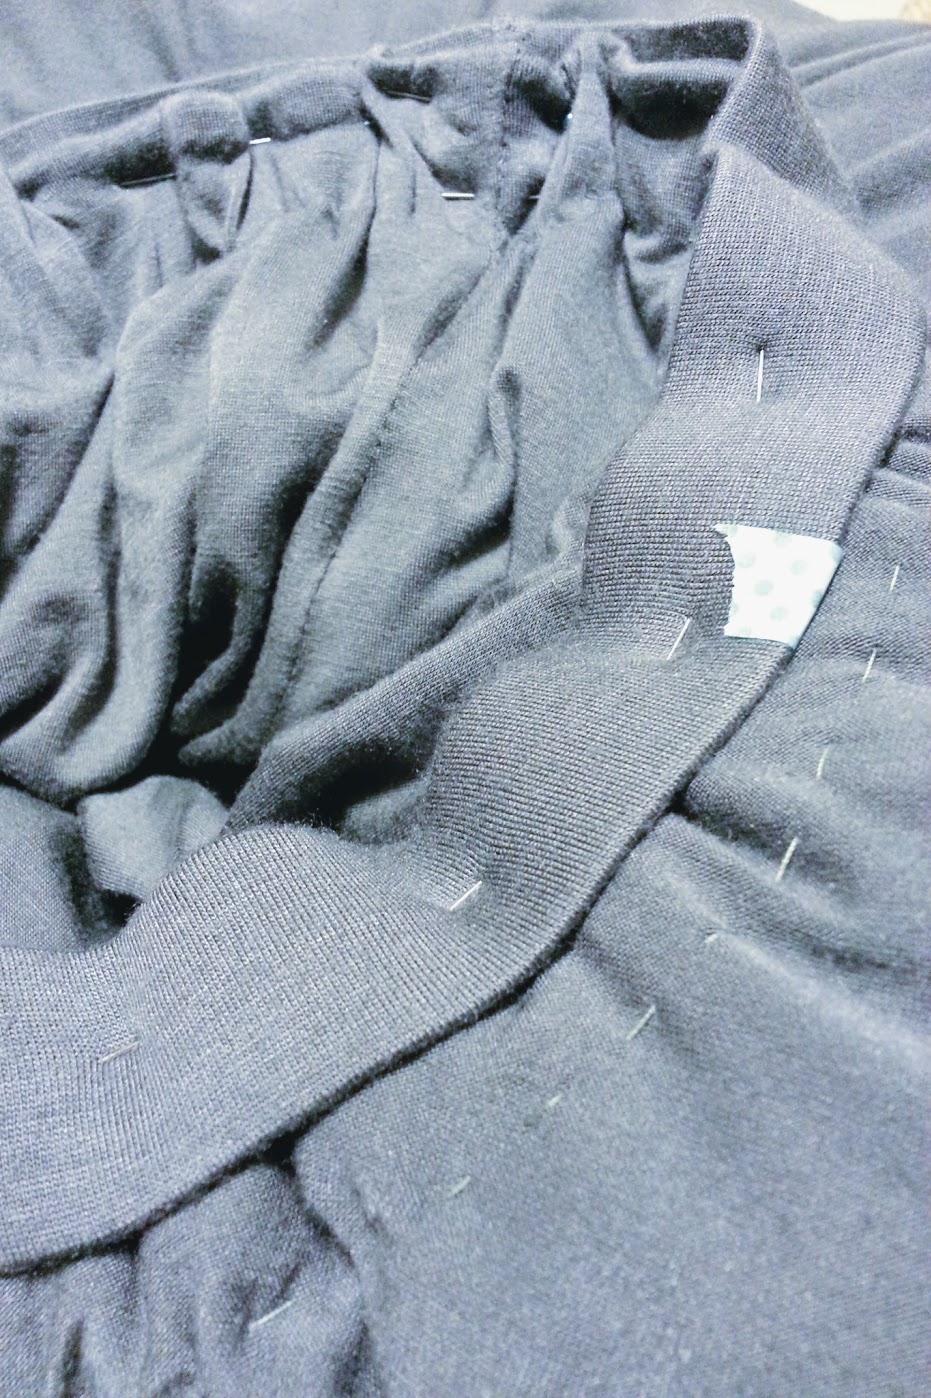
After checking the top’s length, I chopped of about 1″ below where I would stitch. Now I did the same thing for the top as I did on the skirt.
It was a bit difficult because now 1/2 of the elastic width is “crowded” with the skirt. So I went by very carefully to make sure there’s no extra layers of fabric getting caught on the sewing machine.

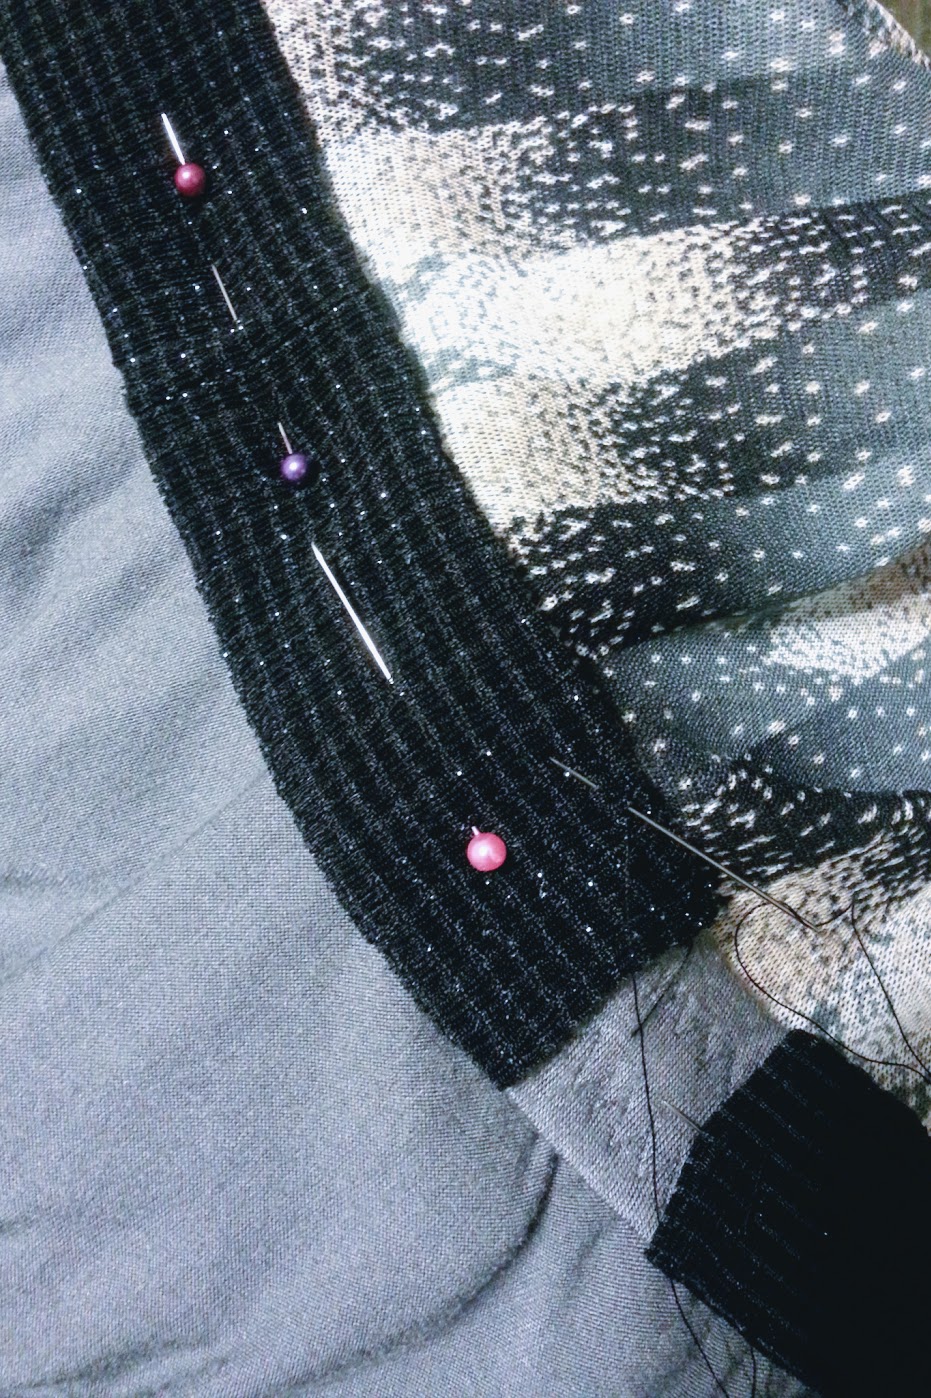
Oh hey, not bad! After that’s done, I hand stitched the top and skirt fabric that overlap in the inside of the elastic so it’s looking neat outside AND inside.

C. Covering the elastic
I wanted to cover the zig-zag trace on the elastic band, so I cut a long strip of the stretchy black fabric (same fabric that I used to lengthen the black lace dress) and stitched it by hand. I made sure that the stitches were “loose enough” so the elastic can still stretch freely.

If I’m to do it again, I probably wouldn’t do an elastic casing before attaching the top and bottom parts together.
D. Trimming the extra tulle!
I view this as the “Bonus” stage of the whole project. All the hard work is done, now I get to trim the tulle excess on the hem. I love this part :)
And with that, I guess we’re ready….. *drum rolls*
Ta-Daaah!! Here comes the high-low circle skirt dress!
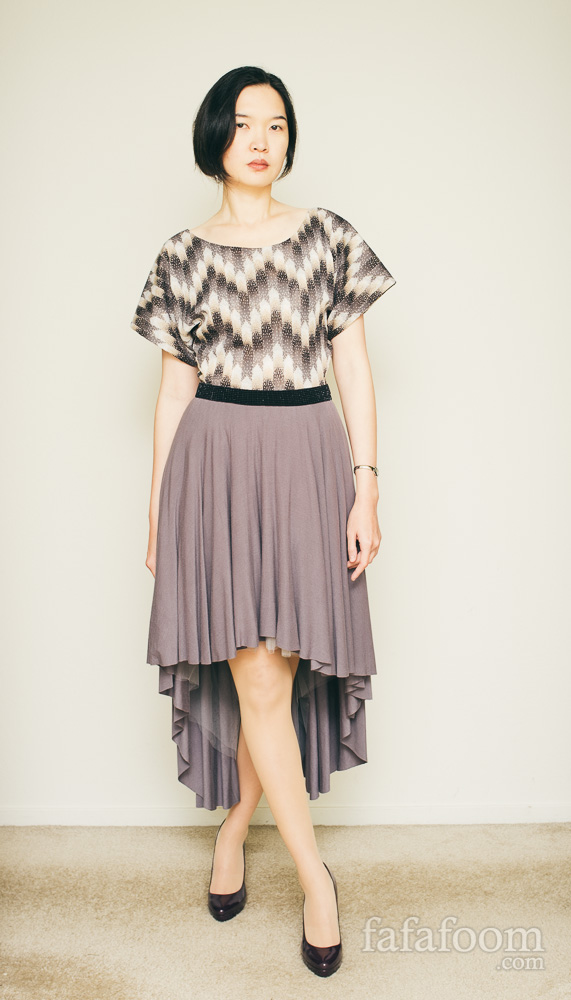
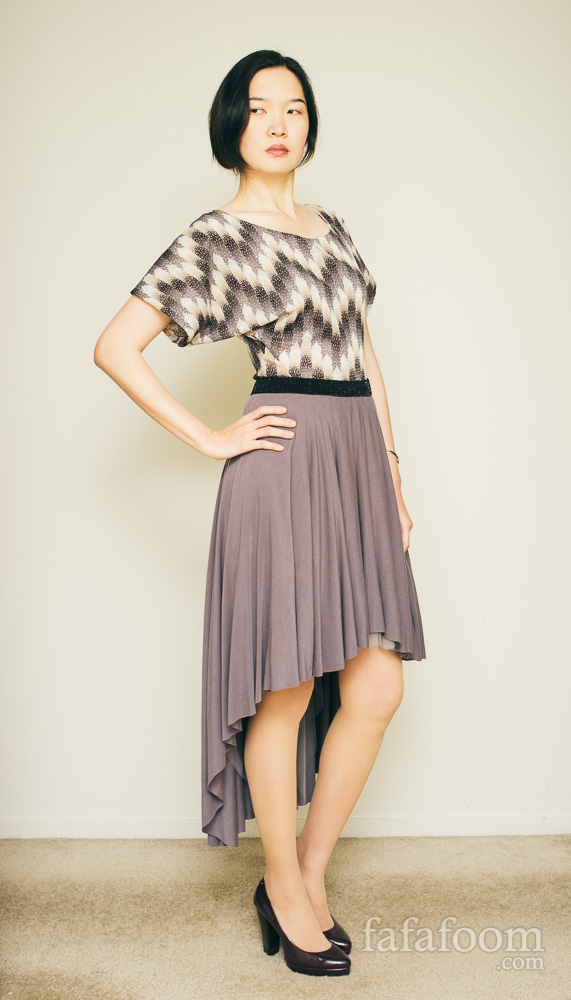
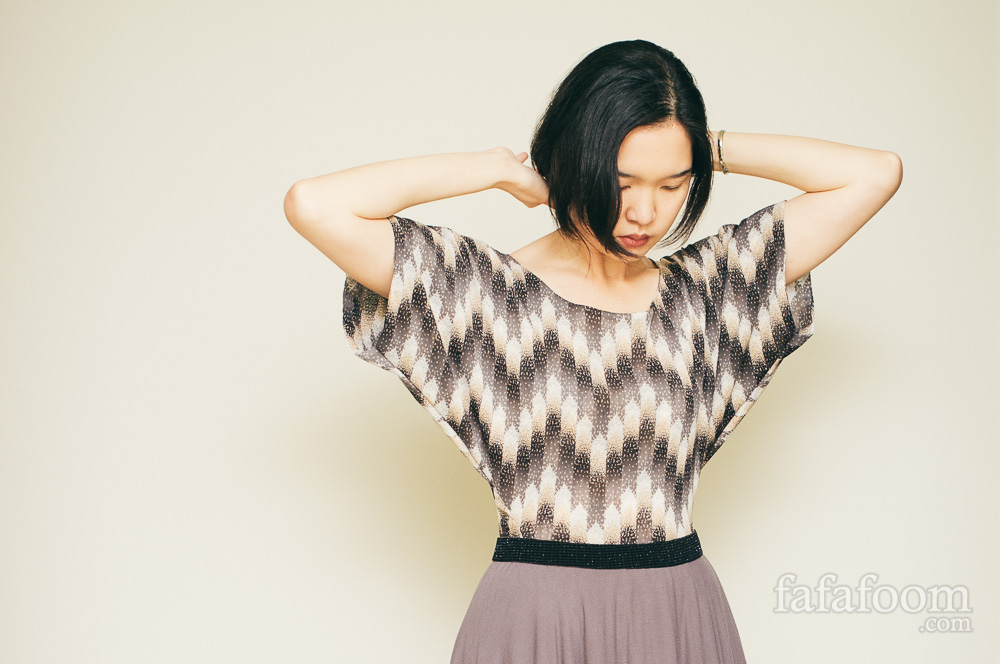
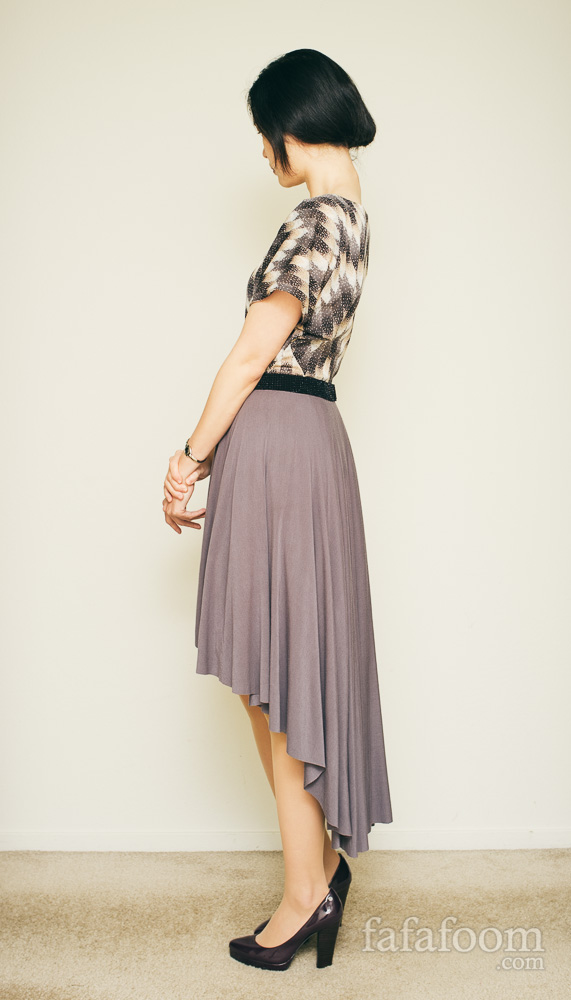
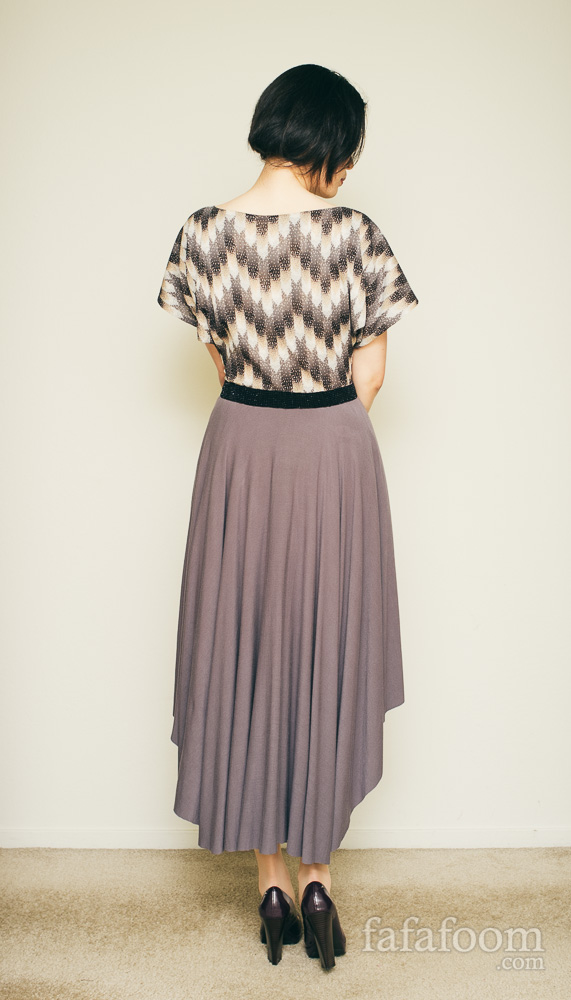
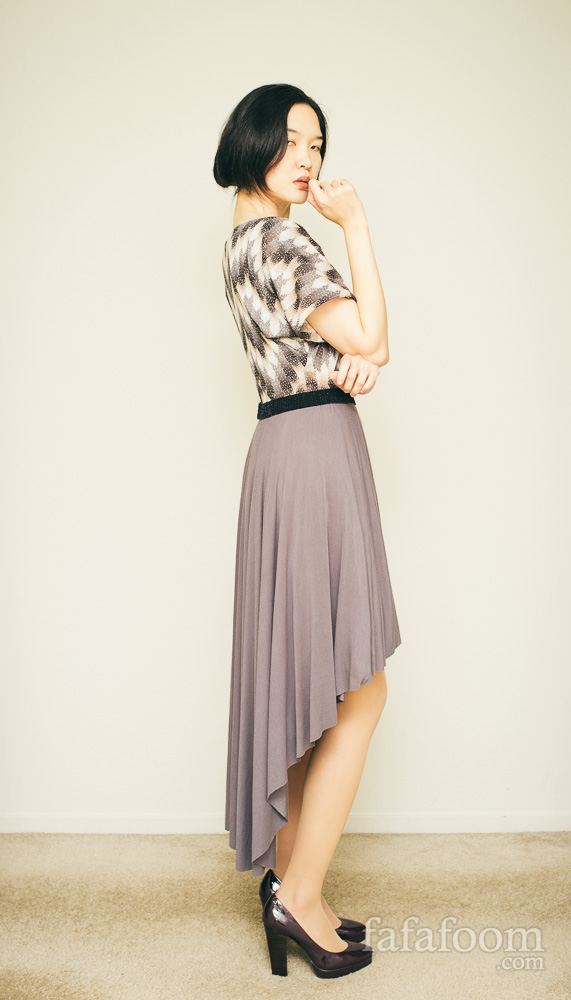

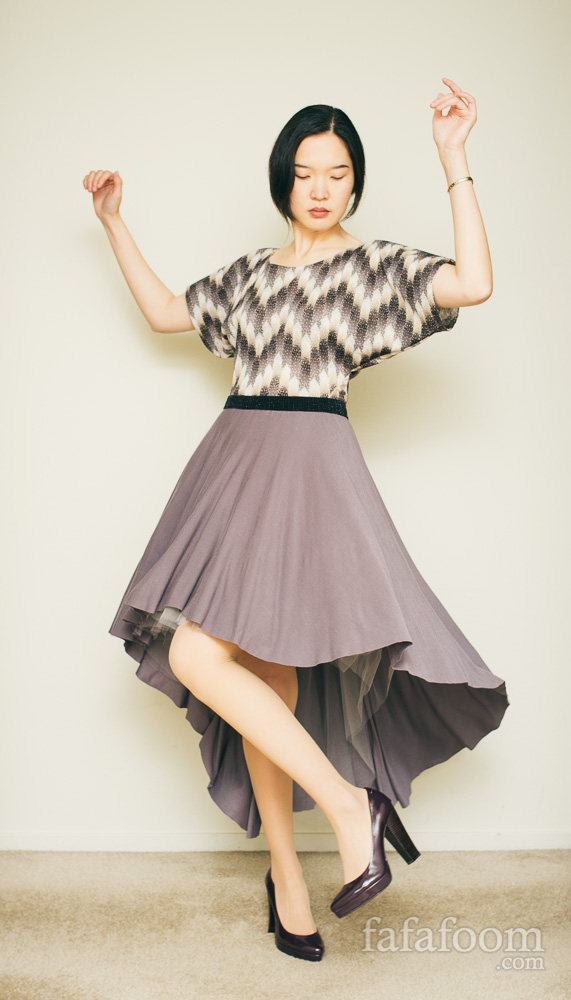
Not bad, eh? And don’t worry, my legs were OK after that last awkward twirling pose :)
I see this a more demure spring-summer dress that’s easily spruced up with a cool jacket and/or wide belt. It’s definitely a garment that can be easily accessorized with Radiant Orchid (wink, wink, Pantone Color of the Year) accent pieces.
So there you have it: my first time sewing a complete garment from scratch. Phew. I’m definitely not a Project Runway contestant material. One dress in 20 hours? Those designers can probably do 4 – 5 dresses in that time period!
Haha, it’s OK. I’m relieved, I’m quite pleased with this high-low circle skirt dress, and I’m looking forward to do a simpler (seriously) DIY project next.
Thanks for reading; until next time,
Musank
Disclaimer: I may earn a small commission for my endorsement, recommendation, testimonial, and/or link to any products or services from this website. Thank you for your support!
Never Miss a Post
Enter your email below to receive the latest Fafafoom Studio post in your inbox.
Browse more posts
Interpreting Kebaya, Making a Modern Ethnic Ensemble
Modern Ethnic outfit is my interpretation of kebaya dressing. They are made using vintage ikat textile and inspired by several free minimal-waste patterns. Only on fafafoom.com.
Restoring a 1950s Atomic Age Dress
Restoring and repairing a beautiful 1950s Dress for my summer 2022 wardrobe. Smart alterations include lining and inseam pockets. Only on fafafoom.com.
Pink Delight! Natural Dyeing with Camellia Flowers
My next experiment is dyeing with camellia flowers. Amongst all natural dyeing projects I have done so far, this is my favorite. Check out the pink delights! From fafafoom.com.
5 Slow Fashion Tips for a More Sustainable Wardrobe
Five slow fashion tips to help you transform your sustainable wardrobe for a cleaner, greener future. A guest feature from Reese Jones for Fafafoom.com.
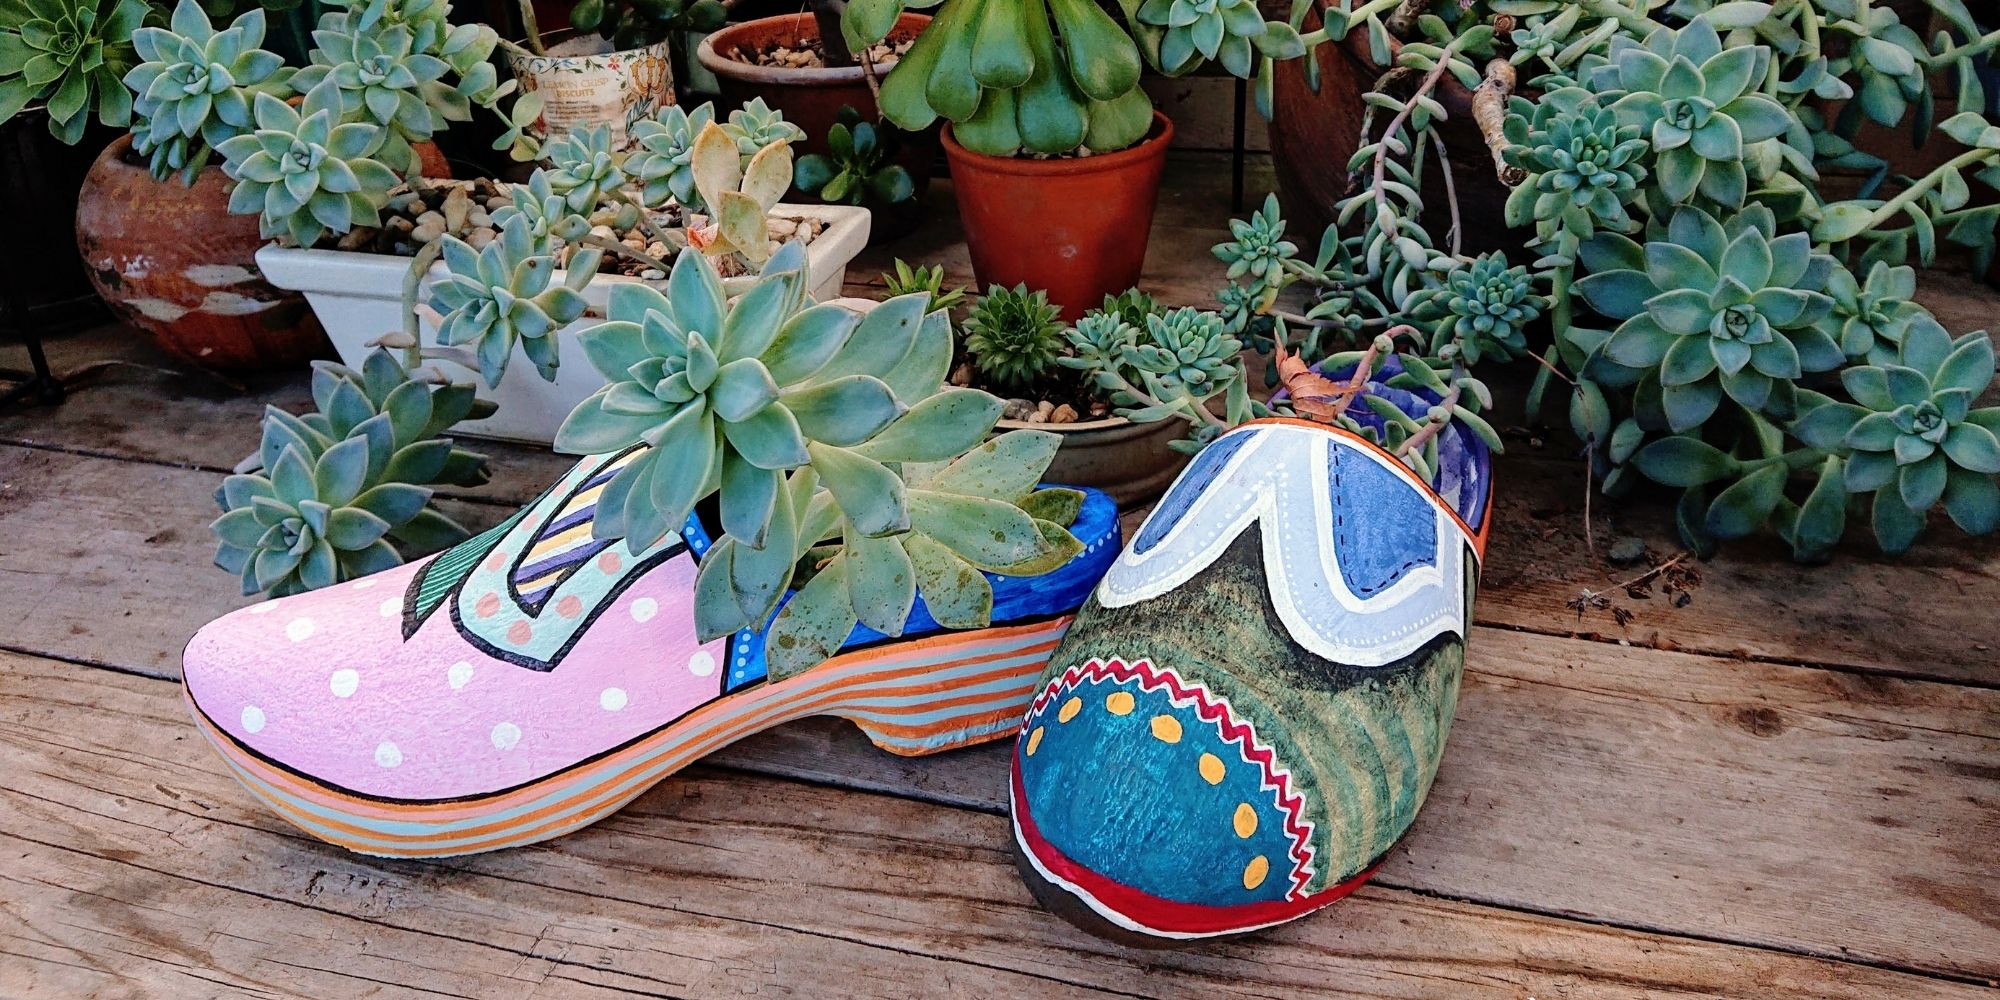
Upcycling and Repairing Ideas for Garden Decor
The garden has become a special place, especially during Covid-19 pandemic. During shelter-in-place period, I made garden decors by upcycling locally sourced items.
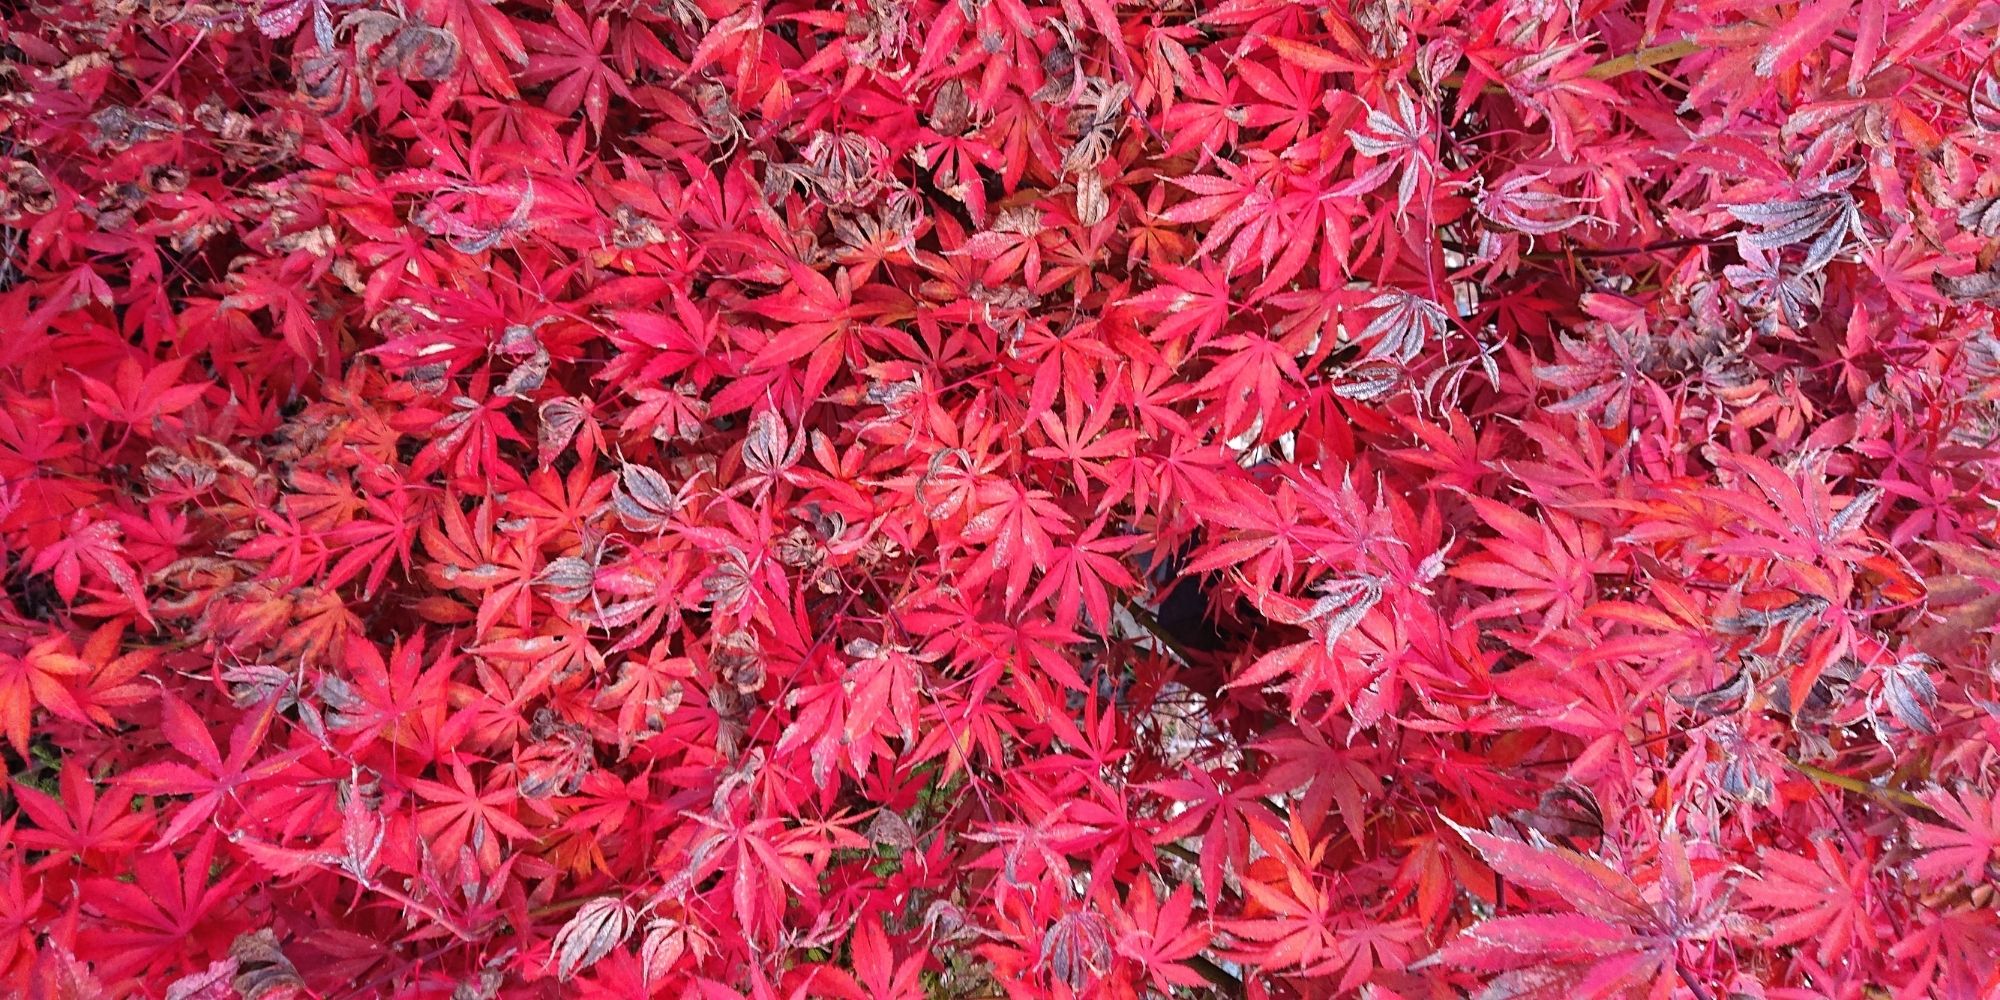
Natural Dyeing with Japanese Maple Leaves: Notes from a First-timer
Notes from my first natural dyeing experiment with Japanese maple leaves in fall season. Three batches of dyeing using fallen leaves sourced from two different trees in the garden. So much to learn and enjoy afterwards.
All your effort produced a lovely outfit. Thank you for all the info!
Thank you Annie! Glad you find it useful :)
this is really beautiful. i wish i was talented in sewing as you
Thank you so much Kai. It honestly was a leap of faith for me, and there were lots of frustrations and near-give-ups along the way due to my limited sewing skills.
Love this project, that dress is so pretty. Thanks for really helpful tutorial :)
Thank you so much, Maikki!
WELL DONNNNNE
Thanx for sharing Sista!!
Thank you so much, Latraviata! Sorry for responding soooo late, but I truly appreciate it!!!