
Sewing process highlights from making sleeveless coat (featuring one button detail, no collar, and deep inseam pocket) by altering a tunic pattern. It was quite a journey and I absolutely love the result!
Recently, I posted about Texture Clothing’s Every Body Tunic and why it’s a good pattern for beginners. What I didn’t say is the tunic is the 2nd garment I made using the pattern. The 1st garment I made was this sleeveless coat.
When I was asked to review the pattern, for some reason I wasn’t thinking of following the pattern straight out of the box. I was entertaining some ideas of making my own textile with patchwork of fabric remnants, or adding 3D textures with fabric cutouts, or altering the pattern to make something I have always wanted to make: a sleeveless coat. I chose the last option, because I really fell in love with the subtle, graceful A-line silhouette of the Every Body Tunic.
Subscribe to my newsletter
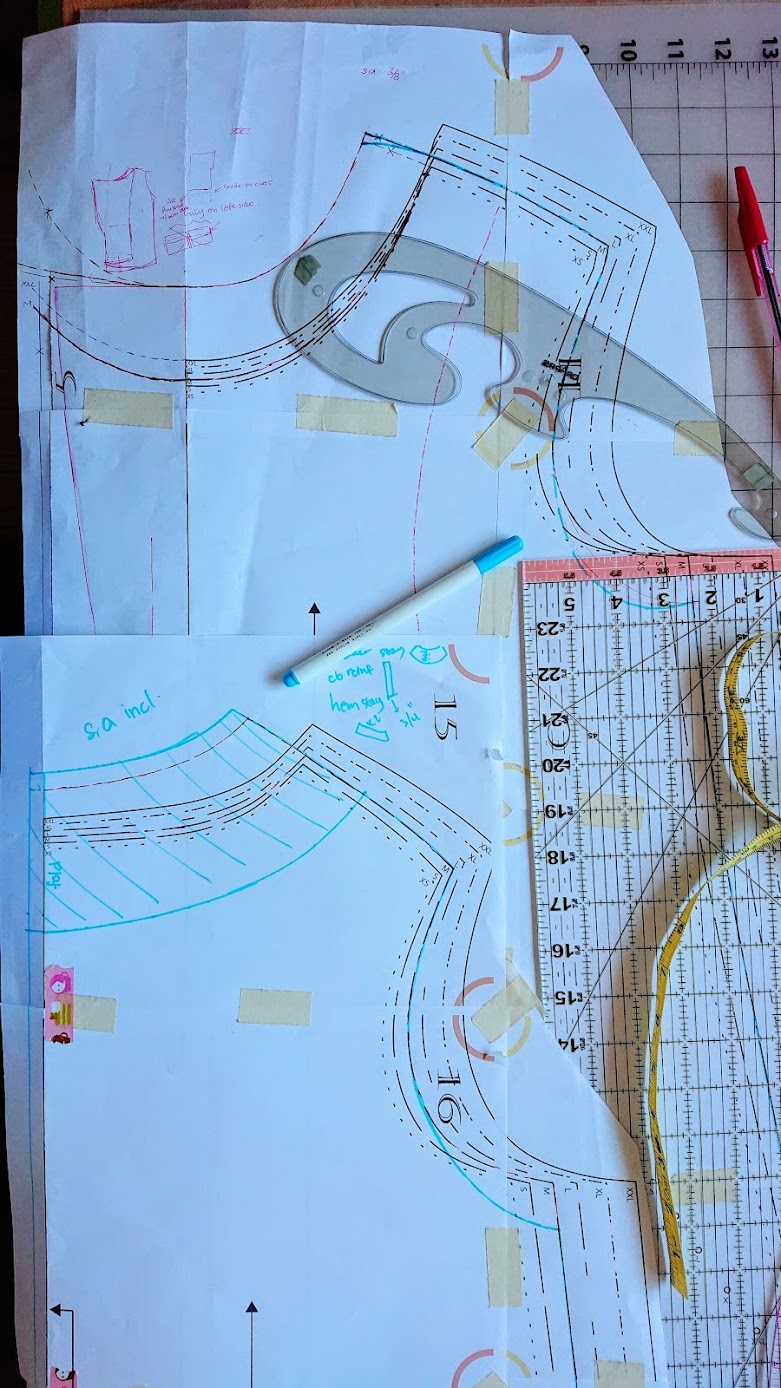
I marked additional details on the master pattern right after I assembled them together. As I modified and finalized my sleeveless coat pattern pieces, I made a muslin toile so any adjustment attempts were traced to the muslin and tested right away. I also frequently consulted “How to Make Sewing Patterns” book by Donald H. McCunn because I didn’t really know what I was doing.
However, more than the book – I’m sure many of you have your own preferred sewing pattern how-to book, I have to say personal pattern making tips given by Josephine Tchang of purplemaroon and my designer friend Jesus Romero were the most helpful in finalizing the pattern alteration. From walking my pattern pieces to make sure the seam lines matching up, making notches and snips to aid lining up fabric pieces, to faster seam ripping with a razor blade, these are all useful tips that made the garment making smoother and faster. (I’m now making a note to write a post about it later.)
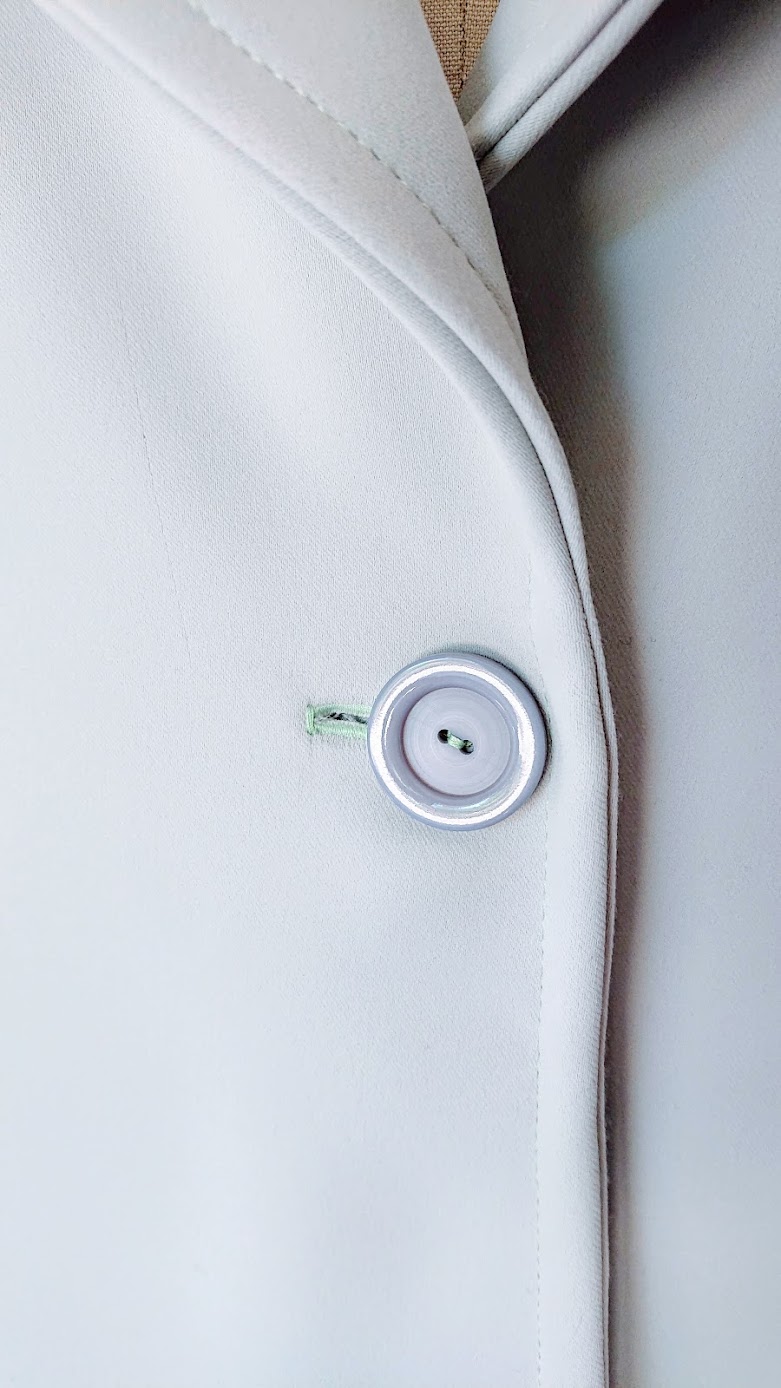
At the end, the tunic’s 2 pattern pieces got “translated” into 7 pieces for the sleeveless coat. The features include an extended decorative princess seam towards the shoulder seams, inseam pockets, no collar (but yes to lapels), and one button closure.
Break down of original tunic’s pattern pieces
Alterations for the front tunic piece:
- Raise the neckline.
- Extend the neckline and center front line to make coat lapel.
- Decide placement of extended princess seam based on how big the pocket needs to be, and divide the pattern vertically based on the princess seam. Make notches along the seam line.
- Make pocket pattern aligned with princess seam placement and center front seam.
- Mark a parallel line 1.5″ away from the bottom hem to make hem reinforcement piece*.
The one front pattern piece became 4 pattern pieces for sleeveless coat:
two for the front (connected by princess seam), one for the pocket, and one for hem reinforcement.
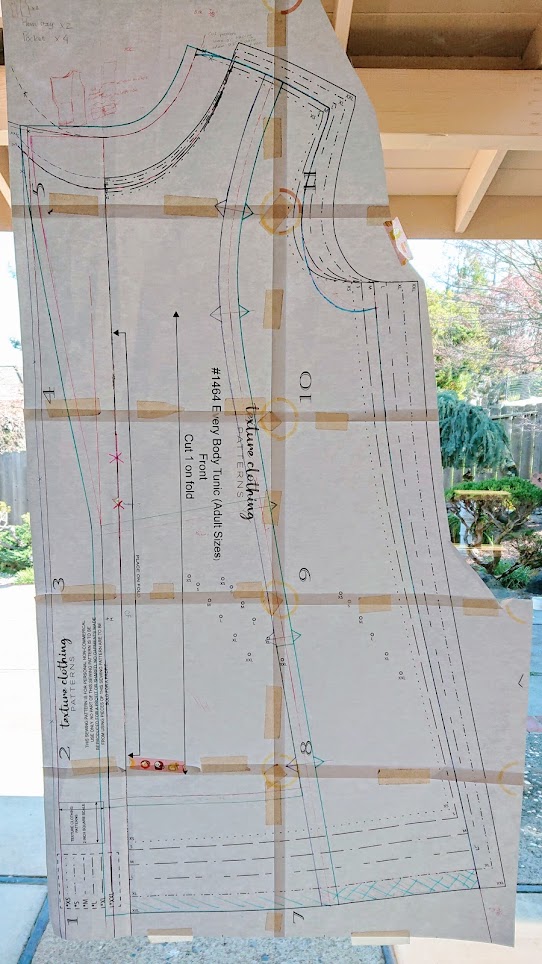
Alterations for the back tunic piece:
- Raise the neckline, matching the front piece.
- Make back yoke piece.
- Mark a parallel line 1.5″ away from the bottom hem to make hem reinforcement piece*.
The one back pattern piece became 3 pattern pieces for sleeveless coat:
one for the back, one for the back yoke, and one for hem reinforcement.
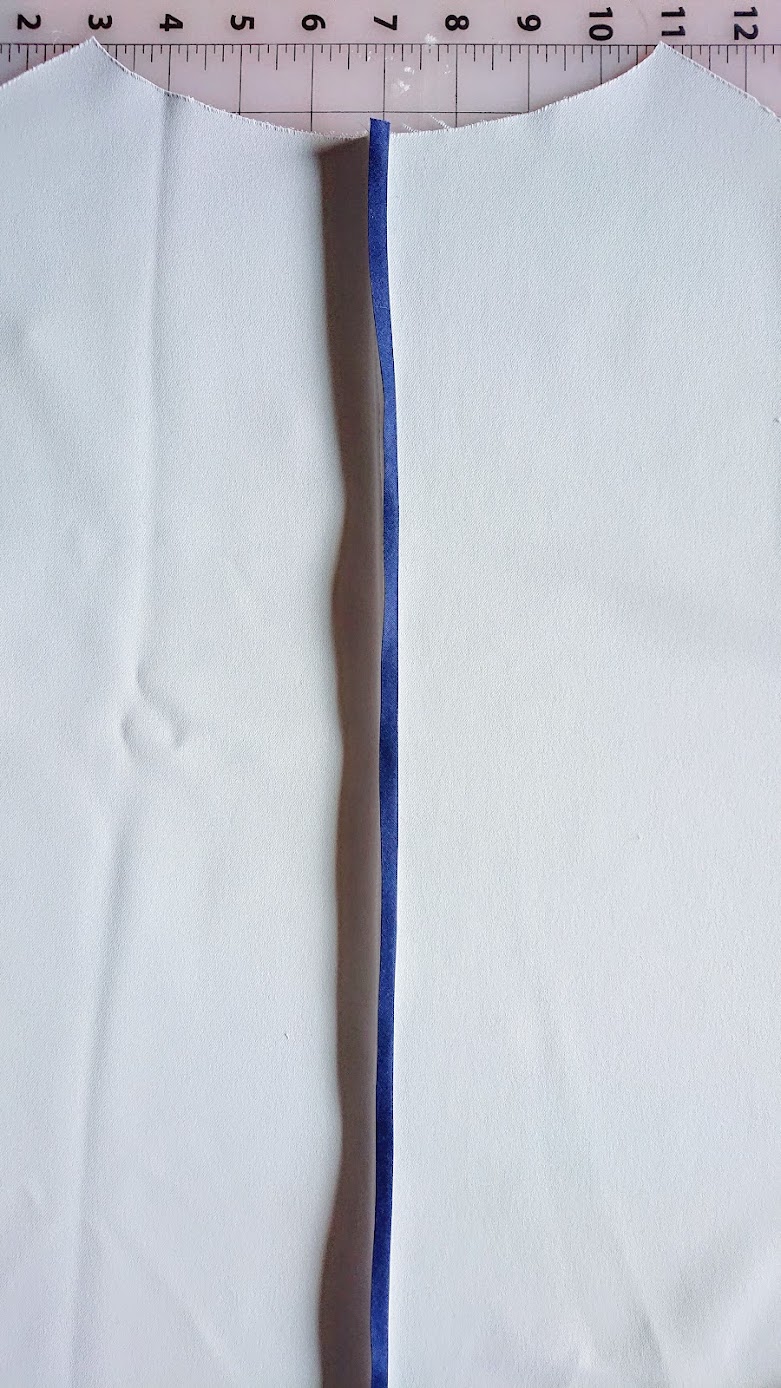
*If I could turn back time, I would skip this one and just make long strips of 1.5″ wide fabric pieces. No need to make slightly curved pieces – such curves can be achieved with pressing.
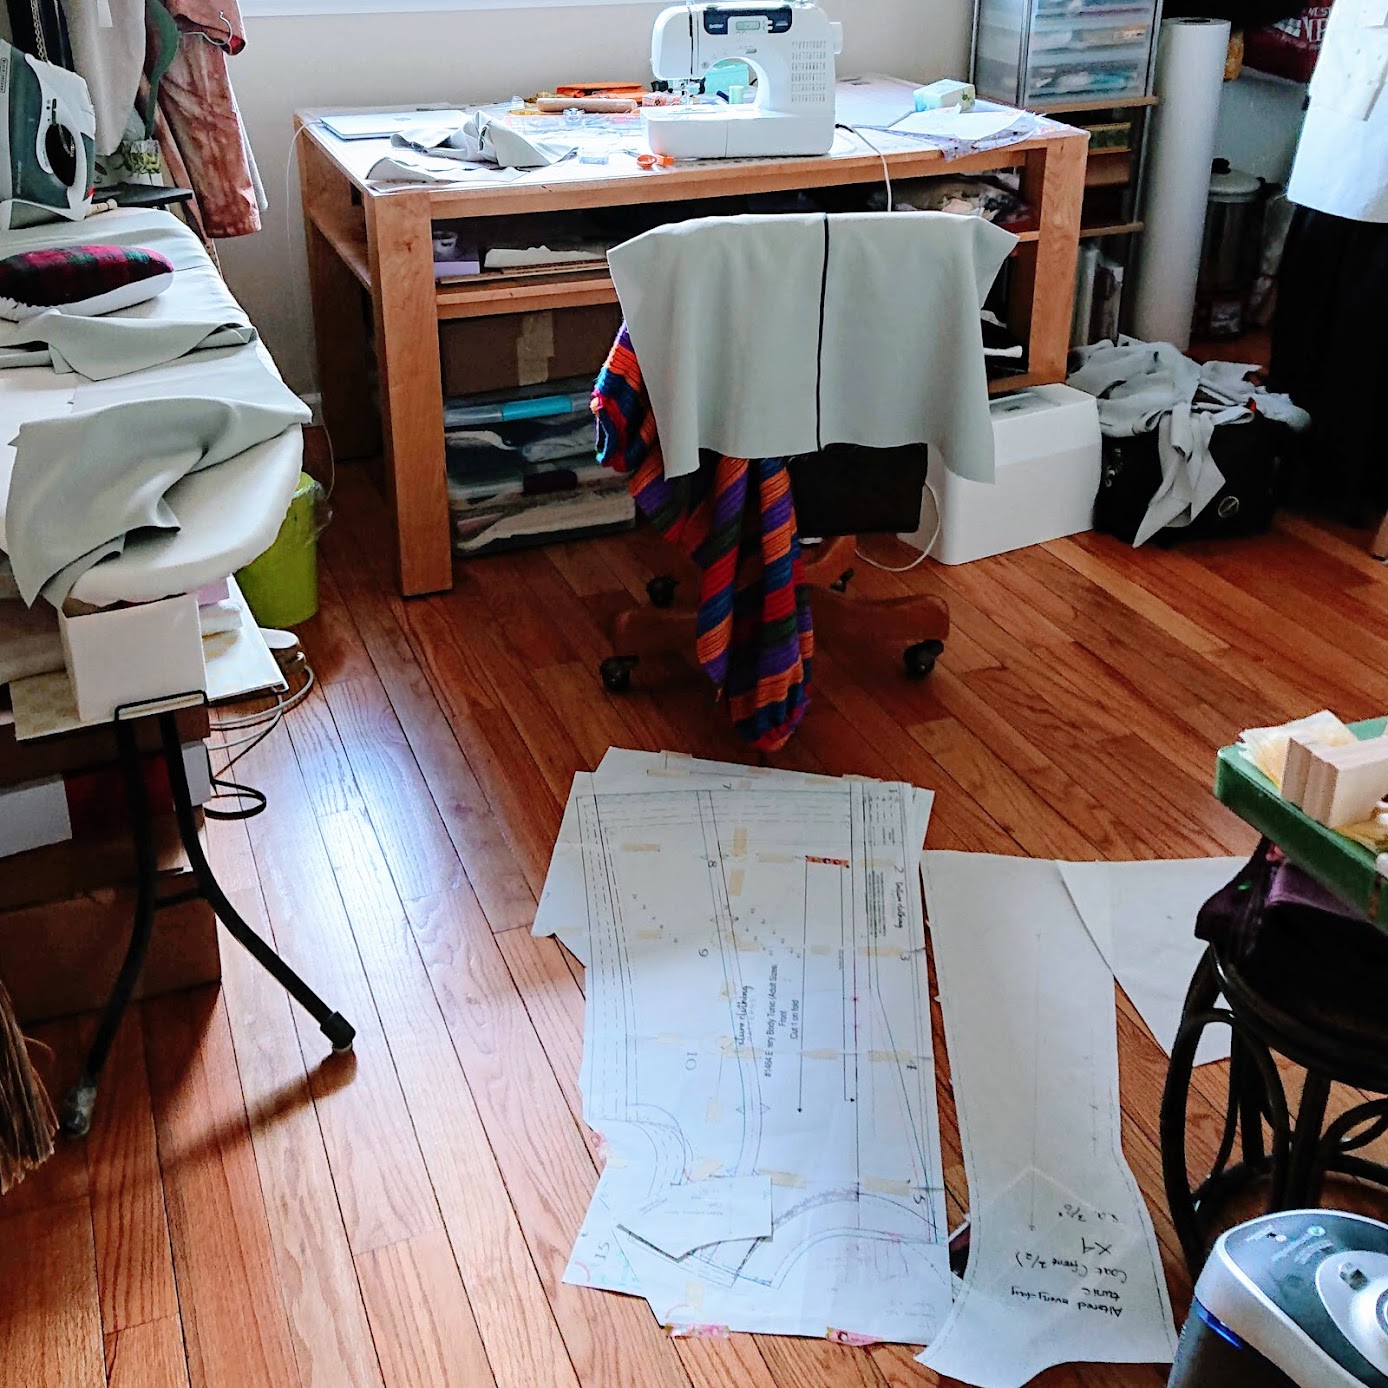
The constant trials and errors made the sewing room look chaotic, and the cutting table always looked haphazard with myriad of tools, fabrics, and machines.

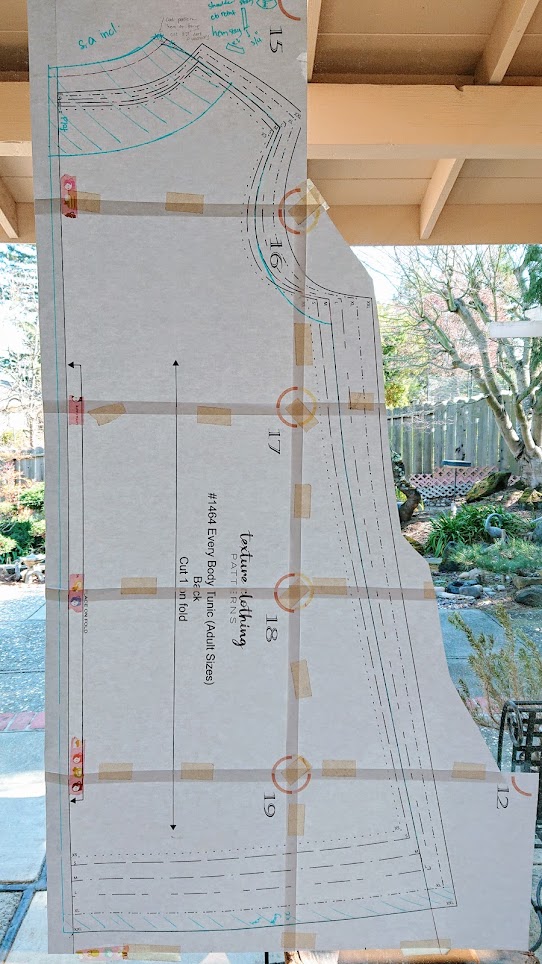
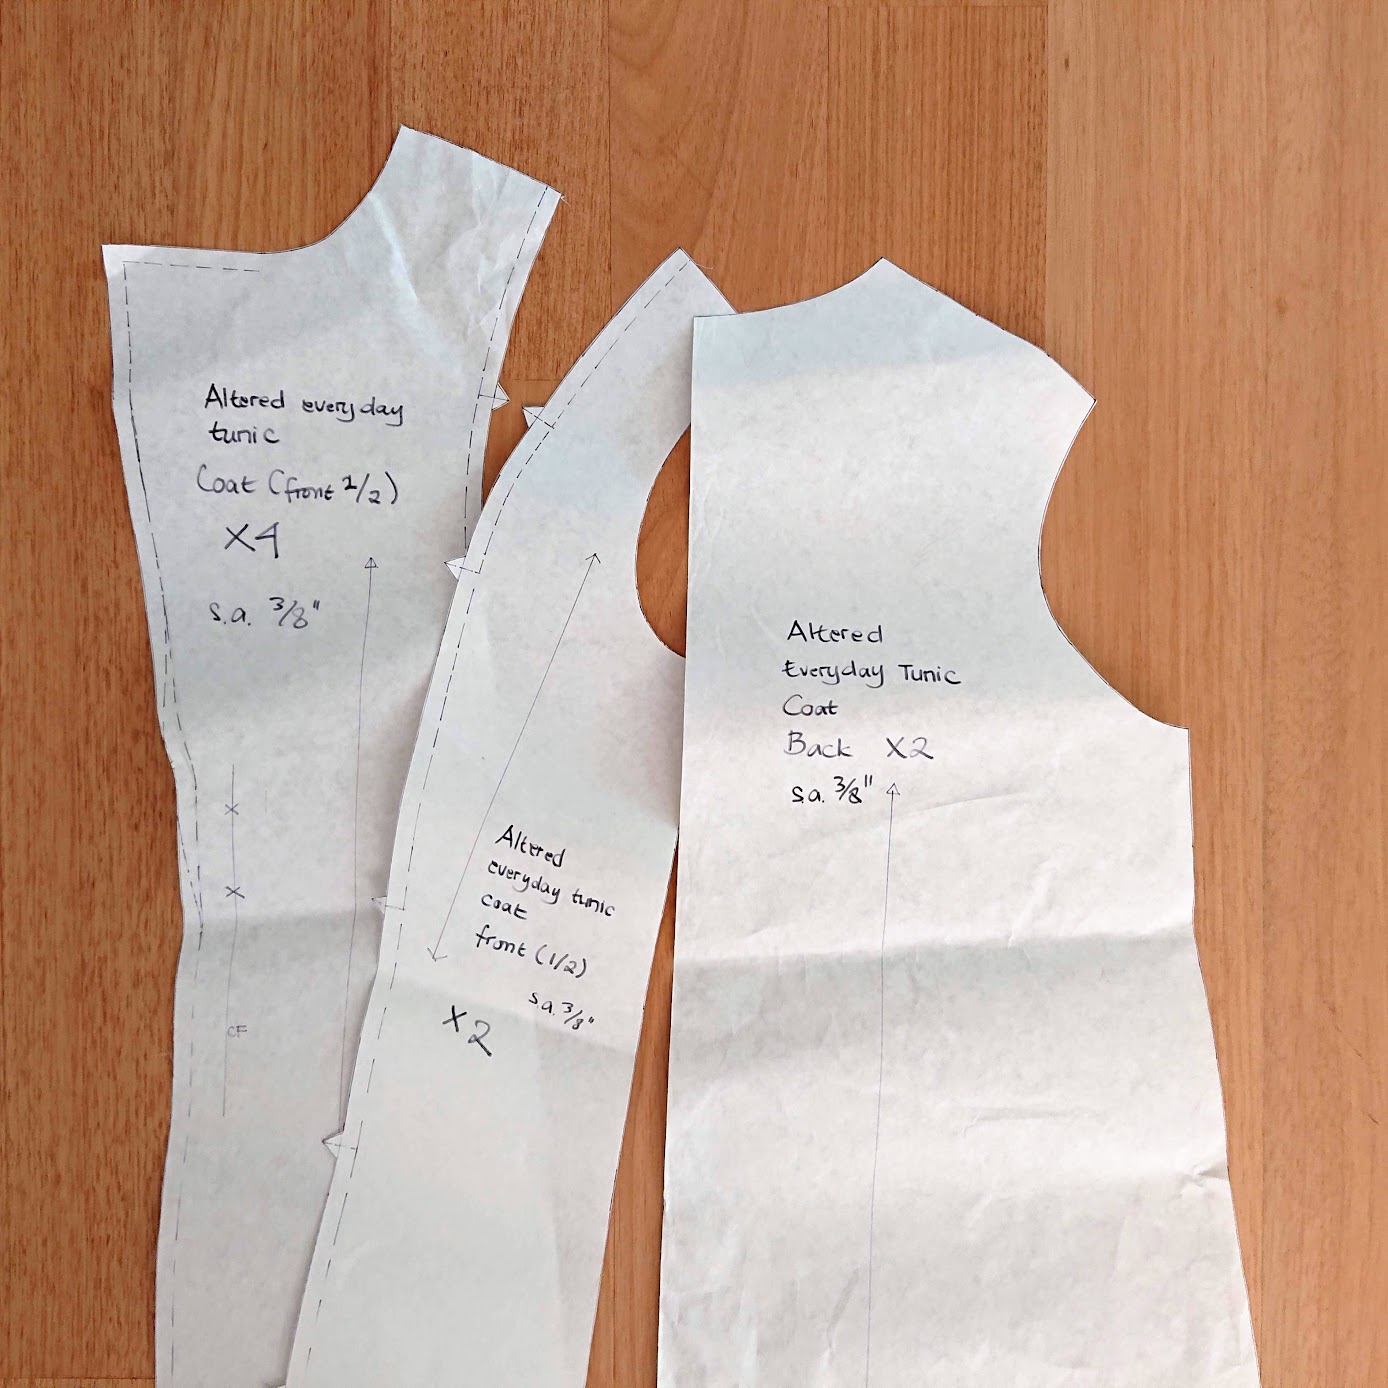
Finished Pattern Pieces
These are what the pattern pieces for sleeveless coat look like. There are 6 (instead of 7) pieces because I chose to make a long 1.5″ wide strip for the front hem reinforcement and not make a dedicated pattern piece.
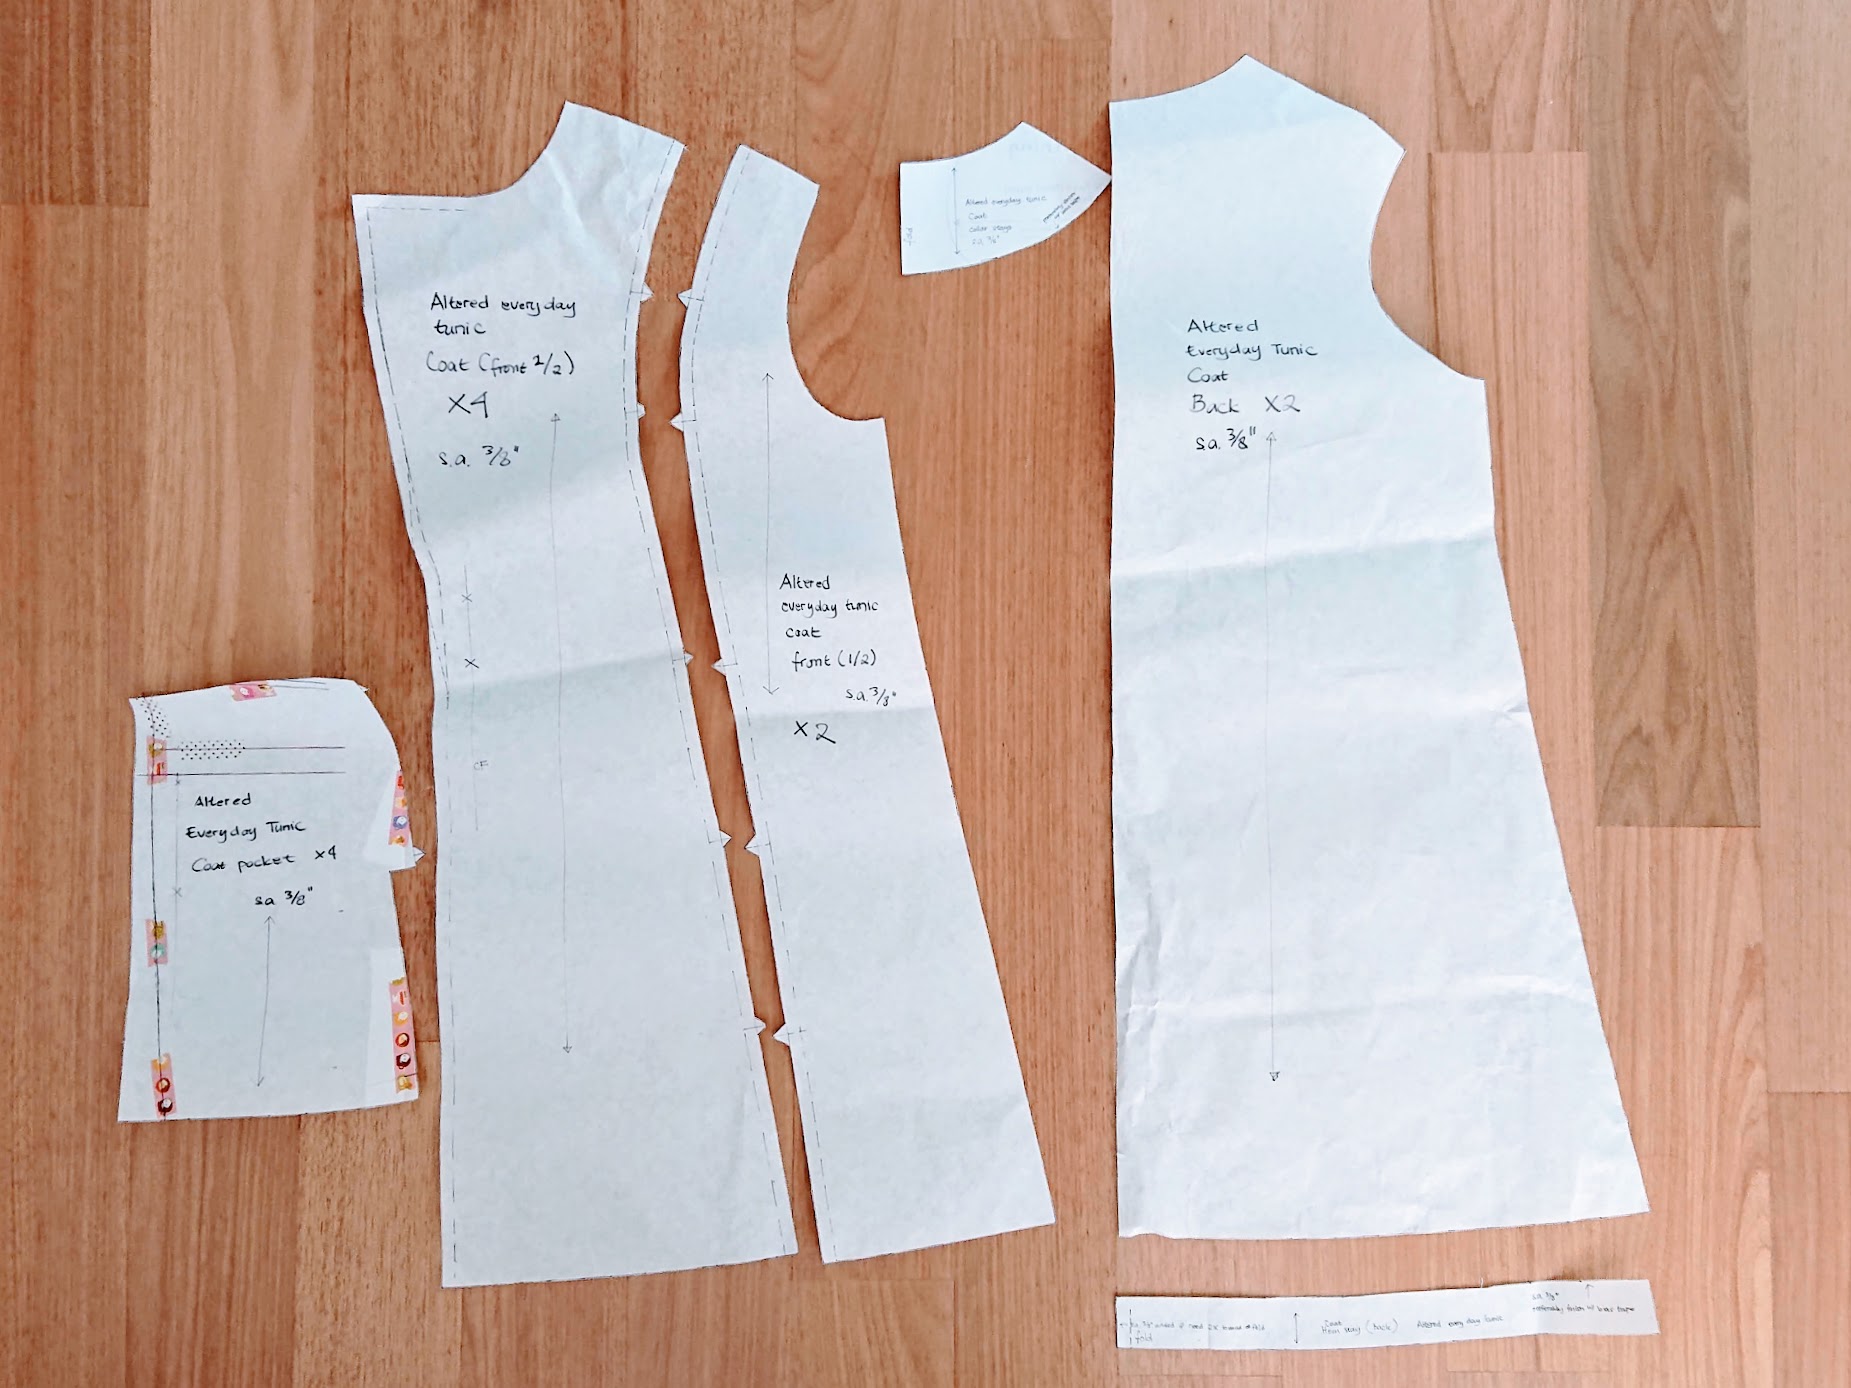
As you can see on the picture above, I included notches for the front pattern pieces along the extended princess seam line and the pockets. It might seem troublesome, but these notches saved so much time lining up the tricky curving seam lines of the princess seam AND proper lining up of the pocket placements. It’s a terrific life safer!
For each pattern piece, I included the grain line, how many fabric pieces I have to cut, and seam allowance.
Materials and Consult Garment
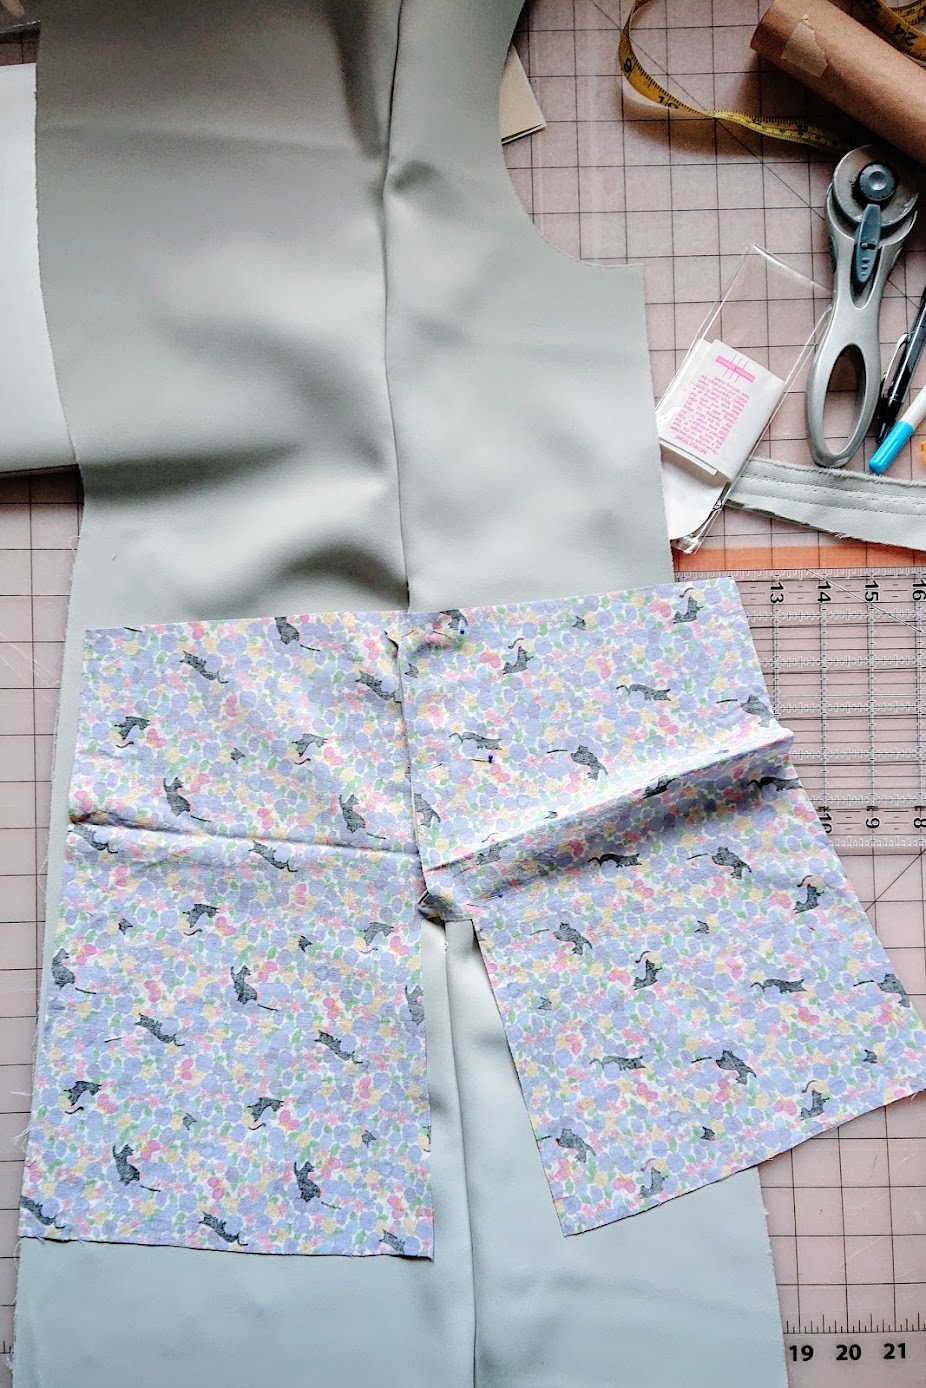
Minty gray neoprene large fabric remnants were used for this project, along with navy blue bias tape to encase the exposed edges for a more professional finish. Printed cotton woven remnants were used to make the pocket linings.
And because this was my first time making an outerwear from scratch, I figured having a finished garment on-hand for visual guidance would be beneficial. Thankfully, I had a perfect garment guide in the closet. It’s my beloved 12-year old United Colors of Benetton cape. I took it out to see what kind of seam finishes it has for the center back, shoulders, and neckline.
Sleeveless Coat Sewing Highlights
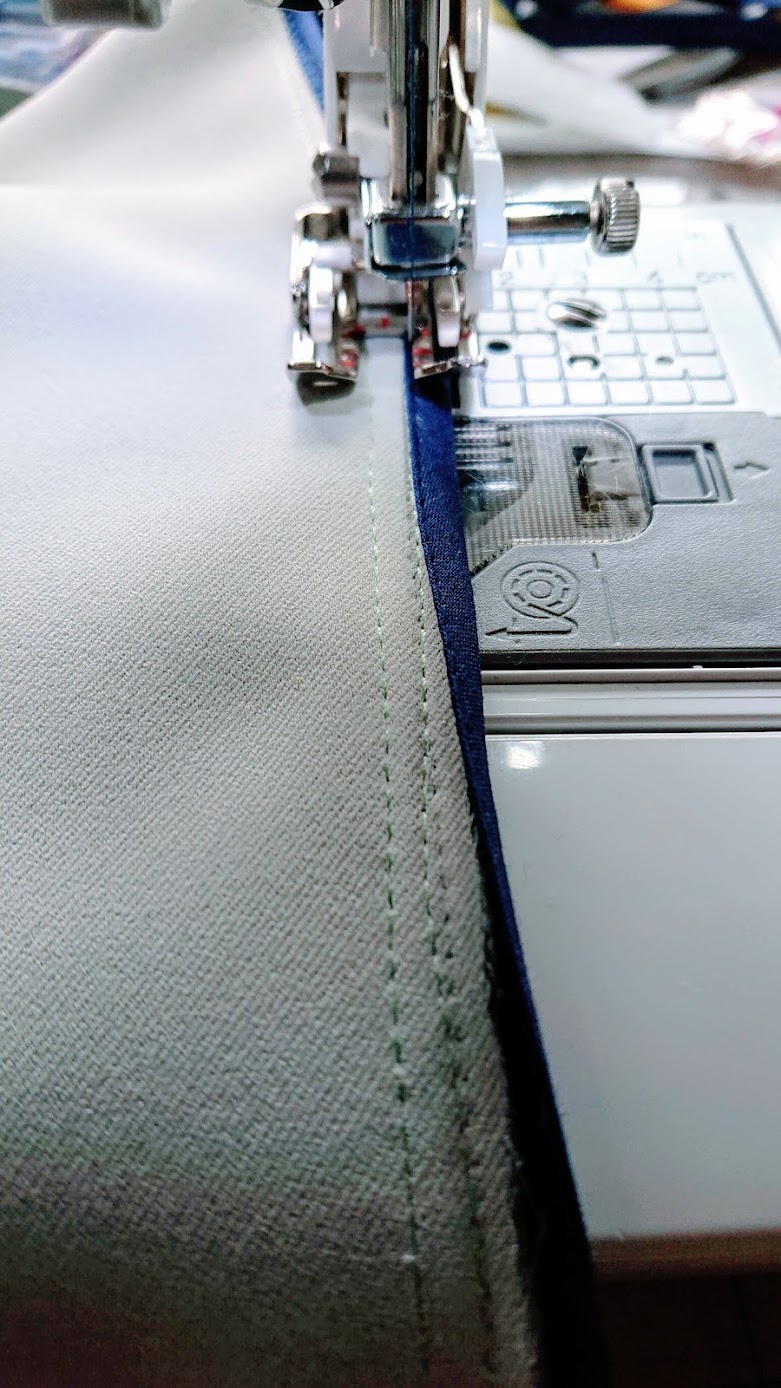
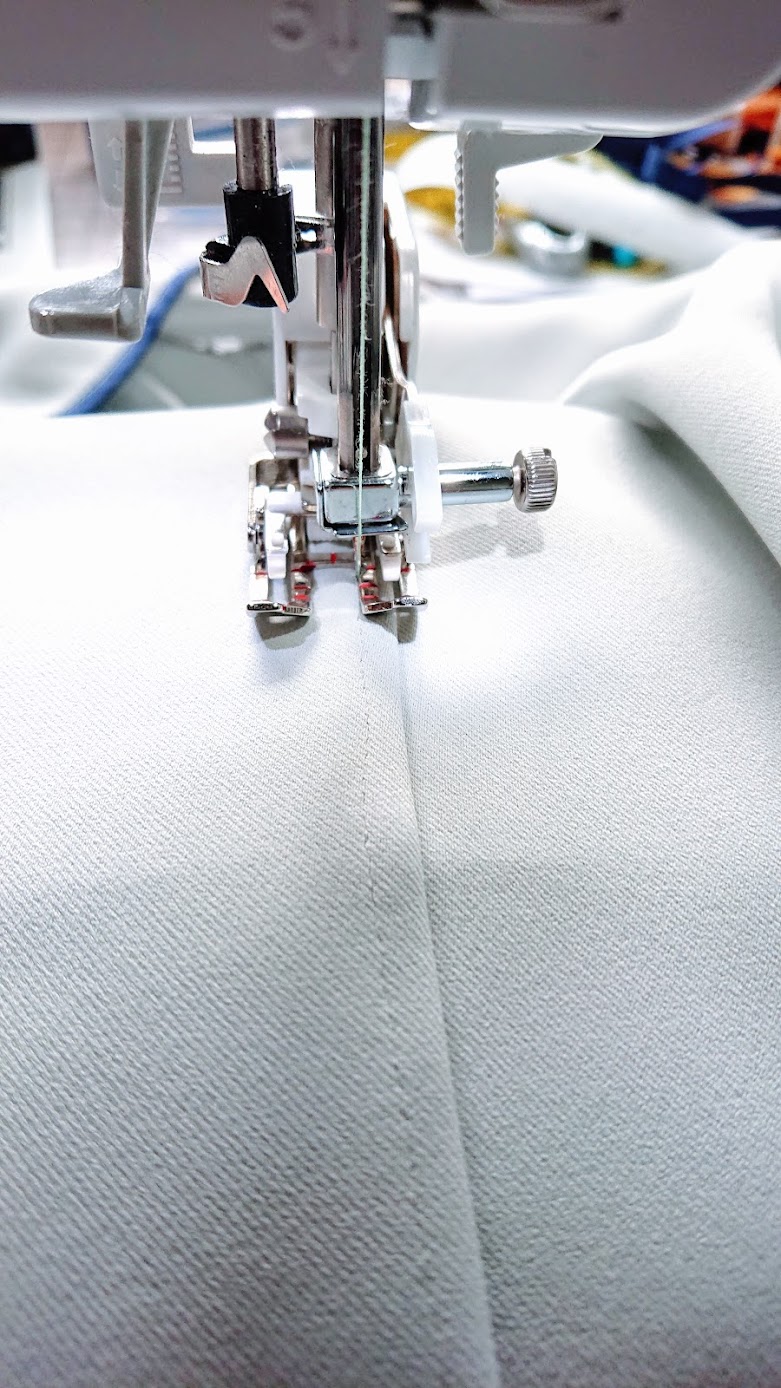
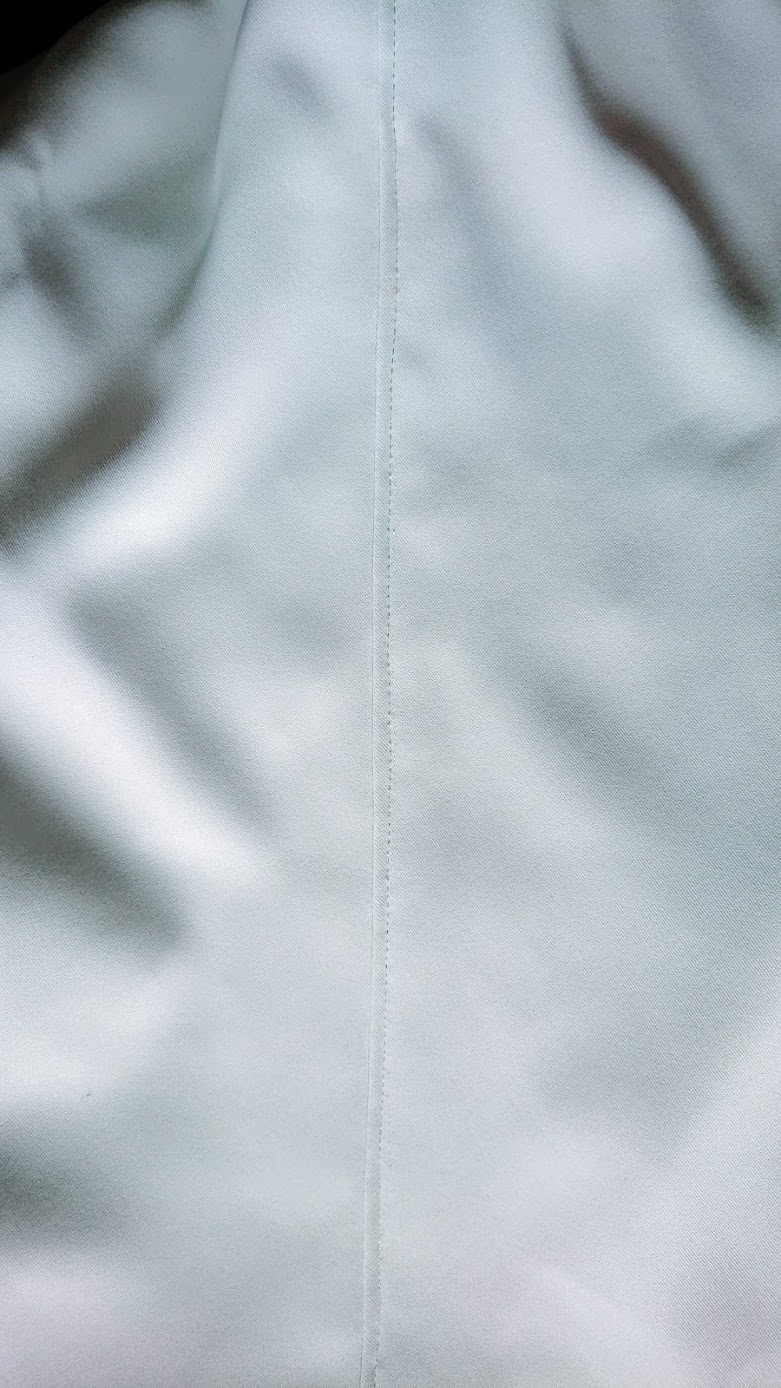
Topstitching center back seam
Copying the Benetton cape’s finish, the sleeveless coat’s center back seam was finished with topstitching after encasing the raw edges with bias tape. I had to redo it a couple of times to make sure the lines are as straight and even as possible. I used a walking foot and ball point needle to do the job.
This was rather nerve wrecking because neoprene fabrics scar easily, however the finished center back seam looks neat enough that previously stitched holes are not too visible.
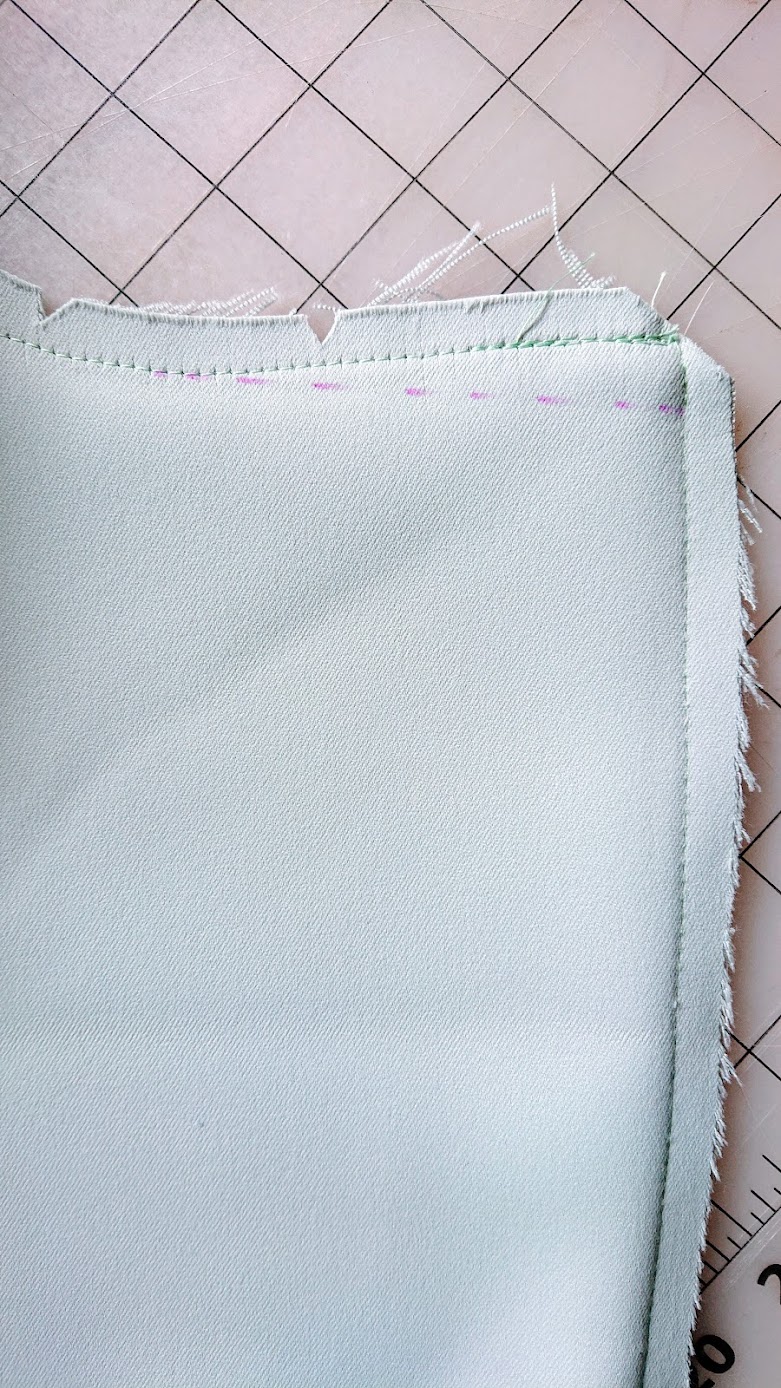
Fixing lapel point
The second highlight of making the sleeveless coat was a relatively quick fix. Because the lapel was self-drafted, I wasn’t 100% sure about how the lapel corner would look like with the neoprene fabric. Once pieces were sewn, it was clear the lapel was slightly too pointy, so I lowered it down a little bit. See the difference between the left and right lapel on the second picture below.
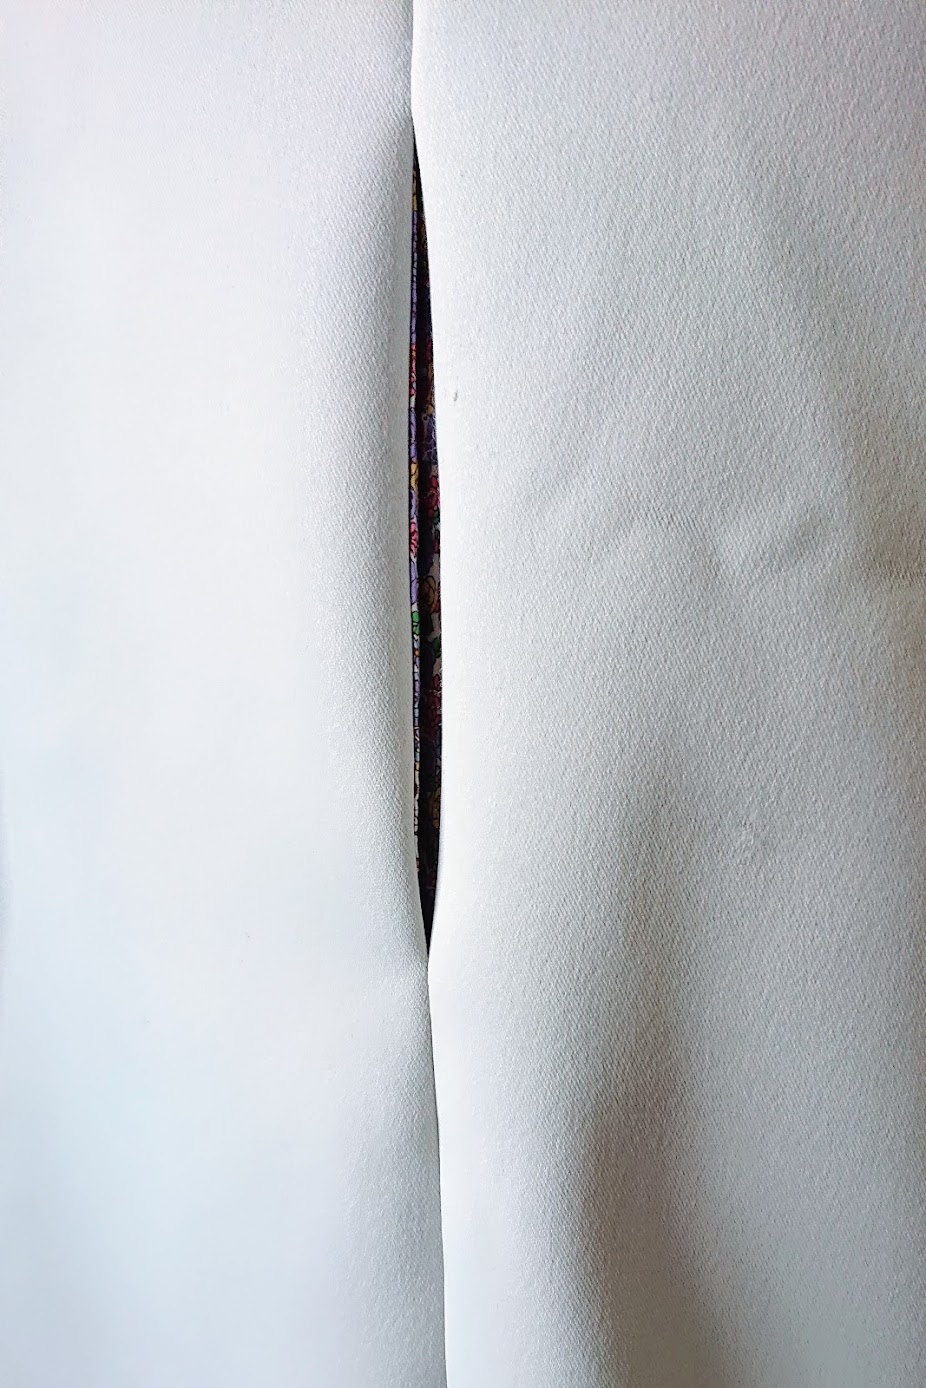
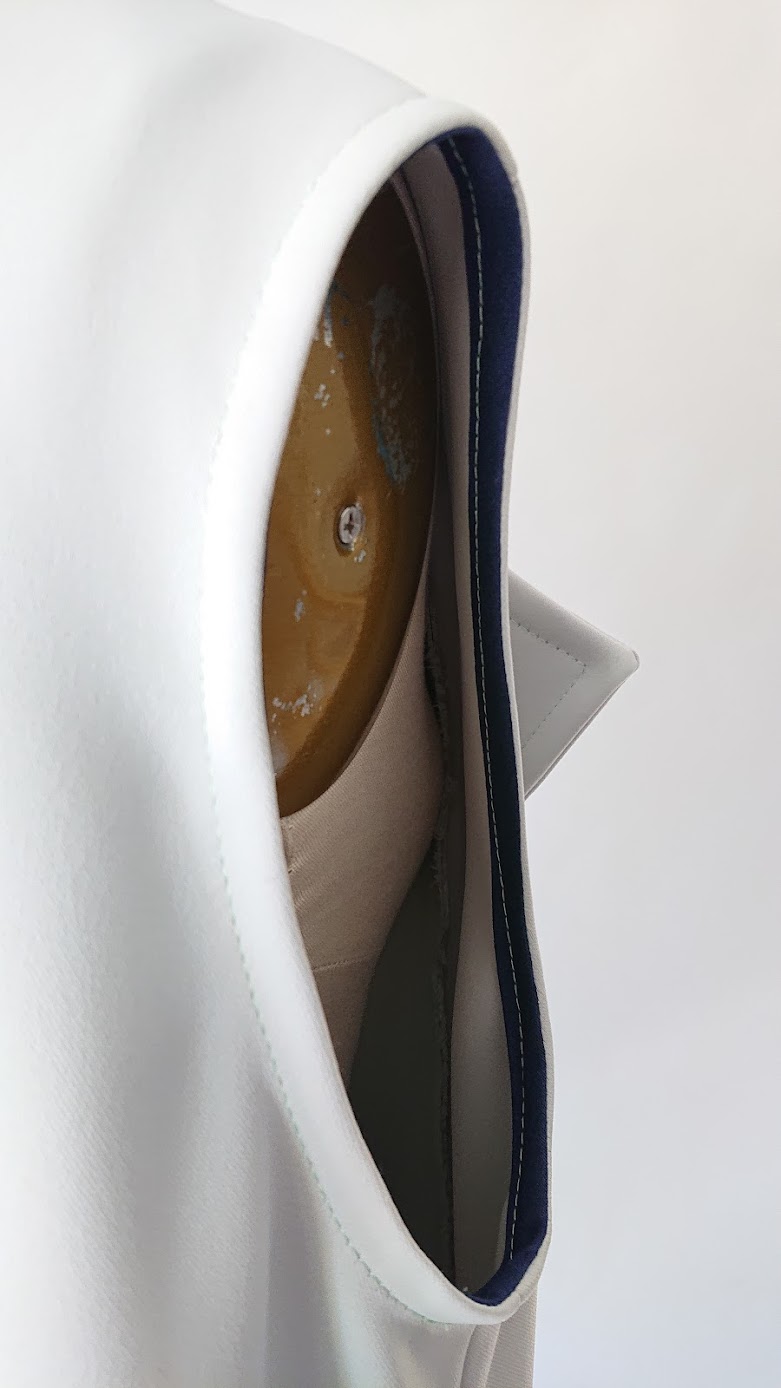
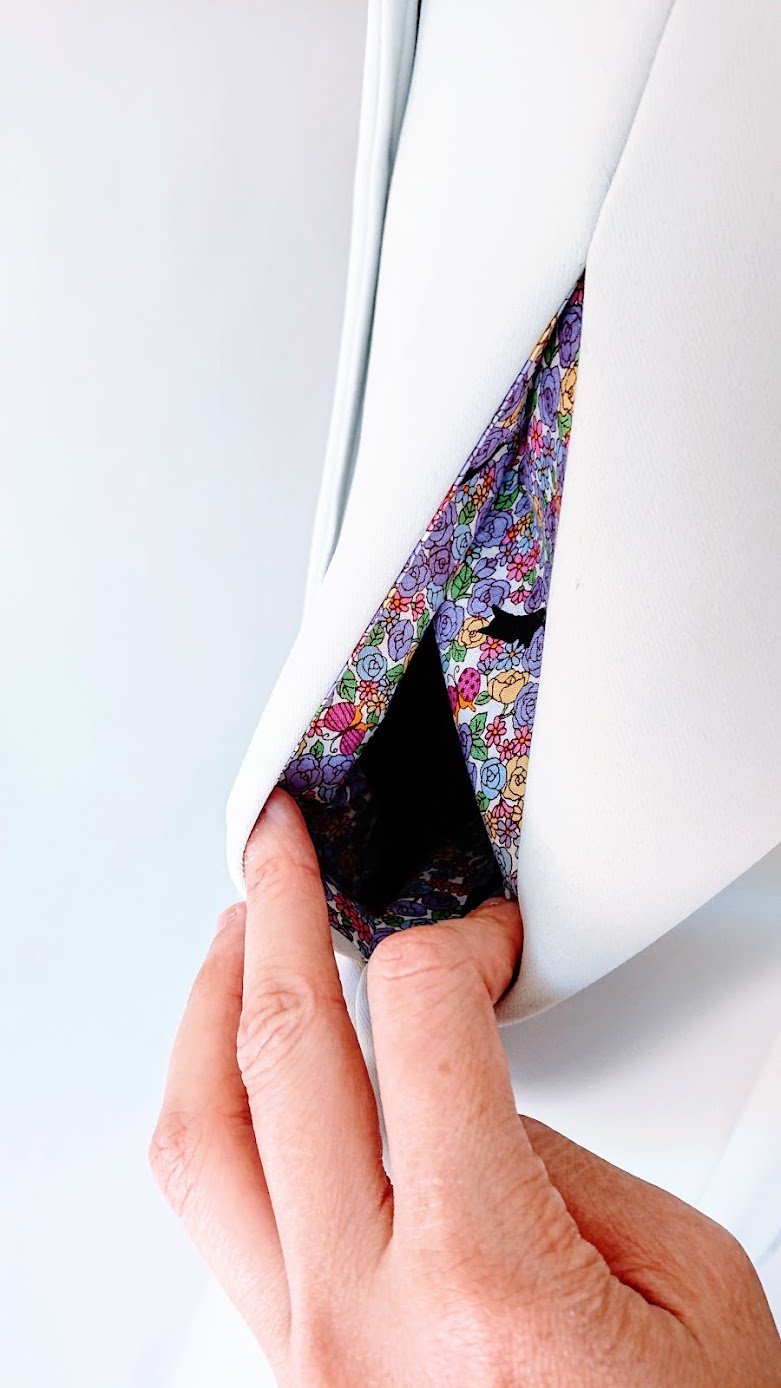
Making pockets
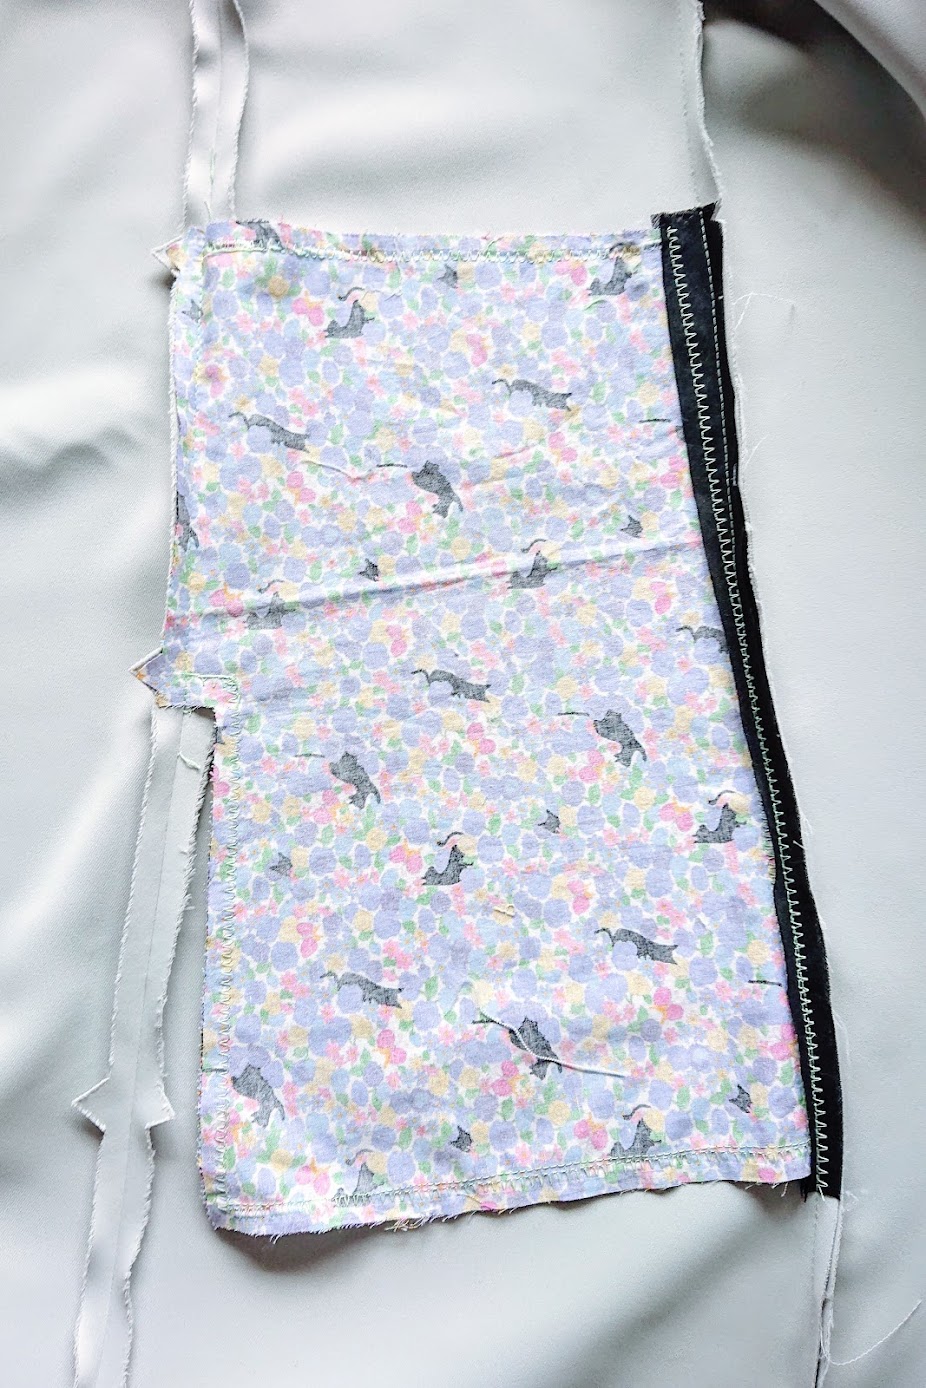
By now, long-time readers would know that in-seam pockets are my favorite type of pockets. I really love how they are hidden from view yet give such added functionality to a garment. And I can make the pocket as big and as deep as I want!
For the pocket lining, I had just the right amount of cotton print woven remnants. The flowers and black cat silhouettes dancing around are just the perfect “party in the pockets” vibe I was looking for. Making these pockets was a breeze, mainly because the fabric notches. As long as they line up, everything is golden!
For added stability, I anchored the pockets to the side seams so they would stay flat and not move around flimsily.

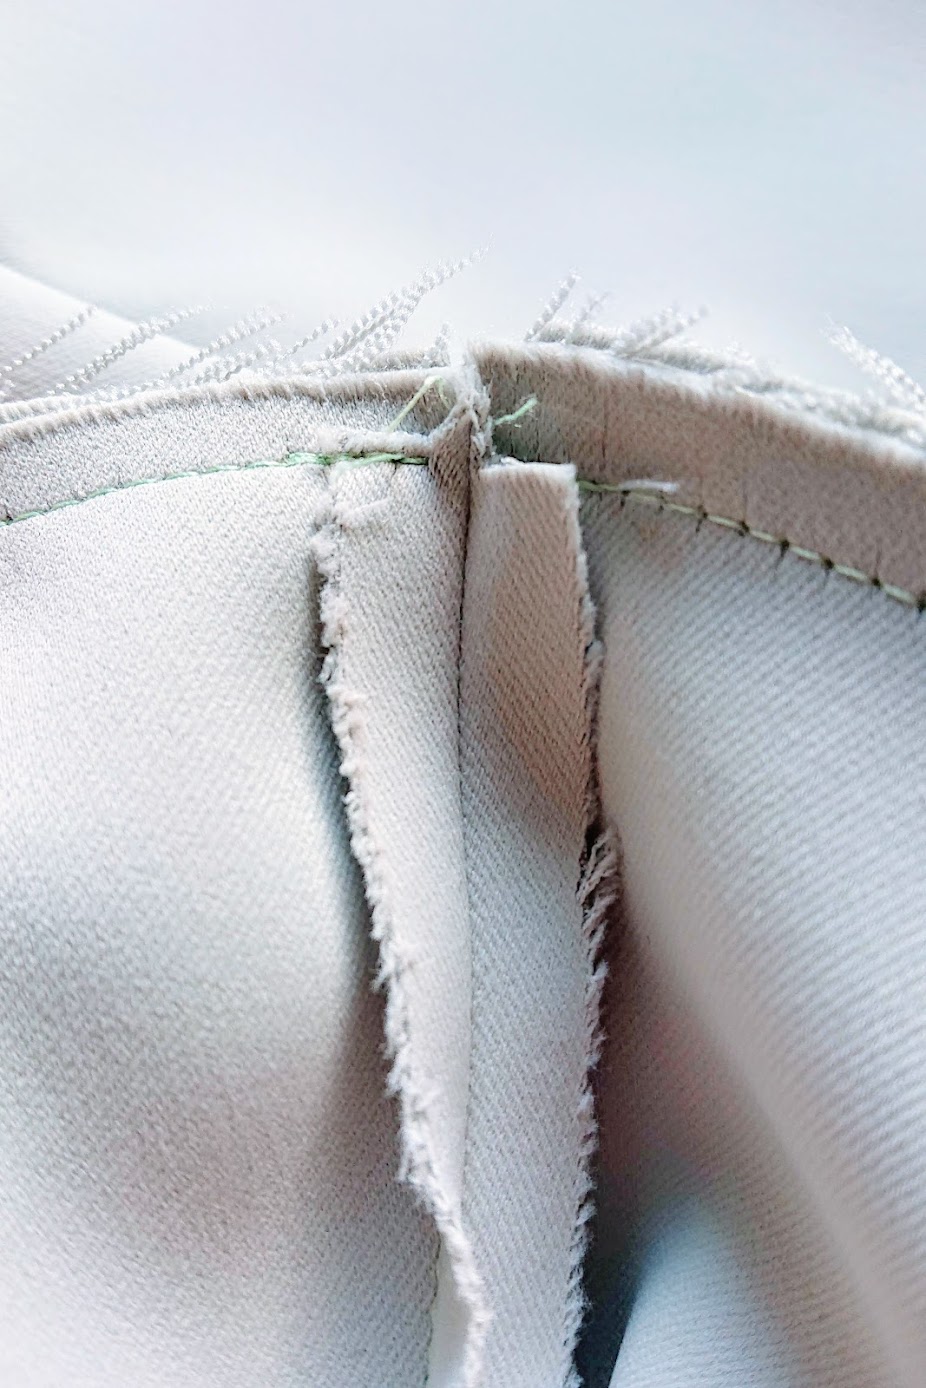
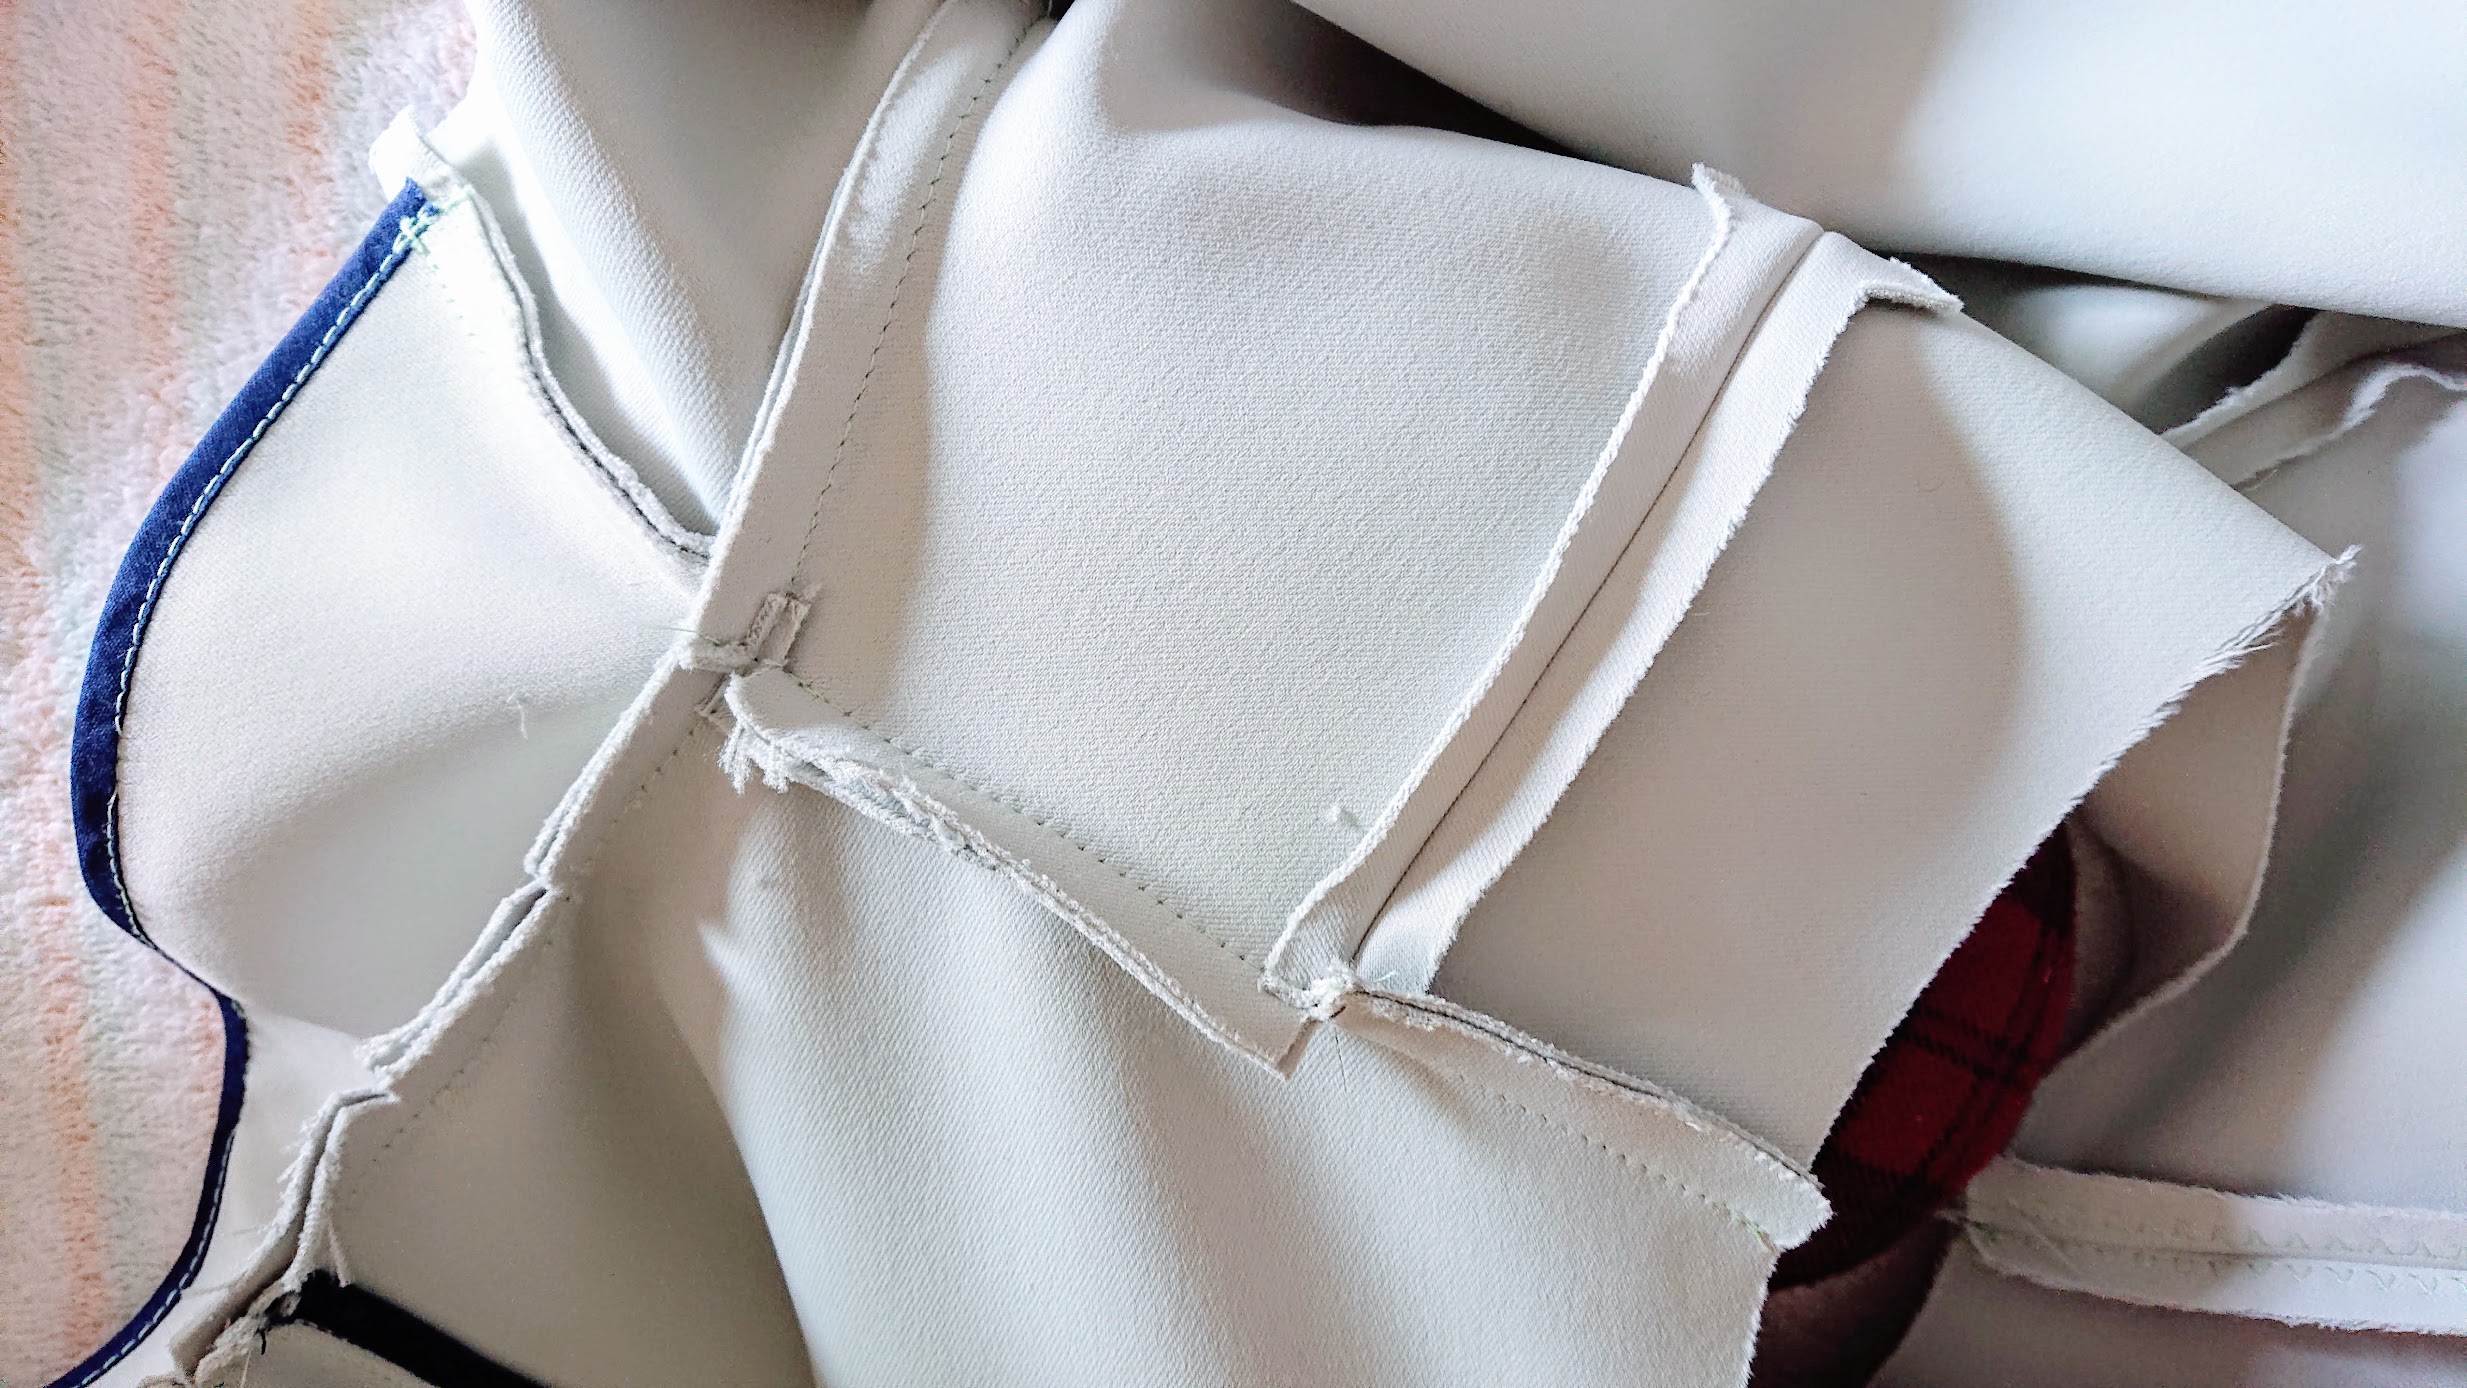
Reducing overall bulk on seam junctions
The shoulder seams are where many seam lines intersected, and it could look bumpy from the outside if I didn’t cut off some bulky layers. So whenever possible, I cut corners of hidden folded seams and pressed them, with the objective to have a smooth, flat garment outline. I topstitched the neckline and center front edges only when the inside seam junctions looked smooth.

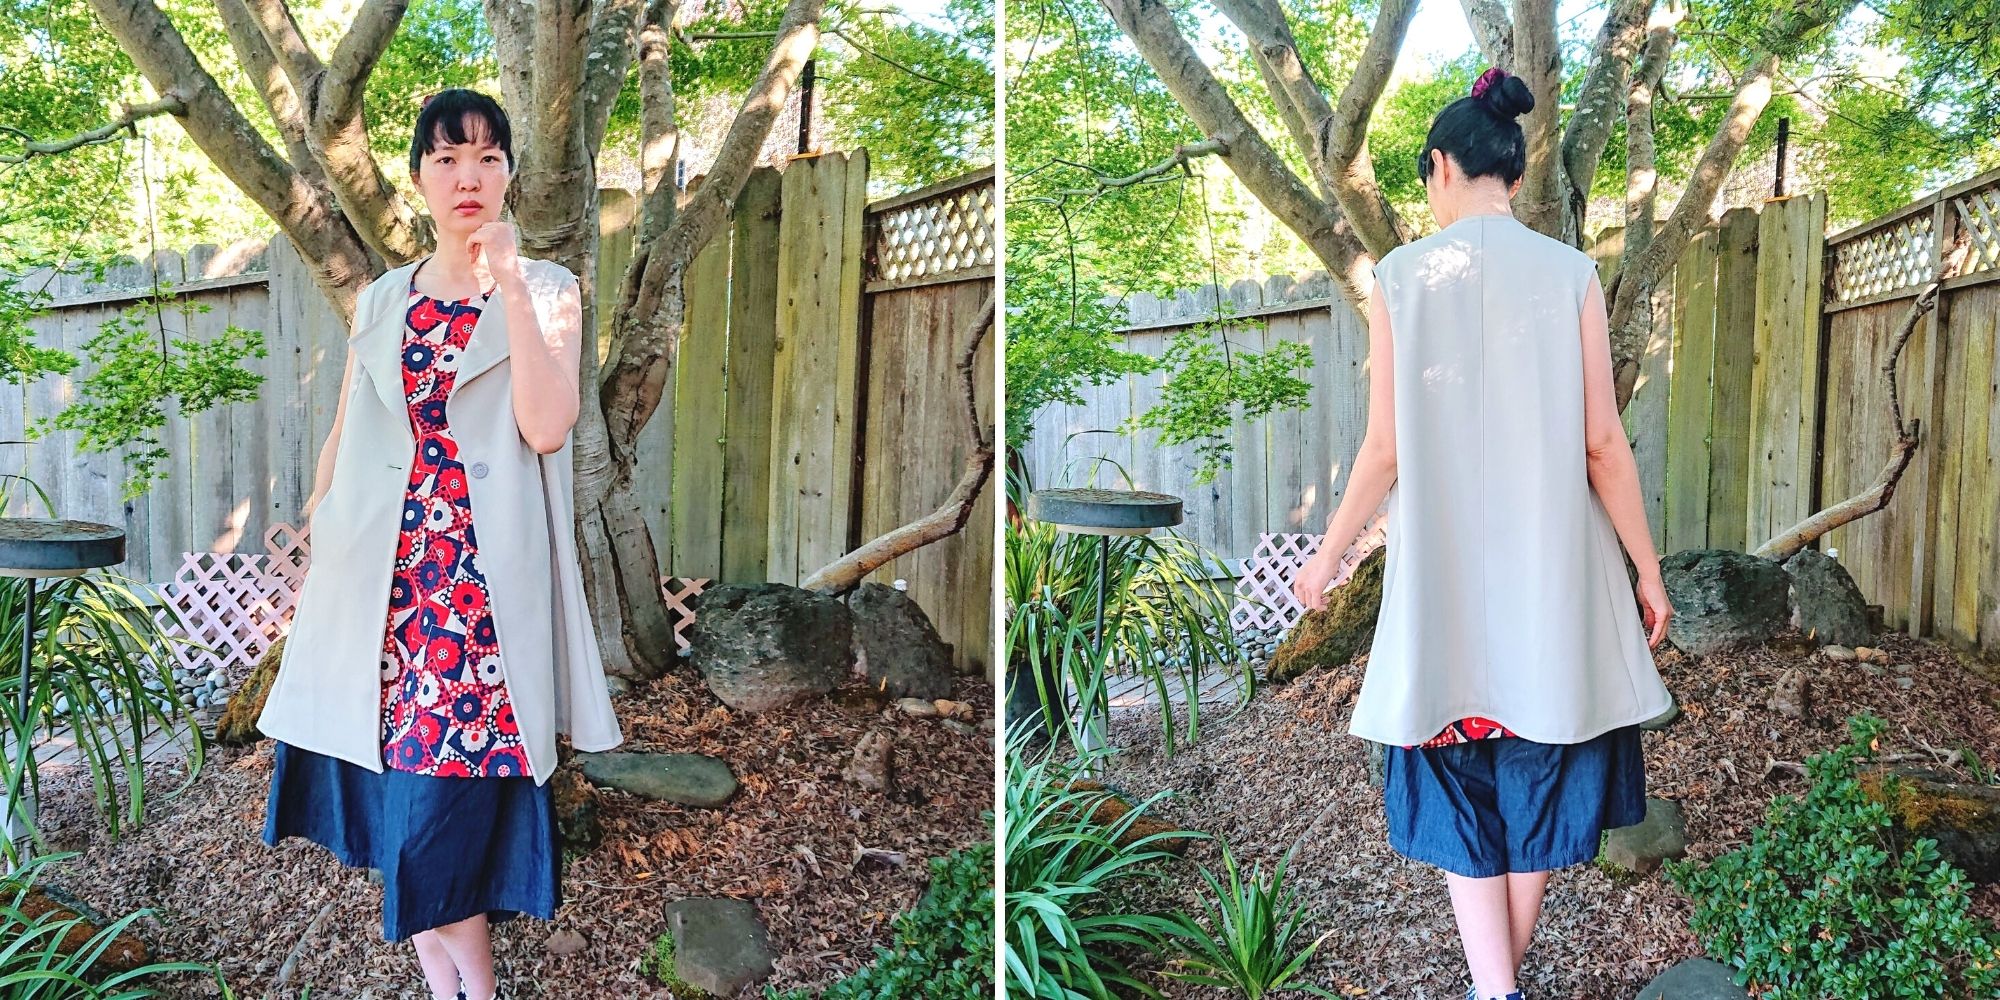
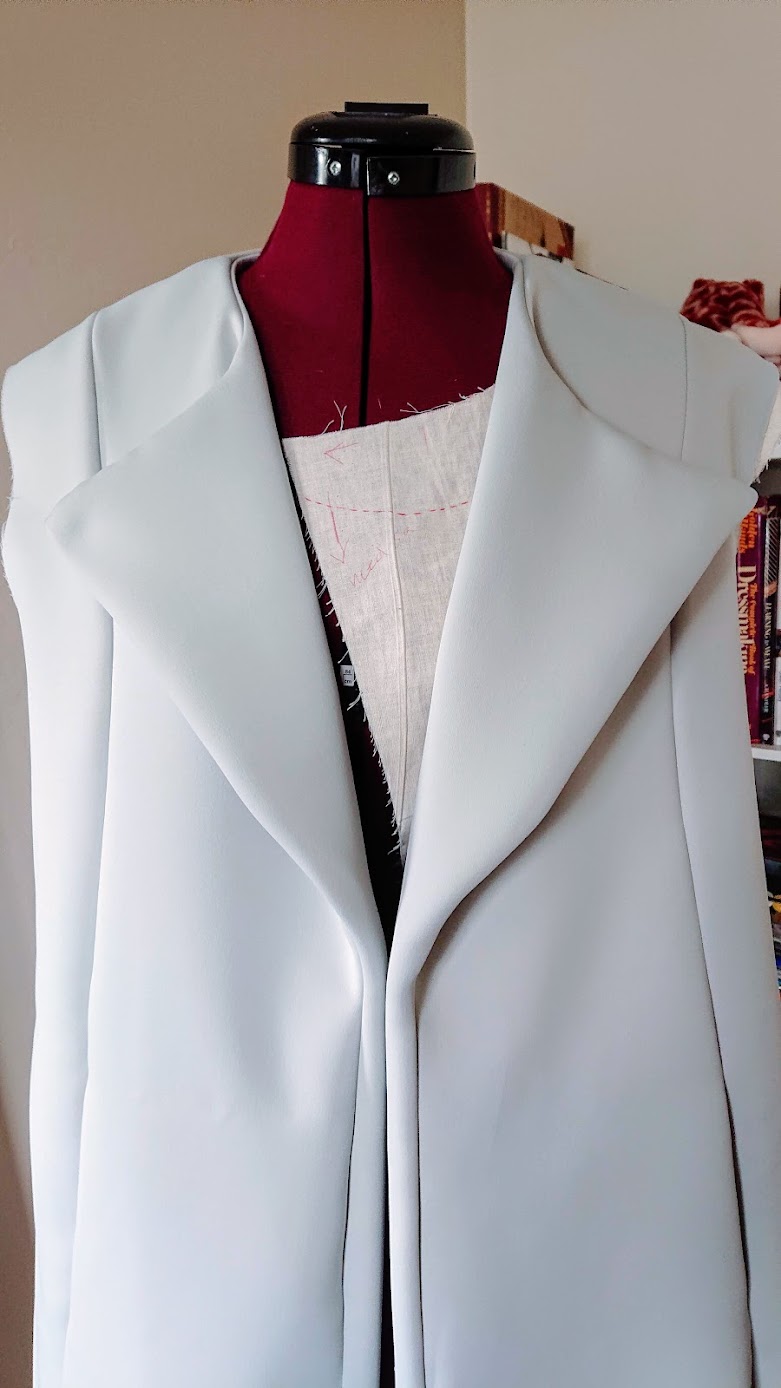
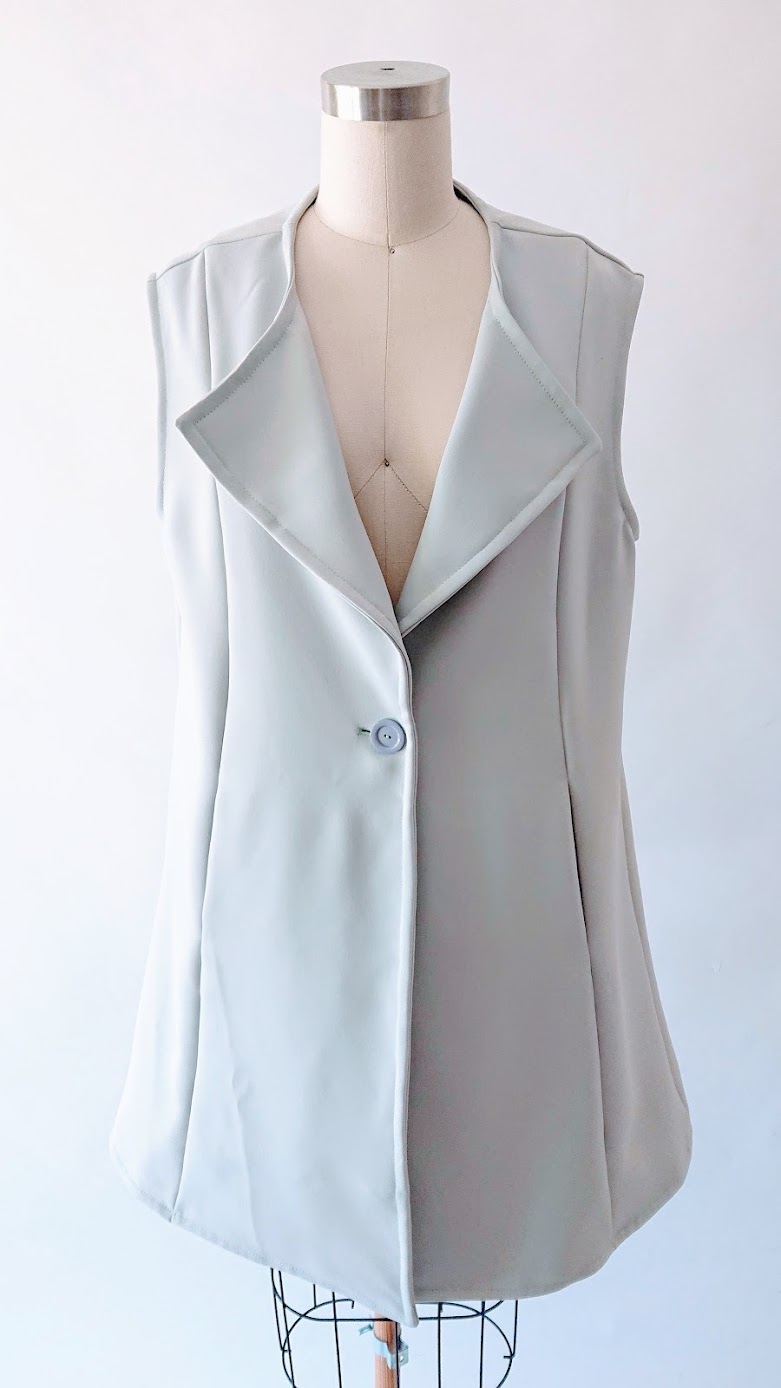
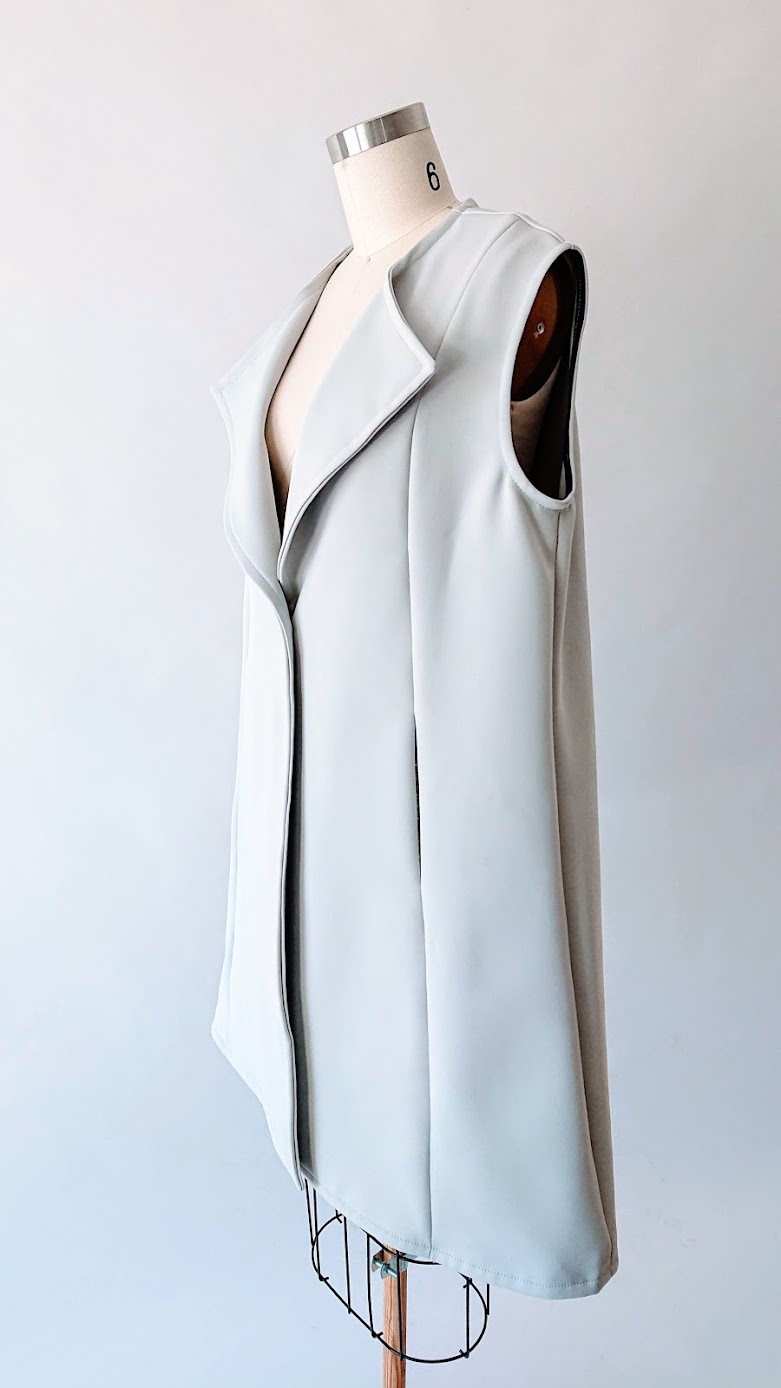
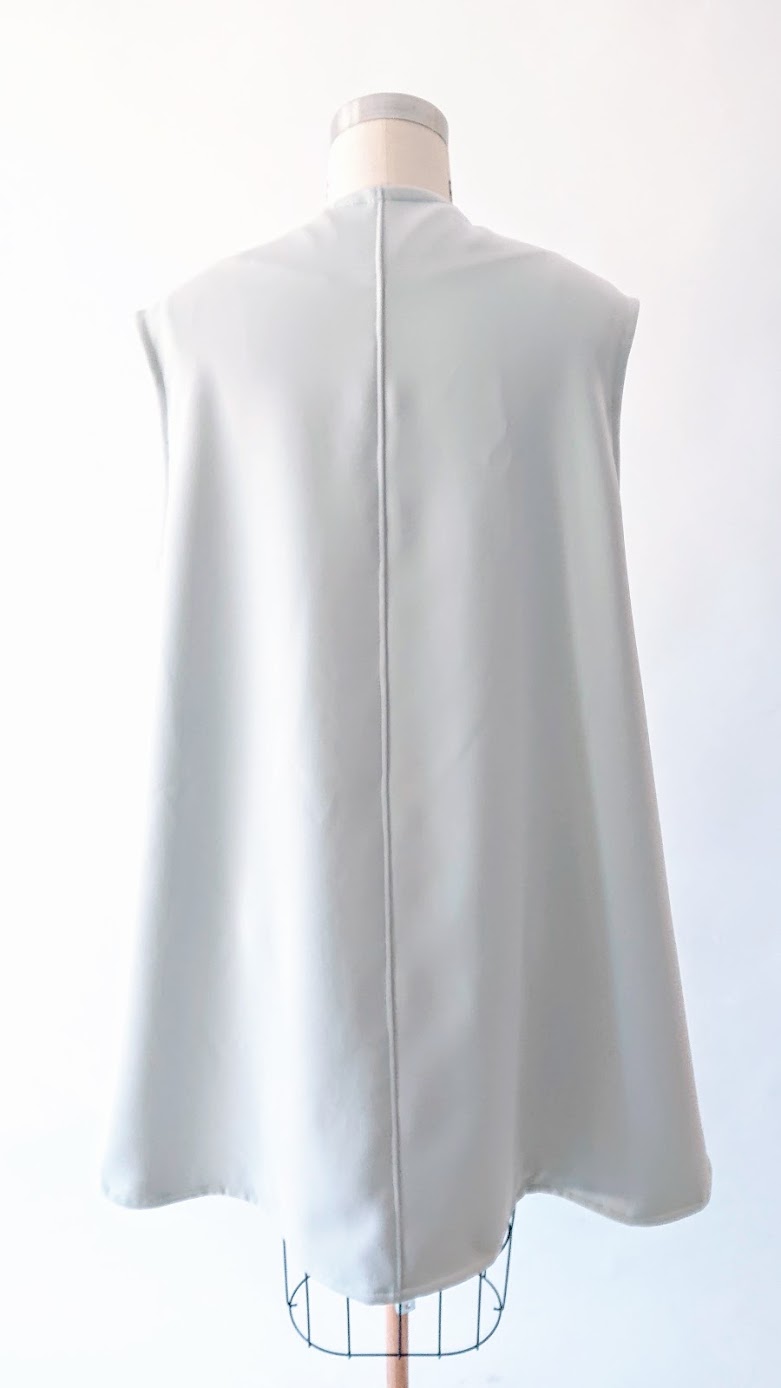
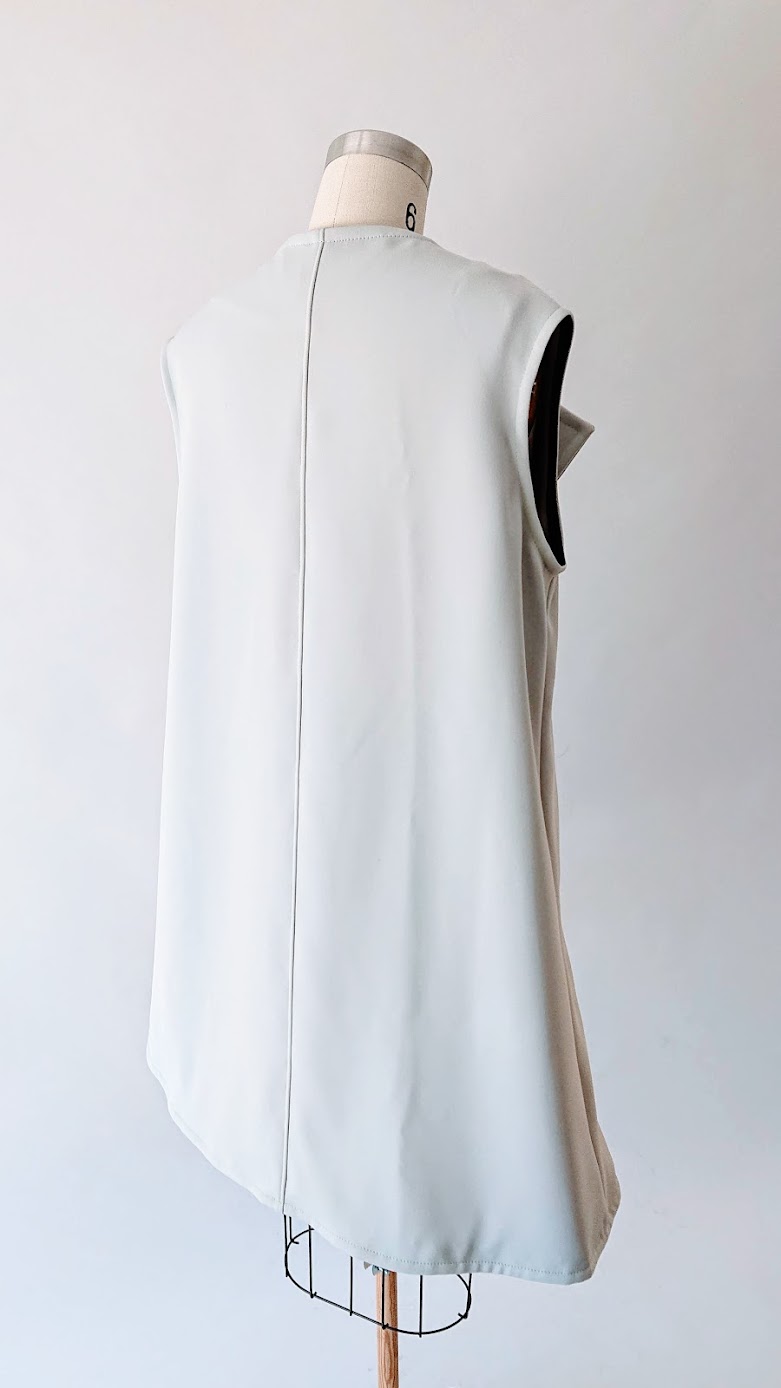
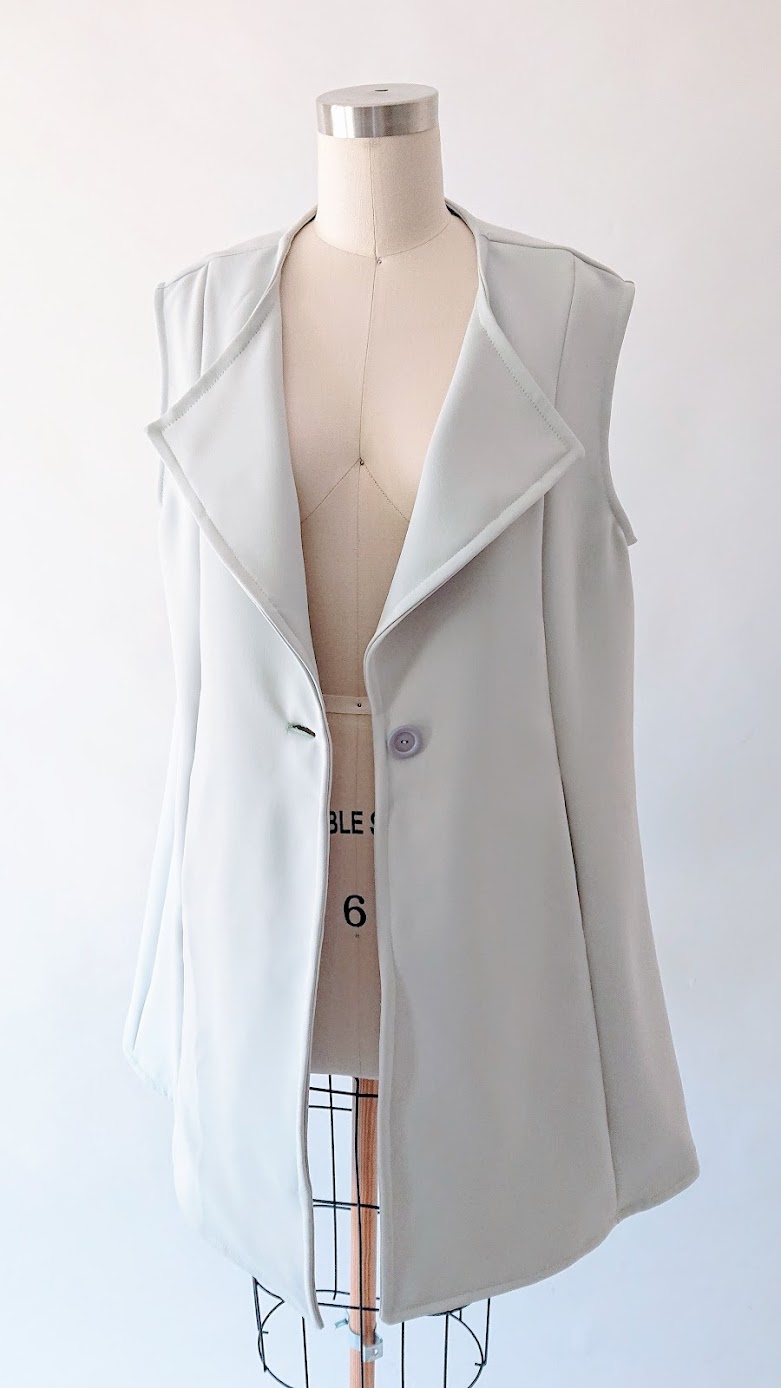
Result: Sleeveless Coat
Here’s what the sleeveless coat look like on the dress form, along with a couple of detail shots. I wasn’t completely happy with the hem – I would’ve done a better job with topstitching – but the overall result is really good. Everything looks fairly smooth and nicely finished, and I especially love the no collar look.
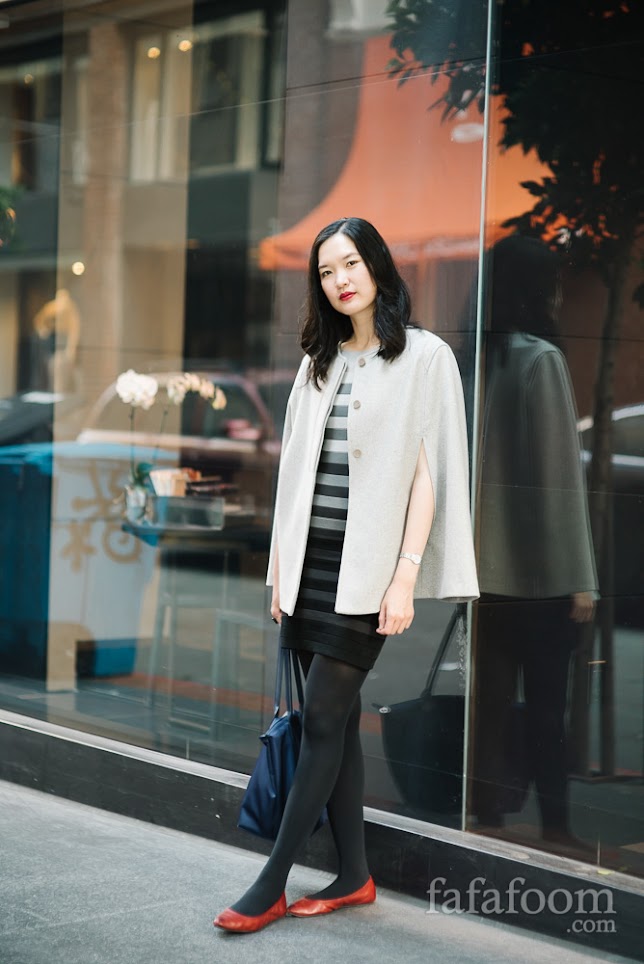
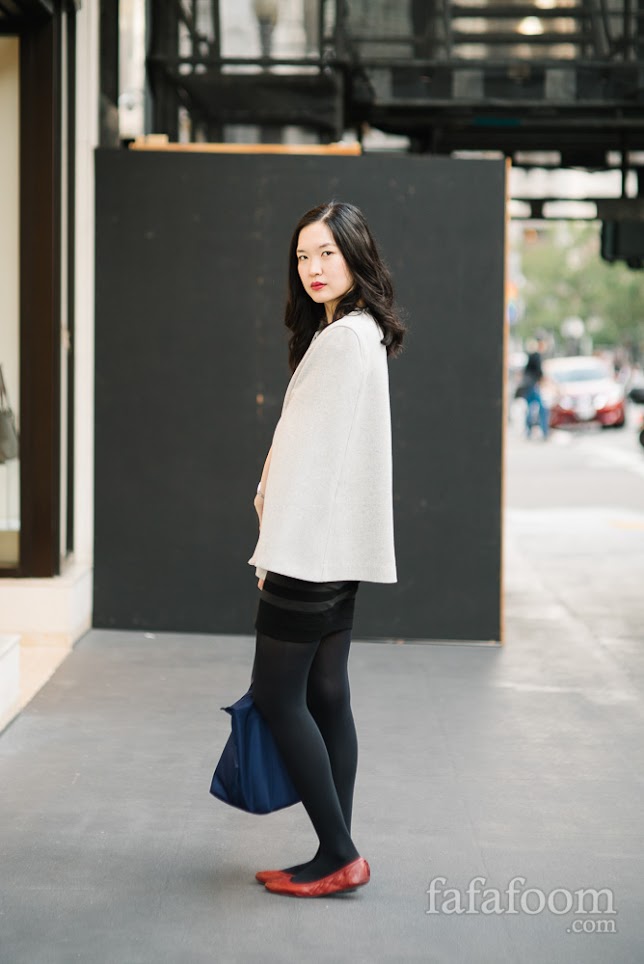
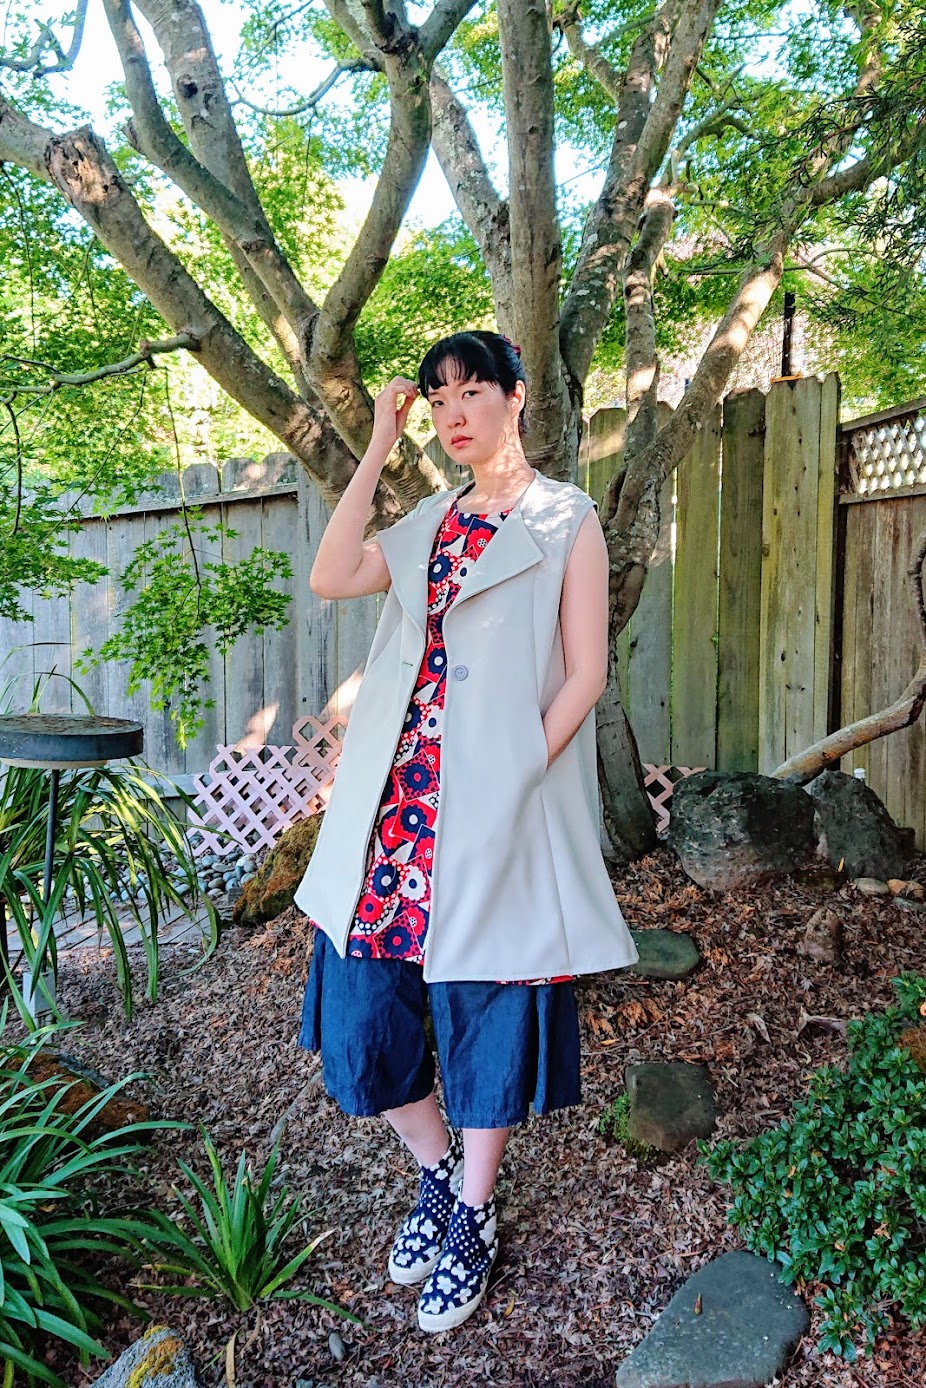
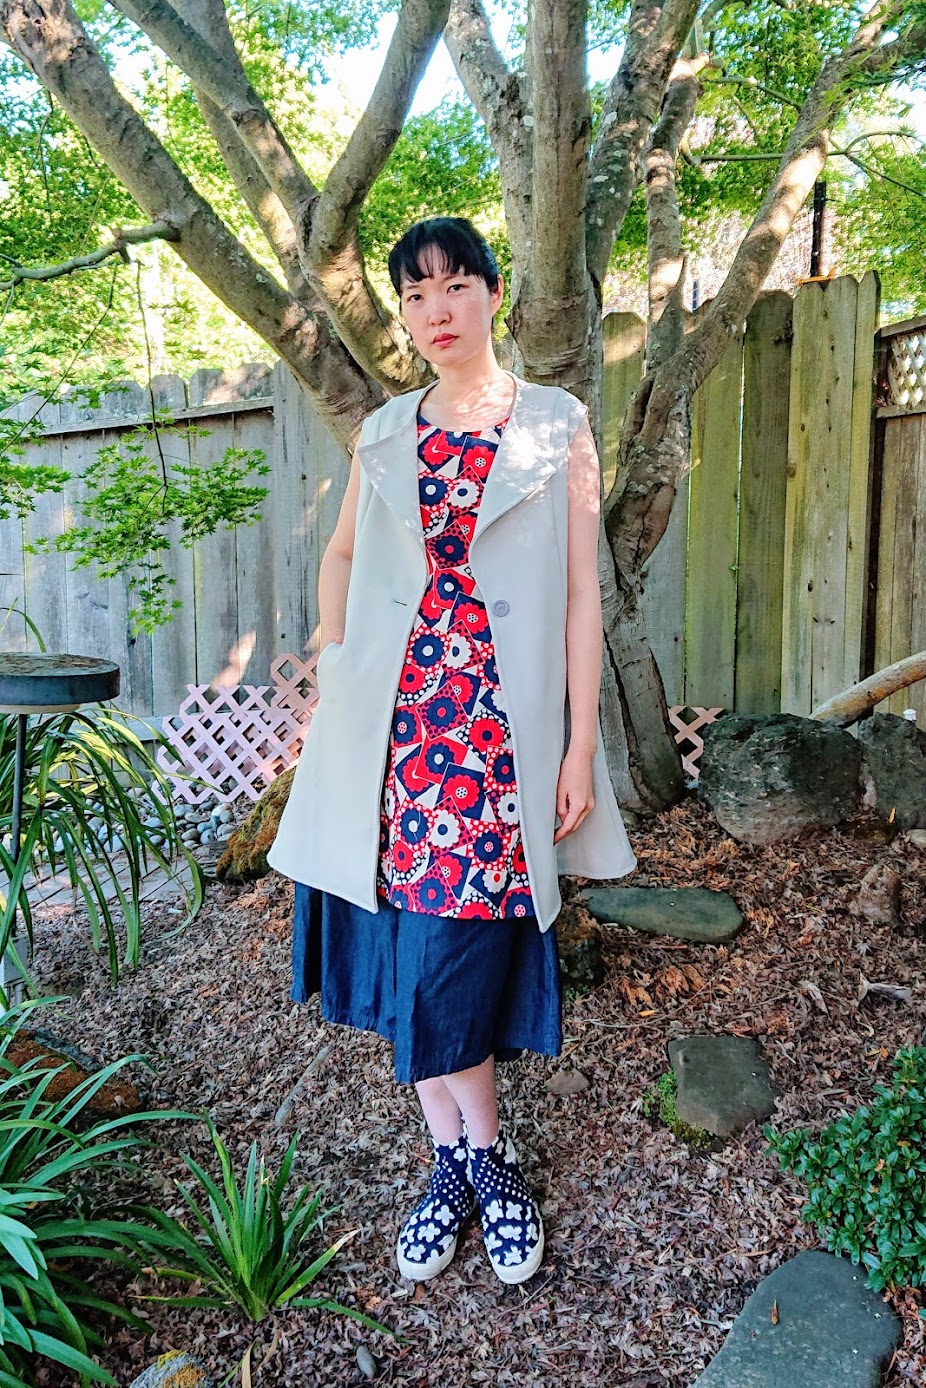
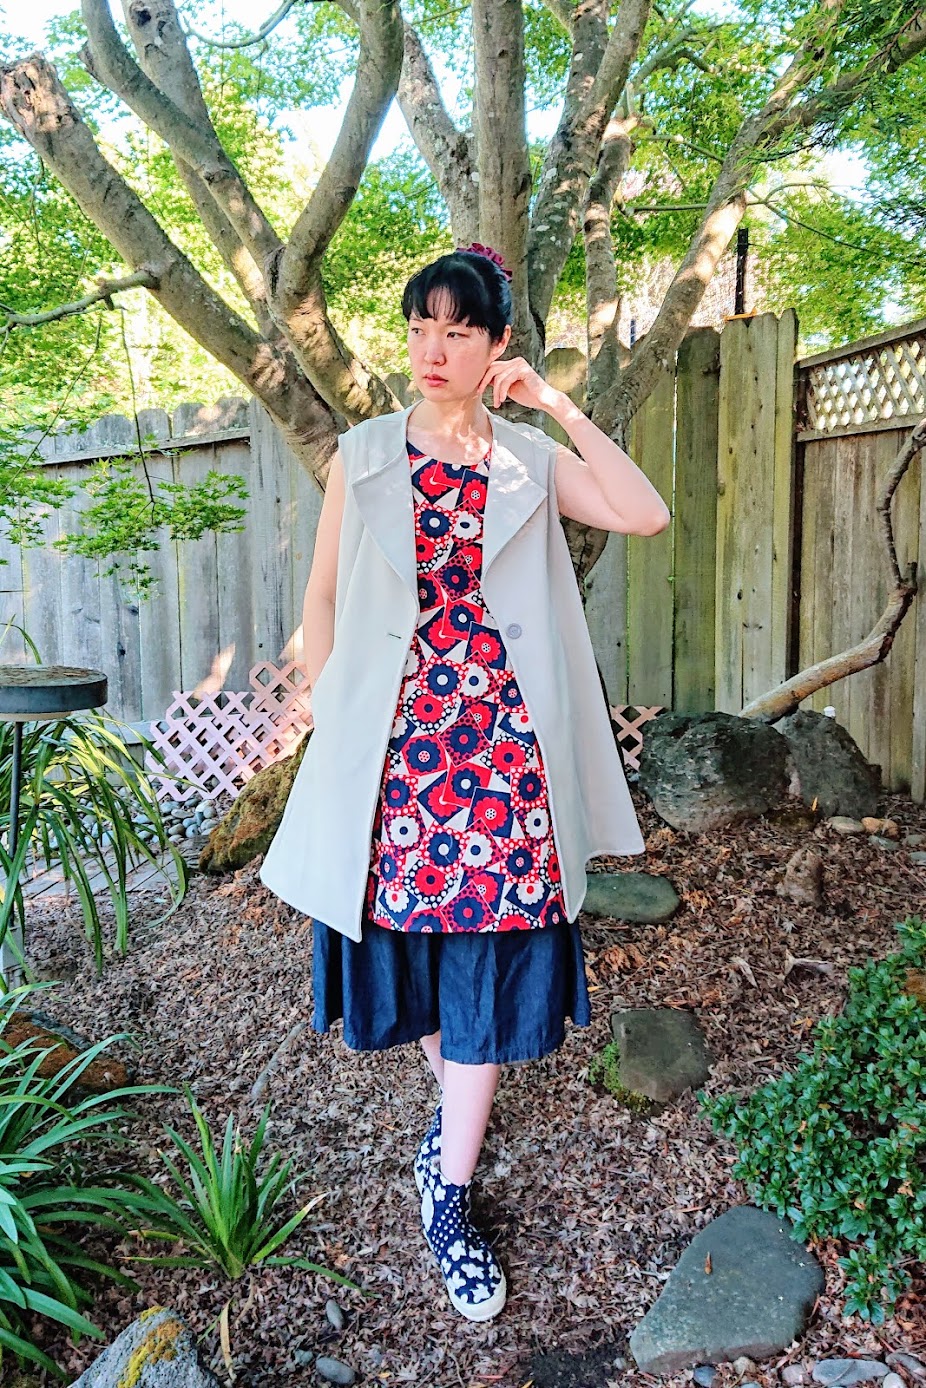
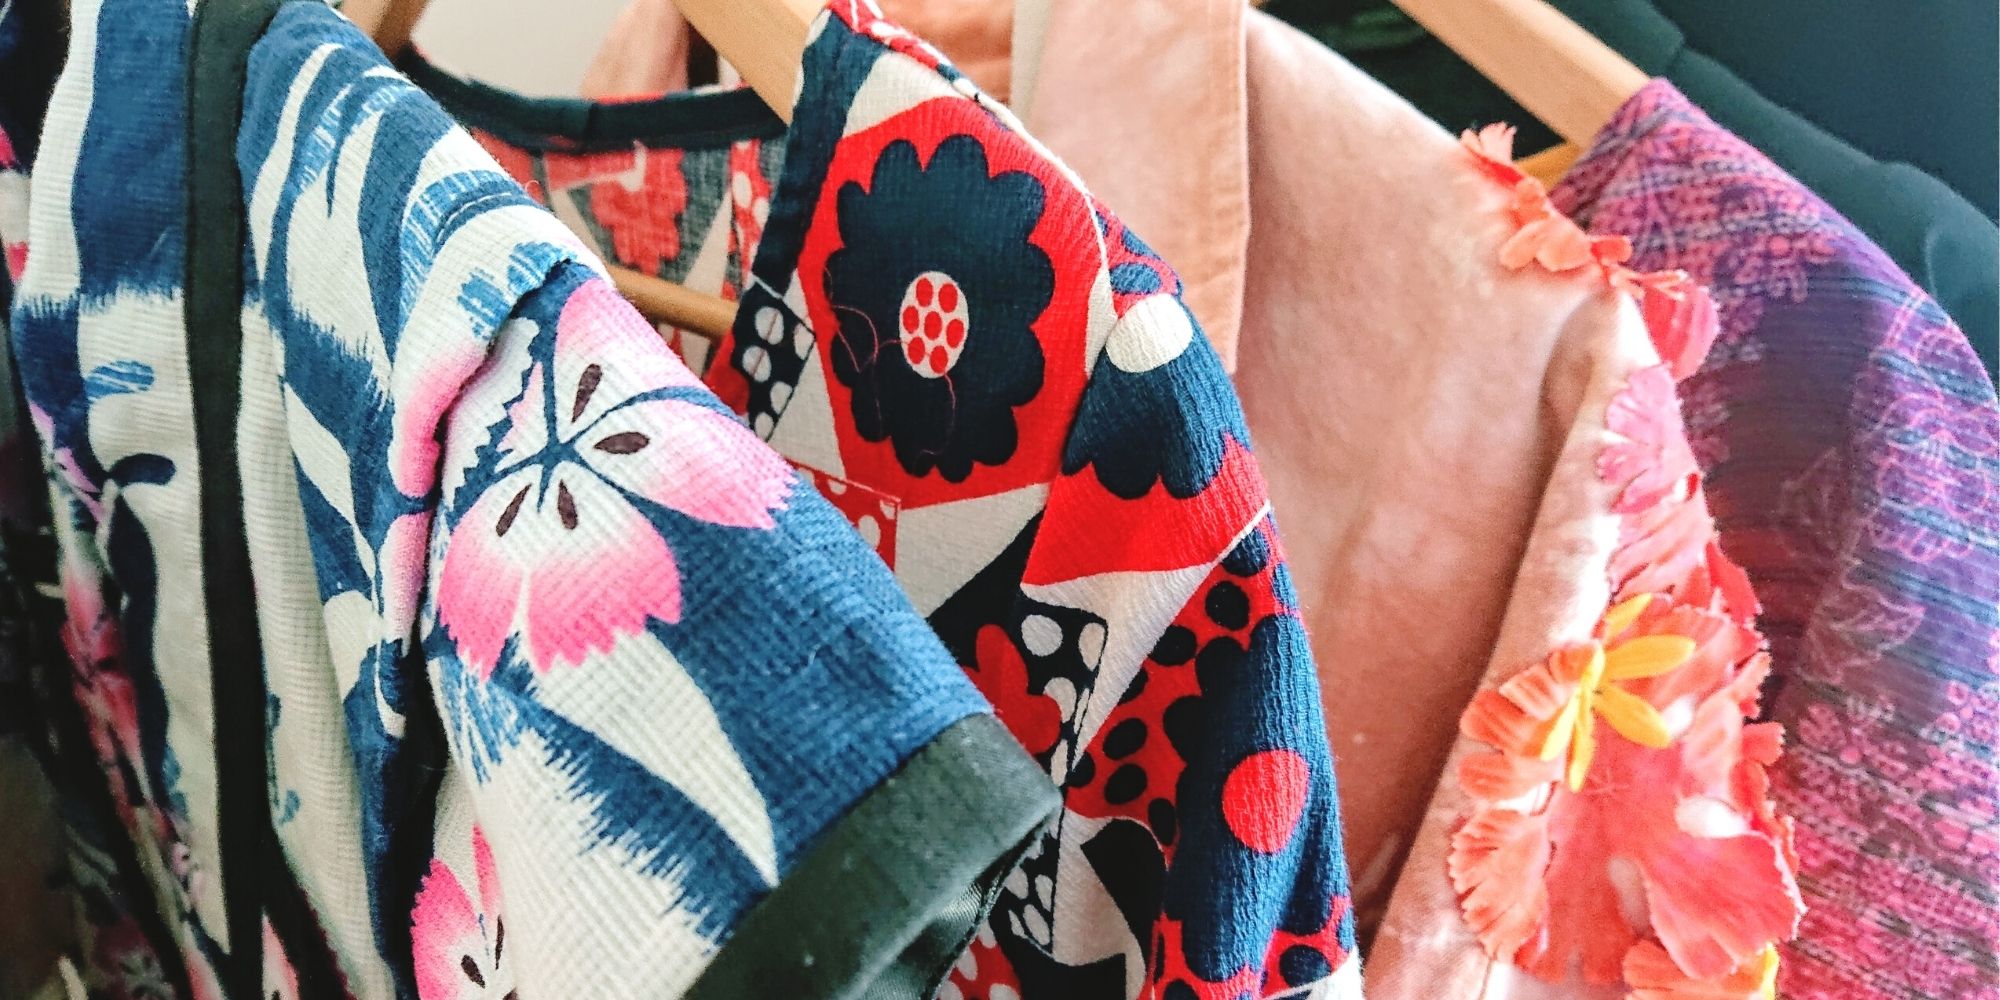
And because it’s Shelter In Place era, let’s just have a quick photoshoot in the garden! Featuring the colorful Every Body tunic underneath, wide-legged pants, and Sou Sou shoes.
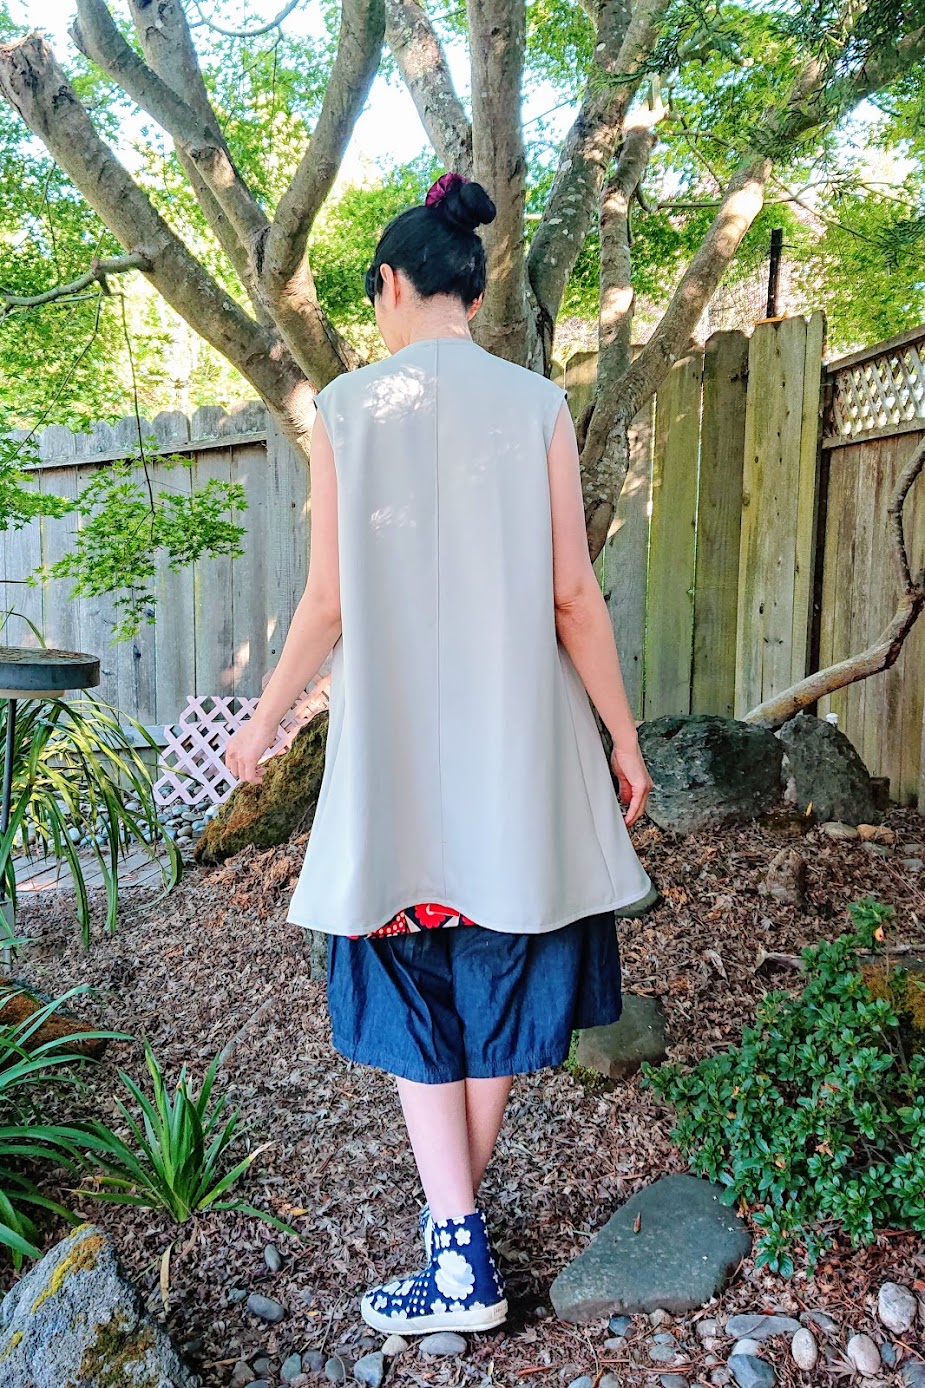
And there you have it! Making this sleeveless coat was challenging. I knew what I wanted, but I wasn’t sure if I would be able to execute it. I’m glad I took it on – the coat is so comfortable, the pockets are big and anchored nicely, and the neckline curve towards the lapel is really relaxing to look at.
This is a reminder for you beautiful creative people to do that project that you always want to do. Even when you doubt your skillset, do it anyway, ask around, be resourceful and persevere, and you will learn a great deal. Onward!
Thanks for reading; until next time,
Musank
Disclaimer: I may earn a small commission for my endorsement, recommendation, testimonial, and/or link to any products or services from this website. Thank you for your support!
Browse more posts
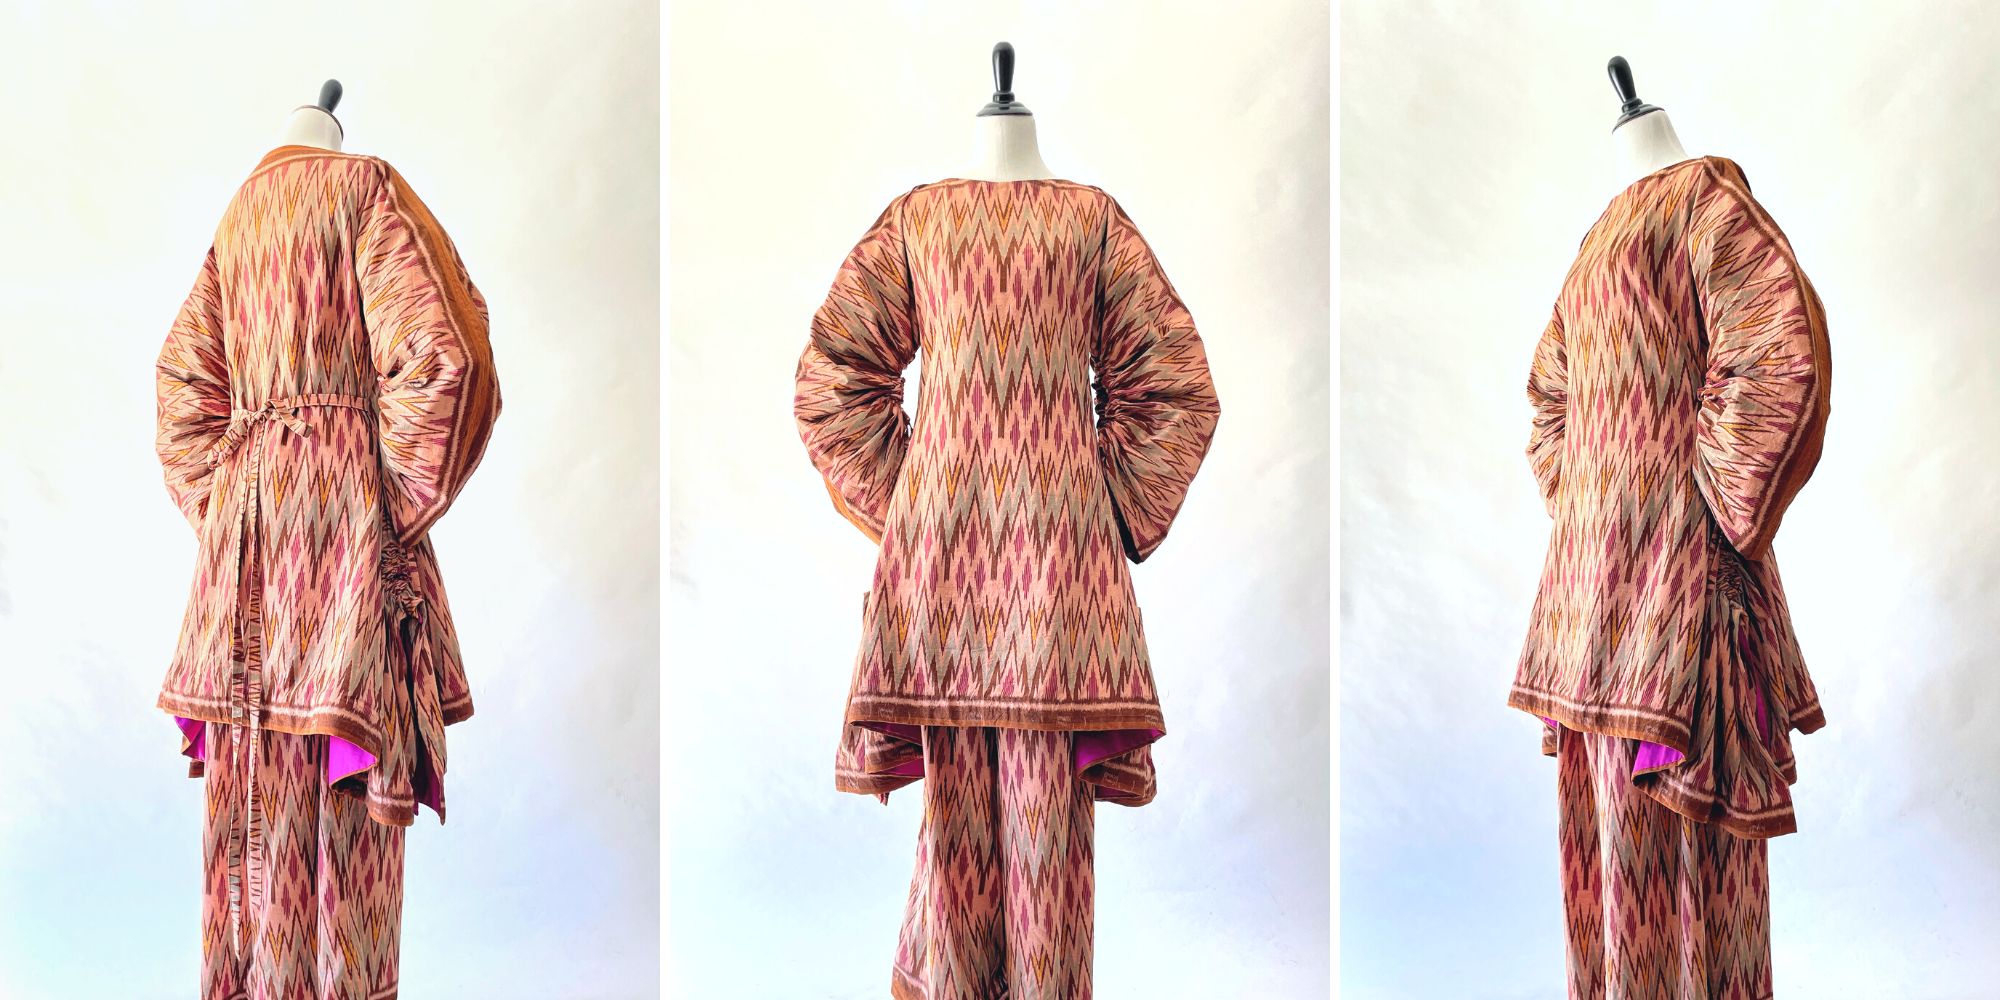
Interpreting Kebaya, Making a Modern Ethnic Ensemble
Modern Ethnic outfit is my interpretation of kebaya dressing. They are made using vintage ikat textile and inspired by several free minimal-waste patterns. Only on fafafoom.com.
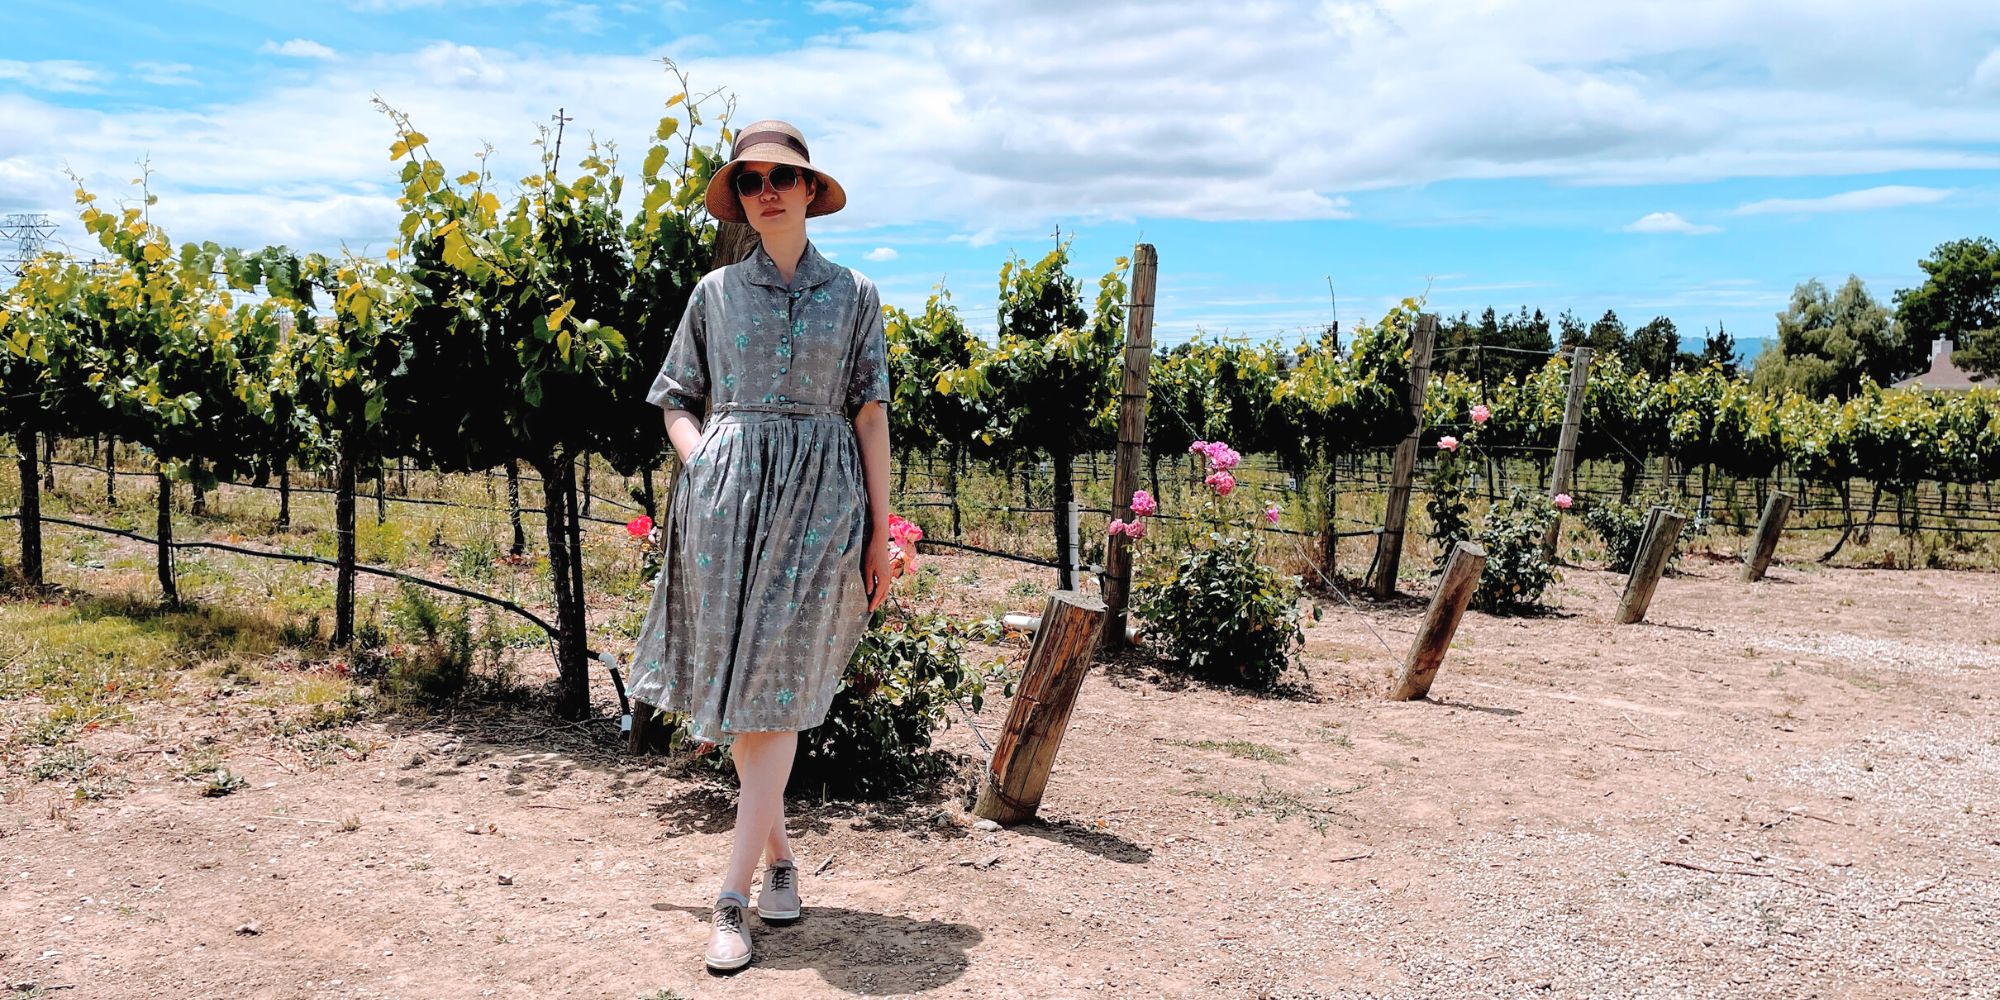
Restoring a 1950s Atomic Age Dress
Restoring and repairing a beautiful 1950s Dress for my summer 2022 wardrobe. Smart alterations include lining and inseam pockets. Only on fafafoom.com.
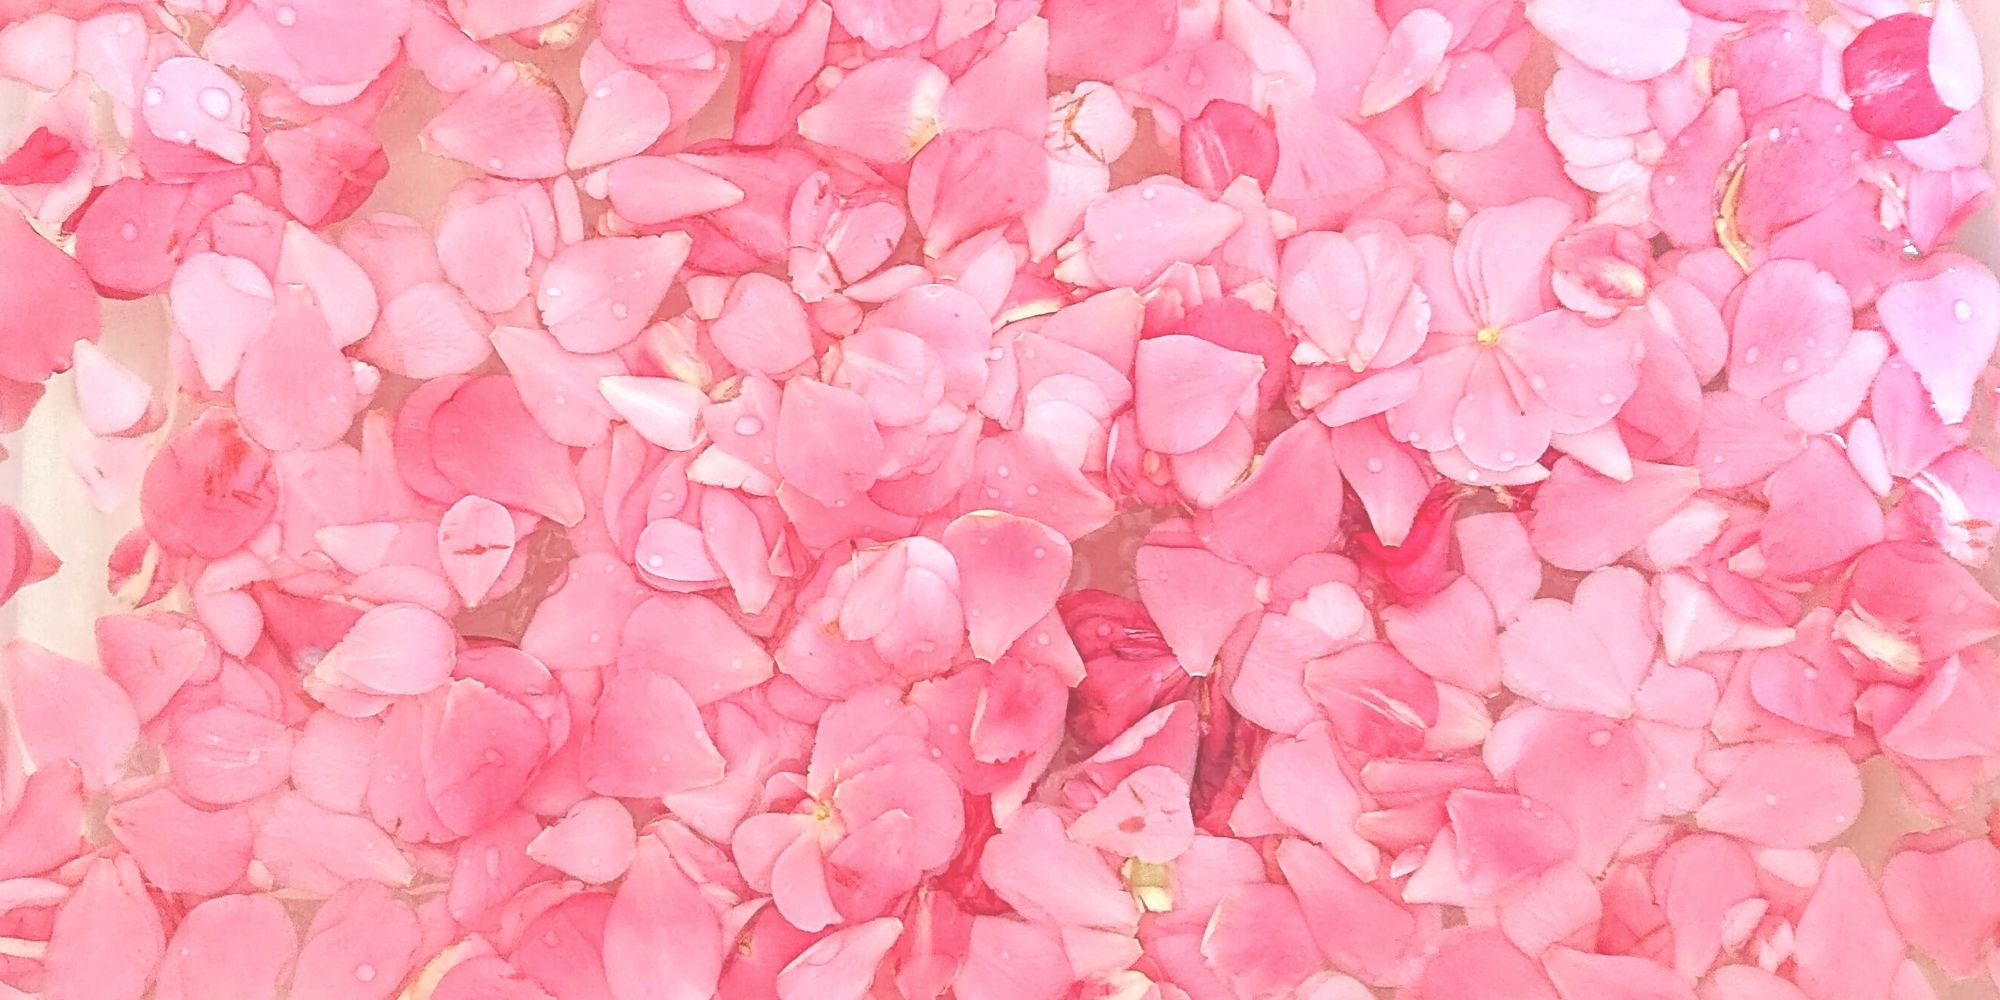
Pink Delight! Natural Dyeing with Camellia Flowers
My next experiment is dyeing with camellia flowers. Amongst all natural dyeing projects I have done so far, this is my favorite. Check out the pink delights! From fafafoom.com.
5 Slow Fashion Tips for a More Sustainable Wardrobe
Five slow fashion tips to help you transform your sustainable wardrobe for a cleaner, greener future. A guest feature from Reese Jones for Fafafoom.com.
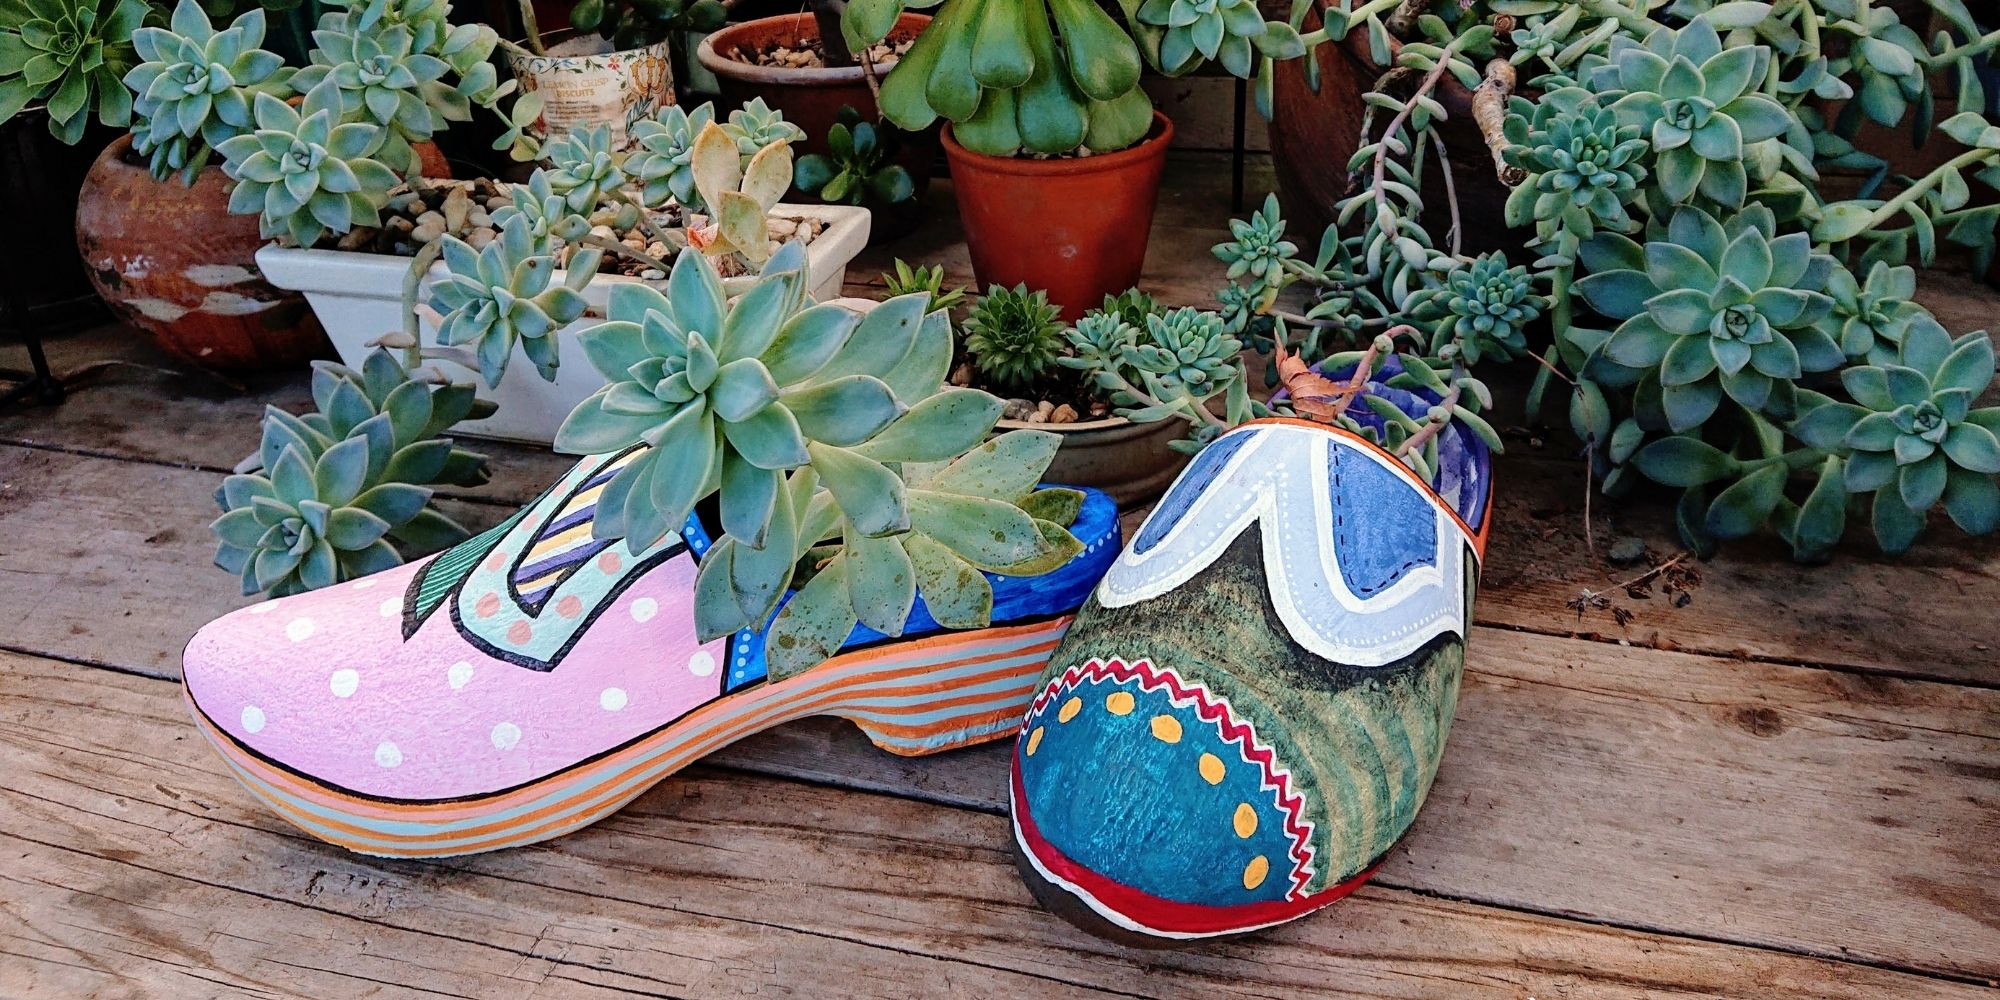
Upcycling and Repairing Ideas for Garden Decor
The garden has become a special place, especially during Covid-19 pandemic. During shelter-in-place period, I made garden decors by upcycling locally sourced items.
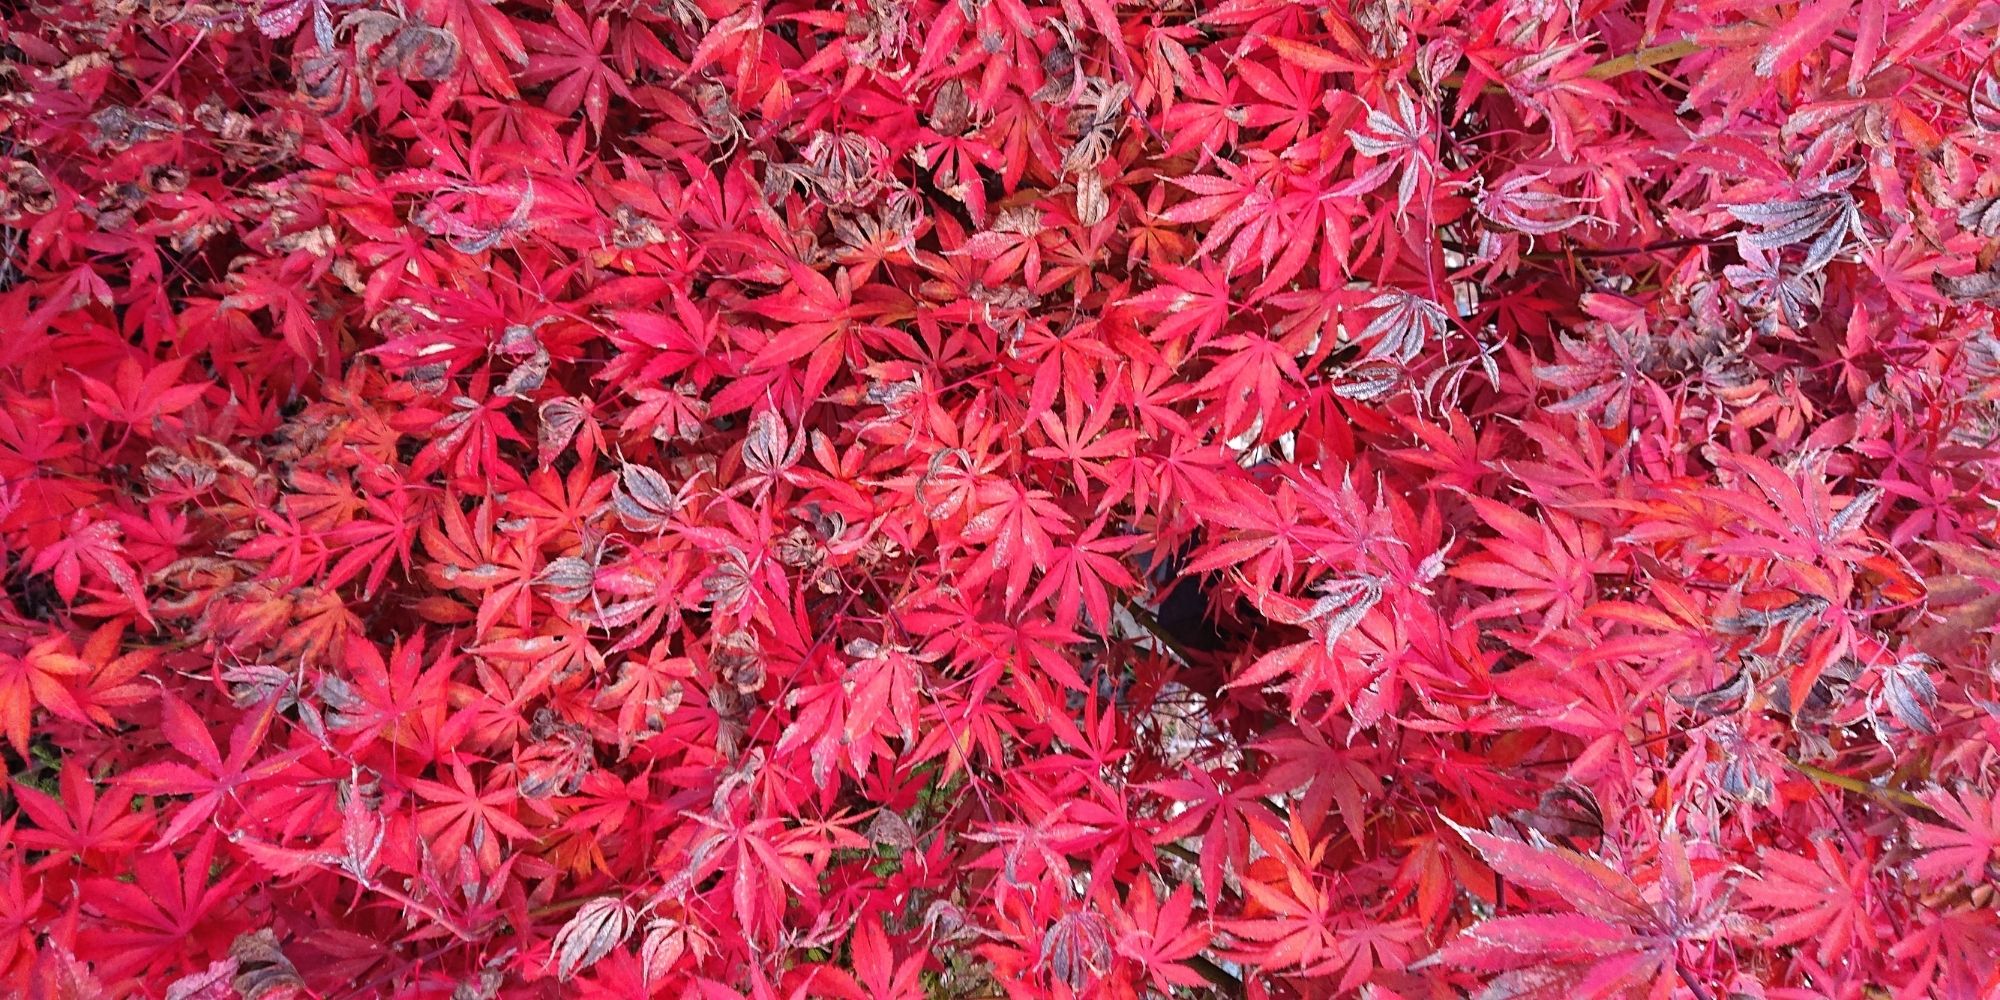
Natural Dyeing with Japanese Maple Leaves: Notes from a First-timer
Notes from my first natural dyeing experiment with Japanese maple leaves in fall season. Three batches of dyeing using fallen leaves sourced from two different trees in the garden. So much to learn and enjoy afterwards.