

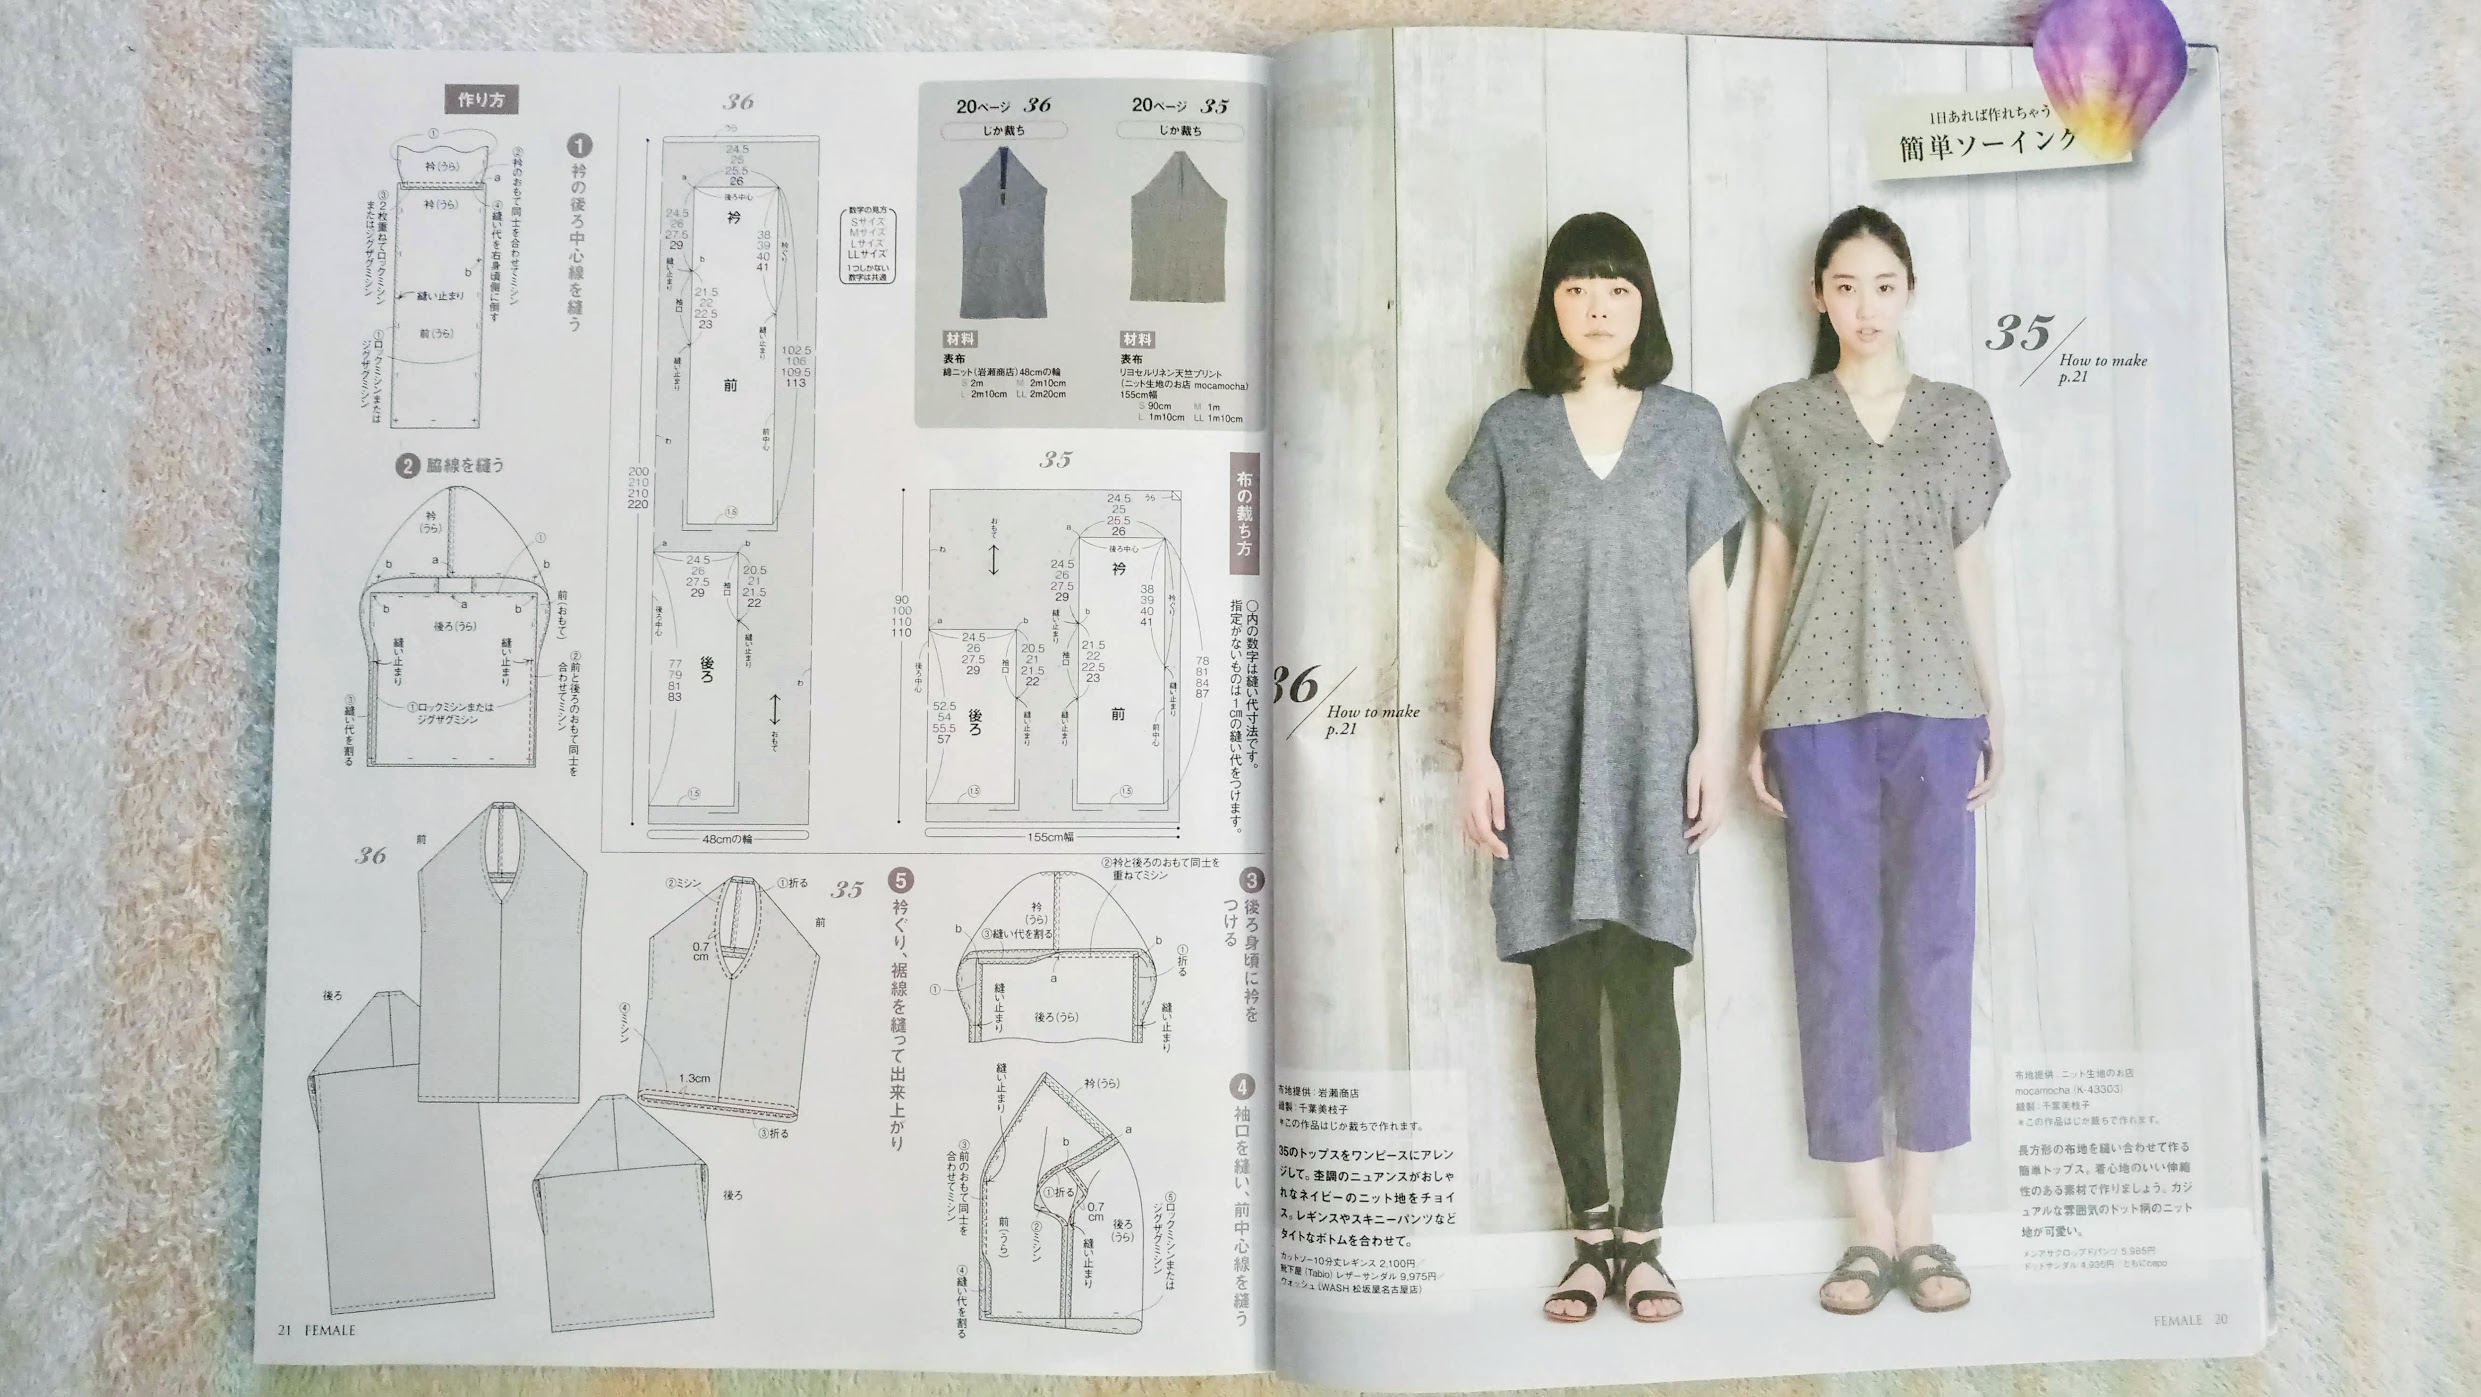
Reviewing 7 big challenges I encountered while making a reversible dress with pockets. The dress is modeled after a rectangular dress pattern from an old Japanese sewing magazine.
This blog post is somewhat different from others. Other than listing my materials, fabric / pattern measurements, process, and results, it focuses on the 7 big challenges I encountered during the process of making a supposedly easy rectangle dress from an old Japanese sewing magazine.
The road to create this dress was filled first with enthusiasm, which quickly turned into surprised annoyance, frustrations, and self doubts.
The dress was supposed to be done in a couple of days. It took a month.
It’s supposed to be easy to pattern draft, cut, and sew. It certainly was not.
There were times when I was so angry for “wasting” so much time making this dress.
I almost cut it all up when the dress was almost finished. I was *this* close to run my scissors through the whole unfinished garment and unleash my rage.
Thankfully that never happened. No matter how frustrating, perseverance triumphed them all.
Yes, it was annoyingly time consuming to make the dress. The result wasn’t perfect, either!
However, I learned SO MUCH about how three different fabrics can behave, especially when they’re forced to work with each other. Slow fashion is time consuming, especially custom-made / bespoke garments. Its underrated gem lies on the knowledge and mental strength gained throughout the process.
So at the end of the day, I am very grateful. And I’d like to share my challenges with you. In case you’re trying to create a garment that combines woven and knit in similar way, I hope they can help you in any way.
Better yet, I hope this post can cheer you on. Perhaps you’re a sewist who lost your sewing mojo a little bit, or stuck in a certain rut. Perhaps you’re obsessing over how your garment is not perfectly finished. It’s alright.
It’s going to be okay. You are amazing, and you can achieve anything (really) when you persevere. Give yourself time, trust in your own pace. And seriously, life is imperfect, and there’s so much beauty in it even when we often don’t understand it. Cheers!
Subscribe to my newsletter
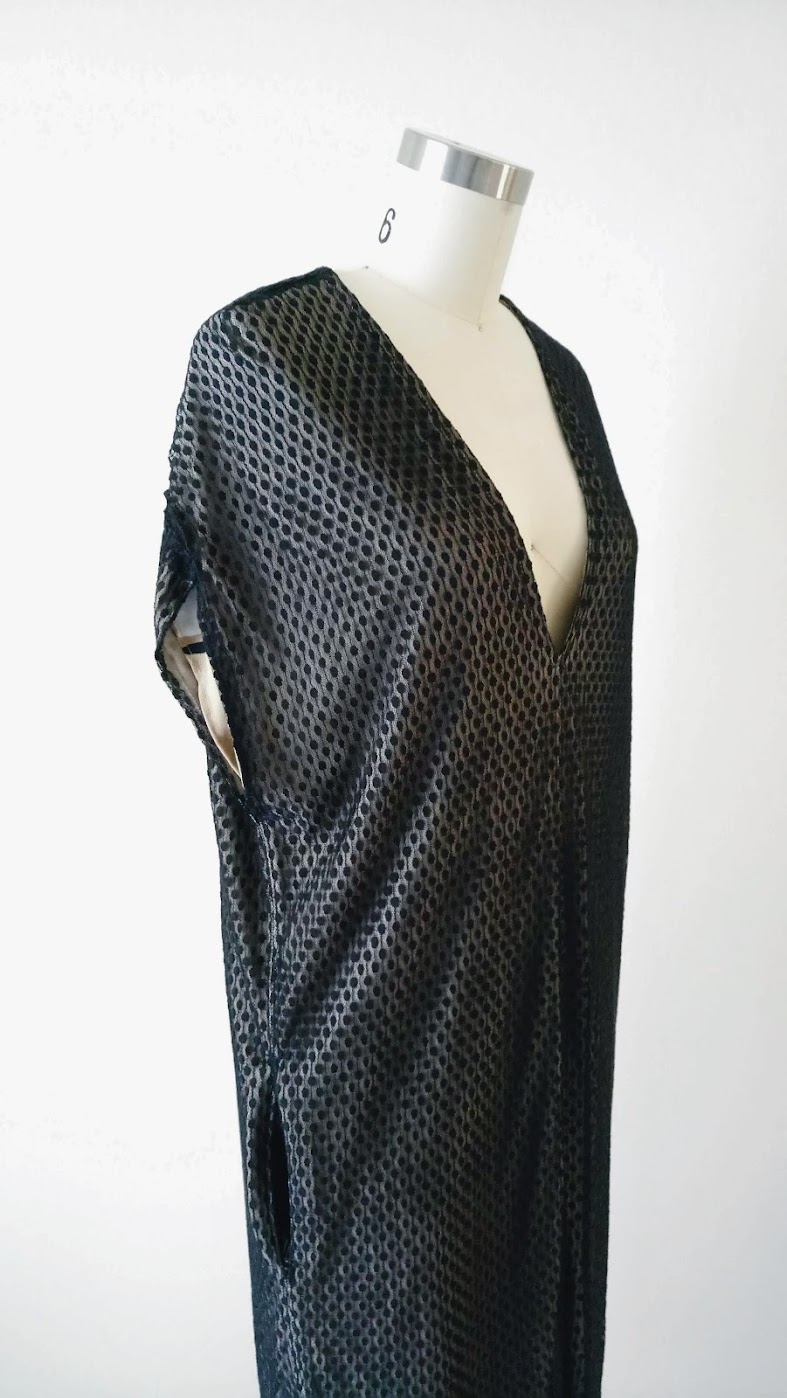
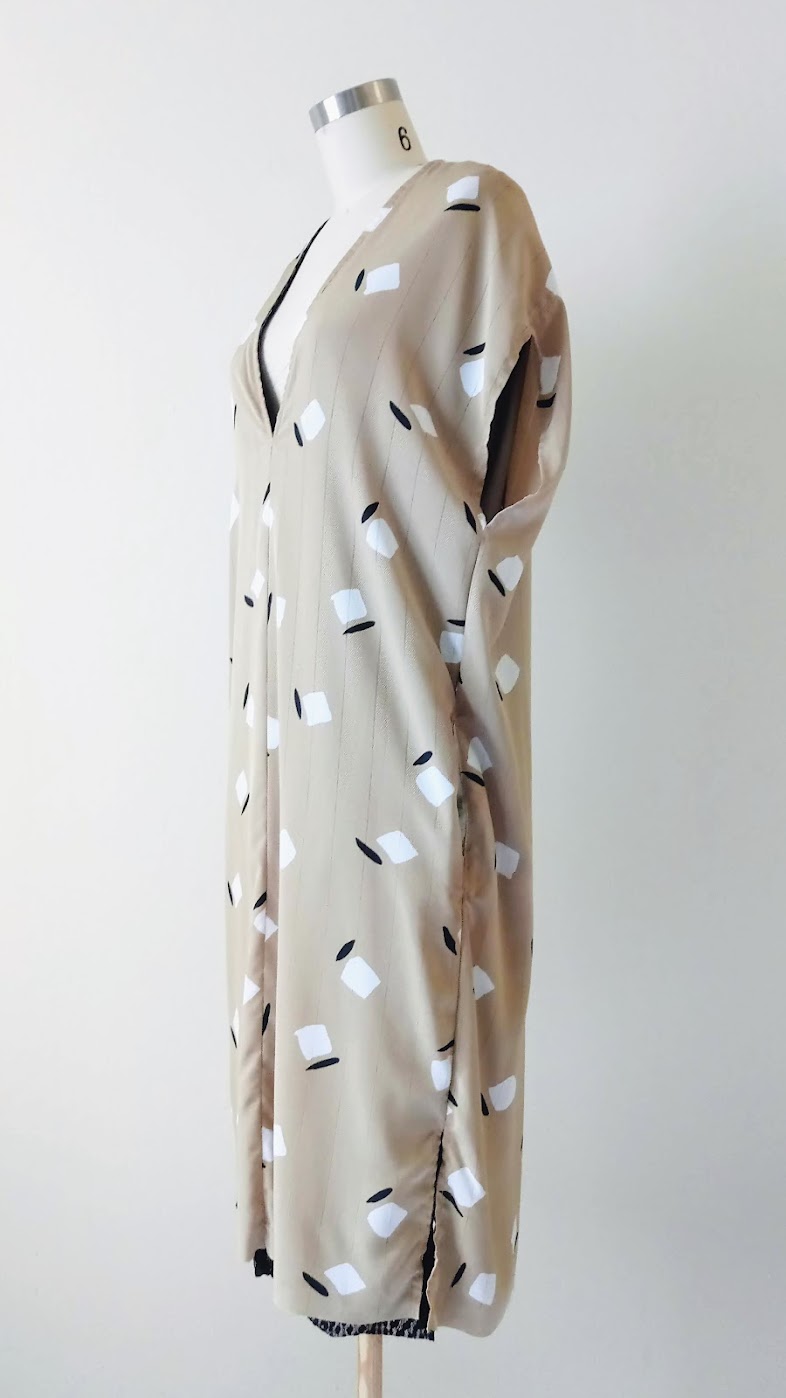
Challenge #1: Creating a reversible dress with pockets using three different fabrics – one woven, two knits
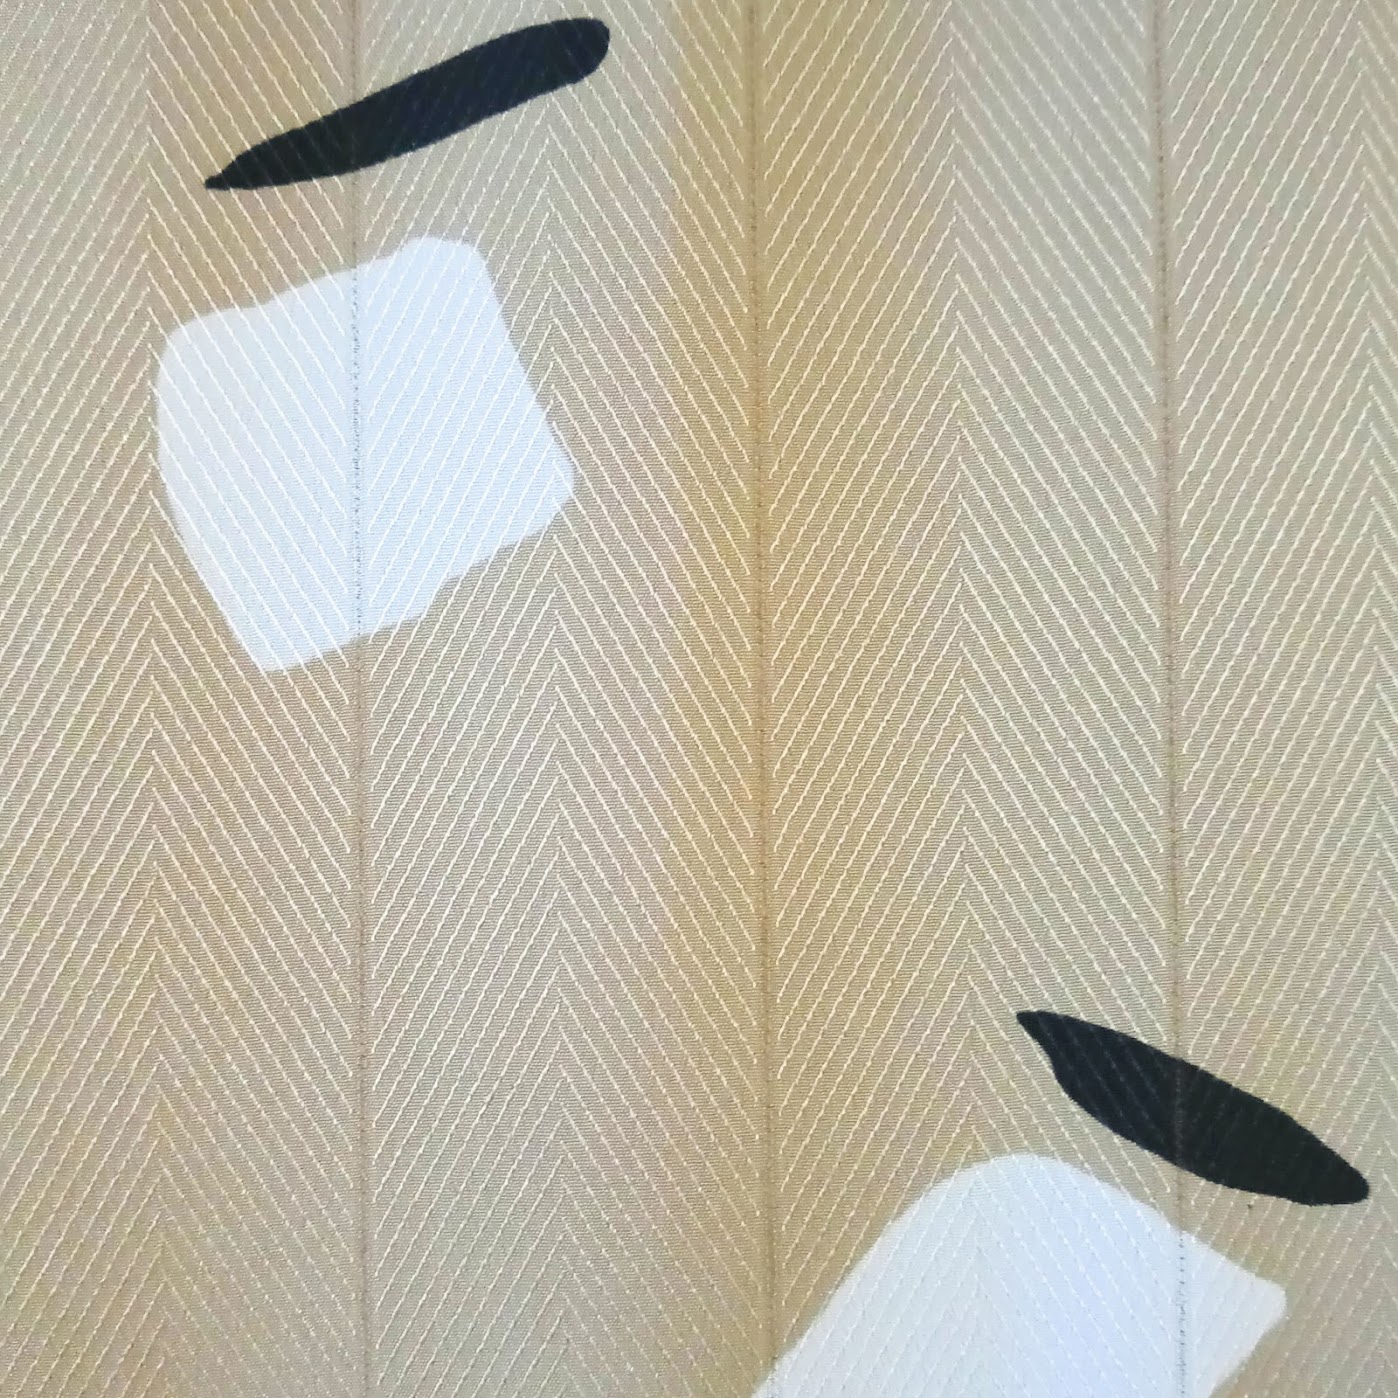
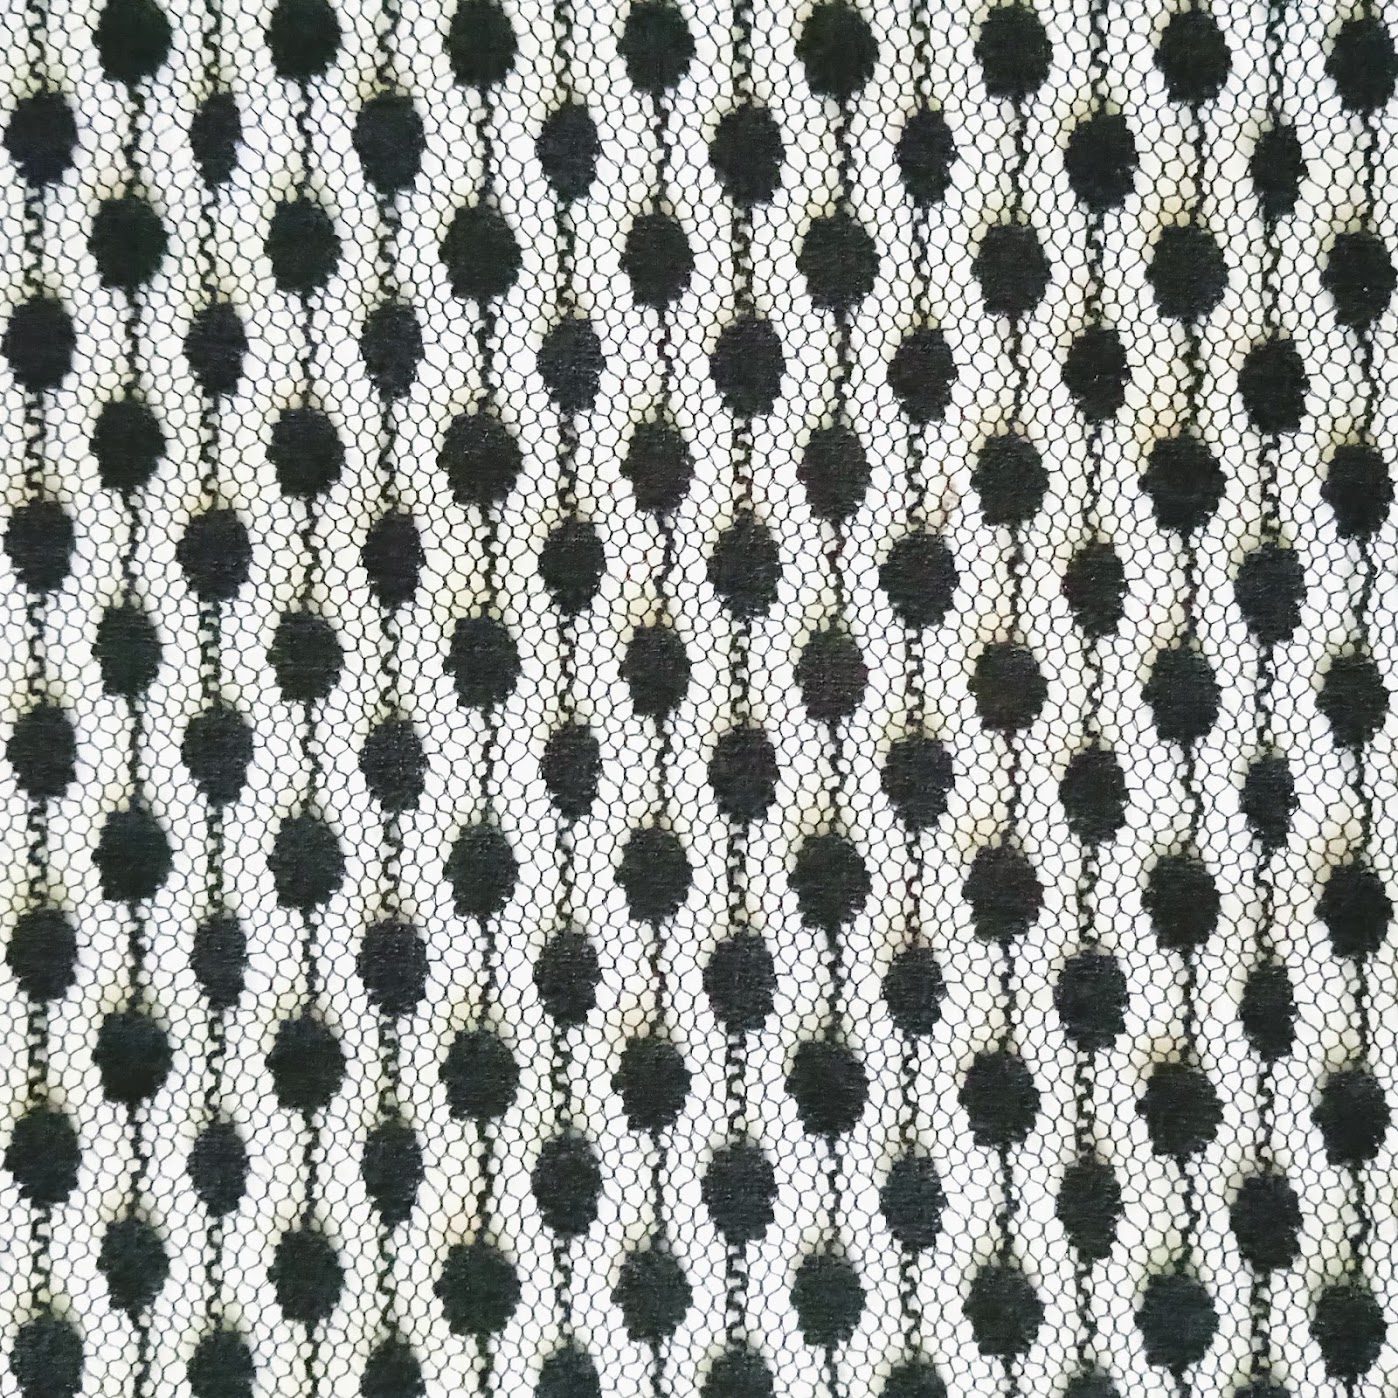
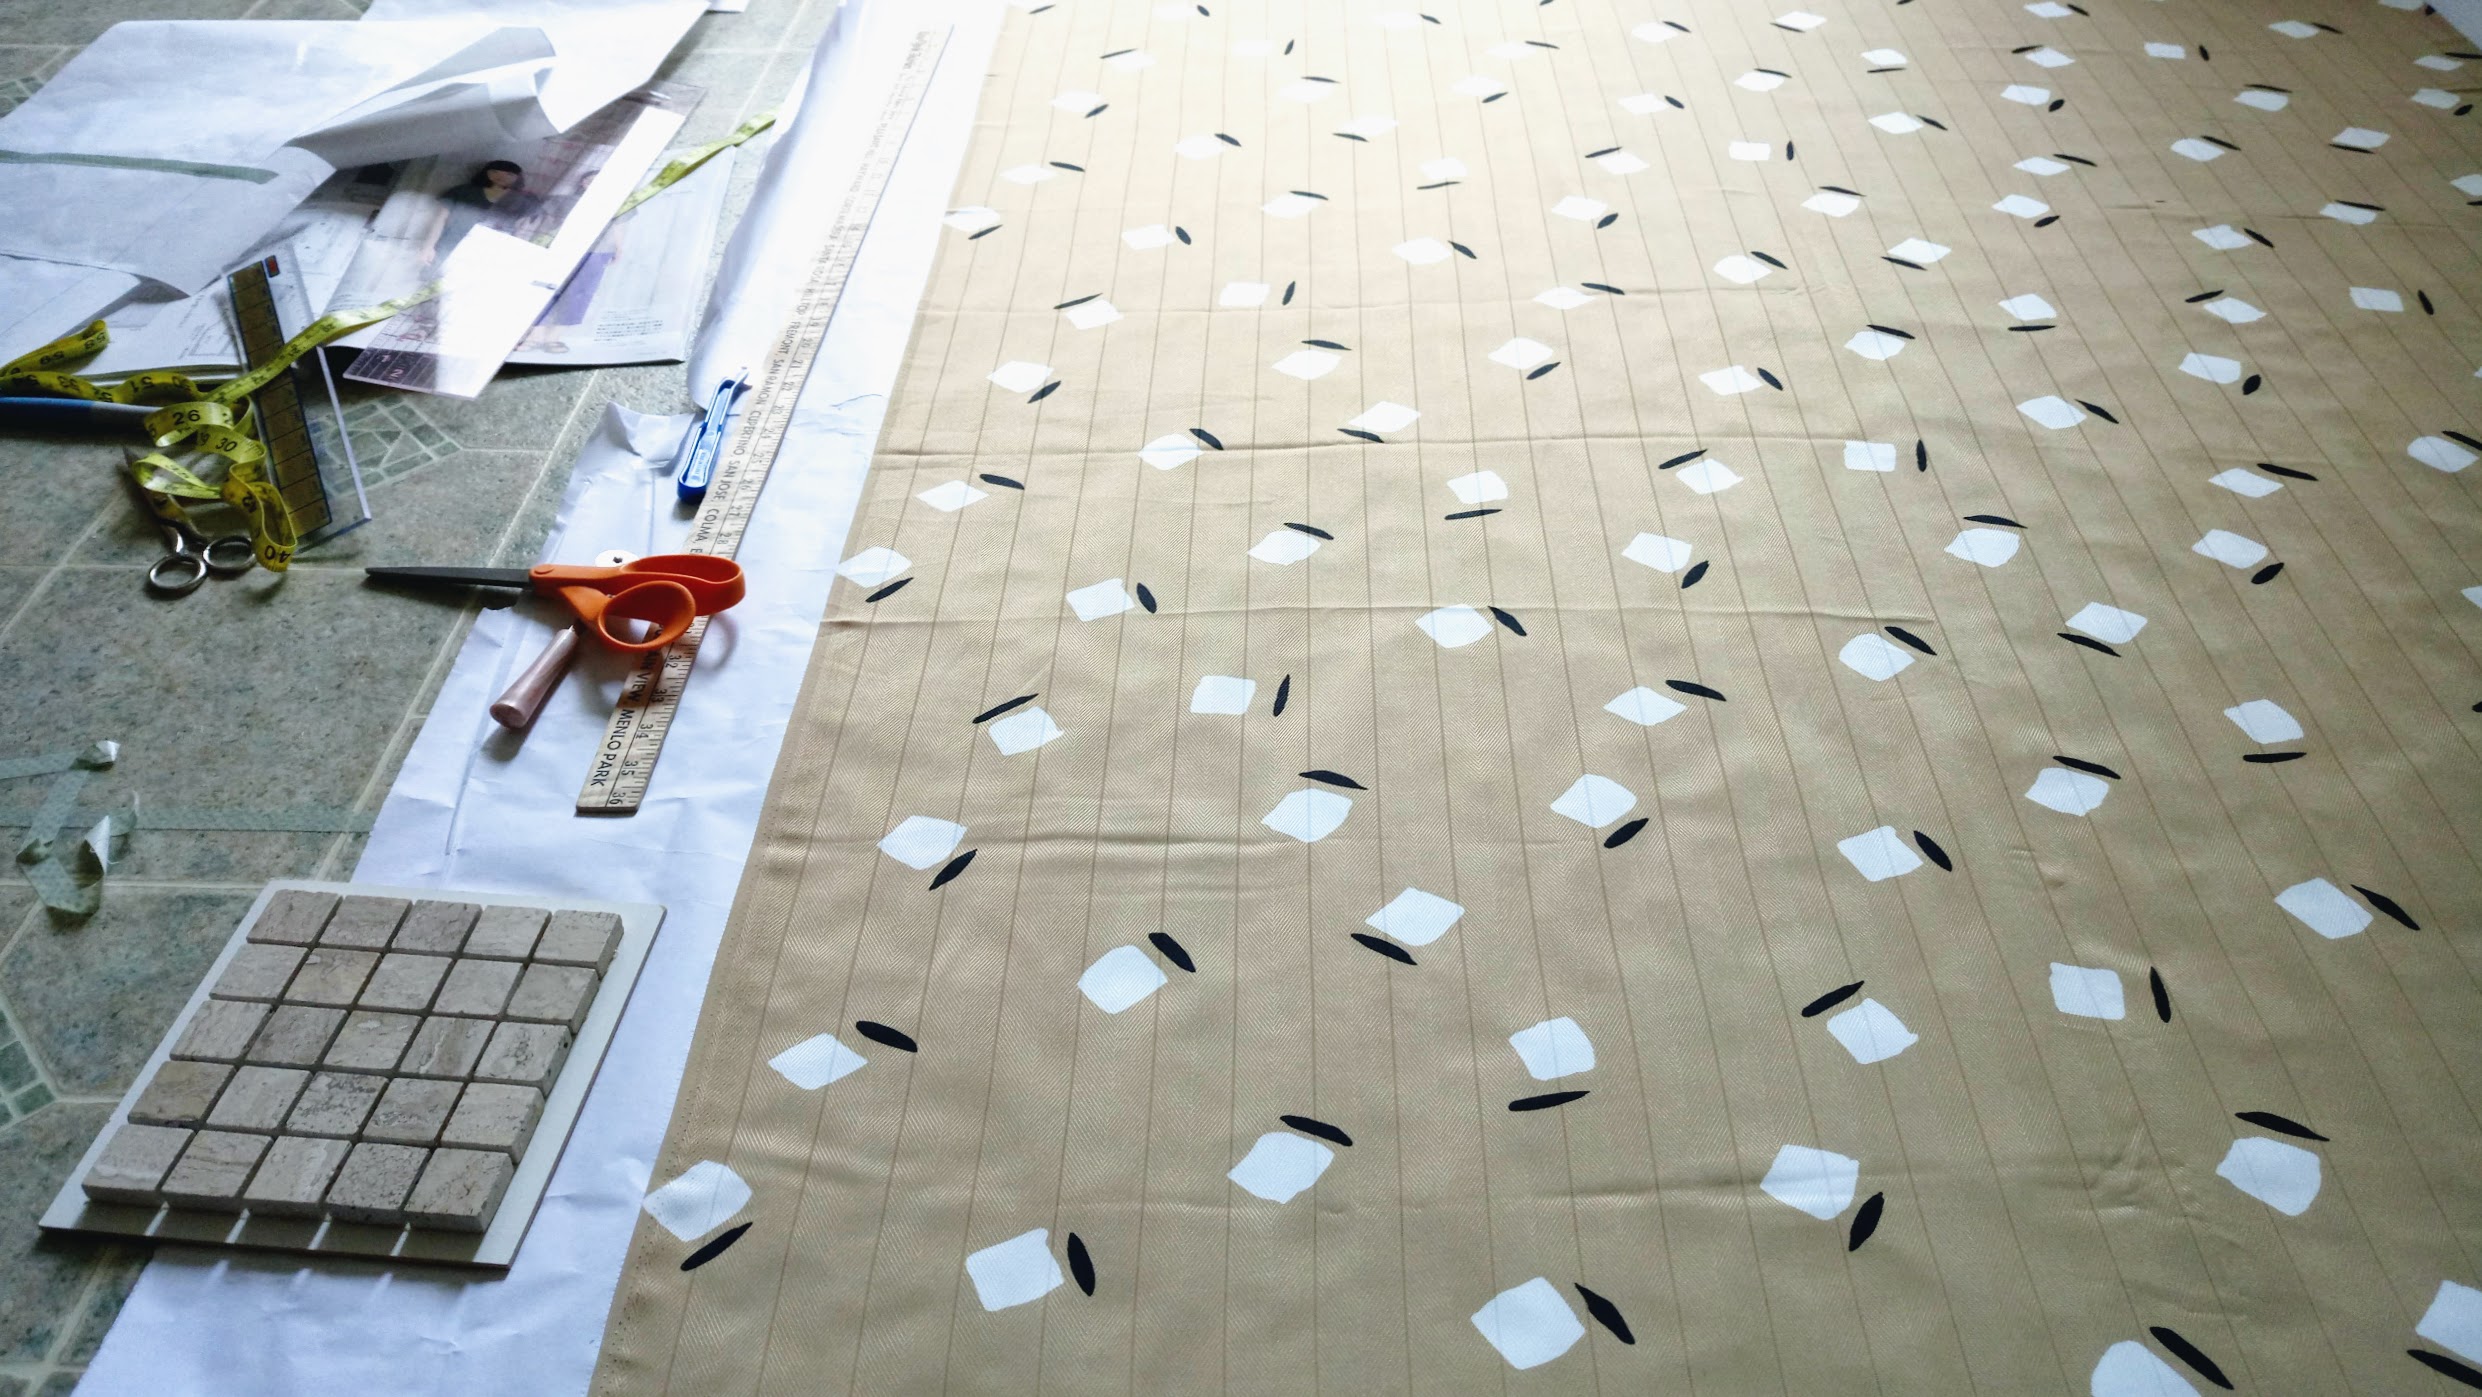
This would be the underlying challenge throughout the whole process. I chose a pretty printed rayon(?) woven that’s really slippery, a taupe jersey knit, and black lace knit.
The woven would be on one side, and the jersey knit would be the backing for the lace knit on the other side.
Right off the bat, people told me I was crazy. It’s going to be very difficult, and the fabrics I chose are likely not to play nice with each other.
And you know what? They’re absolutely right. But I didn’t listen, and I was paying the price for making this dress for a month instead of a couple of days.
That said, if I changed my plan then, I wouldn’t be able to get challenged any further or overcome them. I also wouldn’t be able to learn so much more. Sometimes you just grow so much from going through with crazy ideas!
At the end of this process, I was able to overcome this challenge by having a reversible dress with pockets I’m proud of!

Challenge #2: The rectangular dress pattern doesn’t work
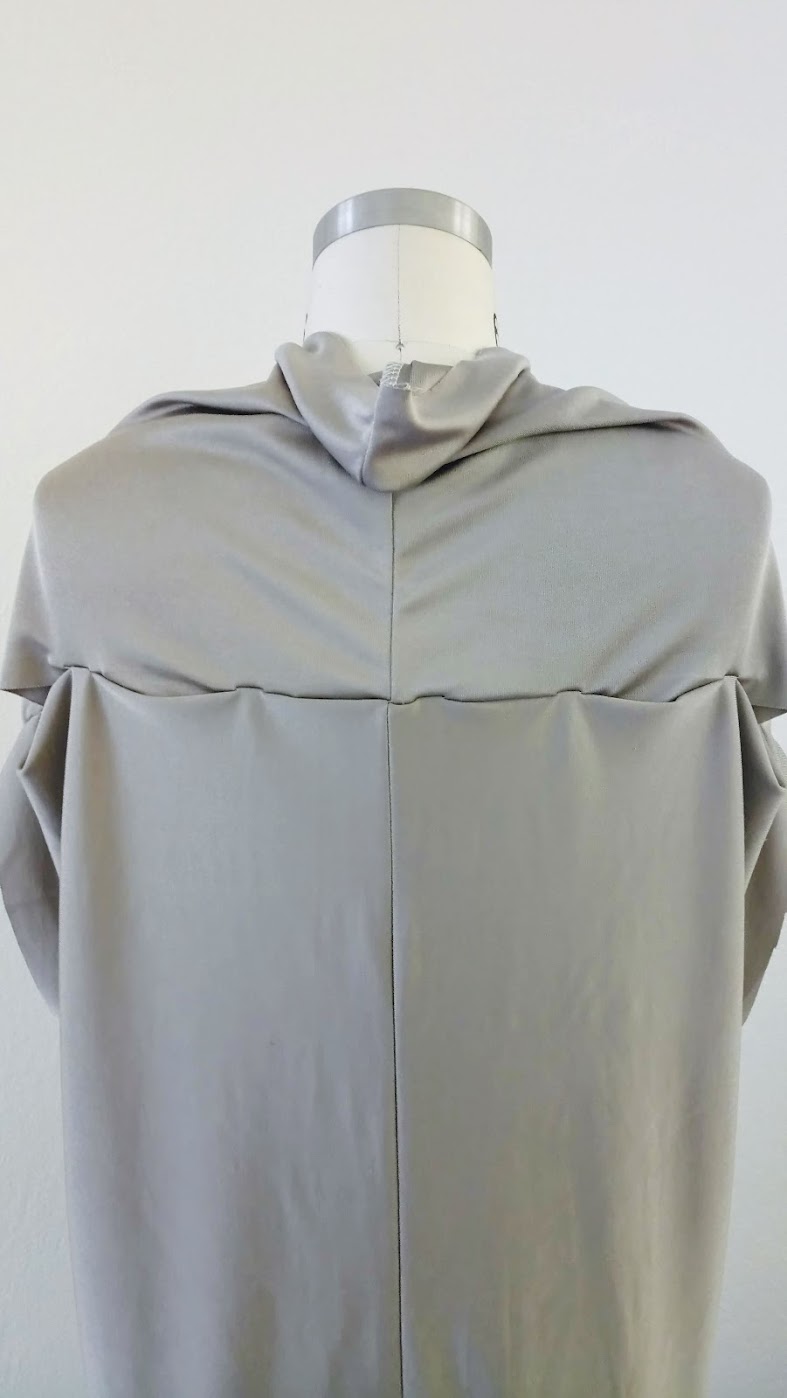
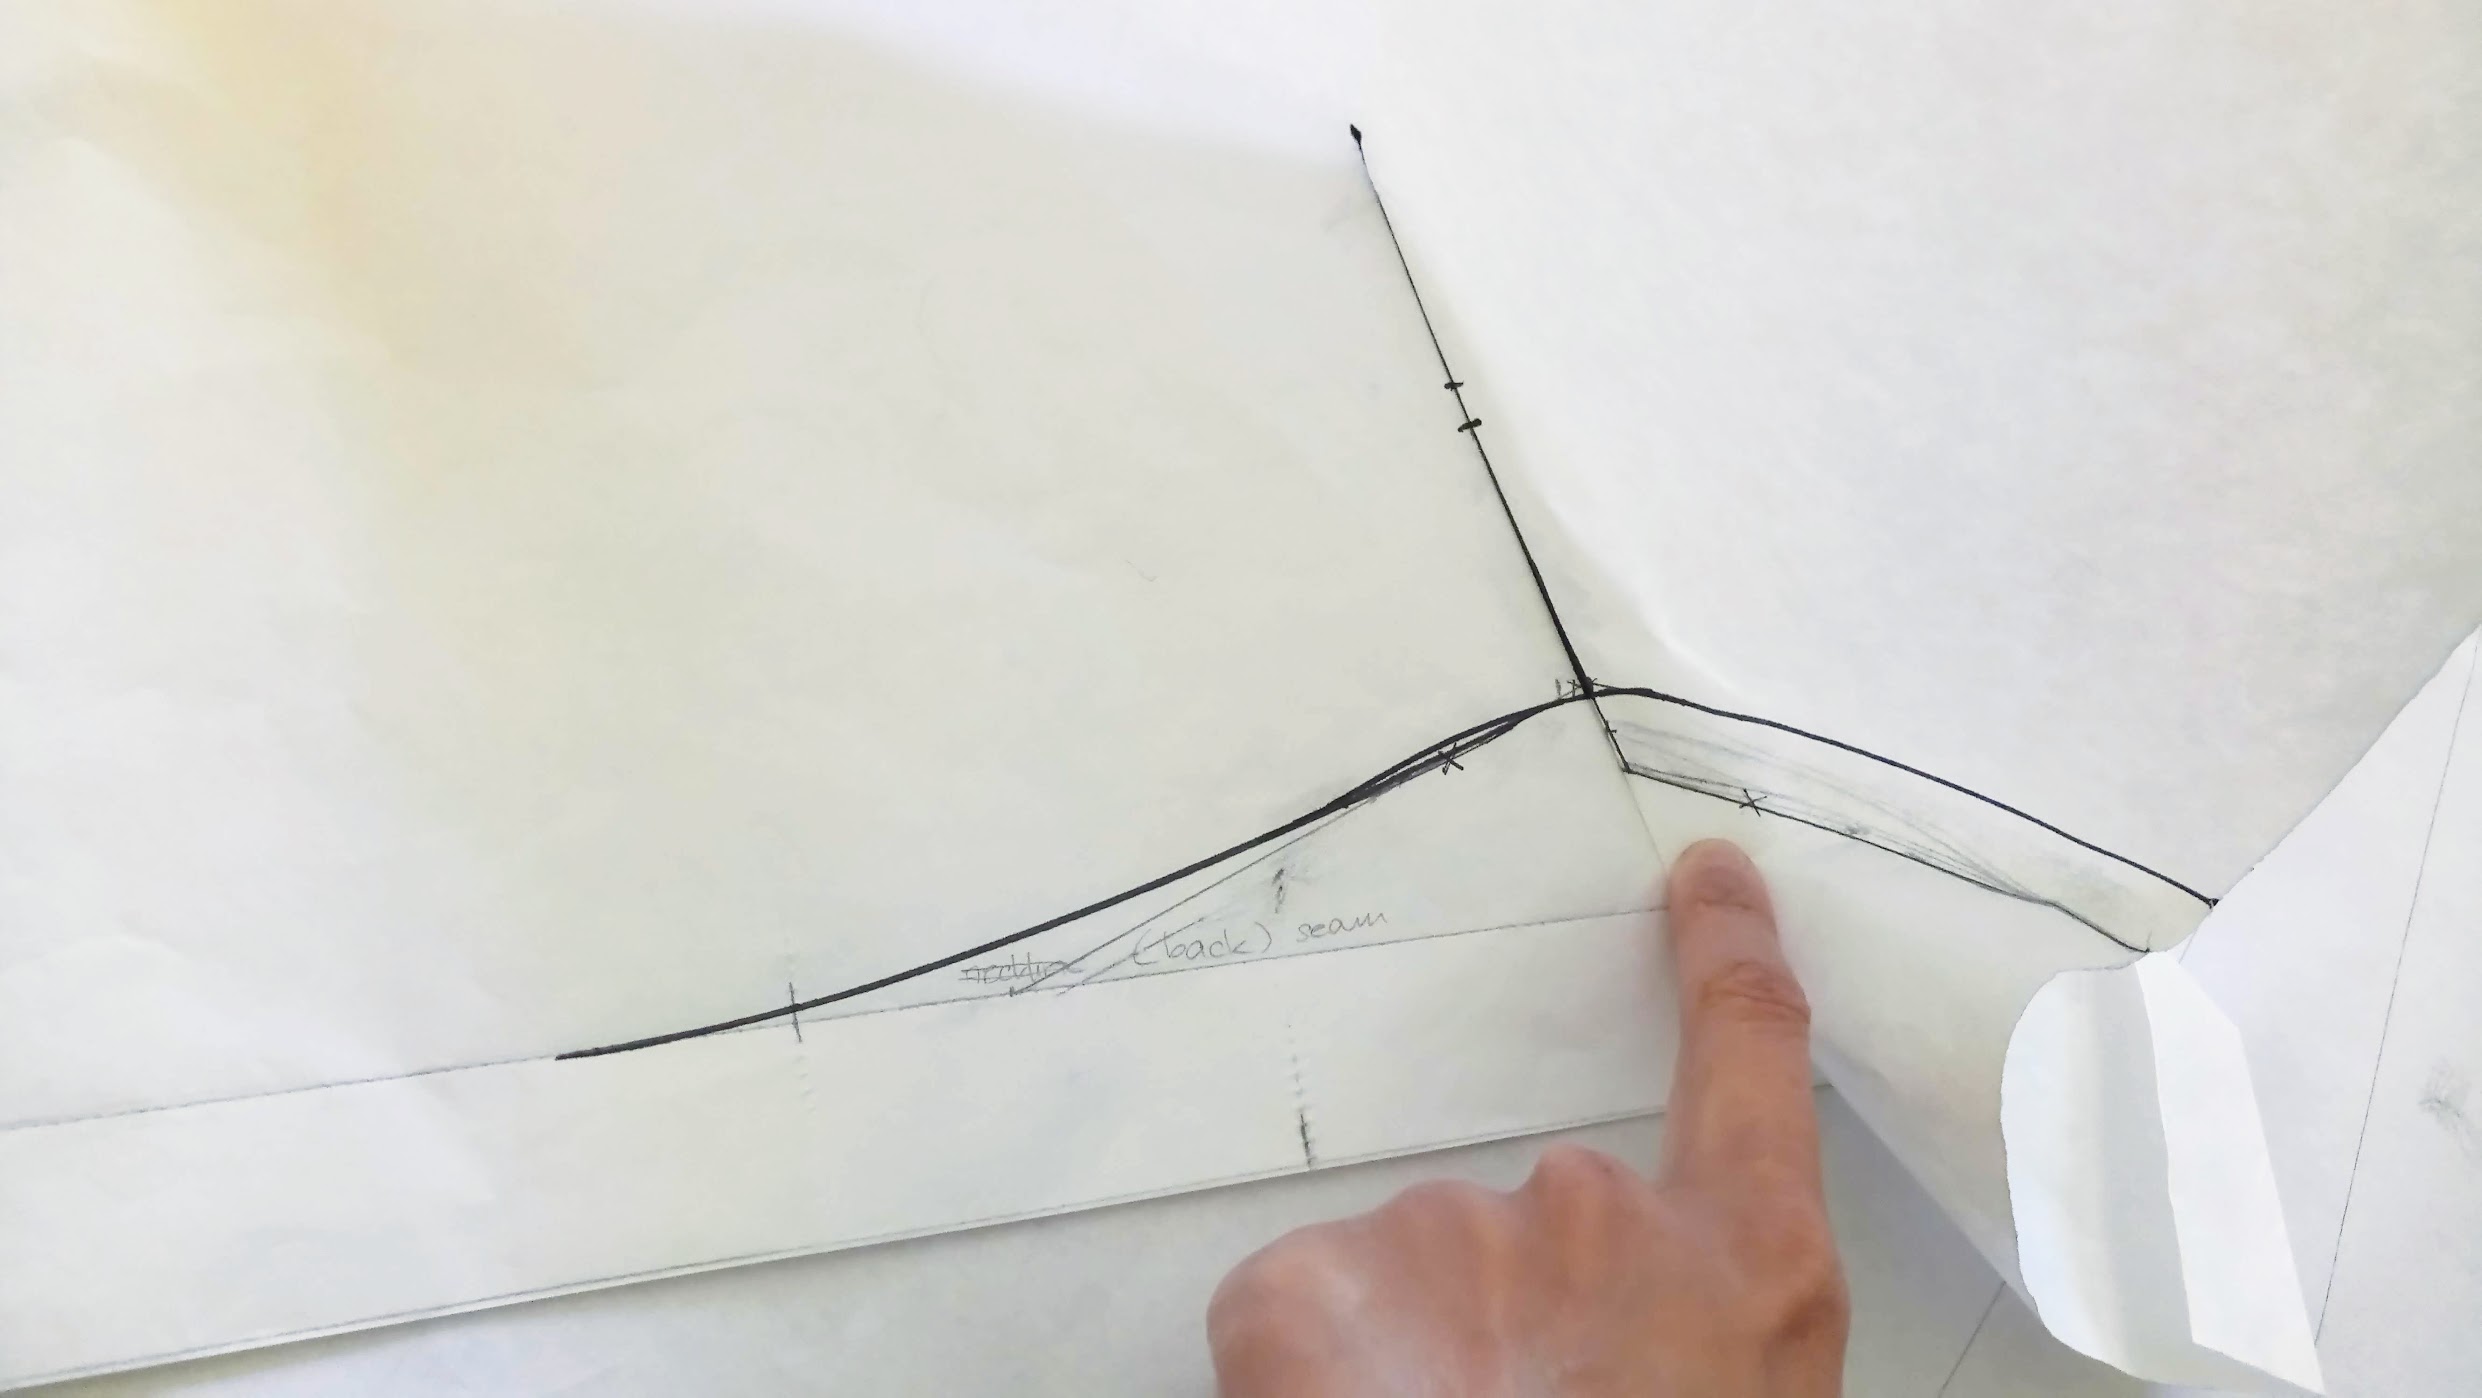
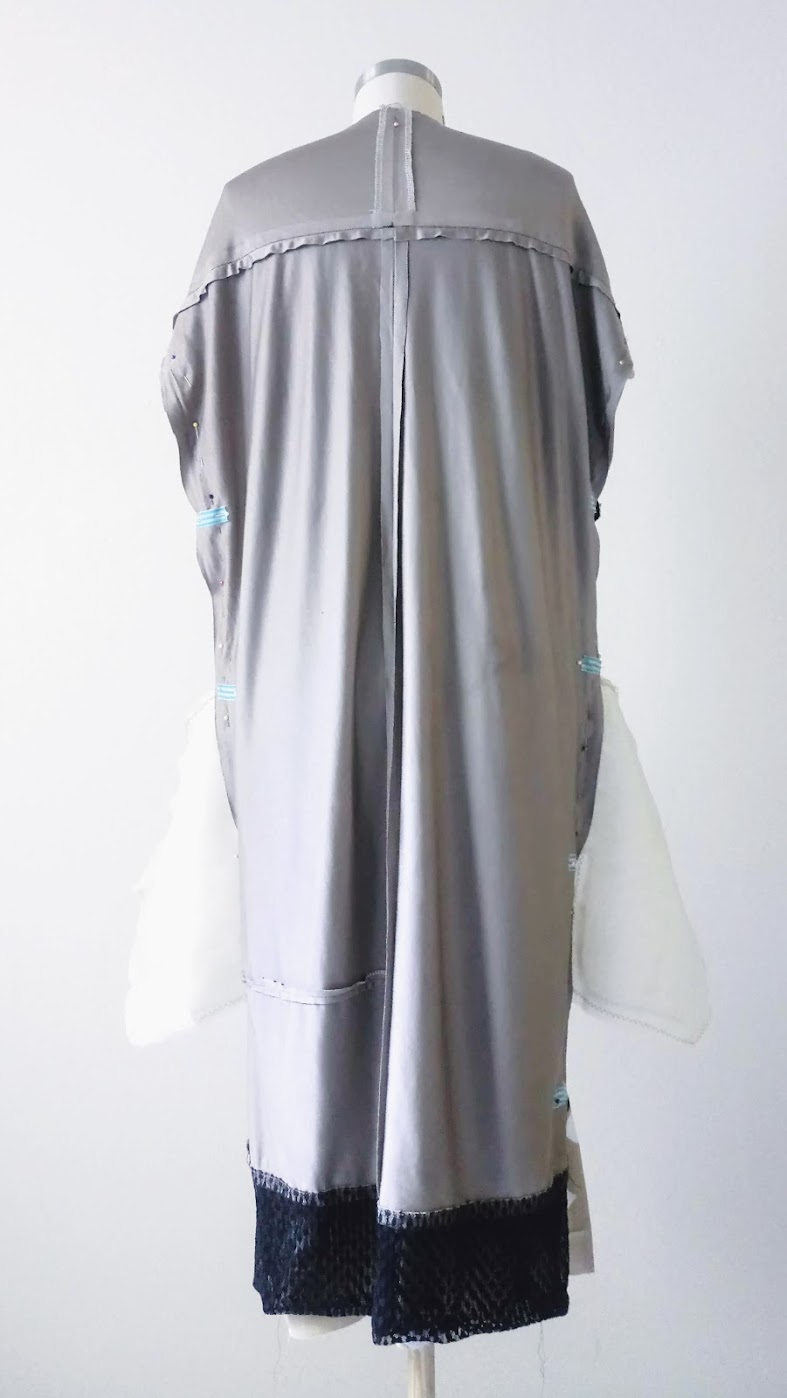
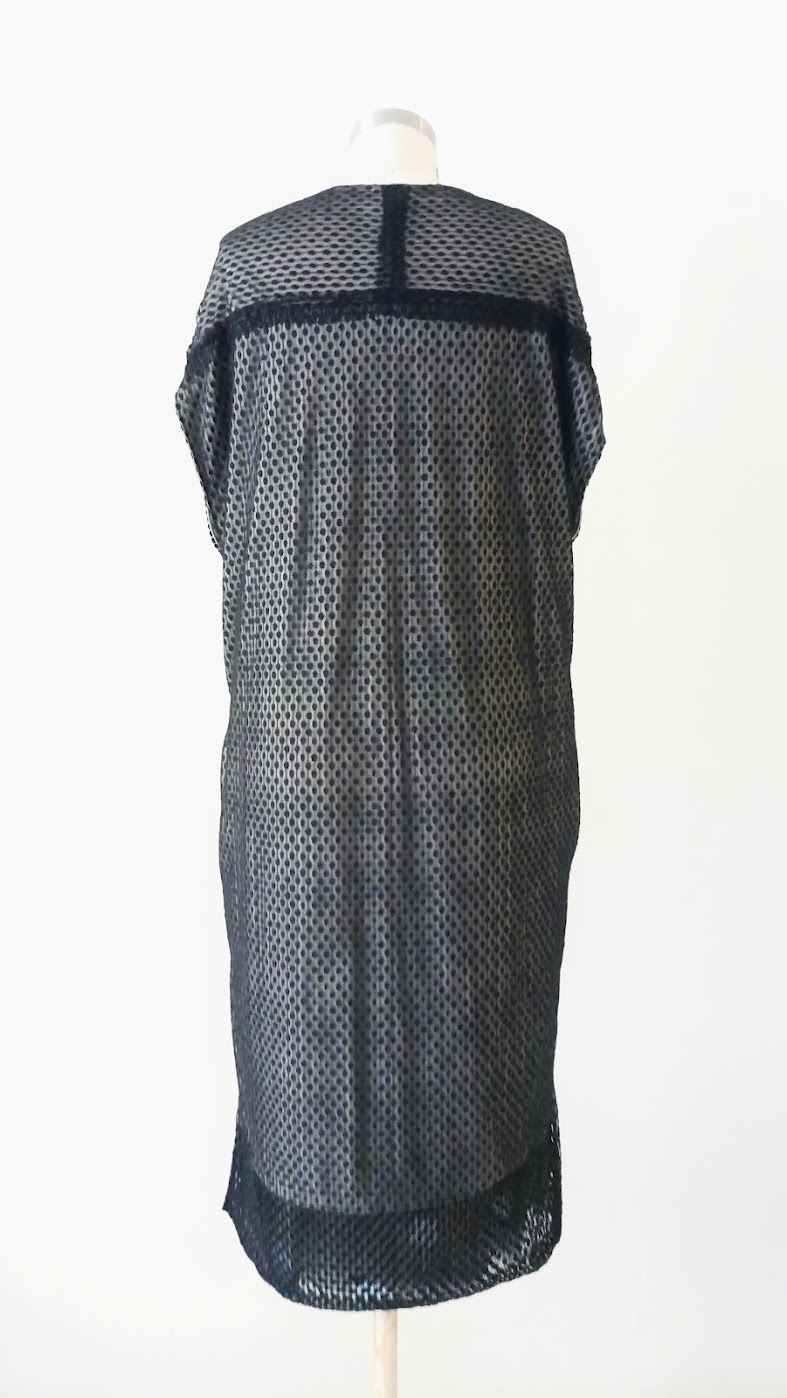
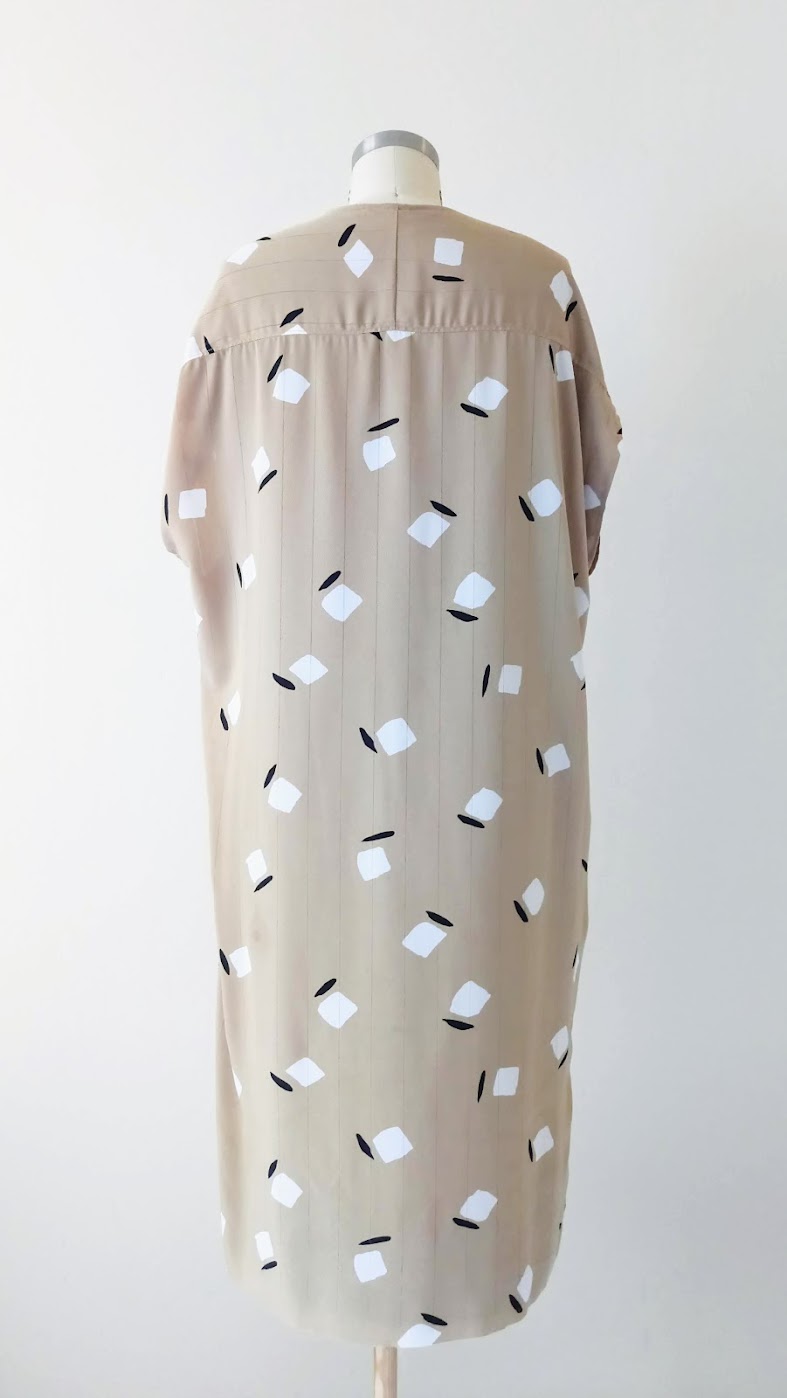
I used a rectangular dress pattern from an old Japanese sewing magazine. The pattern consists of three long rectangles. Two pieces for the front, and one for the back side. Five seams total – two on the sides, one on center front, one from center back down the back, and one across the shoulder blades on the back.
After drafting my patterns and cutting my three fabrics, I picked up the taupe jersey pieces. I started following the directions to combine the two long rectangles before working on the front center seams.
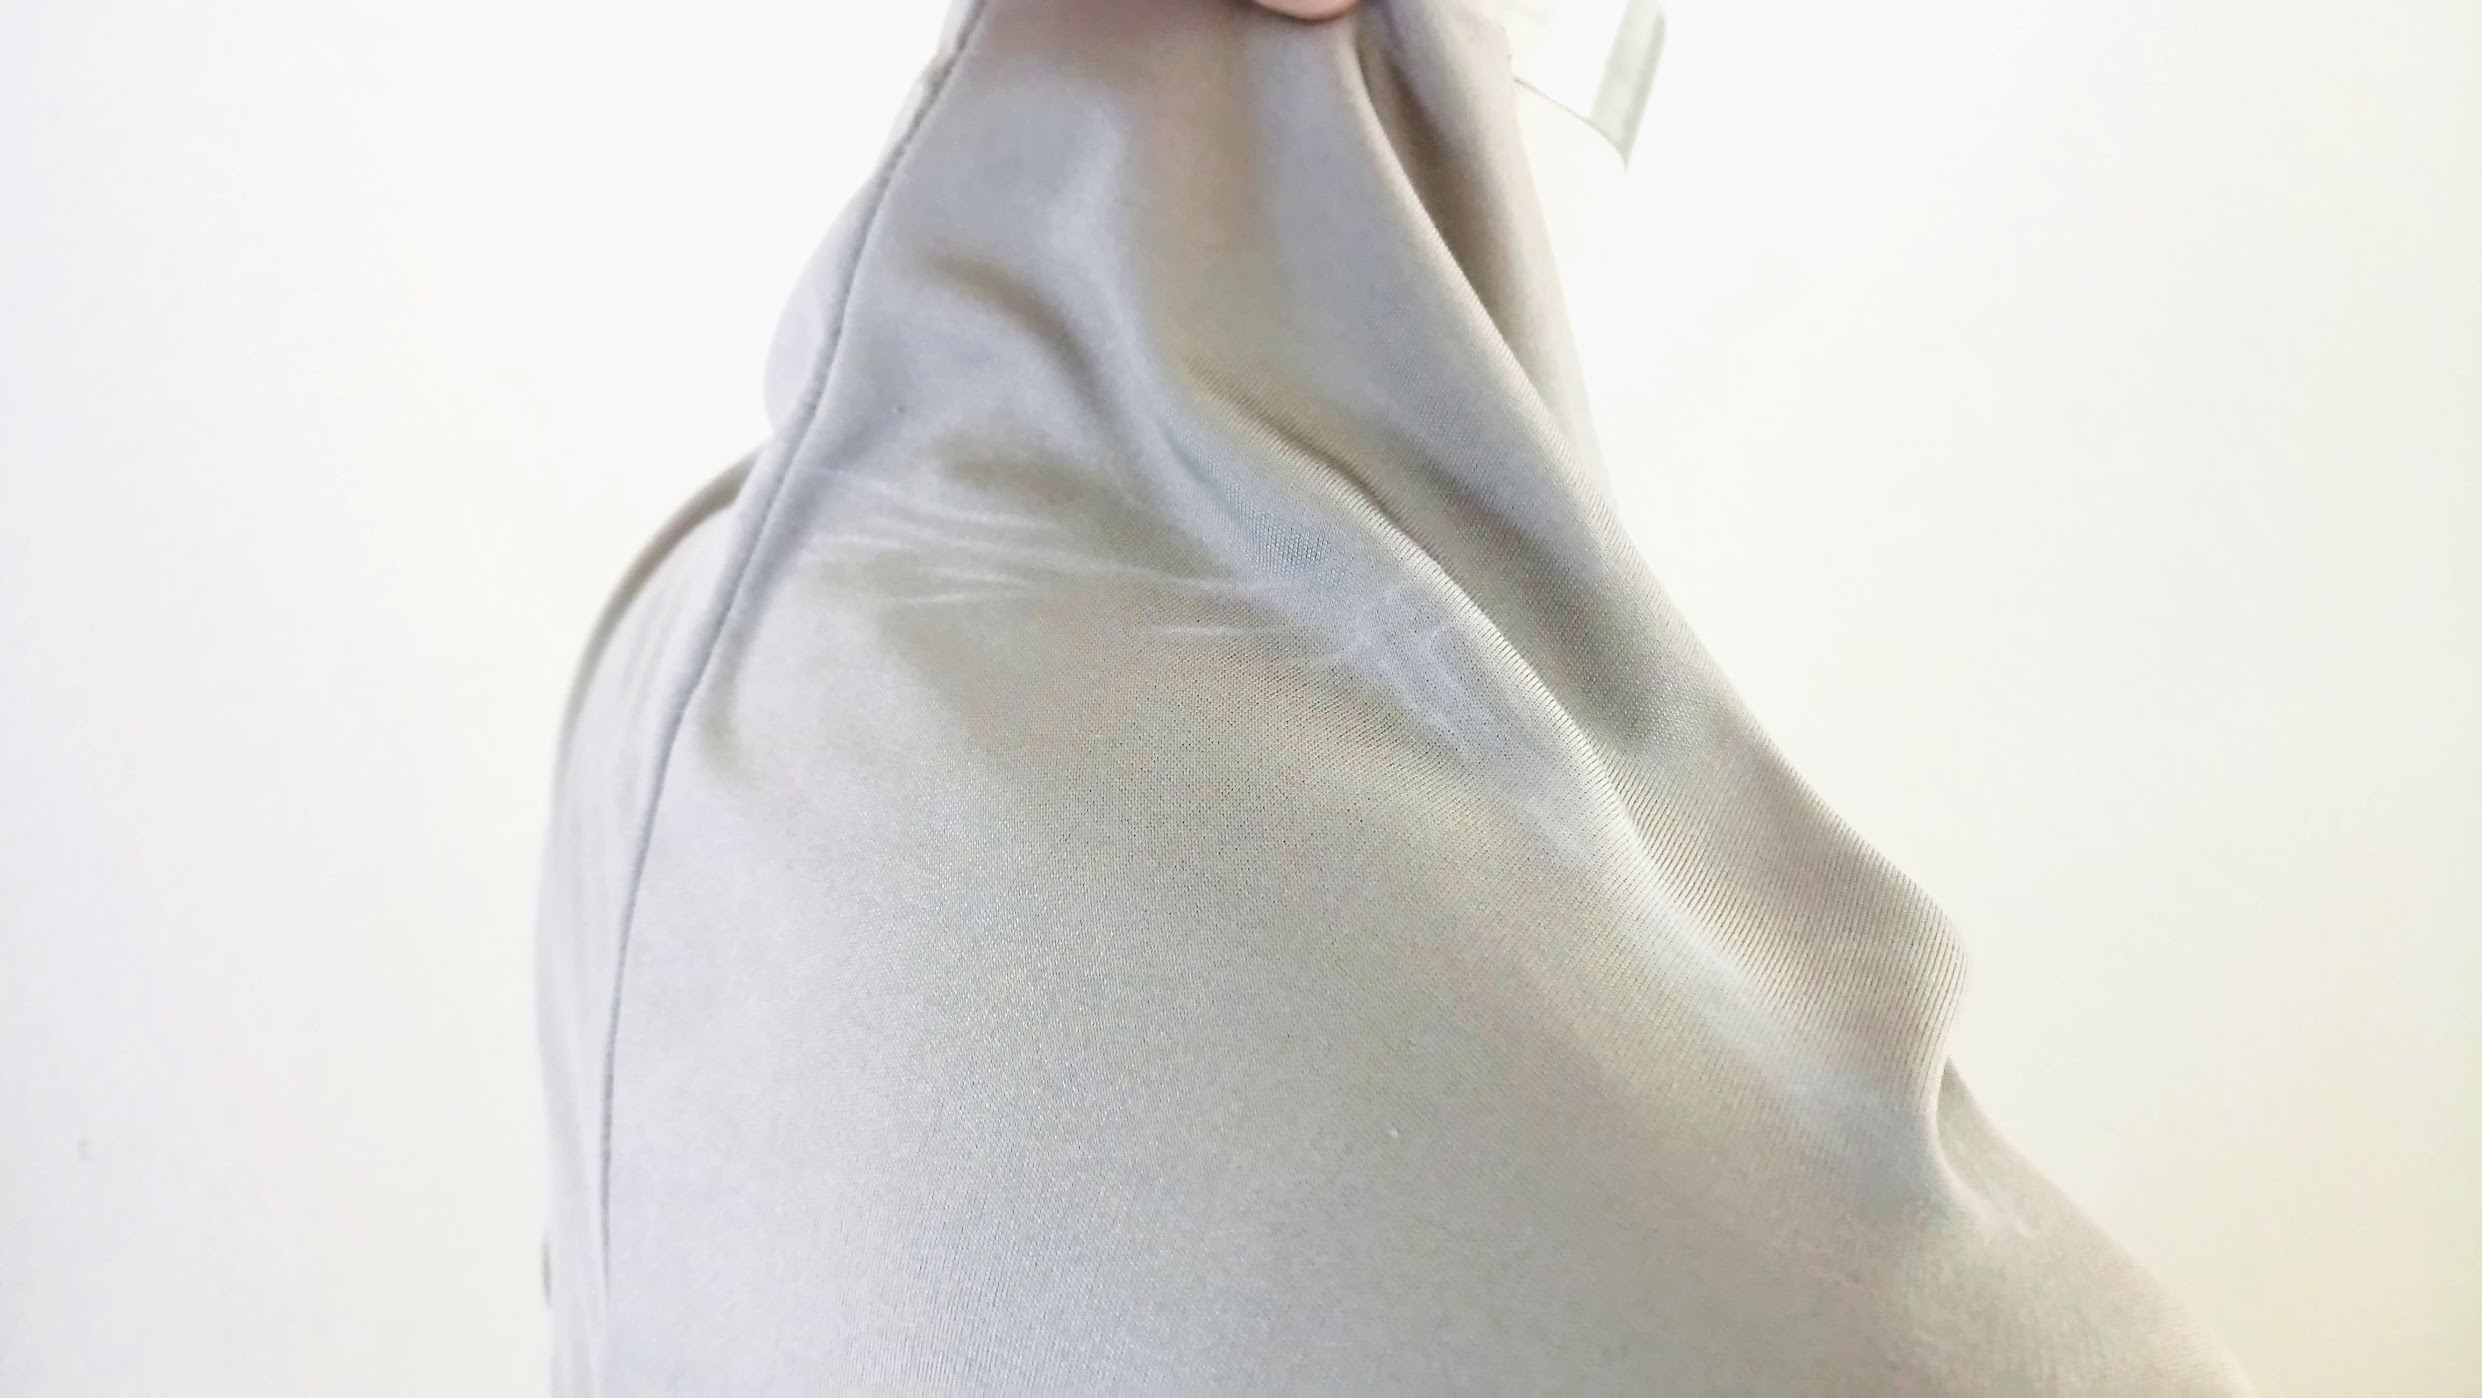
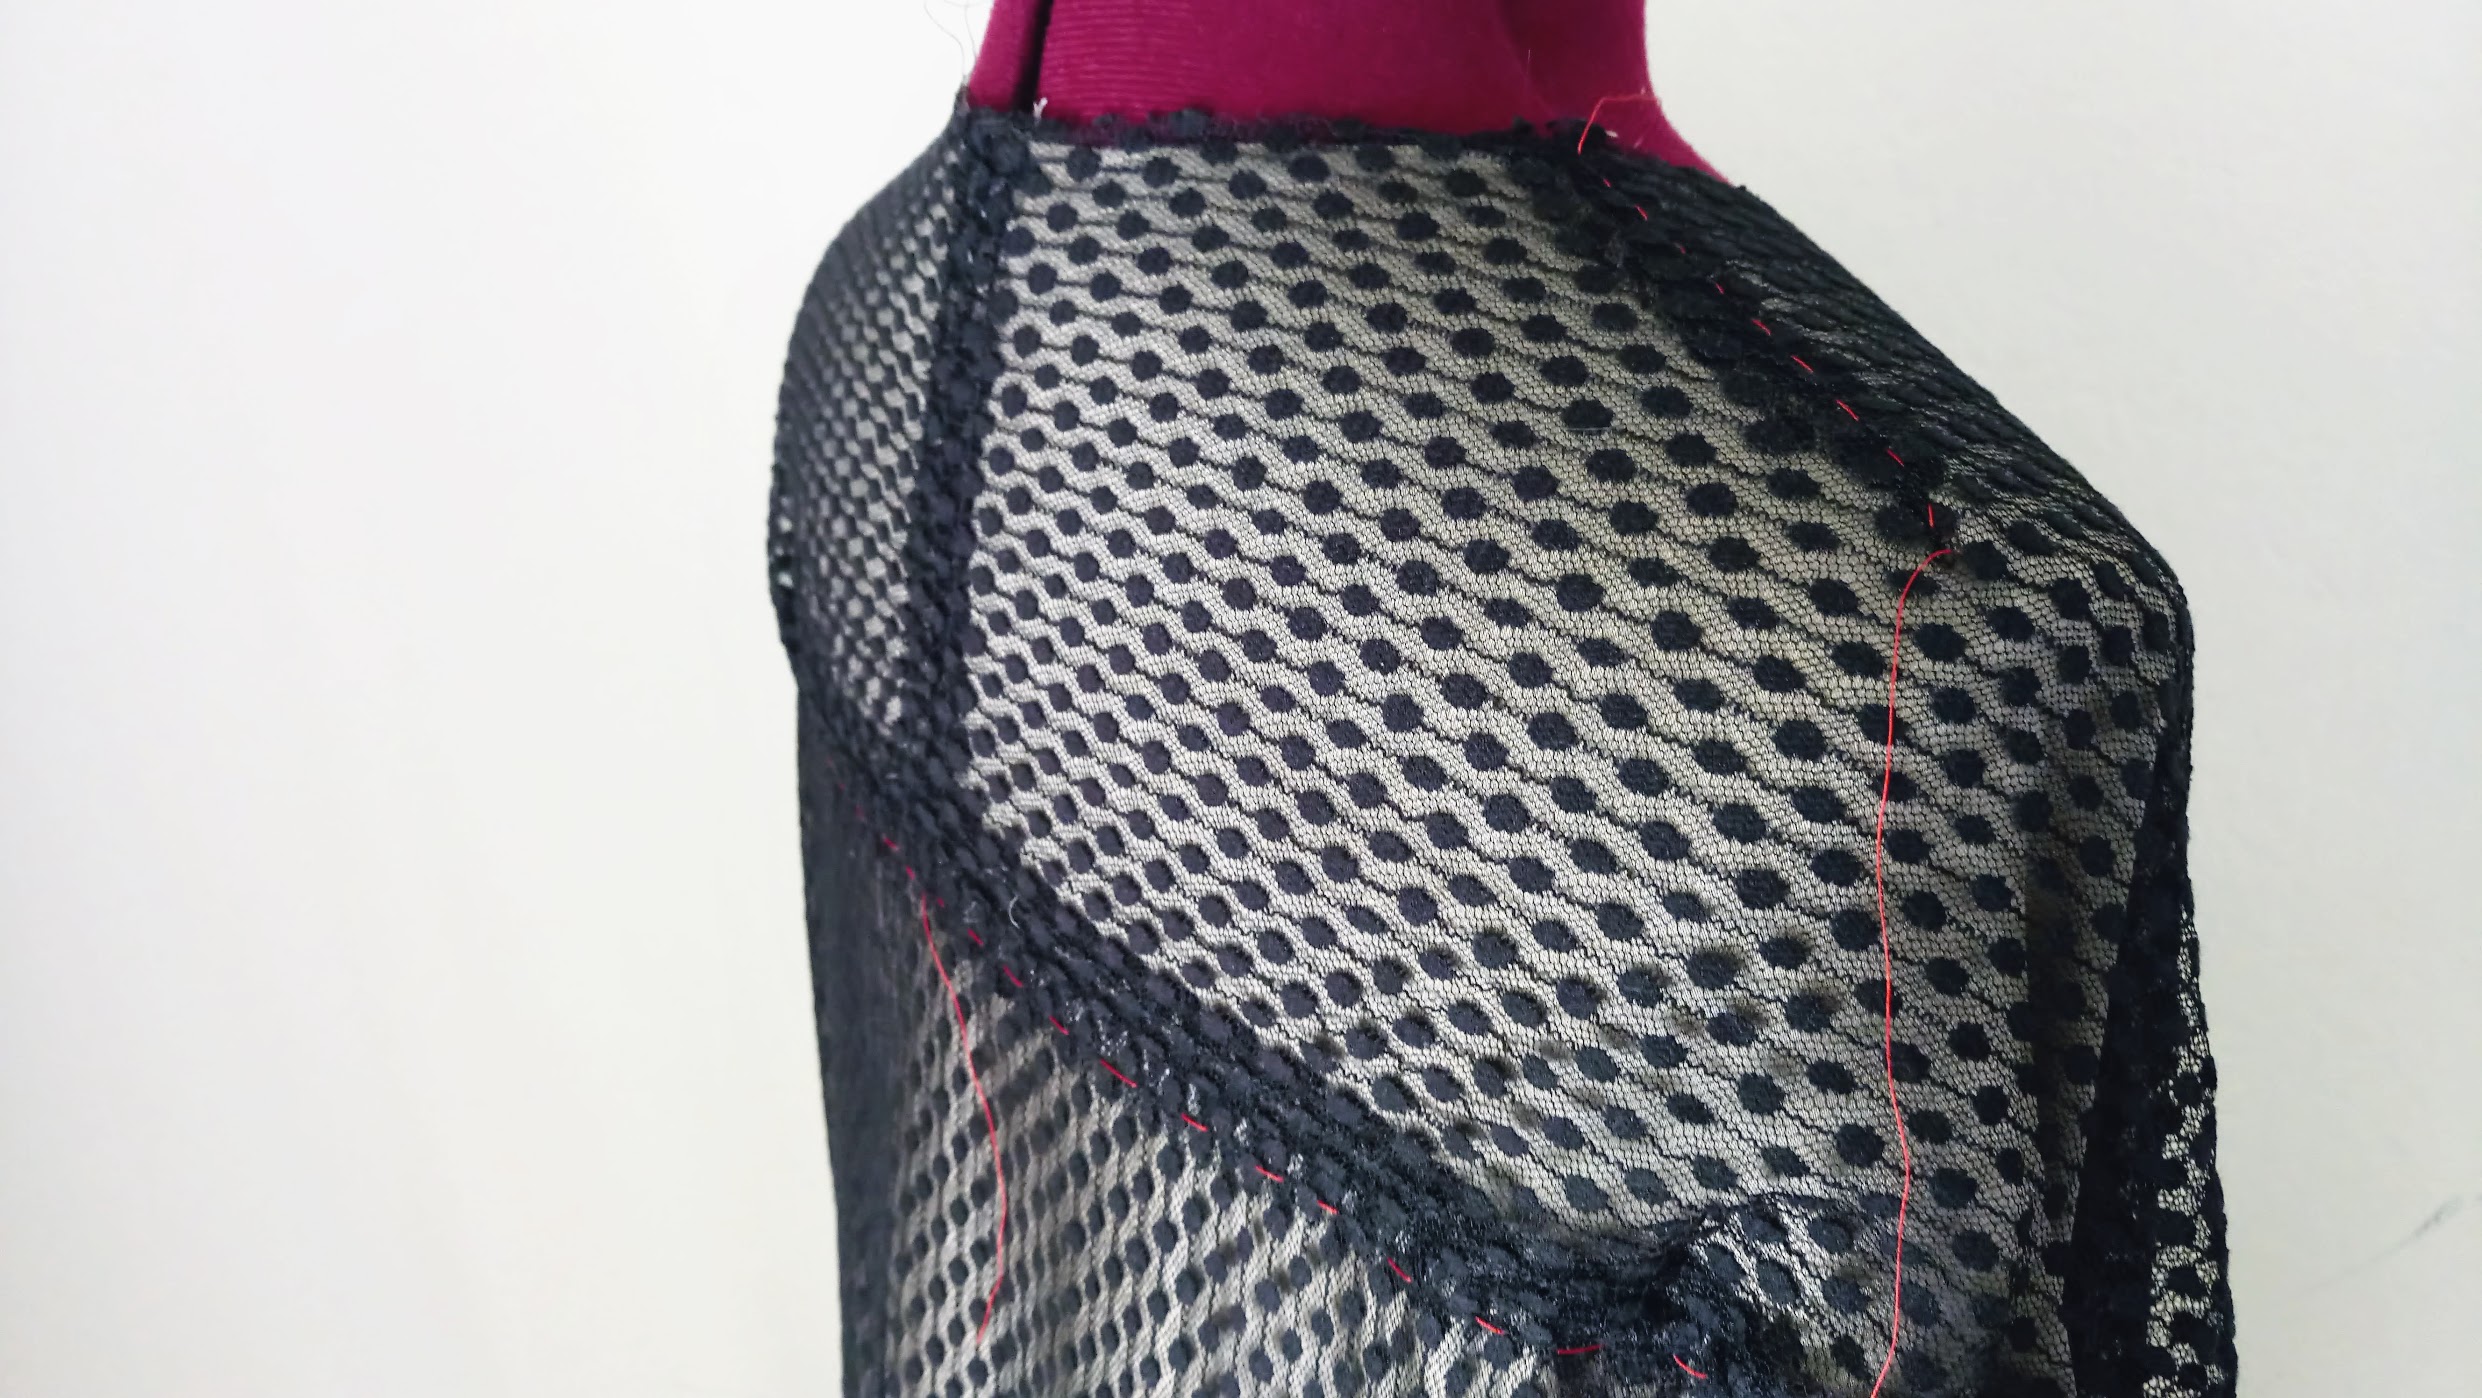
I noticed something didn’t look right. There’s so much fabric excess around the neckline. I wasn’t sure if the pattern calls for a much stretchier fabric, or if the pattern is incorrect.

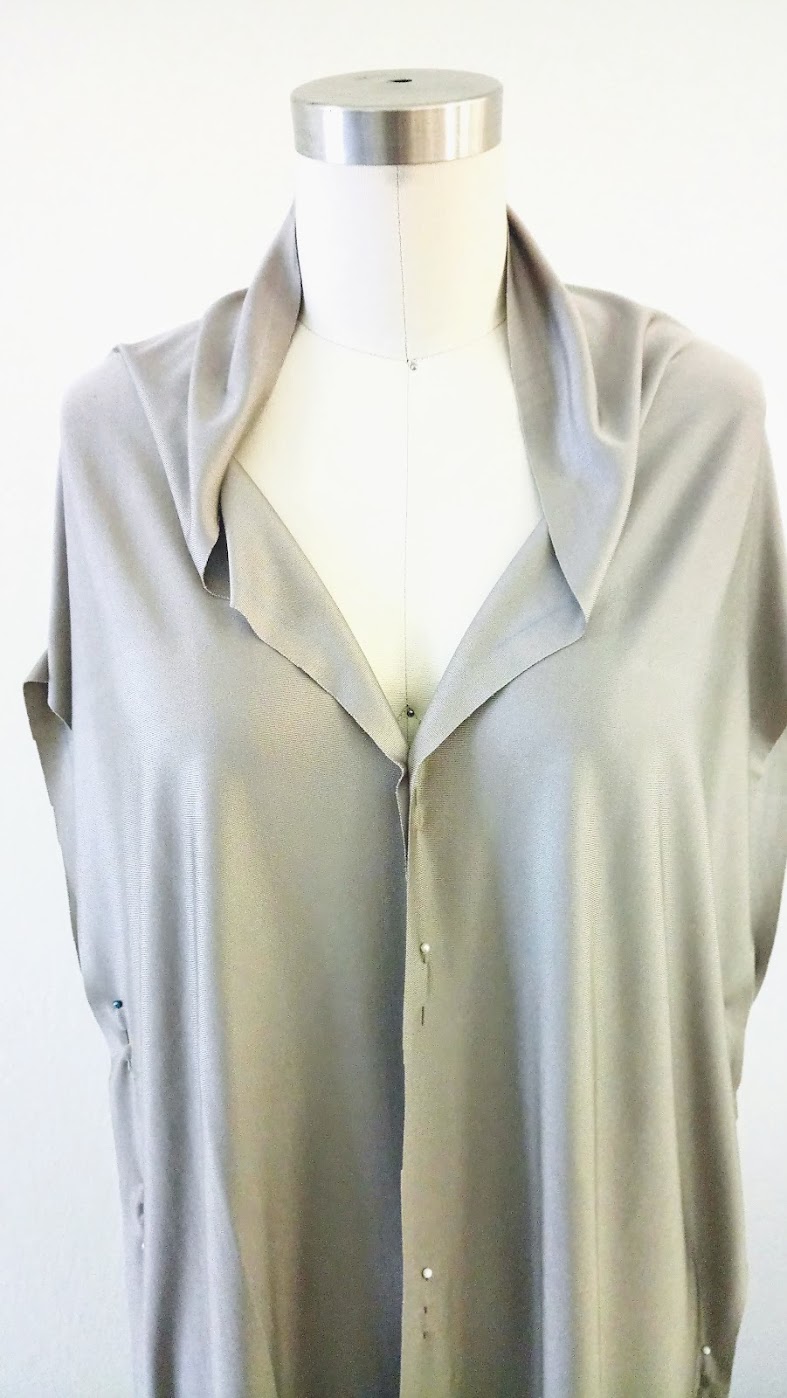
In any case, there’s no way I could create a smooth neckline using the existing pattern. So I picked my tailor’s chalk and draft a deep dart on on the shoulders. I also had to lower the neckline to make it work.
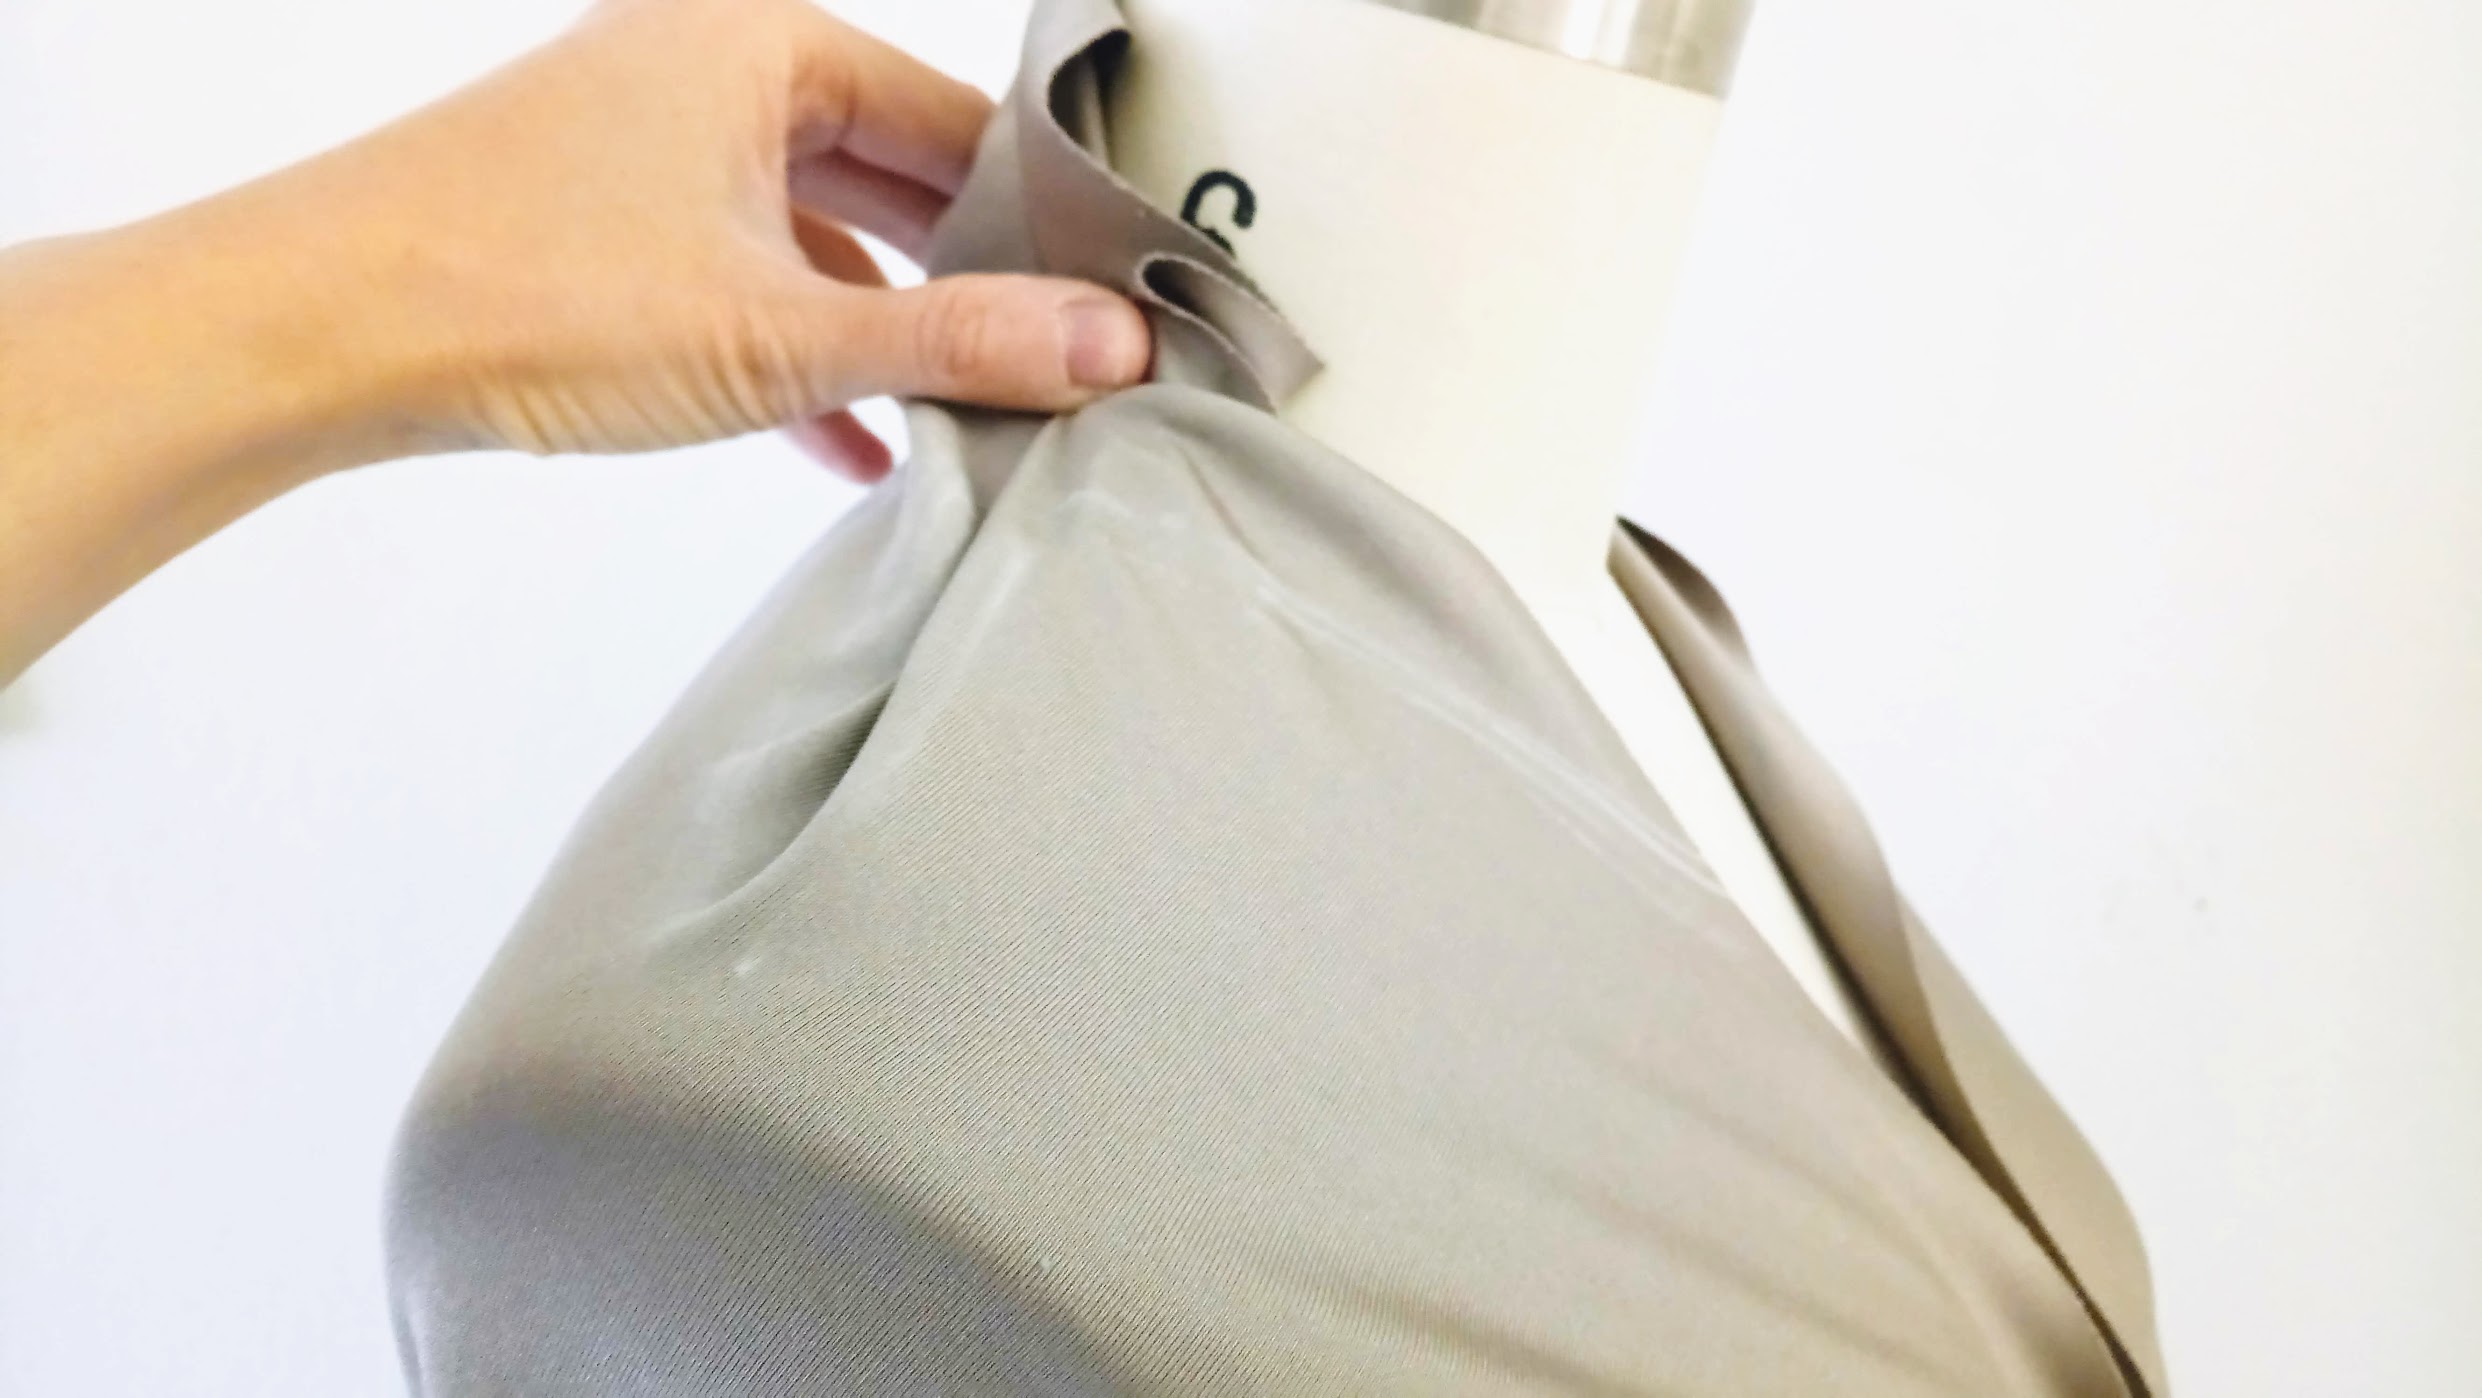
After that, I pinned the lines, and traced them back to the pattern paper.
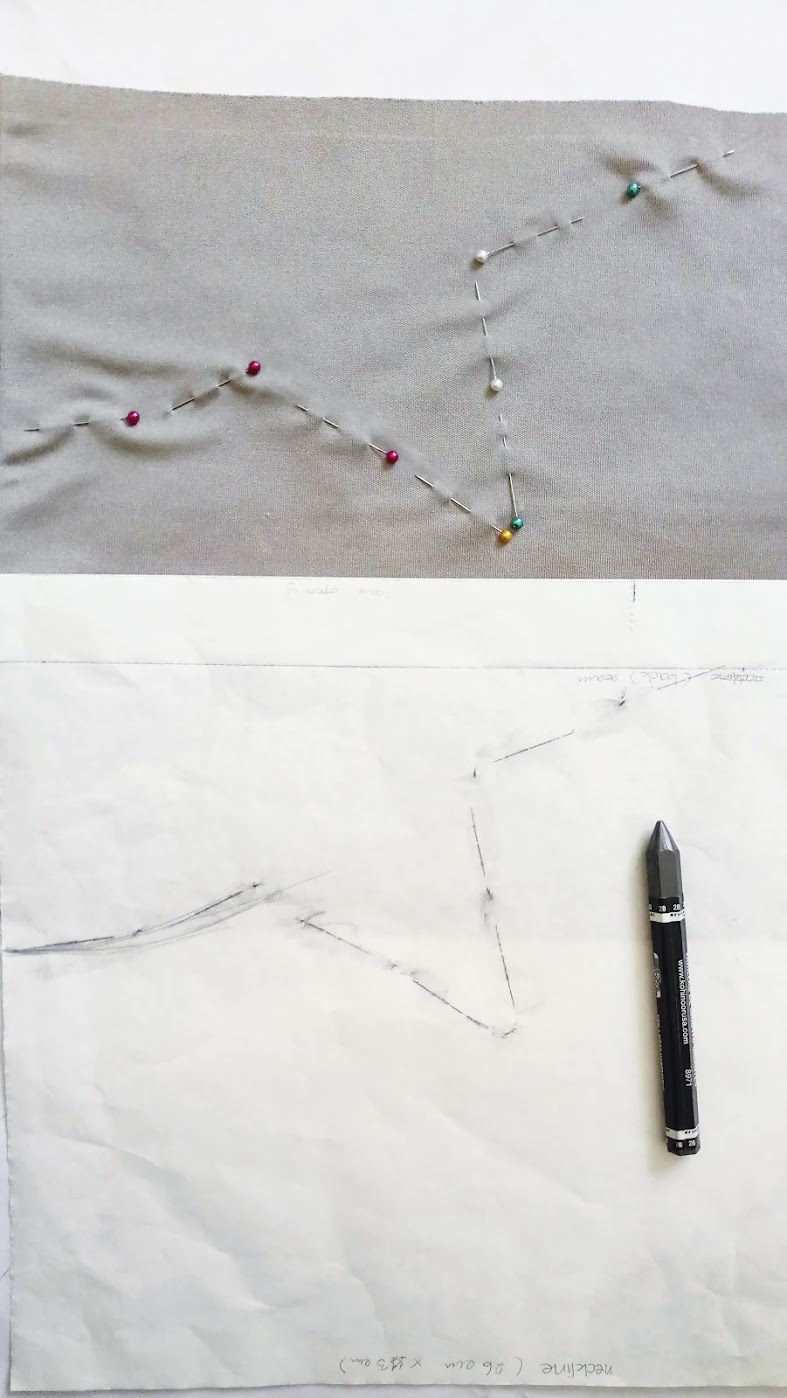

Then I took the jersey pieces back to the cutting board, transfer the dart pattern and new lower neckline. Once I sew them together, I was relieved to see the pattern adjustments worked great!


Challenge #3: Working with very slippery knits and woven
I didn’t realize how slippery ALL of the fabrics were. Here are some things I did to help overcome this challenge:
1. After washing and air drying all fabrics, I put a big piece of paper underneath the fabrics and leave them overnight. This is to “relax” them before pattern cutting.
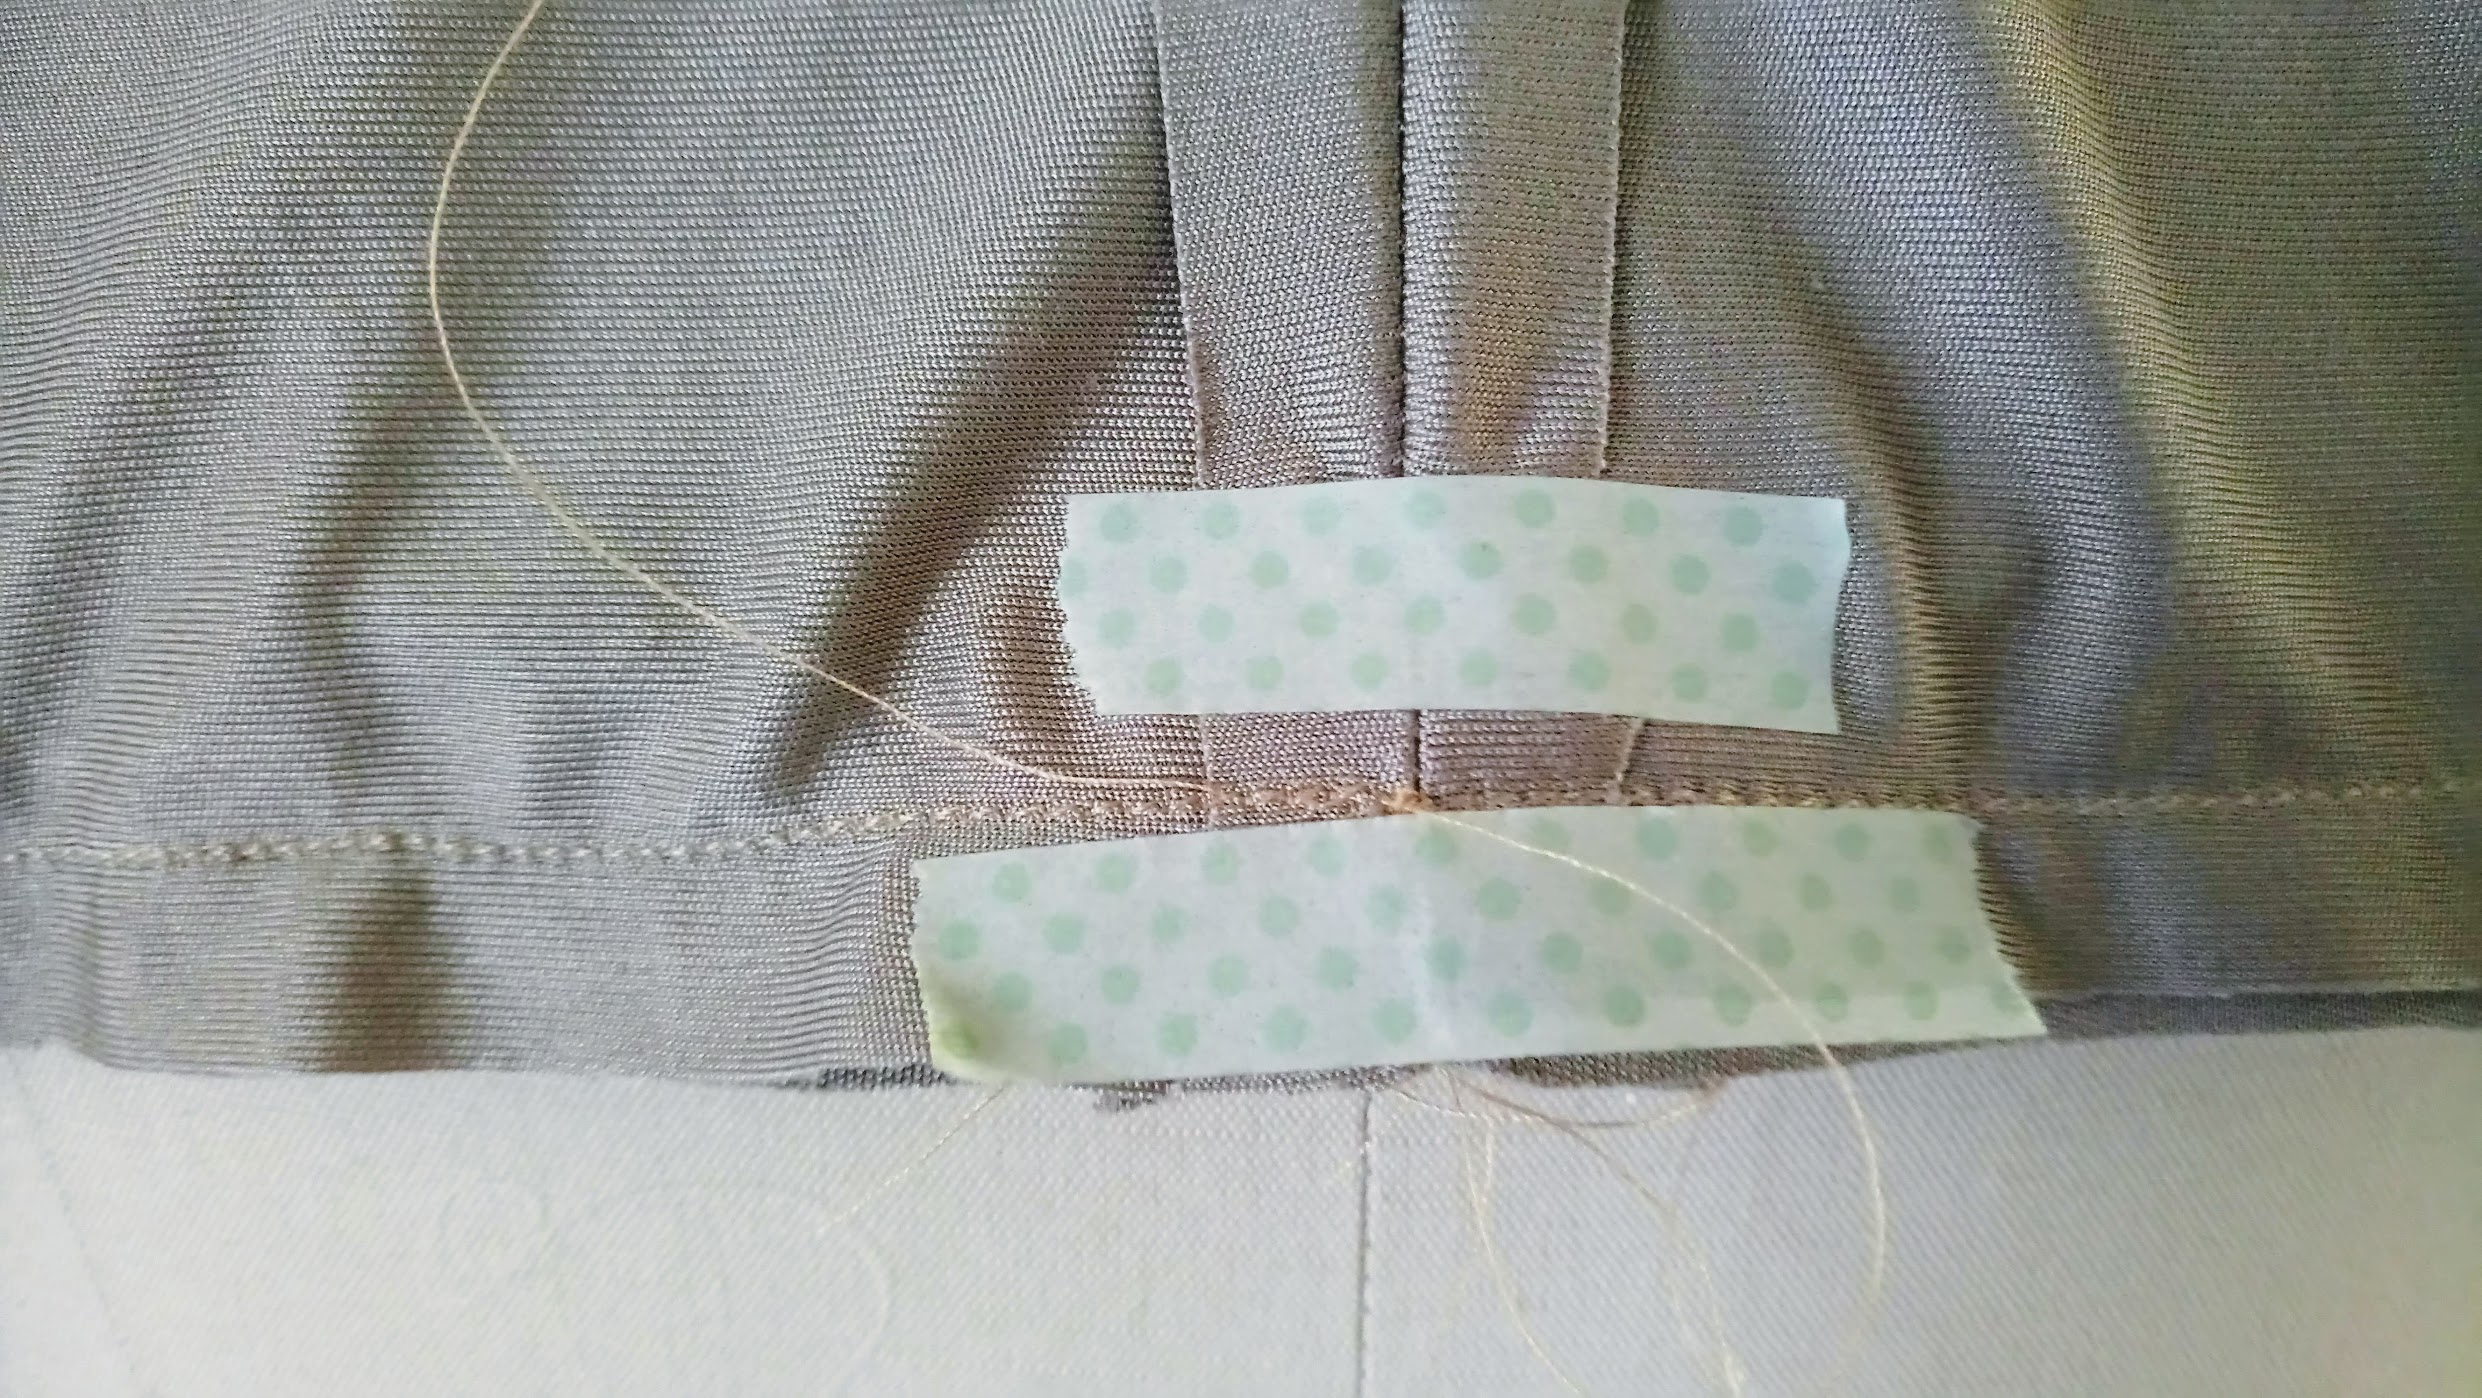
2. After the fabric pieces were cut, I used masking tape as straight line stitch guide or temporary seam presser. I also used them to mark the points where the stitch should start and end, as well as notch replacements.

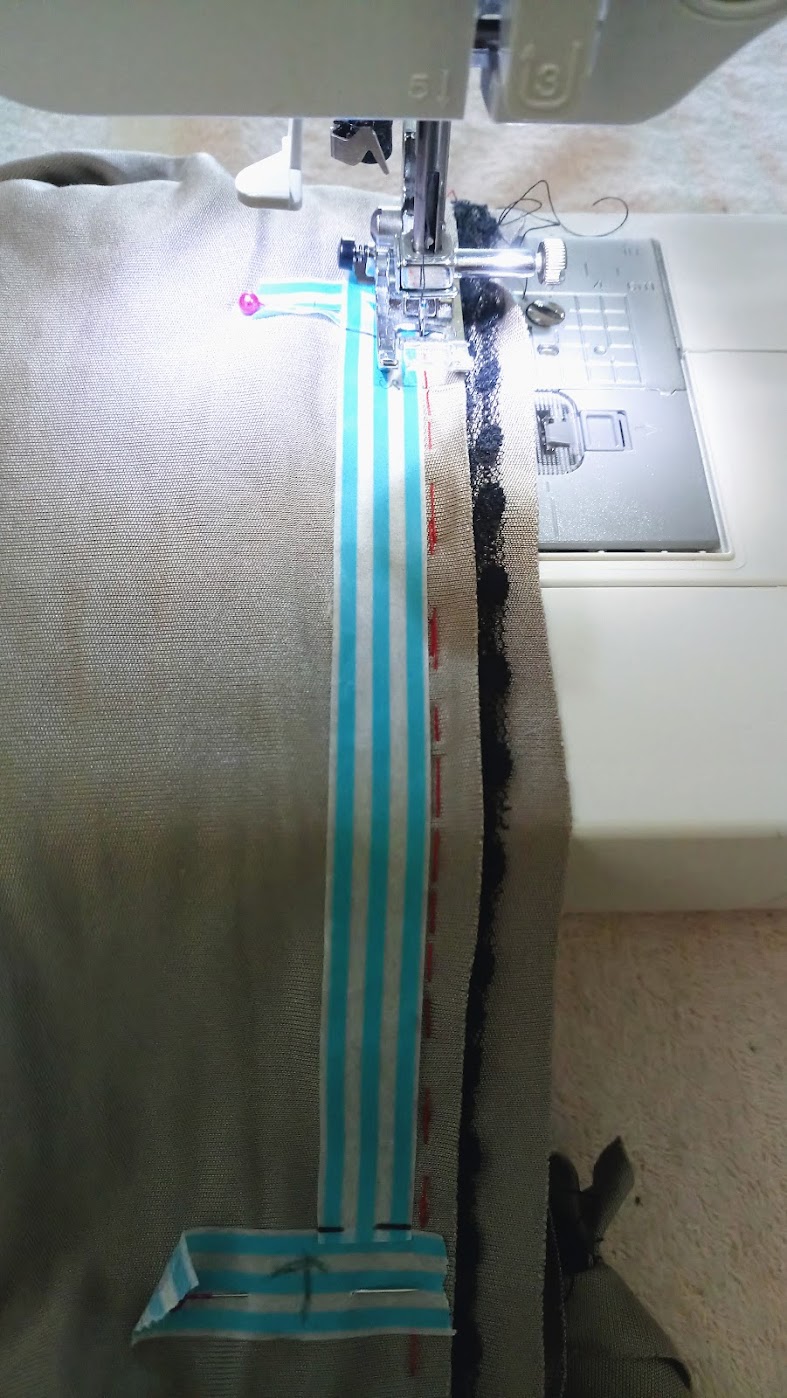
3. I also used fine tipped dressmaker pins whenever possible, especially around hemlines and pocket openings.

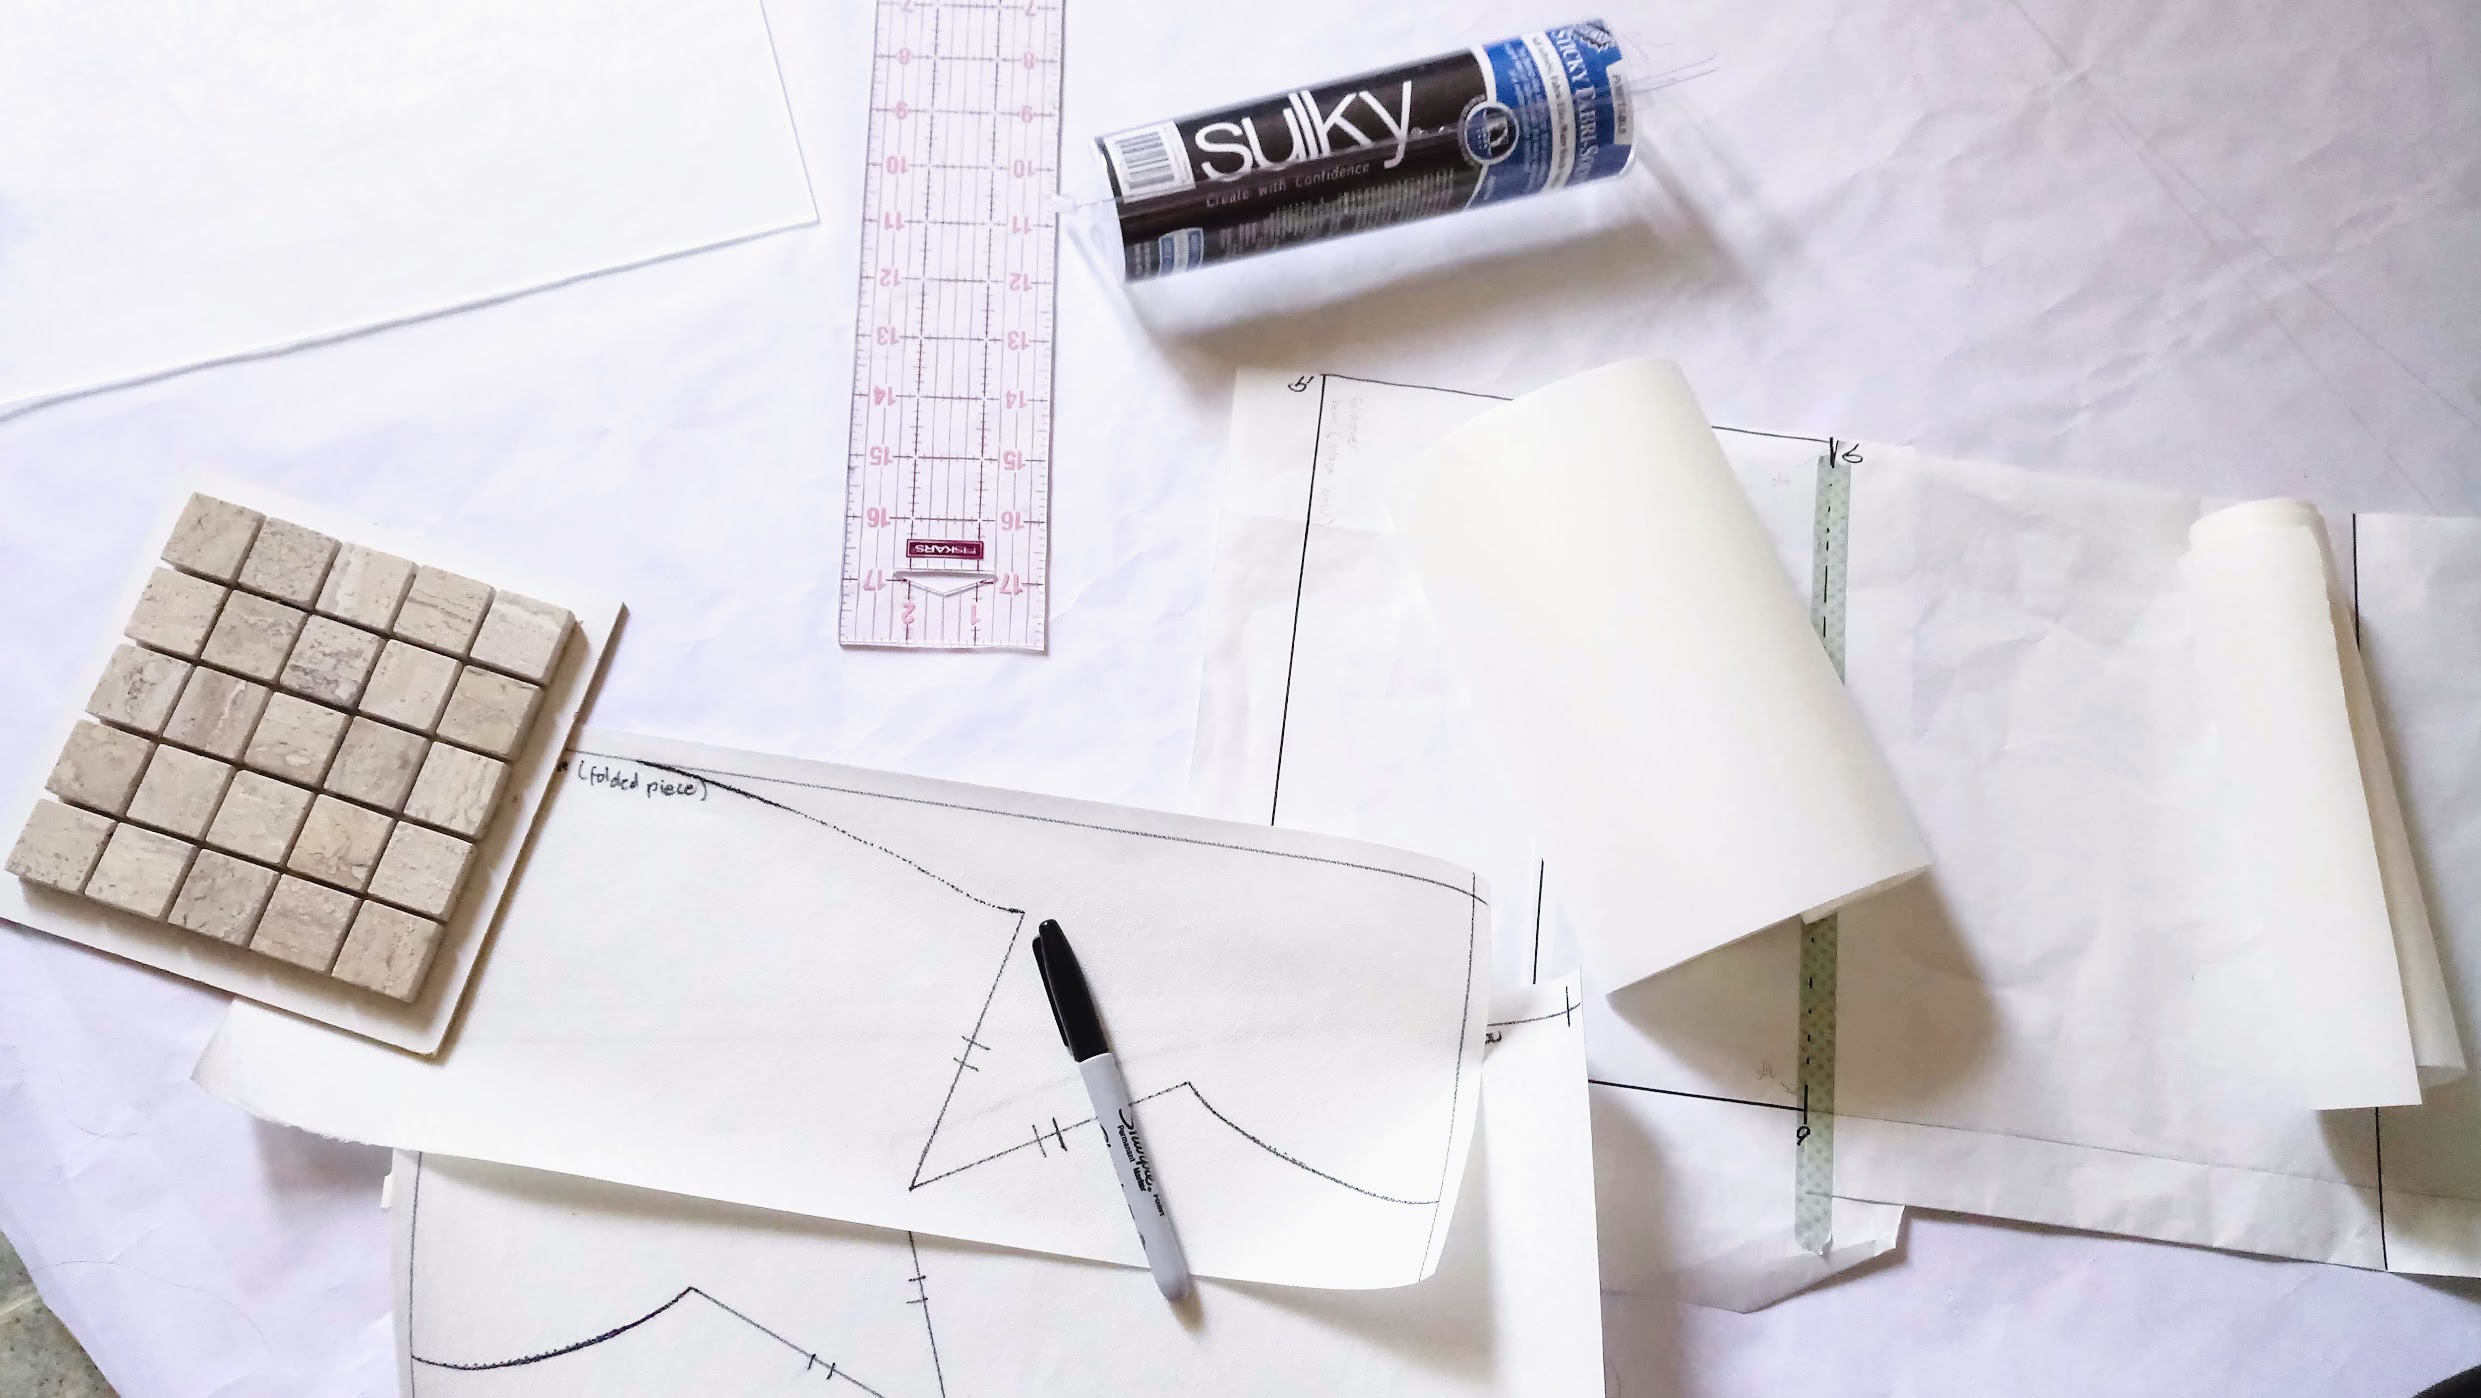
4. For the lace knit, I used Sulky Water Soluble to copy the patterns and stick them to the fabric pieces. This way, they are completely stable throughout the sewing process.
That said, the side effect was increasingly gummy sewing needles. So I made sure to have an emery handy to clean them up.

Challenge #4: Dealing with knits’ stretch and shrink variables
As much as I love to minimize waste, I do realize combining two fabric pieces to create a rectangular pattern piece is risky.
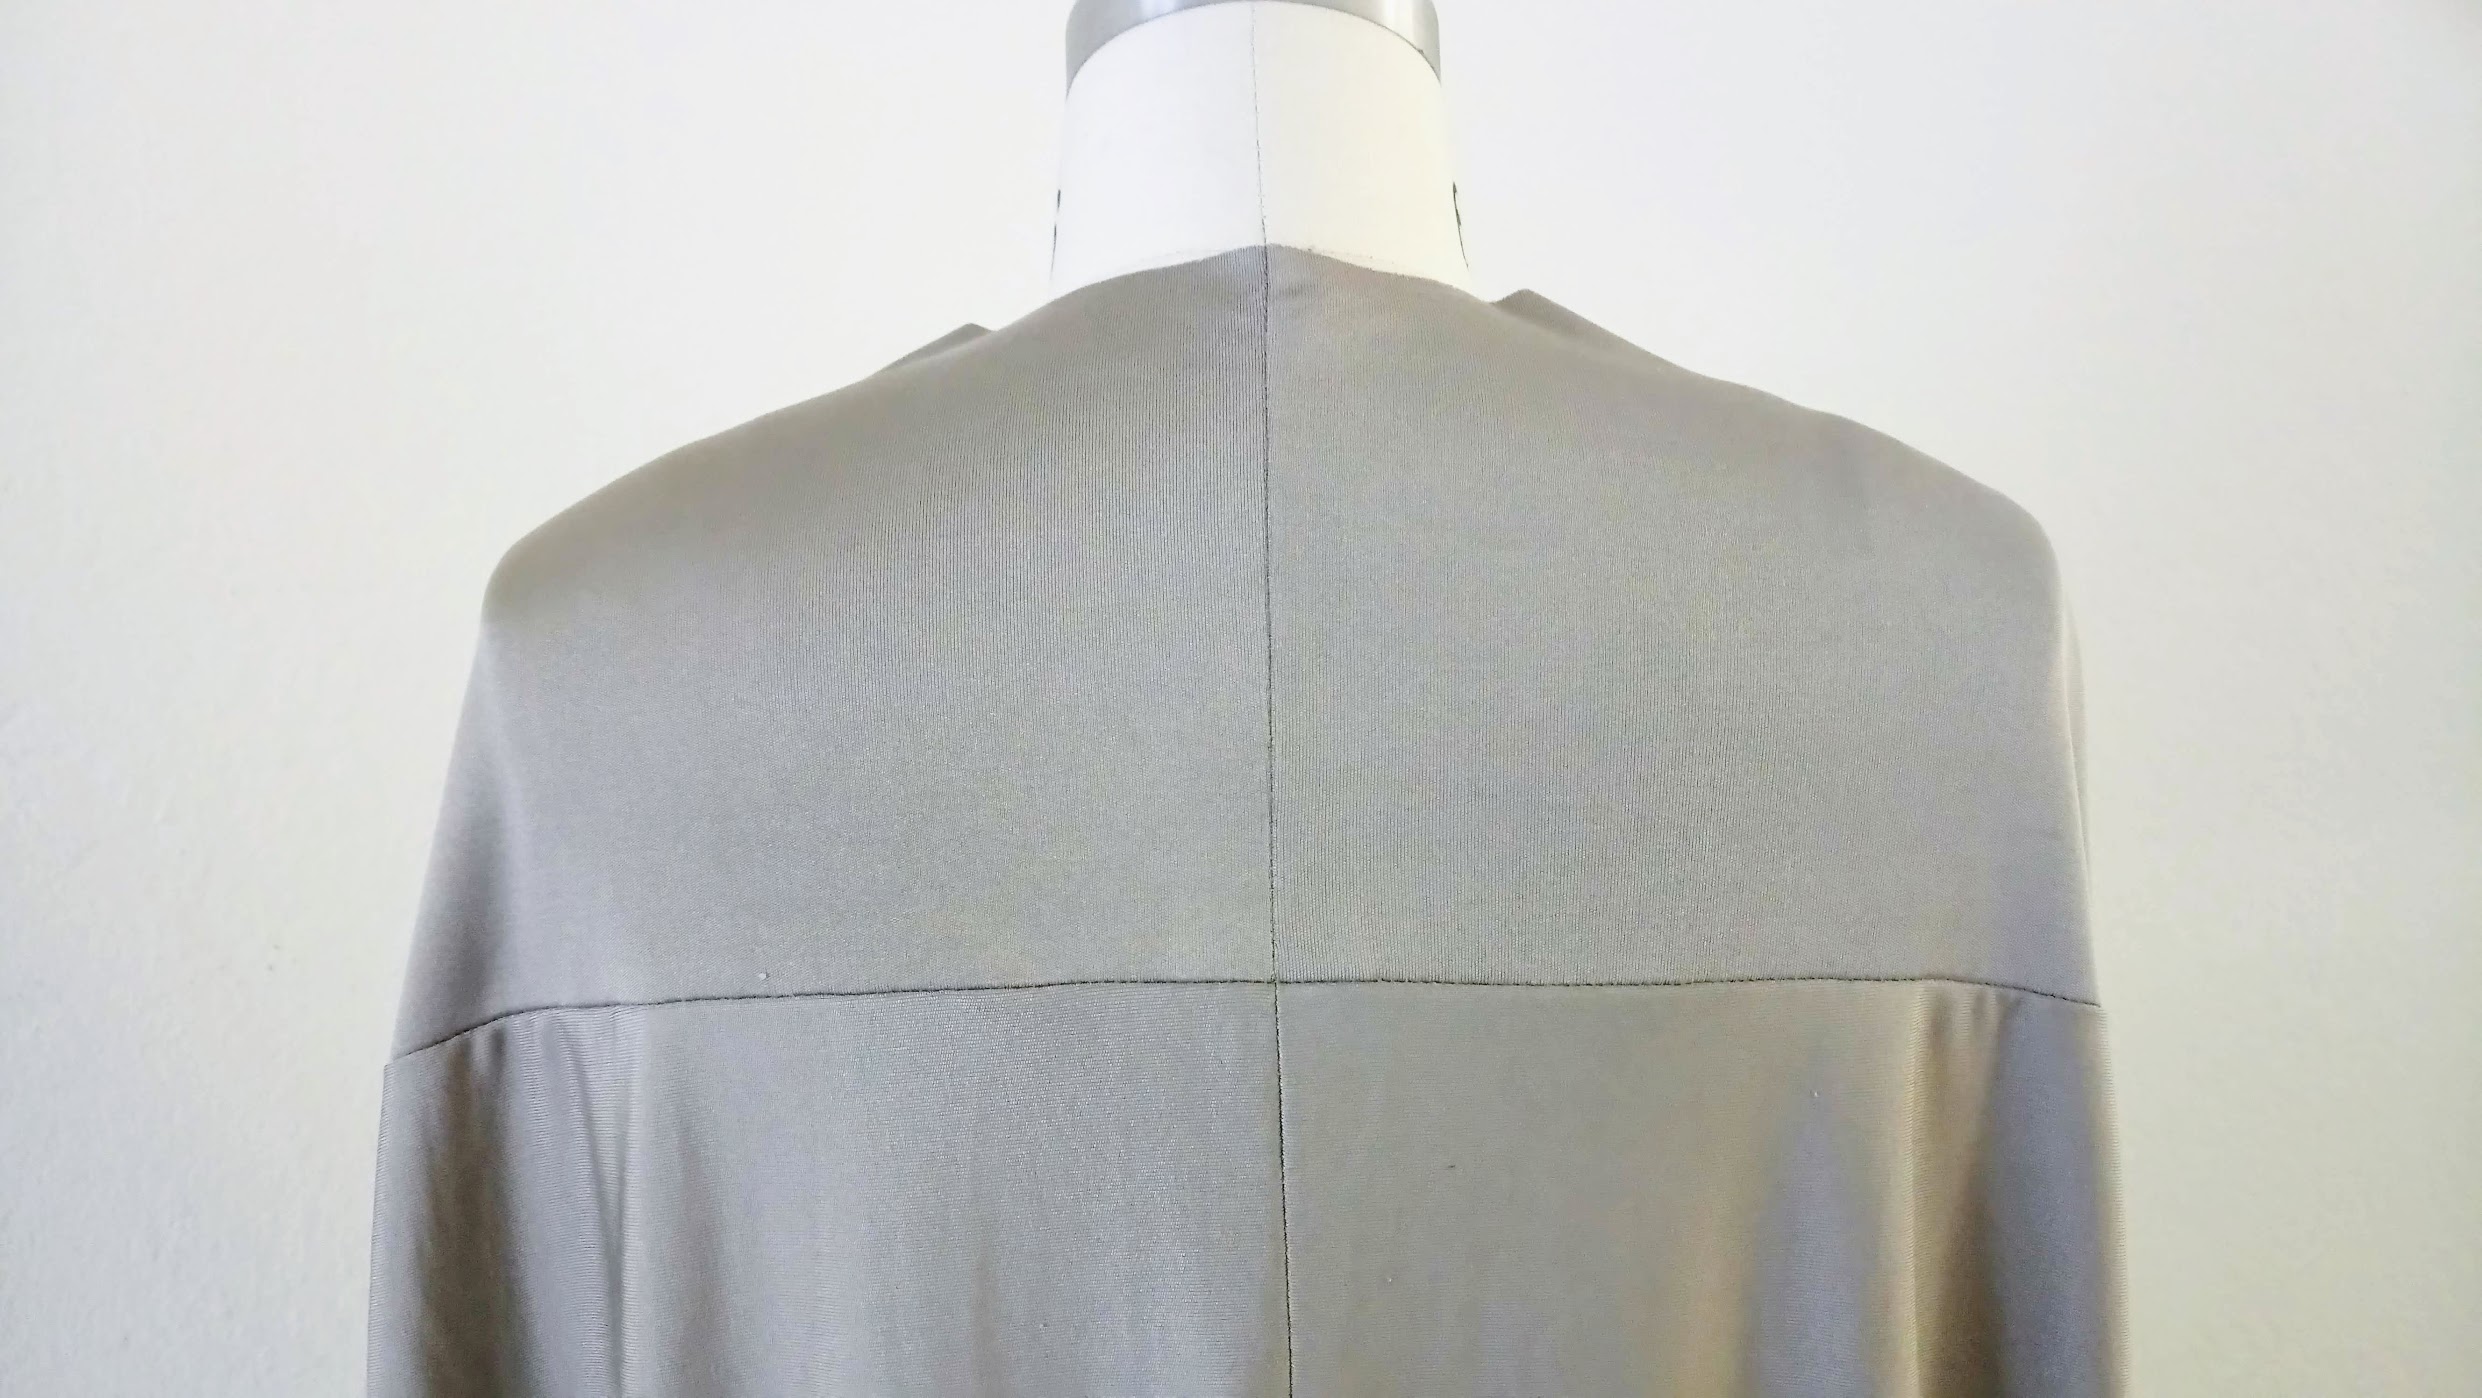
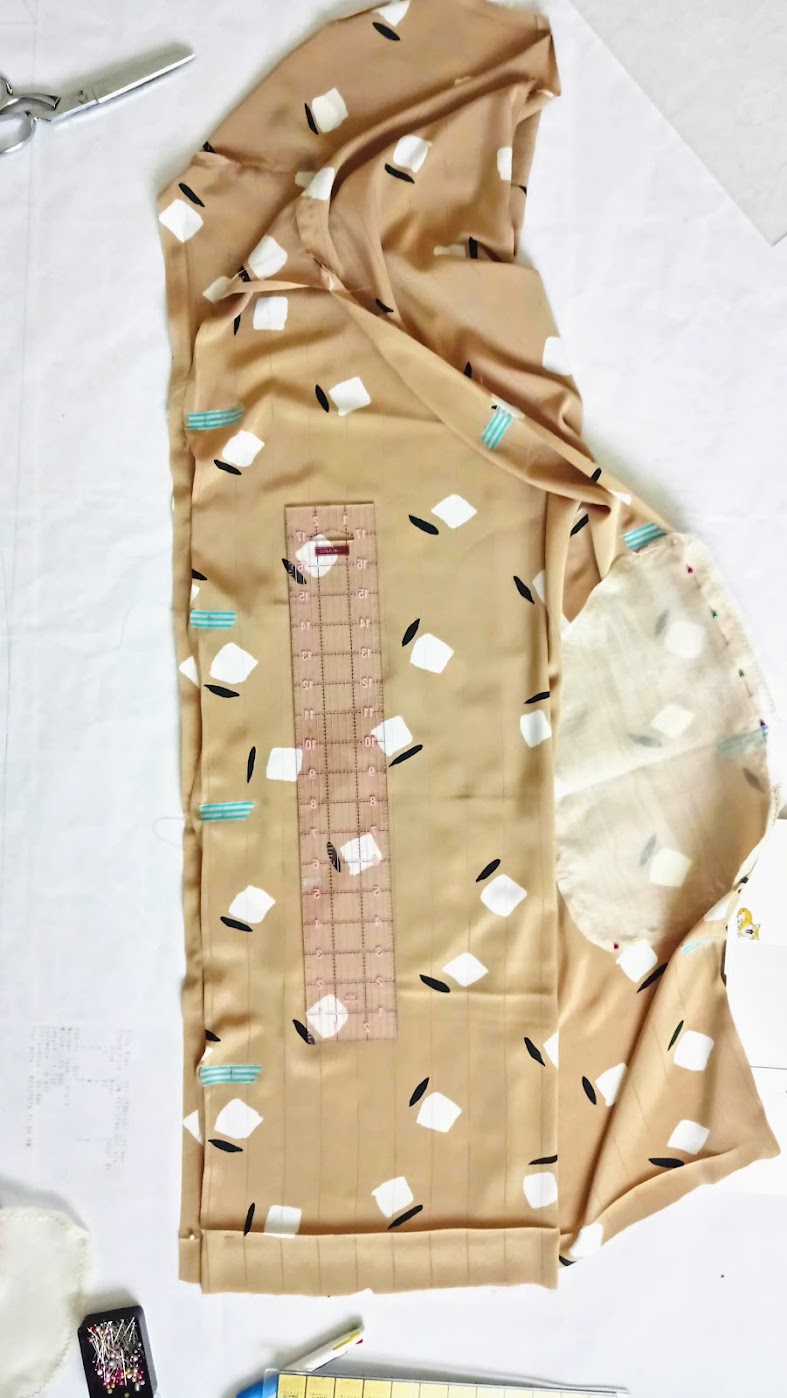
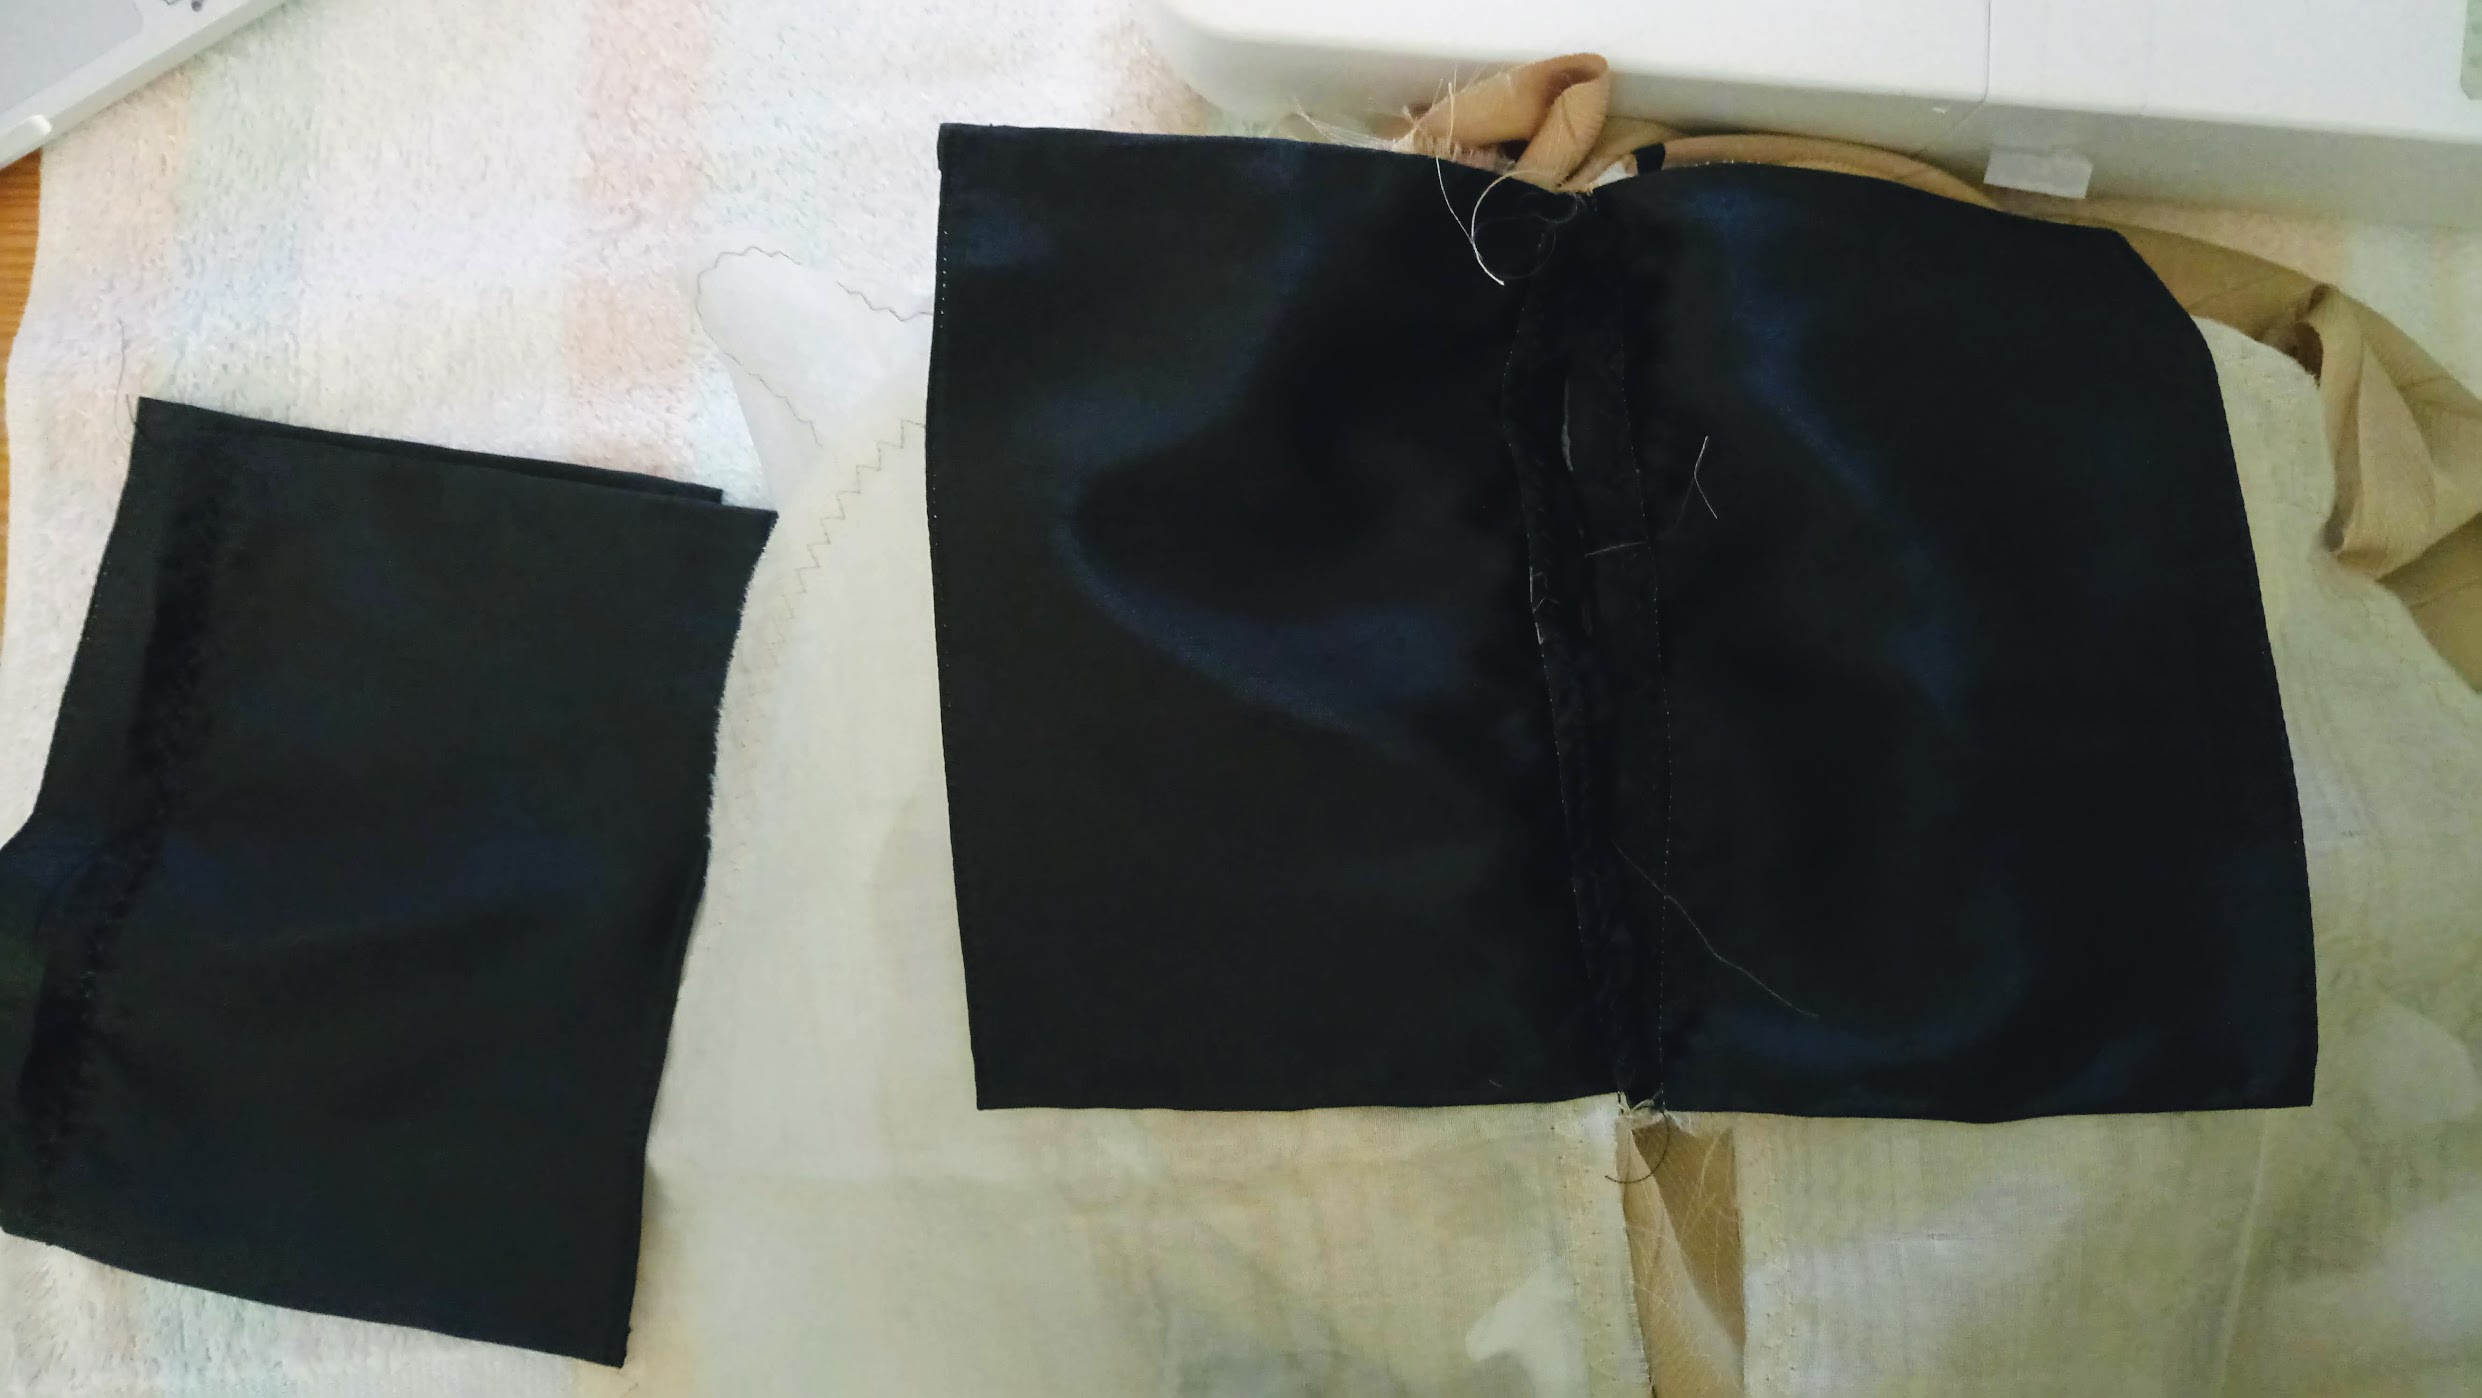
I didn’t have enough length for the wide rectangle (for the back piece) on the taupe knit jersey fabric. So I combined two pieces together to make up for the needed length. See the bottom left part of the picture below.
The two pieces ended up stretching in varying degree, and it made one point of the rectangle stretched out of alignment. I had to “take in” a portion of the seam to make it more balanced.
While the result of this project was decent, I definitely think it’s better to not piece one geometric pattern piece from two or more knit fabric pieces.
Furthermore, I didn’t realize that the lace knit fabric shrunk a little more even after I already washed it once. Remember the water soluble Sulky? I washed the knit fabric once I was done assembling the lace knit with the jersey.
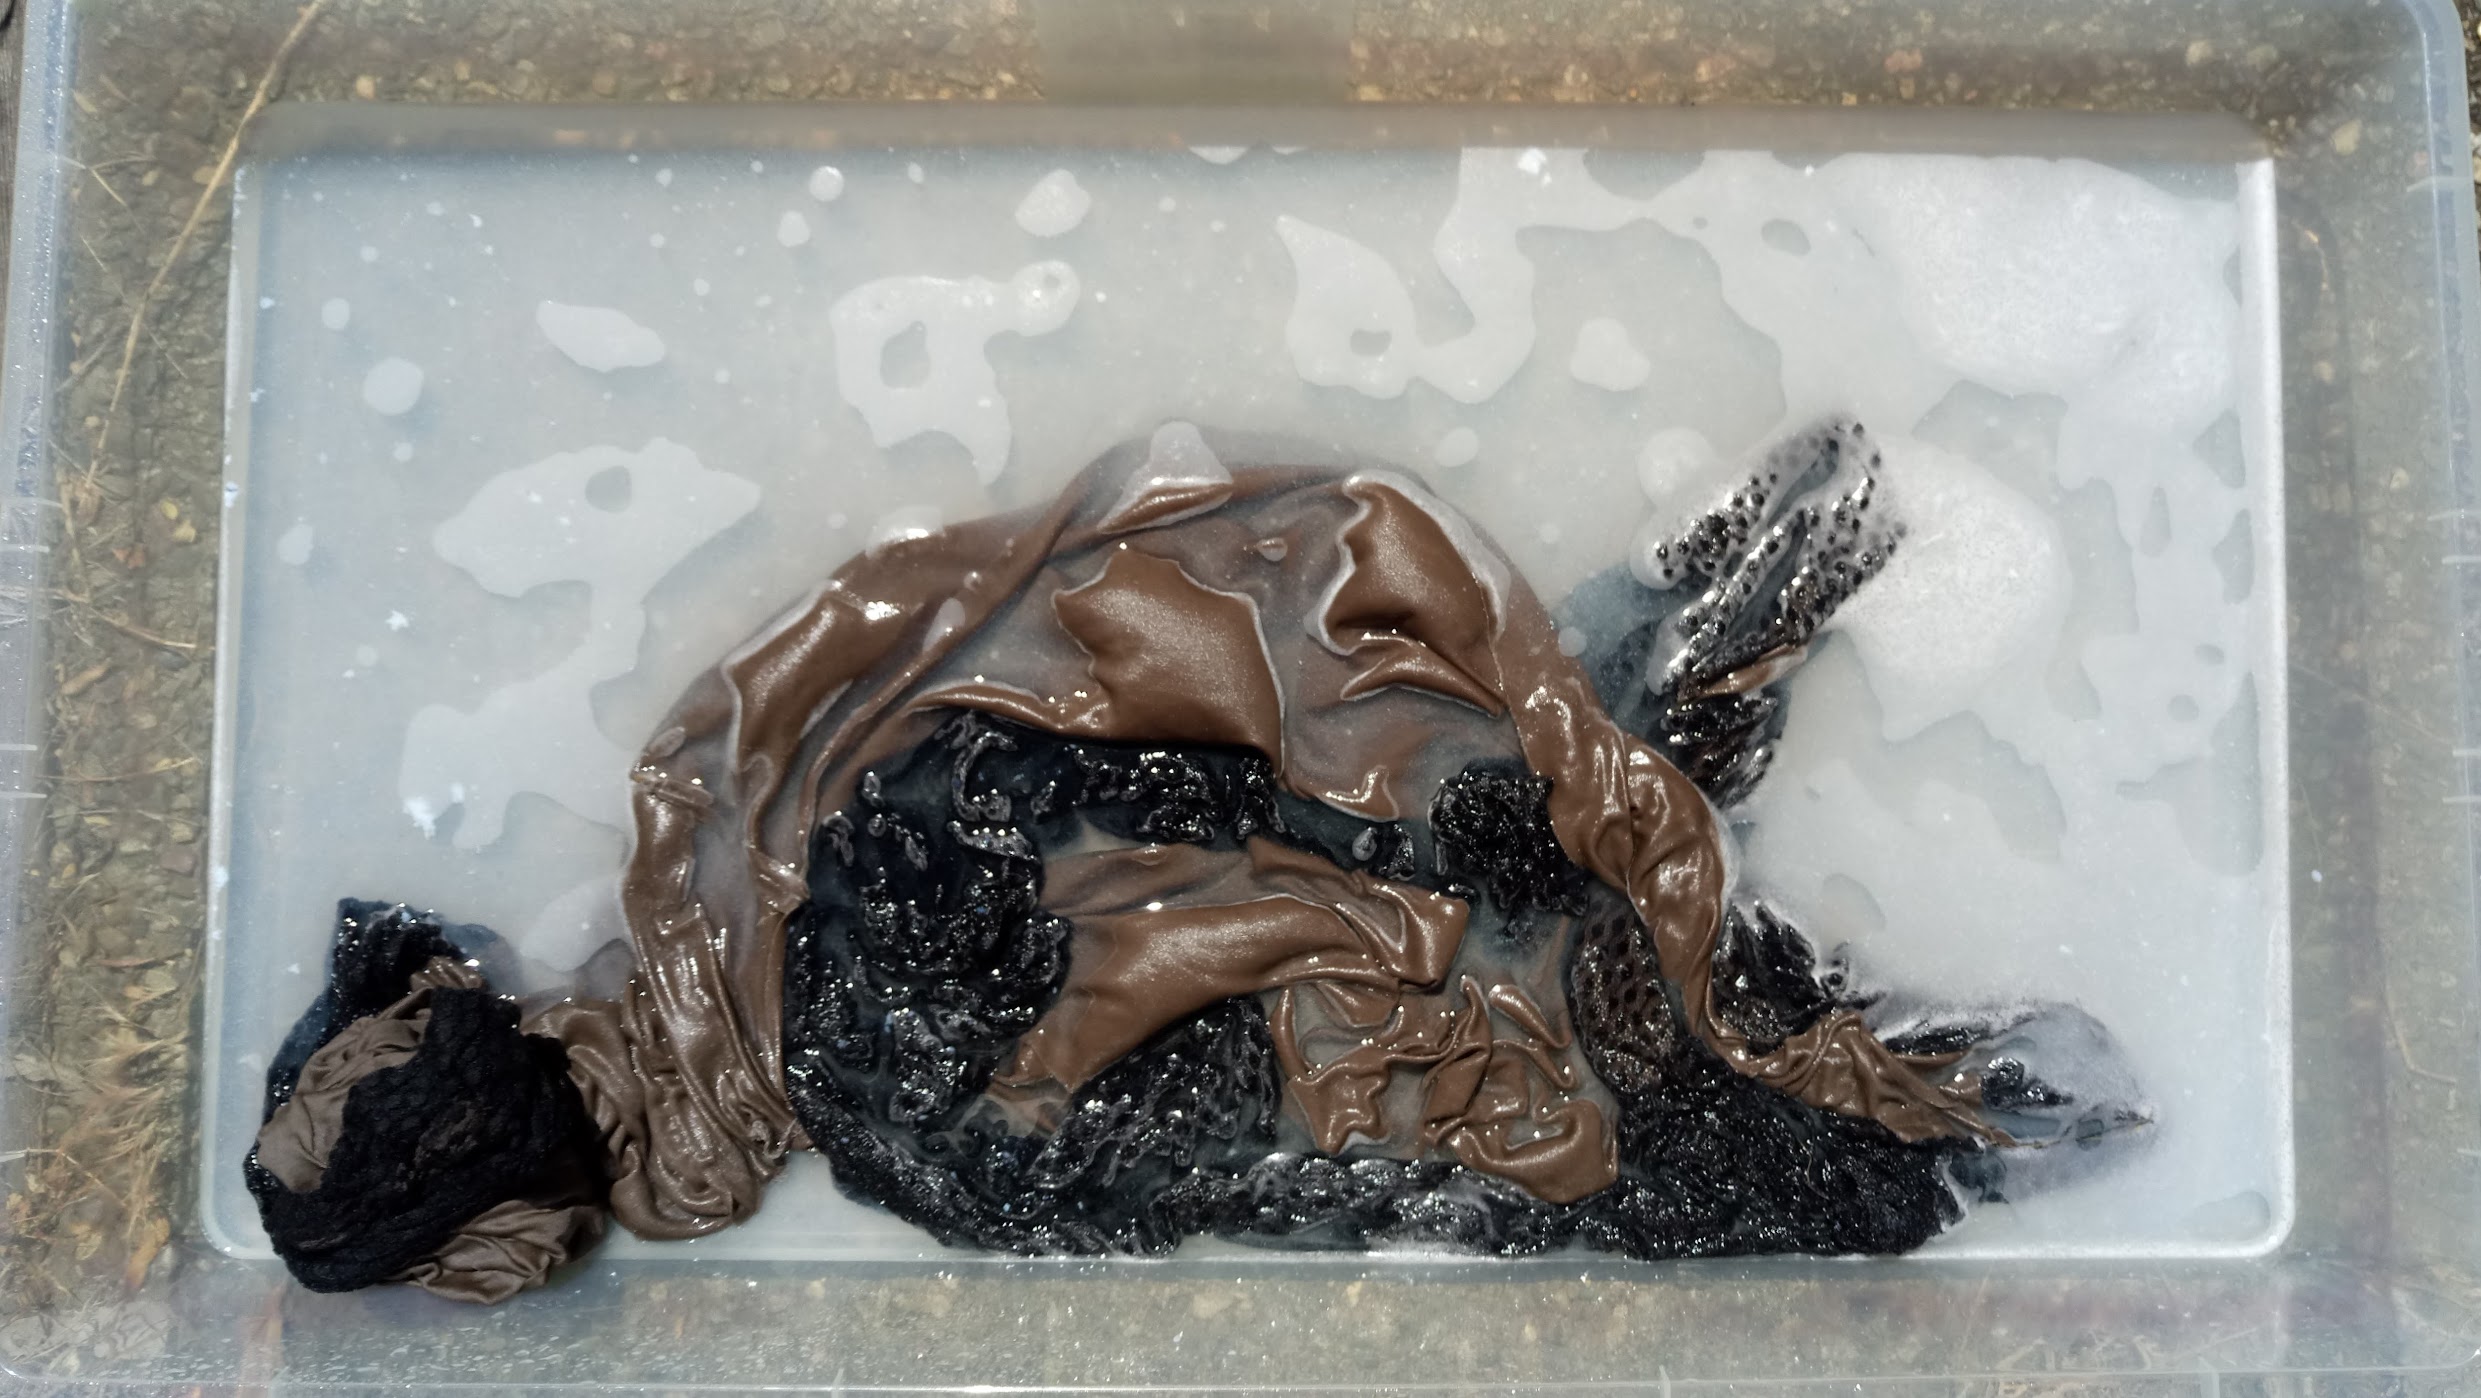
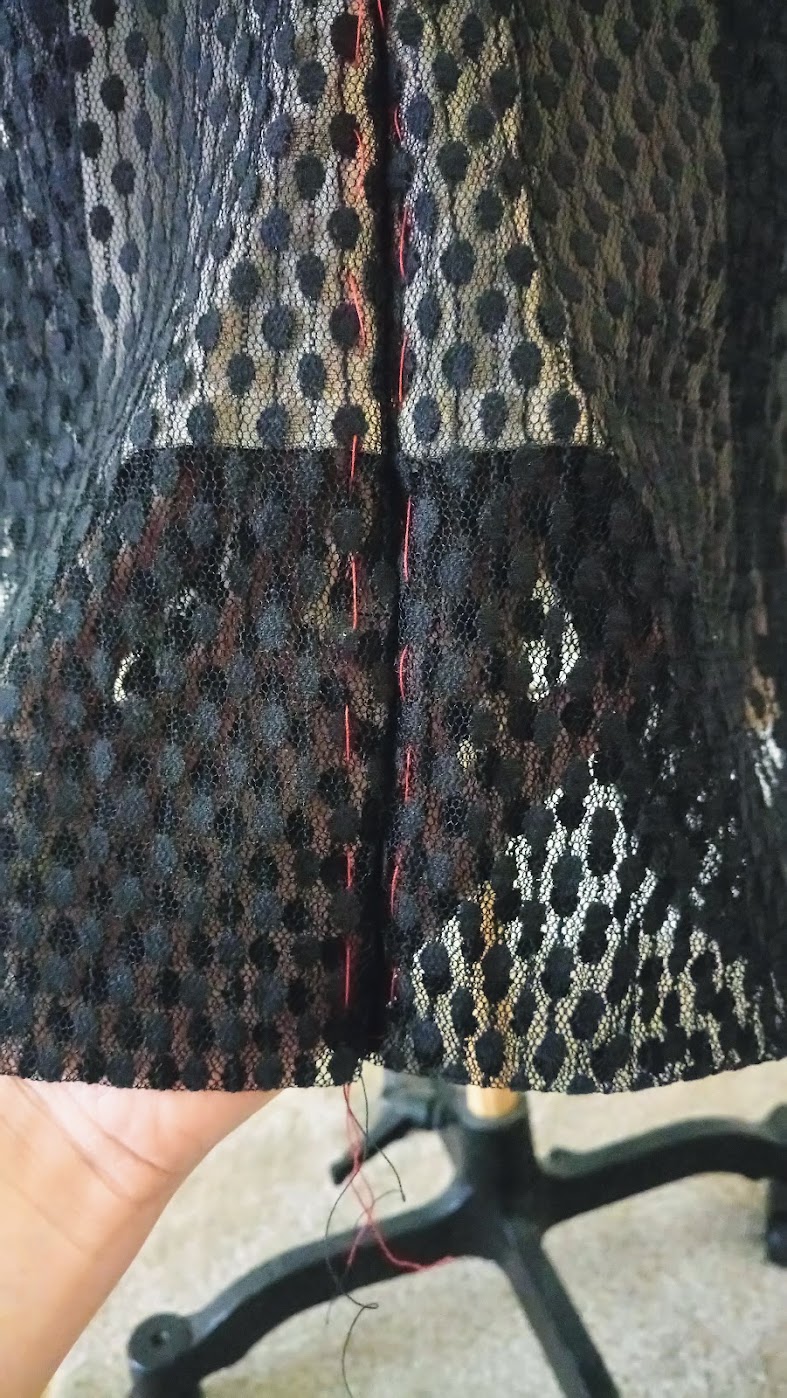
When it’s dry, I measured the lace knit’s fabric once again. To my horror, it shrunk one inch. While I cut the lace knit fabric with a wider-than-normal seam allowance, I was left with only about 1/4” seam allowance after this second shrinkage.
Temporary running stitch to the rescue! After that, I sew the seams slowly and carefully to finish the center front and side seams.
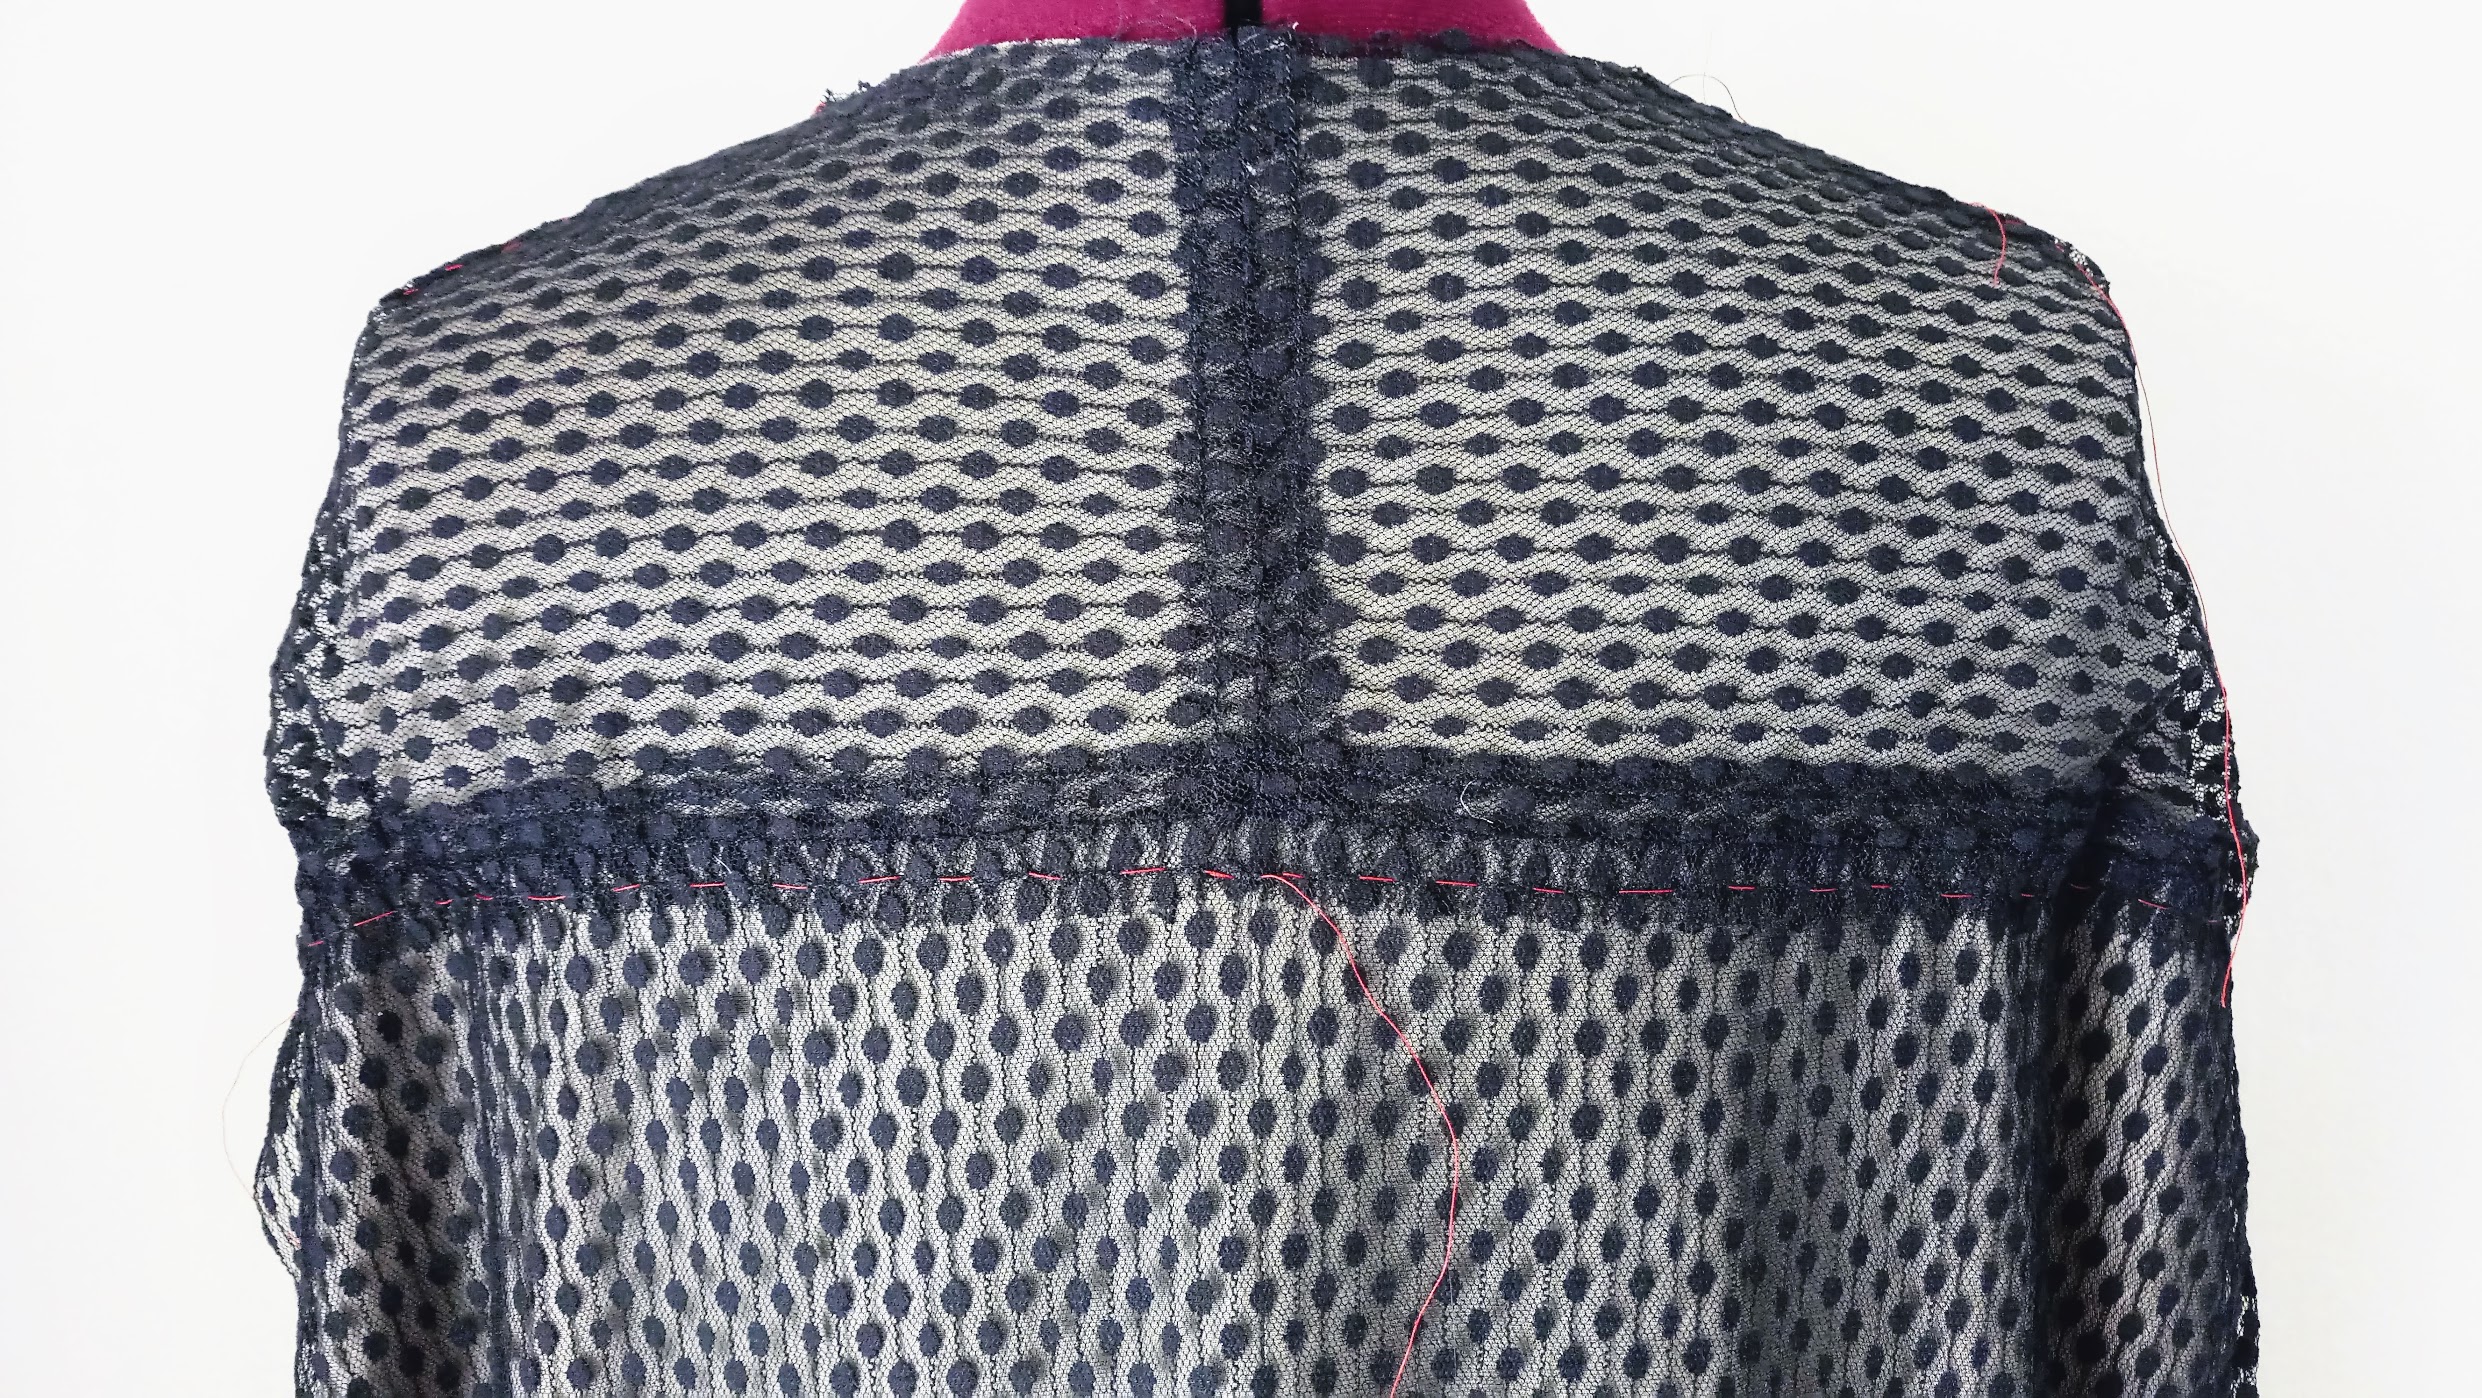
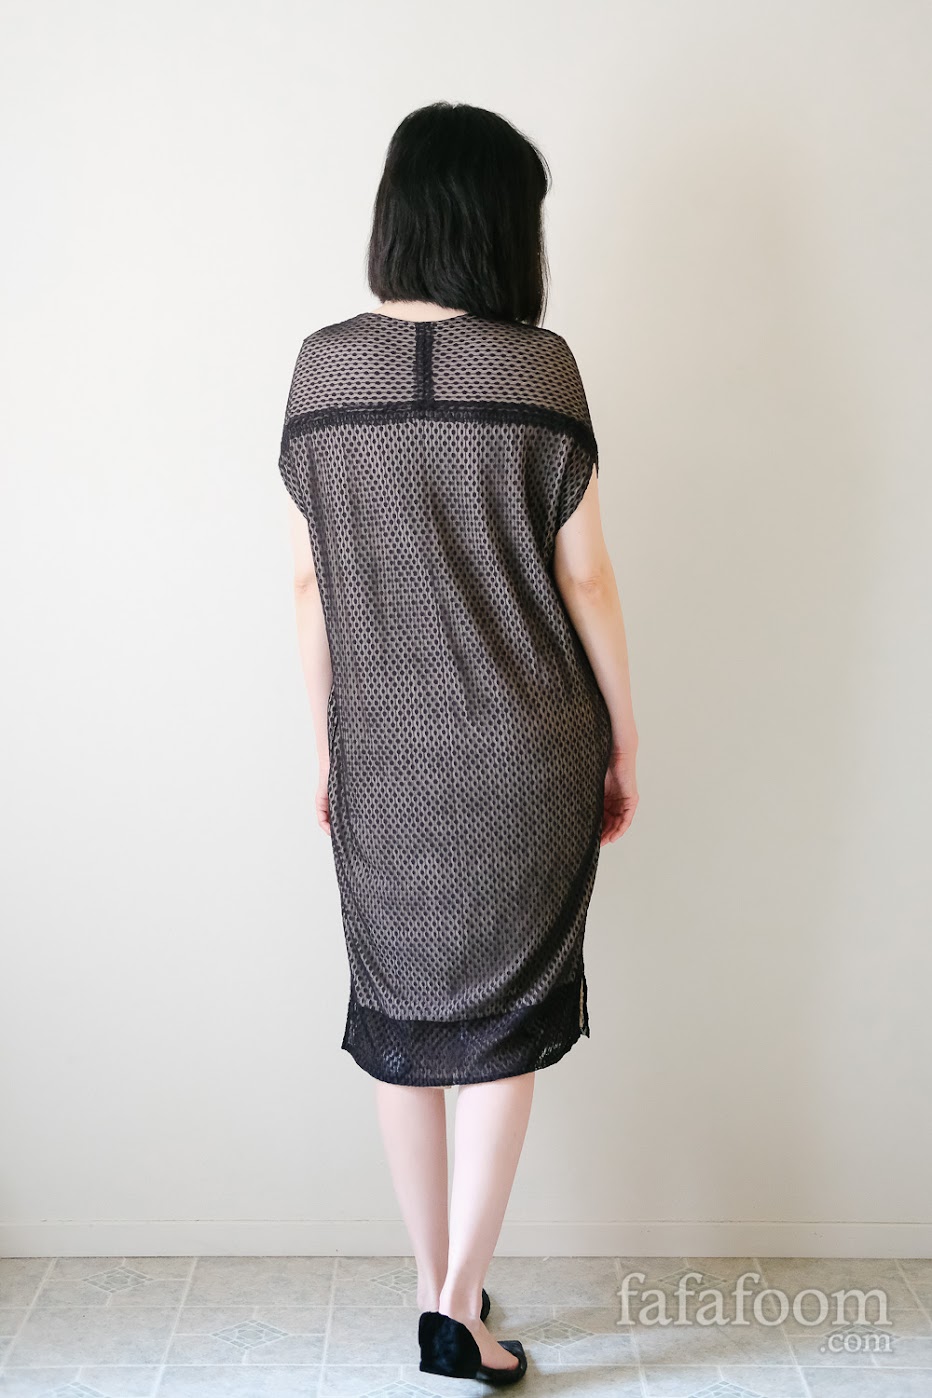
I also had to adjust the alignment of lace knit and jersey on the seam across the shoulder blades. The lace knit had to be positioned 1/4” higher. I also made a temporary running stitch to stabilize the dart positions.
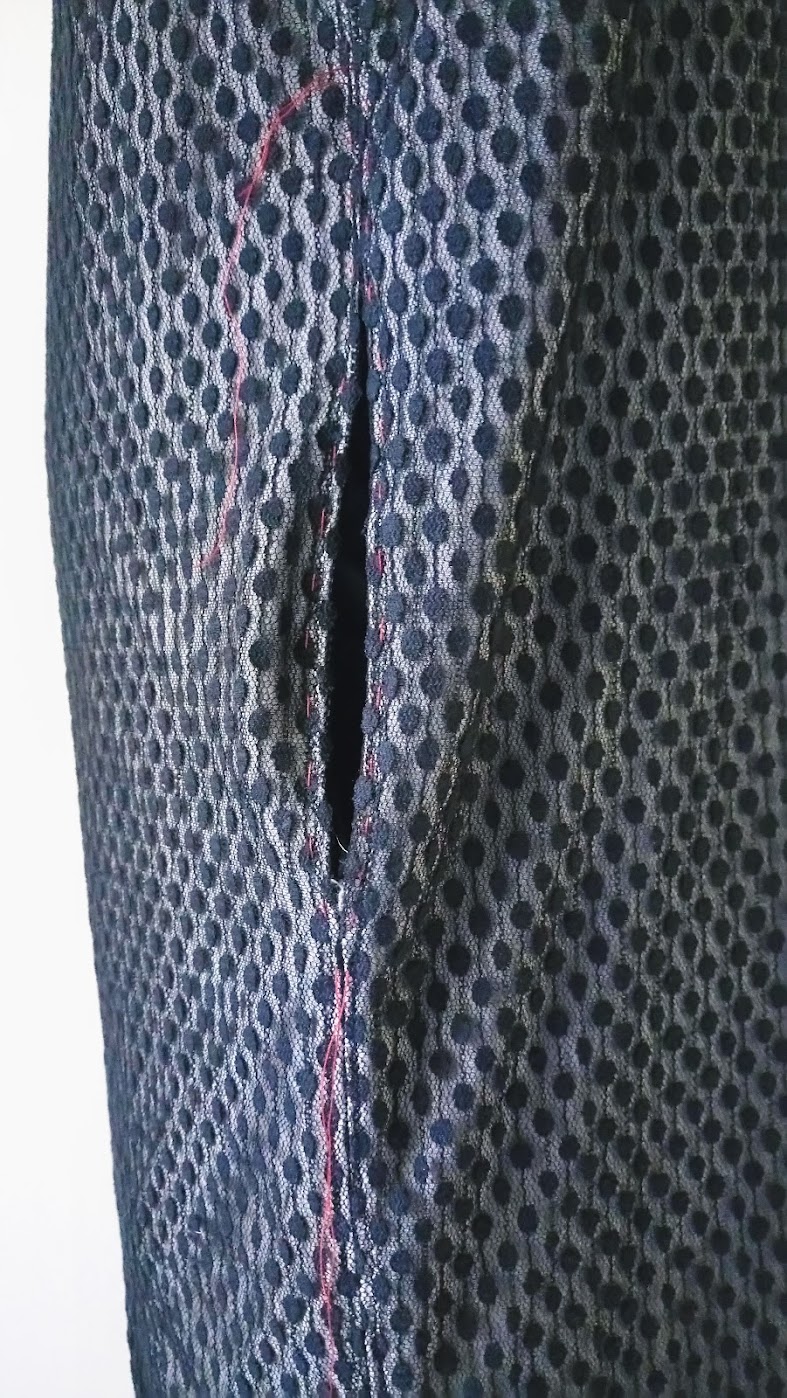
Challenge #5: Creating a reversible pocket
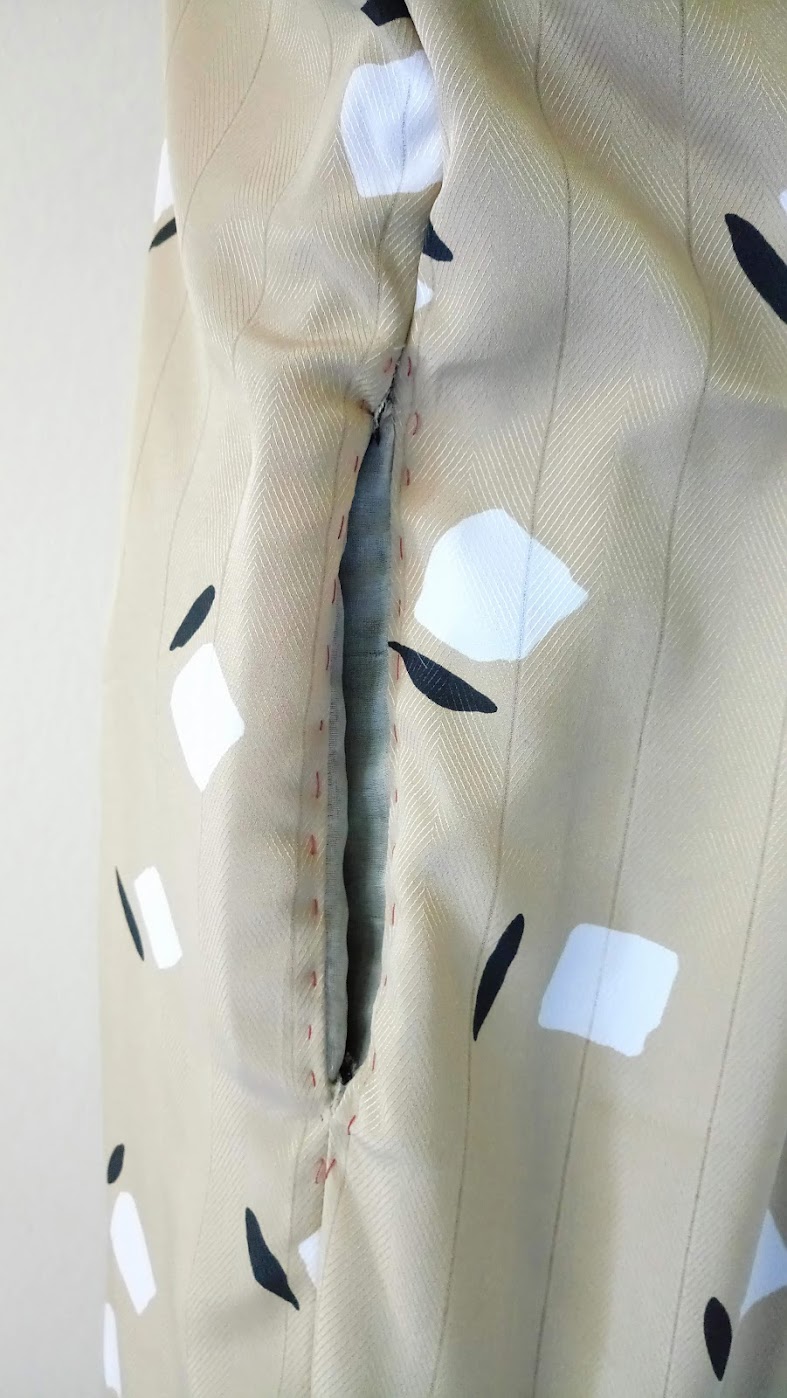
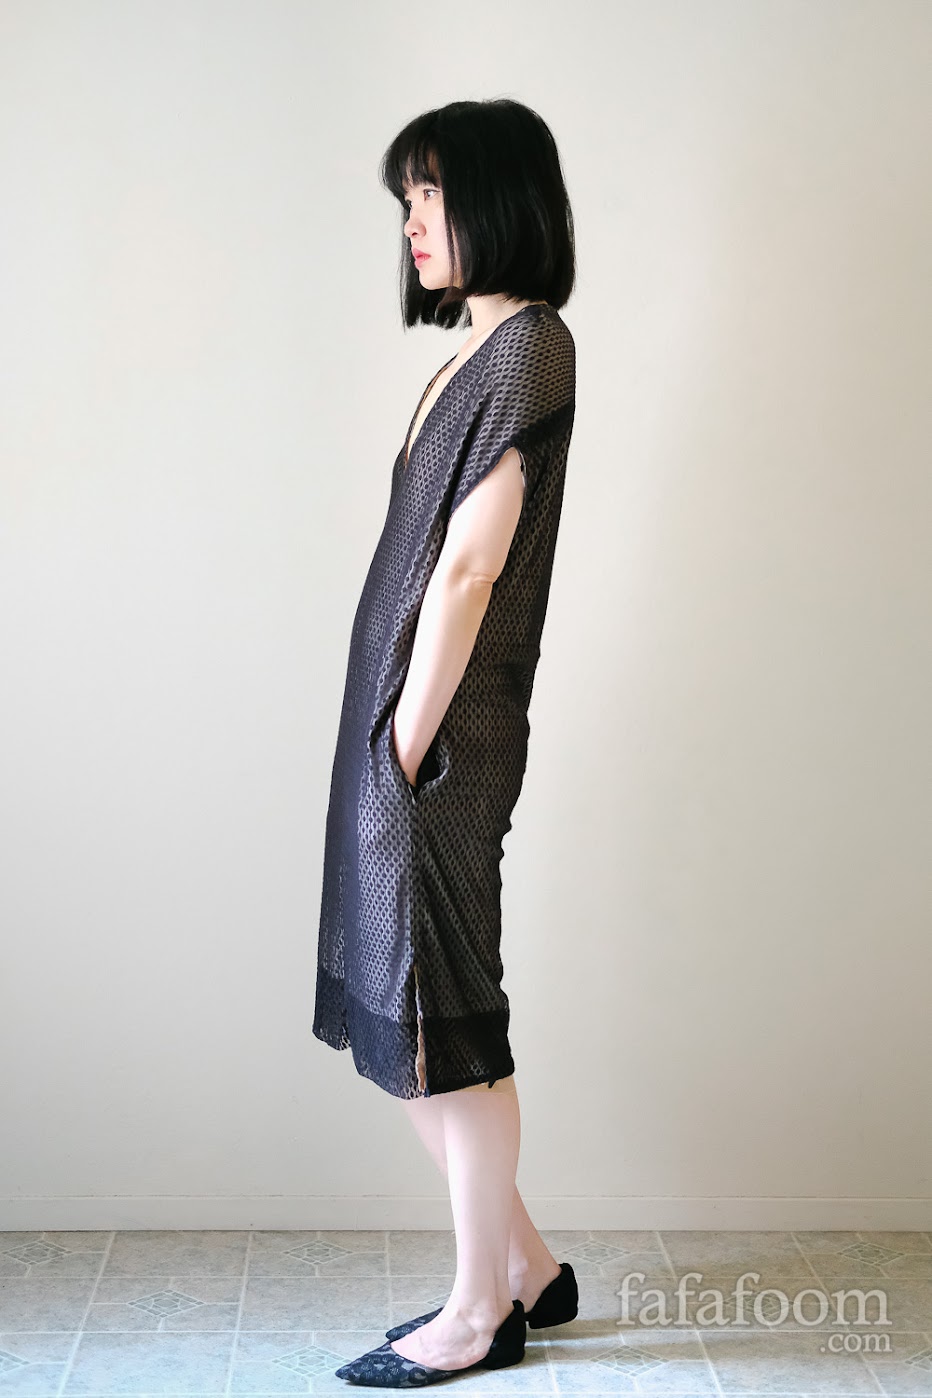
Making pockets on a reversible dress mean there’s no wrong side for the pocket pieces. I made deep, functional pockets because….WHY NOT?
I made the pockets using silk fabric remnants. I also added black satin pieces closet to the pocket mouths when the black lace side of the reversible dress is shown. This is to avoid unsightly visual stand-out of the pockets.
Making the pockets were straightforward, however sewing them to the dress had to be done patiently and carefully. Once again, making temporary running stitches was my best friend.
Moreover, I also snipped the seam allowance carefully near the opening to minimize fabric puckering / pulling.

Challenge #6: Assembling woven and knit fabric pieces to create a reversible dress
This process was nerve wrecking. If you’re doing it, be prepared to make tailor-like adjustments. Do lots of temporary running stitch to see how the garment falls. Join the seams of knit and woven as few as possible to prevent unnecessary tucks and pulls. They drape differently after all.
In my case, the neckline was the most important because that’s one of the few places where the woven and two knits are joined. I had to make adjustments along the neckline due to the printed woven’s slight stretch.

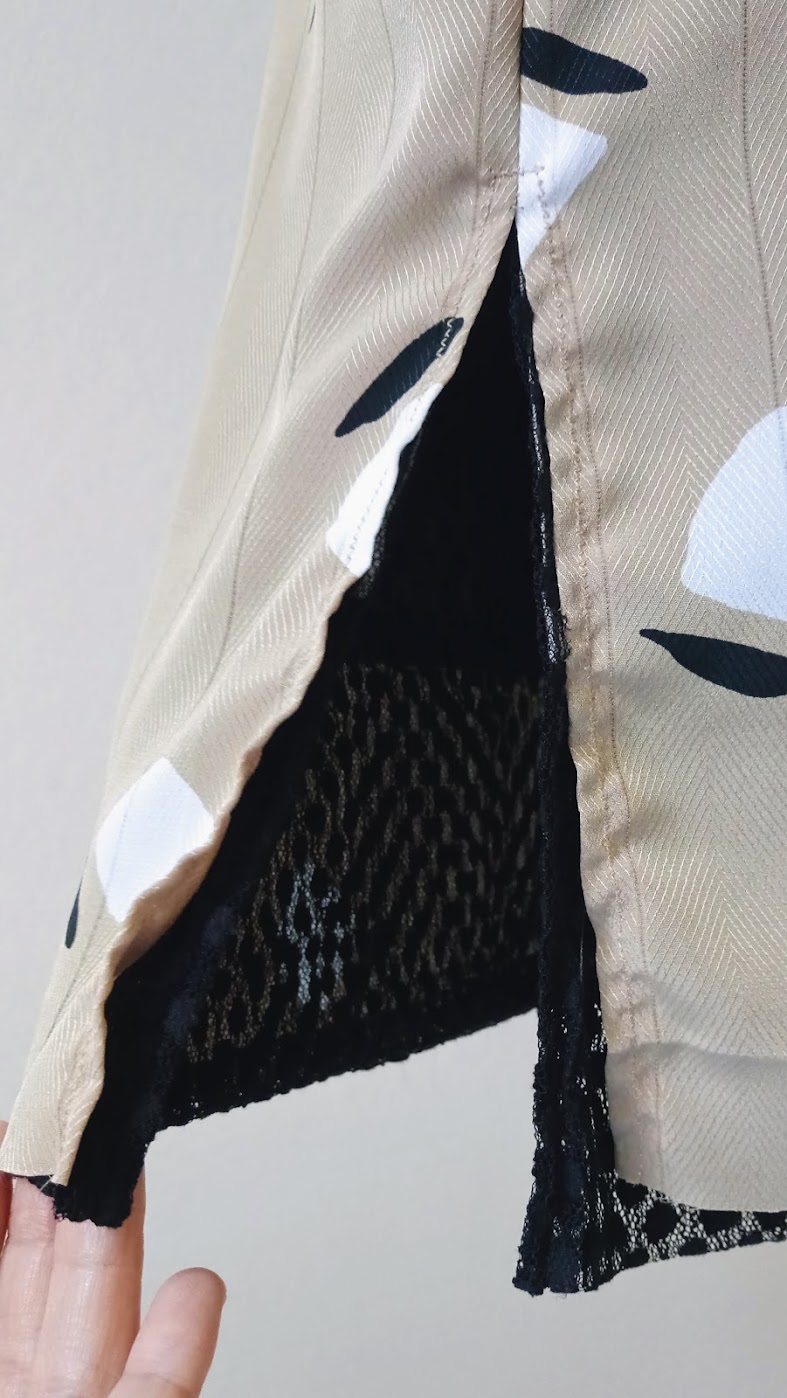
The other places where the woven and two knits are joined are the pockets and a little bit of the side slits near the bottom.
I chose not to join the sleeves and used french tacks instead. I used the second method of creating thread chains from this Collete HQ tutorial. I then used them as french tacks! Super convenient, and I don’t have to worry about the potential fabric pulling drama from joining the sleeves.


Challenge #7: Be mindful of sewing project waste
Throughout the process, I became aware of extra threads of leftover fabric strips. Instead of throwing them away, I gathered them (along with remnants from other recent projects) and ModPodge them on a wallpaper sample.
The idea was to create vine-like textures slowly covering building walls. With each successful step forward, the number of fabric strips covering the paper became more dense.
I found this intermittent exercise useful to calm my annoyance or anger. As I previously said, this whole process of making a reversible dress with pockets were really frustrating. Applying fabric strips on a piece of paper and listening to Super Junior Yesung’s singing never failed to calm me down.
Now I have a papercraft full of memories and I plan to frame it for wall decor.
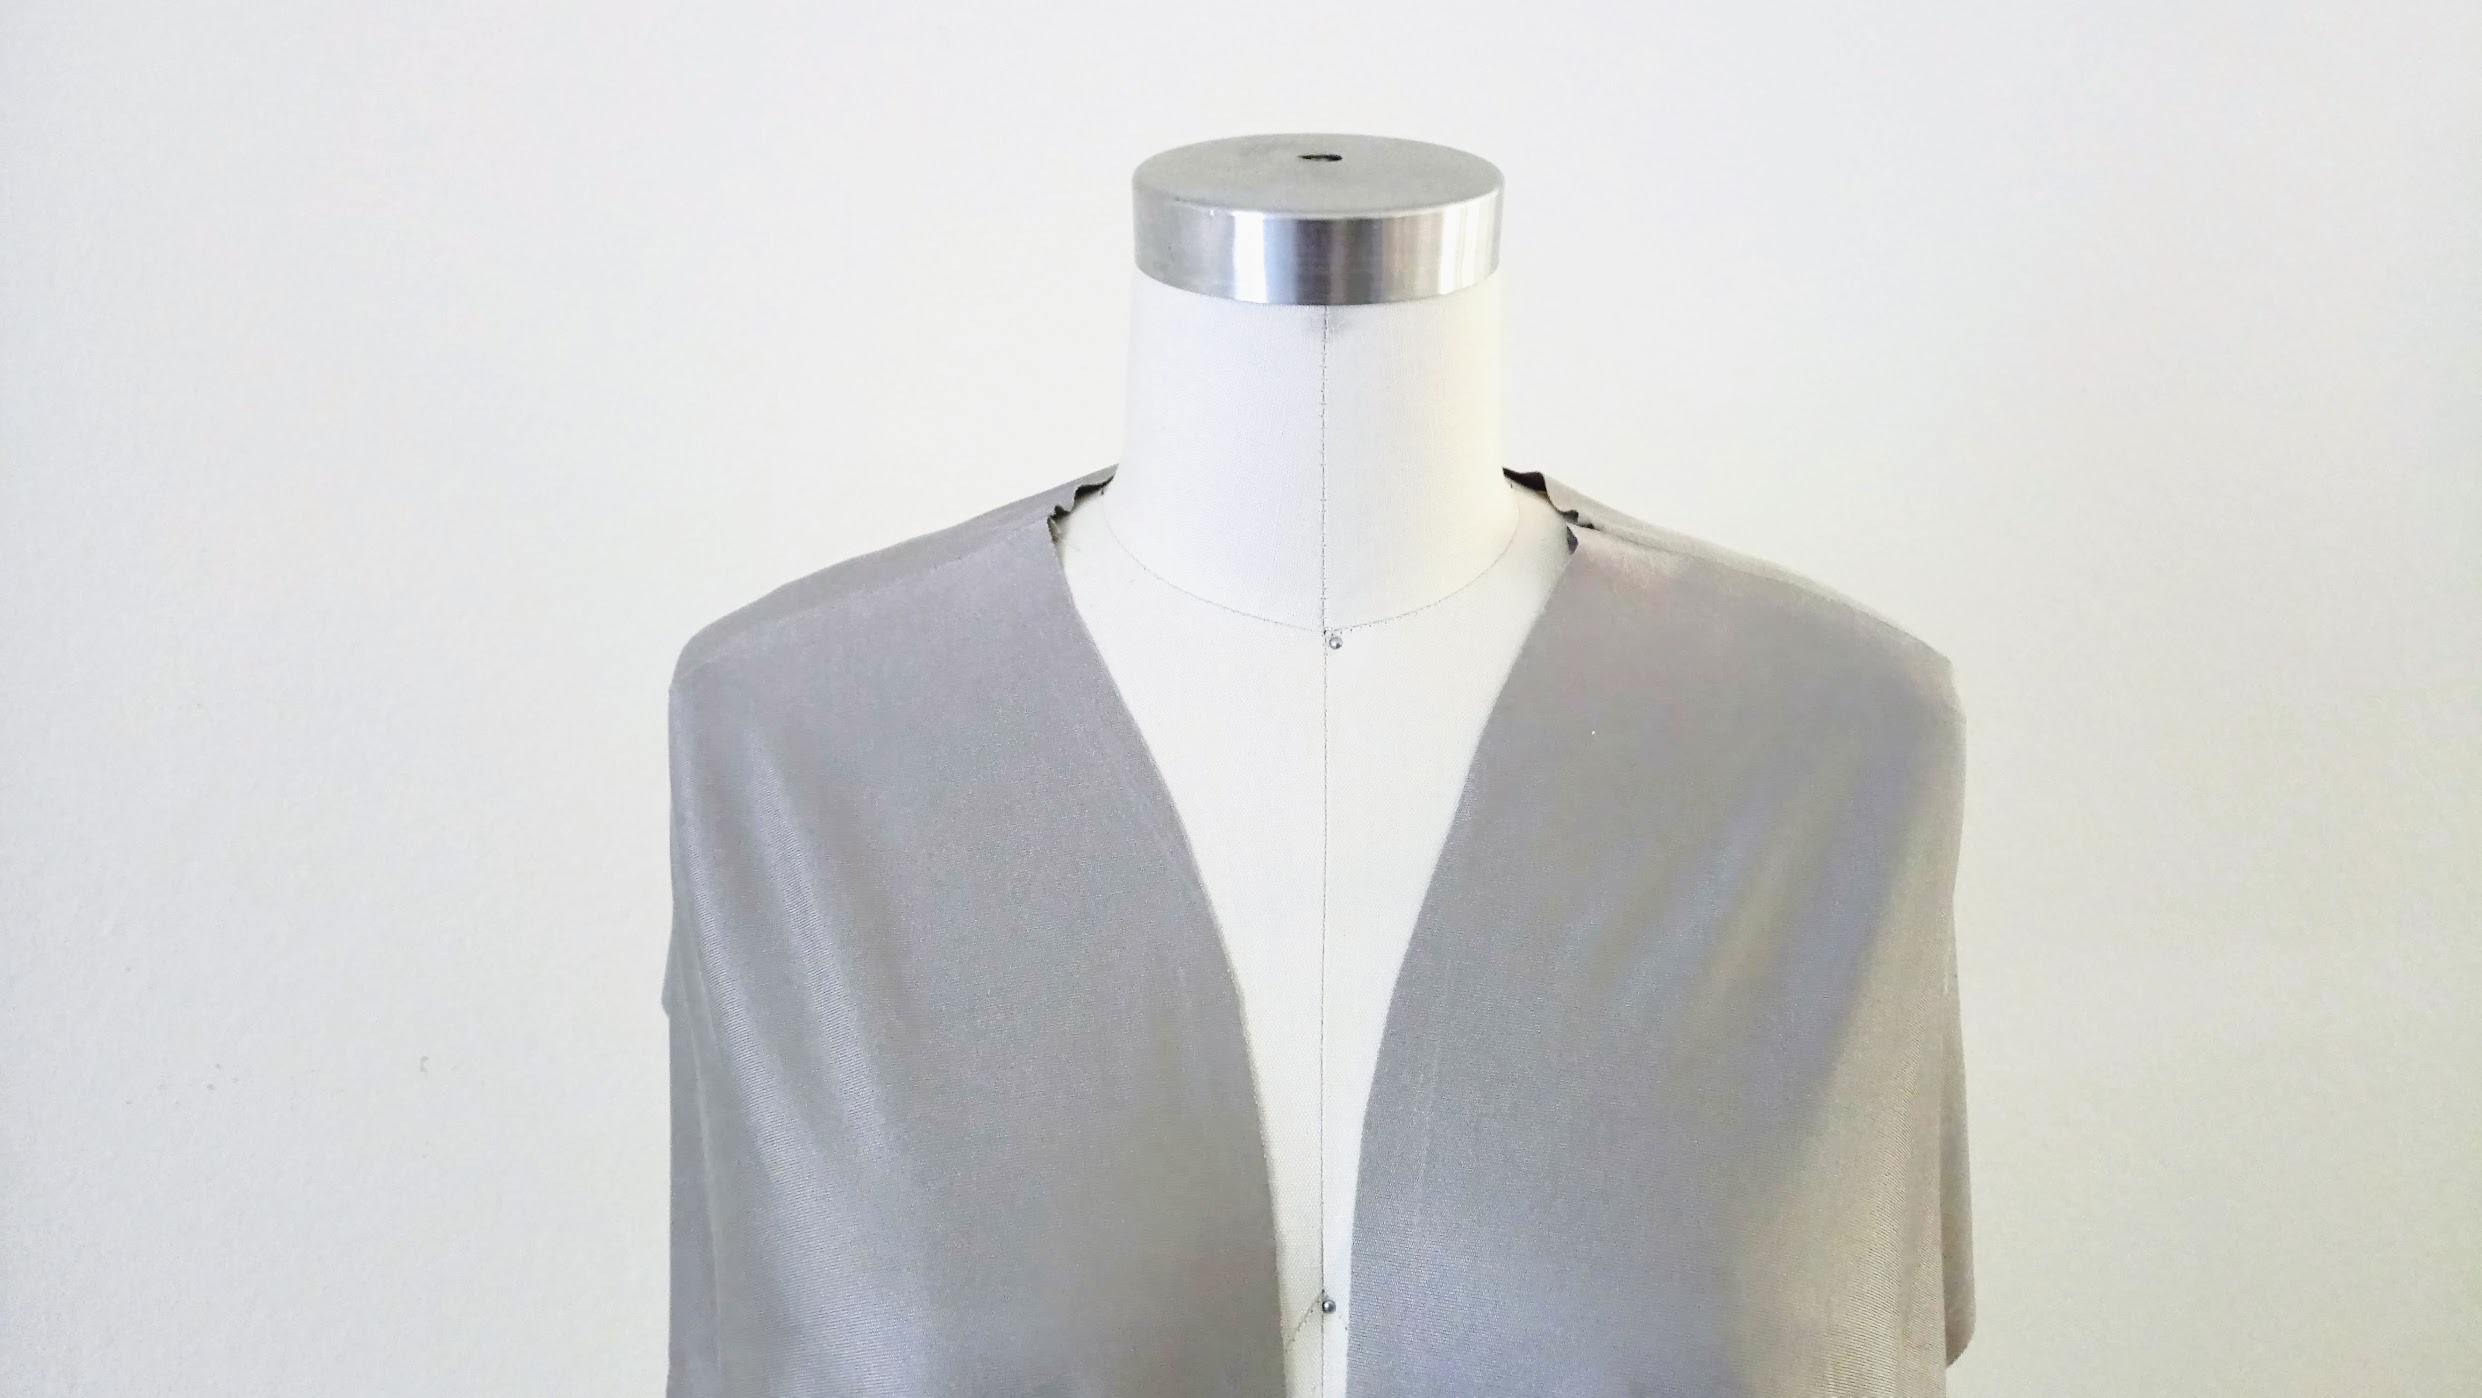
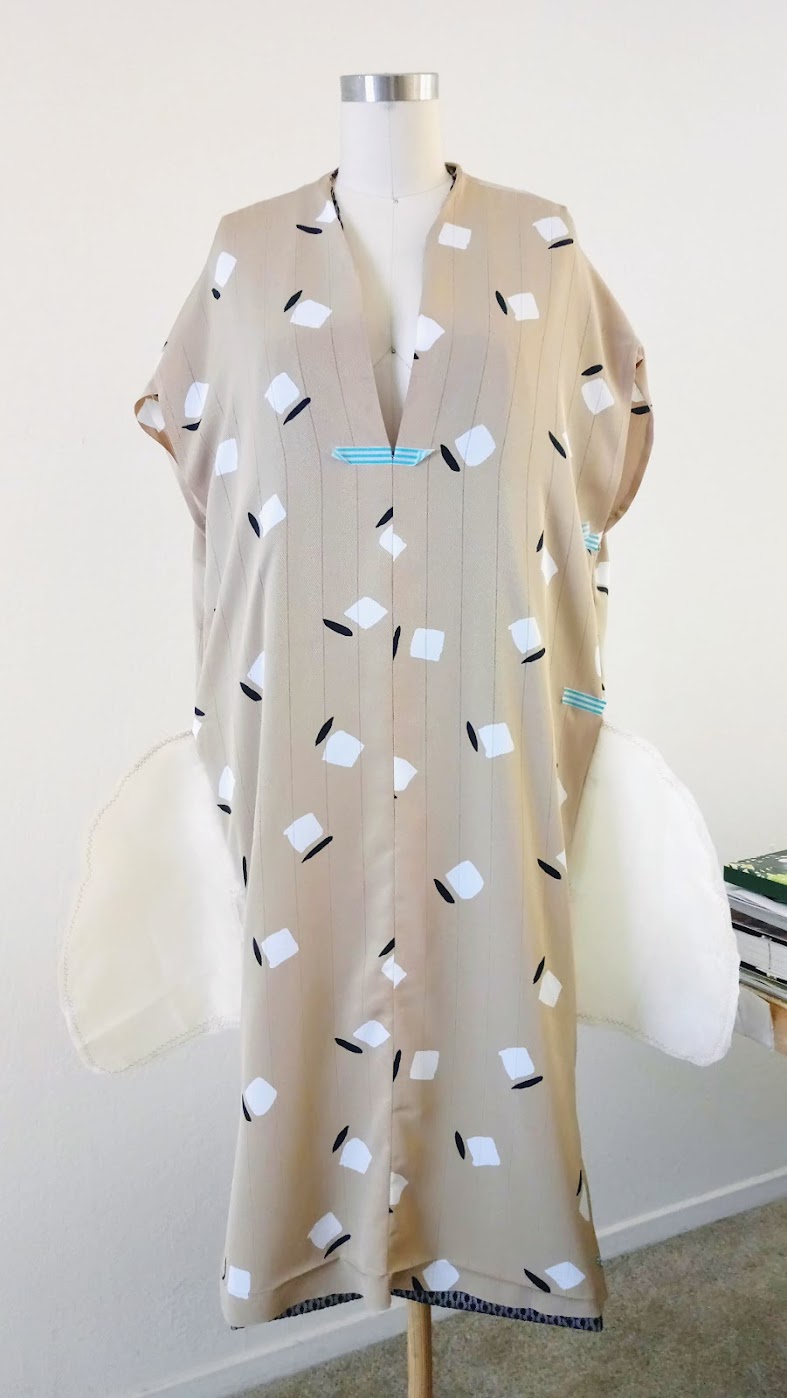
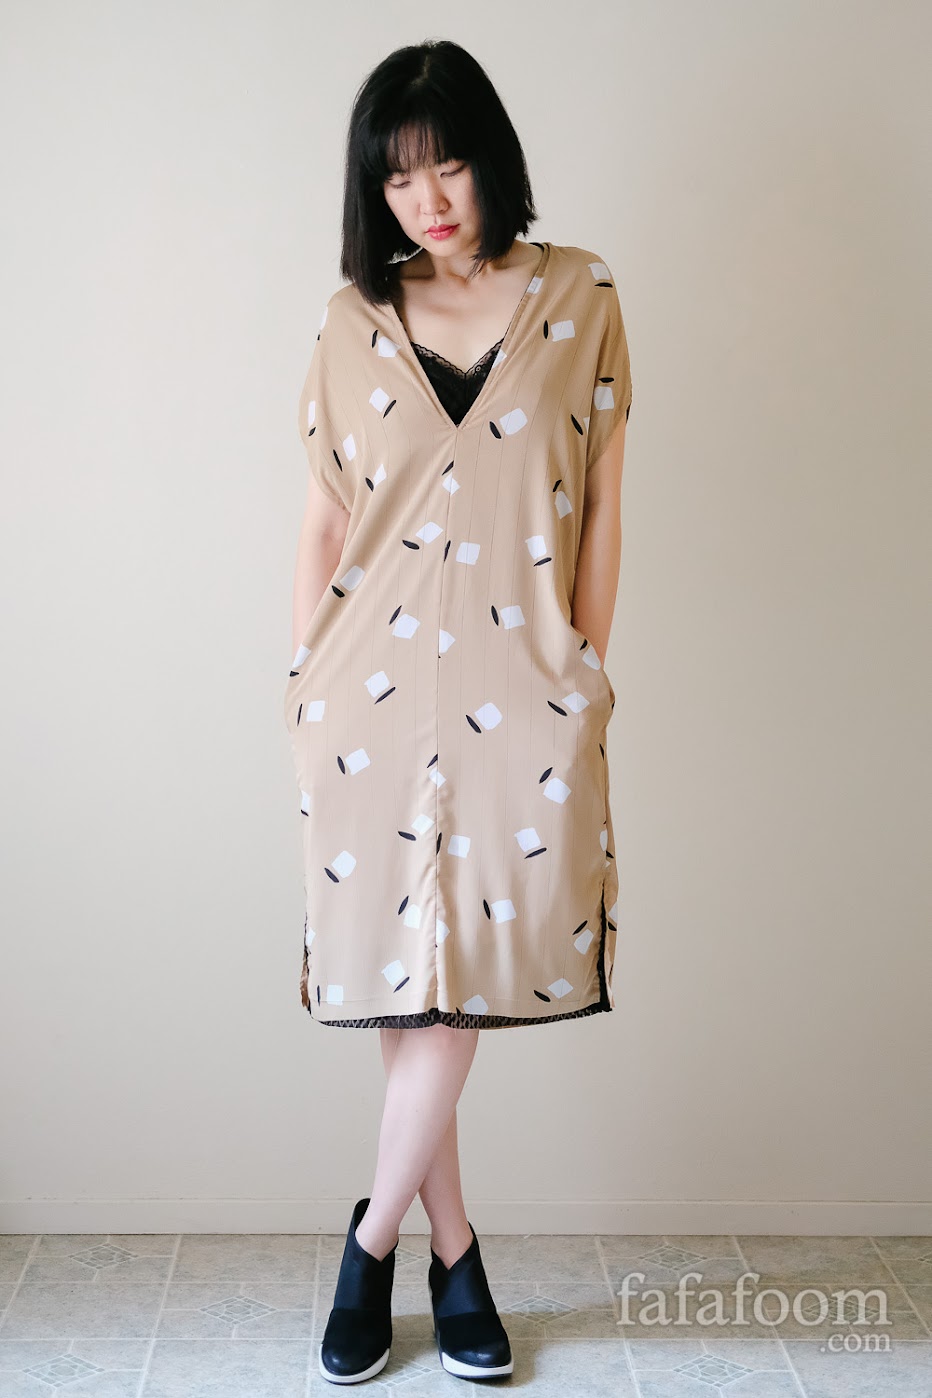
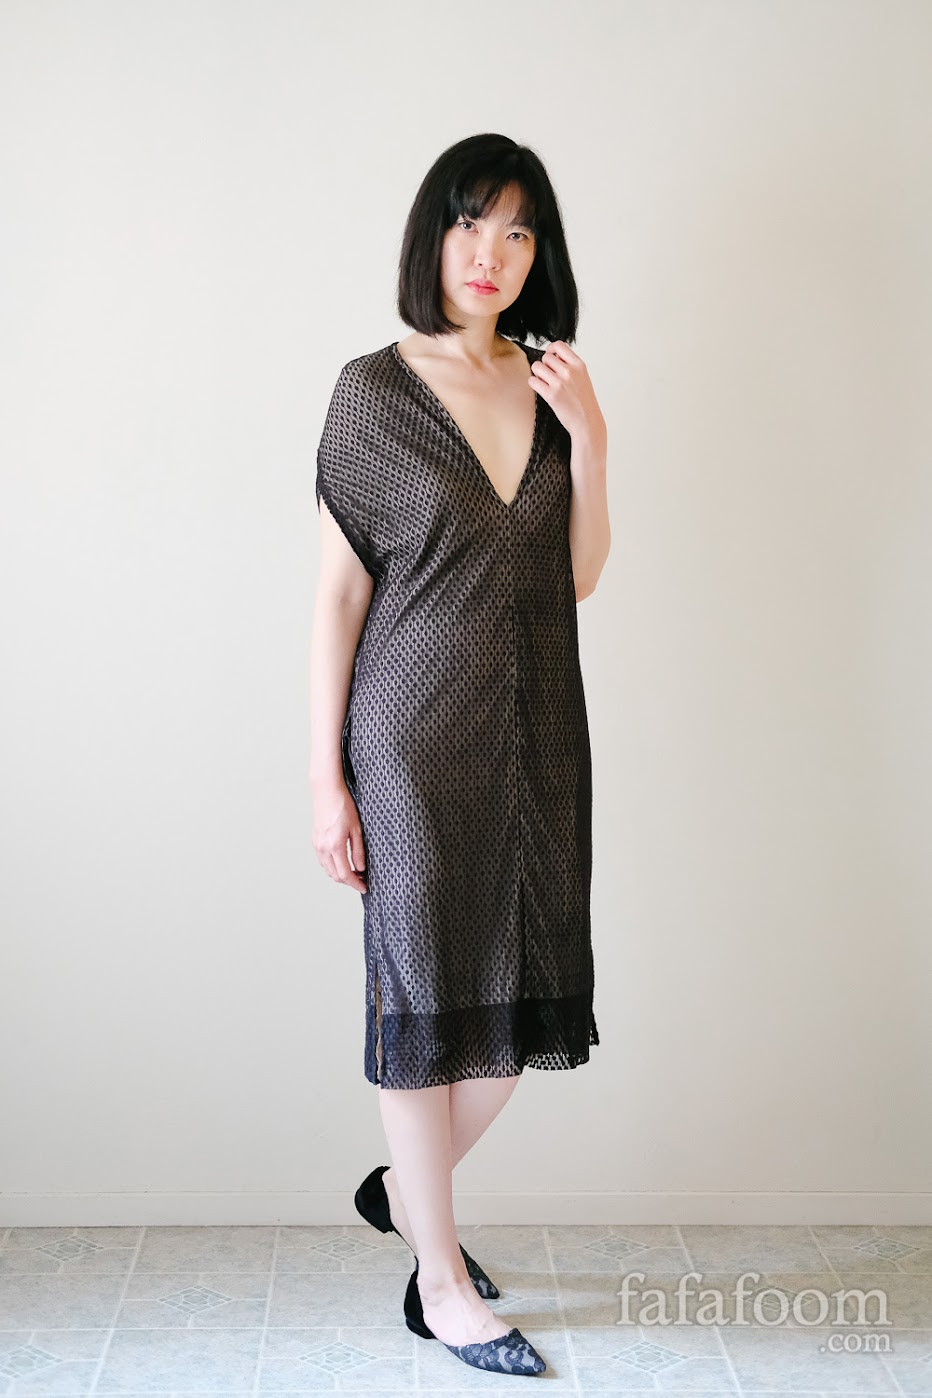
Final Result: DIY Reversible Dress with Pockets
After almost a month struggling to finish this dress, I felt numb when I cut the final threads. There was no such feeling of elation, just exhaustion.
A few days later, however, more positive feelings came flooding in. I overcame all those challenges and finished this really ambitious sewing project! More than anything, I’m really proud of this journey. Still, what do you think of this dress?
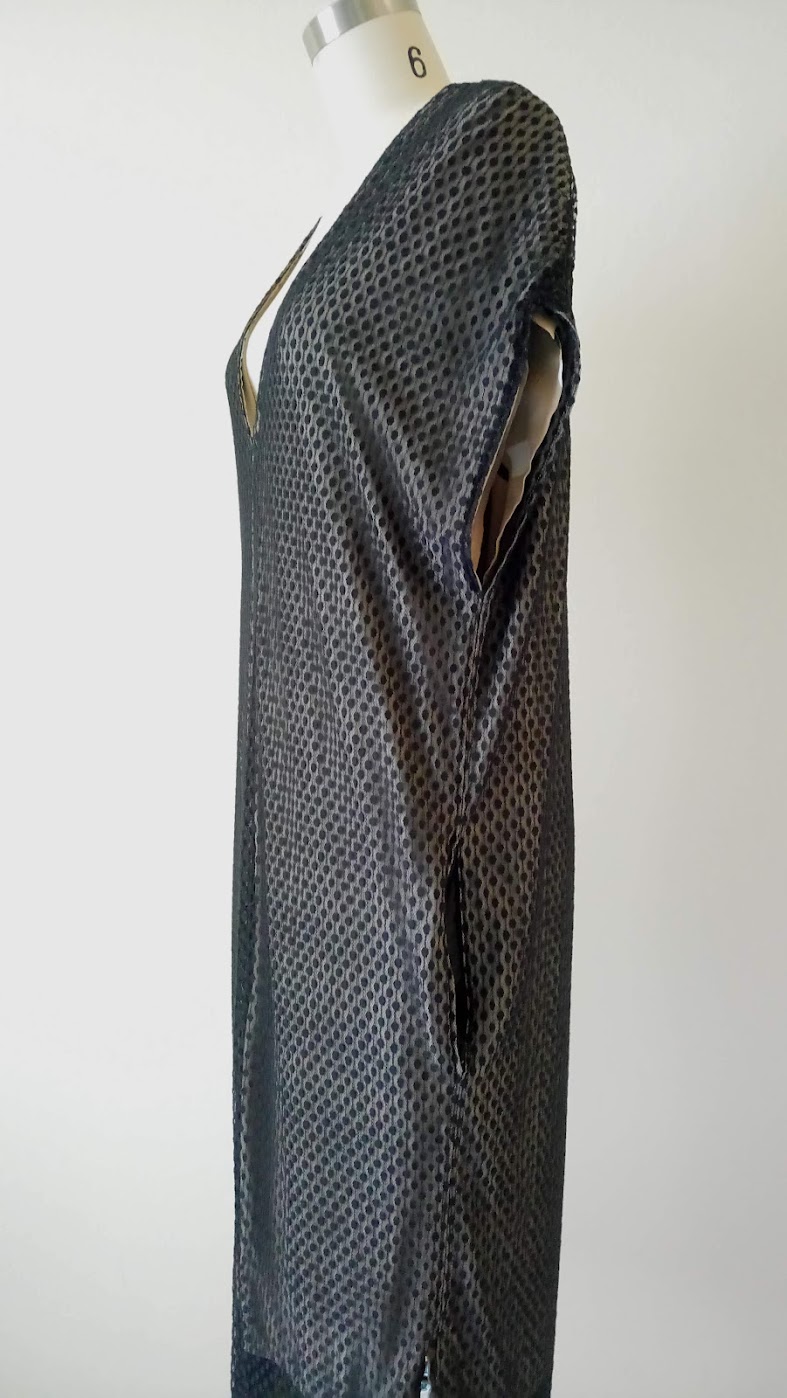
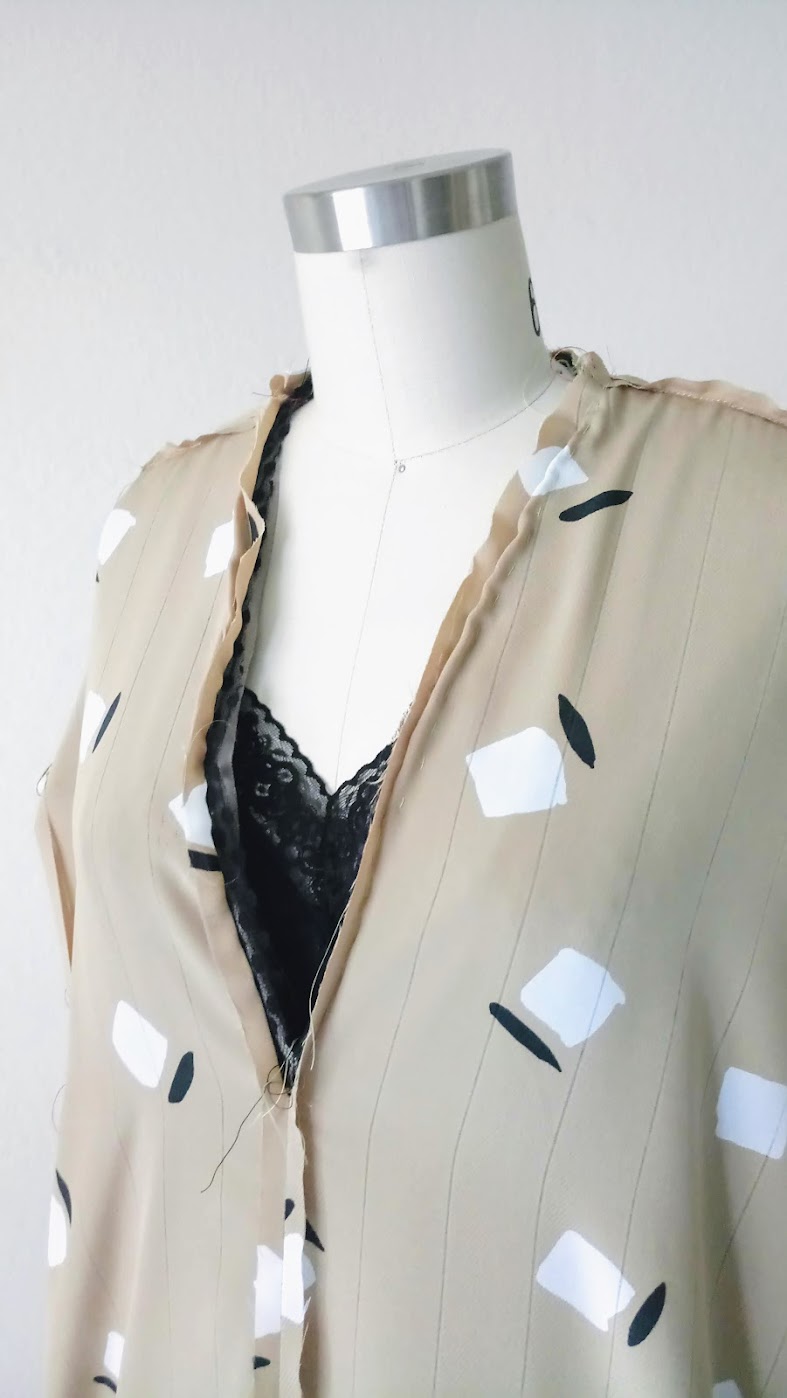
Here’s side A…


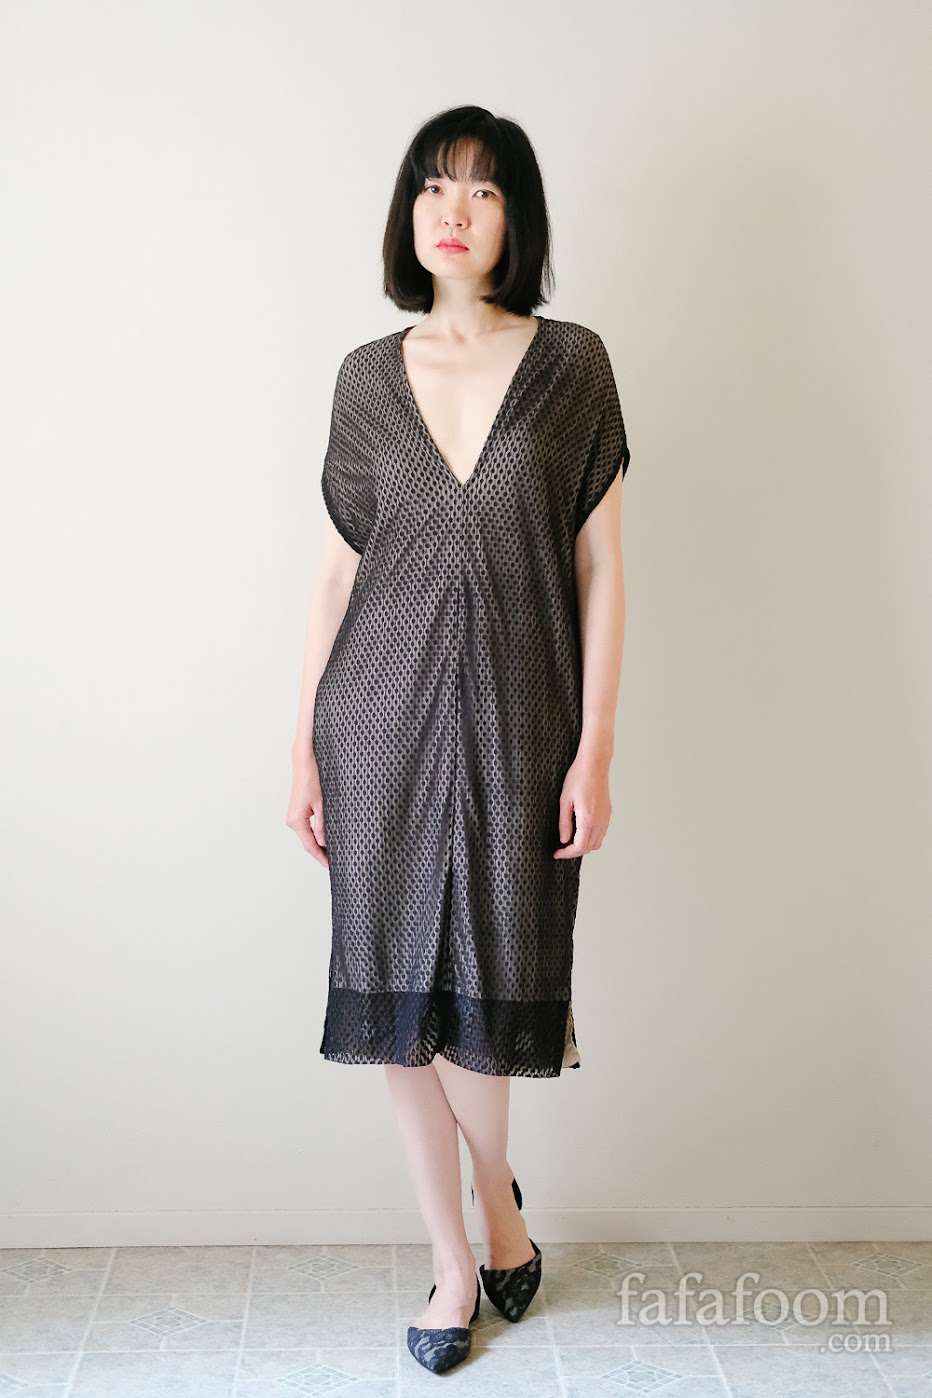
…and here’s side B!

As always, let me know if you have questions or clarifications! I didn’t include pattern or fabric measurements here on purpose, so ask me if you need them.
May your sewing days always be happy :)
Thanks for reading; until next time,
Musank
Disclaimer: I may earn a small commission for my endorsement, recommendation, testimonial, and/or link to any products or services from this website. Thank you for your support!
Never Miss a Post
Enter your email below to receive the latest Fafafoom Studio post in your inbox.
Browse more posts
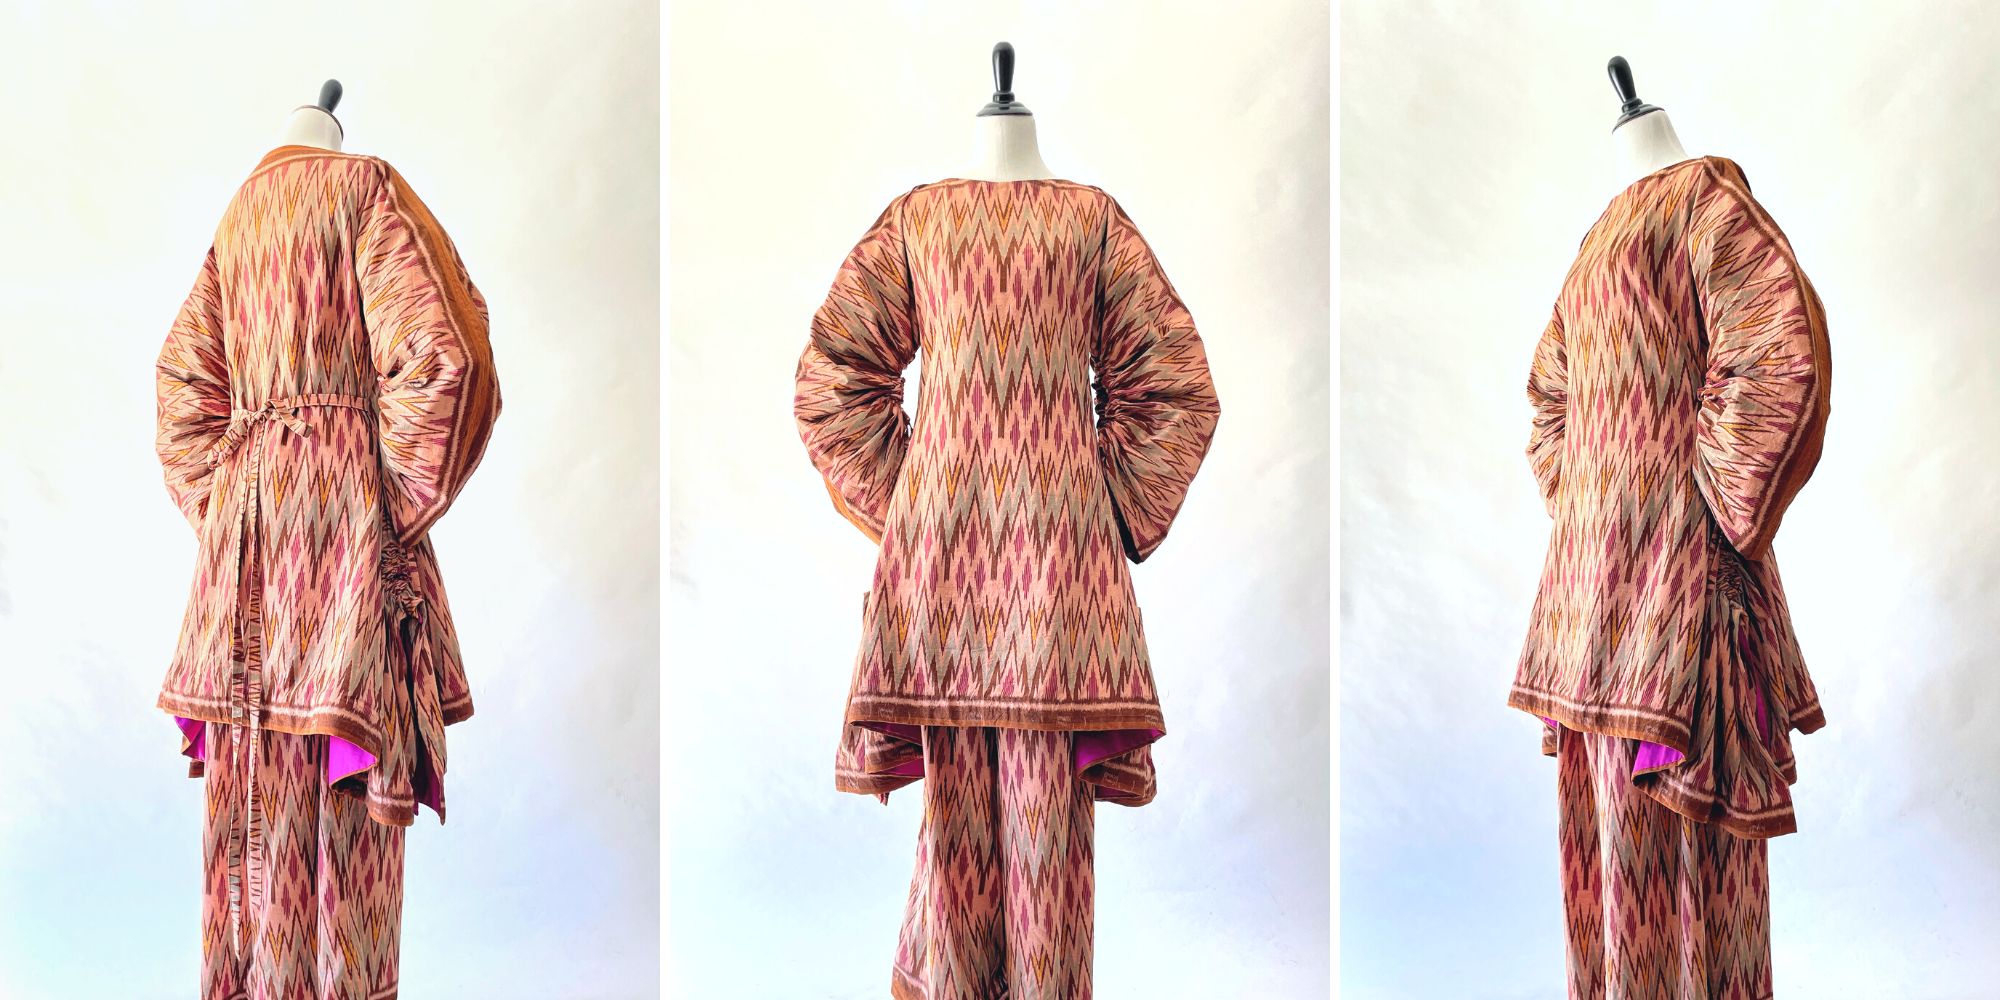
Interpreting Kebaya, Making a Modern Ethnic Ensemble
Modern Ethnic outfit is my interpretation of kebaya dressing. They are made using vintage ikat textile and inspired by several free minimal-waste patterns. Only on fafafoom.com.

Restoring a 1950s Atomic Age Dress
Restoring and repairing a beautiful 1950s Dress for my summer 2022 wardrobe. Smart alterations include lining and inseam pockets. Only on fafafoom.com.

Pink Delight! Natural Dyeing with Camellia Flowers
My next experiment is dyeing with camellia flowers. Amongst all natural dyeing projects I have done so far, this is my favorite. Check out the pink delights! From fafafoom.com.
5 Slow Fashion Tips for a More Sustainable Wardrobe
Five slow fashion tips to help you transform your sustainable wardrobe for a cleaner, greener future. A guest feature from Reese Jones for Fafafoom.com.

Upcycling and Repairing Ideas for Garden Decor
The garden has become a special place, especially during Covid-19 pandemic. During shelter-in-place period, I made garden decors by upcycling locally sourced items.

Natural Dyeing with Japanese Maple Leaves: Notes from a First-timer
Notes from my first natural dyeing experiment with Japanese maple leaves in fall season. Three batches of dyeing using fallen leaves sourced from two different trees in the garden. So much to learn and enjoy afterwards.