

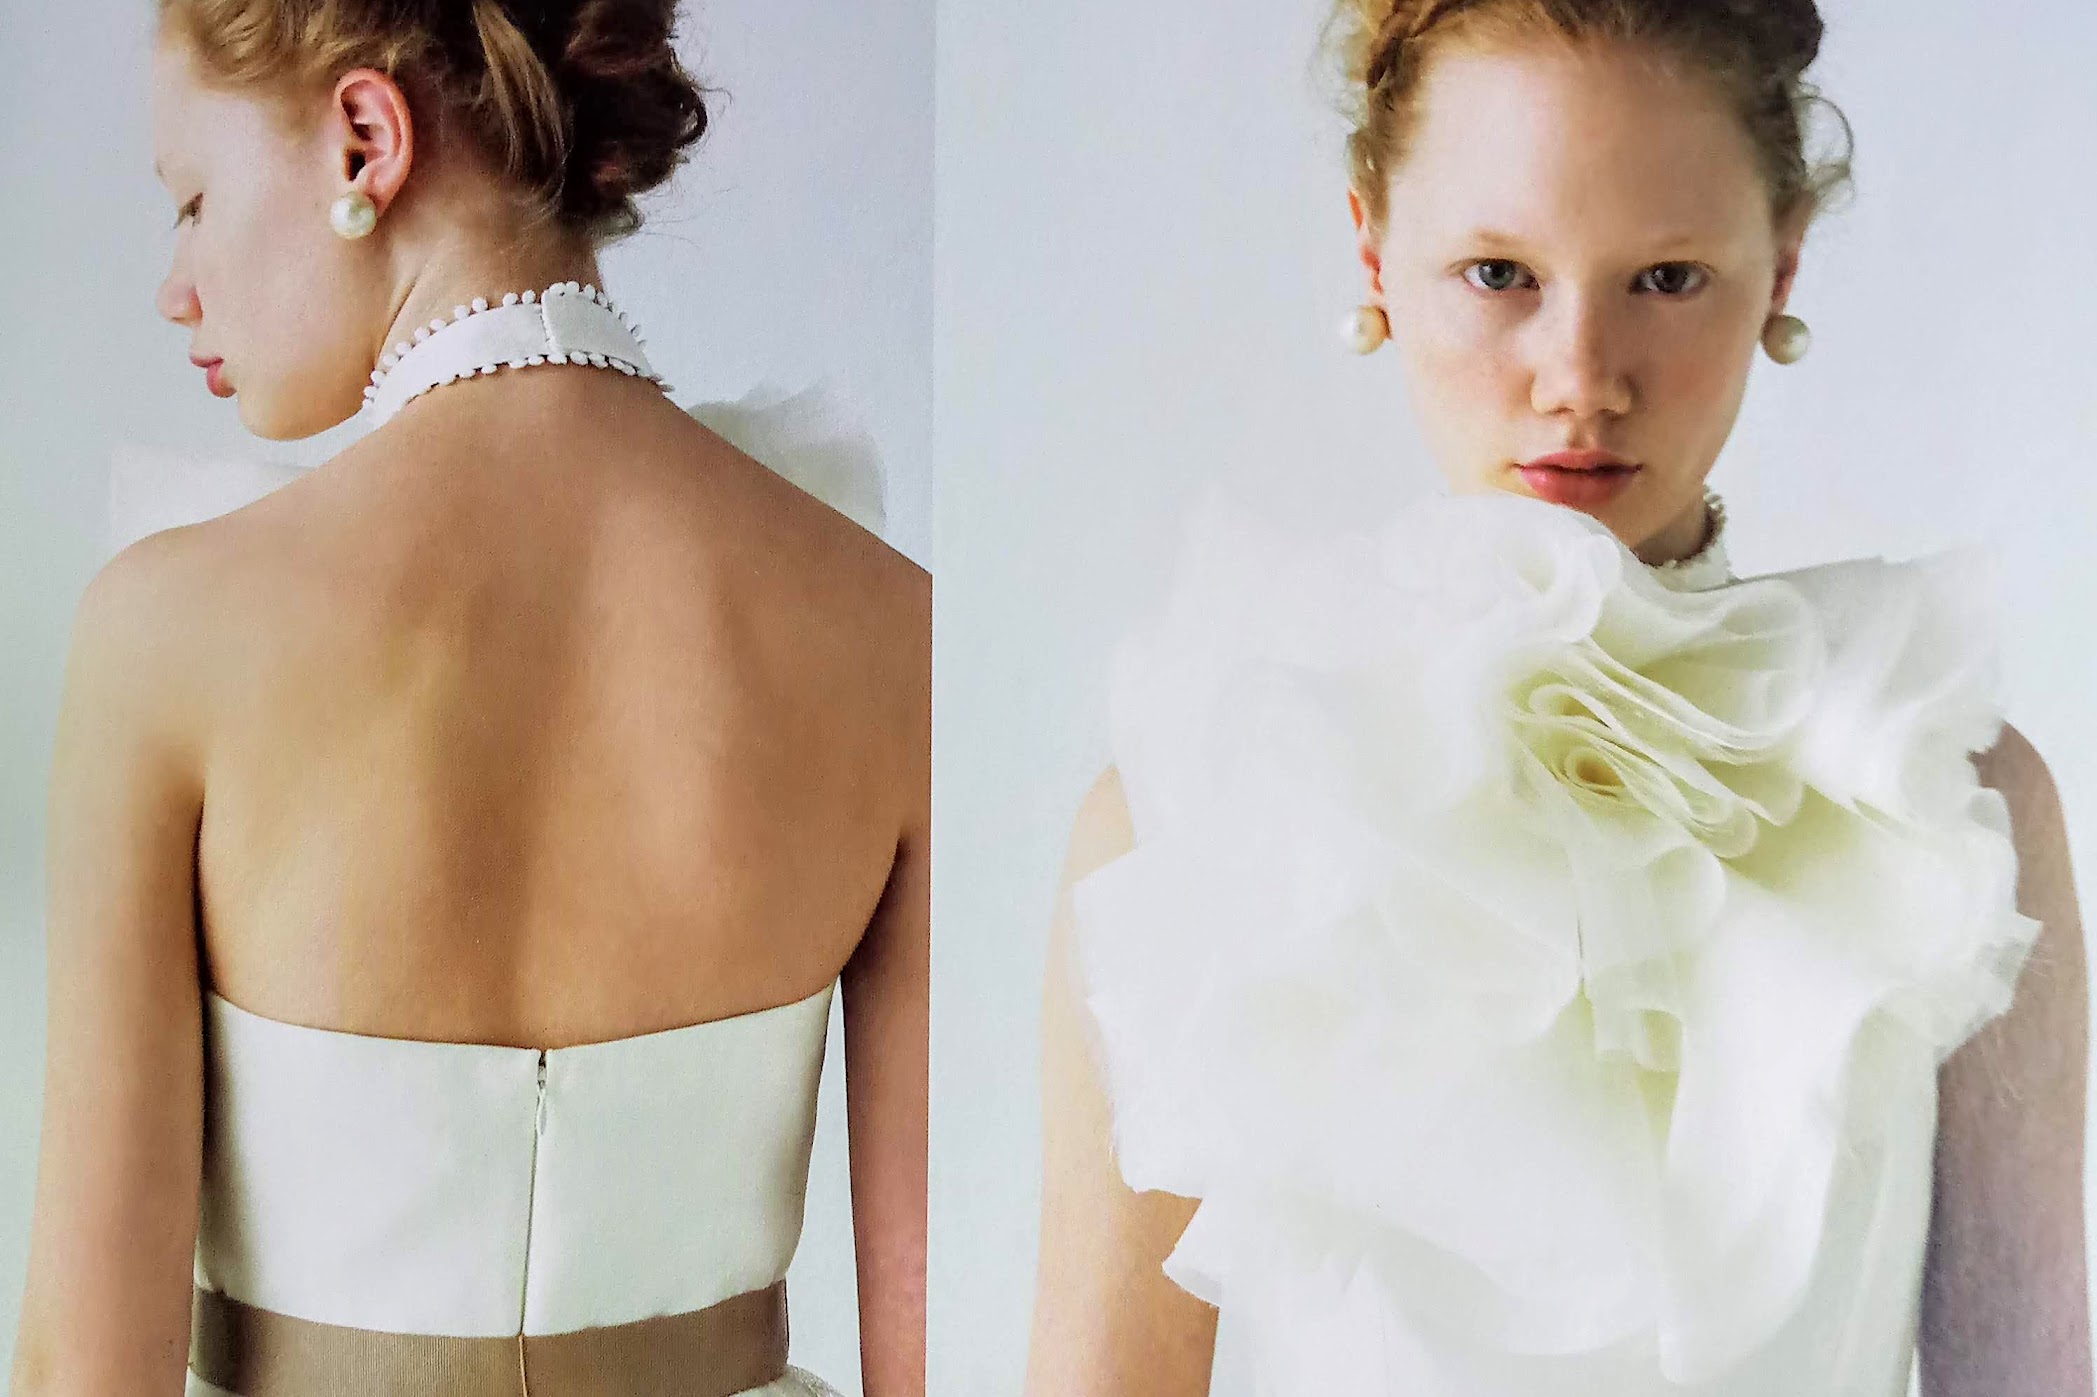
This flounce neckpiece was made with layers of spiral-cut lightweight fabrics, including organza, tulle, organdy, and chiffon. Based on a project from Japanese pattern book “2 Way Wedding Dress” published by Bunka Shuppan Kyoku in 2013.
After returning from my Jakarta wedding celebration LINK, I realized my head was still filled with wedding dress ideas. So I couldn’t help buying this Japanese pattern book titled “2 Way Wedding Dress” published by Bunka Shuppan Kyoku in Kinokuniya book store at San Francisco’s Japantown.
The book is relatively hard to find. I couldn’t find it on Amazon, but there’s some copies available on Etsy or eBay last time I checked.
It’s filled with 4 main patterns of gorgeous wedding dress designs that each can be worn two ways with additional garment layers for day and night. The designs are very inspiring and can definitely be implemented to non-wedding dresses.
From all the unique pieces I see, the one I found most intriguing is an organza bloom neckpiece that accompanies one of the wedding dress designs.


In 2014, I tried to make that neckpiece, but the result was so disappointing. So I tucked it away. Little did I know I would revive and redo the project three years later. I found a one yard of black organza remnant at Britex Fabrics, San Francisco.
This fabric made the difference. It added the needed character and texture that were missing from the original project. The layered spiral-cut flounce neckpiece becomes nothing short of a fashion statement.
Subscribe to my newsletter
Materials:
- Three yards of white organza
- Remnants of light weight white fabrics, such as tulle, chiffon, and organdy
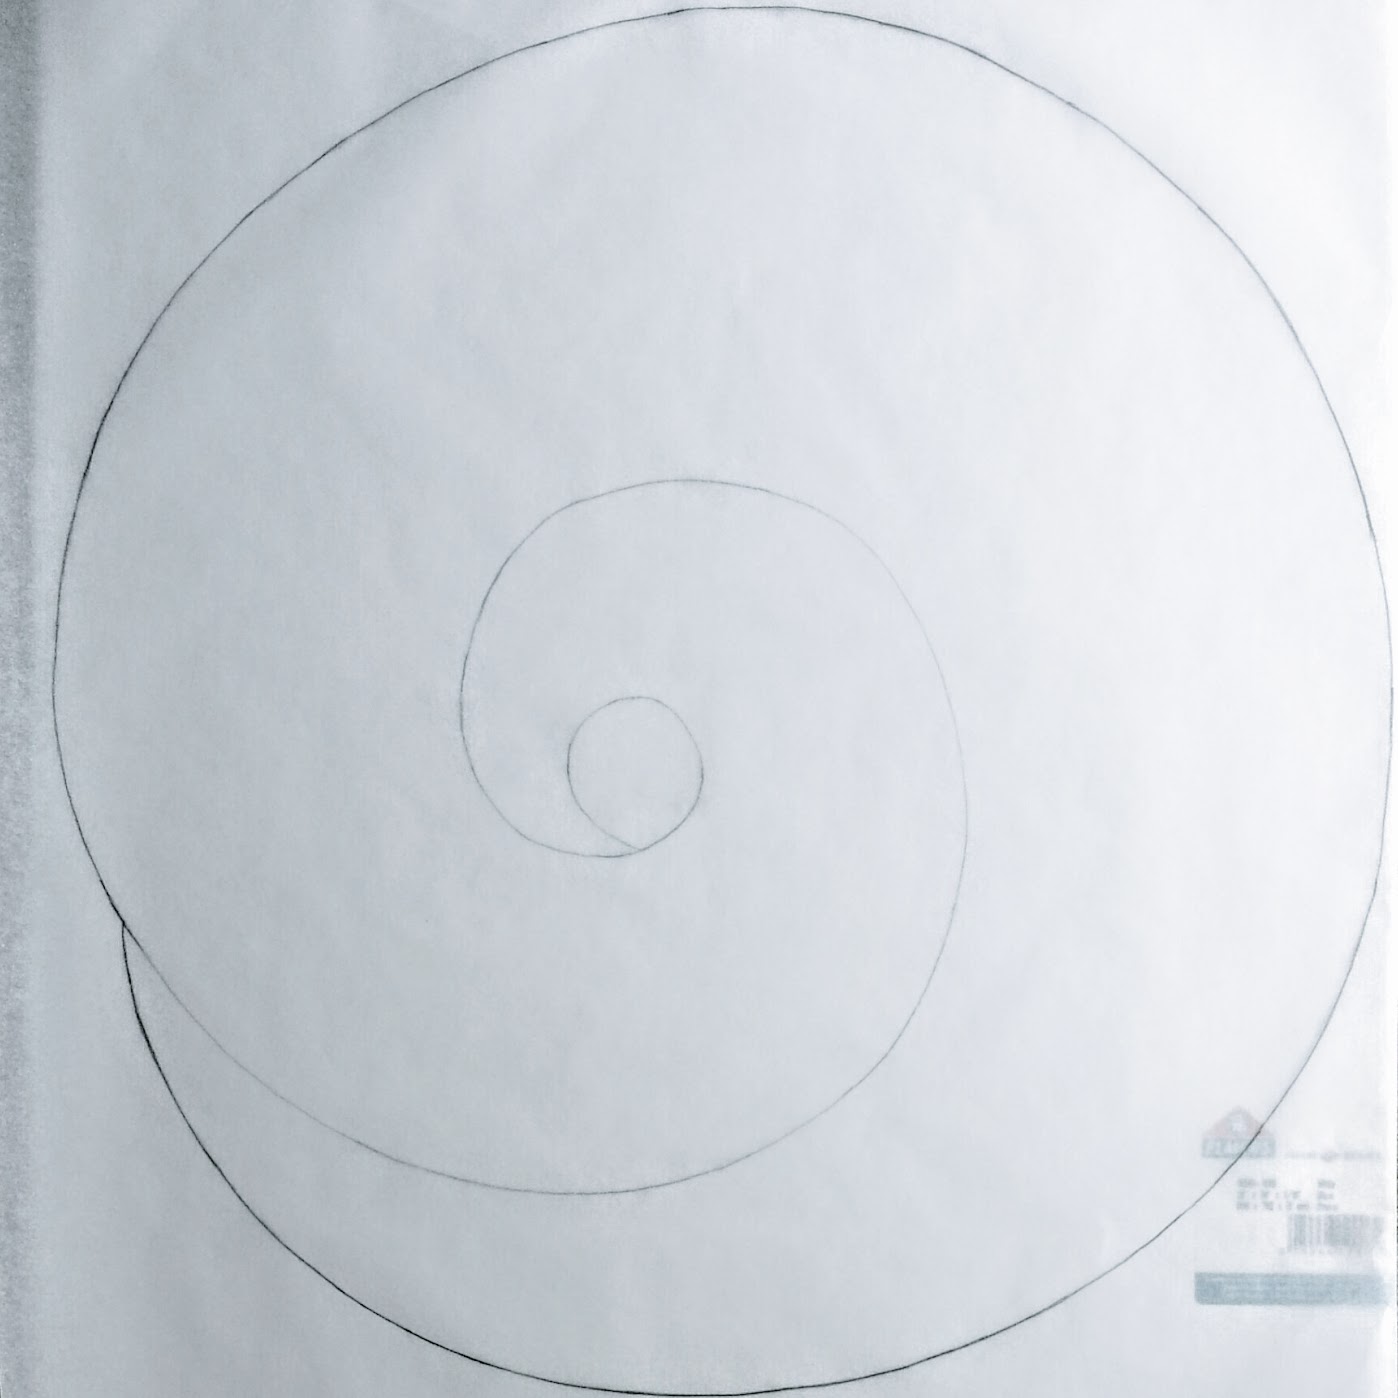
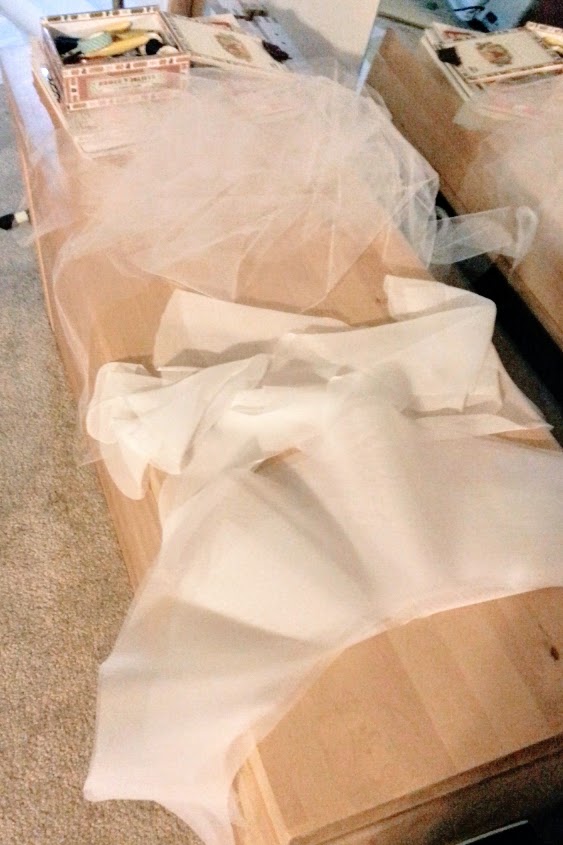
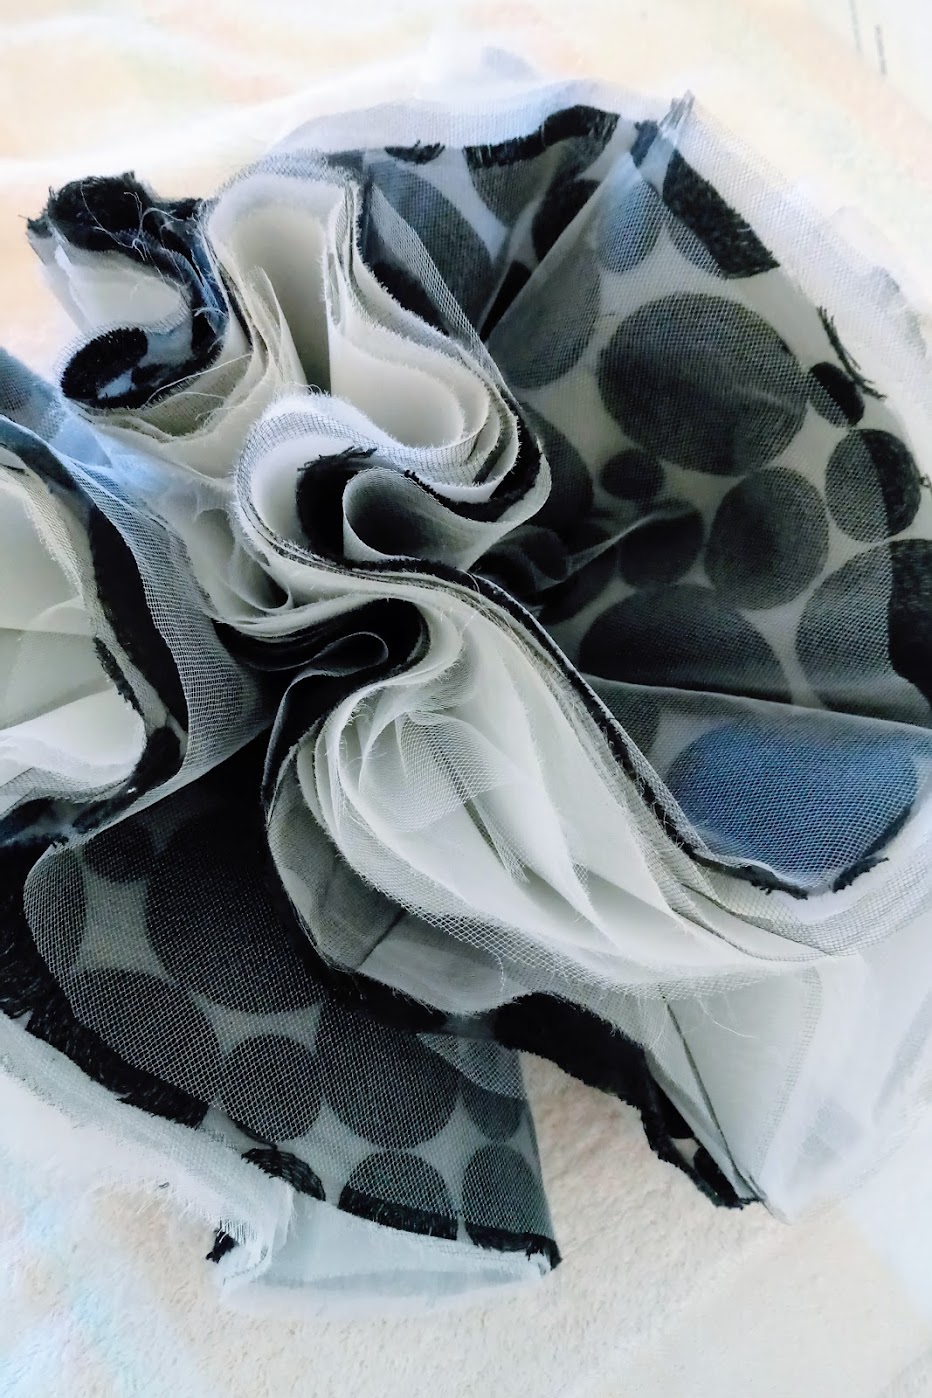
- One yard of black organza with circle patterns (pictured below – I hung it outside after light hand wash)
- Cotton buckram (2″ x 3″) – for constructing the base
- Shoulder pad – for constructing the base
- Black ribbon – for neck ties
- Tracing paper
- Rotary cutter
- Sewing machine (mine is Brother CS6000i model)
- Needle and Thread (I used Schmetz Microtex Needle Size 80/12)
- Dressmaker’s pins
- (optional) Lace trim remnant – for decorating the base

Process:
The book goes into detail for how to construct the flounce layers and assemble them. They can be summarized in three steps as outlined below. I’m featuring pictures from when I started the project several years ago and when I finished it. Hopefully they are not confusing.
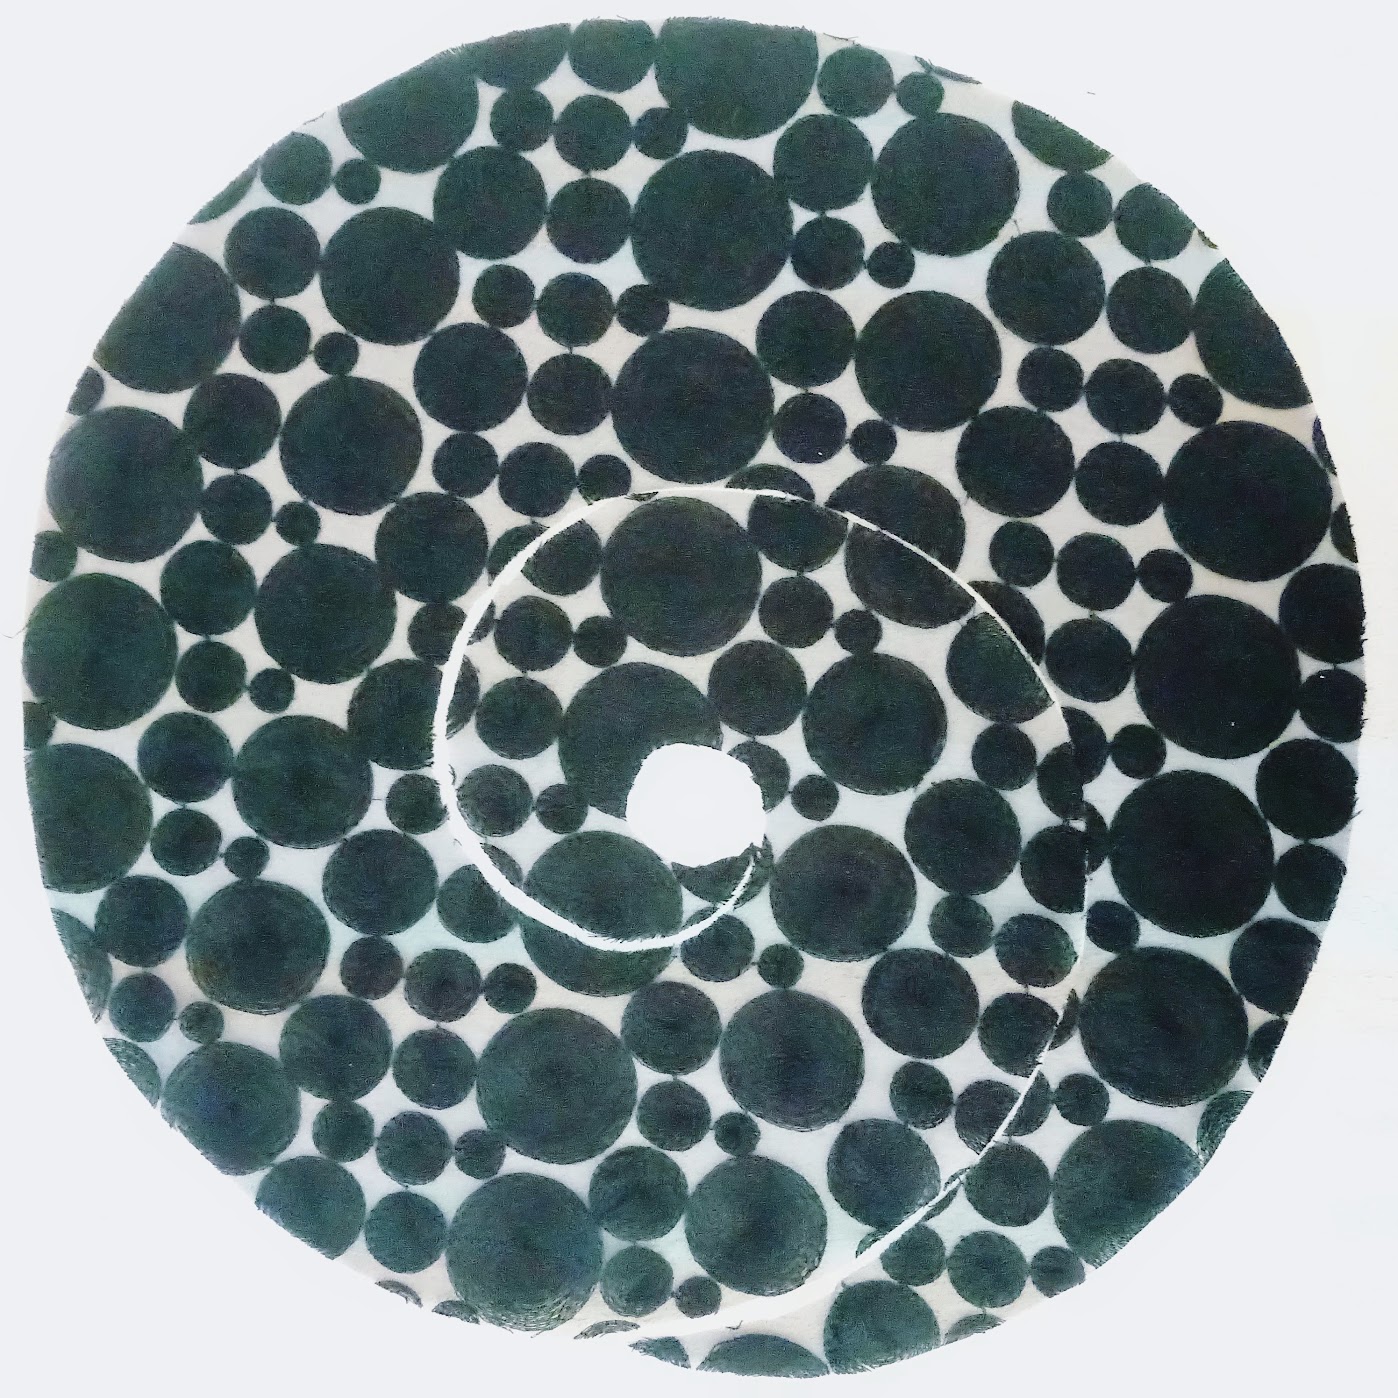
Step 1: Cut 24 – 30 pieces of fabric (organza, organdy, etc.) using the large spiral pattern.
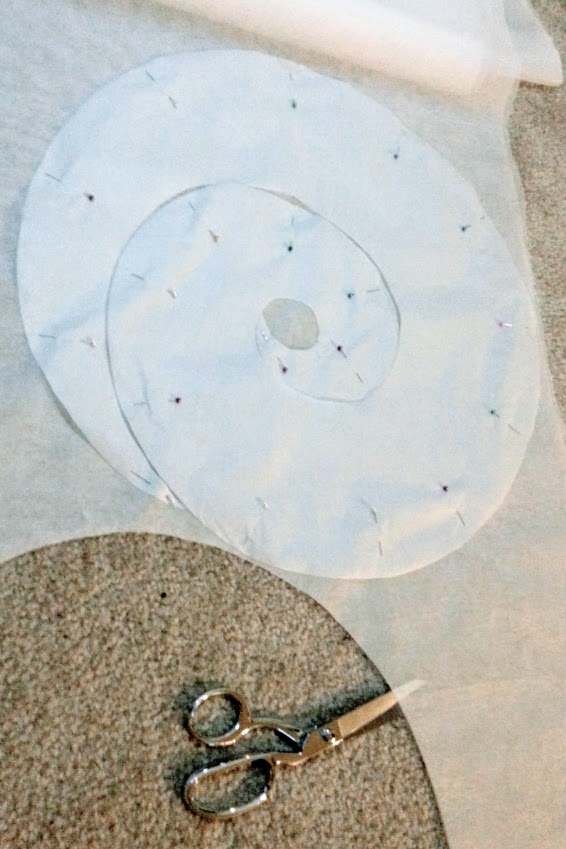
This is the most tedious step. The goal is to make three stacks of 7 – 10 layers of spiral-cut flounce made of lightweight fabrics. The spiral’s diameter is approximately 50 cm. So after transferring the pattern from the book to tracing paper, it’s time to go to work with my pins and rotary cutter.
Because I already did the bulk of my work in 2014, I already had 21 layers of lightweight fabrics – mix of organza, tulle, organdy, and chiffon.
The black organza remnant was big enough for me to make 3 spiral-cut swirls. In the end, I had 24 layers total.
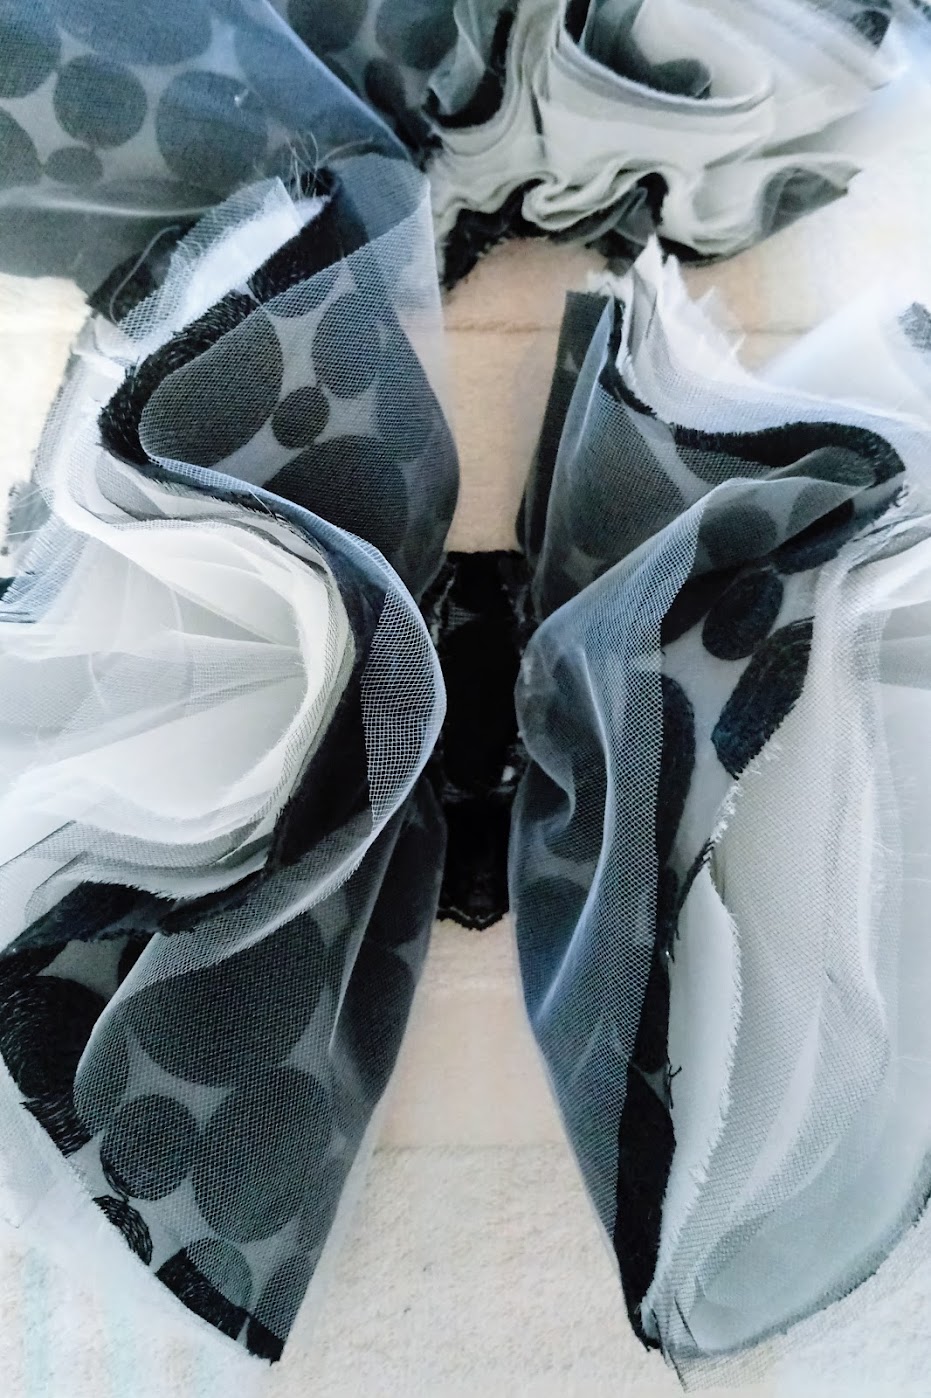
Step 2: Divide the swirls into 3 stacks and layer different types of fabrics on top of each other. Sew the short edge of each stack.
This was a fun step. I felt like I was making three stacks of Belgian pancakes or crepes. I tried not to layer the same fabric on top of each other, but it’s not a strict rule. For me, I had a lot of tulle remnants so naturally there were more tulle layers than other types of fabric.
For me, one stack of flounce consisted of the following fabrics (from bottom to top):
1. ivory organza
2. white tulle
3. off-white chiffon
4. white tulle
5. ivory organza
6. white tulle
7. black organza
8. white tulle
To keep the fabric layers from shifting, I pinned them stack by stack. I started pinning on the inside edge starting from the center of the spiral, going outward.
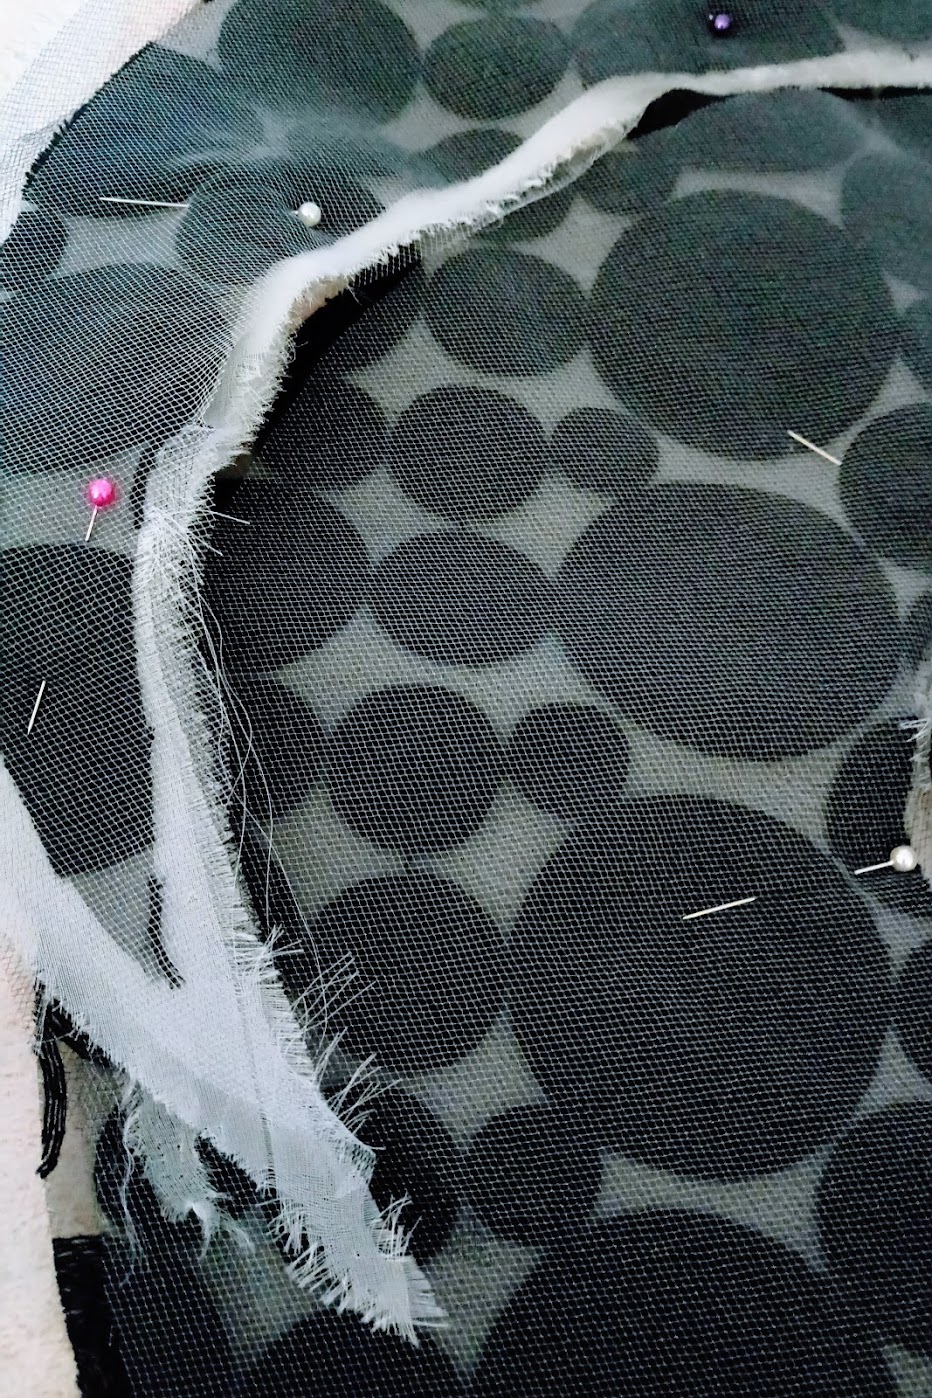
Once the three stacks were done and pinned, I set the sewing machine to regular lockstitch / straight stitch setting. I sew them slowly, starting from the center of the spiral going outward. My seam allowance was roughly 0.25 inch. I made sure no layer was missed during this process.
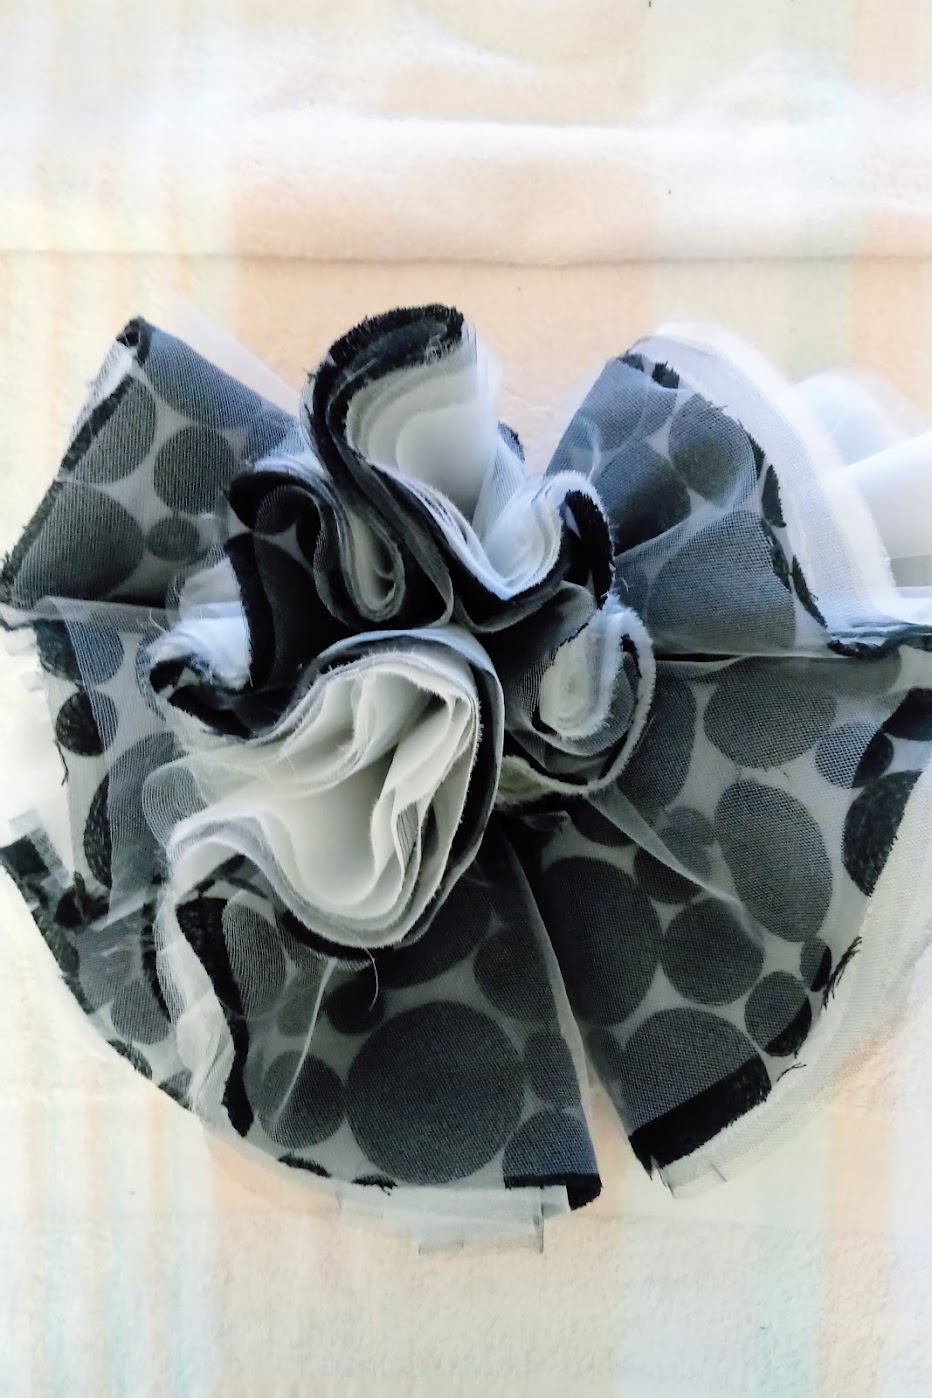
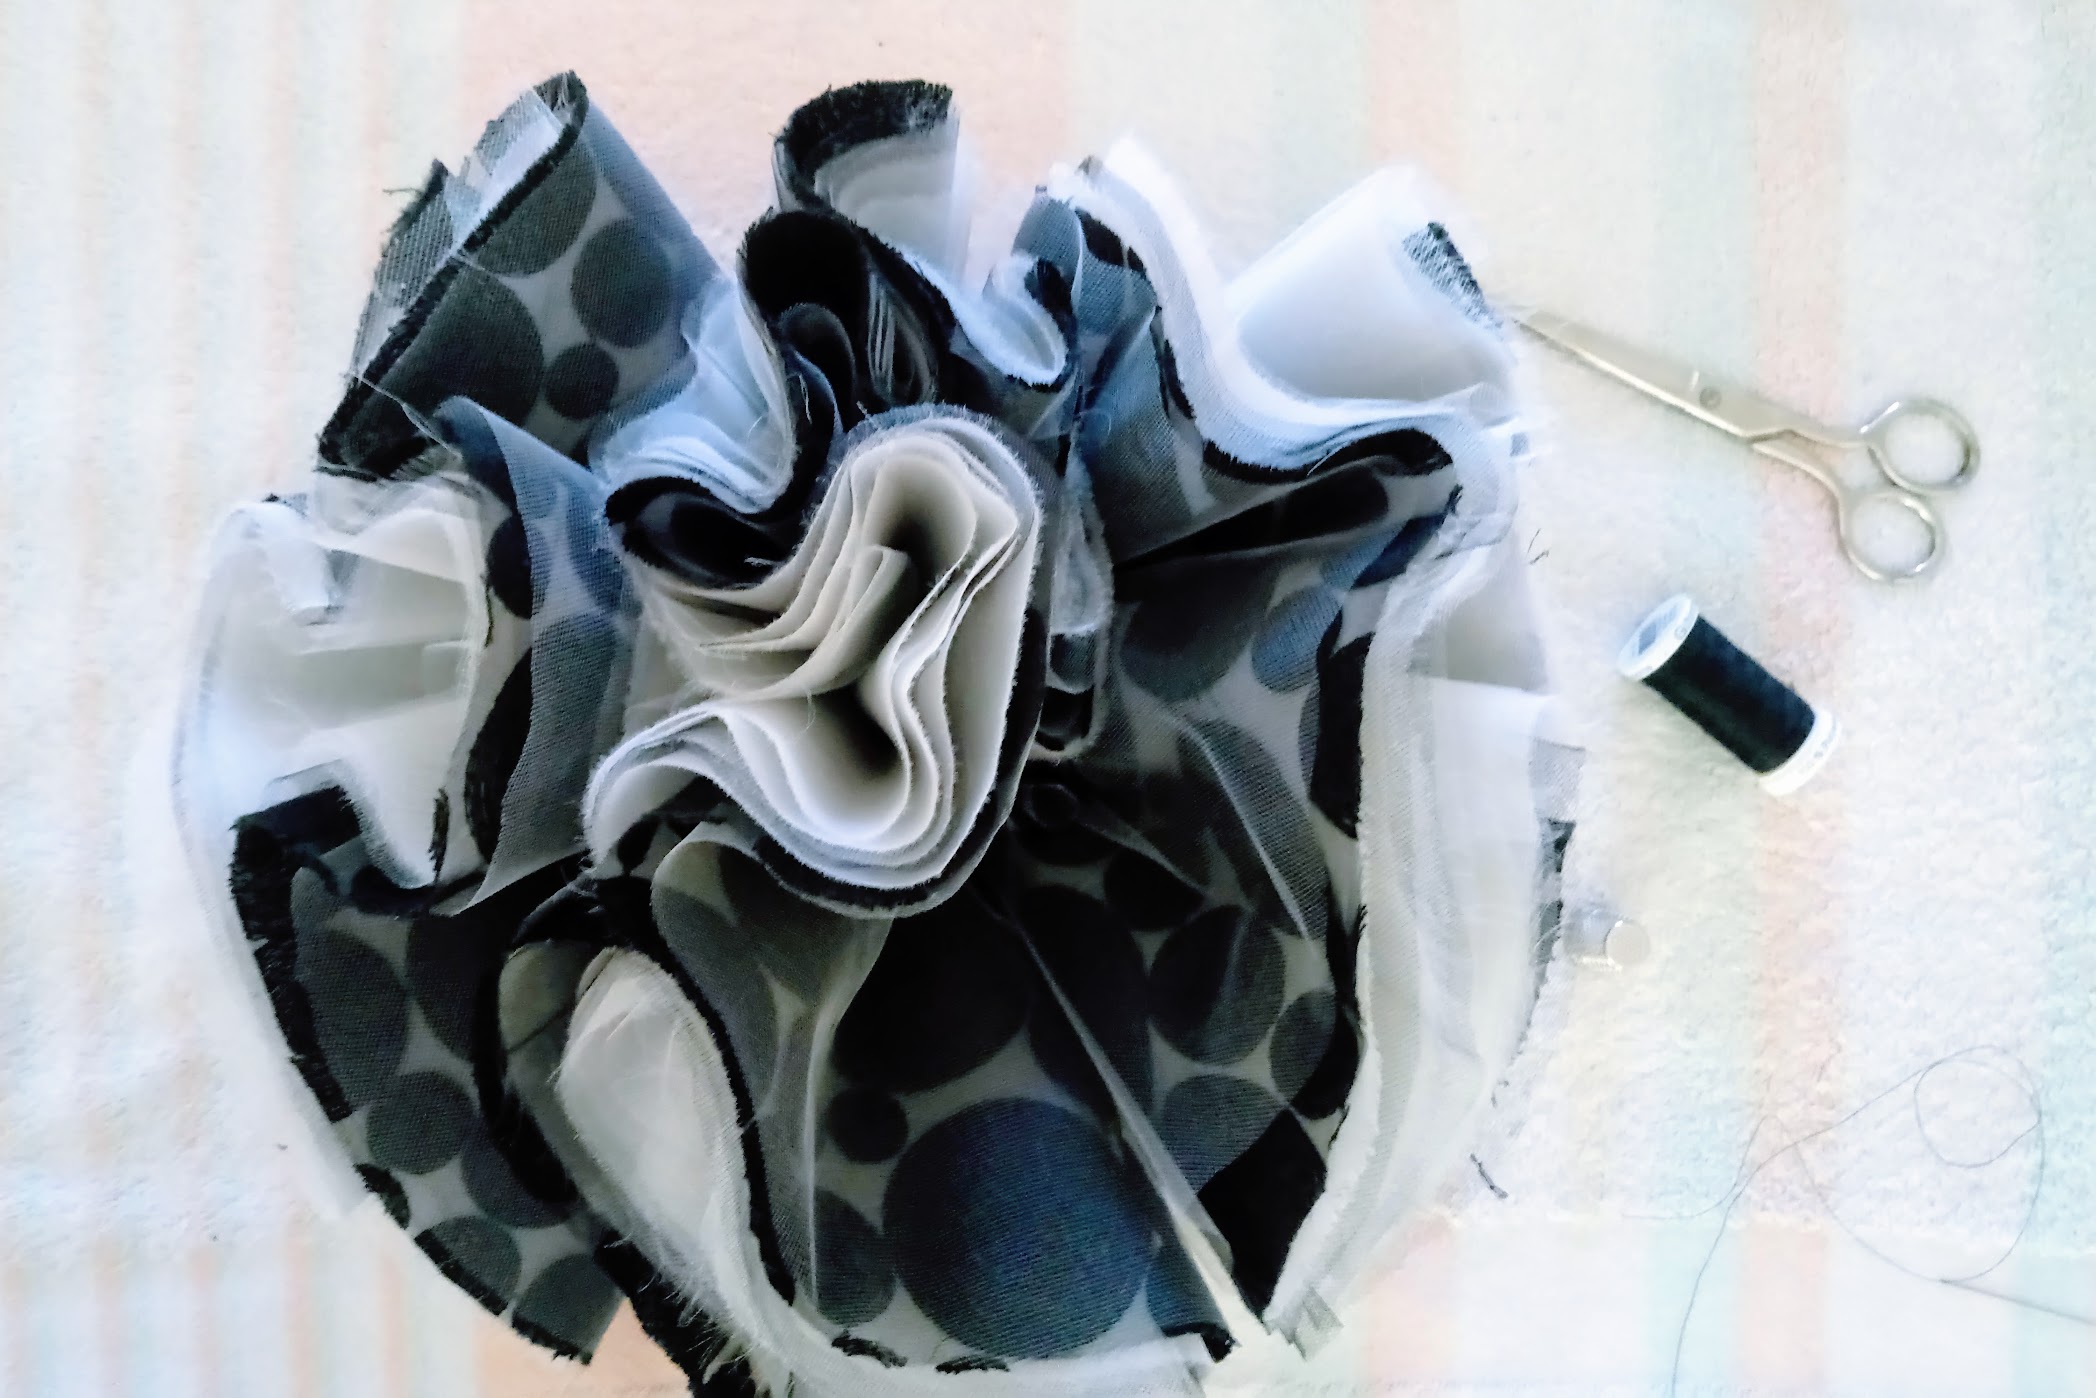
The wavy flounces started to take shape!
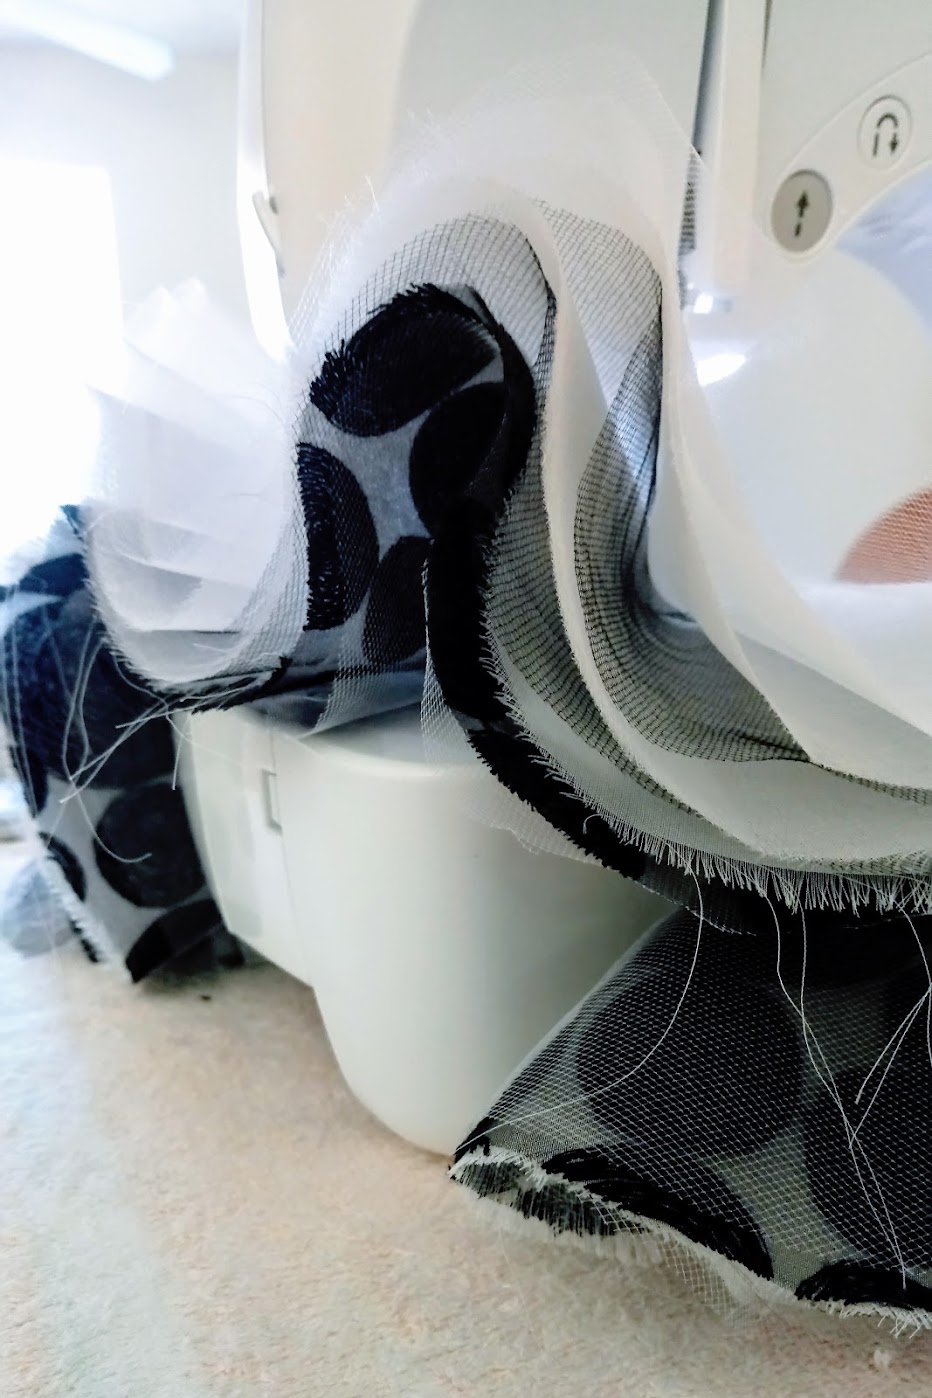
I also did another row of straight stitch afterwards. Then I pulled both trailing threads near the center spiral so that the folds are denser on that end.
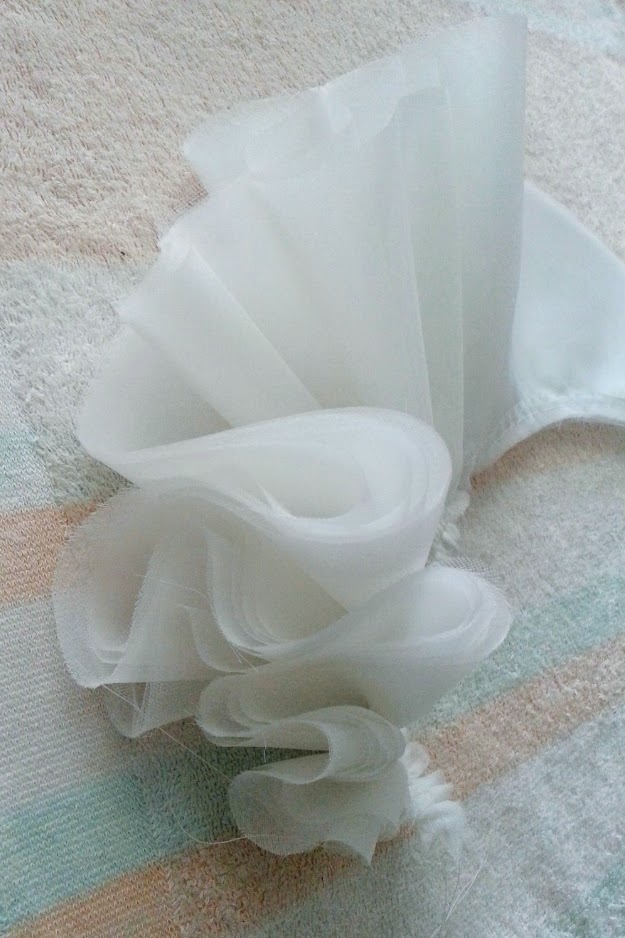
After making sure each flounce stack look nice, I ran them though the sewing machine once more – zigzag stitch this time. This was to prevent excessive fraying.
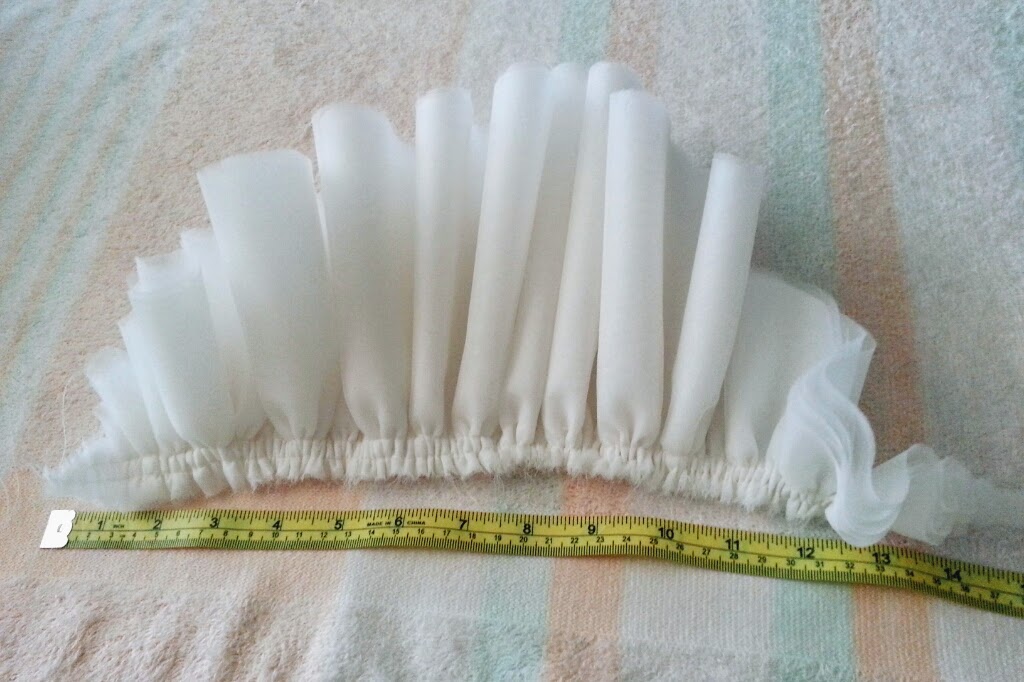
Each flounce stack was approximately 13 – 14 inches long when measured from the finished sewed edge.
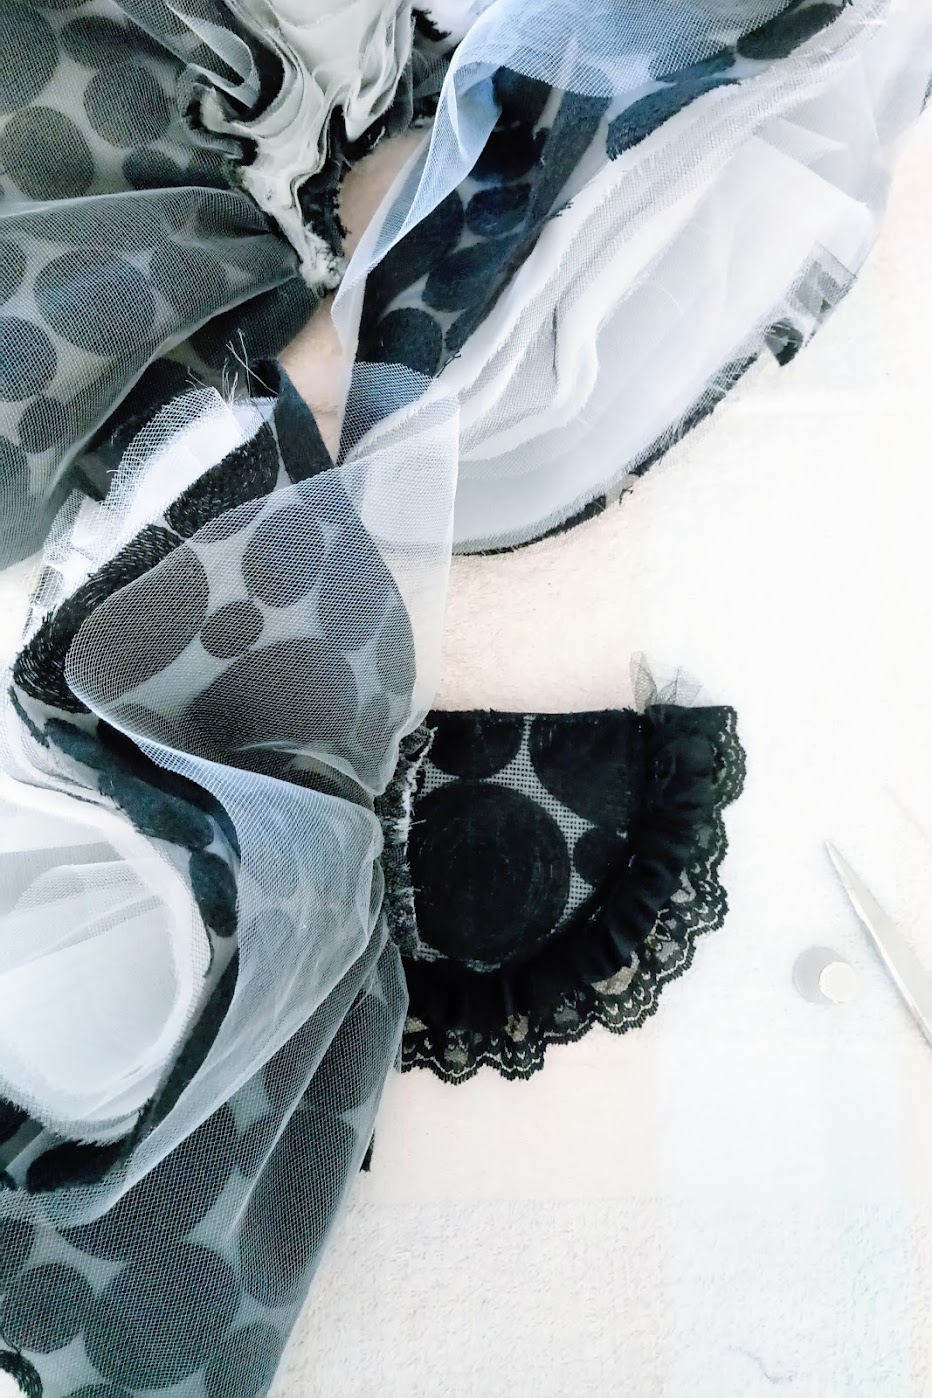
Step 3: Create a base with neck ties, and hand sew the stacks to the base.
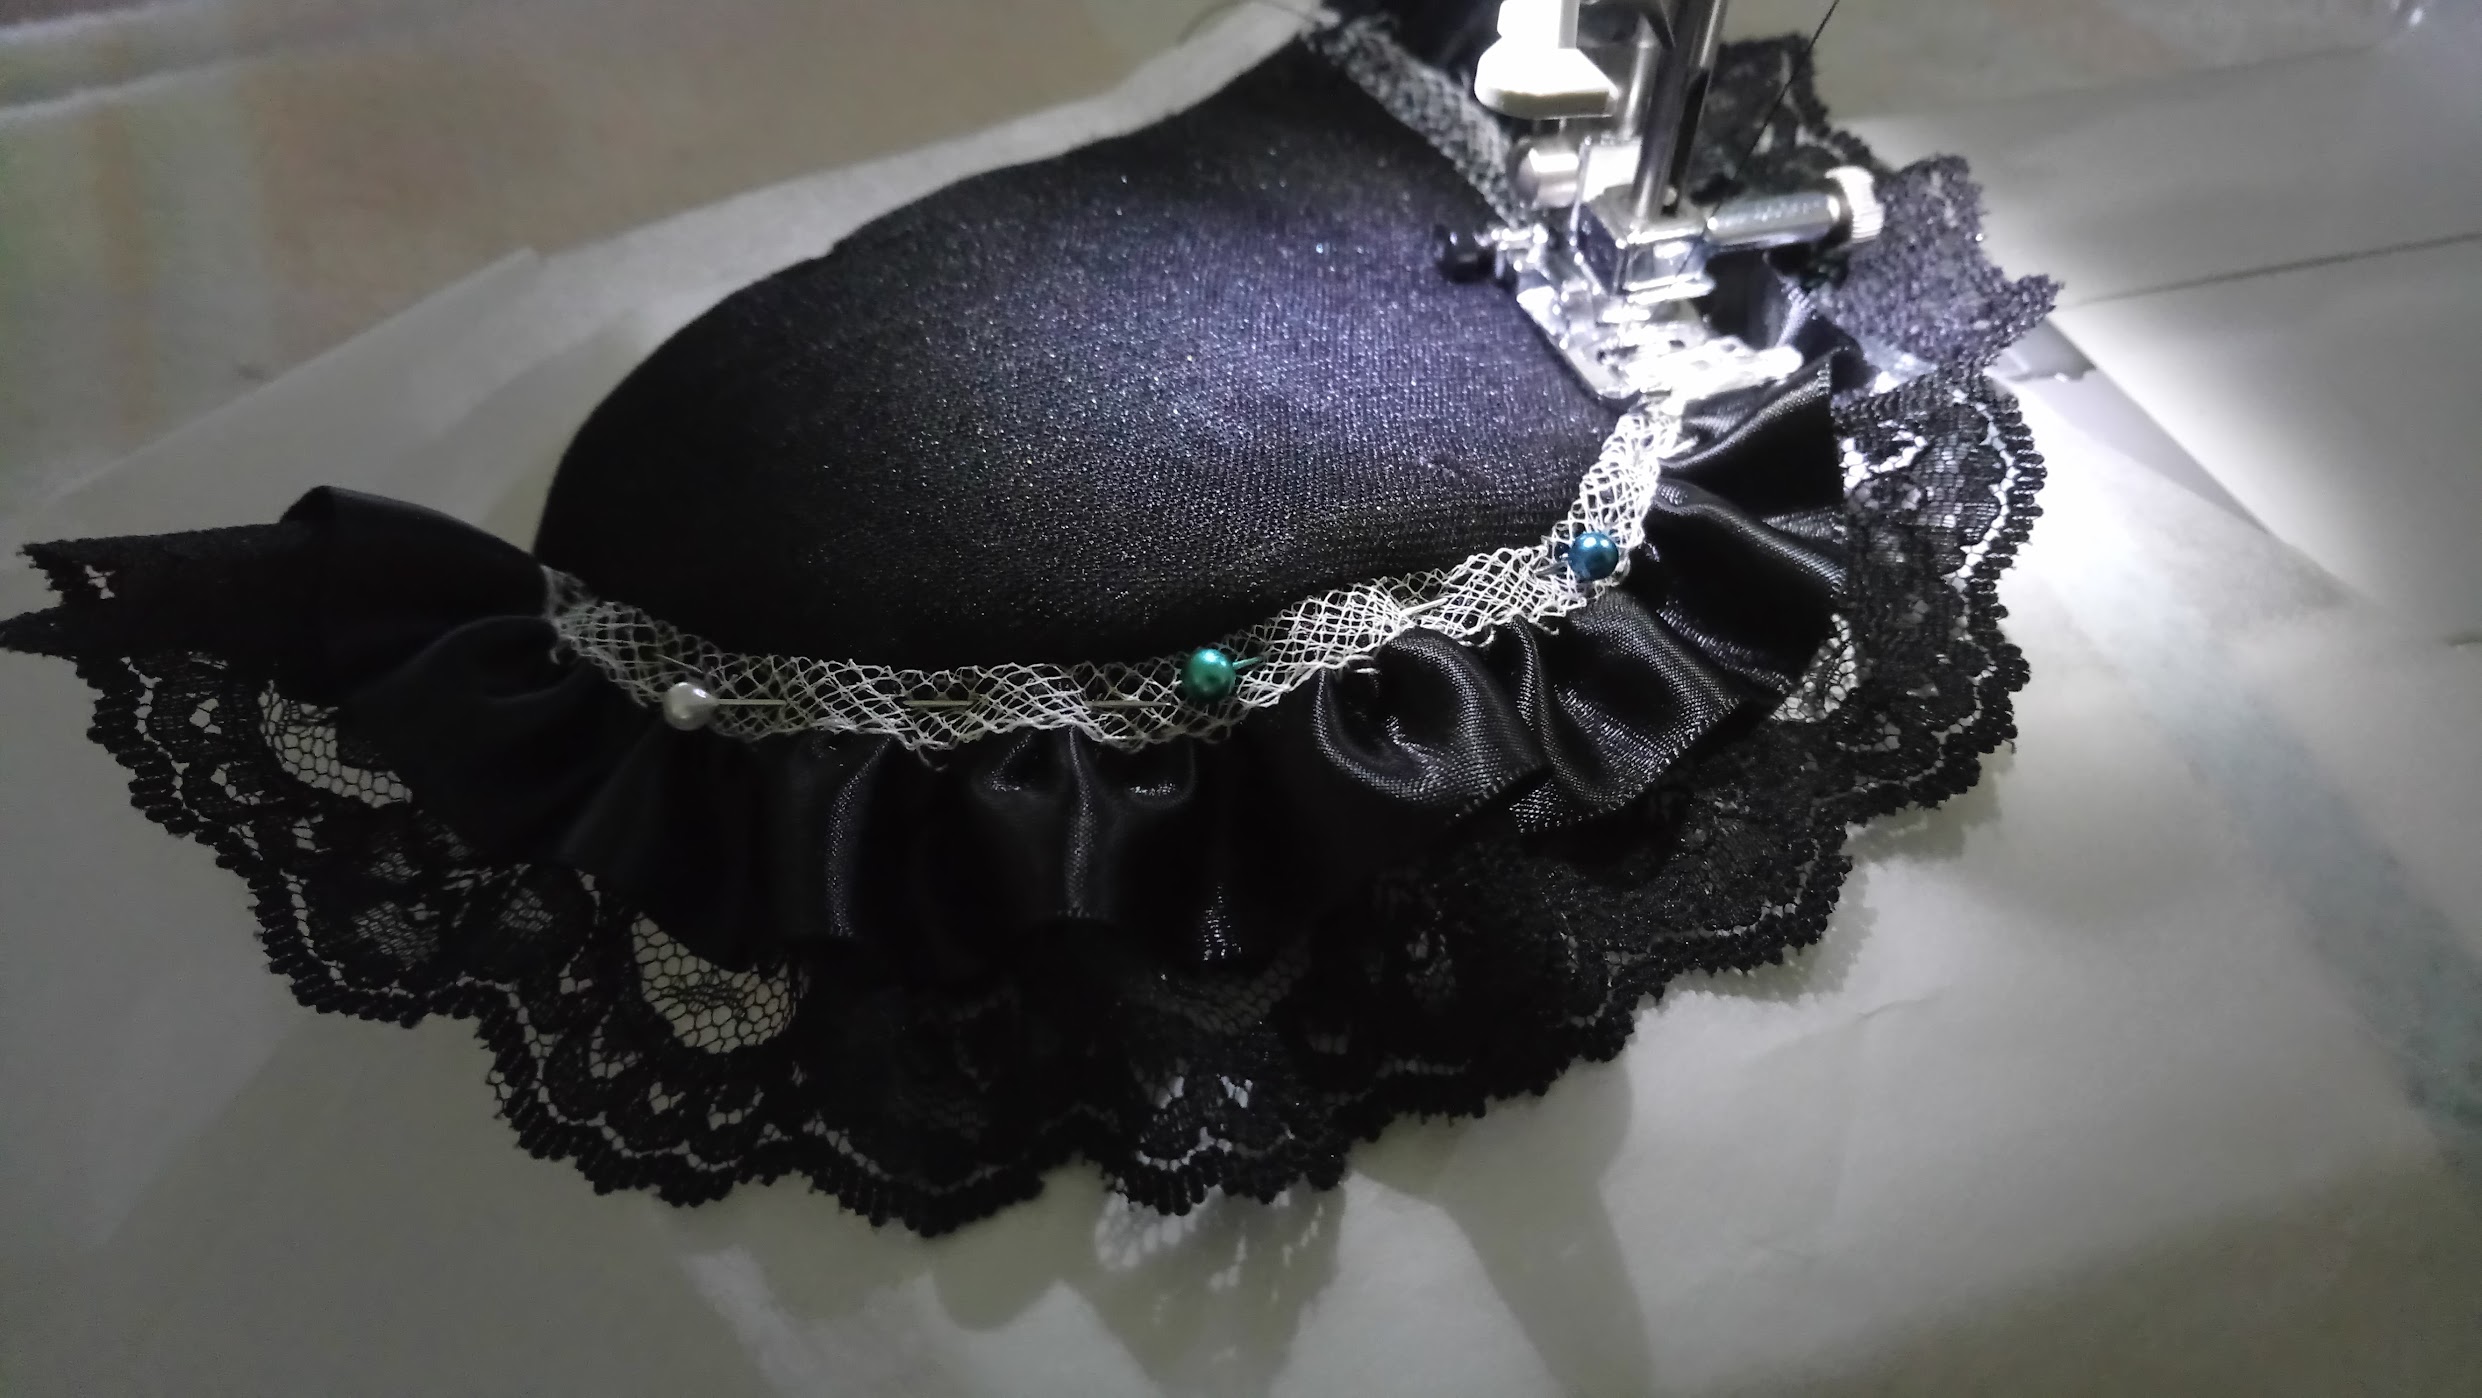
This was when I differed slightly from the book’s instruction. The base was supposed to be shaped like an inverted triangle. However, I found the tip of the triangle on the bottom was peeking out when it’s all done, so I did a half moon shape instead.
I made the base using a black shoulder pad, buckram, and a small scrap from the black organza remnant. For my own glee, I stitched some lace trim remnant on the curve. It looks cuter that way!
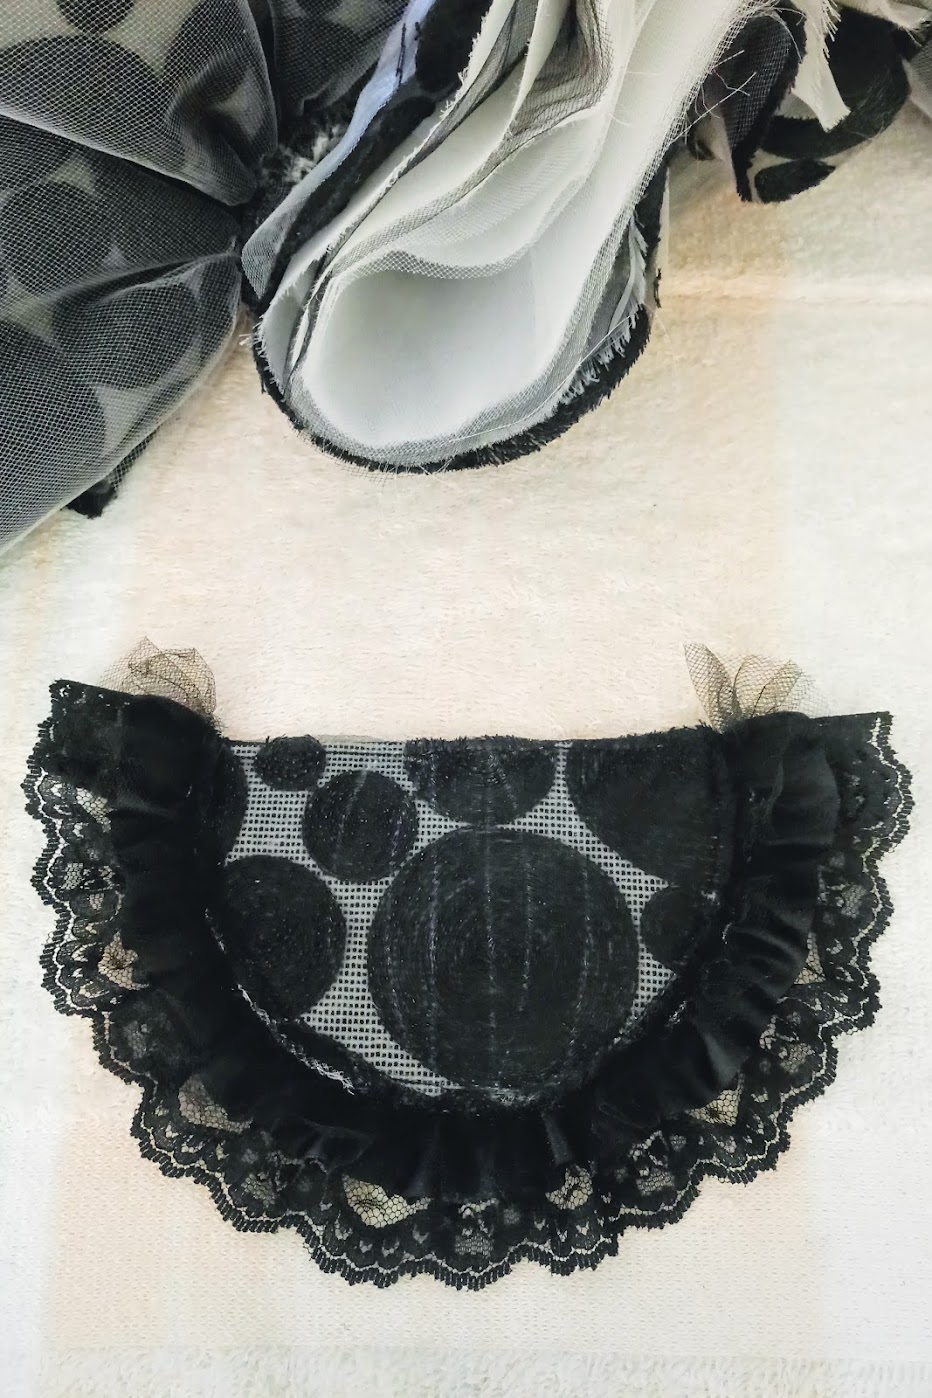
So once the base was done, I folded each flounce stack into two (so their length became 7” each). Then I hand stitched each of them in place onto the base.
From the picture above, you might be able to see two curvy rectangle marks surrounding one vertical rectangle mark on the base. Those were the 3 placement markings (left, center, right) for where I should sew on each stack. I started with the left one first, then right, and lastly center.
This was a little tough on my fingers because these layers are rather thick, and it’s hard to see where I was stitching with all the fluffs flopping around.

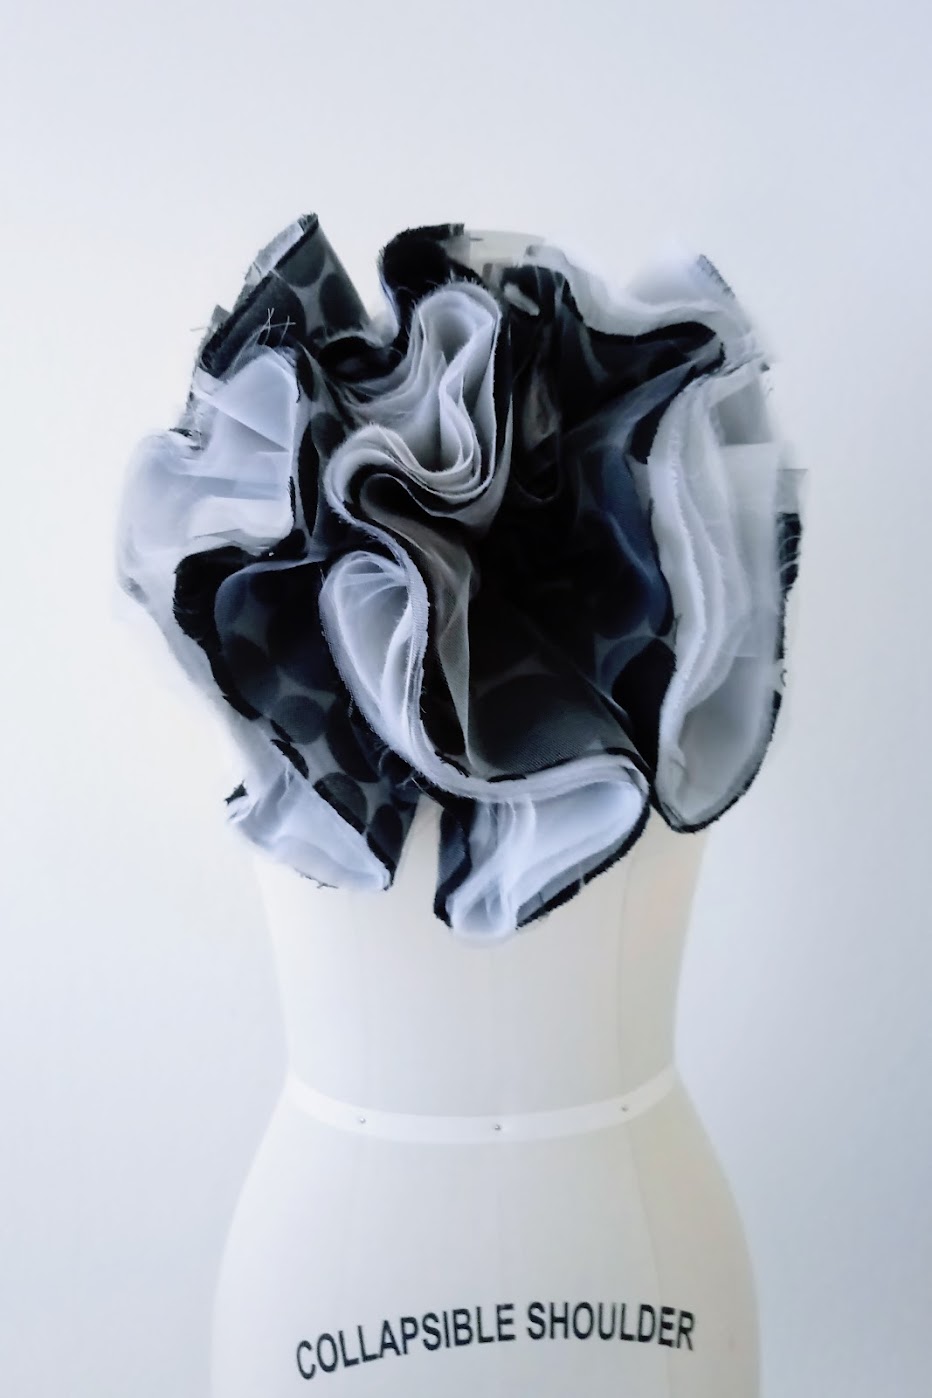
Last but not least, ribbons were attached to the base so it can be tied as a neckpiece. You wouldn’t be able to see them on the pictures below though. As you can see, the flounce neckpiece is relatively massive!
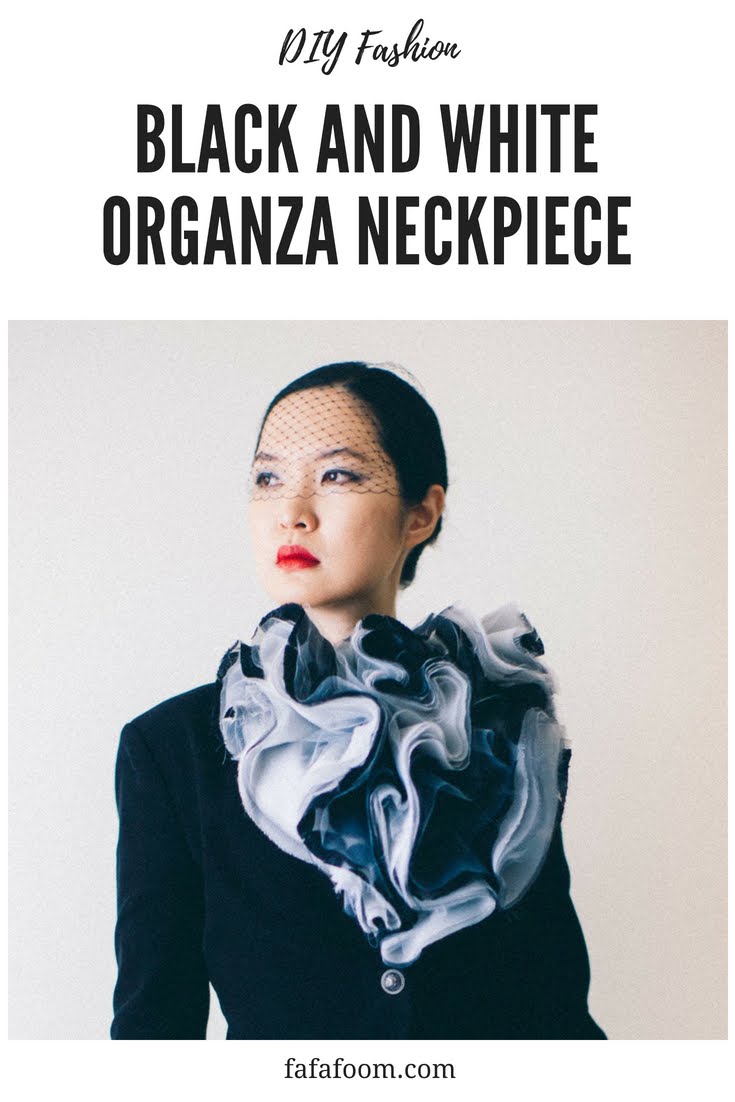
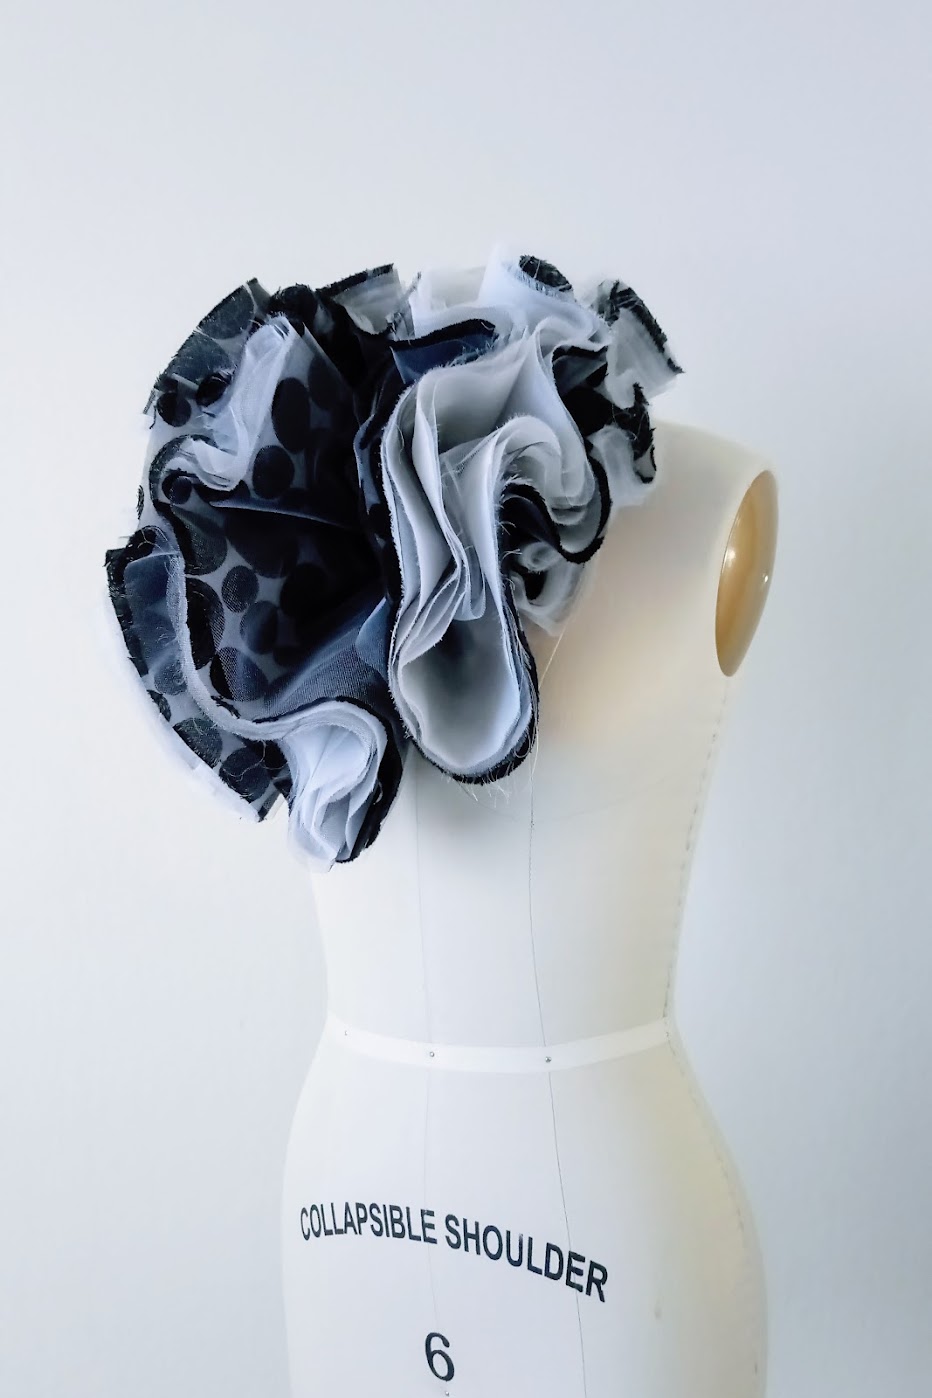
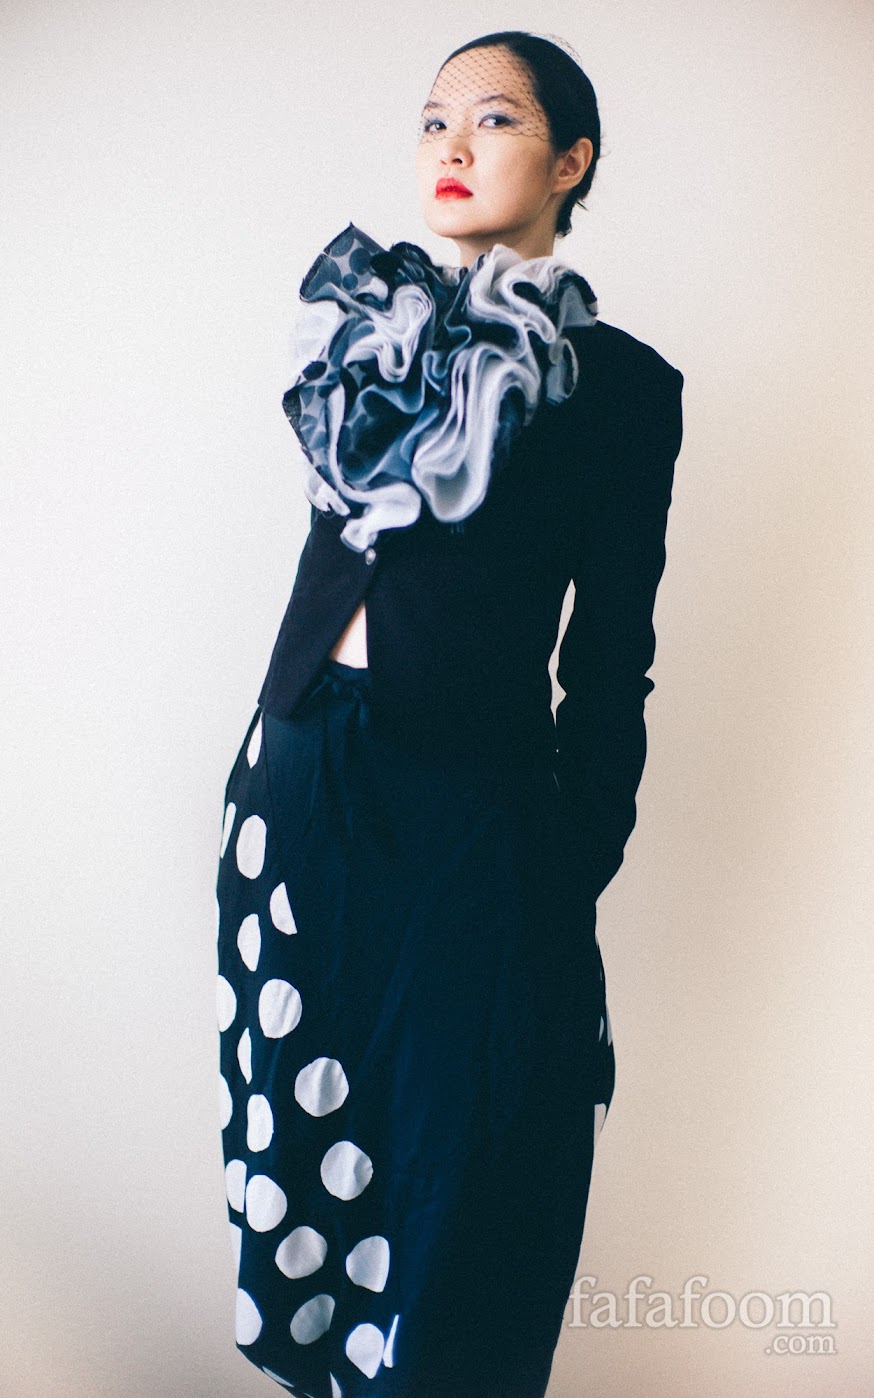
The Result: Black and White Layered Spiral-Cut Flounce Neckpiece
Woo! I’m really happy that I didn’t give up on this project. I really like how gorgeous the whole thing look.


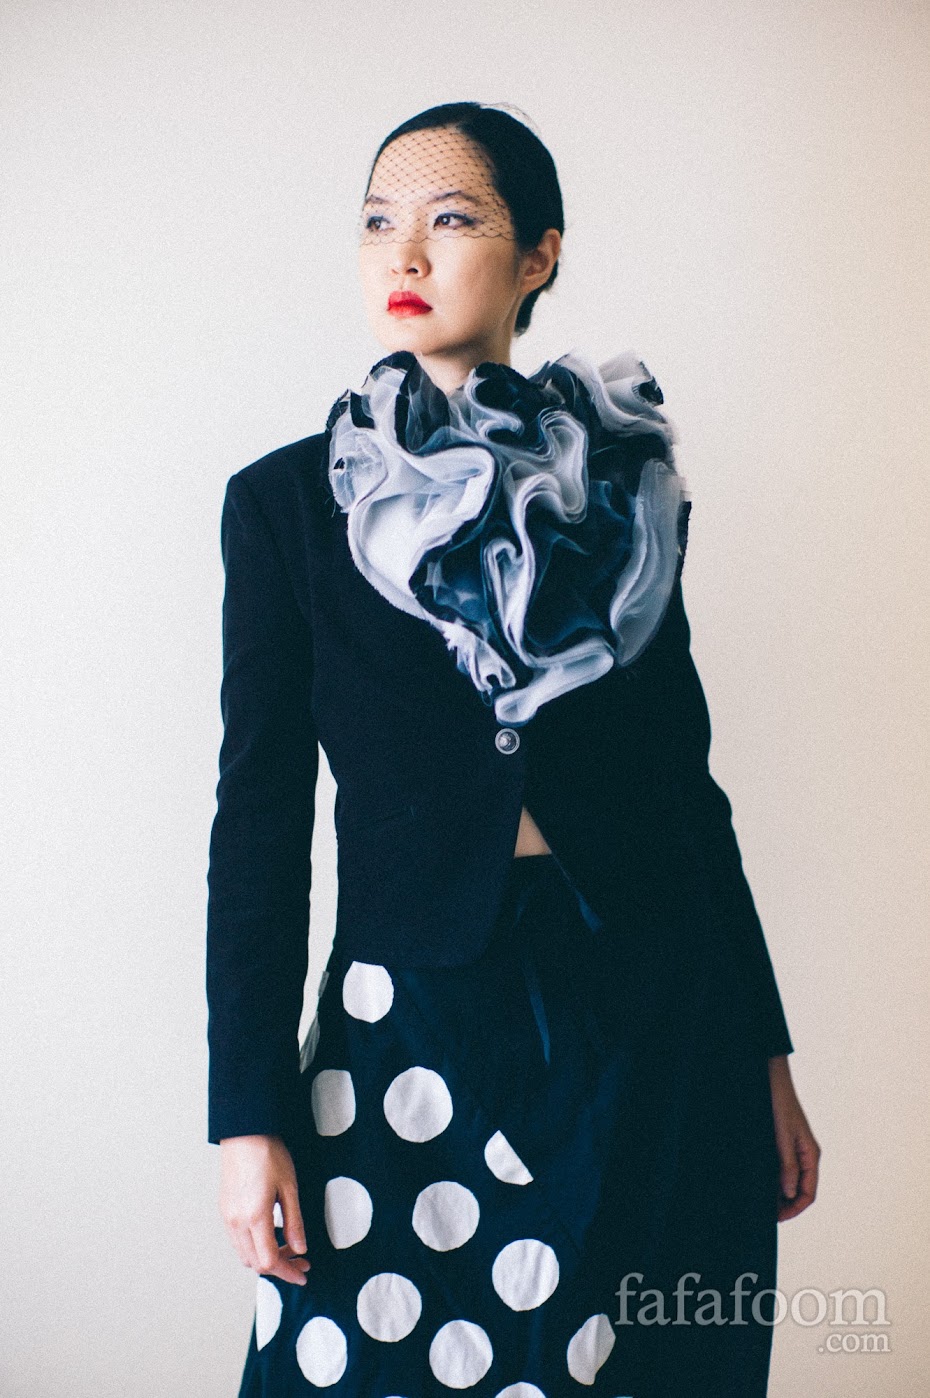
I couldn’t resist styling it with a black and white outfit. Wearing a vintage Issey Miyake jacket and a Sou Sou polkadot accent pants, along with a french tulle on my face (the same one I wore during Agnes headband photoshoot a while back) made me feel like a million bucks!


I love it, but what do YOU think? Please chime in on the comments below. I’d really appreciate it :)
Thanks for reading; until next time,
Musank
Disclaimer: I may earn a small commission for my endorsement, recommendation, testimonial, and/or link to any products or services from this website. Thank you for your support!
Never Miss a Post
Enter your email below to receive the latest Fafafoom Studio post in your inbox.
Browse more posts
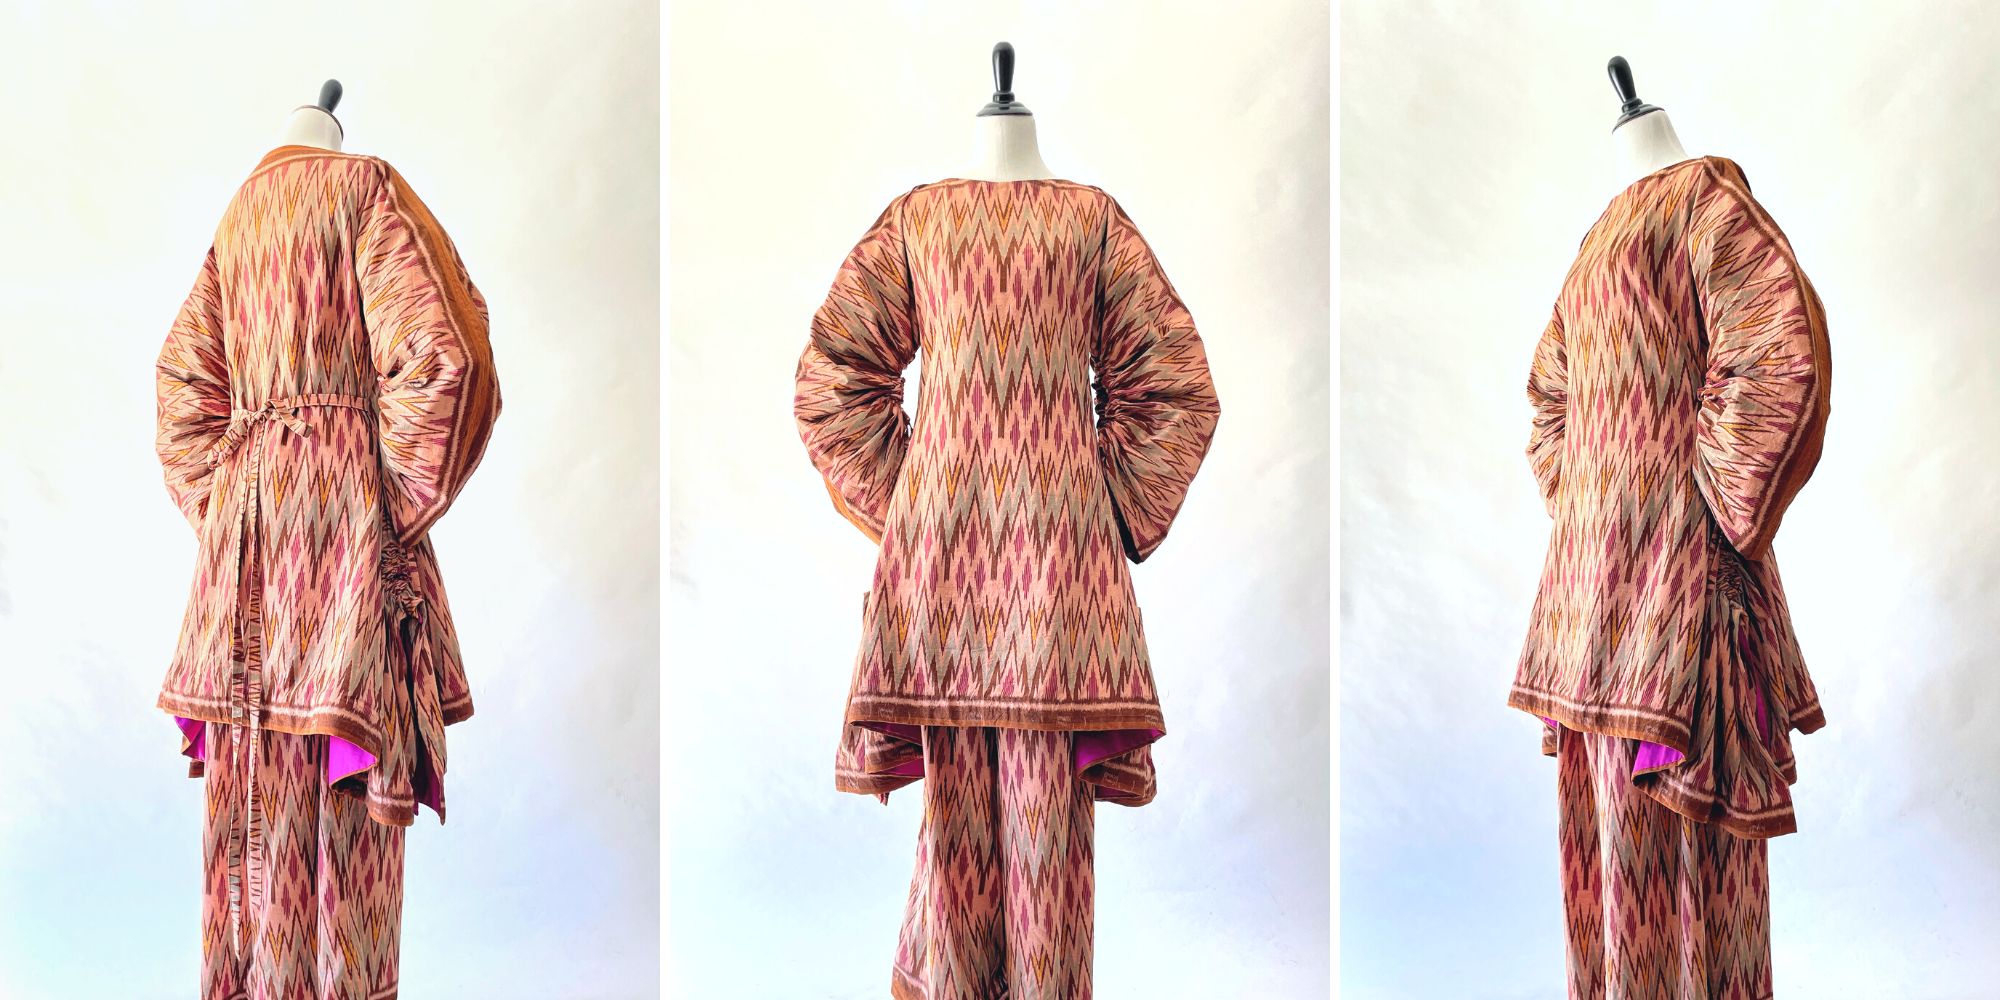
Interpreting Kebaya, Making a Modern Ethnic Ensemble
Modern Ethnic outfit is my interpretation of kebaya dressing. They are made using vintage ikat textile and inspired by several free minimal-waste patterns. Only on fafafoom.com.
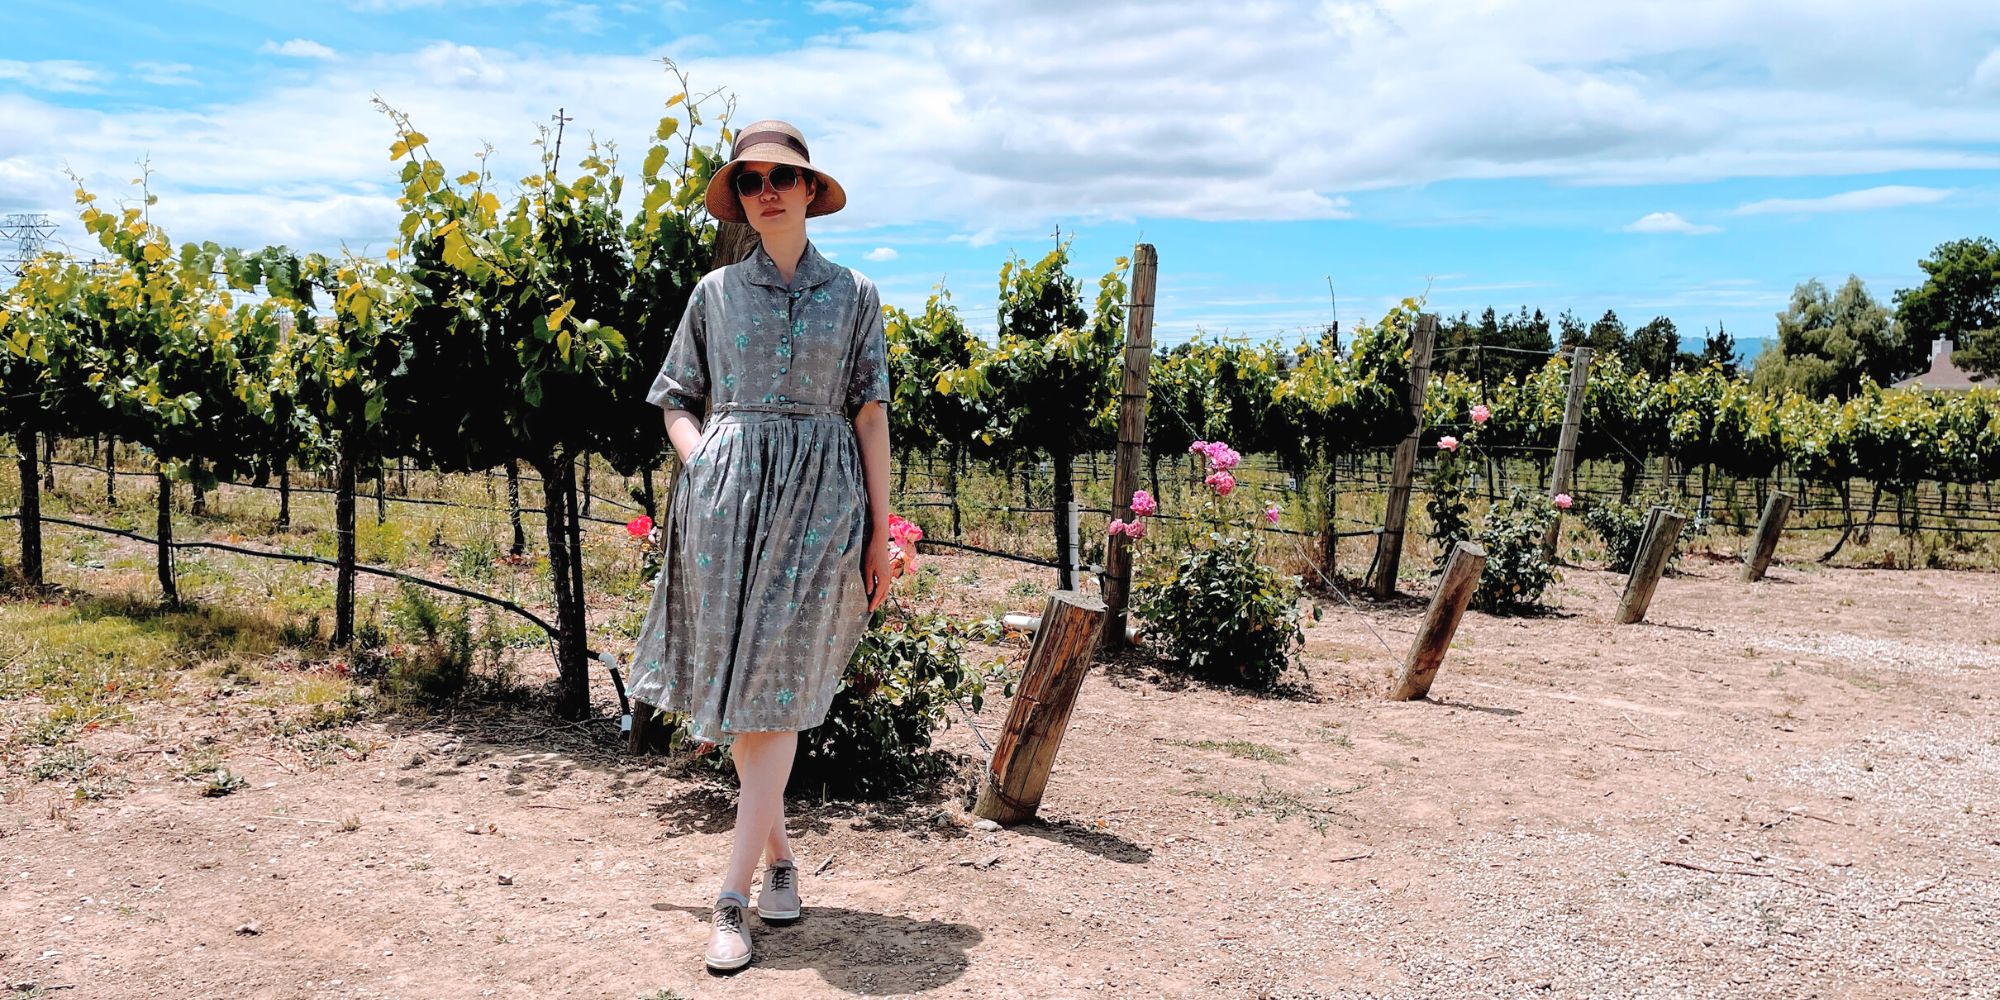
Restoring a 1950s Atomic Age Dress
Restoring and repairing a beautiful 1950s Dress for my summer 2022 wardrobe. Smart alterations include lining and inseam pockets. Only on fafafoom.com.
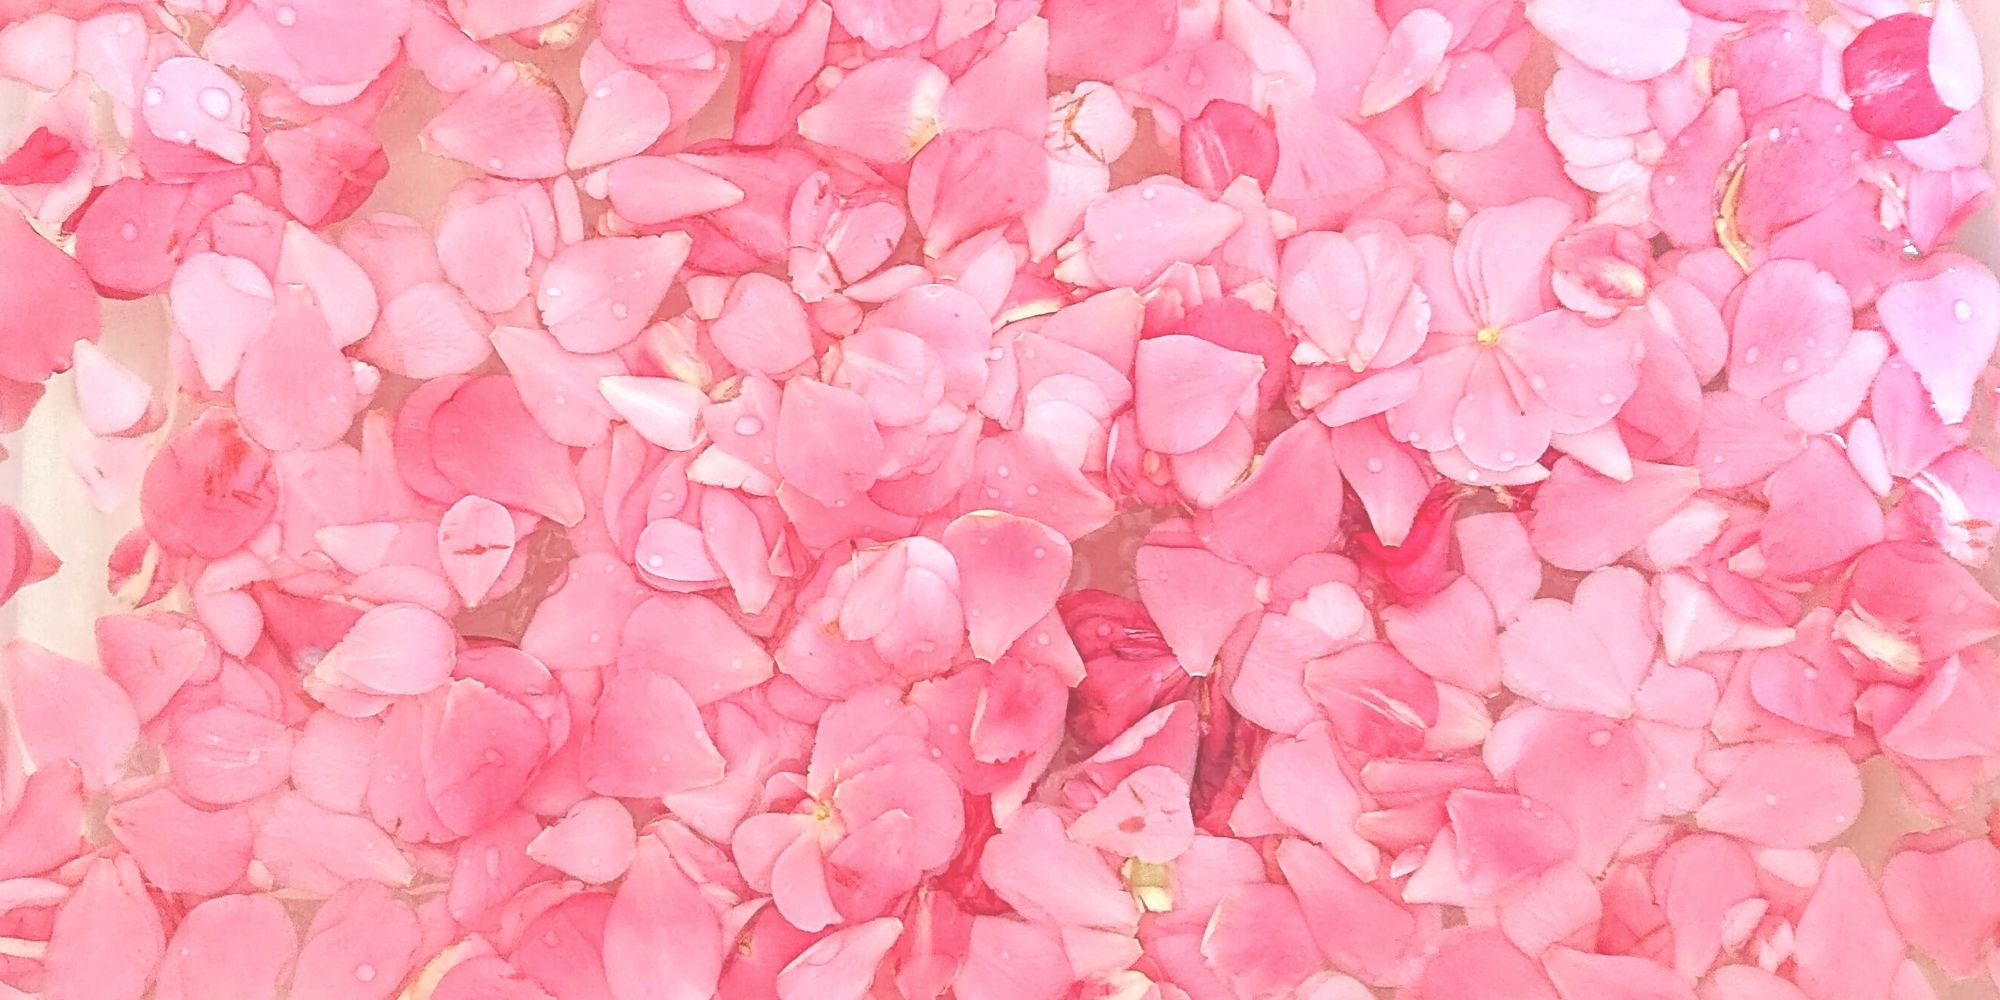
Pink Delight! Natural Dyeing with Camellia Flowers
My next experiment is dyeing with camellia flowers. Amongst all natural dyeing projects I have done so far, this is my favorite. Check out the pink delights! From fafafoom.com.
5 Slow Fashion Tips for a More Sustainable Wardrobe
Five slow fashion tips to help you transform your sustainable wardrobe for a cleaner, greener future. A guest feature from Reese Jones for Fafafoom.com.
Upcycling and Repairing Ideas for Garden Decor
The garden has become a special place, especially during Covid-19 pandemic. During shelter-in-place period, I made garden decors by upcycling locally sourced items.
Natural Dyeing with Japanese Maple Leaves: Notes from a First-timer
Notes from my first natural dyeing experiment with Japanese maple leaves in fall season. Three batches of dyeing using fallen leaves sourced from two different trees in the garden. So much to learn and enjoy afterwards.